How To Dry Brush (plus 12 projects!)
Learn how to dry brush in this easy-to-follow video tutorial. Tons of examples shared below, too.
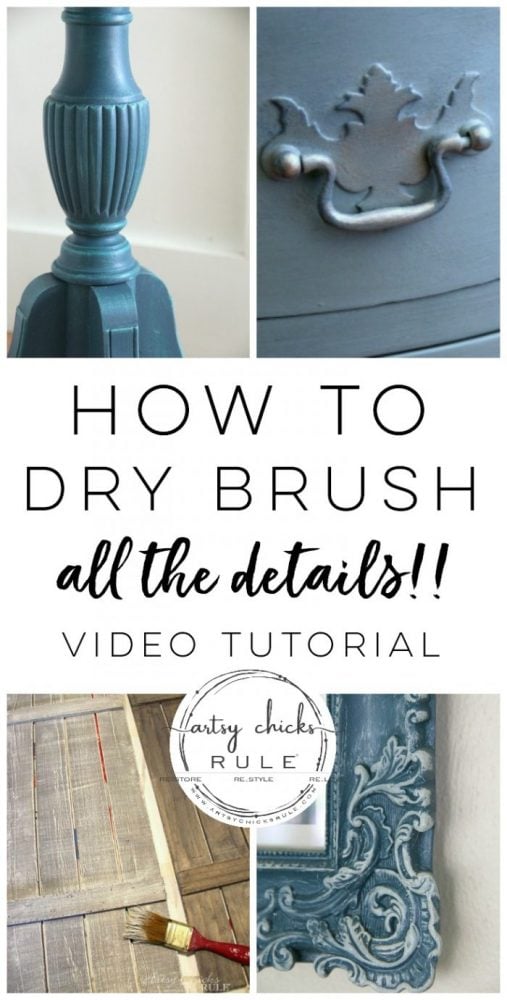
I LOVE dry brushing.
I must, I do it a lot! ;) If you are a regular reader around here, you already know this.
I speak a ton about drying brushing in many, many posts like the ones I’m going to share down below.
Dry brushing can be used to add depth and texture with varying colors but it can also be used to mimic age.
Want something to look old and worn? Add a slight bit of white or grey dry brushing.
But exactly “how to dry brush”? Well, I do explain it in my posts but actually, showing is so much better.
It really is a very simple process but I often have people ask me how to dry brush.
So if a picture is worth a thousand words, well then, a video is worth a thousand more!
Much easier to understand something if you can actually witness it, right?
I know I learn much easier that way. Pictures are great for some things, but for others, it truly helps to actually see it in action.
So that’s why today I’m finally sharing a video I made showing exactly how to dry brush. Well, how I dry brush, anyway.
I also shared videos recently on a few other faux finishes, How To Create Faux Verdigris and How to Create Faux Patina.
This is the start of a new series around here. Not so many videos, but just going back to the basics.
I’m going to be creating some posts that are long overdue that will hopefully be helpful to you, and create a basis for many of the things I share around here.
But before we get to today’s video, I thought I’d share a few projects of mine for reference, that I used this technique on.
You can hop over to any or all of them to see how the dry brush projects turned out and how they look finished (and how they looked “before”, too).
And before I share the projects, I thought I’d share the best brush to dry brush with. Of course, you can use any brush you like, but these are by far the best for the right look, ease of dry brushing, etc.
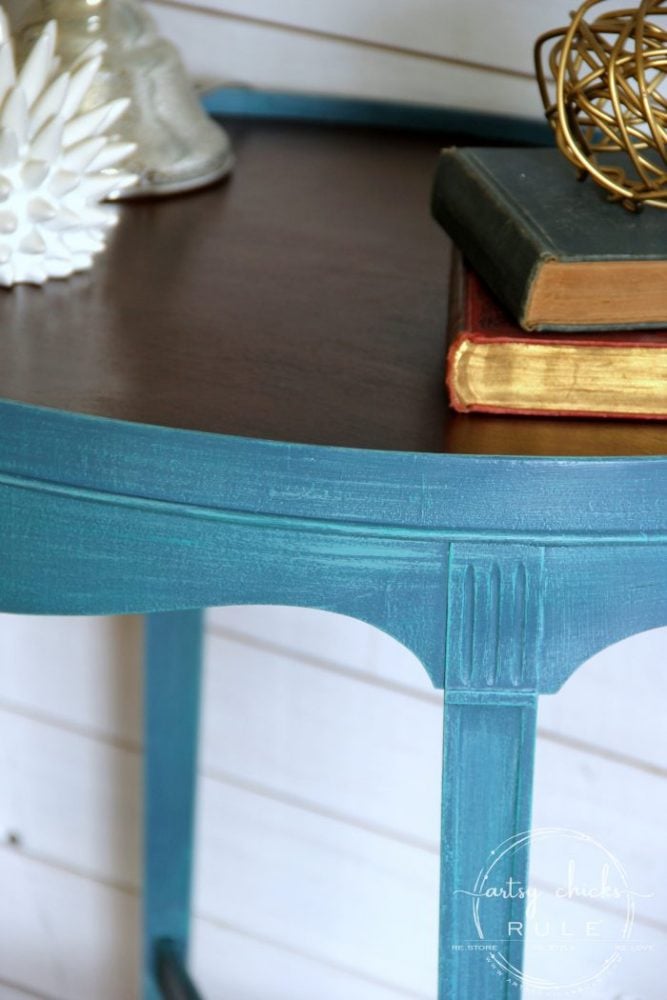
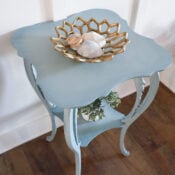
I used the dry brush technique on this table with a lighter shade (and a little different shade) of blue.
I love the effect it gives!
You can see more of this table makeover, here >>> “Layered Chalk Paint Makeover”
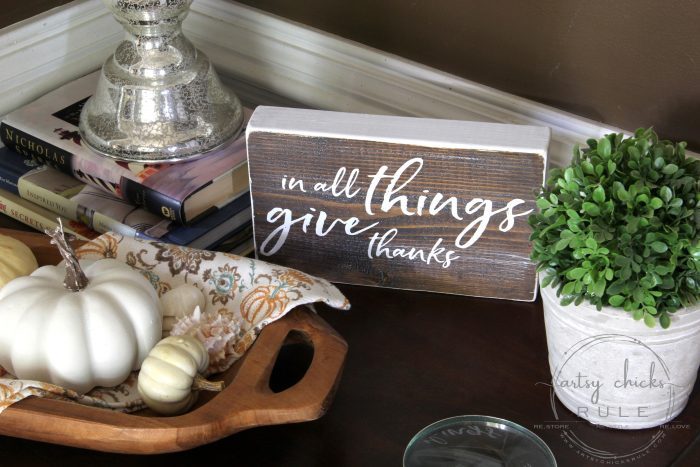
This simple little sign got the slightest hint of dry brushing.
See more here >>> “In All Things, Give Thanks Sign”
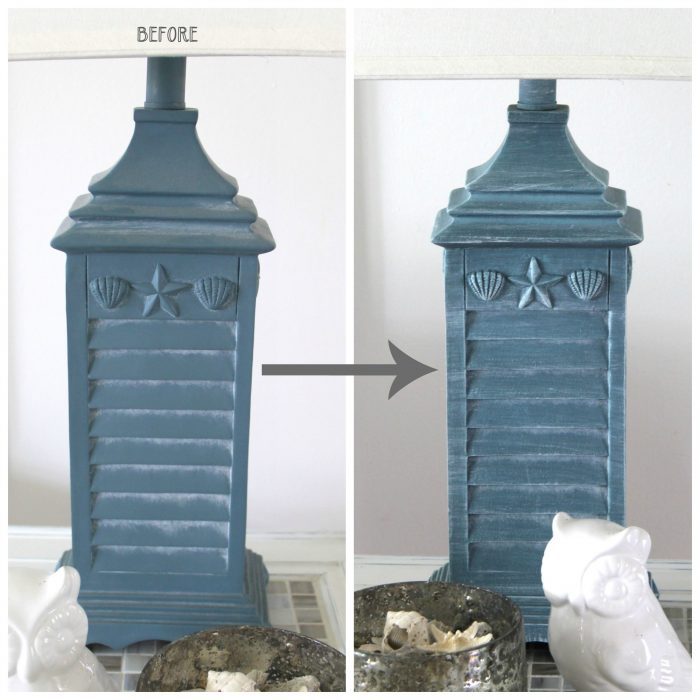
The perfect example of how to dry brush! And updating a basic lamp from the store.
See more here >>> “Simple Update with Chalk Paint”
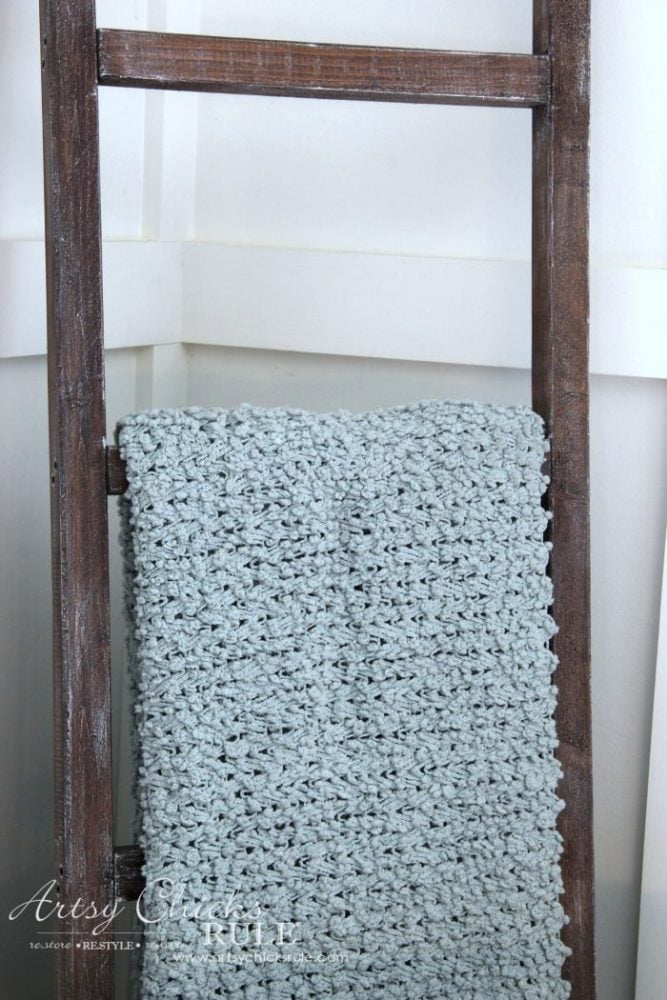
This $6 DIY ladder got a bit of dry brushing to give it some “age”.
See the tutorial, here >>> “DIY Farmhouse Ladder”
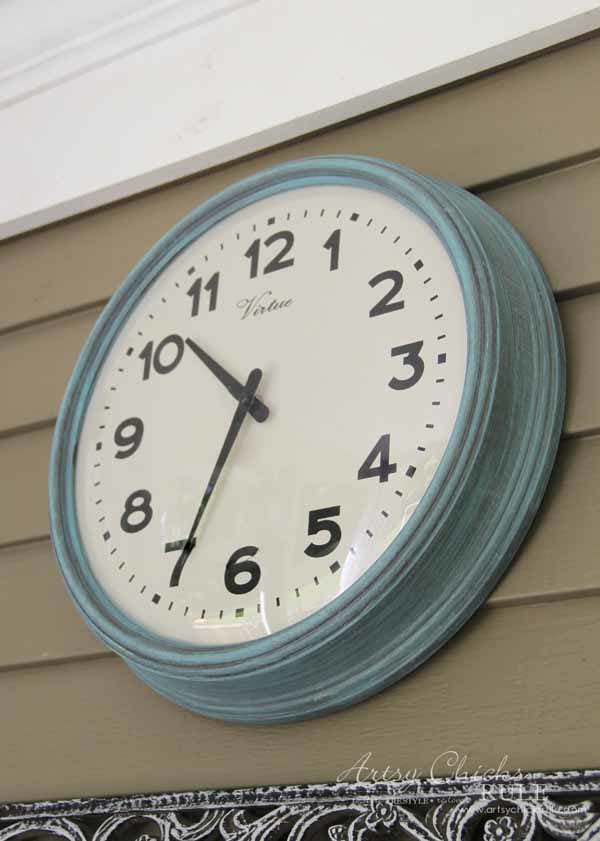
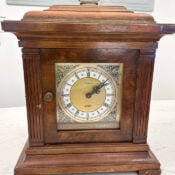
This clock was perfect!! Except it was a dark gray, not the color I wanted.
So I brought it home anyway and gave it a bit of dry brushing in a pretty blue color.
You can still see the gray underneath, which I love.
See more on this project, here >>> “Thrifty Screened Porch Decor”
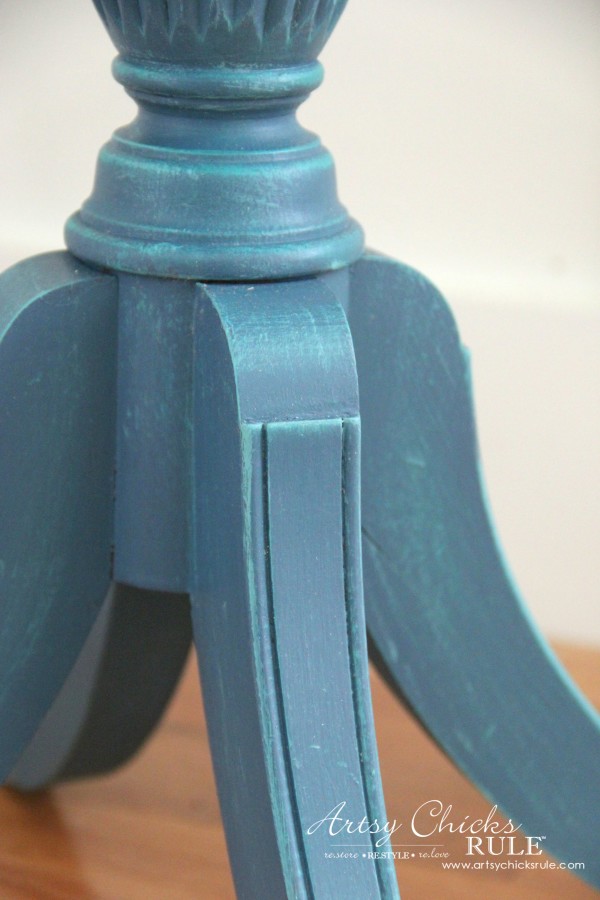
Another blue layered piece. So lovely!
See the details on this makeover, here >>> “French Round Side Table”
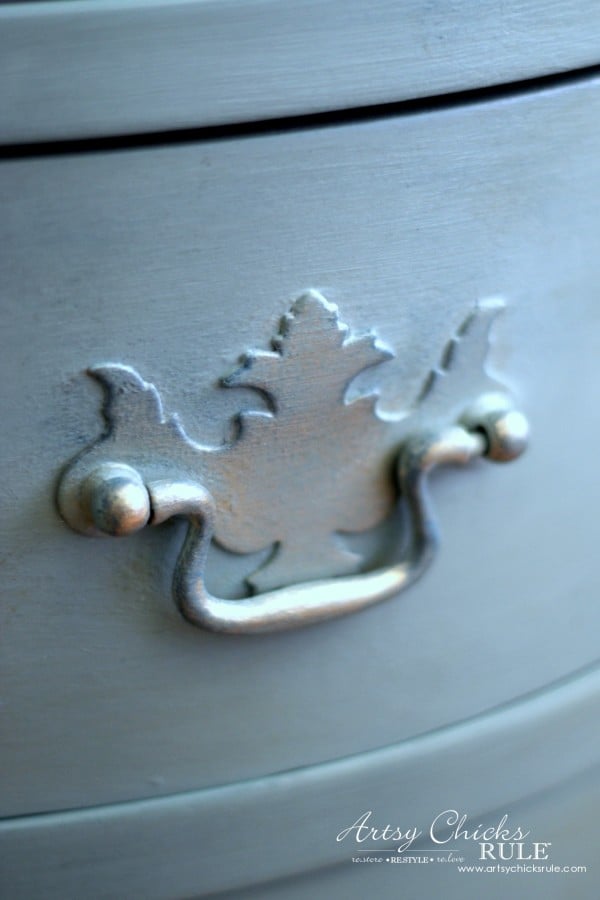
This secretary and handles got a bit of dry brushing, too. And wow, what a difference it made!
See the details of this makeover, here >>> “Secretary Desk Makeover”
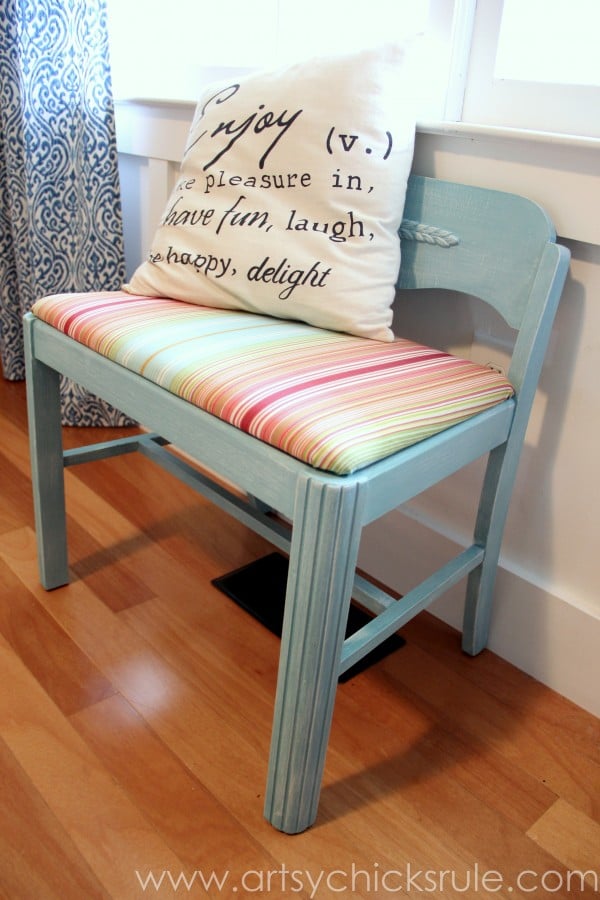
This pretty little vanity chair looks so much prettier with a bit of dry brushing, too.
See the makeover, here >>> “Vanity Chair Update”
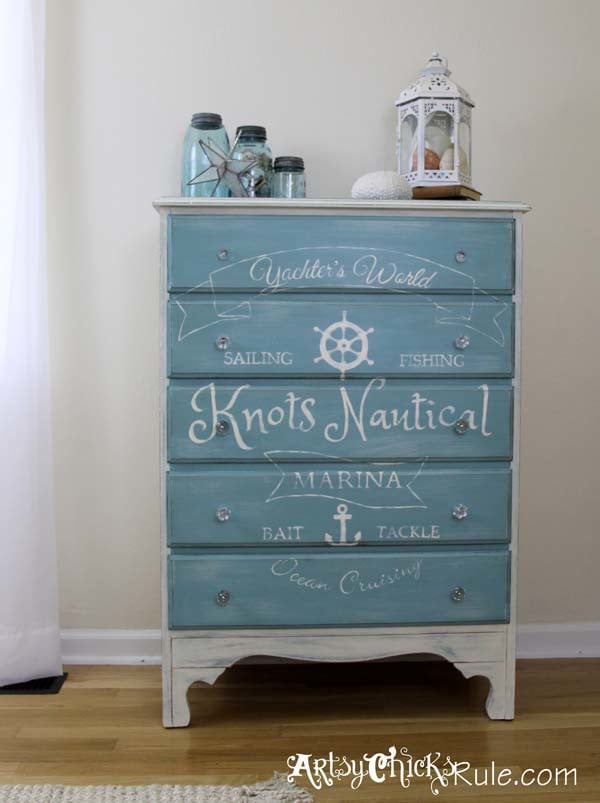
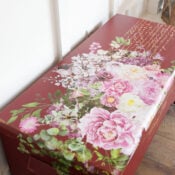
Even my “Knots Nautical” dresser got a little dry brushing effect.
See all the details of this fun makeover, here >>> “Coastal Themed Chest Makeover”
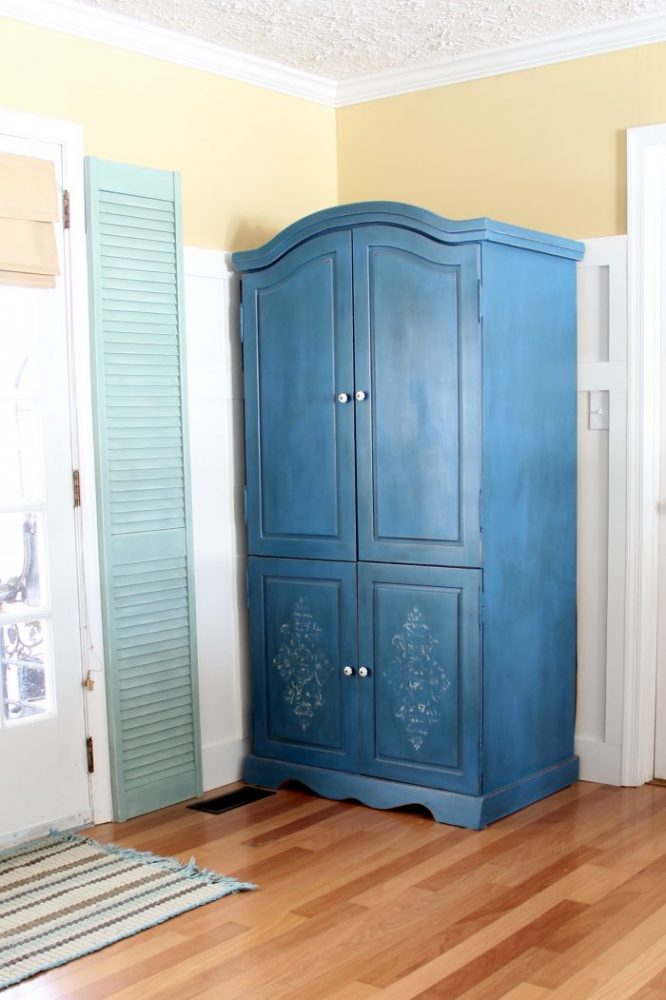
This blue armoire got multiple colors of dry brushing…and dark wax.
See the details, here >>> “Armoire Transformed”
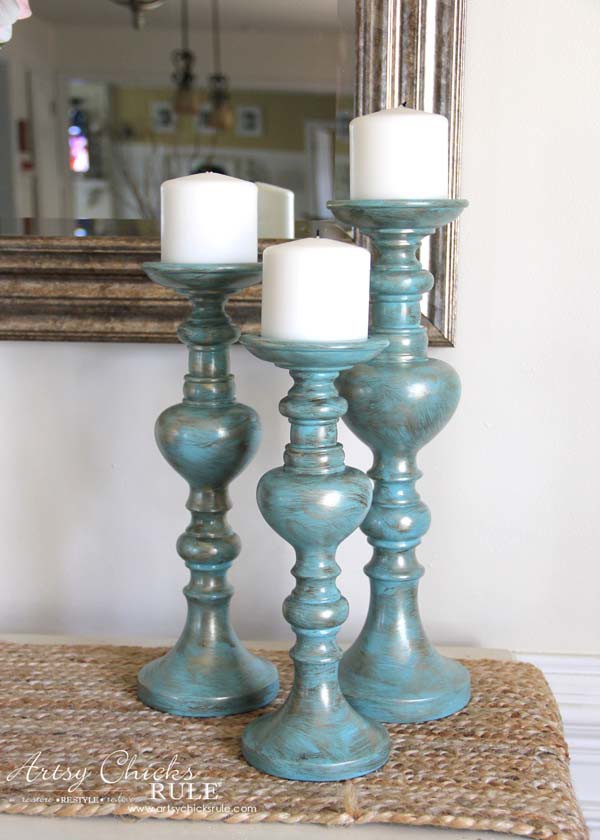
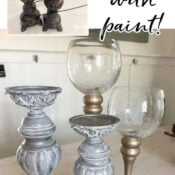
These candlesticks were so pretty….and SO blue! So I toned them down with a little dry brushing…but this time with gold and bronze paint.
See the makeover details, here >>> “Painted Candlesticks (instant elegance)”
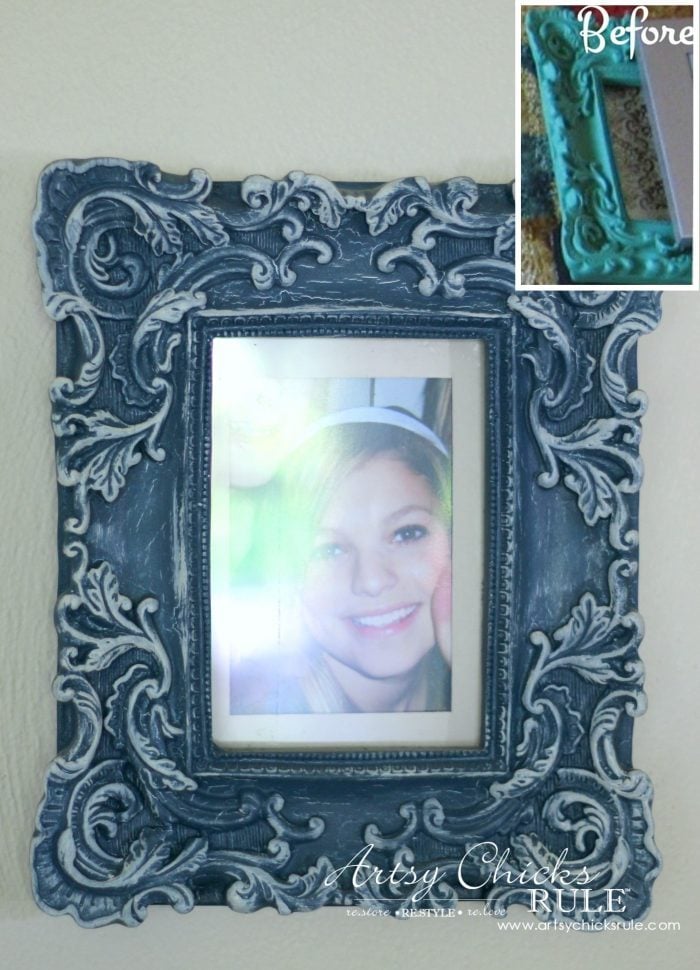
Have an old frame lying around? One that started out bright green like this one?
I gave it new life and brought out all those pretty details with new paint….and you guessed it, some dry brushing! lol
(that’s my pretty girl in the photo, btw)
Want to see more makeovers like this one? See this post here >>> “Chalk Paint, It’s Not Just For Furniture”
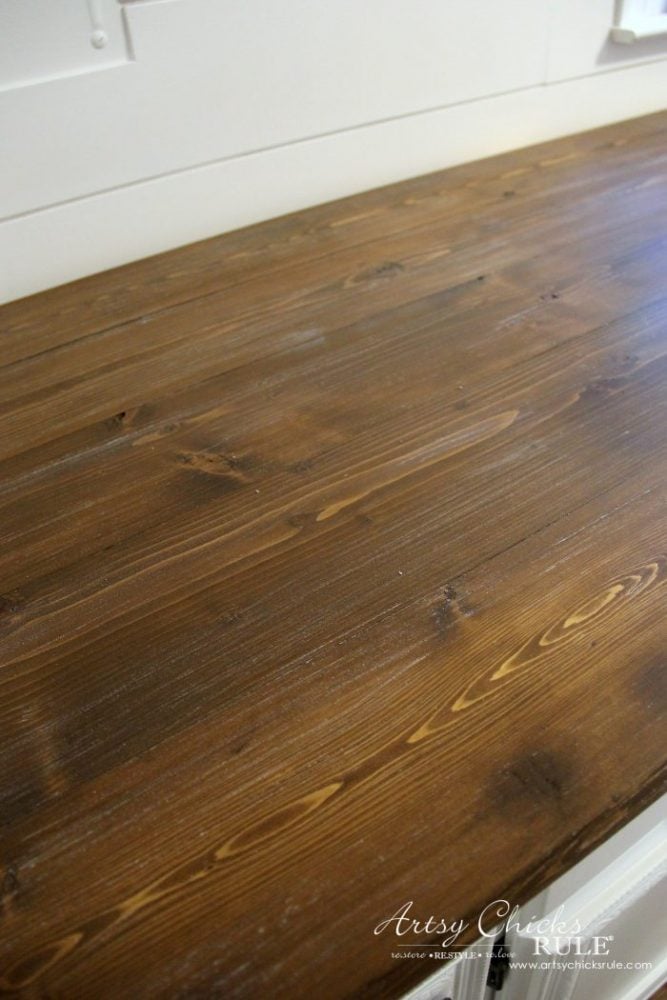
And I even added a bit of dry brushing to our DIY wood countertop in our newly renovated laundry room.
See the tutorial, here >>> “How To Make a DIY Wood Counter Top”
………………………………………………………………………………….
So, you guys, go get dry brushing! Dry brush it all!! ;) Well, don’t do that, but do try it if you haven’t yet.
It adds so much depth and texture and just brings out all those nice features that are sometimes lost in flat-colored paint.
Here’s the video I made on “How To Dry Brush”:
(to watch ad-free, click here)
Want to remember this? PIN it to save it for later! :)

If you have any questions at all, please don’t hesitate to ask. :)
More posts in the “back to basics” series:
- How To Create Faux Verdigris (and video)
- How To Create Faux Patina (and video)
- How To Dry Brush (you are here!)
- 26 Different Types of Chalk Style Paint
- Pros and Cons of Chalk Paint For Furniture
- 5 Top Ways To Seal Chalk Paint
- How To Chalk Paint Furniture & More!
- How To Transfer Images
- How To Import Images Into Silhouette
- How To Restain Wood Without Stripping
- How To Use Gel Stain
- How To Bleach Wood
Hope you have a wonderful weekend friends!
xo





What a fun way to start my day Nancy! I thought I knew dry brushing yet I learned more here. Yay Nancy! :) I like that you have your original paint color on hand to modify your dry brushing if you think it is too heavy. Sweet of you to do make this video. I really appreciate it.
Have a great weekend.
Yay, thanks Christina! :) So glad you found more to learn about it!! That’s awesome. :) I know I’m a visual learner, so it’s always easier for me to see it in action. I am not a direction reader!! haha I have no patience for that! ;) I will tackle something and then if it doesn’t work out…resort to directions. Probably not the best way. But I figured there might be others like me…so am trying to add a video here and there on some of my most used techniques/processes here. Hope you have a wonderful weekend too! xoxo
Great video! Thank you so much for sharing.
So glad you liked it Michele! Hope it was helpful to you. :) xo
Great video! Thanks for sharing. It really helps a lot to see how it’s done. I do better with a visual than just reading about it.. Going to give it a try.
You are very welcome Debra and thank you! :) xo
Hi, I’ve been trying to download your ebook and watch videos but I already have an audible account and the links to the videos won’t work for me.
Hi Karen,
I would love to help you out but I’m not sure I understand. There is an autoplay video box in each post as well as the video box for this particular post that all you have to do is click play. I’m not sure what links you are talking about?
Wondering if you knew how they paint all those soft colors onto metal lamp bases
( nightshades) and what is used?
No, I’m sorry, I really don’t! I’m guessing any regular paint would do though.
I’m fairly new to DIYing and this “simple technique” was so helpful. I love thrifting and this will even make it better ❤😁
I’m so glad to hear this! Have fun! :)