Old Crate Makeover For An Updated Look
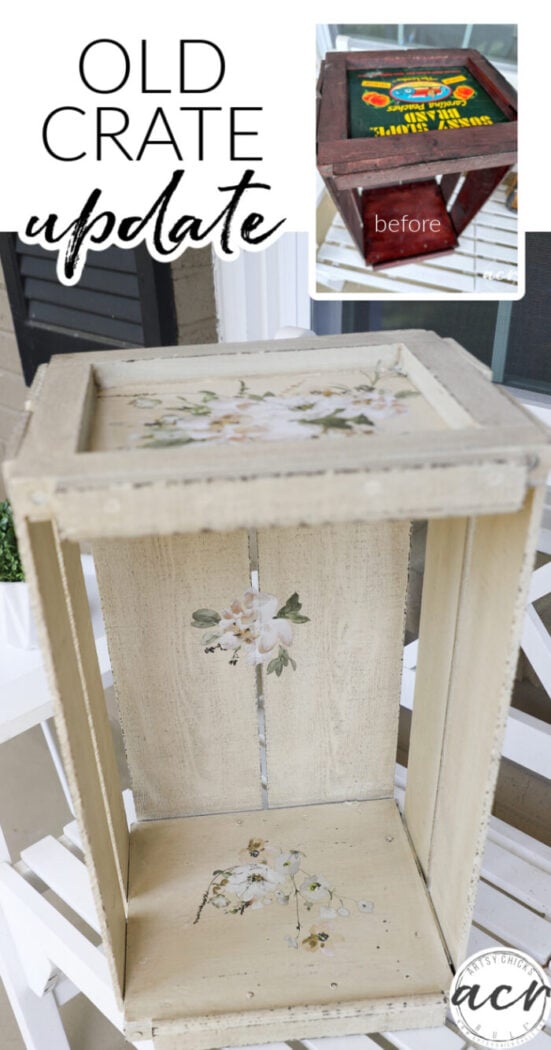
Check out this old crate makeover for an updated look! Or maybe more of a “new” old look. Easy with the right products!
Hello sweet friends! Today is Trashy Treasures Tuesday and my friends and I are sharing our treasures! If you are new here, we get together and share our latest makeovers with all of our readers on the second Tuesday of every month. Be sure to scroll all the way to the bottom to see theirs.
I hit the thrift stores last week and found so many smalls! If you follow along with me on Facebook you might have seen one of my posts about it. You can see it here.
Here are all the things I found:
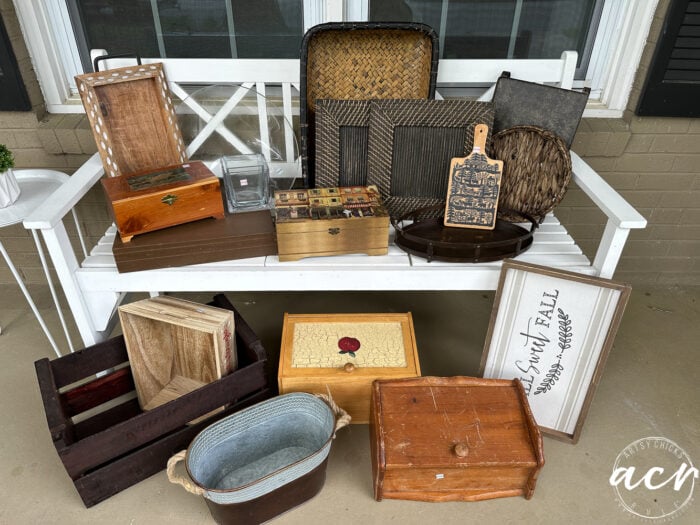
I can’t wait to make a bunch of new pretty things with all of this!
Today I’m sharing the old crate makeover and how I updated it to look completely different.
Old Crate Makeover For An Updated Look
Honestly, I should have titled this, “Old Crate Makeover For A “New” Updated Look, because it actually still sort of looks vintage.
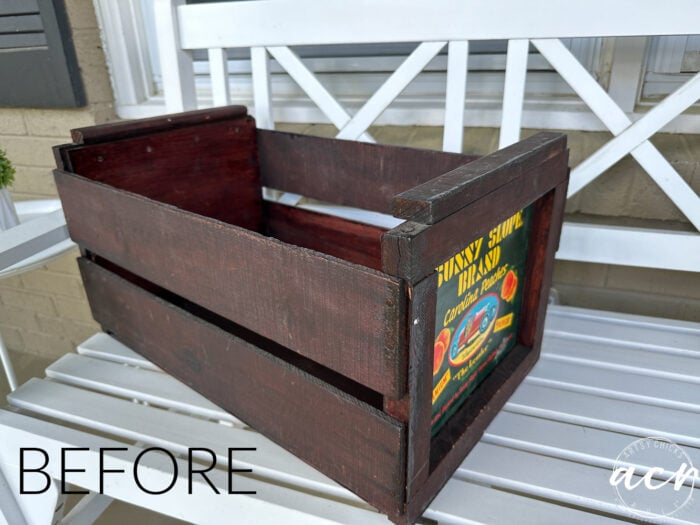
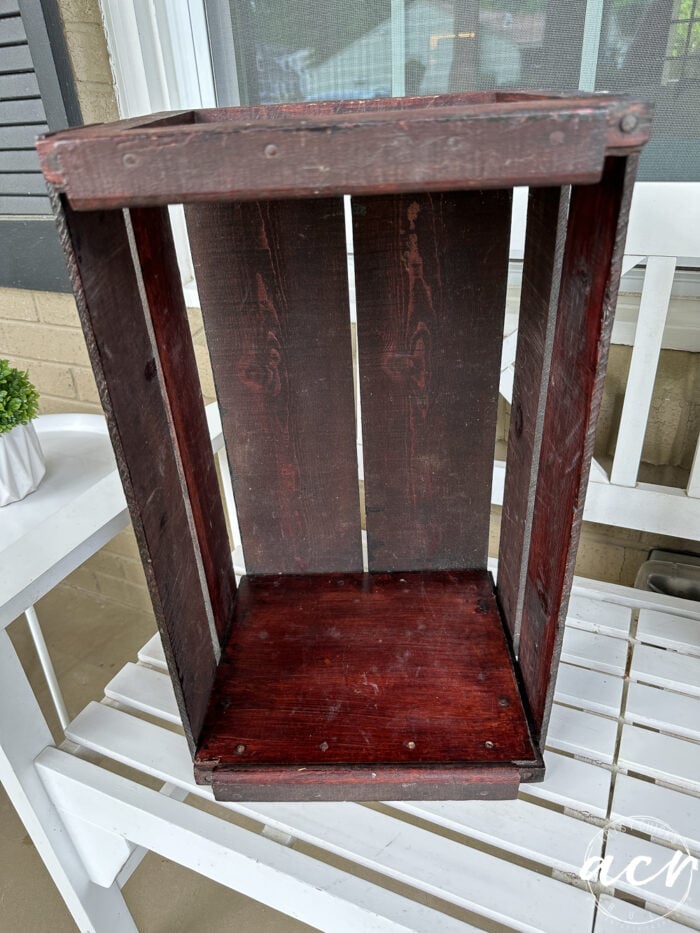
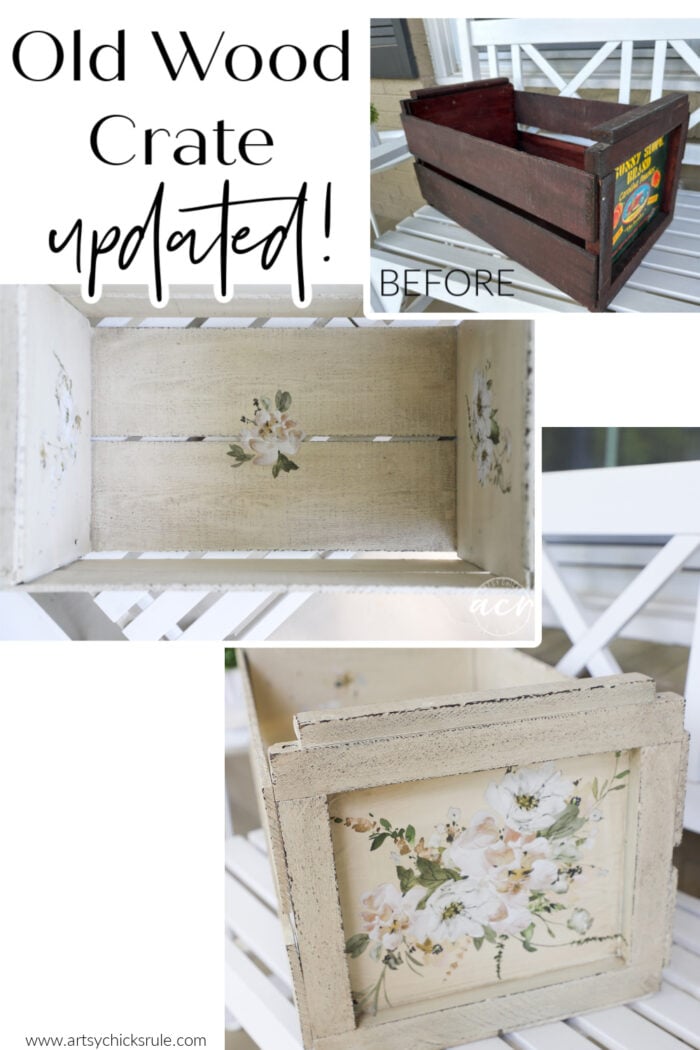
Before…
PAINT
I cleaned it up and painted it with Limestone. A warm white shade. Two coats.
You can see some of the lettering imprints of this “peach crate” although I didn’t notice it until I painted it. It was just stained dark with, I thought, no lettering on the sides.
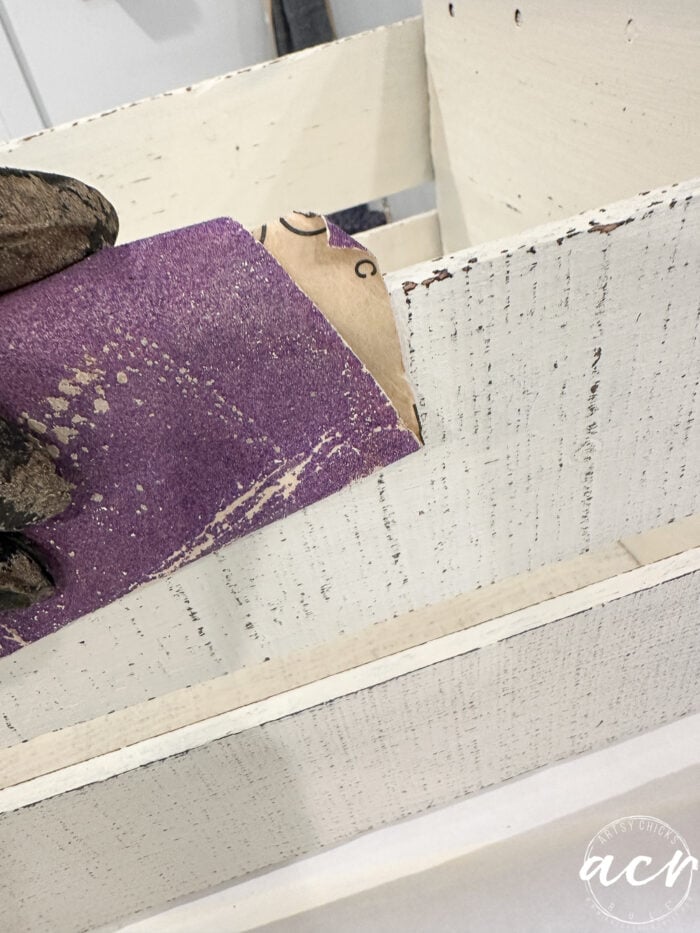
SAND
Next, I sanded the whole thing to bring that dark stain back through. There was just so much amazing texture, I had to do it!
STAIN
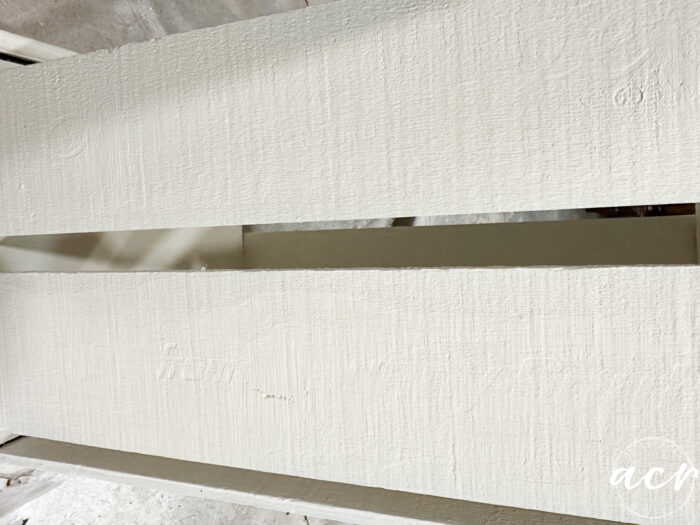
Then I used our Driftwood Stain & Finishing Oil to lightly stain it all over.
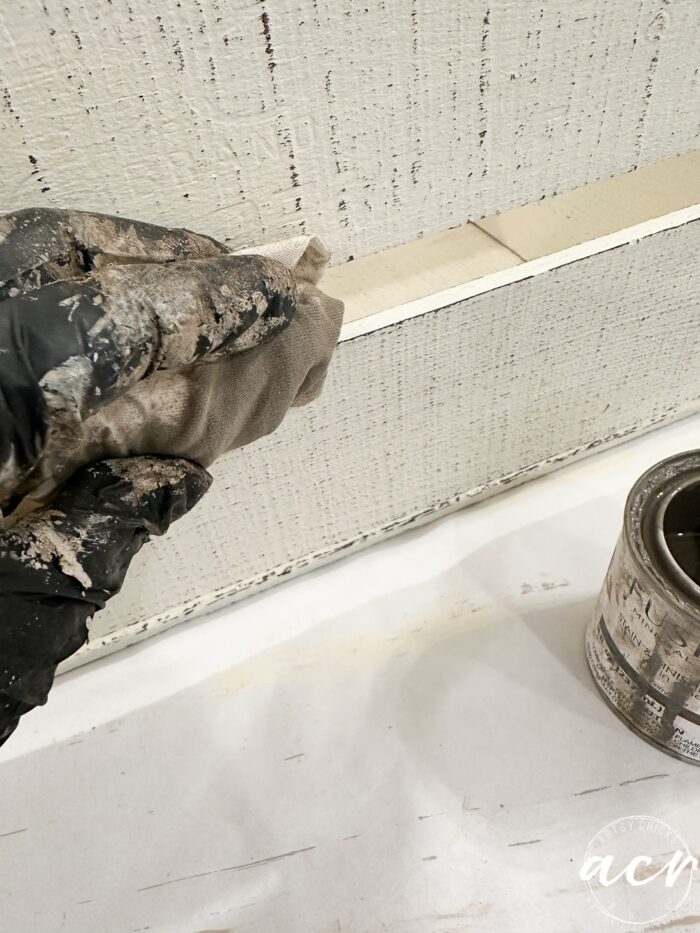
I didn’t want it dark so I wiped it on, then wiped it “off”.
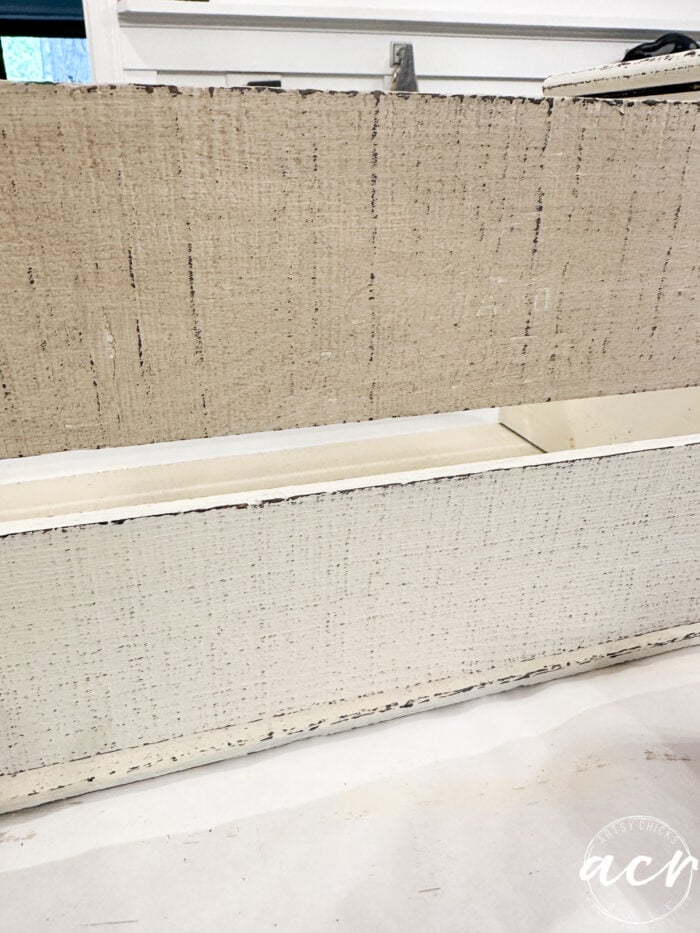
You can see how different it looks top and bottom. (bottom is just paint)
MATERIALS LIST (OLD CRATE FOR AN UPDATED LOOK)
Prefer to shop on Etsy? I have an Etsy shop also, here!
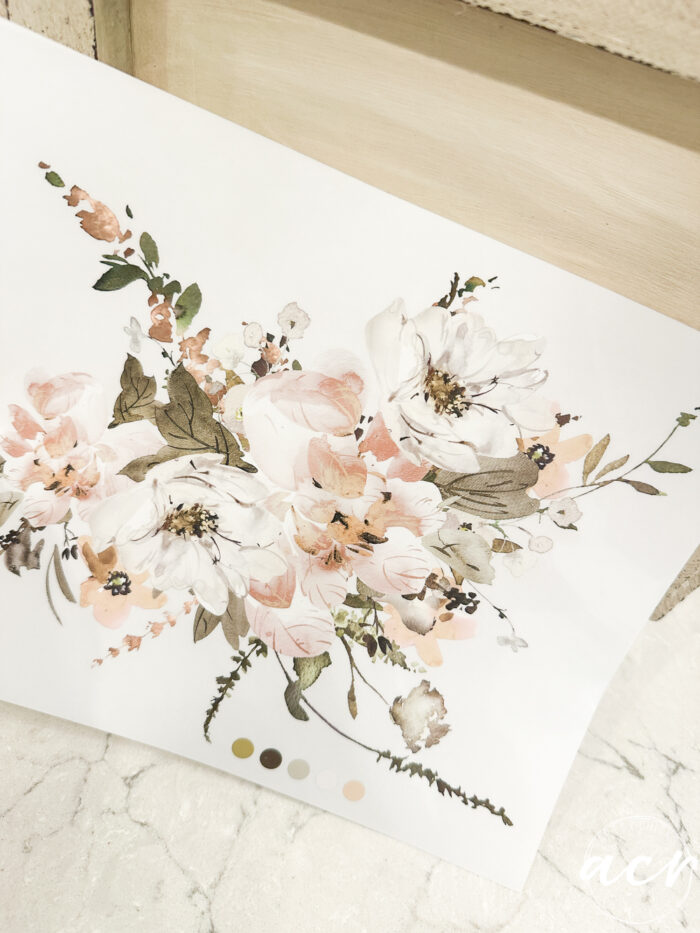
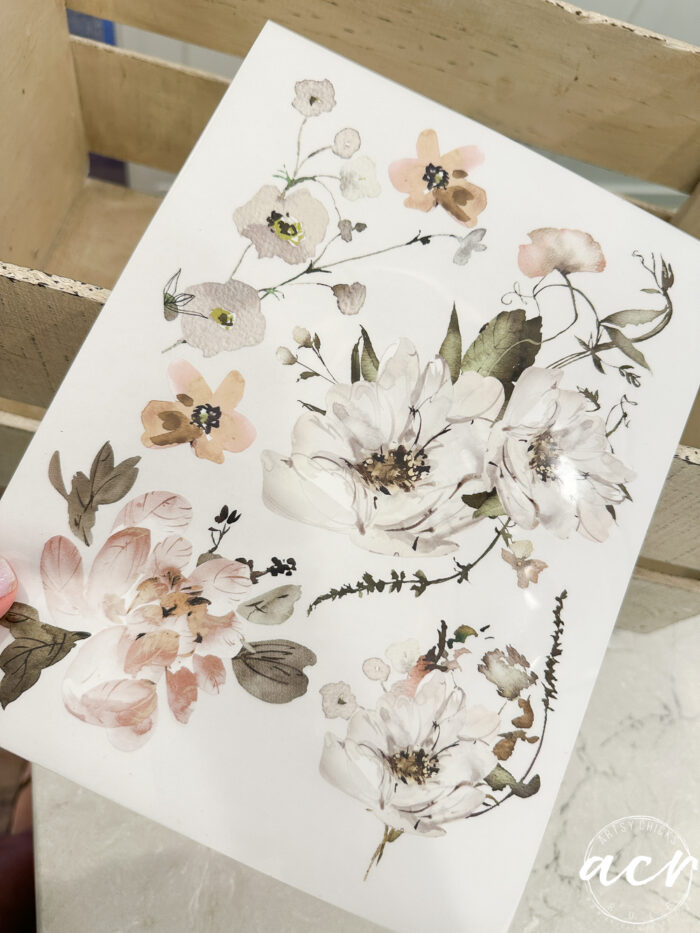
Transfers
Want to know all the “ins” and “outs” of using transfers? Check out this in-depth post I wrote about it here >>> How To Use Rub On Decor Transfers
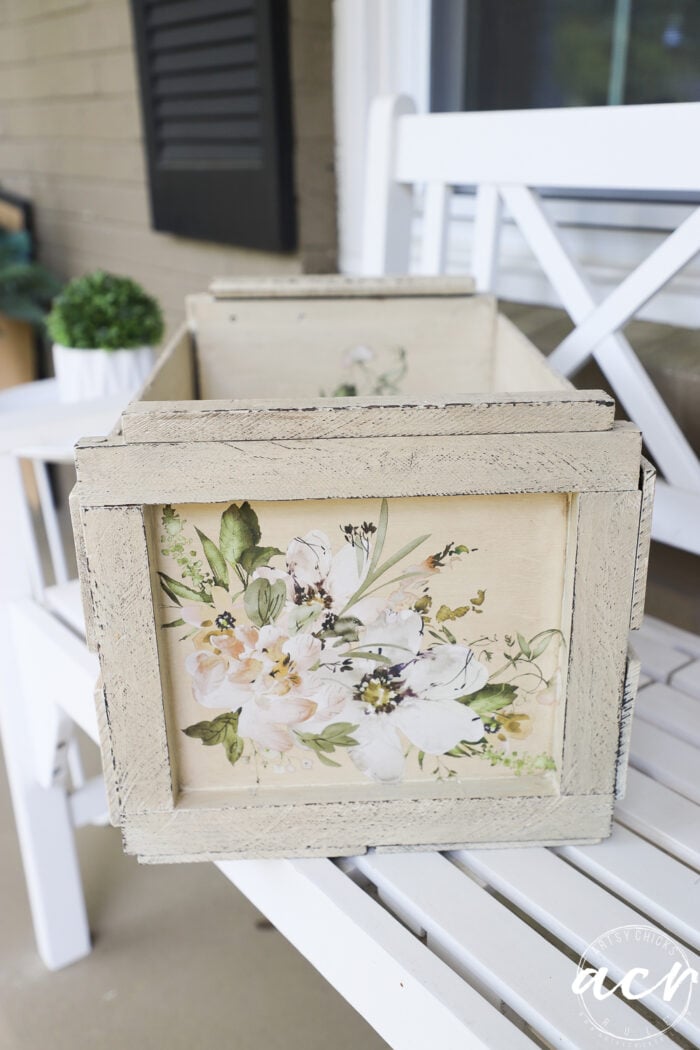
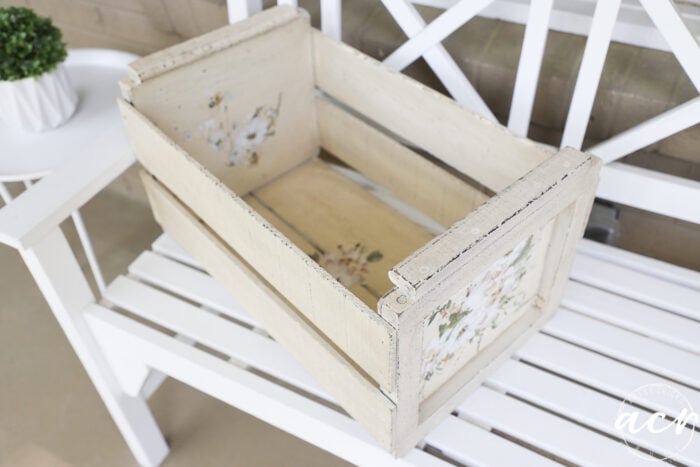
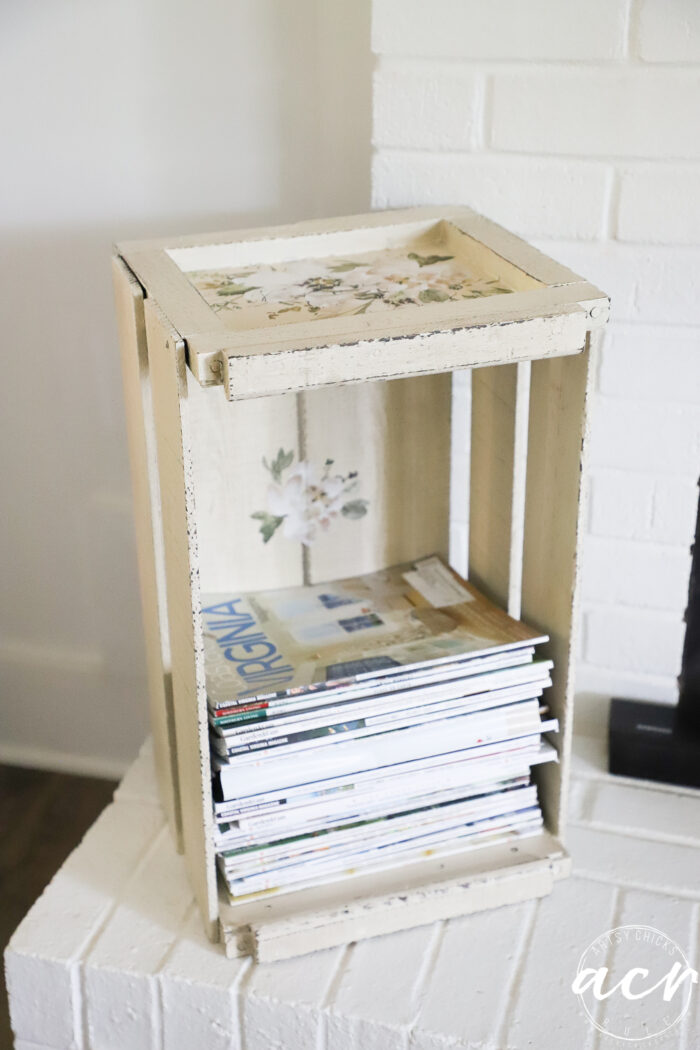
To finish it, I added these pretty transfers.
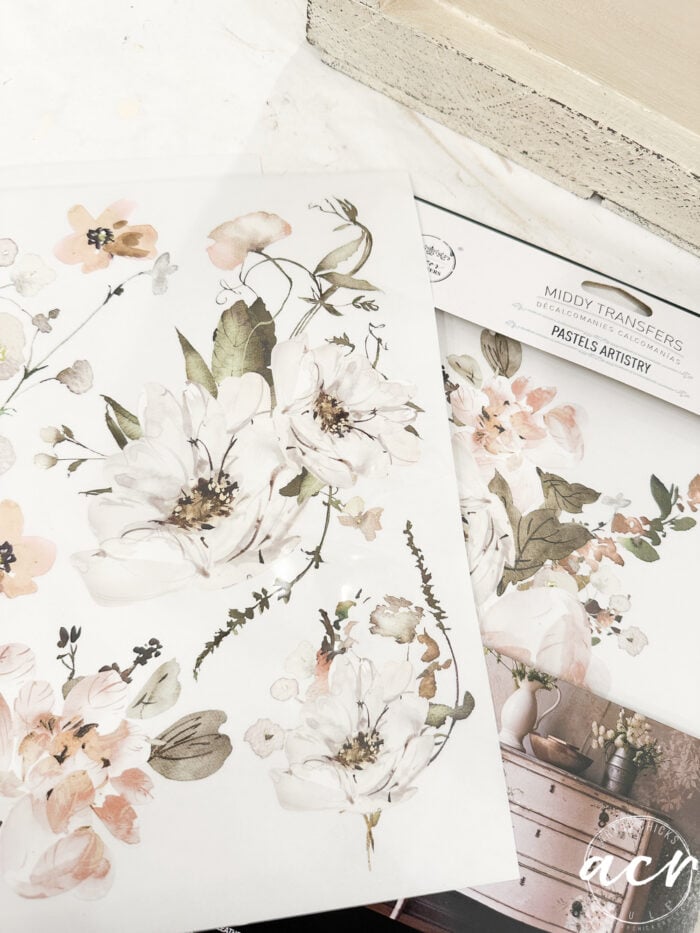
It seemed like a perfect fit for the “new” crate.
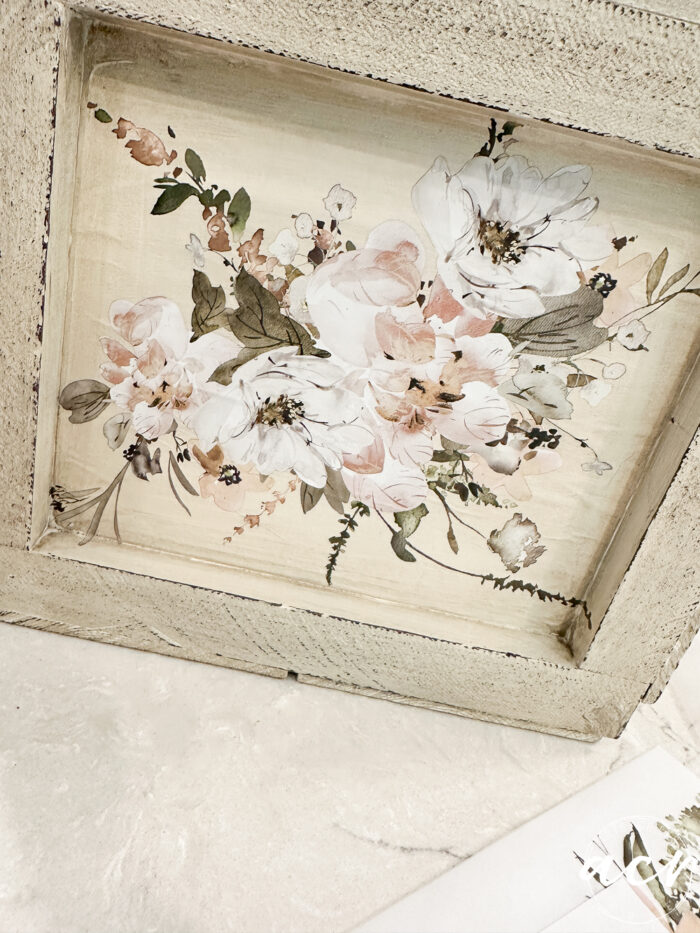
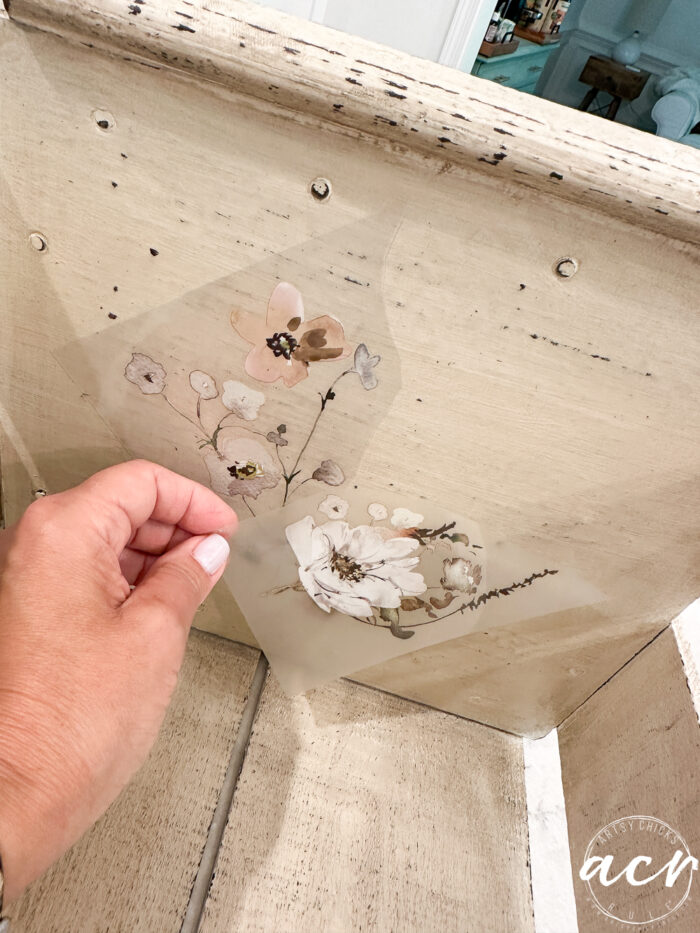
I put the large ones on the ends.
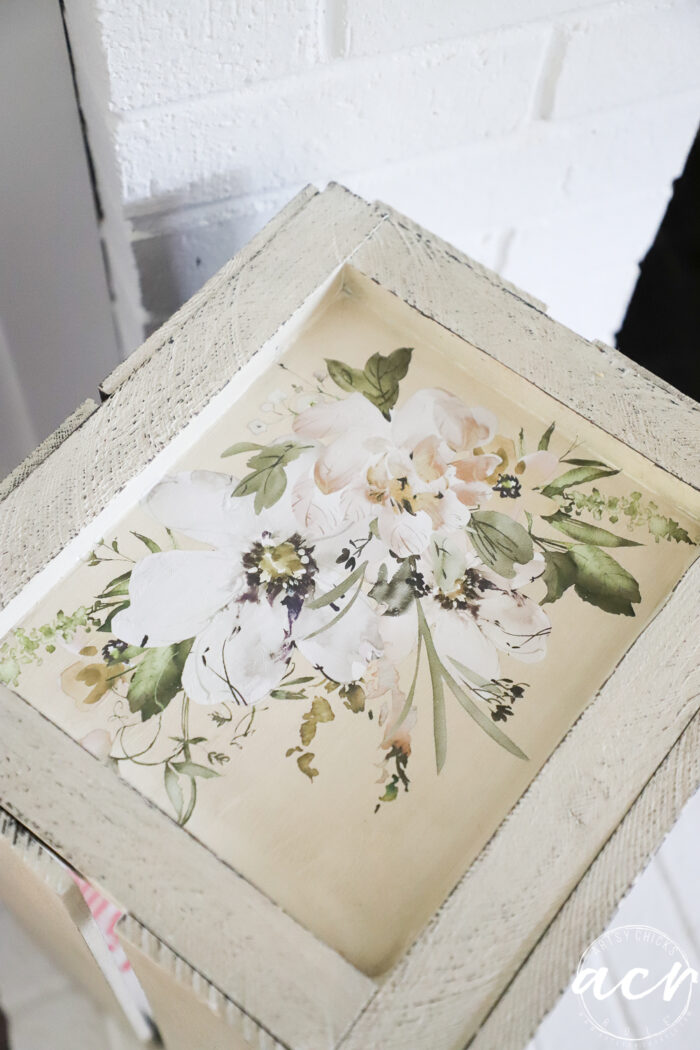
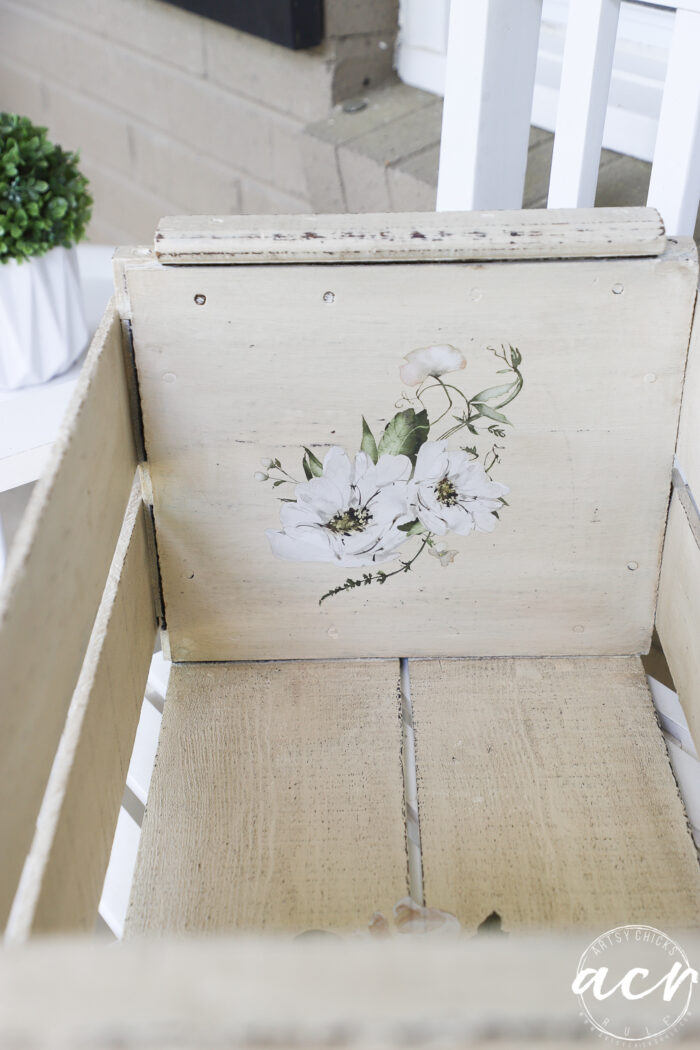
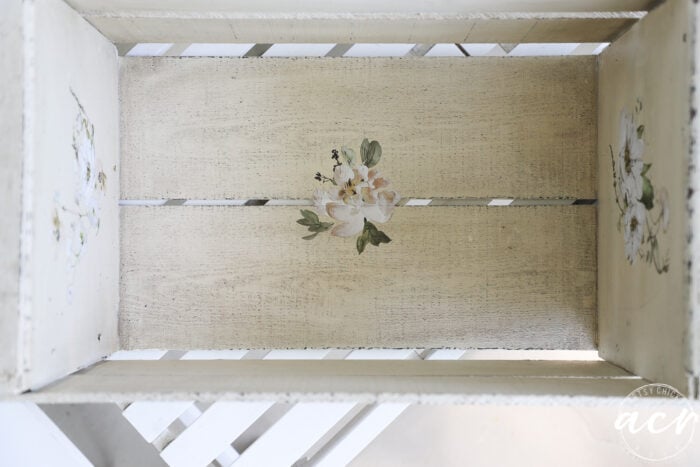
And then decided to use the rest of the singles pieces on the inside.
I cut them apart to better figure out the best placement for them.
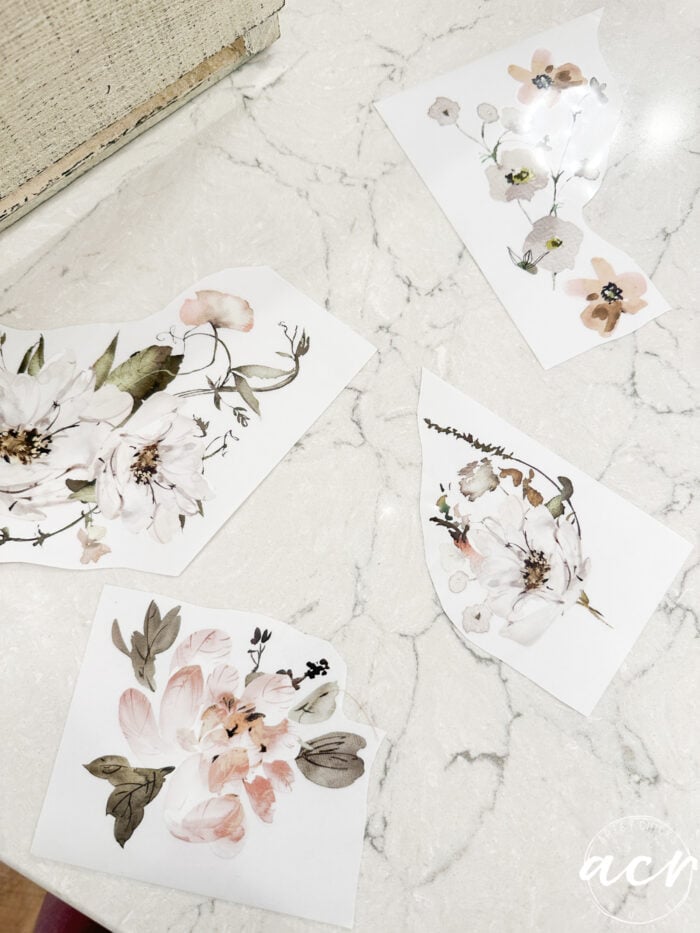
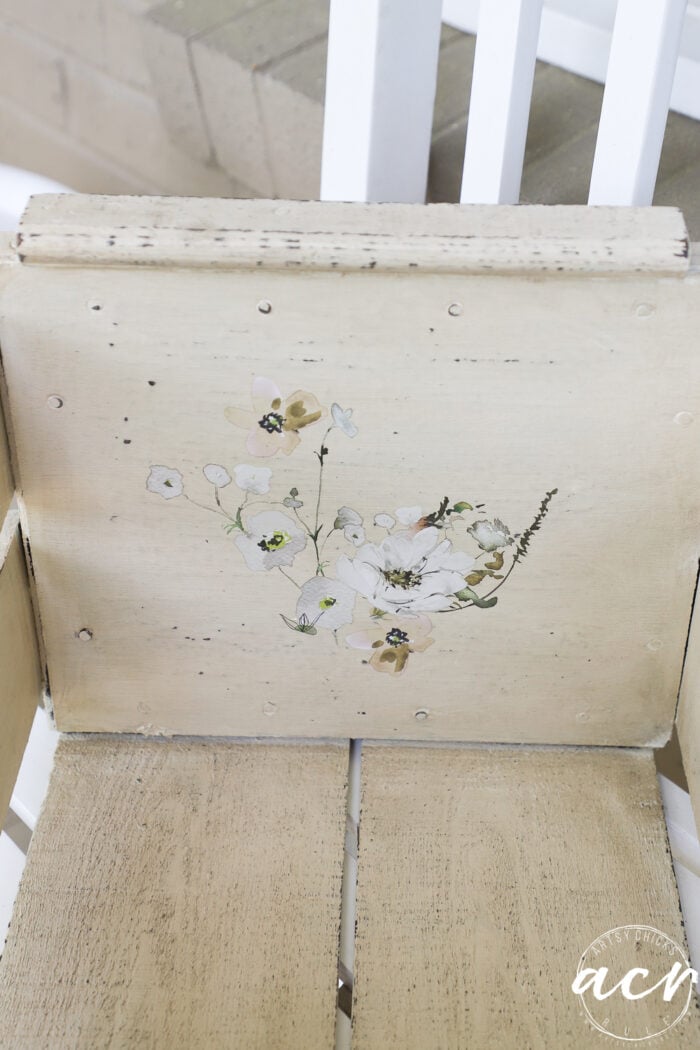
One bunch went on one side. And the other I ended up putting two together to make a “bunch”.
Then I used the last flower in the bottom center.
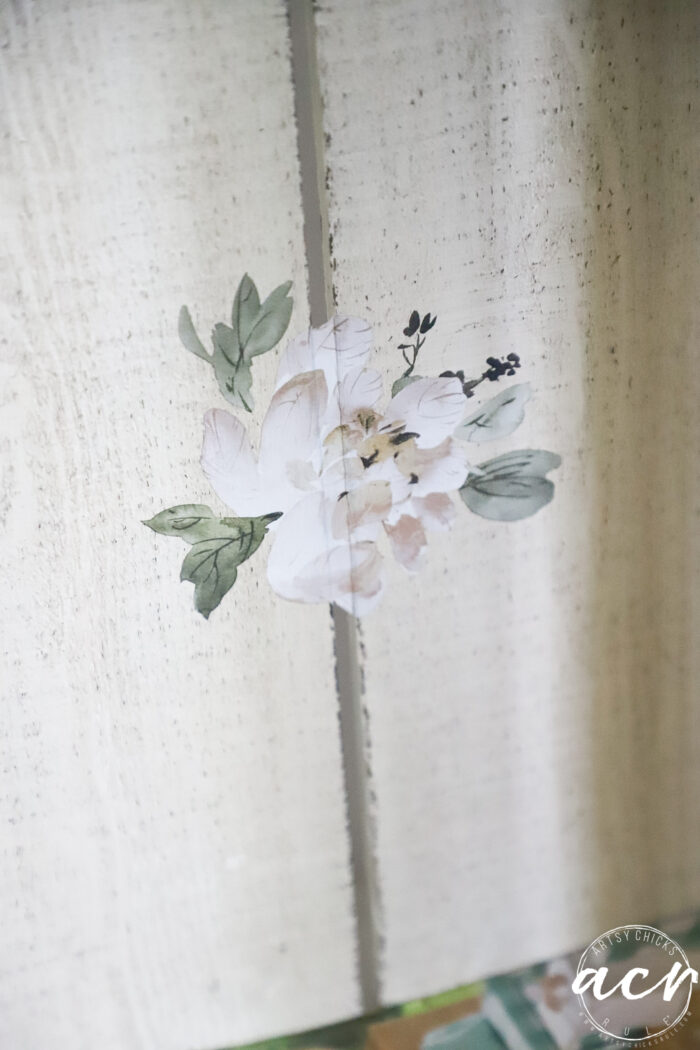
Yes, it goes across the opening. I pushed hard to seal it well to the edges (and hard enough to break it but it didn’t break) so I left it! I figured if (or when) it does, it will just go along with the vintage-y look it has.
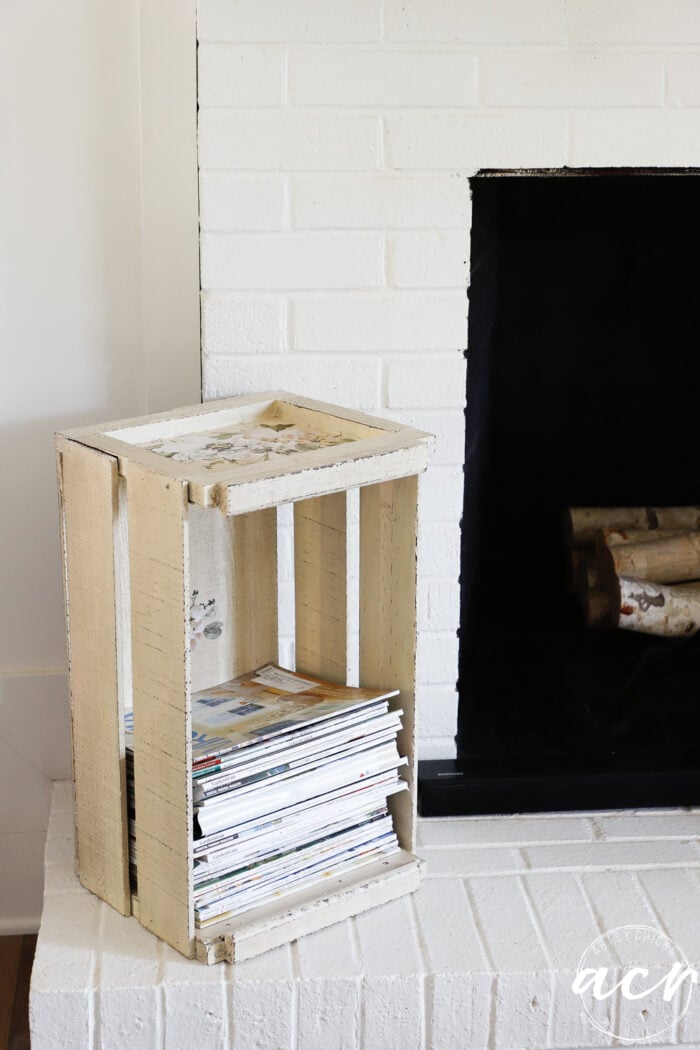
I love how it turned out!
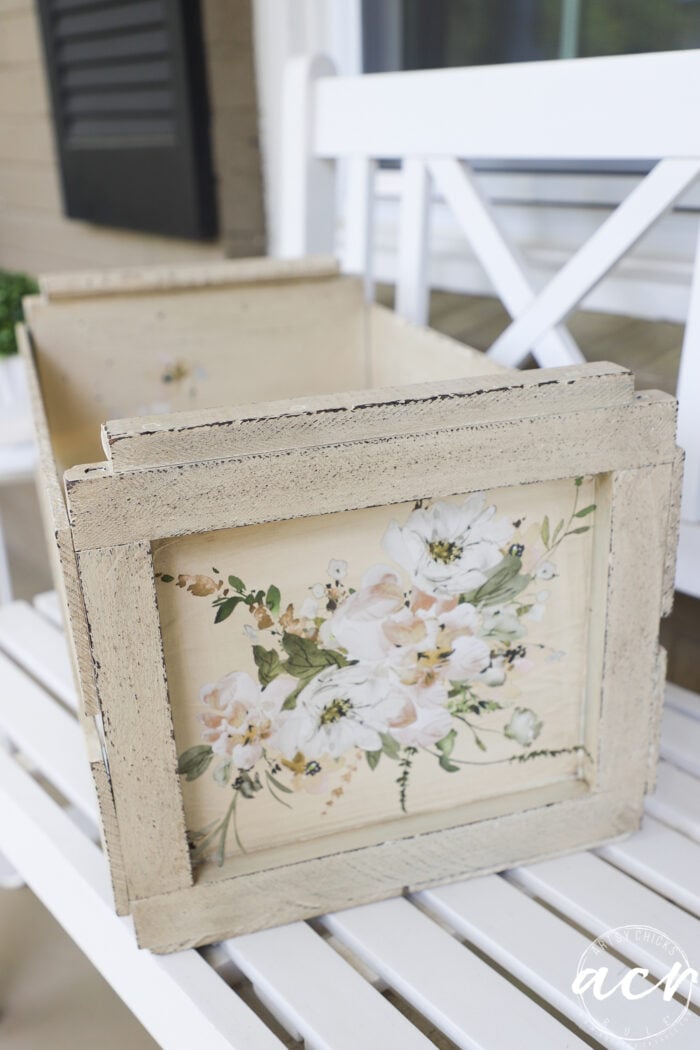
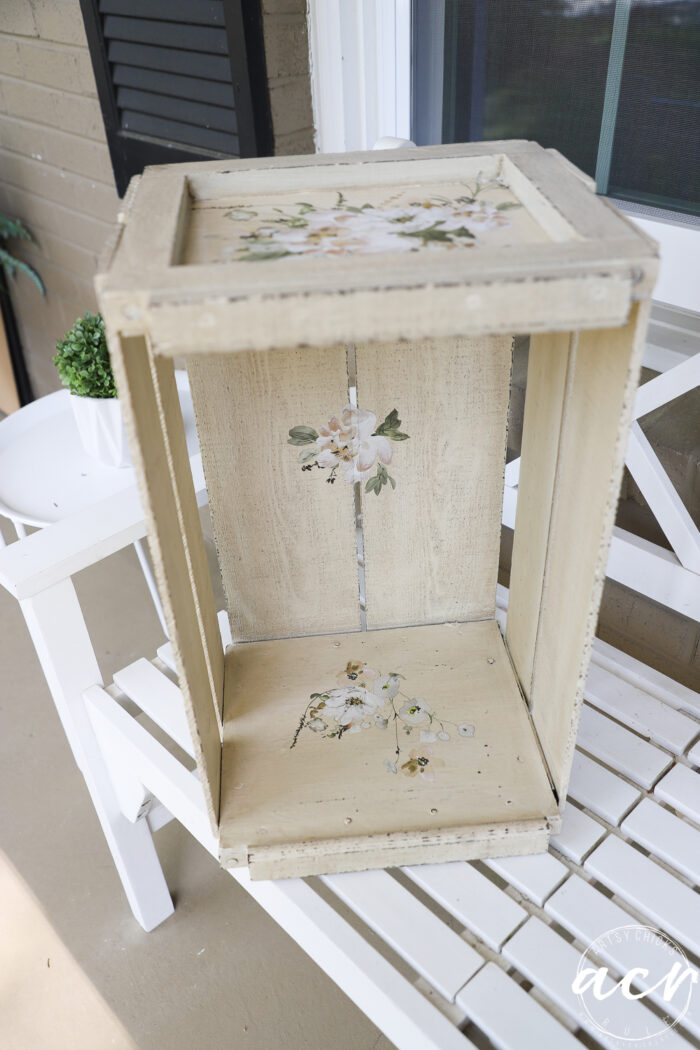
How fun is that?? Completely, different look, huh?
So many things you can do with these old crates!
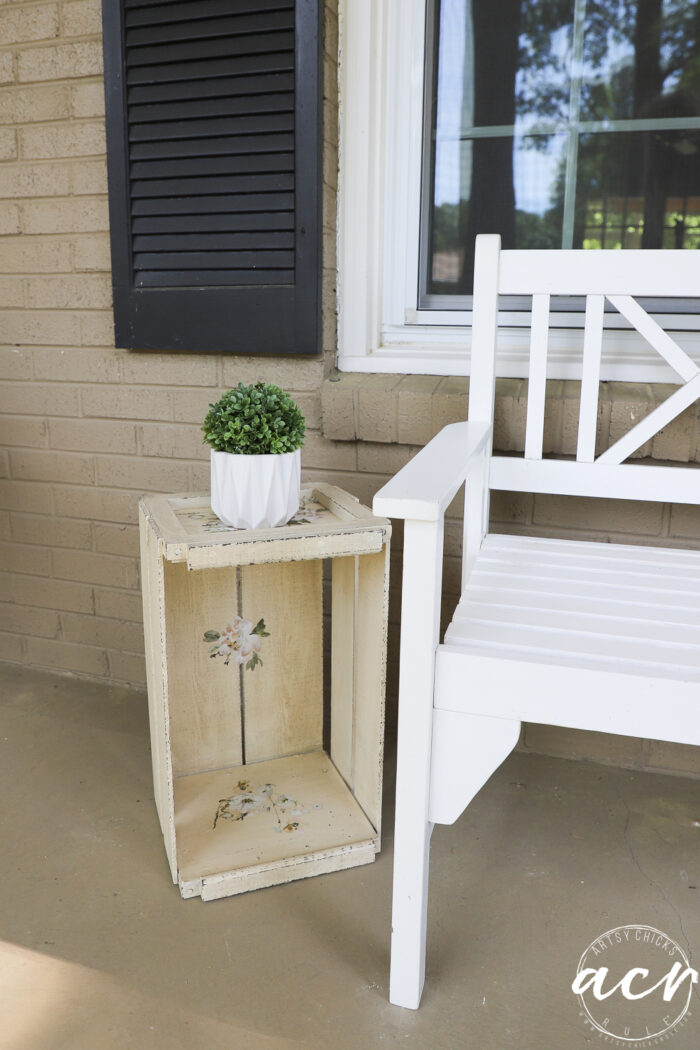
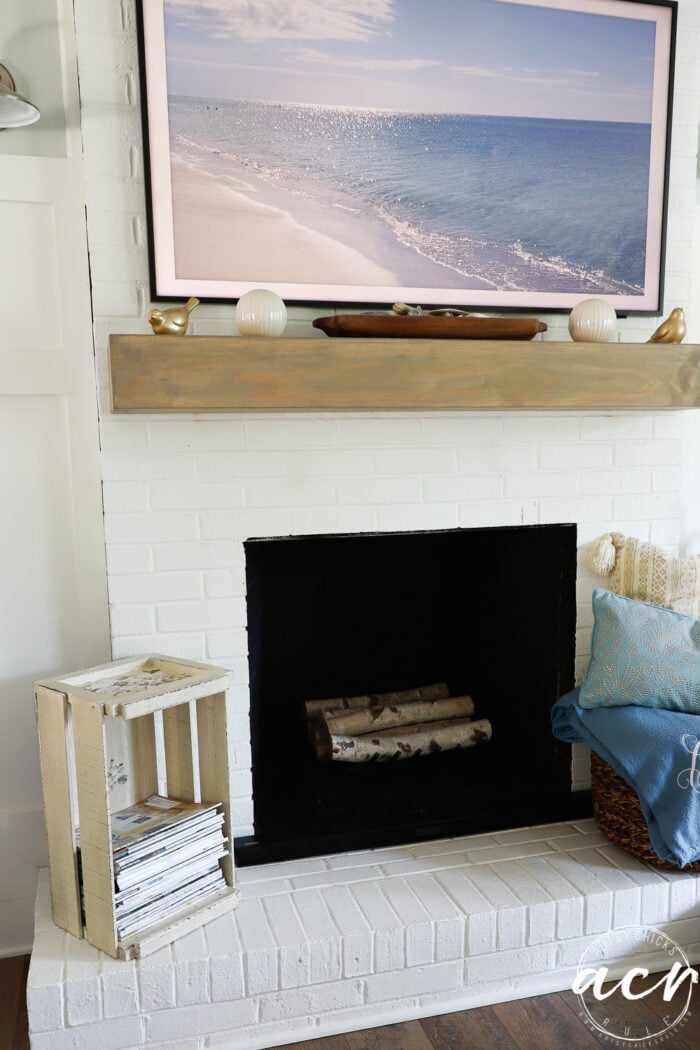
How about on the porch as a side table? Or put a plan on the top and bottom and use it as a plant stand.
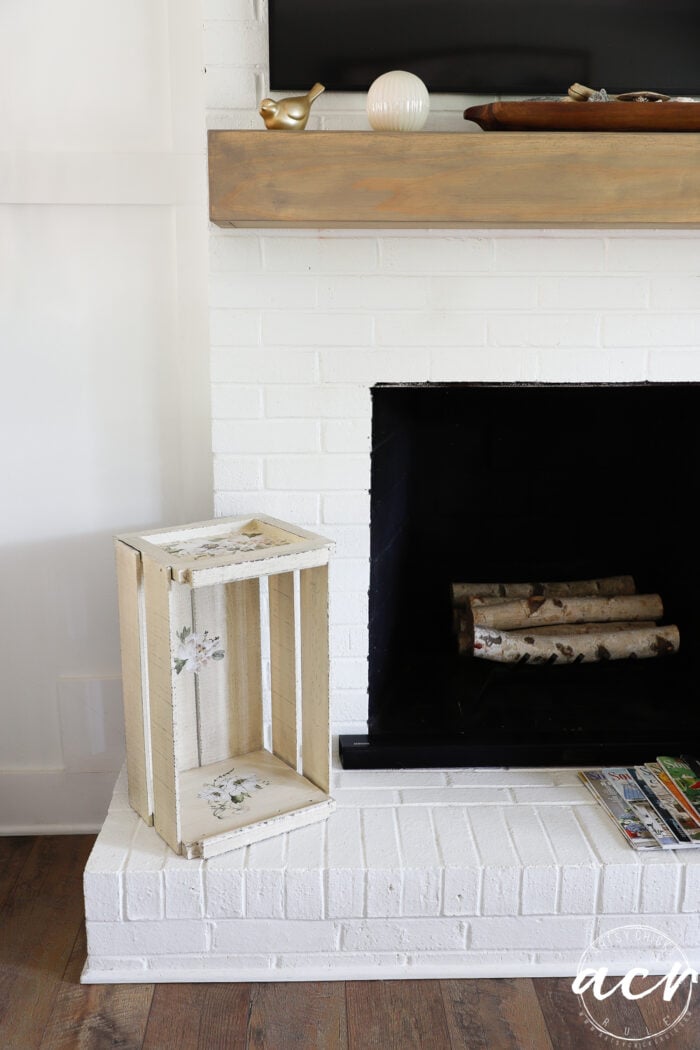
I use an old crate in our morning room to hold magazines (and a drink if you sit in the chair to read, etc). The magazines are stacked inside the crate. This photo doesn’t show that angle.
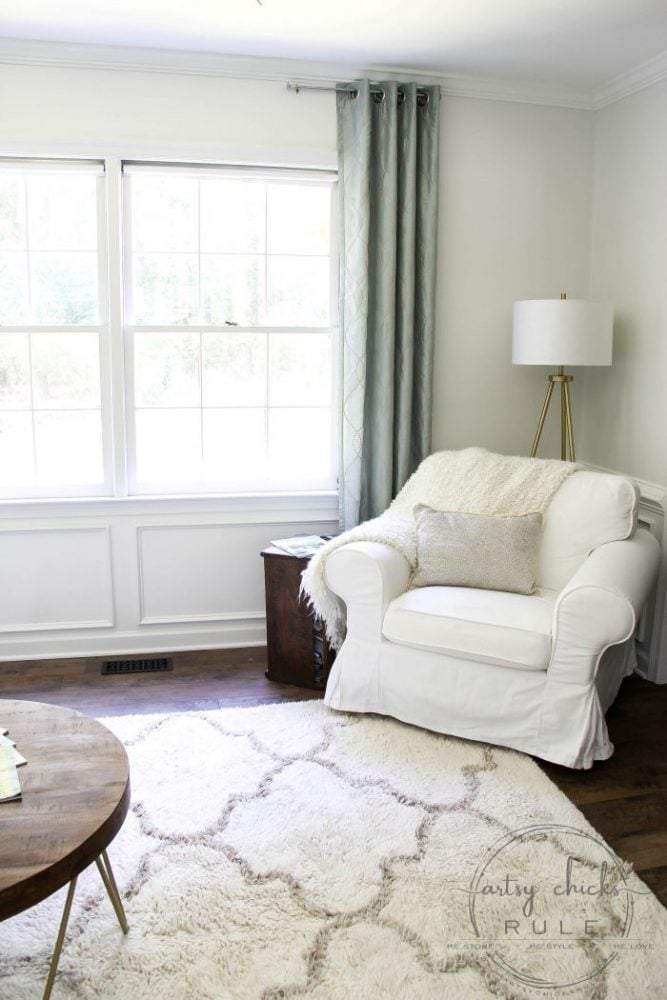
Sort of just like this…
They are the perfect side for holding magazines.
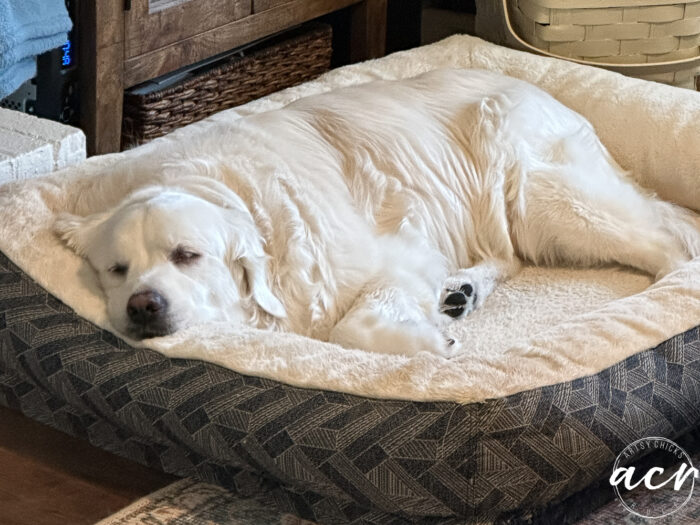
Meanwhile…this one was actually sleeping IN his bed!! haha! He’s usually sprawled out everywhere but his bed!
Piper came running in and had to jump in with him. lol
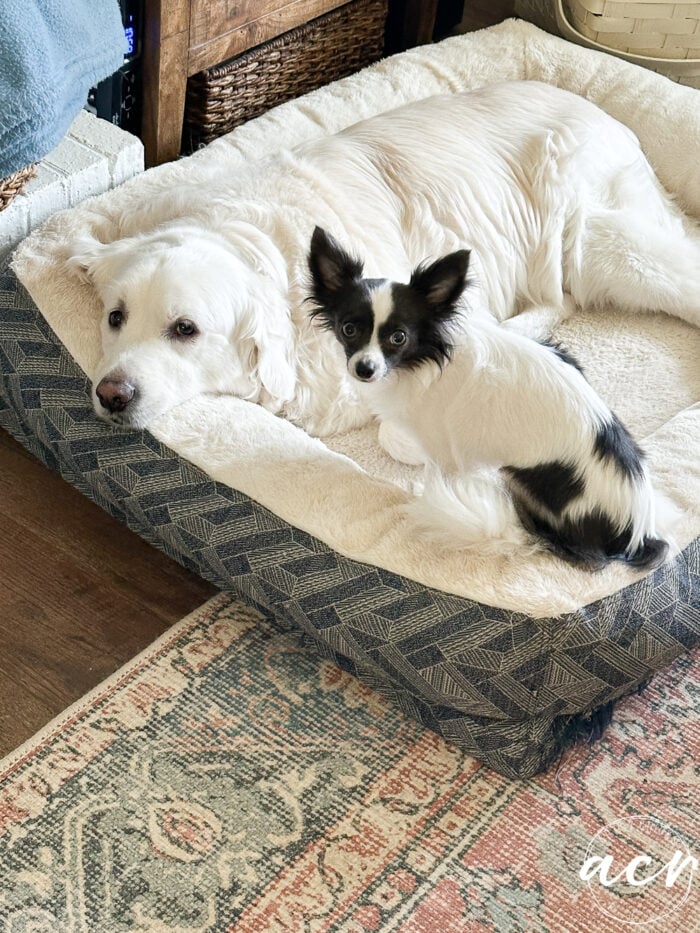
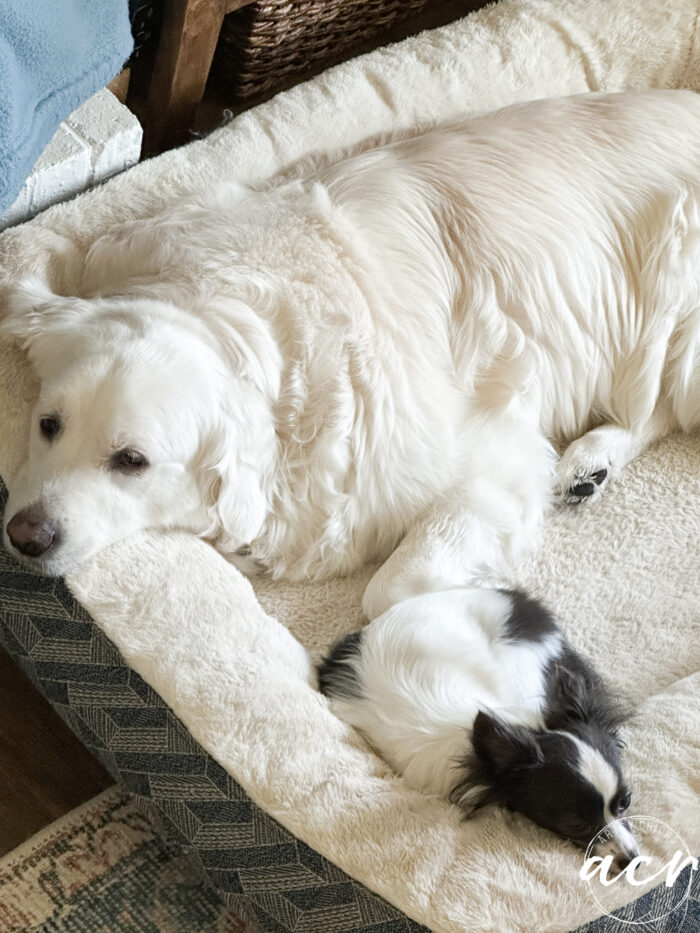
So sweet. Love my puppy babies!
I hope you enjoyed today’s crate makeover! It was fun to do!
PIN it to save it!
Don’t forget to pop over and check out all of these!
Have a beautiful week, friends! Oh, I finally finished that large piece I was working on. Yippee!! I’ll be sharing it soon, maybe on Thursday!
xo


")
")


It has a fresh, new look now. Yay!
Thanks, Larissa!! Yes it sure does! xo
Oh I really like this makeover, Nancy! I think those transfers are dreamy – love the calm, subtle color combos in it. SO pretty. And those pups – oh my gosh isn’t that the cutest thing ever?
Give them pets and treats from Auntie Shell! ♥♥
Thanks so much, Michele!! And you’ve got it, will do!! xoxo
This turned out so beautiful Nancy and your fur babies are ahhh-dorable! Pinned! XOXO
Thank you, Denise! xoxo
So pretty and useful, too!
Thanks, Lizzy! Yes, it really is! xo
This looks great, Nancy! That transer fit perfectly on the sides! Love it when you feature Ryder and Piper! They look super comfy!
Thank you, Audra! Yes, it did, that worked out so great! And yes, they are the real stars of the show, for sure! :) xo
Really nice makeover! The stain and transfer are great together. Just like your fur babies! Love to see those cuties!!
Thank you, Nancy! The stain works so well with paint, love it! Aw, yes, they are besties!! xoxo
WOW! Not only do I love the finished product, what an original idea for using it! Just amazing!
Thank you so much, Marietta!! xoxo
I’m so glad you showed it on your porch because you can see how large it is! It turned out so pretty and is perfect holding your magazines…I can never seem to part with mine! XOXO
Yes!! Very useful!! I have had mine (the other one I mentioned) for a few years now to hold magazines (same, I have too many!!lol) and act as a side table. It’s perfect for that really. Thanks, Christy! xoxo
Hi Nancu?! I love how you staged it with magazines. So cute
Thank you, Cheryl!! These old crates are perfect for that! :) xo
What a lovely effect you gave that old crate! It looks perfect and I bet it’d sell in a minute. Good job — of course!
Love those fur babies, too. Give each a smooch on the noggin for me.
Thank you, Caye!! And absolutely I will!! xoxo
Nancy,
I love how the crate turned out! I have two English Cream Golden Retrievers who look very much like your sweet boy!!
Colleen
Thanks, Colleen!! And aw, love that!! Two is even better than one! :) xoxo