How To Use Rub On Decor Transfers (Tips & More!)
How to use rub on decor transfers, furniture transfers, for furniture, tables, home decor items, crafts, and more! All the tips and more!!
Hello dear friends!
Today, I’m going to be talking all about furniture transfers and how to use them. Now, I call them that but they are so much more. They are better described as “decor” transfers because you can use them on so much more than furniture.
I hope this post will be a source you can look to when beginning to use transfers on your projects. Because, of course, I do hope you’ll give them a try! I have had so many comments that some of you are intimidated by them but there really is no need to be. They are so much easier to use than you think. Plus they give your makeovers such a fun, extra touch!
What Are Rub On Decor Transfers?
Rub-on decor transfers are a very thin decorative product used in crafting and home decor projects. They consist of designs, patterns, or images (such as floral or word graphics) printed on a special transfer material that can be transferred onto a variety of different surfaces.
Where Can You Use Transfers?
Here are some ideas where you can use decor transfers:
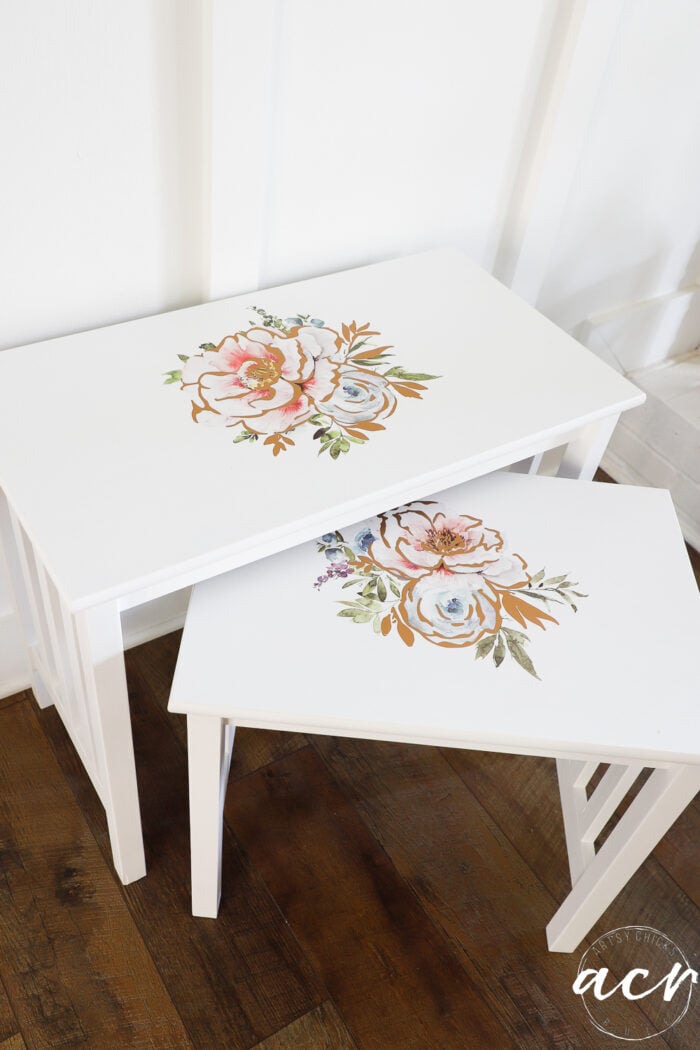
- Furniture: Apply furniture transfers to furniture, such as dressers, tables, cabinets, chairs, etc.
- Walls: You can even use decor transfers on walls to create accent walls, wall art, or whatever your heart desires.
- Home Decor & Crafts: Use them on home decor items such as mirrors, trays, frames, vases, wood boxes, and even lampshades.
- Glass and Ceramic: Transfers can be applied to glass surfaces like windows, doors, mirrors, and glassware, as well as ceramic items like tiles.
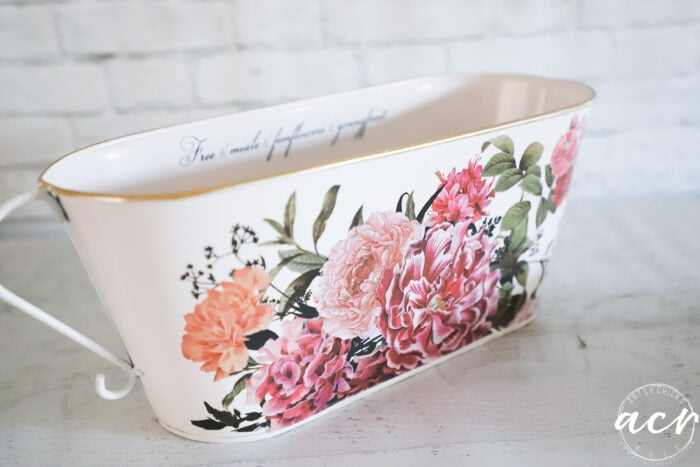
- Metal: Use decor transfers on metal surfaces such as tin cans, buckets, trays, and metal signs for a fun decorative touch.
- Fabric: Add designs to t-shirts, tote bags, tea towels, and other fabric items.
Choose The Transfer
What Type of Finish Is Needed?
Here are common types of finishes where furniture transfers can be applied:
- Wood: Raw wood, painted wood, stained wood, and sealed wood.
- Metal: Steel, aluminum, and brass.
- Glass: Mirrors, glass windows, tables, and more.
- Laminate: Be sure the laminate surface is clean and not greasy or oily before applying the transfer.
- Painted Surfaces: Ensure all surfaces are fully dried before applying the transfer.
- Fabric: Create custom designs on upholstery, pillows, curtains, tea towels and more.
- Sealed Surfaces: Most surfaces that have been sealed with a clear sealer such as polyurethane, spray sealer, or topcoat.
How To Apply The Rub On Transfer To Your Project
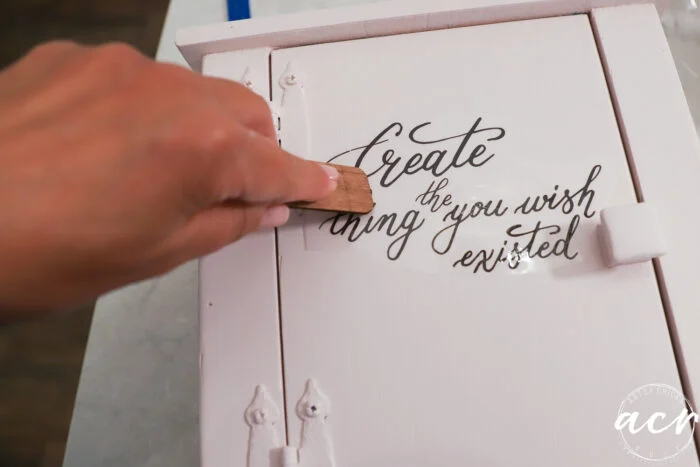
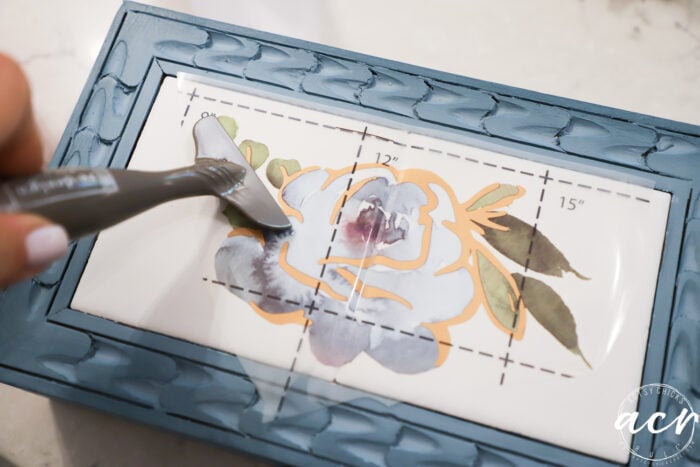
To apply rub-on decor transfers, you place the transfer face down on the desired surface, such as furniture, walls, or accessories. Then, using our Transfer tool or the provided wood burnishing stick, you rub the back of the transfer to transfer the design onto the surface. Once transferred, you peel off the transfer material to reveal the decorative transfer adhered to the surface.
Tips & Helpful Hints:
- Tape the transfer into place with painter’s tape. It’s easy to move, if needed and keeps the transfer in place.
- Be very careful when removing the protective white backing paper. The transfers are VERY sticky and can and will stick to each other or even you. That’s a bummer when that happens. Ask me how I know!! haha!
- When rubbing/burnishing (like shown above) a good way (and a quicker, easier way) to get the transfer adhered is to hold the clear film and rub just behind, lifting and rubbing as you go.

Watch this video to see what I mean about #3 above.
Sealing Furniture Transfers
Here’s how you can seal furniture transfers:
- Choose the Right Sealer: There are several sealers you can use to protect your transfers. Some of those are clear furniture wax, poly, or topcoat sealers. I’ve used both wax and topcoat with good results.
- Apply Sealer Evenly: Use a good brush or our Tough Coat Application Sponge to apply the sealer evenly over the entire surface of the transfer. Be sure the sealer covers the edges of the transfer to prevent lifting or peeling over time.
- Multiple Coats (if needed): You may need (or want) to apply multiple coats. (depending on how much protection you are after)
Sealing your rub on transfers will protect them from damage so be sure not to skip this step!
Examples Makeovers with Decor Transfers
Transfer on spring decor item.
See it here.
Transfer used on fabric tote bag.
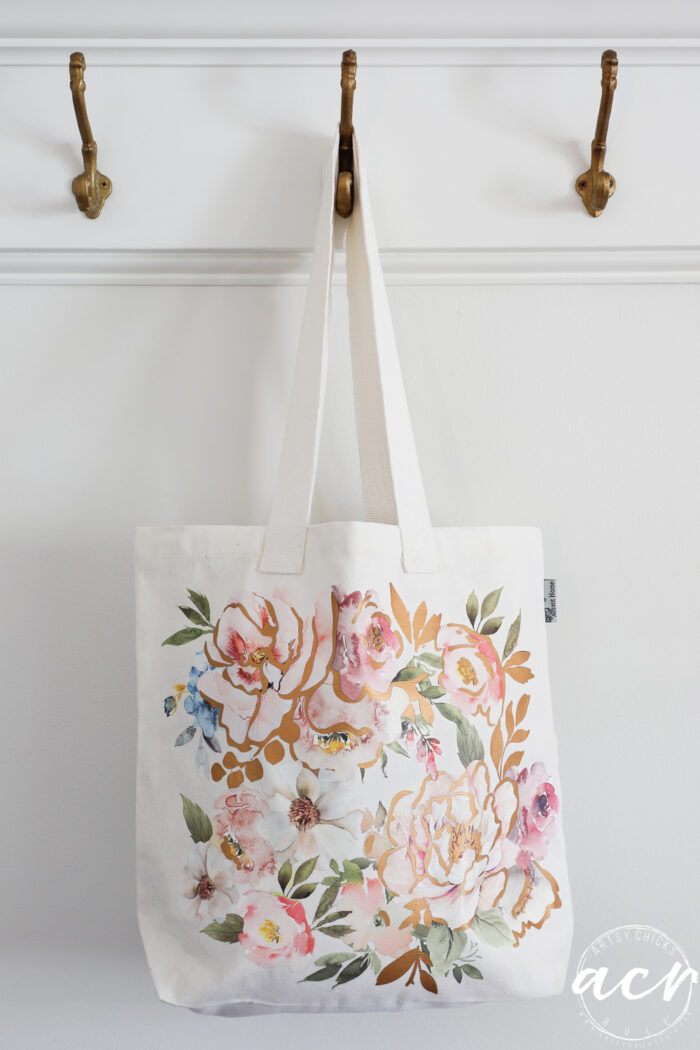
Get all the details here.
Transfers on painted surface.
See them here.
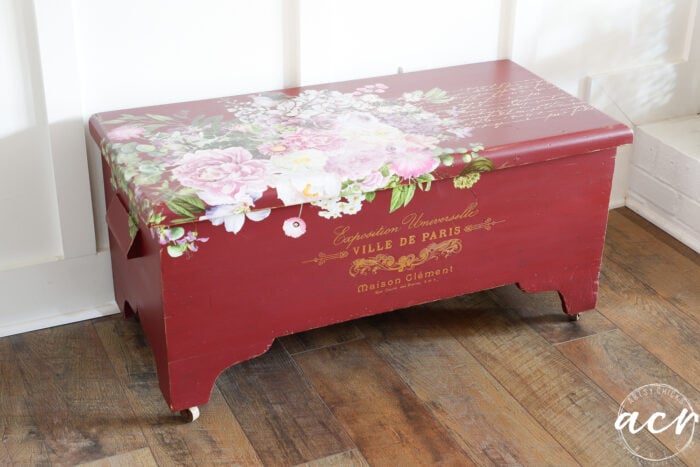
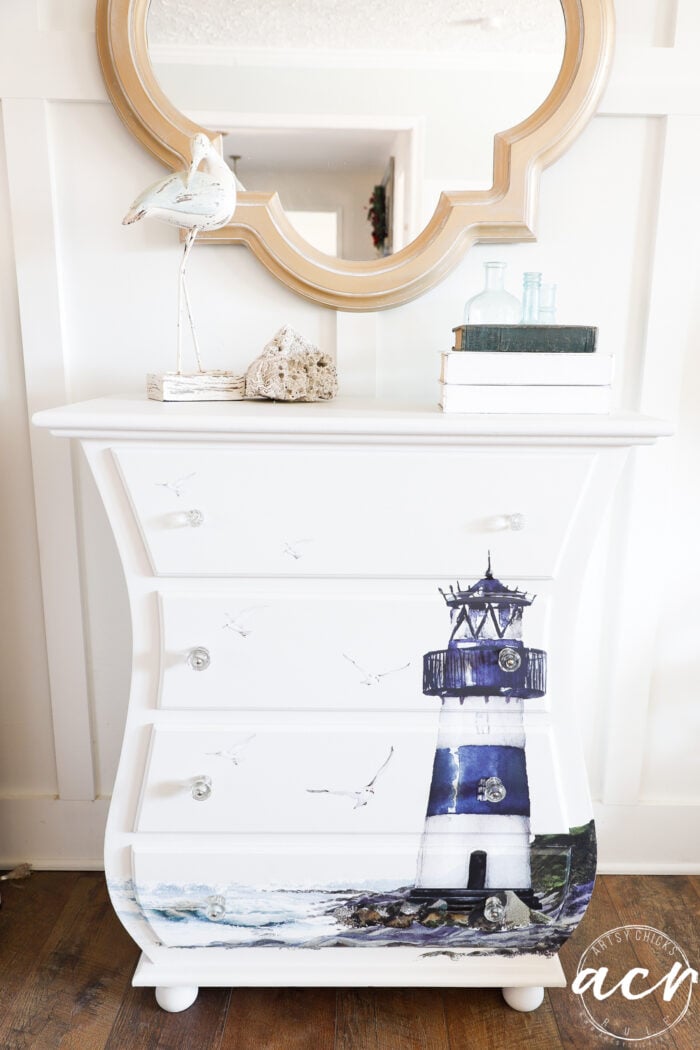
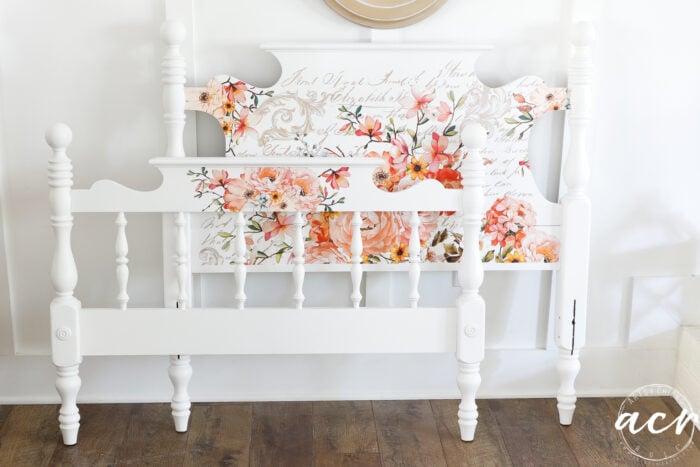
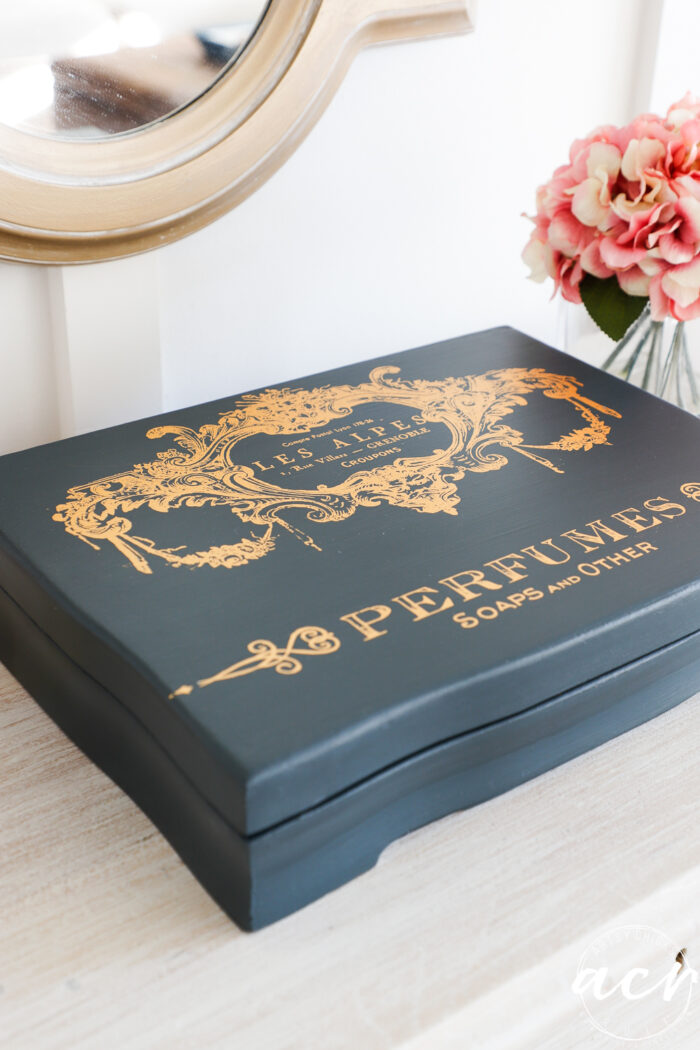
Transfers on furniture.
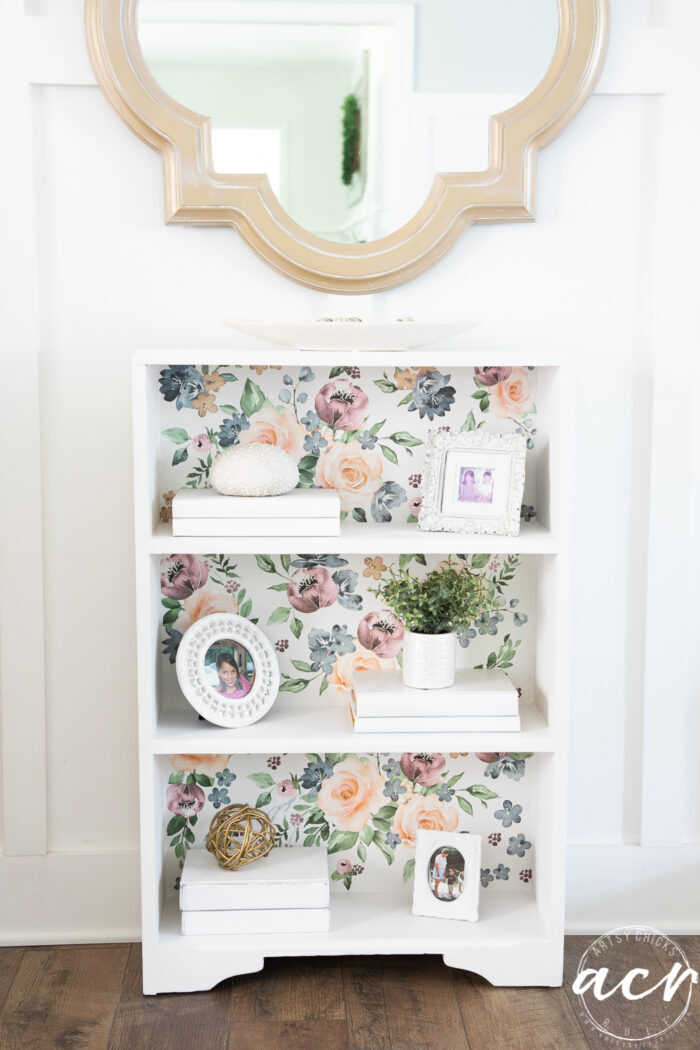
See it here.
Transfers on metal.
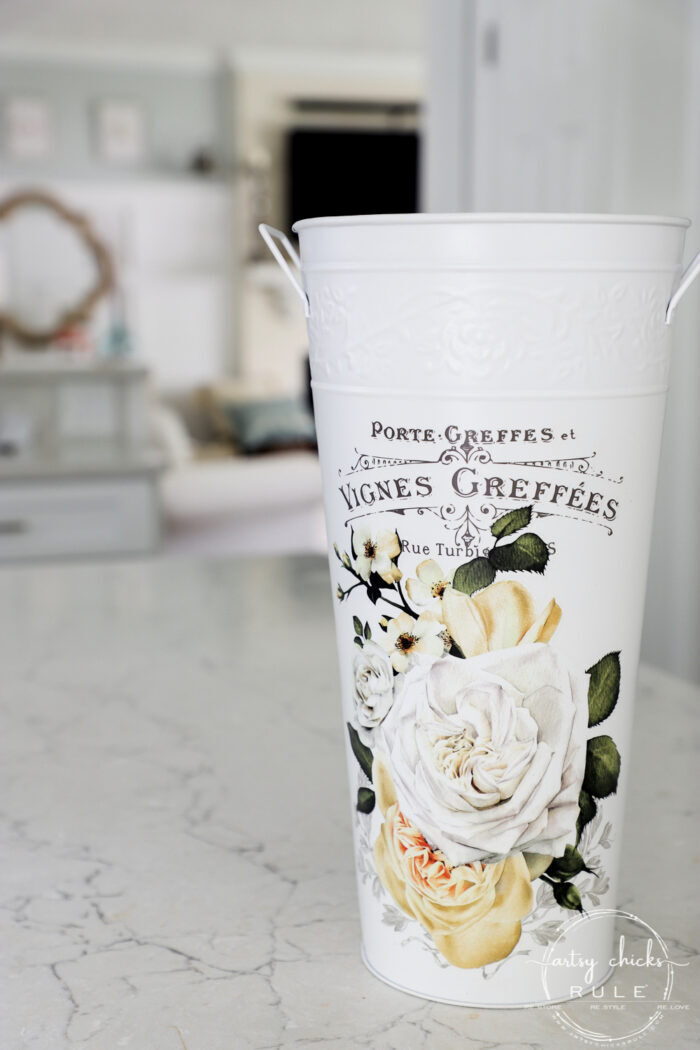
See it here.
Transfers on glass.
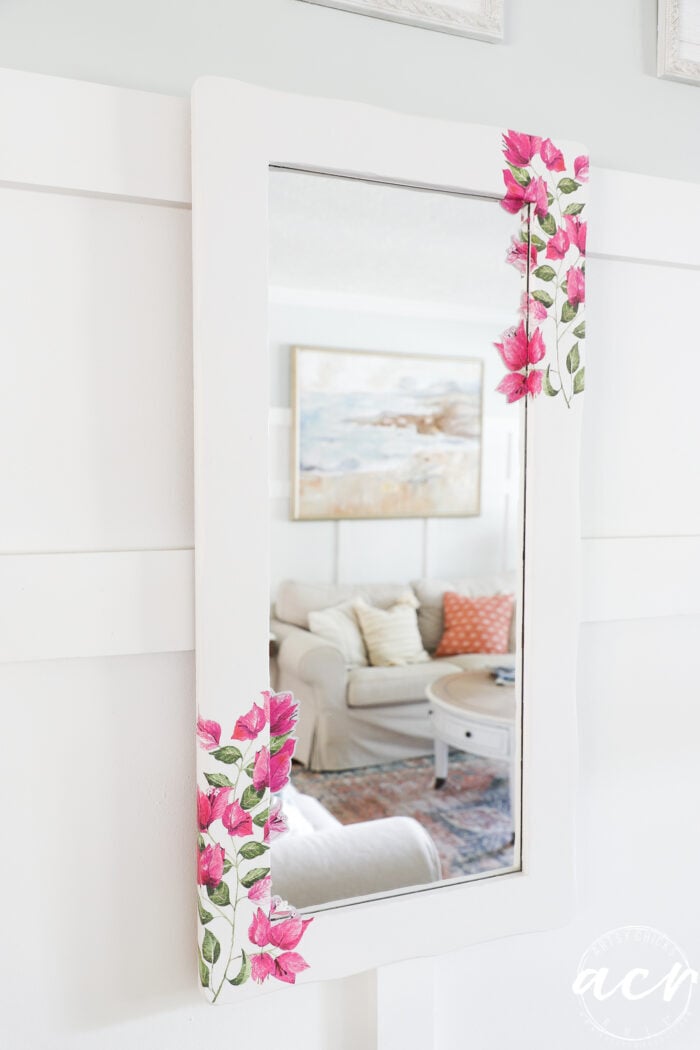
See it here.
Transfers sealed with wax.
Details are here.
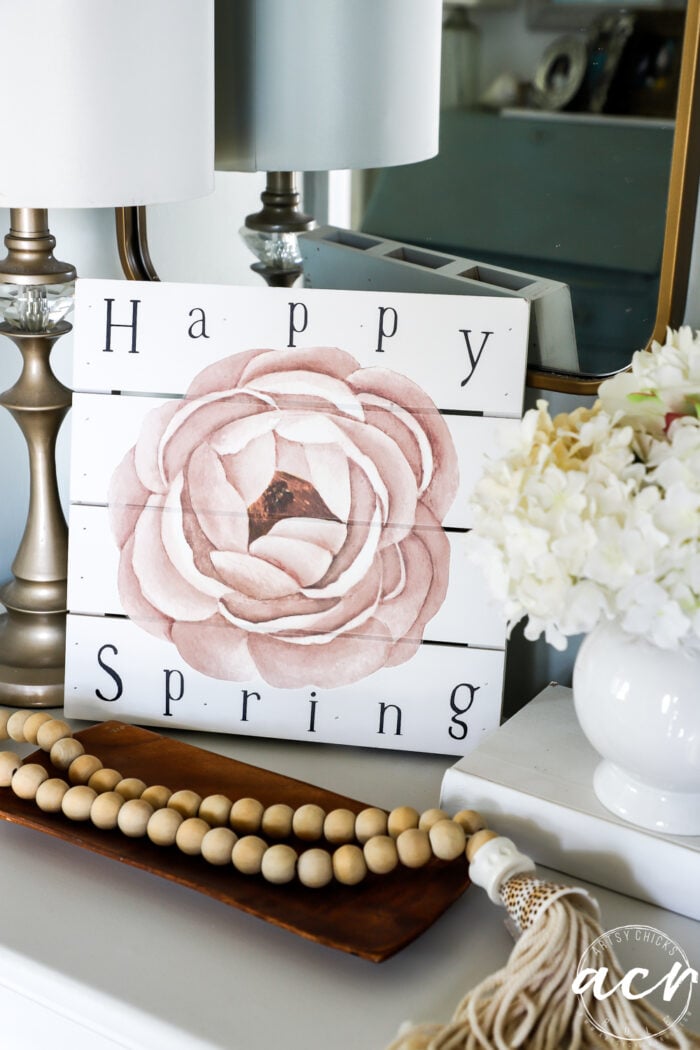
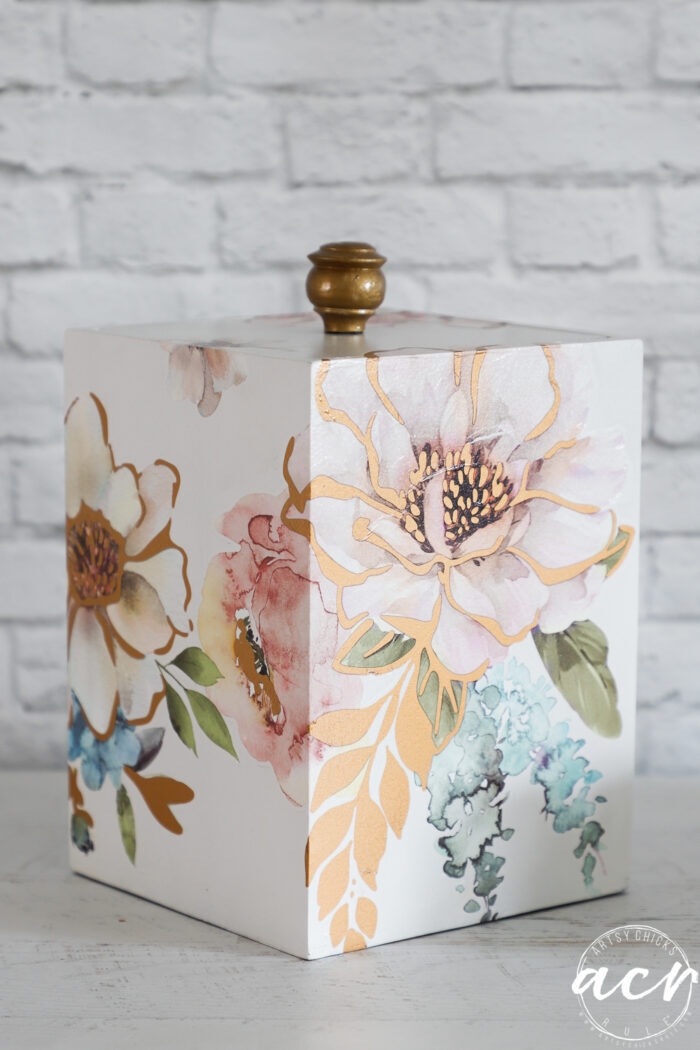
Using large transfers.
Details are here.
More large transfers.
See it here.
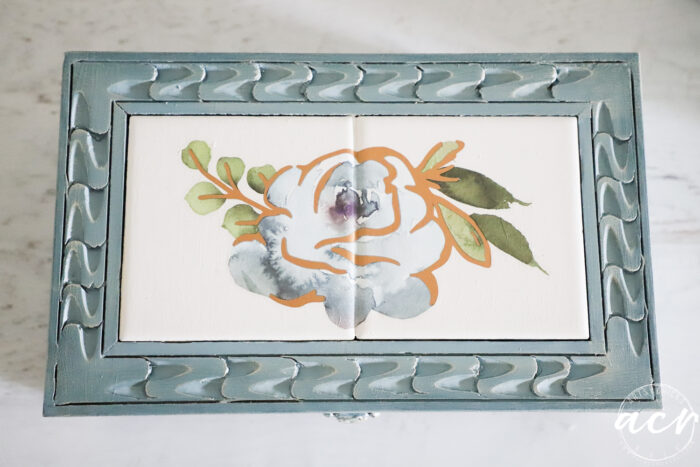
Small, decor items.
See it here.
See it here.
On painted tile.
See it here.
Why Use Rub On Transfers?
These transfers are popular for adding a variety of designs, vintage patterns, and more, to furniture makeovers, wall art, frames, mirrors, crafts, and other DIY projects. They offer a quick and easy way to achieve beautiful hand-painted decor without the need for painting or stenciling.
Using decor transfers on your home decor projects offers these benefits:
- Ease of Use: Decor transfers are easy to apply. Simply rub them onto the surface to transfer the design.
- Professional Finish: They provide a professional-looking finish, giving your projects a polished and decorative touch without the need for advanced painting or stenciling skills.
- Versatility: Decor transfers can be applied to various surfaces such as furniture, walls, glass, metal, wood, and more.
- Time-Saving: Compared to hand-painting or stenciling delicate designs, using decor transfers creates a beautiful project in no time.
- Endless Design Options: Decor transfers come in a variety of designs, patterns, and styles, including vintage, floral, words, and more.
- Durability: Once applied and sealed properly, decor transfers are durable and long-lasting, giving your projects that extra special touch.
Overall, decor transfers are a convenient and effective way to enhance your DIY projects with beautiful designs that are easy to apply.
Where To Buy?
You can buy transfers in lots of places! But I hope you buy from me if you can. :)
You can find them in my ACR shop here >>> ACR Shop
And you can find them in my Etsy shop here >>> Artsy Chicks Rule Etsy Shop
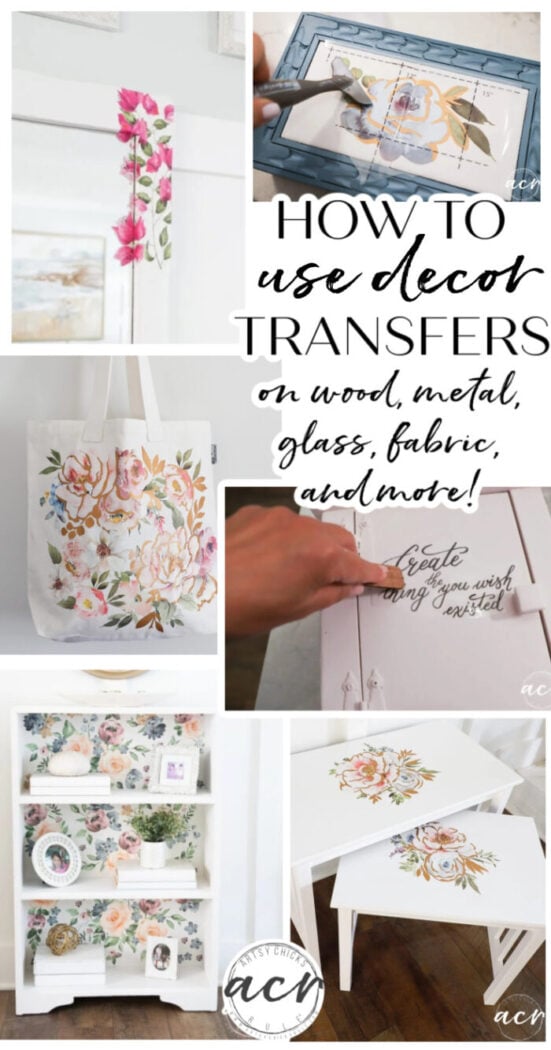
PIN it to save it!
I hope this post is helpful to you. And I really hope you have decided to give decor transfers a try if you haven’t used them already. They are not scary or intimidating, promise! They do add lots of beauty and interest to your projects though.
Have a great week!
xo


")

Nicely explained! I have a dresser top mirror tray that I’ve thought about trying a transfer on. I have two questions: how do you seal transfer on a mirror? Once sealed, can the mirrored surface be cleaned and with what type of product? My apologies if you already answered these questions in the blog!
Thank you!
So glad you this helpful to you, Gayle!! Okay so for mirrors, no, you wouldn’t seal that. You could use our Polishing Pads to burnish them a bit. Just careful cleaning with water. :)
❤️🤗Transfers are great. Thank you for sharing the steps. You are a great teacher. I have been intimidated by transfers. The only kind I’ve tried is, to computer print onto transfer paper and put that on an art project. In doing art on different projects, it’s great to accent the main bulk art, with small images that tie in to the type of project. Thank you 🤗
They really are! They make everything so beautiful. You are so very welcome. :) I hope this helps you be less intimidated!! Happy weekend to you!
Thank you; very helpful 💐🤗