Pretty Floral Box Makeover (with decor transfers)
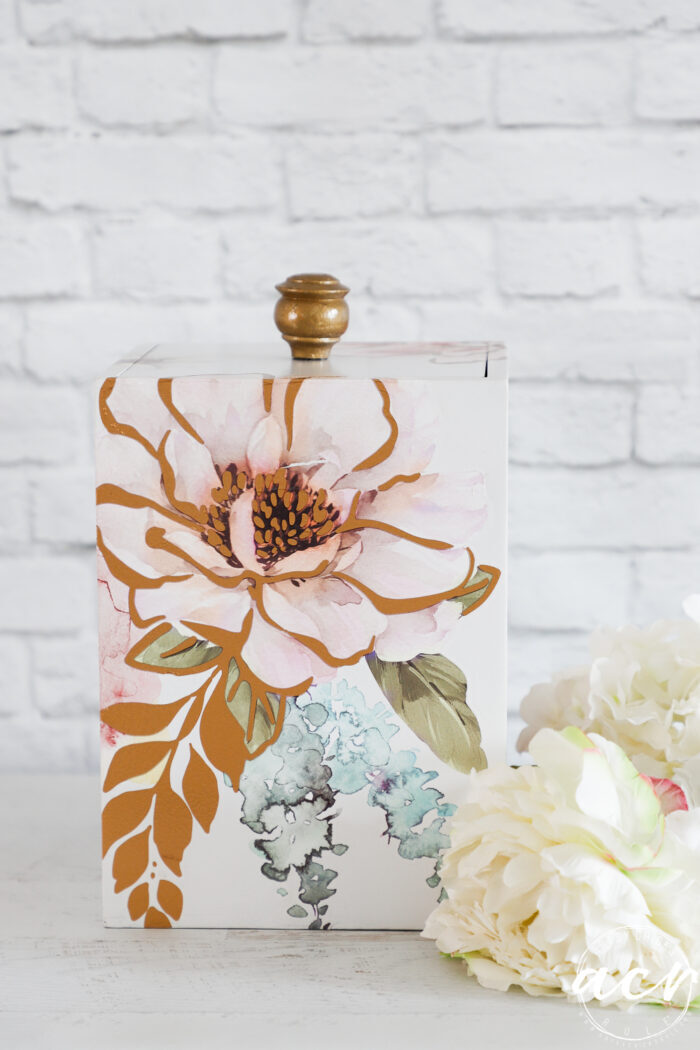
Such a cool box for $3! You won’t believe what it looks like now, transfers for the win on this pretty floral box makeover.
Hello sweet friends!
I’ve got a brand new (little) haul coming next week with some really cool pieces! I can’t wait to share them.
Today, I’m sharing a small I found recently at the thrift store. It’s a tall box sort of thing. I love making over these boxes. There are so many uses for them to keep things tidy or organized. Or even for gift-giving. And just like flatware boxes that I always seem to find, I usually come across all sorts of decorative boxes too.
Pretty Floral Box Makeover
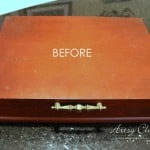
Here it is in its shining glory…how I found it. ;)
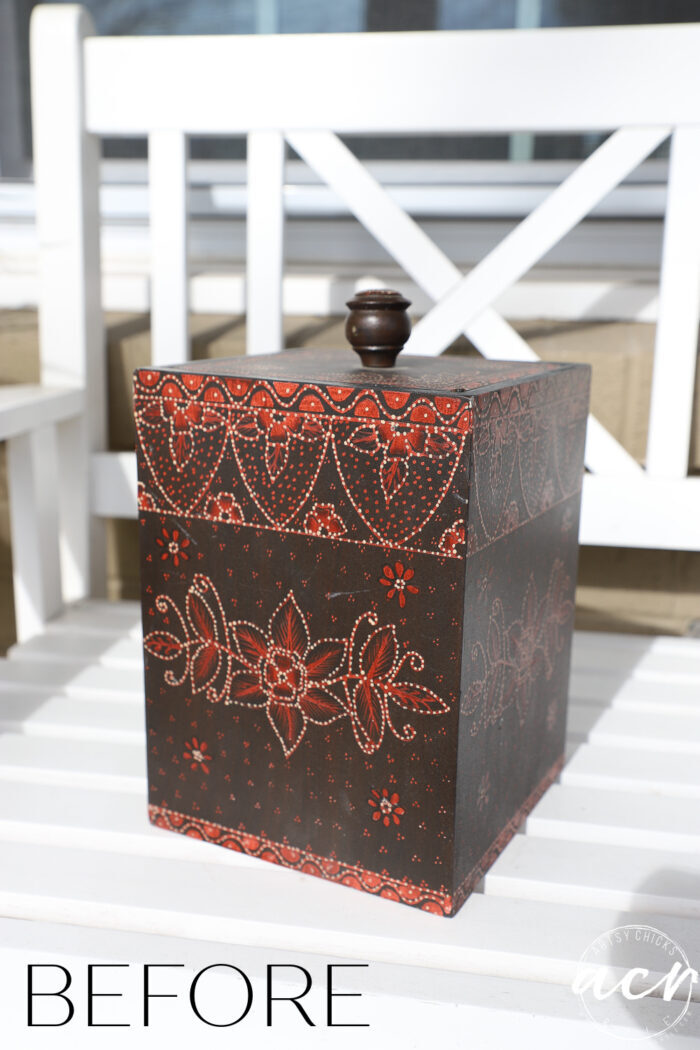
$2.99
Not my style and I just knew it could be so much pretty. I love a good box!
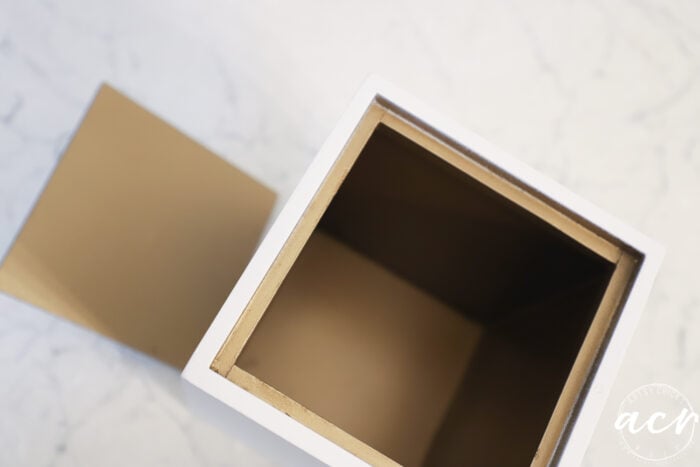
Here’s the inside.
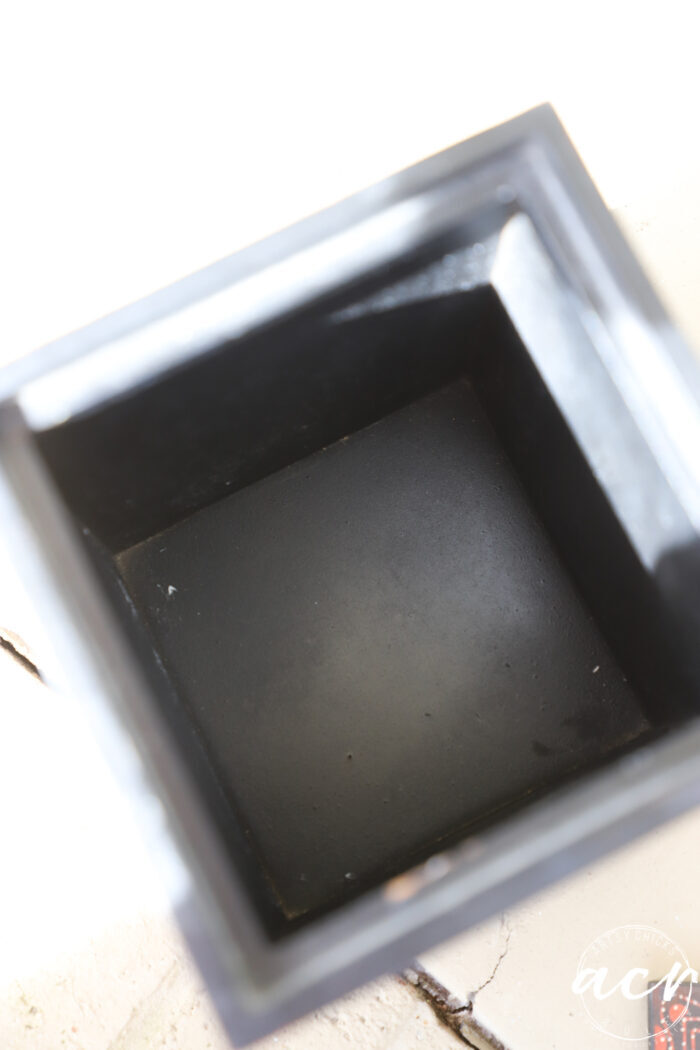
Meh…boring.
SAND
The pattern all the way around was raised so I sanded to smooth it out before I did anything to it.
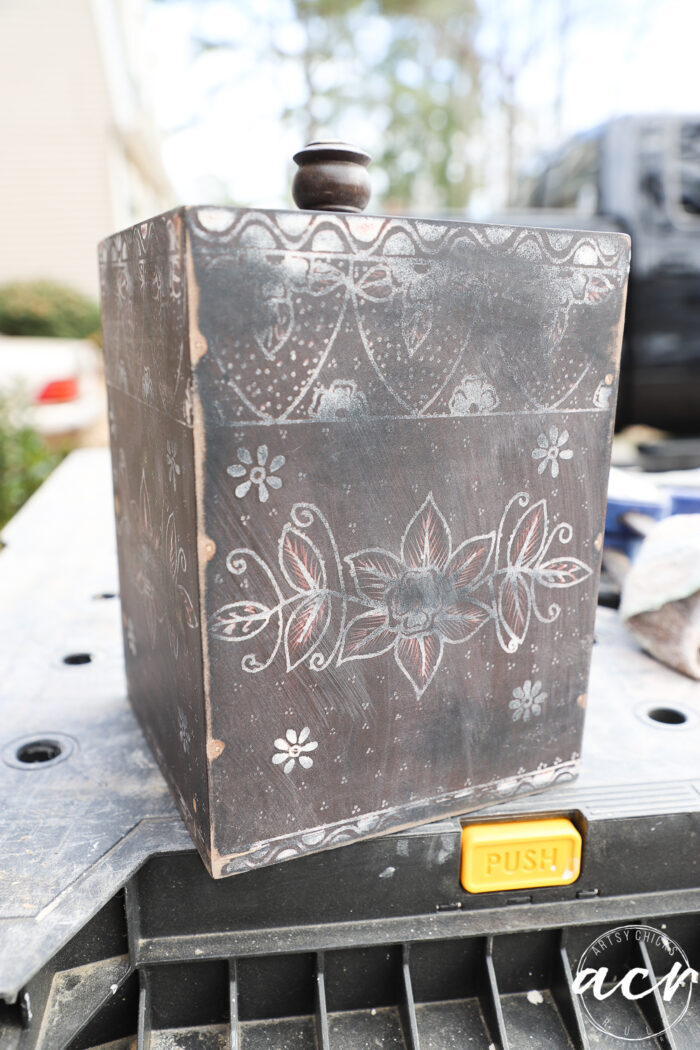
Because I just happened to have my sander and this work table out sanding something else.
Who doesn’t hate sanding? Not my favorite, for sure. haha But I LOVE uncovering beautiful wood so it’s definitely a tradeoff!
I was sanding a dresser that I am making over for my son. I’ll be sharing it soon.
Was trying for Thursday but don’t think I’m going to make that deadline. Boo.
If you want to check it out in its “before” state, I shared it on >>> Facebook.
Anyway, convenient, right?!
All set and ready for the next step, which was primer.
Oh and here are all the products I used for my box makeover.
MATERIALS LIST
PAINT THE INTERIOR
Well, that was the second step. The first step was painting the inside of the box and the bottom side of the lid gold.
PRIME AND PAINT THE EXTERIOR
Then I painted the outside with the primer. I typically like to use the Shellac-based spray paint by Zinsser. It’s great at preventing “bleed-thru”.
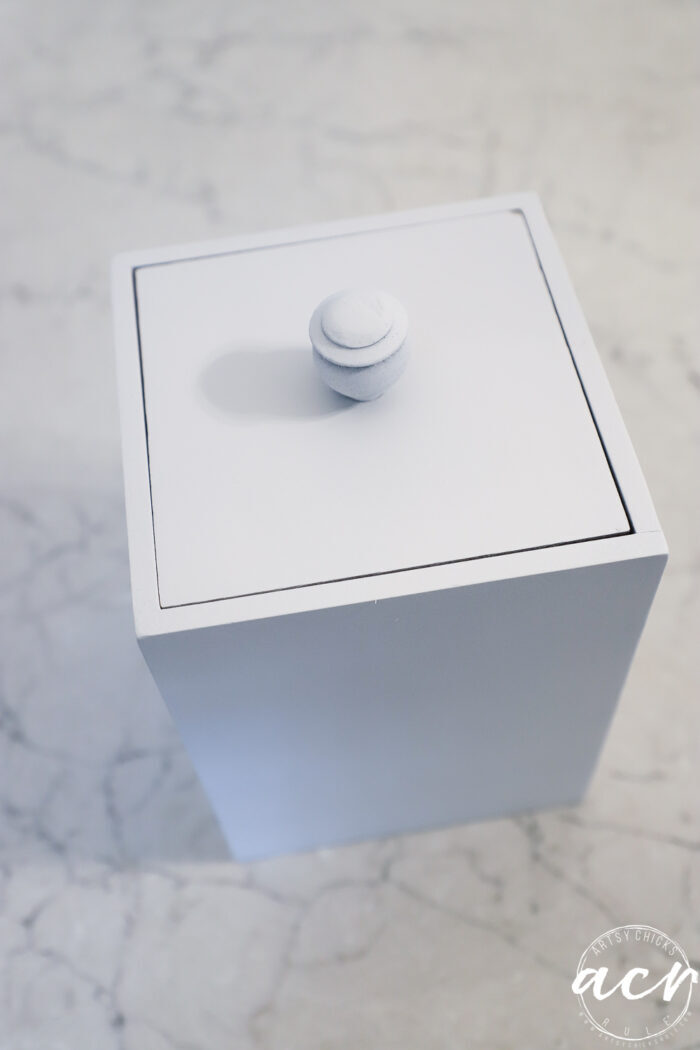
Once the primer was dry, I gave it two coats (drying in between) of the Satin white spray paint.
APPLY THE DECOR TRANSFER
Let it dry fully before moving to the next step.
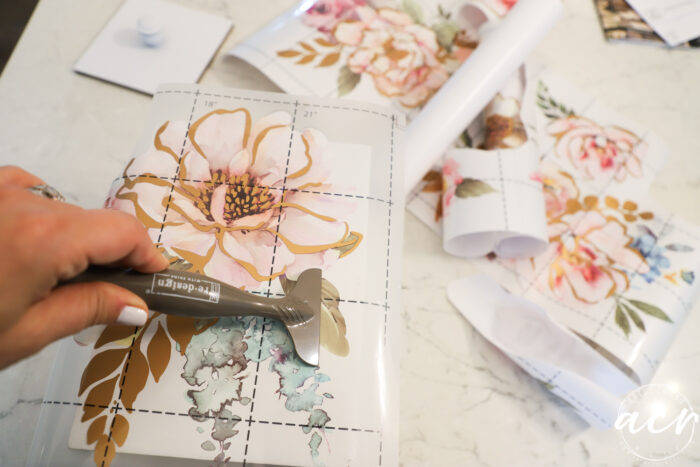
I decided to use this pretty floral transfer with the gold accents.
I previously used this transfer on these makeovers:
And I still have quite a bit of this transfer left over for other projects.
So I just cut out the pieces I wanted to use and applied them to the box.
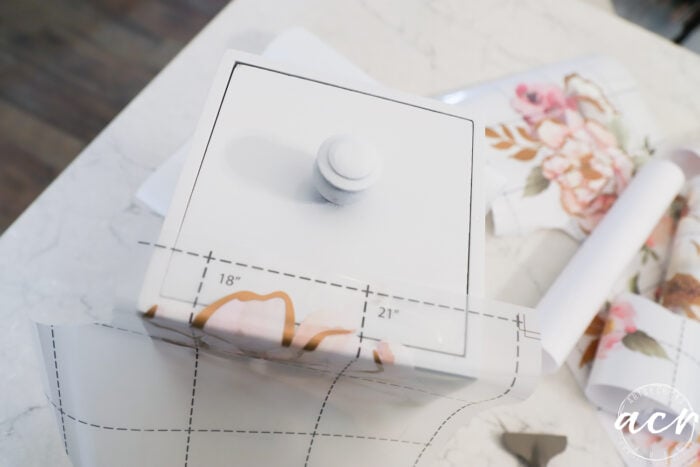
I wanted it to feel organic so placed them with overflowing areas like the photo above.
See how it is overflowing onto the lid?
Once it’s applied I just simply take a sharp knife and cut through the line as shown below.
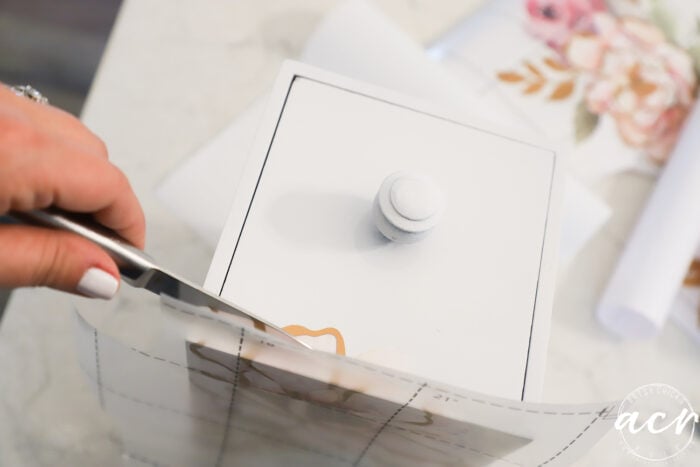
Apply the transfer pieces all around the box letting them overflow all the way around.
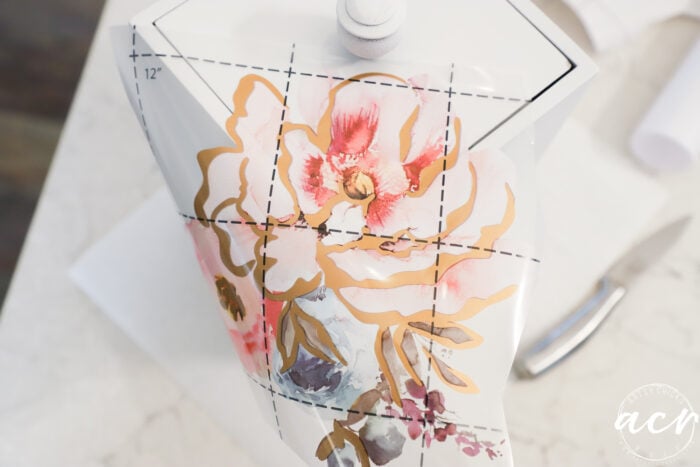
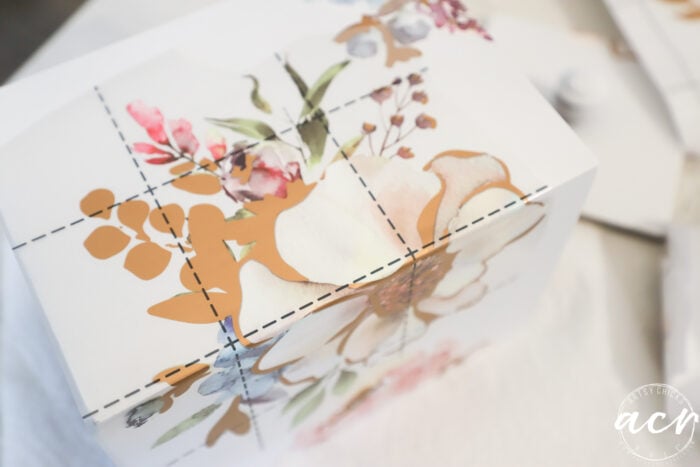
I am loving how it is turning out!
Not sure why I didn’t spray the knob before I applied the transfers on top (in case I messed up!) but I didn’t.
So I just taped and covered everything well.
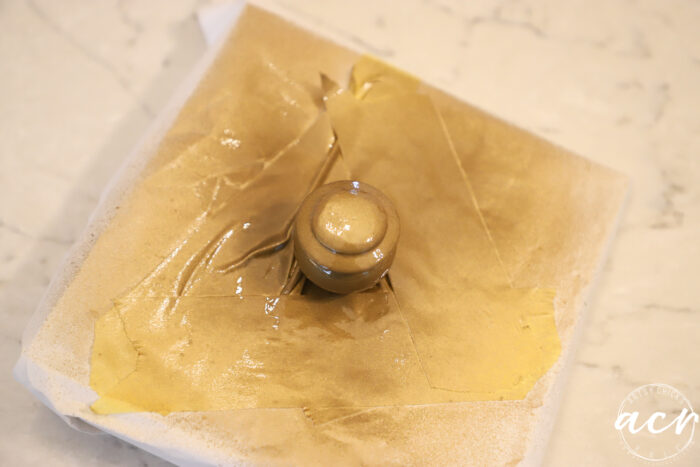
I used the same color as I did to the inside. It’s a bit darker gold which I thought went with the darker gold color of the transfer.
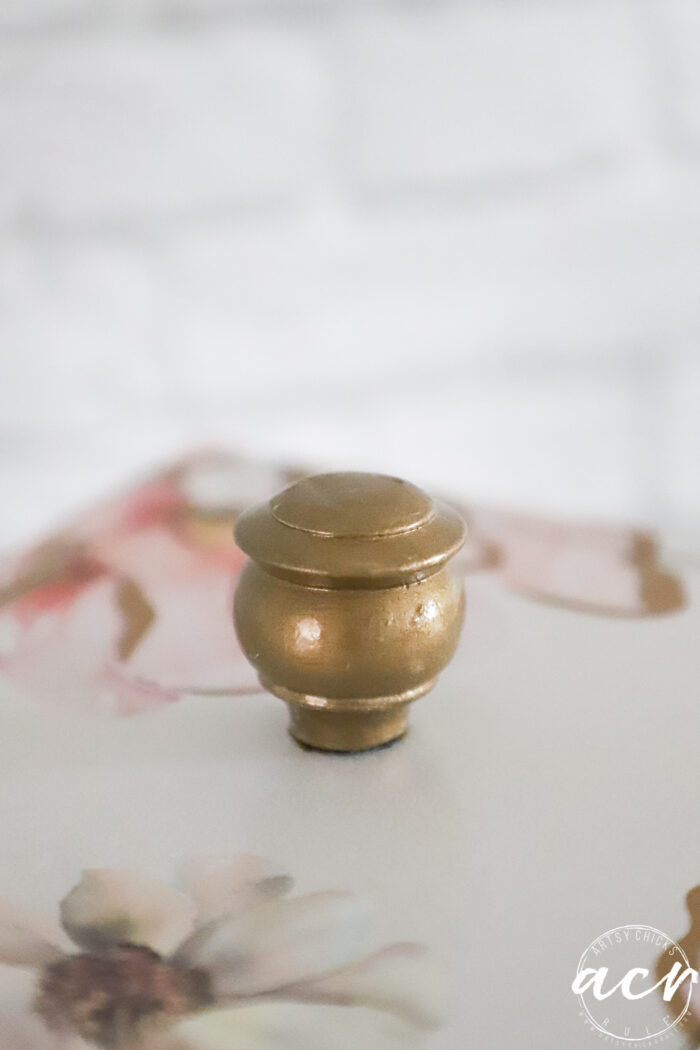
SUPER SHINY TOPCOAT
To seal the transfer I used a “Triple-Glaze” shiny top coat. I love shiny over these transfers for some reason!
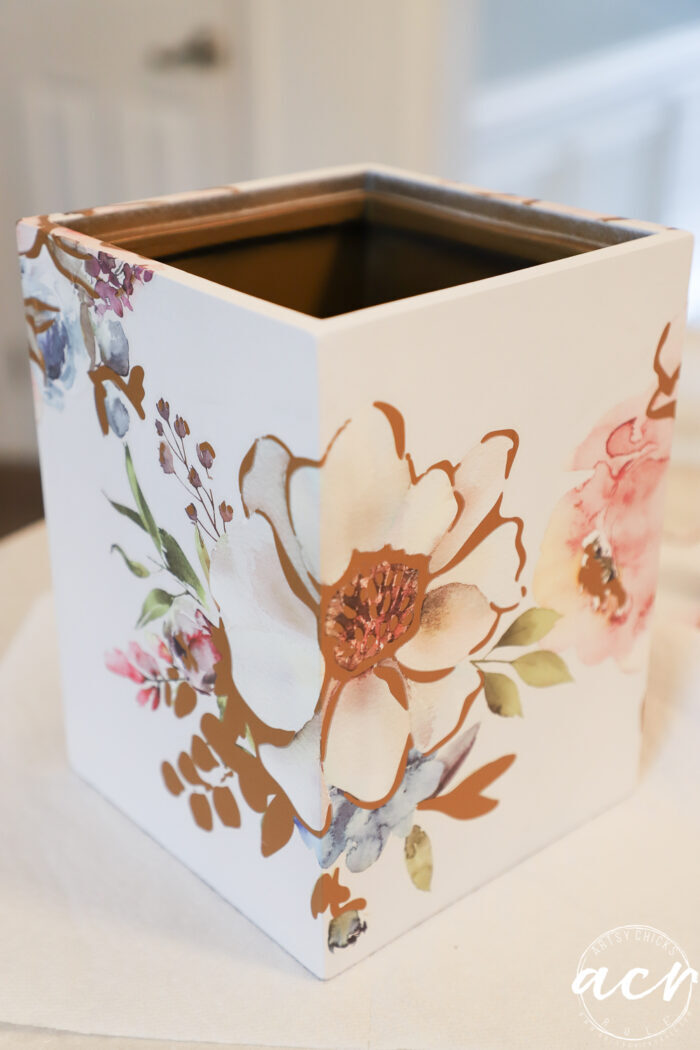
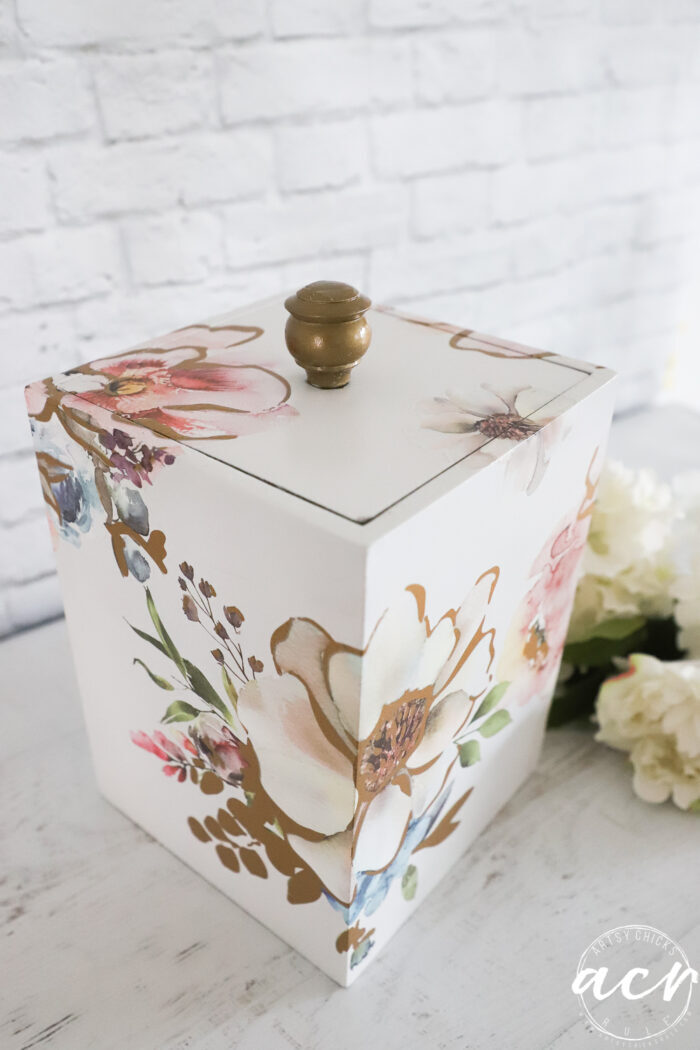
I am in love with this gorgeous transfer and pretty floral box makeover.
That dark area is actually gold. Hard to capture in some of the photos unless the light is reflecting it.
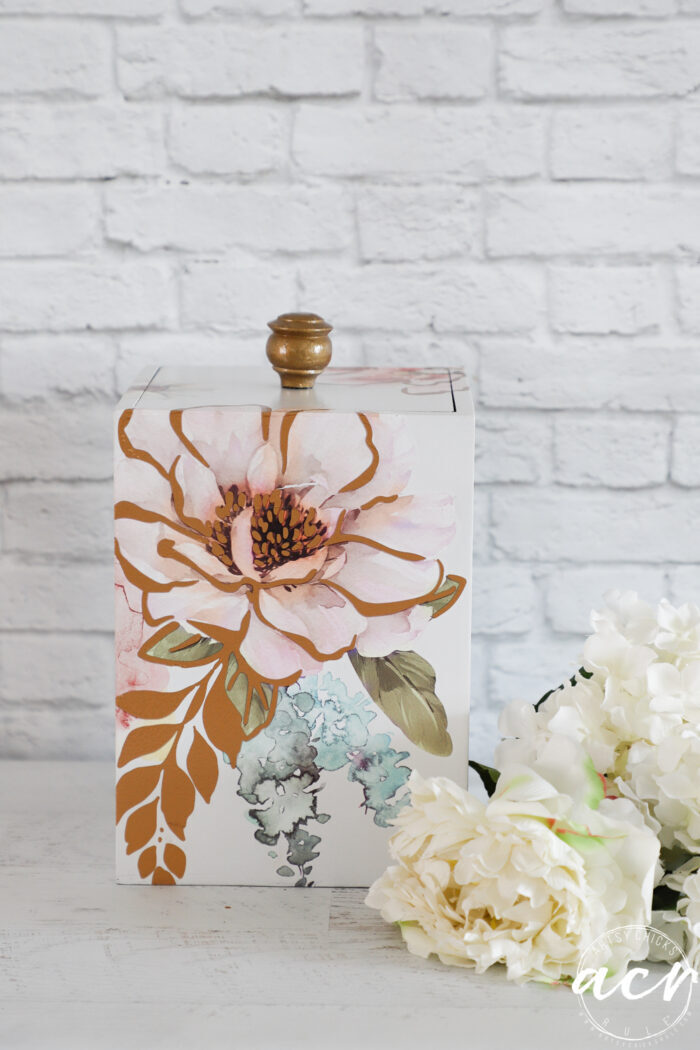
Let me show you all the sides.
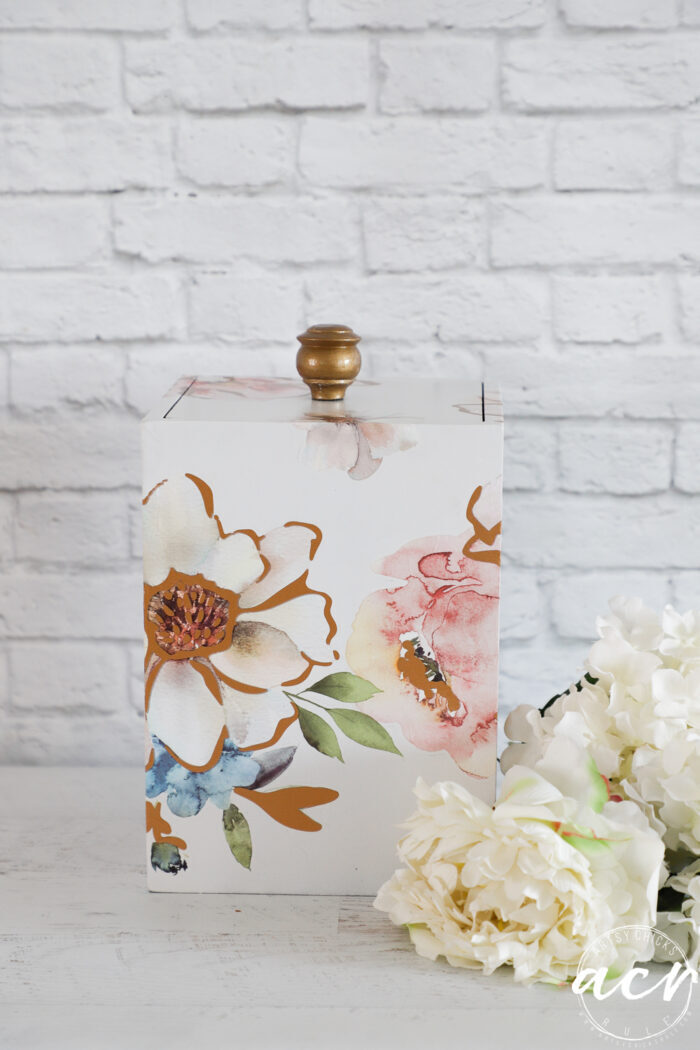
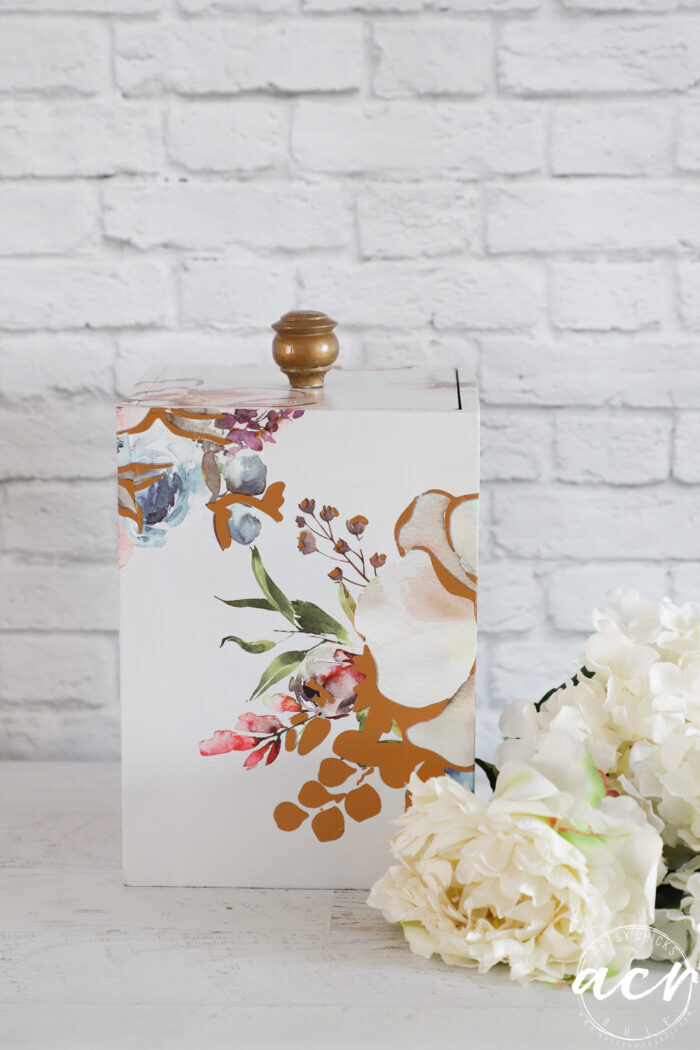
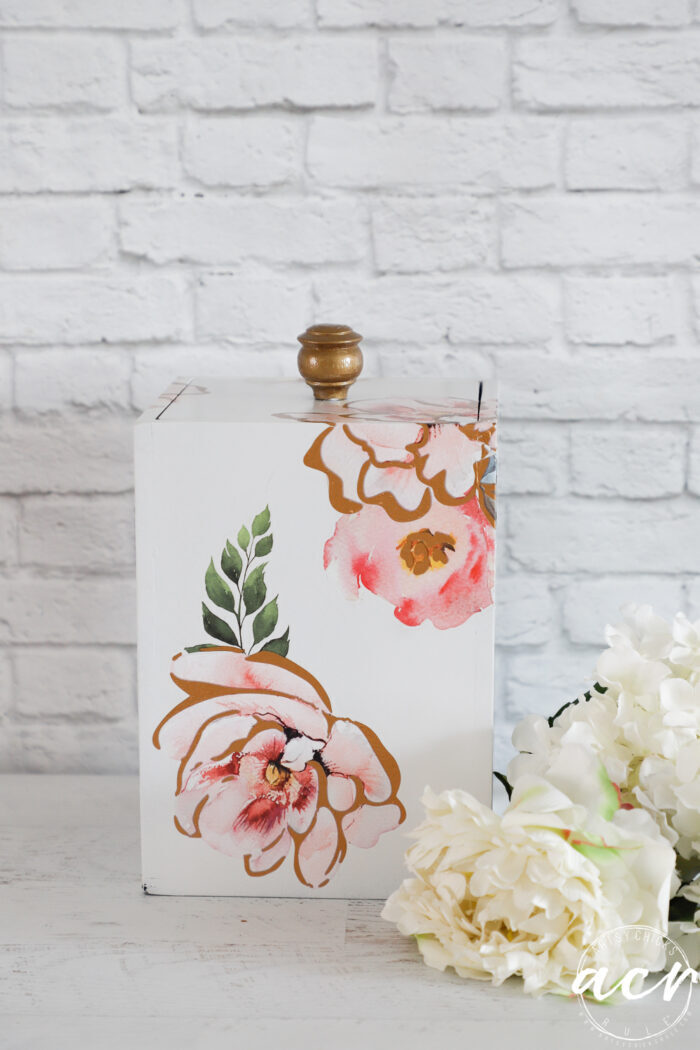
And the lid…
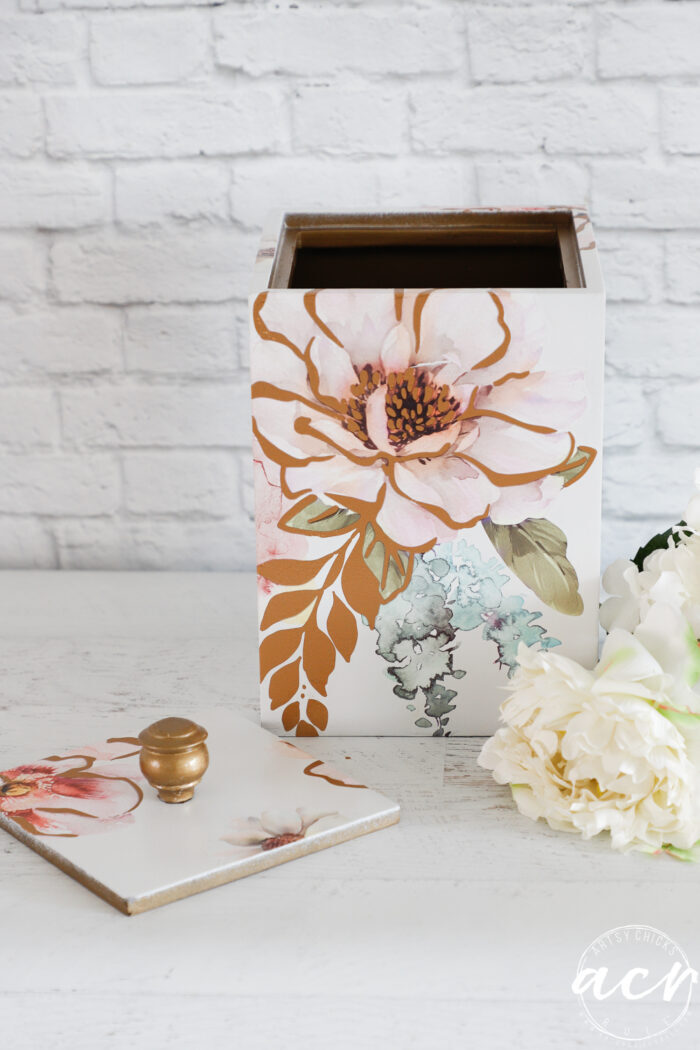
Pretty on both sides.
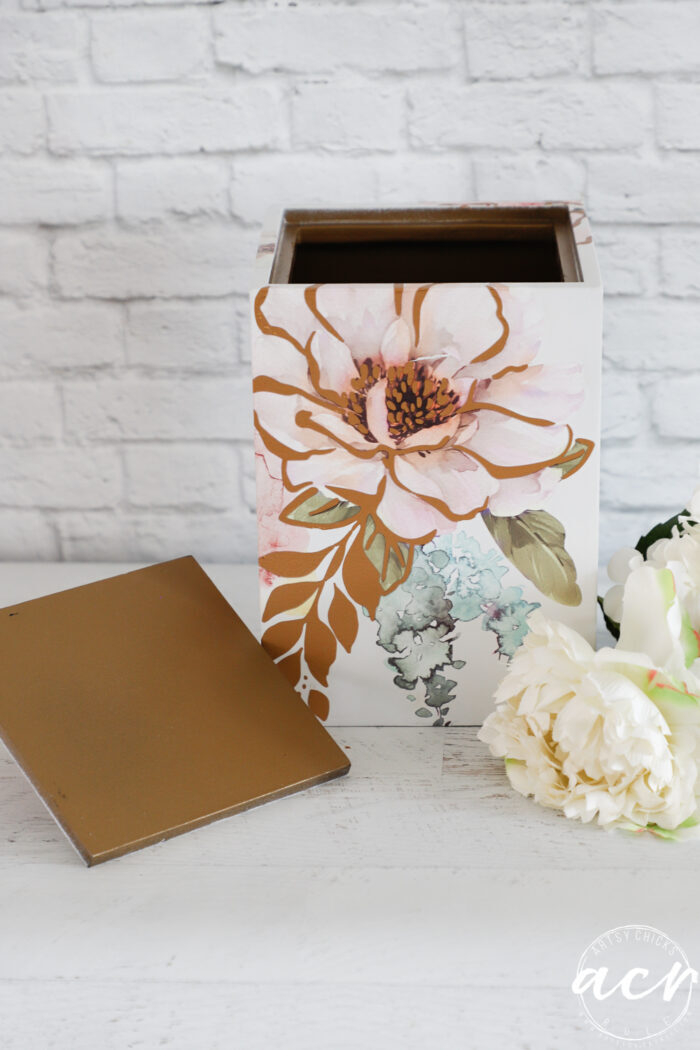
I love how they all wrap around the sides.
And even pretty from the top view.
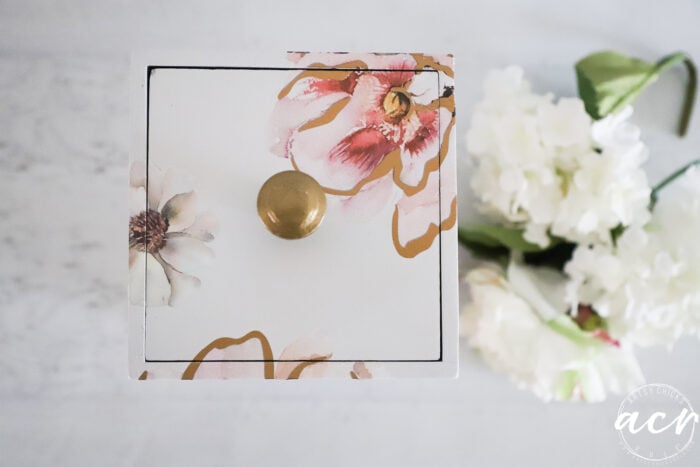
You can see the gold reflection better in this one.
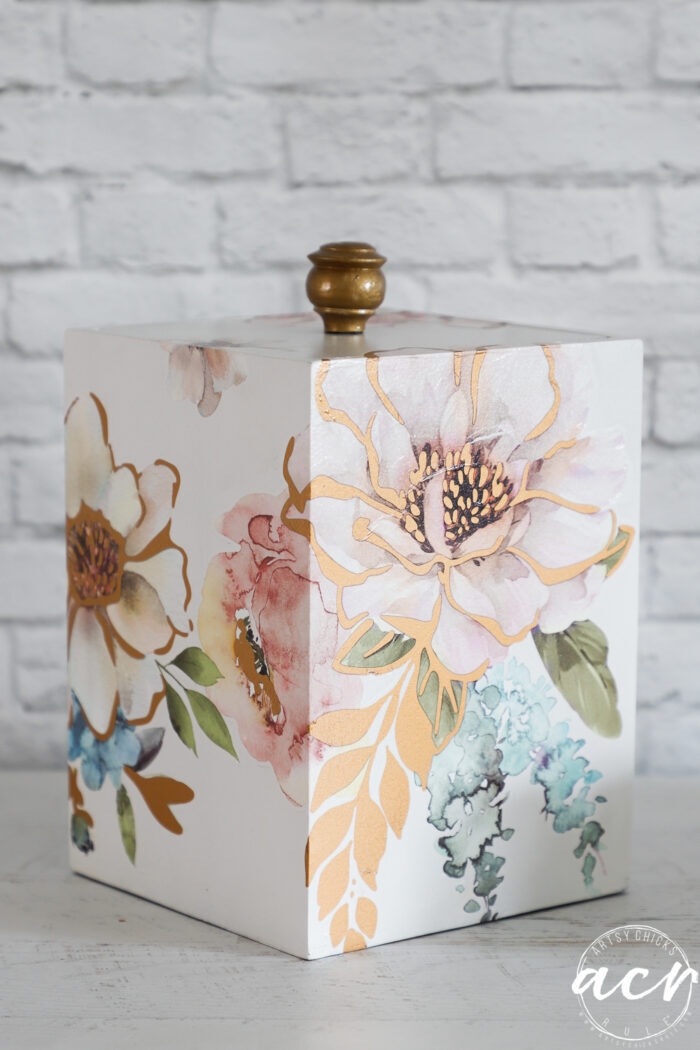
Really happy with this one! Plus, I just adore this transfer!!
PIN it to save it!
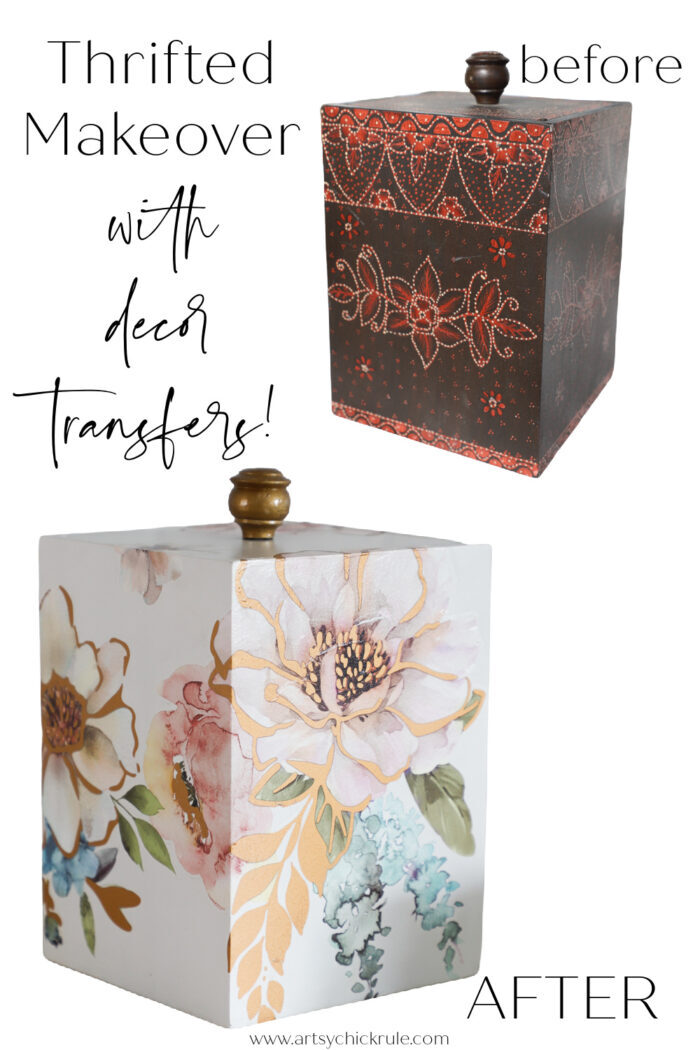
So fun. I just love how decor transfers transform a piece! Have you tried them yet??
See you next time with this!
UPDATE!! See it now here!
xoxo






Ohmigoodness, your box is so pretty now!! What a difference!
Box is so pretty! What is the name of the transfer used? Thanks
https://shop.artsychicksrule.com/products/sun-kissed-decor-transfer
Thank you, Caroline! Oh, you can find it here!
Thank you so much, Noelle! :)
This box has got to be one of my absolute favorites! The transfer is beautiful and the way you applied it to the box was just perfect! As always you inspire me!
Aw, thank you so much, Ronette! That makes me so happy to hear! I hope you have a wonderful weekend! xo
Gorgeous! Really like this makeover.
So glad!! Thank you, Cyndel! xo
Love this! So pretty!!
Thank you, Debra! xoxo
I LOVE it! It’s so light and airy. What amazes me is that the transfer is not one I would just select without a project in mind. But seeing it applied in this way has changed my “tune”. Thanks ever so much!!
Thank you, Caye! This is one of my favorite transfers!! It really is so versatile… and just so gorgeous with the soft colors and hints of gold. :) xo
Pięknie Nancy , jak zwykle zresztą . Ma się wrażenie , jakby transfer delikatnie łagodził krawędzie tego pudełka . I tak – podobnie , jak Ty – uważam ,że kobiecie nigdy dość pudełek . W kilka sekund znajdzie pomysł na jego zawartość . No przynajmniej kobieta z usposobieniem majsterkowicza :)
Hello Ewa!! I recognized this immediately…I am Polish! (sadly, I don’t speak it even though my dad does, his first language) And yes, I do believe this pretty transfer really does soften the edges. I can never have too many is right! Have a blessed weekend!! xo
So much talent and creativity! Love your work !
Thank you so much! :) xo
Another box I would have passed up because I couldn’t see past the outdated design, but you knew you could make it shine, Nancy! I especially like the way you made the transfer flow down from the top.
Thanks so much, Marcie! I like that effect too!! :) xo