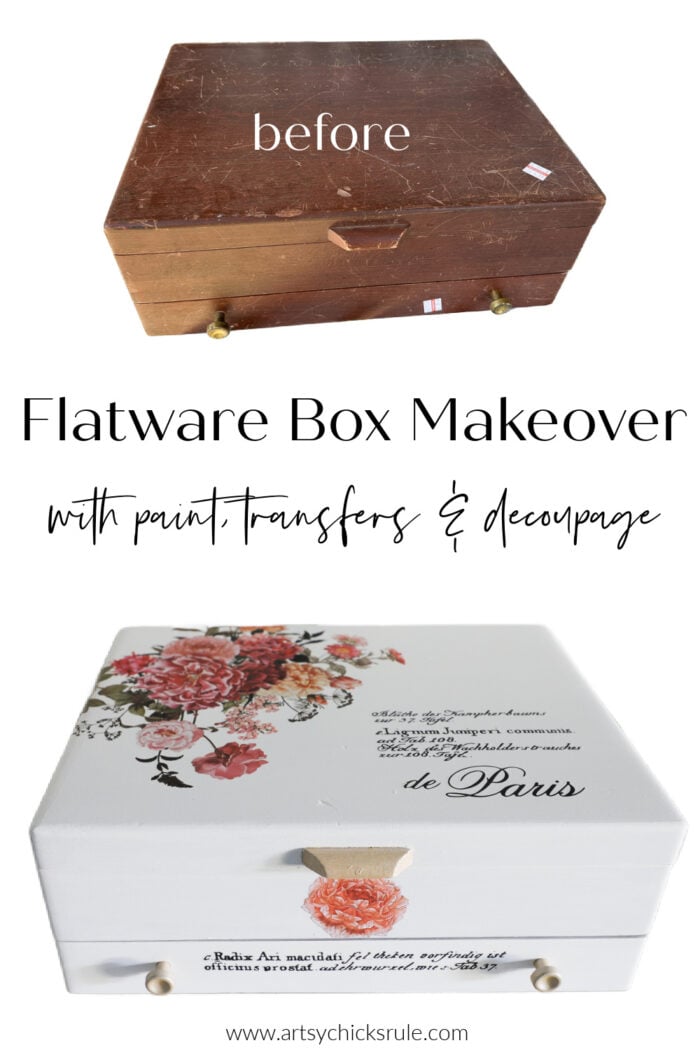
This thrifted flatware box makeover with transfers and decoupage created a brand new look for this sweet little box!
Hello, dear friends! I am back today sharing a new one. Busy, busy around here but I managed to finish this one up. Like I mentioned in my newsletter, I am also working on a large piece. Those take longer, haha! I haven’t really done many large pieces lately. I’ll be glad when I get it done. I was hoping to share it this week but it will most likely be next week. Stay tuned!
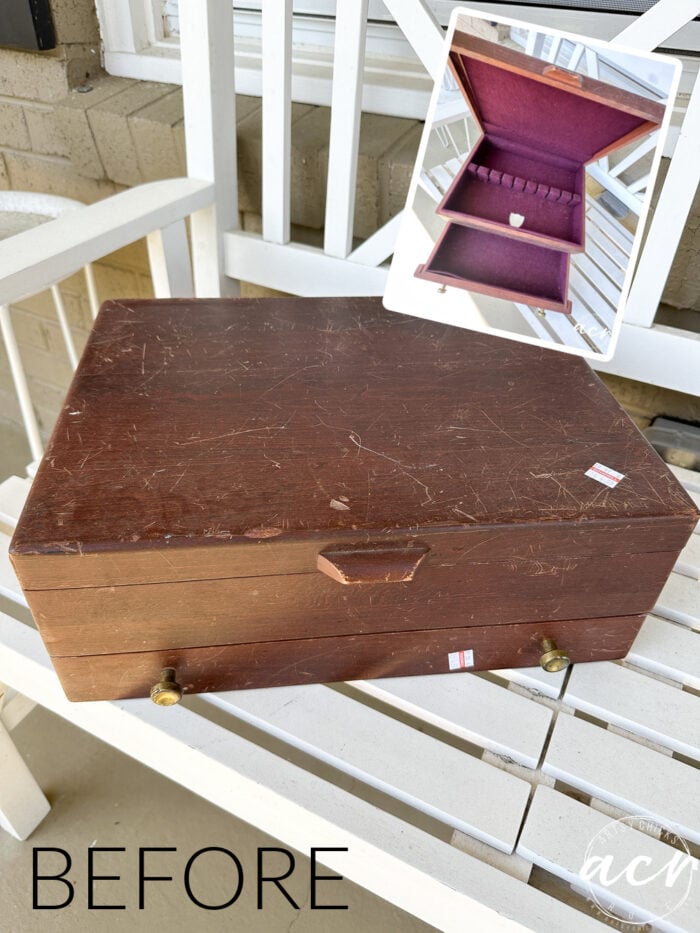
Today I’m sharing a sweet little flatware box. It’s actually quite different than my normal flatware boxes I make over.
Flatware Box Makeover With Transfers & Decoupage
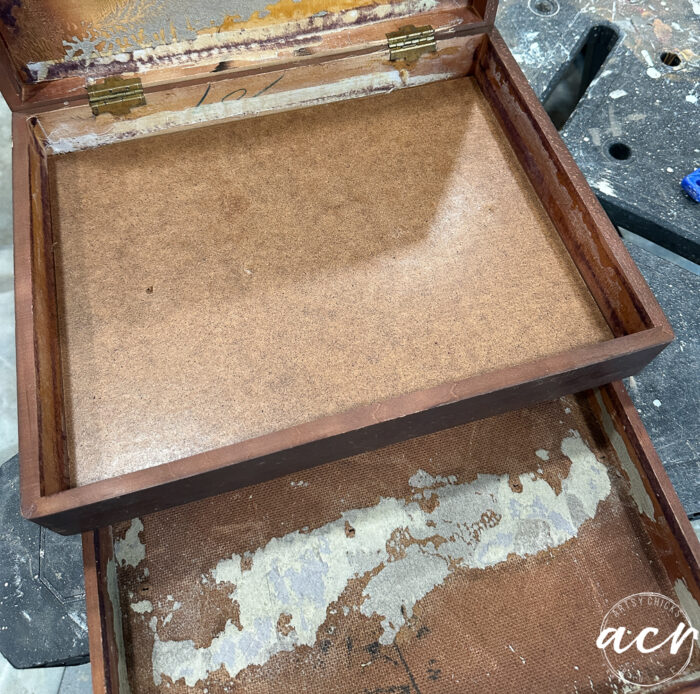
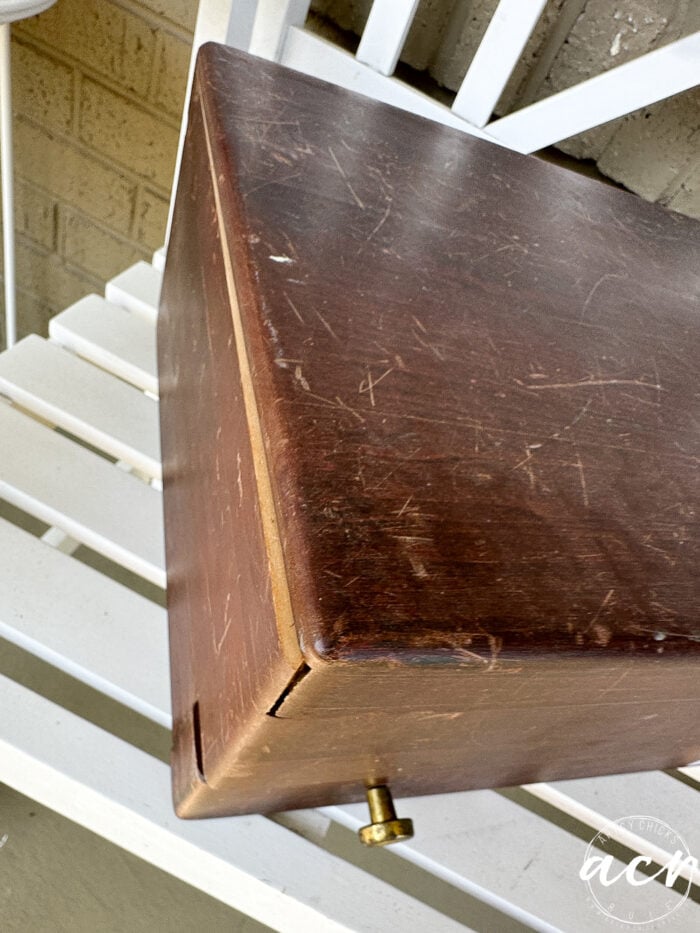
Here it is ‘before’…
This almost looks like a jewelry box, not a flatware box. But it was indeed a flatware box.
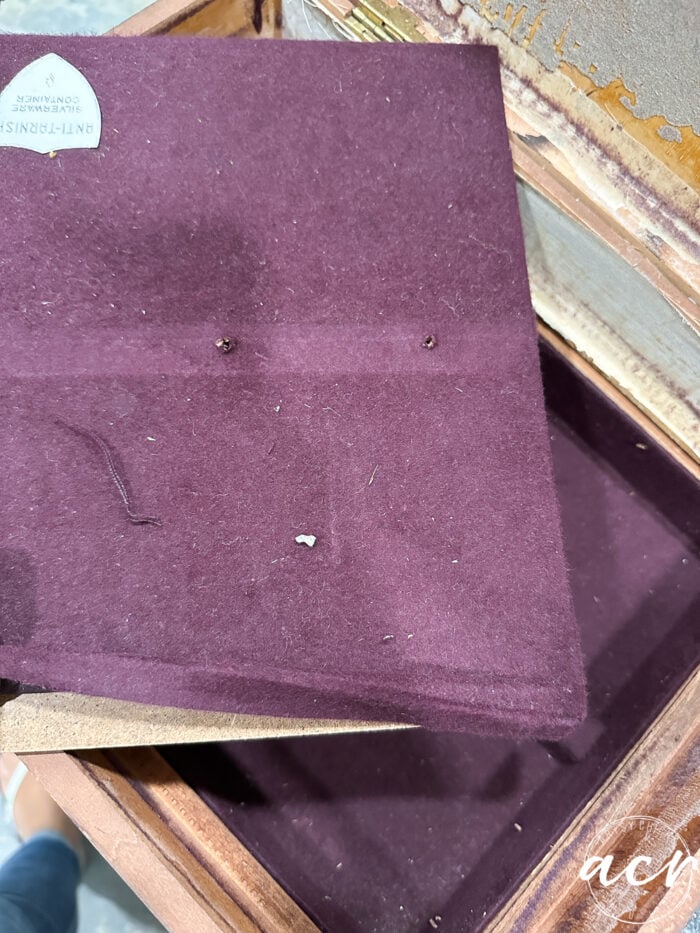
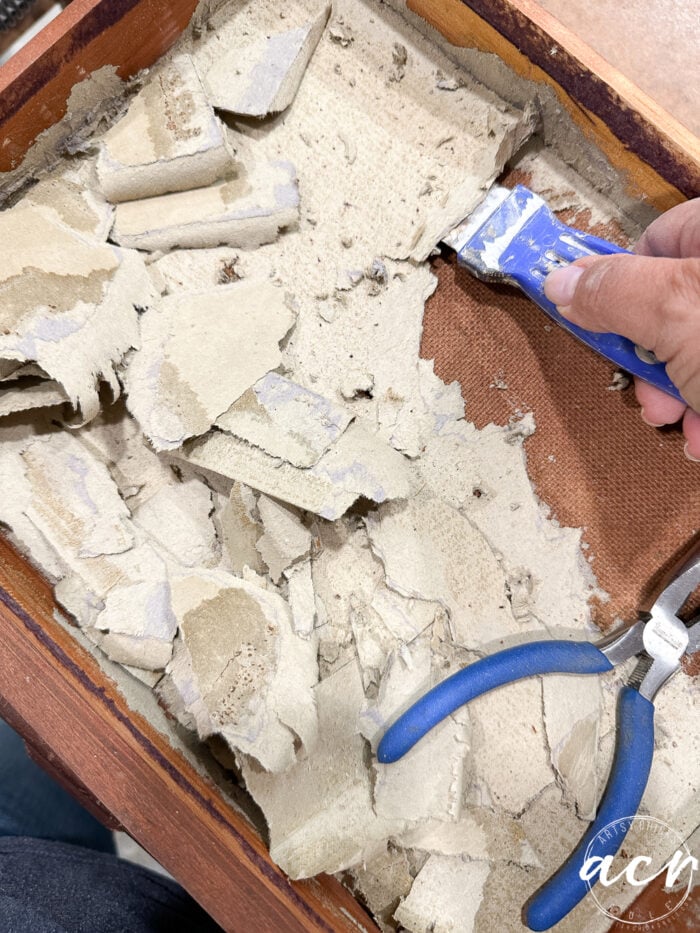
And of course, we all know by now how much fun these are to strip the insides of, right?! ha!!
Prefer to shop on Etsy? I have an Etsy shop also, here!
Love a flatware box makeover that looks nothing like a flatware box when you are done!
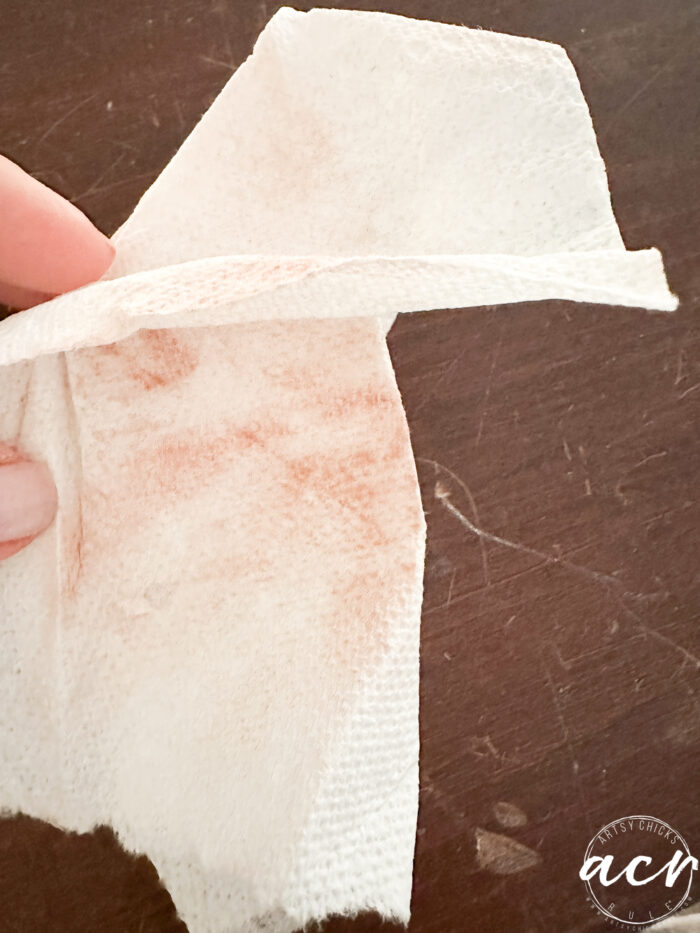
Unfortunately, it was a little wonky on both sides though. I used E6000 glue and clamps to put it back together. I thought I took a photo of that but couldn’t find it on my phone or camera.
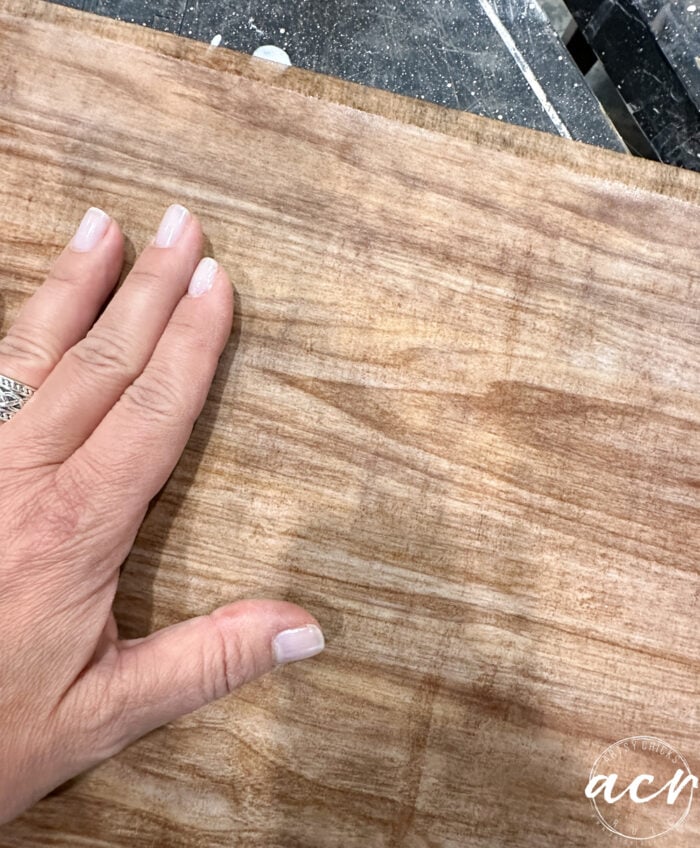
I gave it some sanding to smooth out those scratches and look at that red. Ugh.
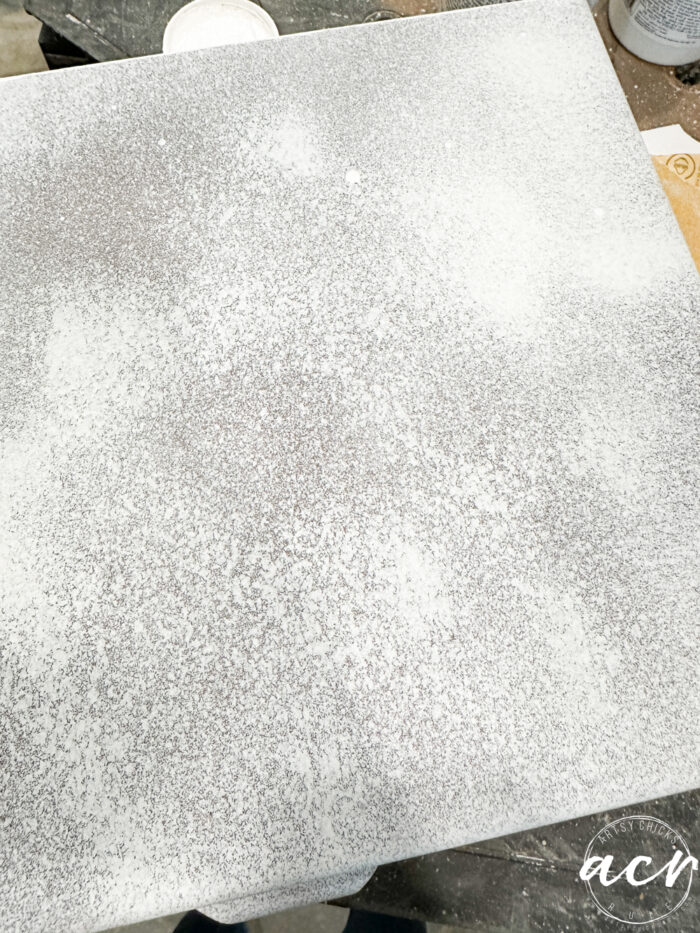
So I sprayed it with some Shellac-based primer before I painted.
I ran out but thankfully that was enough to stop bleed-thru.
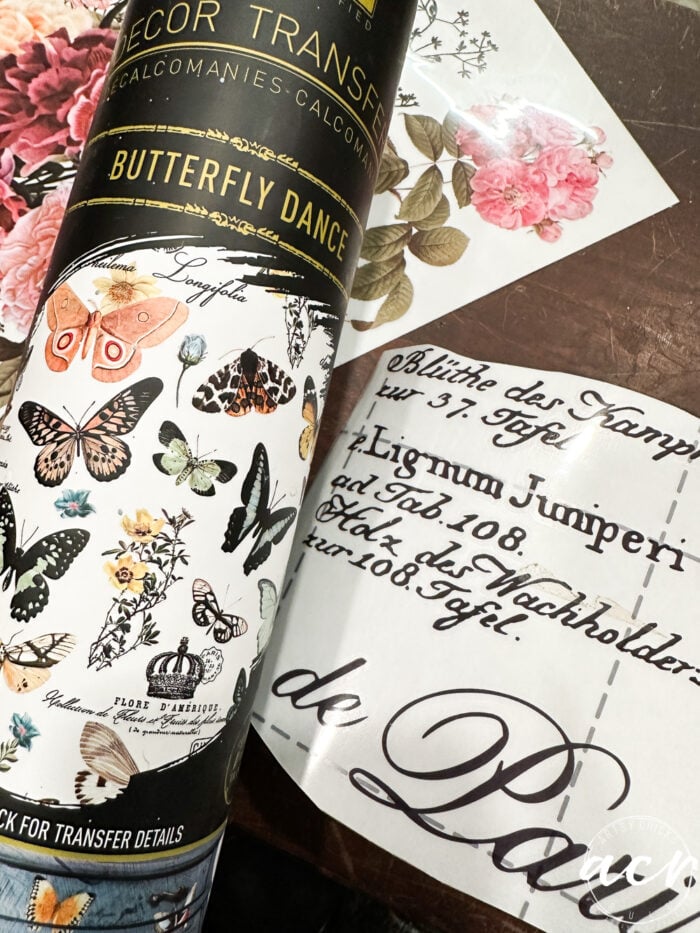
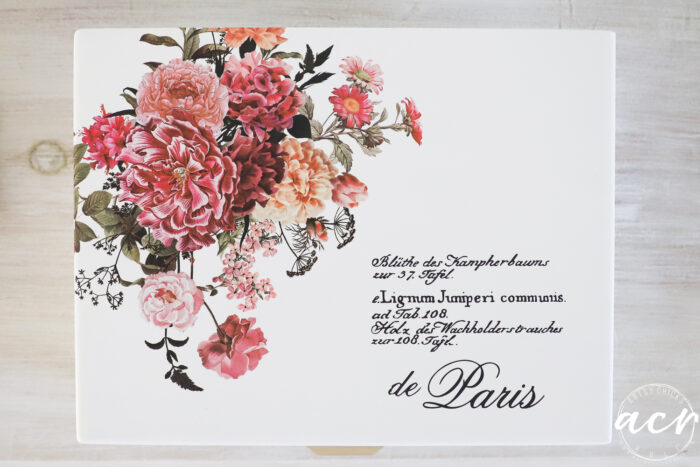
I painted it in our white, Picket Fence. Then I pulled out some transfers to use on it. From two different sets. (see “Materials List” box above for links to the products)
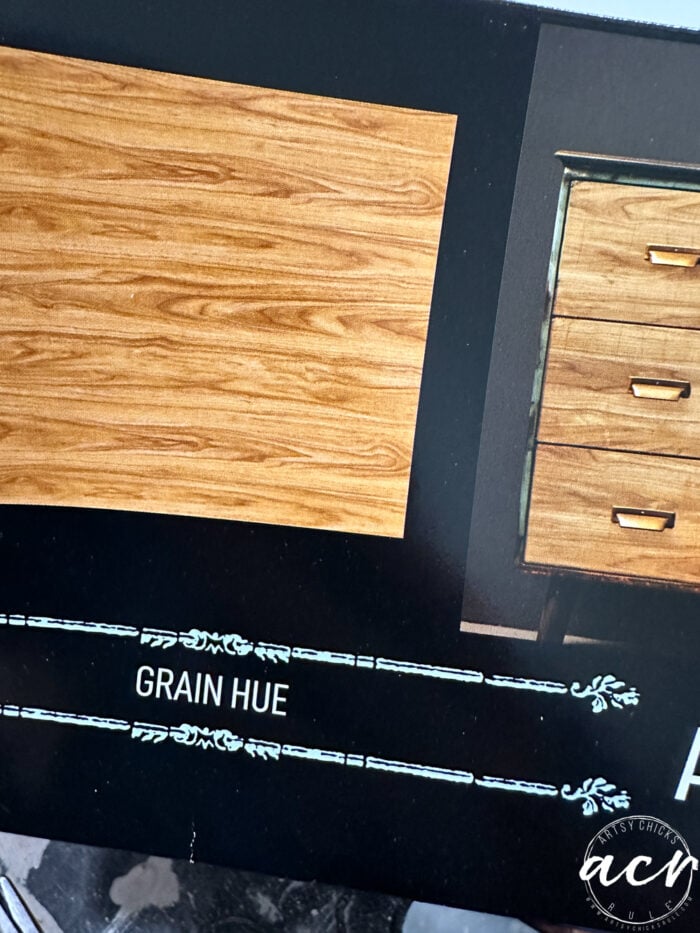
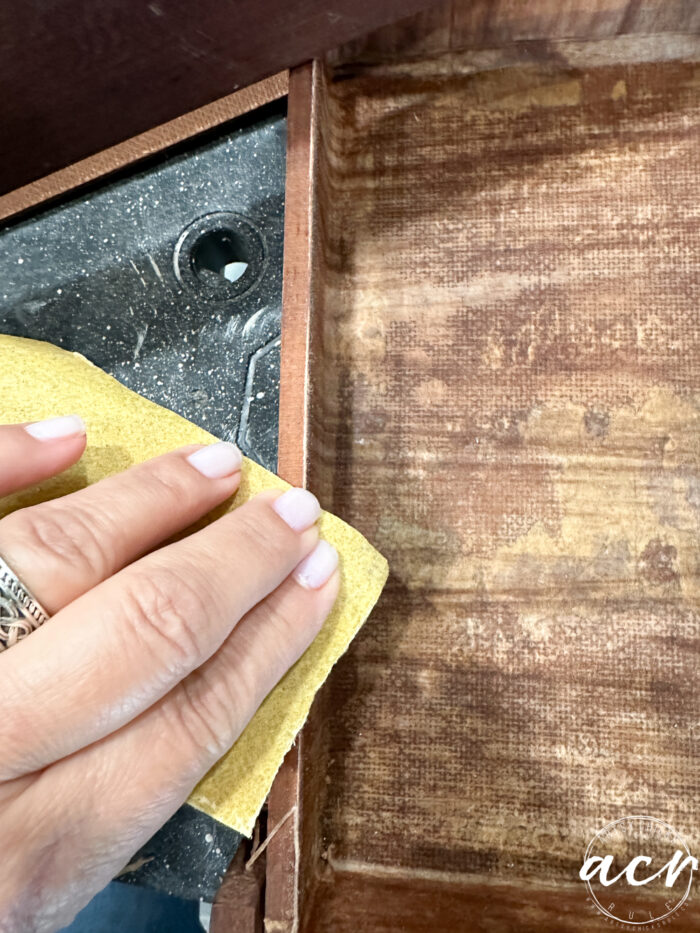
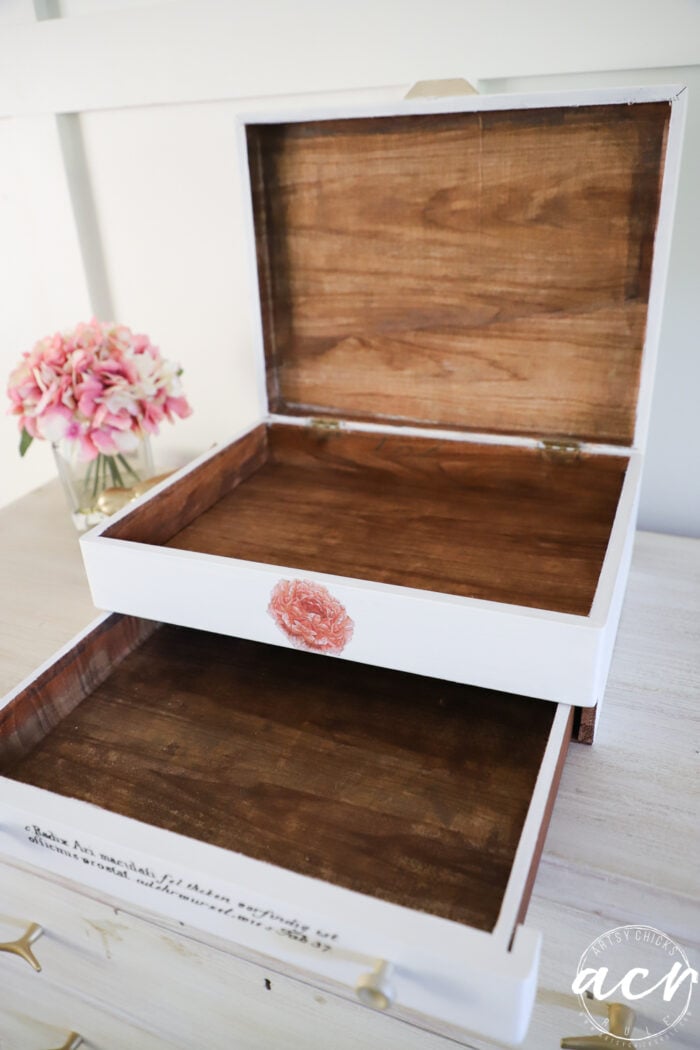
I’ve painted the inside of flatware boxes and also lined them in fabric. This time I decided to use this Decoupage Fiber Paper.
It’s a wood-like fiber.
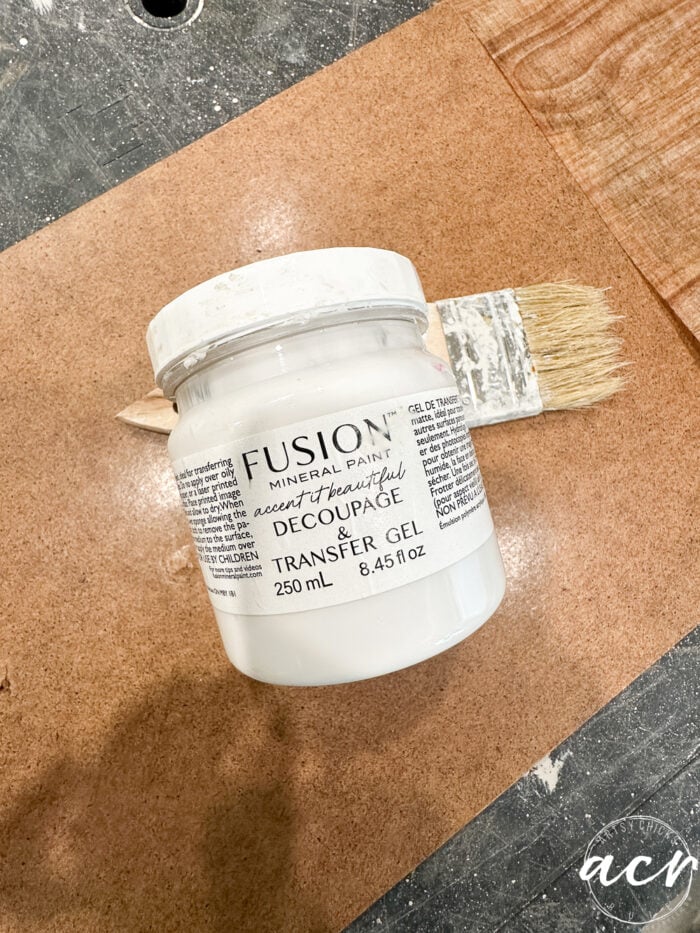
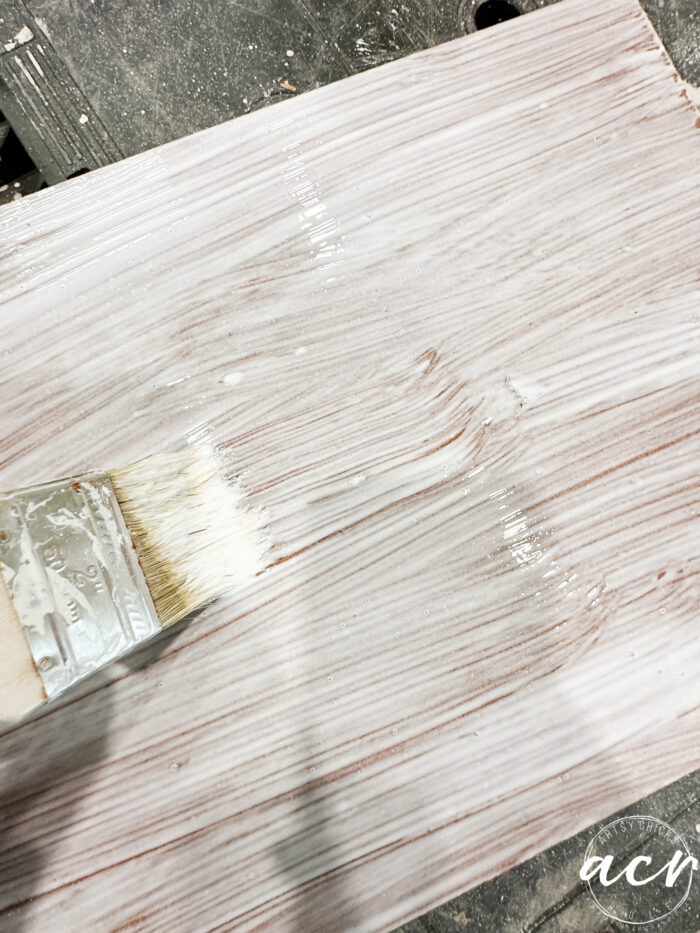
I used our Decoupage and Transfer Gel to apply it.
Once I had it all lined, sides and all, I used a piece of sandpaper (after it was dry, of course) to remove excess on the edges.
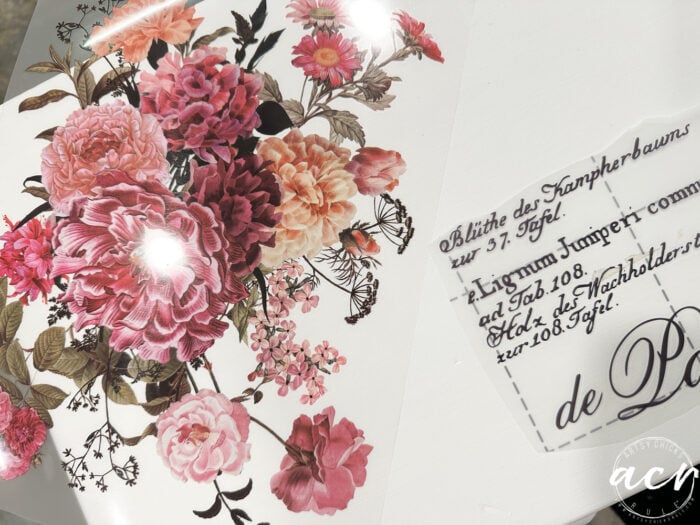
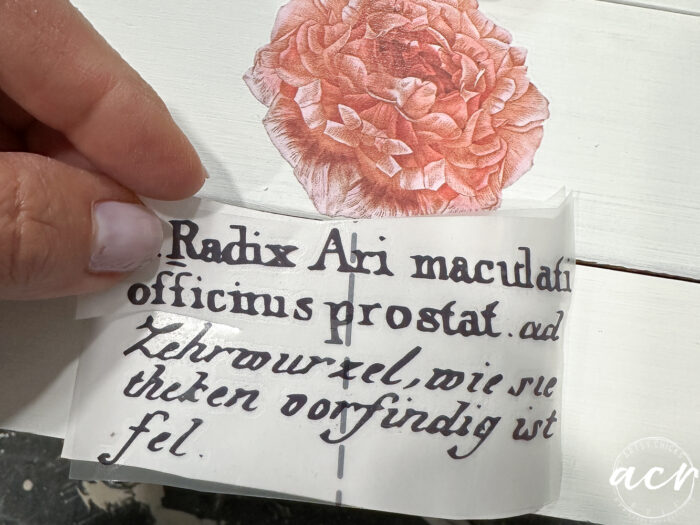
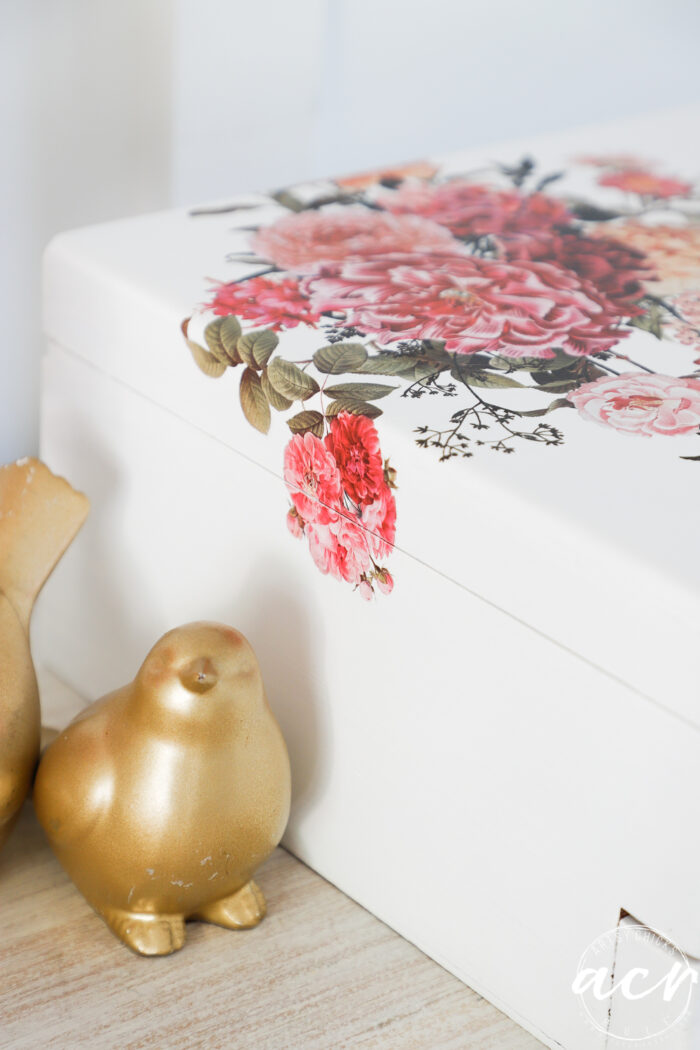
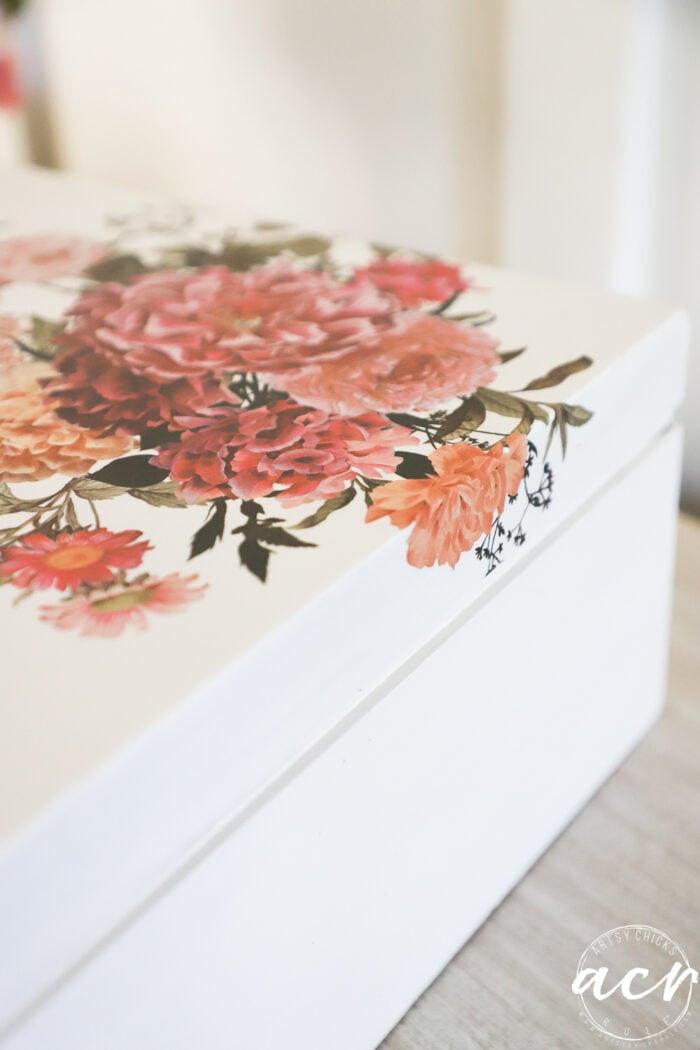
I decided to use these two pieces from different sets of decor transfers.
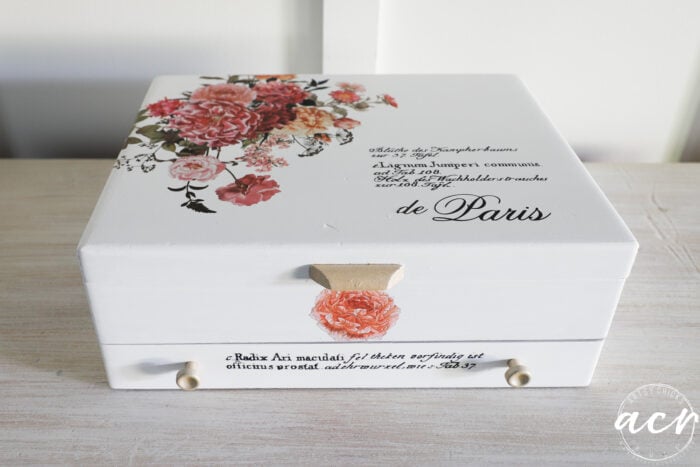
This is how I decided to arrange them on the top of the box, with the florals flowing over the sides.
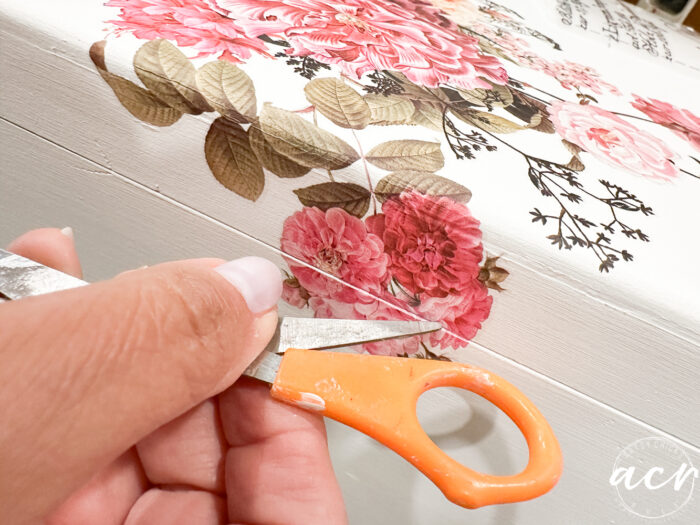
Simply and gently, cut through the transfer where openings are.
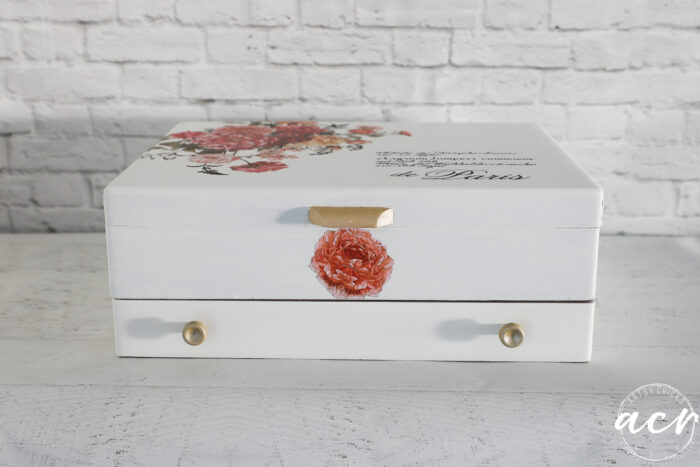
And ta-da!! Flatware box no more!
But whomp, whomp, whomp.
I started to take photos but felt like it needed more. I know, I know, most of the time, less is more.
But I took it back to the garage and added more!! lol
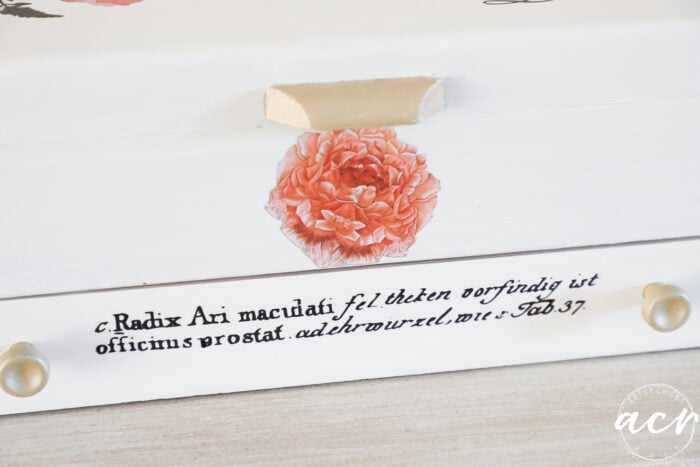
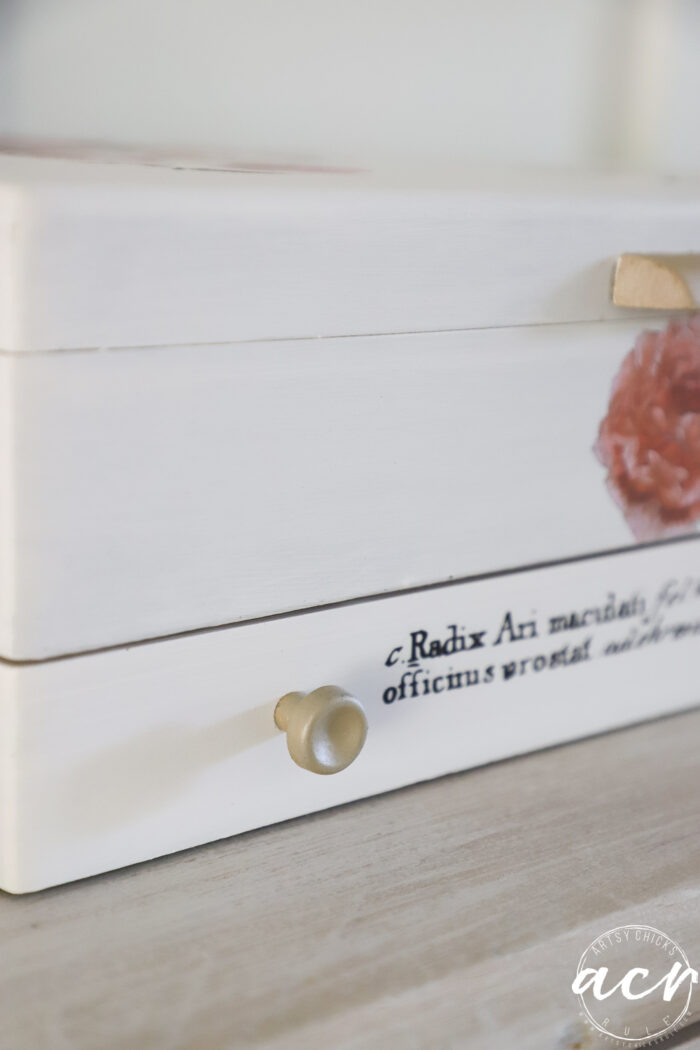
I cut up this piece and another one from the butterfly transfer to use below the flower onto the drawer.
And now…
I like it so much better with the addition of the word transfer on the drawer. It feels balanced now.
What do you think??
Like it better with or without that addition??
Up close of the “overflow”.
Inside.
It was more see-through than I thought. Next time I will definitely paint underneath a neutral shade to even things out.
Here’s where the transfer overflowed onto the back.
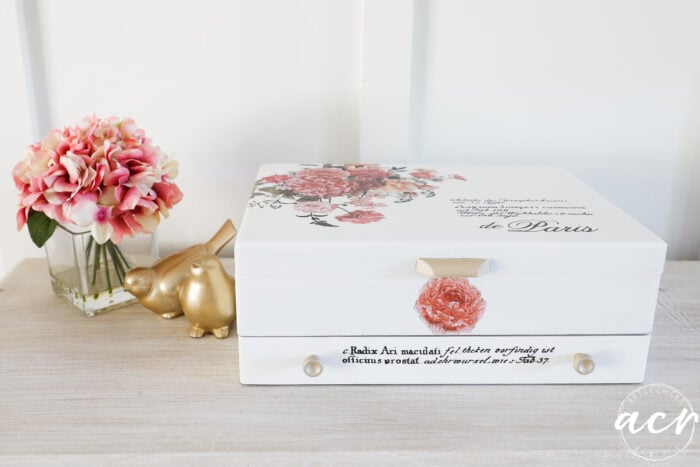
I forgot to talk about the knobs, I painted the wood one and these two metal ones in Gold Metallic paint.
So much prettier now!
And a great little box to keep all sorts of things in.
I love taking old things like this and transforming them into brand-new” useful items to use and love!
PIN it to save it!
Have a wonderful rest of the week! I may see you back here on Friday! Let me see what I can get done. ;) If not, have a blessed and wonderful weekend, friends!
Want to be inspired, learn new skills, discover all the tricks to furniture makeovers, creating new out of the old and more? You'll also receive my FREE ebook "Creating Fabulous Finishes" PLUS access to my private Printables Resource Library, too!
Sign up to get the Weekly Newsletter! Our emails include an unsubscribe link and you may opt-out at any time. Your information will *never* be shared or sold to a 3rd party.


")

")

")


")


Like the box with the extra wording. Difently more balanced. . 😉
Thank you, Karen! Yes! :) xo
Agree the added words really finished it off beautifully! I have a few of these old silverware boxes and now you gave me a plan for at least one!
I’m so glad to hear that! Thank you, Molly Jo! xo
So glam now, Nancy! Love when transfers go over the sides and that wood paper is really convincing, too.
Thanks, Marcie! Me too, that’s my favorite part for some reason! xo
It is so pretty. The added wording looks better.
Thanks, Susan! :)
Beautiful! Definitely, the words balance the design, for the ultra-discerning artistic eye, such as yours!
🌺Enjoy your lovely day.
Aw, thank you, Cheryl! Hope you have a wonderful week! xo
The addition was perfect!
Thanks, Carla! xo
3I like the addition of the lettering. Now it looks balanced. Good job, pretty box!
Yes!! Thanks so much, Caye! xoxo
Love, love, love it. The transfer is perfect for it and the addition just finished it off . You got talent, sweetheart!
Aw, thank you, sweet friend! xoxo
That is so darn pretty! As always!
Thank you, Joy! xo
I like the after, after. So pretty!
Yay! Thanks, Lizzy! xo
Very pretty ! It does look better balanced with the ‘add’.
Yes, I think so too, thanks, p!