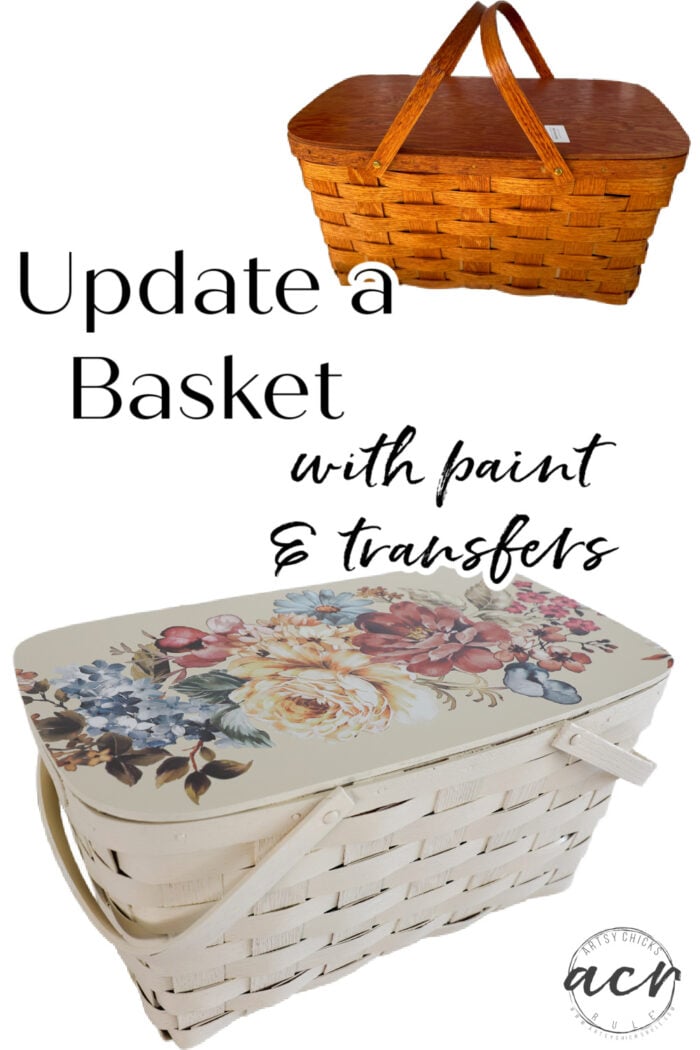
How To Update A Basket (with decor transfers)
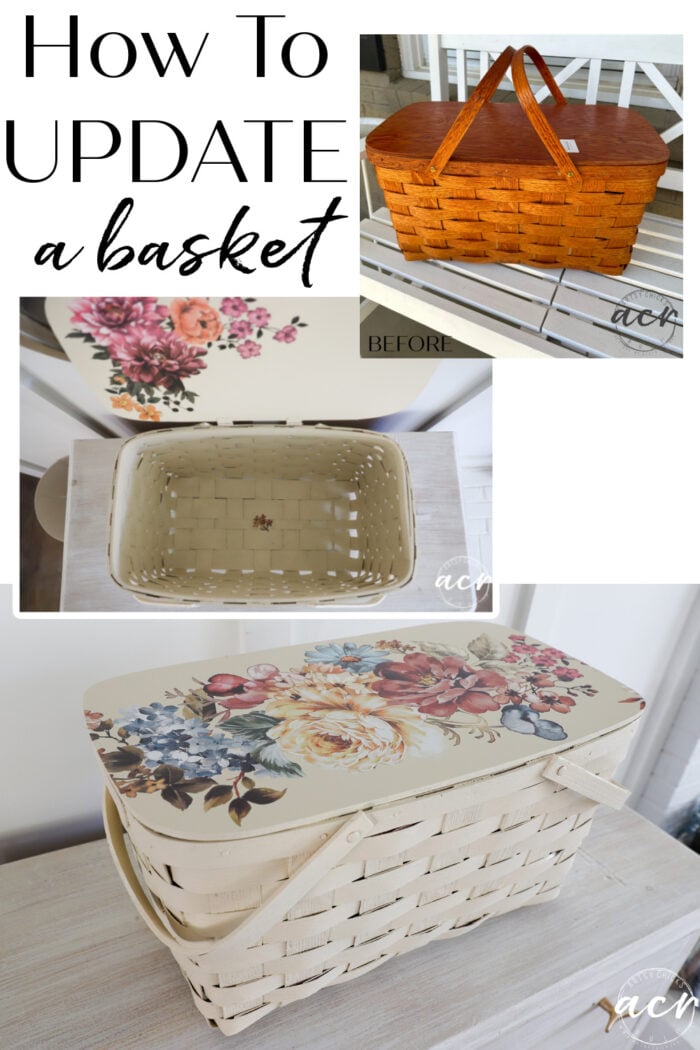
How to update a basket (with decor transfers) and paint! Take that dated old, orangey basket and make it beautiful instead! Easy!
Hello beautiful friends! Happy Tuesday, it’s Trashy Treasure day! If you are new here, Trashy Treasure Tuesday falls on the second Tuesday of every month. Three of my friends and I get together and share our thrifty treasures.
Today I’m sharing how to update a basket with decor transfers. And paint! Lots of ways you can update an old basket. I will share some of my other basket makeovers further down at the bottom of the post.
How To Update A Basket
Here she is “before”…
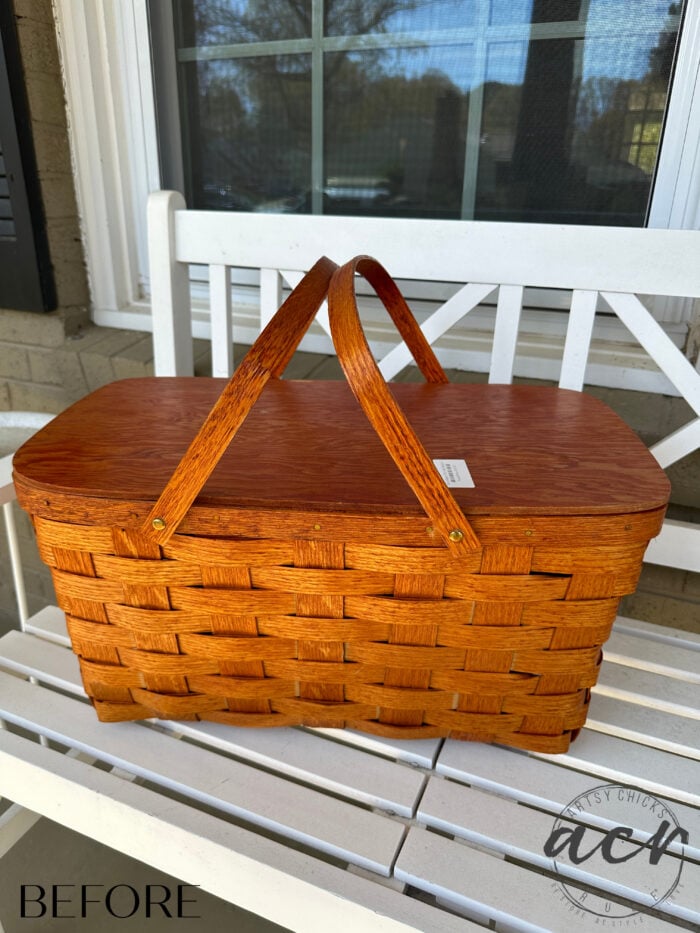
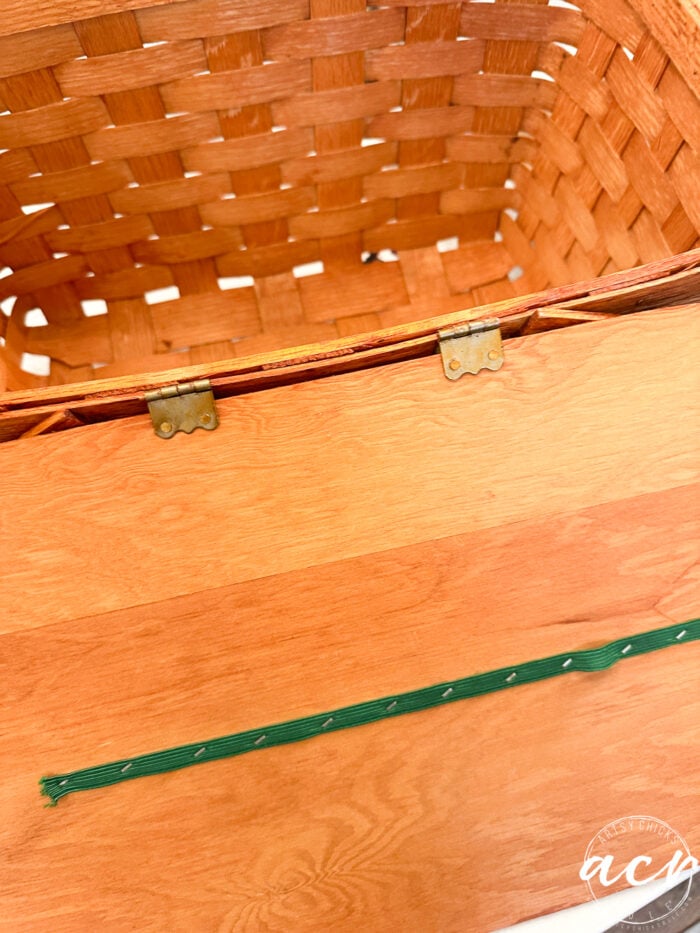
Not sure what purpose that elastic served but it had to go. It was $10 which is more than I usually try to pay for an old basket but it was a nice, sturdy one in great shape!
But VERY orange. (like many of them are but this one was really dark orange)
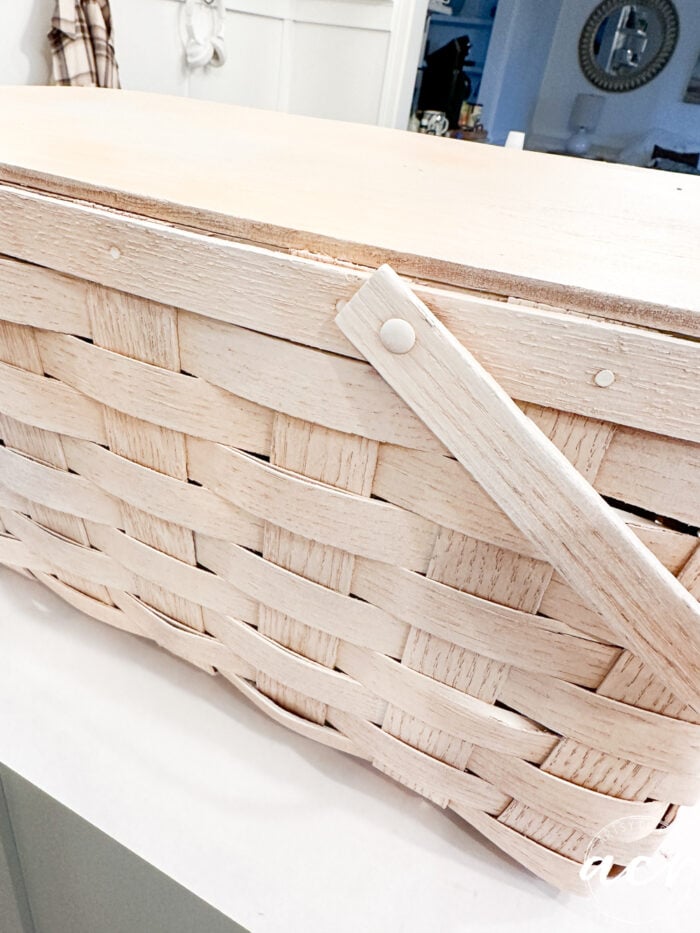
STEP 1 – PRIMER
And considering it was so darkly stained, I decided to use Bin Shellac-based primer to stop that stain from bleeding through my paint.
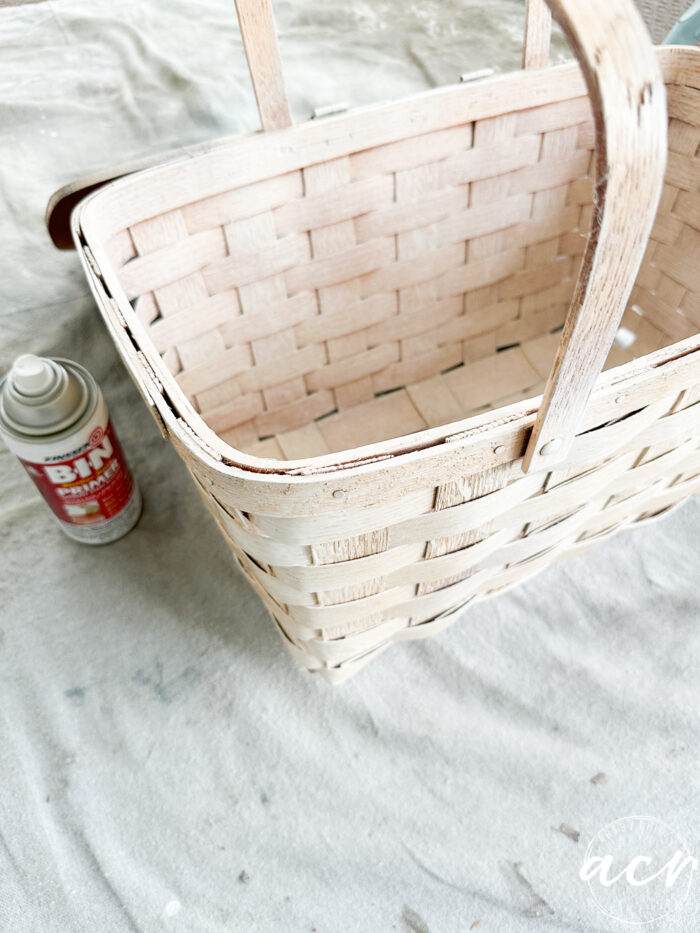
Which oddly looked like an amazing whitewashed color (because of the orange underneath). haha!
I mean, isn’t that pretty??
I’m itching to do another whitewashed basket makeover now. lol
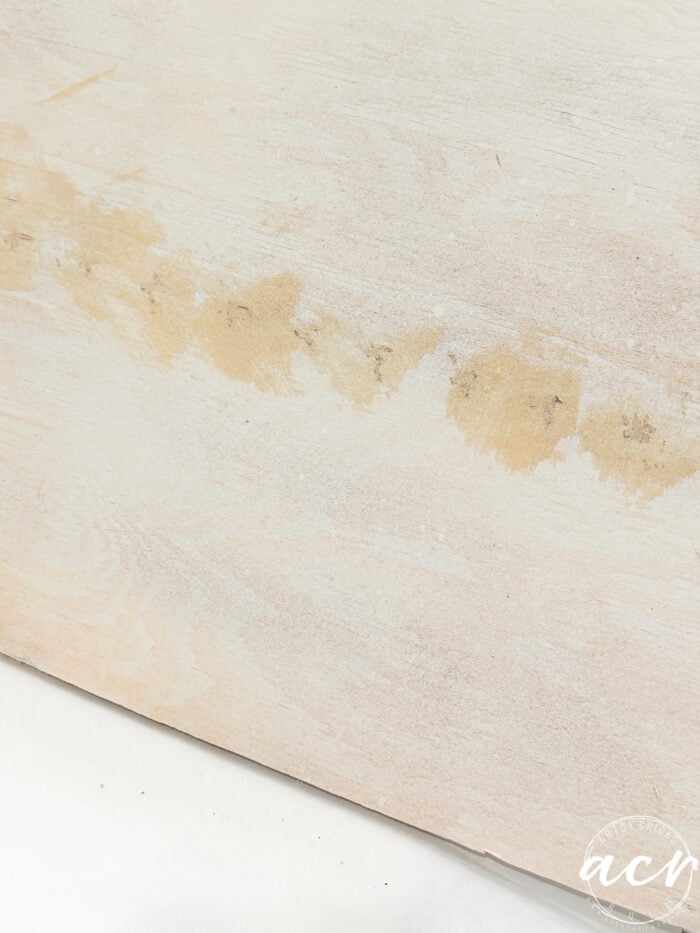
When I pulled out all those staples I was left with all these holes.
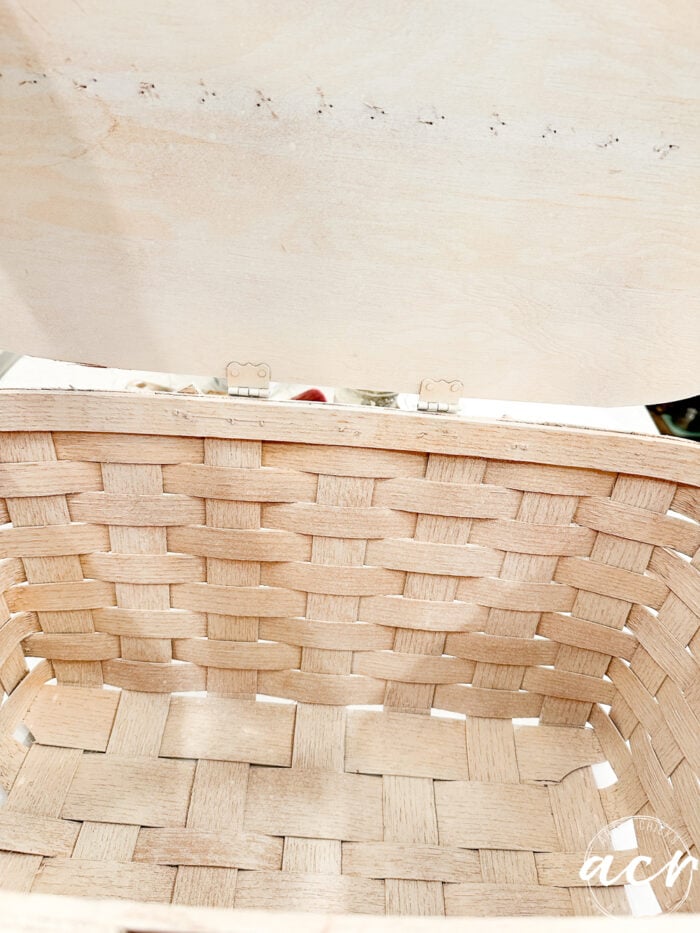
So I quickly filled them in with wood filler. Let it dry then sanded smooth.
MATERIALS SOURCE LIST
- Bin Shellac Primer
- Wood Filler
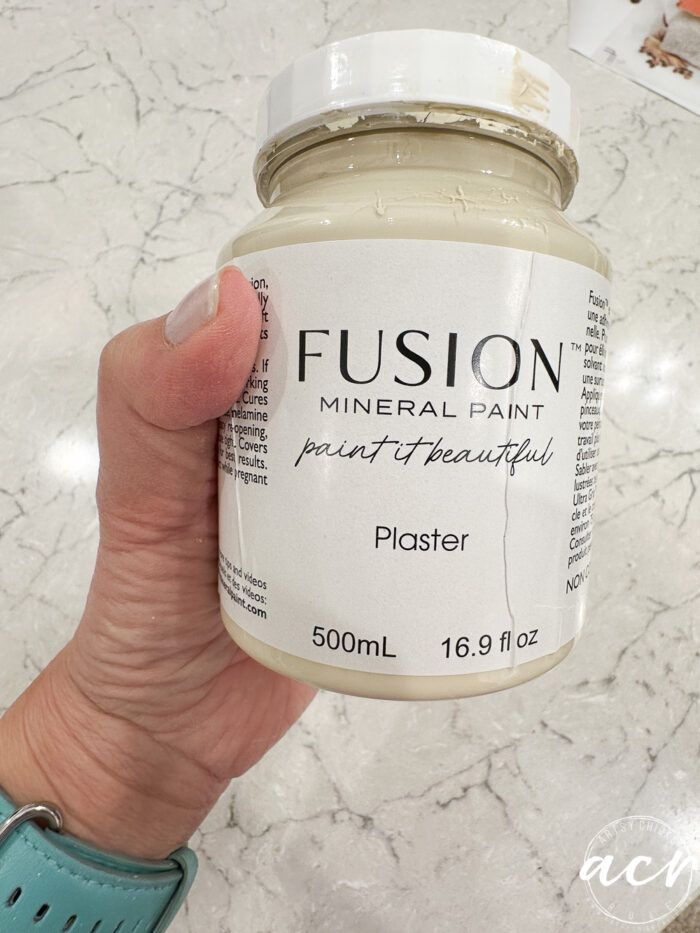
- Plaster Paint
- Paintbrush
- Ruby Rose Transfer
- Transfer Tool
- Polishing Pad
- Tough Coat Topcoat
Prefer to shop on Etsy? I have an Etsy shop also, here!
STEP 2 – PAINT
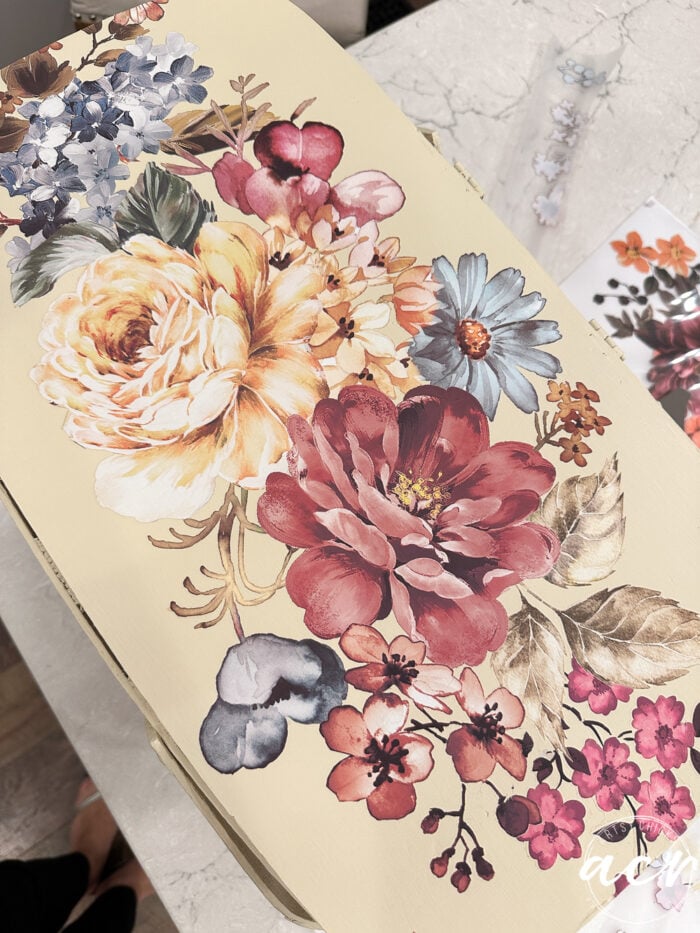
The color I’m using is Plaster, the most beautiful soft, sweet yellow shade. Perfect for spring!
I used this angled paintbrush because it was able to get into all of those flat basket-weaved areas well.
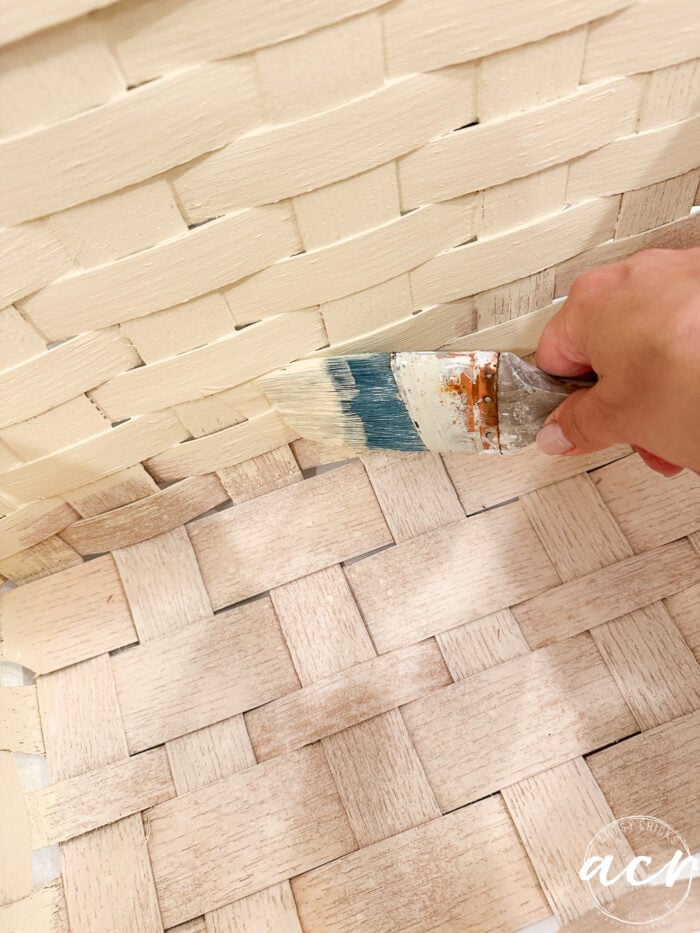
I applied one coat to the whole thing with absolutely zero bleedthrough and full coverage.
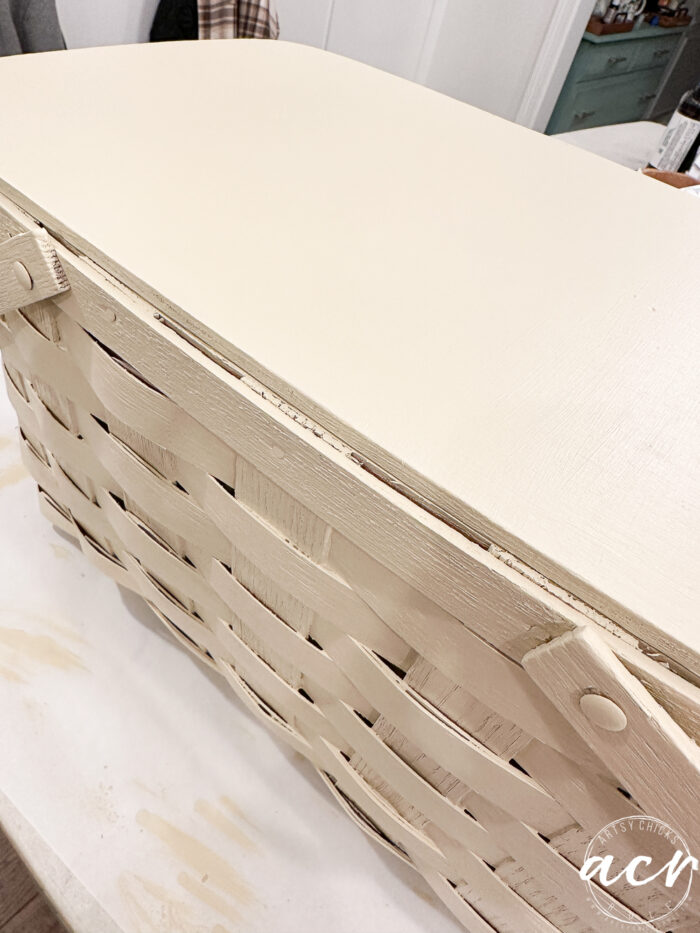
The top piece got two coats for extra coverage of the wood though.
Now let’s update the basket with transfers to kick it up a notch!
STEP 3 – APPLY TRANSFERS
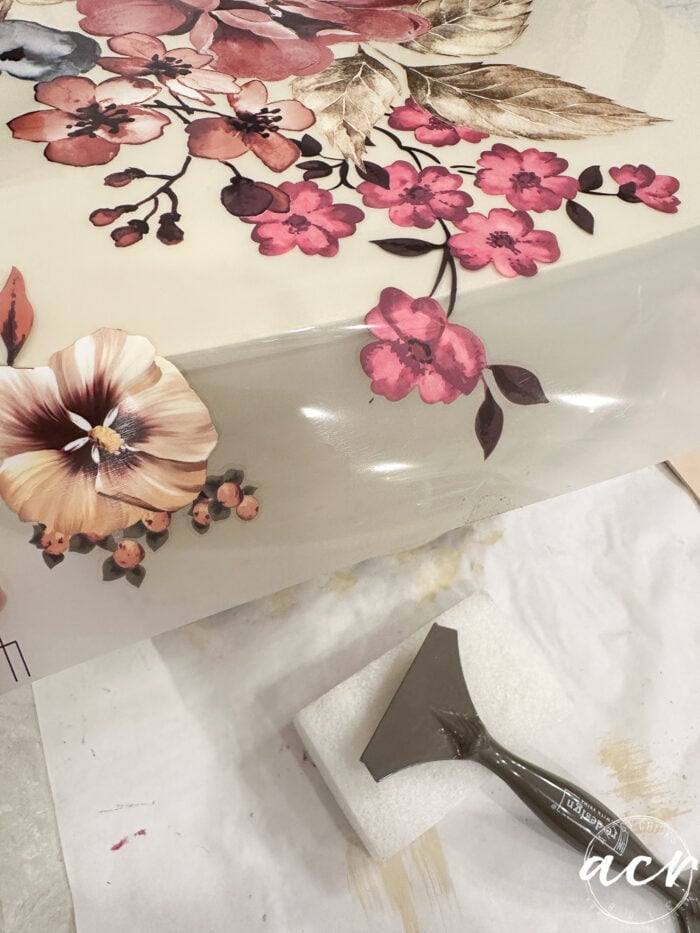
Once it was fully dry, I laid out a few transfers and decided on this one called Ruby Rose. It was one long one that fit (mostly) perfectly on the top of this basket.
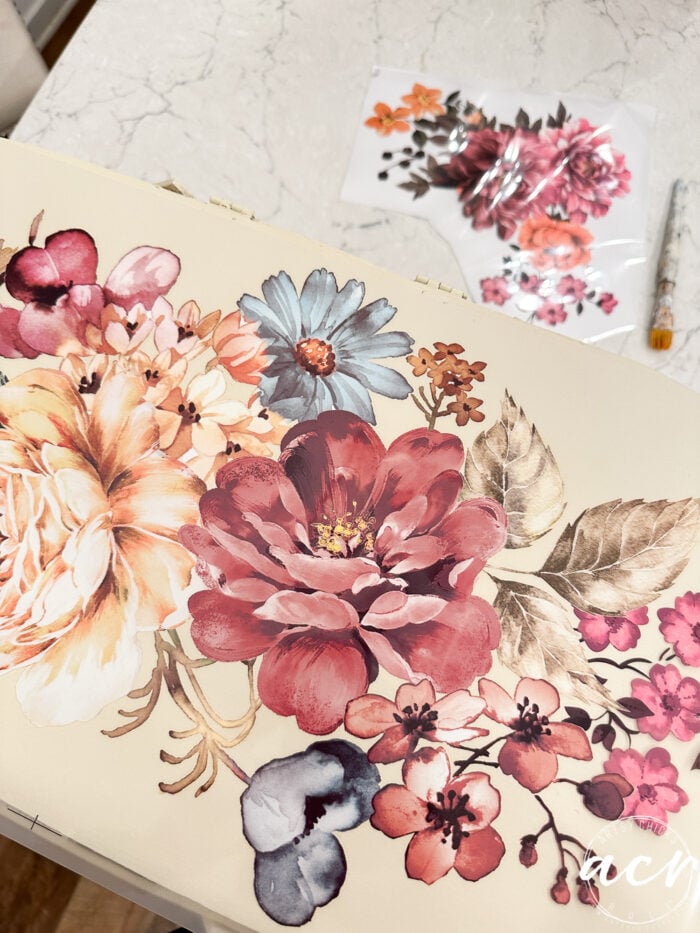
You can use the included wood transfer stick or use our Transfer Tool.
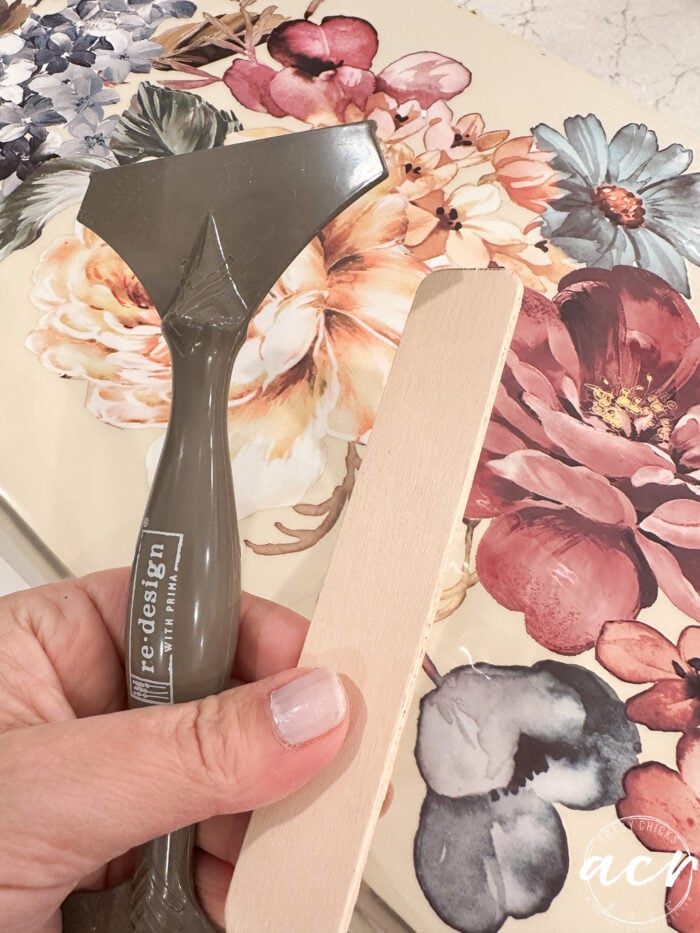
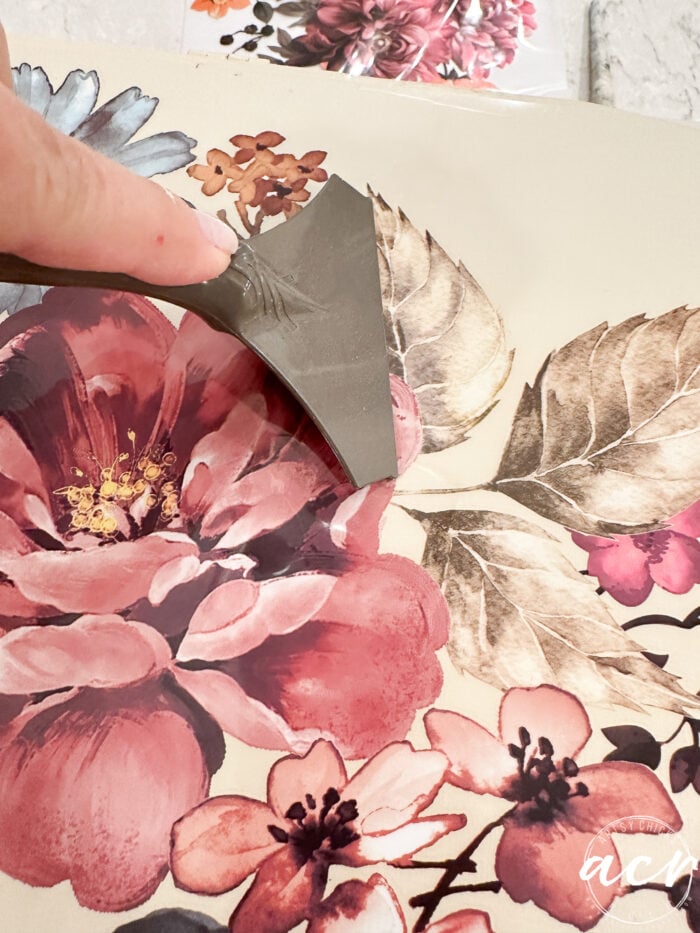
Just rub to transfer, then peel back the clear sheet as you go.
If you are new to decor transfers, take a look at this comprehensive post I just wrote all about how to apply them here >>> How To Use Rub On Decor Transfers (Tips & More)
Usually, I like to let the transfers flow right down the sides like I did on this recent basket update. “How To Paint Wash A Basket”
I considered it on this one…
But I decided not to do it this time.
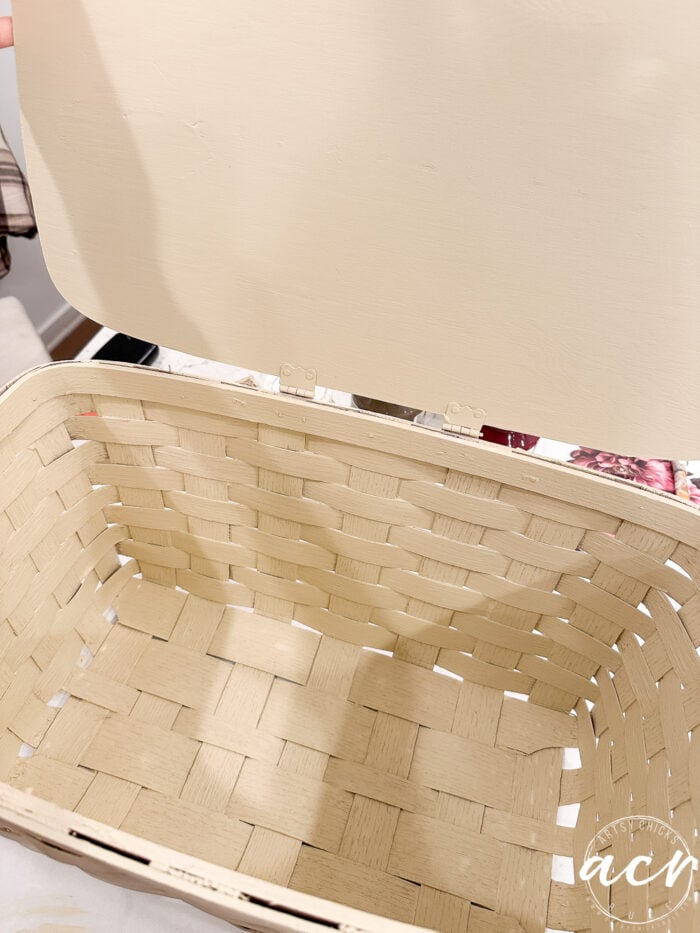
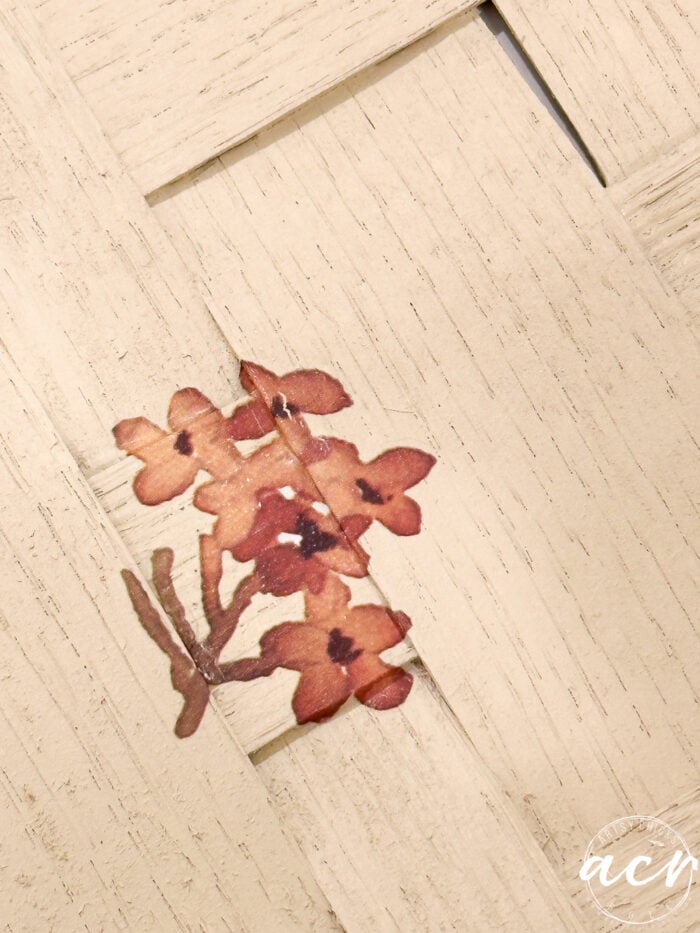
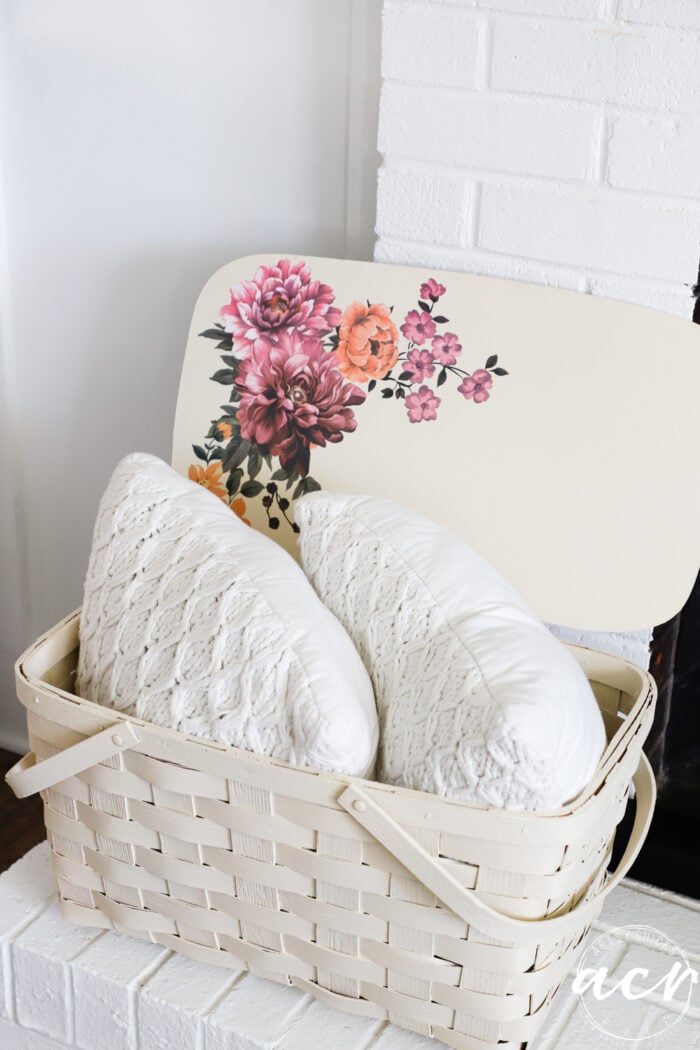
I had one other piece left over from this transfer and decided to use it here on the inside of the lid.
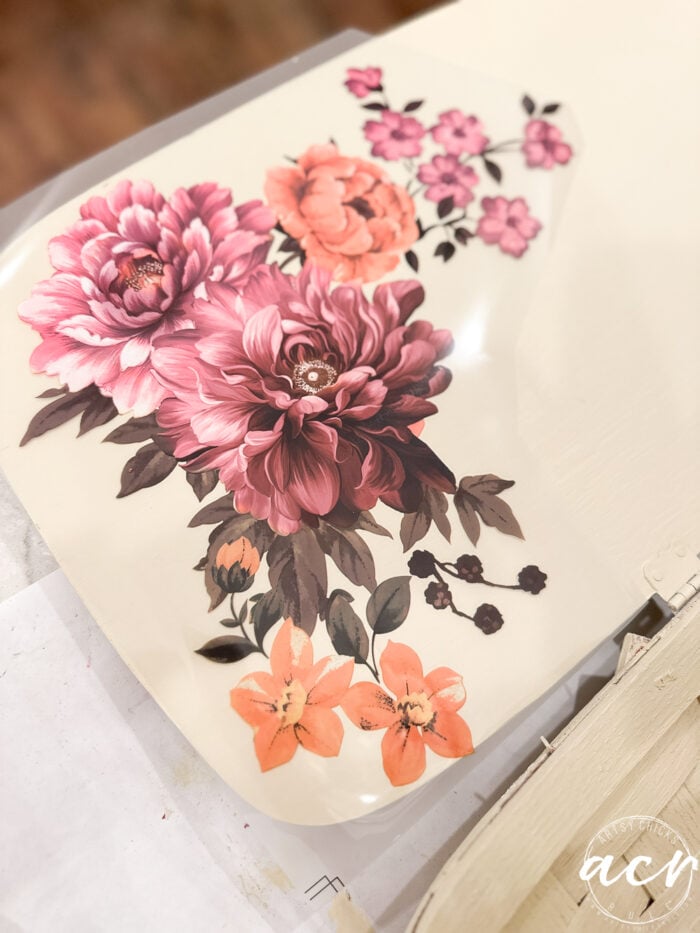
This little sweetie went right here.
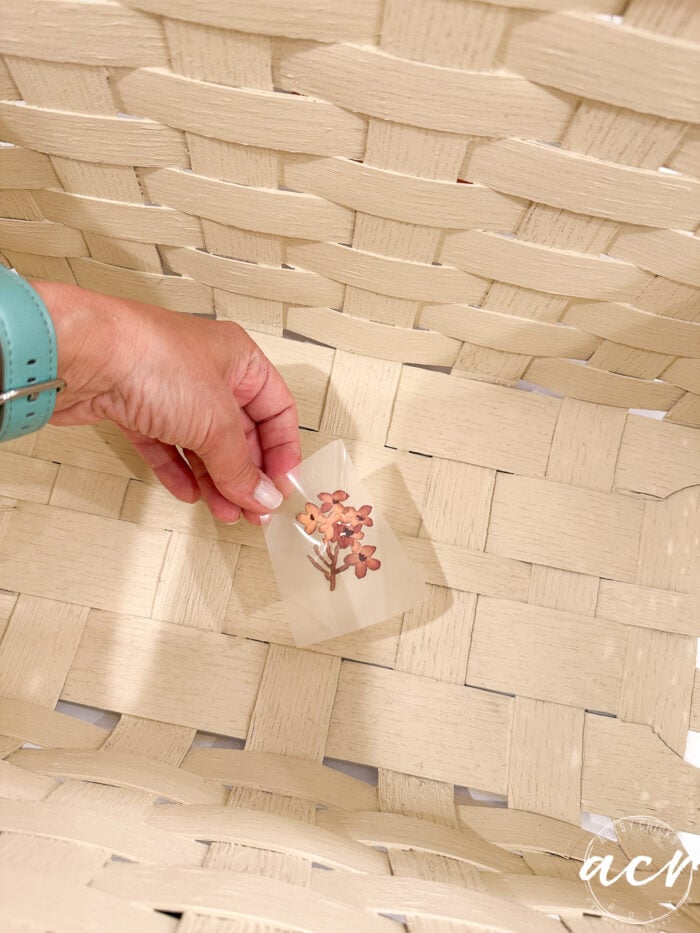
In case you are wondering how I placed it with all those bumps of the basket weaving. Let me show you.
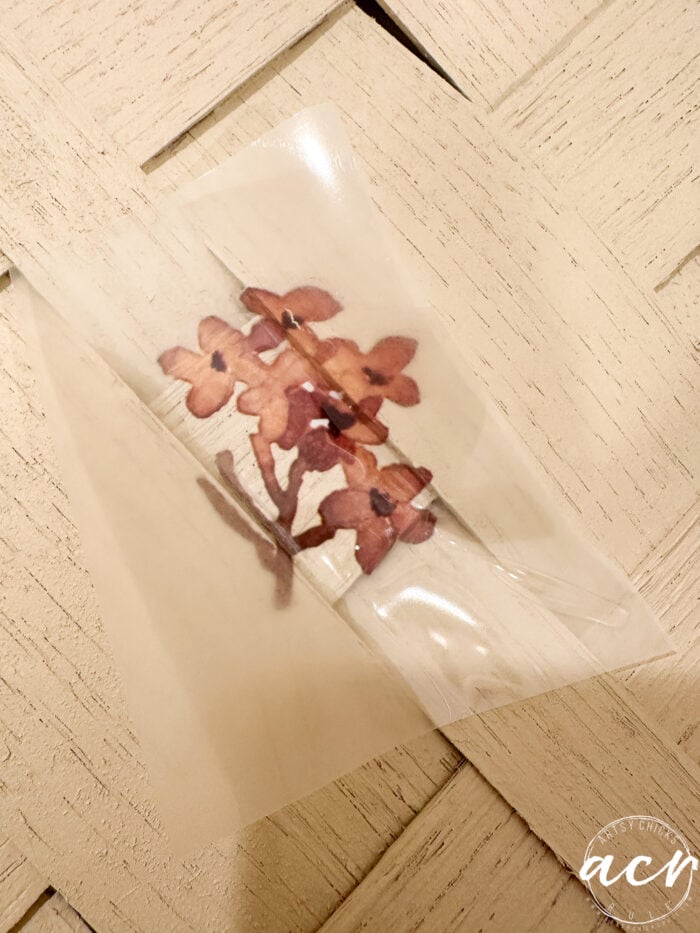
Just gently push the transfer where you want it to go. Simple!
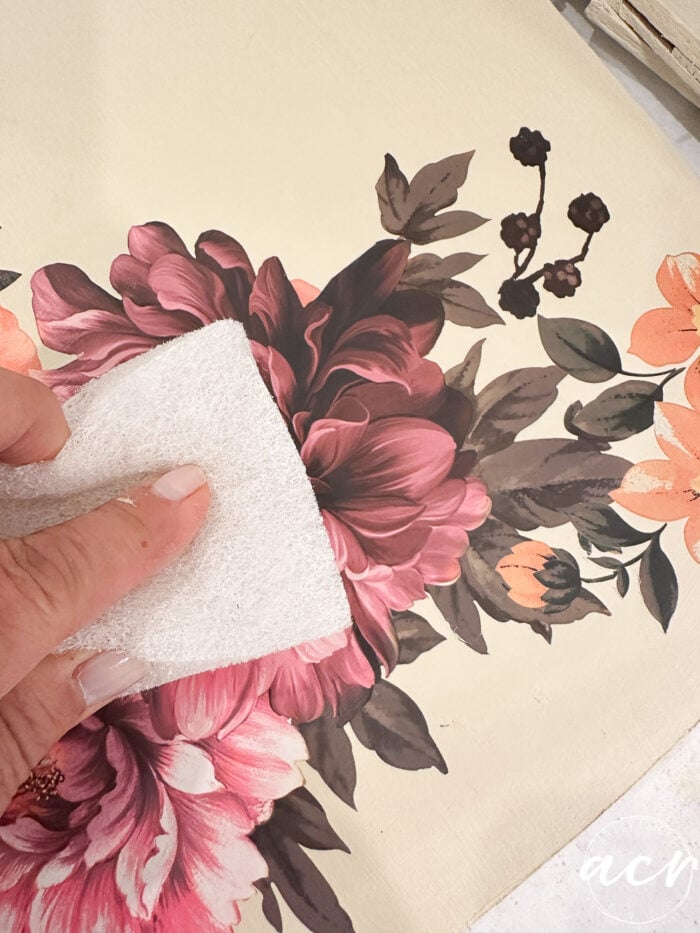
STEP 4 – BUFF/BURNISH TRANSFERS
Once that was all done, I used our Polishing Pad to gently rub out any bubbles, make sure it was all smooth, etc.
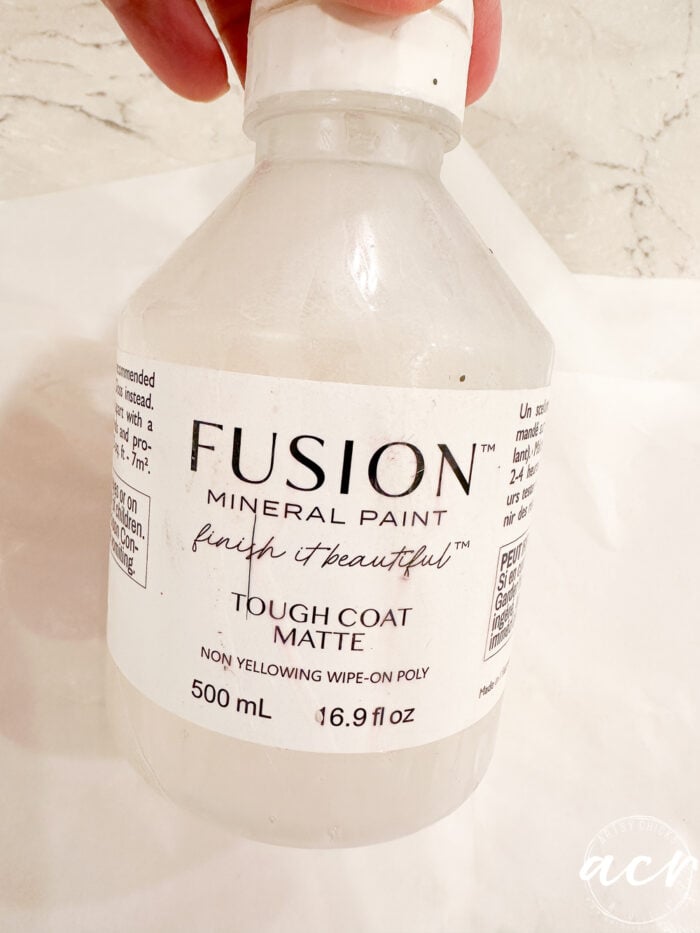
STEP 5 – APPLY TOPCOAT TO PROTECT TRANSFERS
Lastly, I added the Tough Coat Topcoat to seal the transfers. I only applied them where the transfers were, not the entire basket. Fusion paint is self-sealing so it is not necessary. But I did want to protect those transfers.
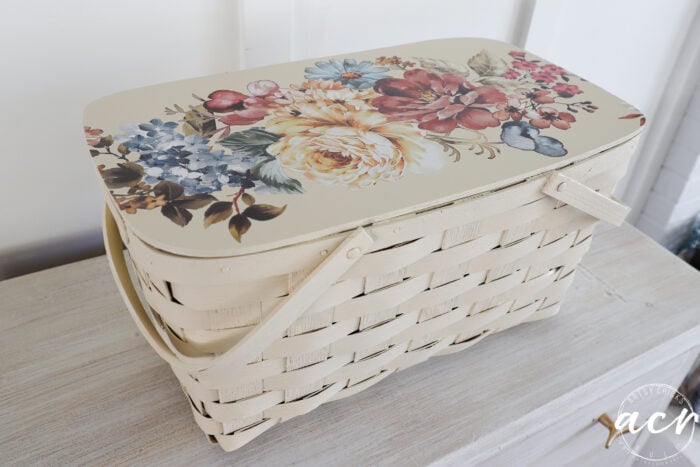
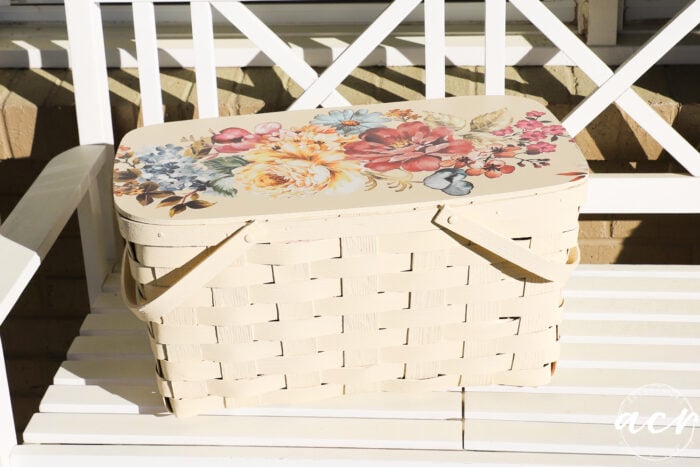
The Updated Basket Reveal

It’s similar to the one I linked earlier but different paint color, etc.
I fell in love with that one but it found its way to a new owner with one of my giveaways.
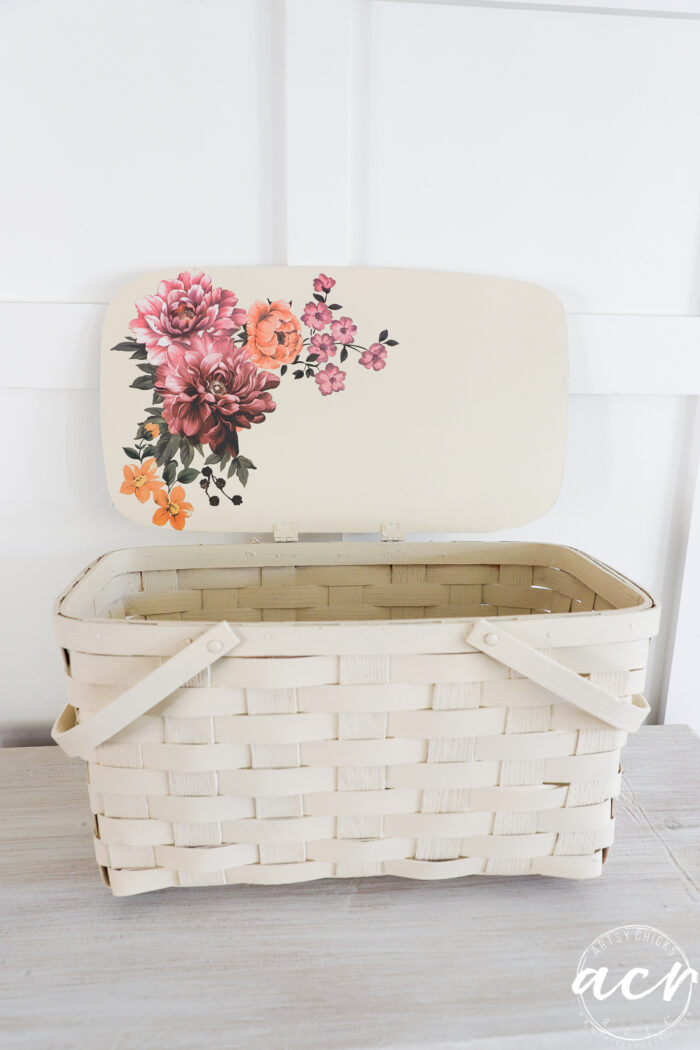
I love adding a “surprise” on the inside when you open it.
But wait, that’s not all!! haha!

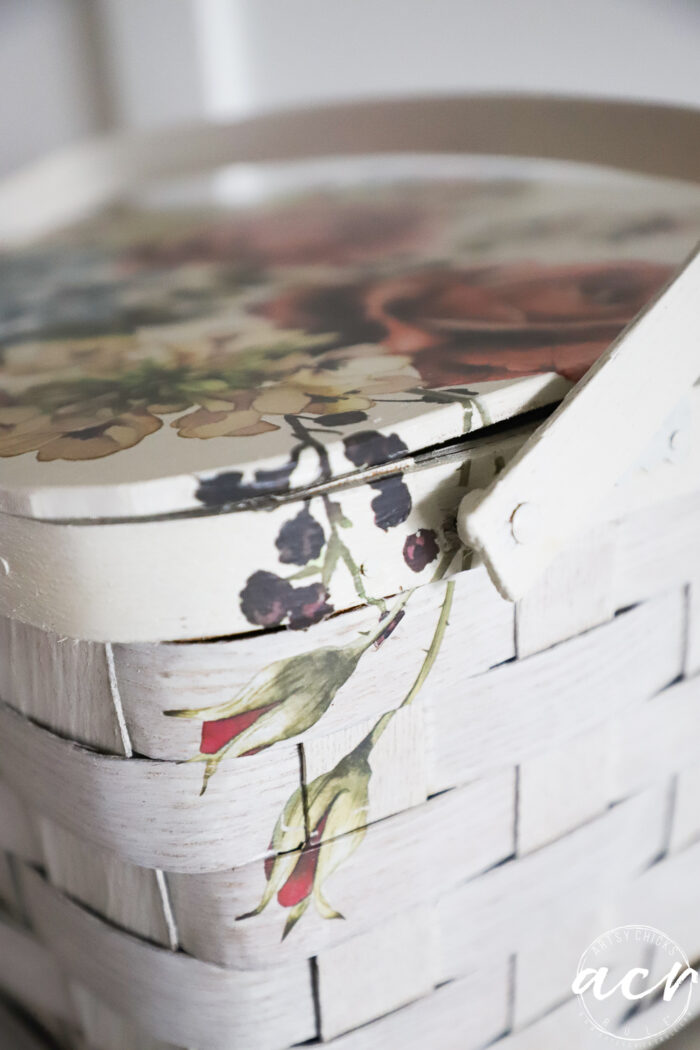
And one on the bottom too.
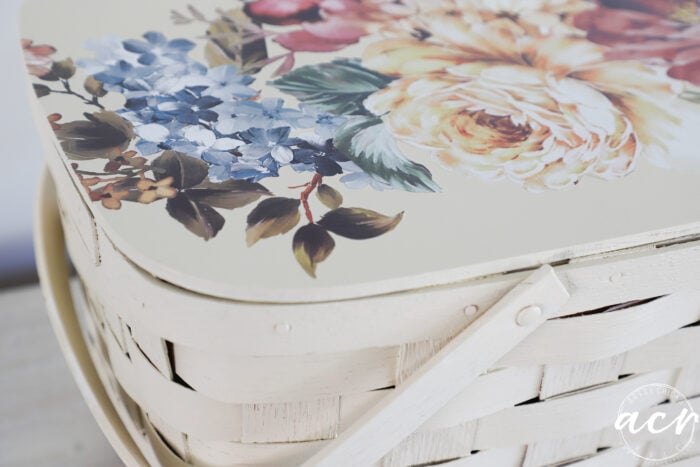
No flowy overlap this time though! I kind of like the clean look of it stopping right there though. Nice for a change.
The top.

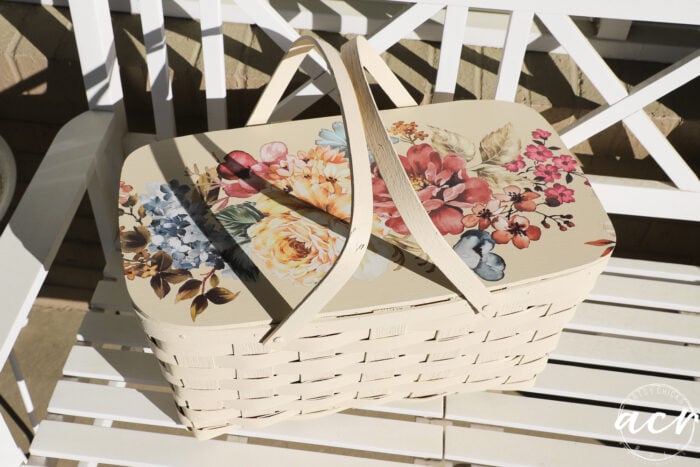
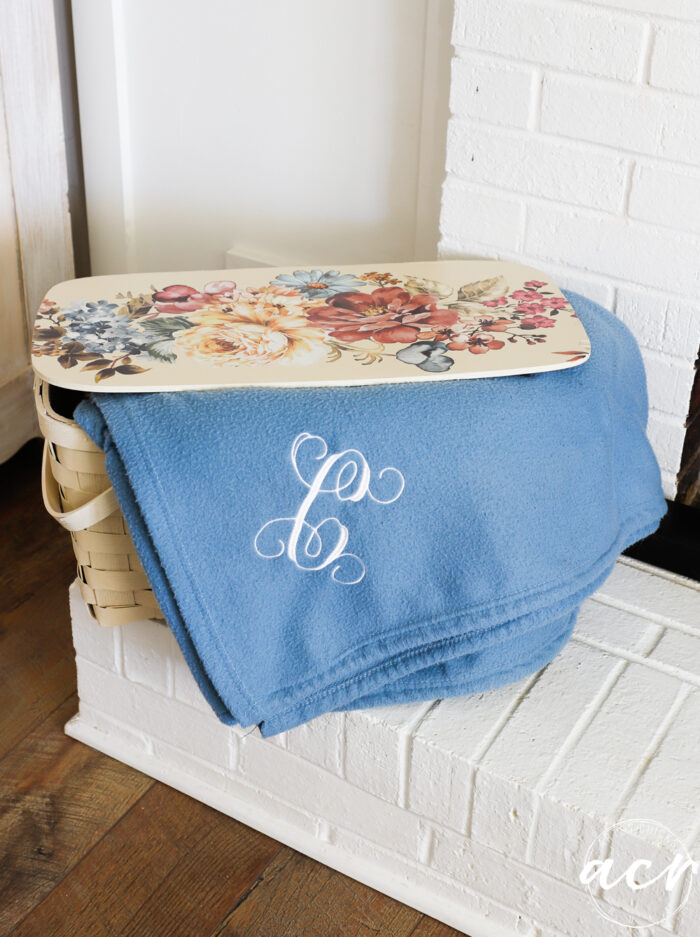
What could you use a large basket like this for? Lots of things really.
You could pack it up and make a picnic lunch with it.
Use it for blankets.
Or extra throw pillows. (open so you can see that pretty lid)
What would YOU use it for??
Here are a few other basket makeovers:
- Old Basket Makeover (great gift idea!)
- Basket Makeover For Spring
- Summer Basket Wreath
- Basket Update For Spring
- Dry Brushing Basket
- Longaberger Basket Makeover
- How To Paint Wash A Basket
PIN it to save it!
Hop on over to visit my friends’ makeover next!
I hope you have an amazing weekend! I am in one of my favorite places this week…Anna Maria Island! Yippee! See you when I get back! (if you want see some of this area, check out my past visits and posts here)
xoxo


")
")


I have a heart for picnic baskets – this is beautiful. :)
Thank you, Larissa!! xo
Hi! Love the basket makeover! This looked like the one my Mother used for our summer picnics and park outings. Very nice memories ❤️ Just a mention: the elastic with the small lengths sectioned off is to hold your silverware or plasticware securely.
A Reader—Cheryl in Texas
Thank you, Cheryl! Oh, that’s a wonderful memory! And yes, that makes so much sense. I didn’t even consider that, thanks! xo
The strap was for utensils! That was a classic picnic basket of mid century. It hurt a little to see you pull out the strap. 😥
Aw, yes, I understand, Lisa! I had no idea.
It’s so pretty now, Nancy! Just painting it makes such a difference, but that transfer takes it to another level.
Thank you, Marcie! Yes, doesn’t it?! Paint is my favorite. (the transfers are great too but paint is the magic!) :)
Beautiful update! Hope you are enjoying your time away! XOXO
Thanks, Christy!! Yes, I did! xoxo
I was surprised at how awesome it looked right after the BIN Primer too…lol. You brought it to a new level Nancy. This basket is beautiful! XOXO
I know, right?!! I was like, hmmm, can I leave it like this?!! haha! Thanks, Denise!xo
So pretty! Love how you did the transfers.
Thank you, Debra! Transfers are so much fun to play with! xo
It looked soo much better after just the primer ! That pale yellow is so soft – it’s a great spring refresh for sure. The transfer added such a pretty detail.
Very nice.
It really did! I almost considered keeping it like that! It really is such a beautiful color for spring. :) xo
Oh, Nancy! I love that basket! WOW! What a make-over, huh???? Well being so large it’s good for everything – but what I would use it for is to hold all my Tea Time magazines – I keep them b/c I am a tea party gal and it gives me inspiration and recipes and I cannot part with them.
Thank you, Michele! It is a large one, lots would fit in it. But oh, that is the perfect thing for this basket!! Love that! xoxo
So adorable Nancy! I love it .
Thanks, Darlene!! :)
Absolutely amazing transformation.
Thank you so much, Renee!! xo
So pretty! I love the pale yellow with the transfer. Makes me want to try transfers, maybe on a thrifted tray I have. Thanks for sharing!
Thank you, Vicki! Yes, you should! That’s the perfect thing to try them on too. :)