Old Basket Makeover (DIY Gift Idea!)
Don’t pass up those old baskets at the thrift store! Bring em home and give em a basket makeover they are worthy of. Old is new again!
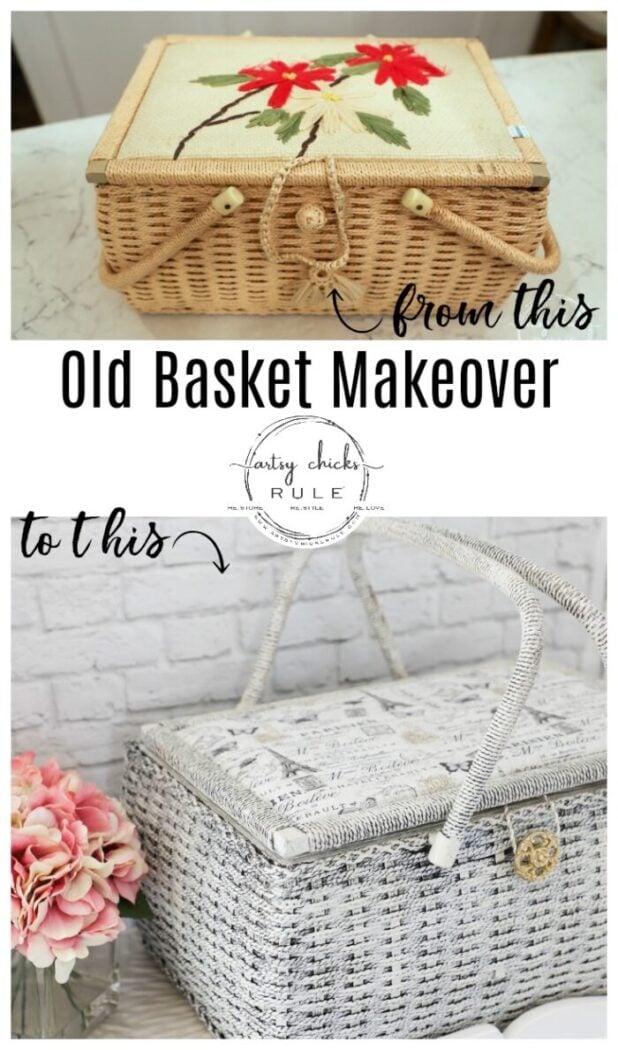
Hello friends!
I’m so excited to be sharing a brand new project with you guys today and joining up with a bunch of fabulous bloggers who are also sharing all kinds of Christmas/holiday goodness! (be sure to scroll all the way to the bottom so you don’t miss em) My friend, Leen, from Sand Dollar Lane, put this wonderful tour together and if you are hopping over from KariAnne at Thistlewood Farms, welcome!
Are you ready for the holidays??
Have you bought all your gifts? Do you have someone hard to buy for? Love making homemade gifts? Or maybe just want to keep it budget-friendly.
I’ve got ya covered today!
Homemade, unique and thrifty. Win!
Old Basket Makeover (great gift idea!)
I found this old sewing basket at the thrift store for $4.25. Here is what it looked like when I found it.
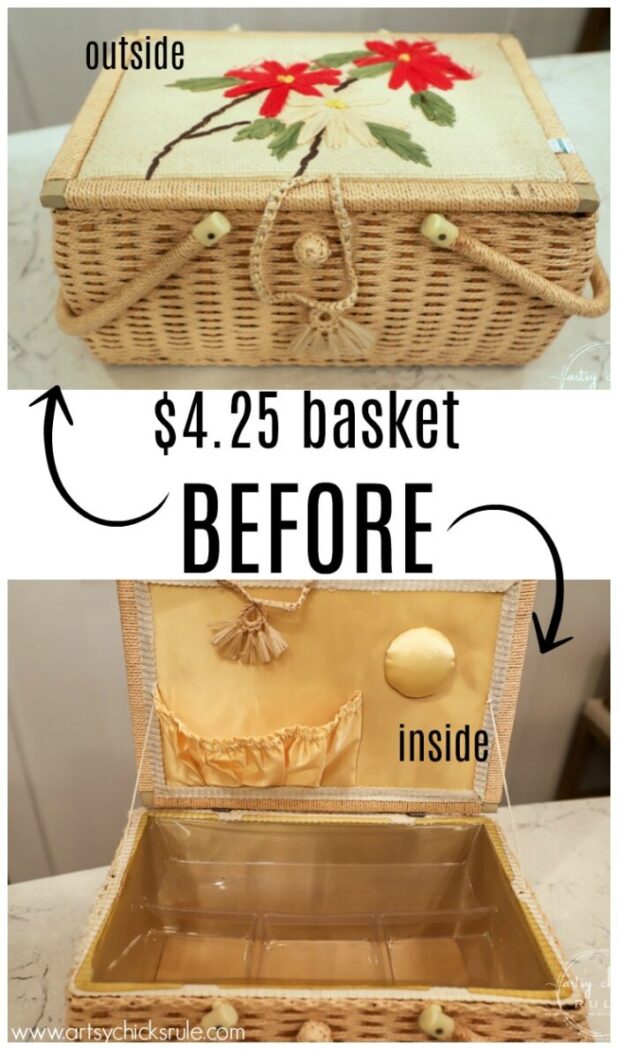
A little worse for wear but hopefully it served its purpose for many years before ending up at the thrift store.
I’d bet whoever owned it would never guess it would end up looking like this.
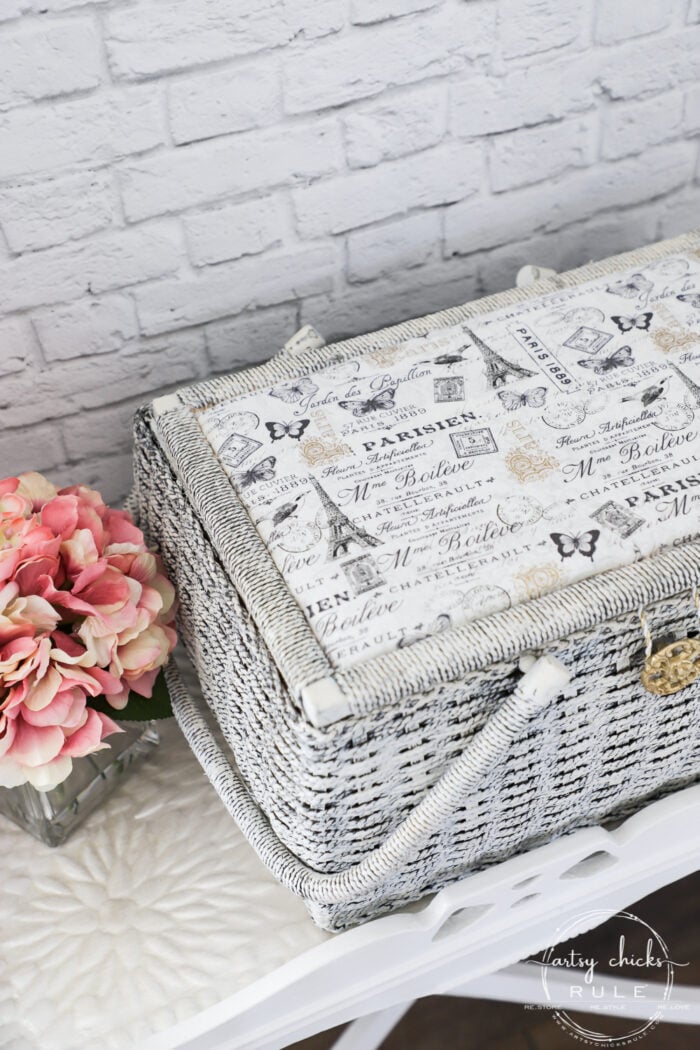
What a difference.
Now, before I begin the full tutorial on how I got it looking like this, let me tell you this one was not one of my usual “quick and easy” projects.
That’s not to say it wasn’t easy, it was, it just took a little more work than most of the projects I do. It also took more time.
I spent most of this past Sunday afternoon making over this old basket.
MATERIALS LIST
- French Style Fabric (similar)
- Mod Podge
- Gold/White Cording (Michael’s)
- Gold Knob
- Ivory and Gold Ribbon (Michael’s)
- Black Spray Paint
- Dixie Belle Drop Cloth
- Rustoleum Sealer
I started by trying to find a way to remove the top section so I could recover it with fabric. (top right photo of the inside top, below)
But it just wasn’t to be. It was glued in SO well I decided to leave it in.
So I got to cutting the flowers off the top. (top left photo)
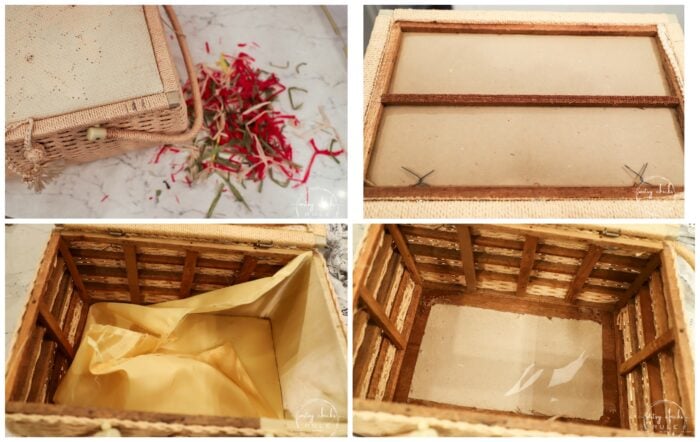
Then I removed the yellow fabric from the inside. That was a little bit of a bear too….glue. Ugh!
But I managed to get it all out.
I rolled around several ideas with what to do with the inside but I’ll get to that in a minute.
Let’s start with the outside.
I spray painted it one light coat of black.
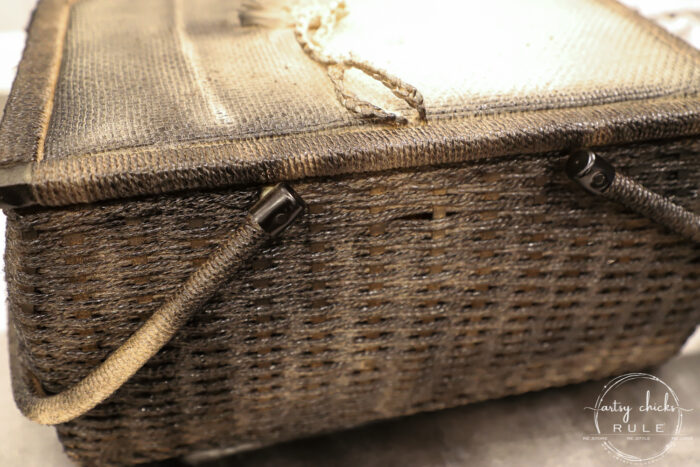
It was actually a little darker than the photo shows. I wanted just enough so that it would look sort of black underneath.
Then I went over the top of that with Dixie Belle’s Drop Cloth.
Now let me tell you what I did with that top I couldn’t get off/out.
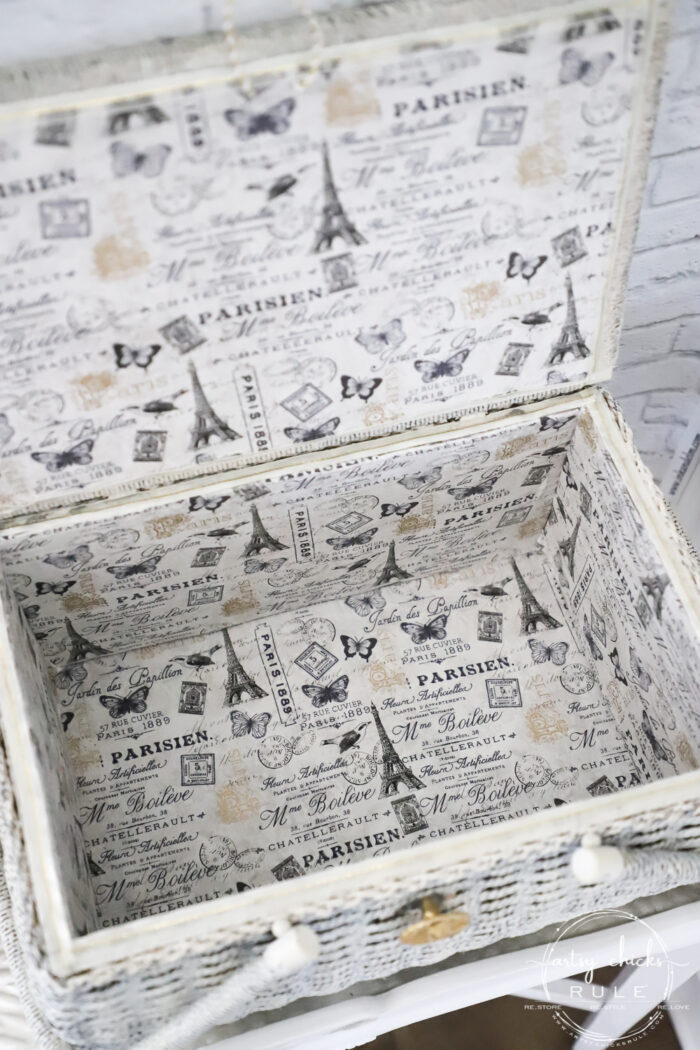
I cut fabric to fit and just stuck it in and around the crease. This worked very well because it was really tight and held it great. And I used a regular kitchen butter knife because I’m fancy like that. Or handy. I use whatever works! ;) And it worked well.
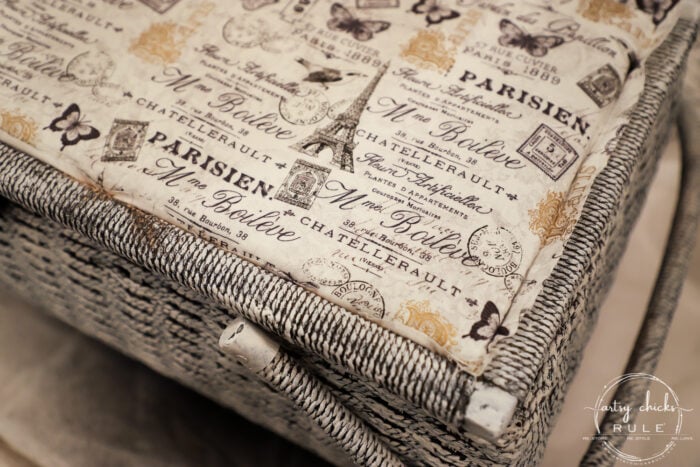
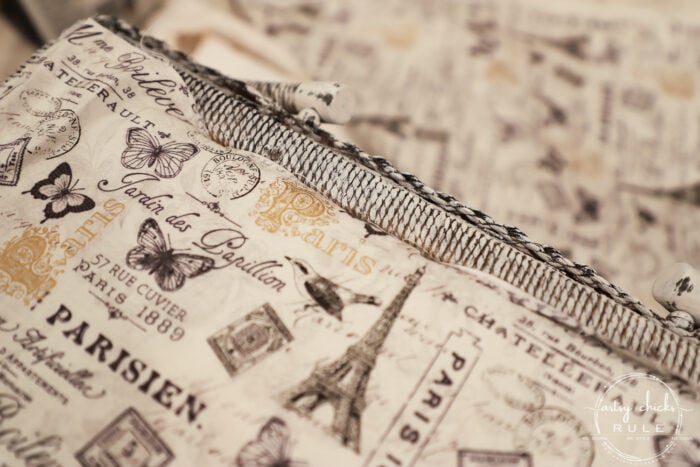
This really did work out so nicely.
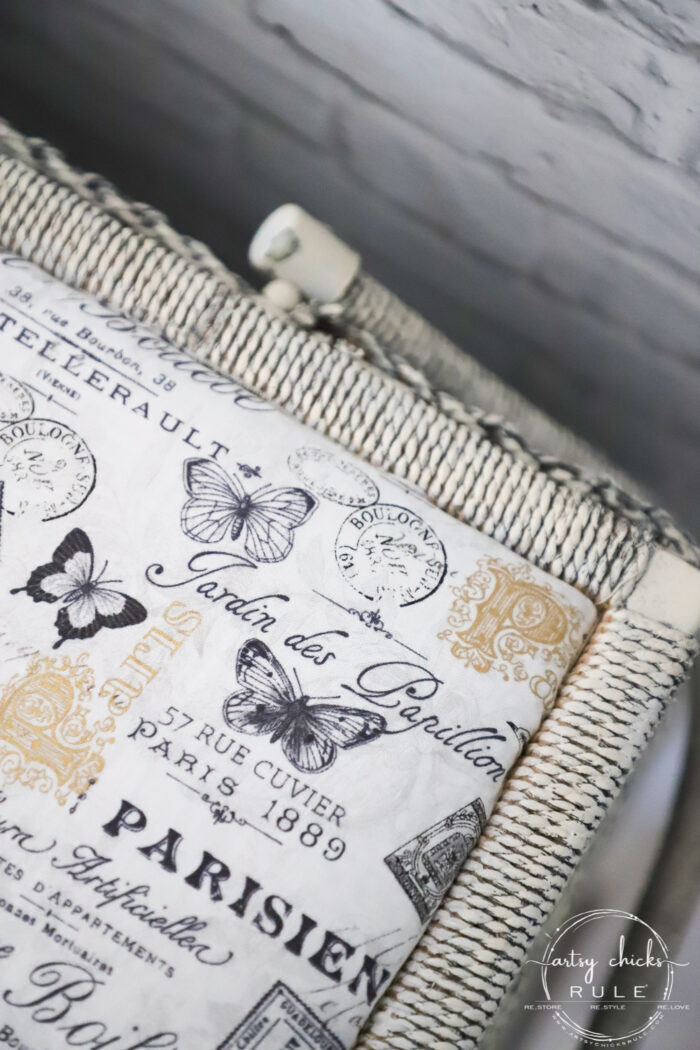
Here’s what I did to the inside.
I decided to cover every single side/bottom/top with the same fabric. So I cut the cardboard out of some boxes to fit what I needed. I cut the fabric to fit with enough to overlap and fold over to the back. I then used Mod Podge to attach the fabric. (as shown below)
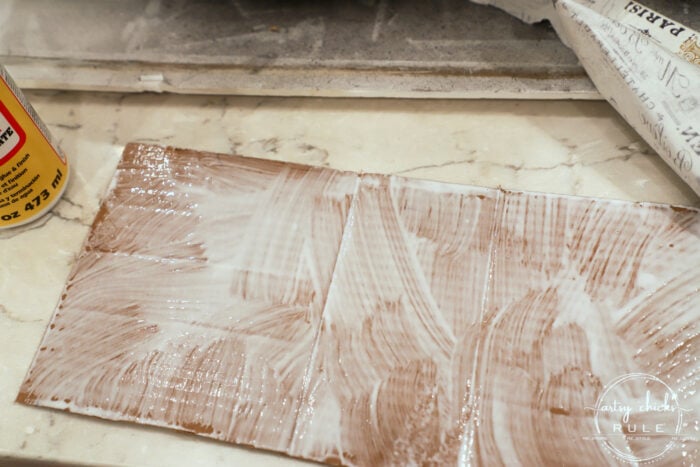
I laid the fabric out and turned the Mod Podge’d side over onto the fabric.
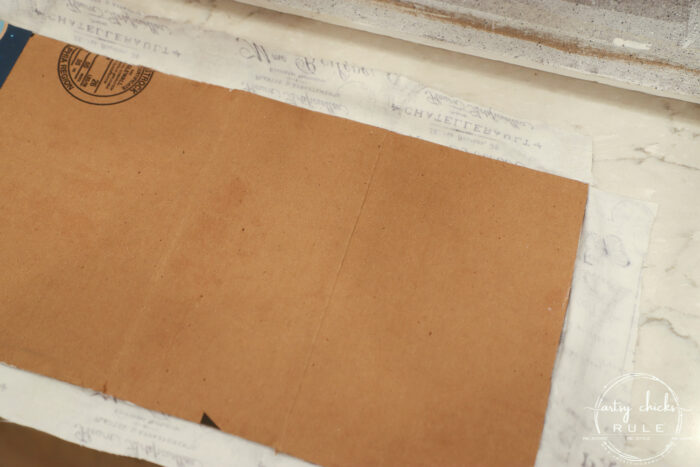
I cut the corners out of the fabric so I could fold them over.
Then I applied more Mod Podge where the fabric was going to fold over.
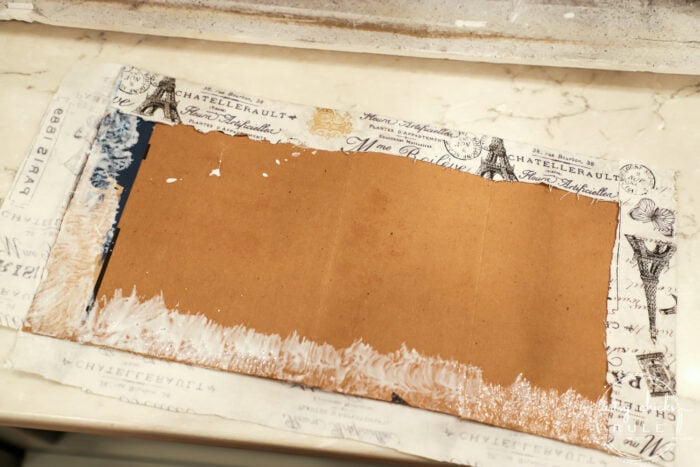
I did this with all 3 sides and the top.
Want to see some of these projects in “live” time? Hop on over and follow along with me on INSTAGRAM. I’m always sharing in my stories as I’m doing projects, finding new furniture, fun finds….just all the day to day behind the scenes.
I considered doing one for the bottom but I figured there was no need. I could just Mod Podge the fabric directly to the bottom of the old basket since the extra fabric around the edges will be covered up by the pieces I made when I put them in.
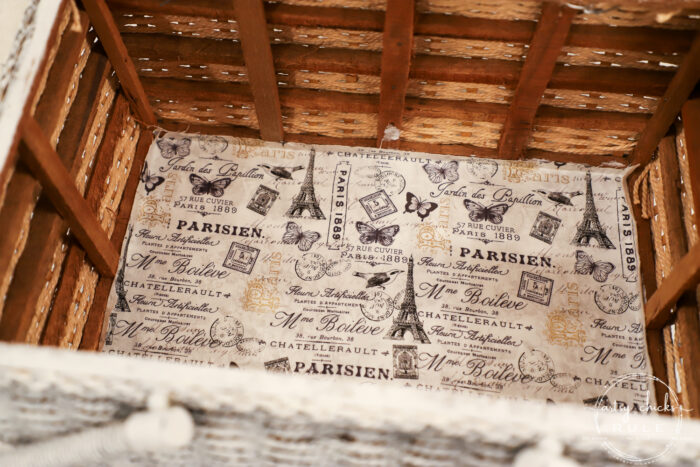
Next, I used a hot glue gun to attach the sides and top.
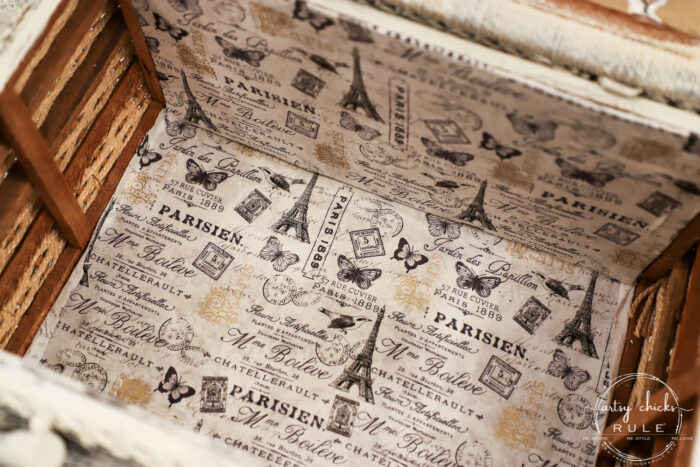
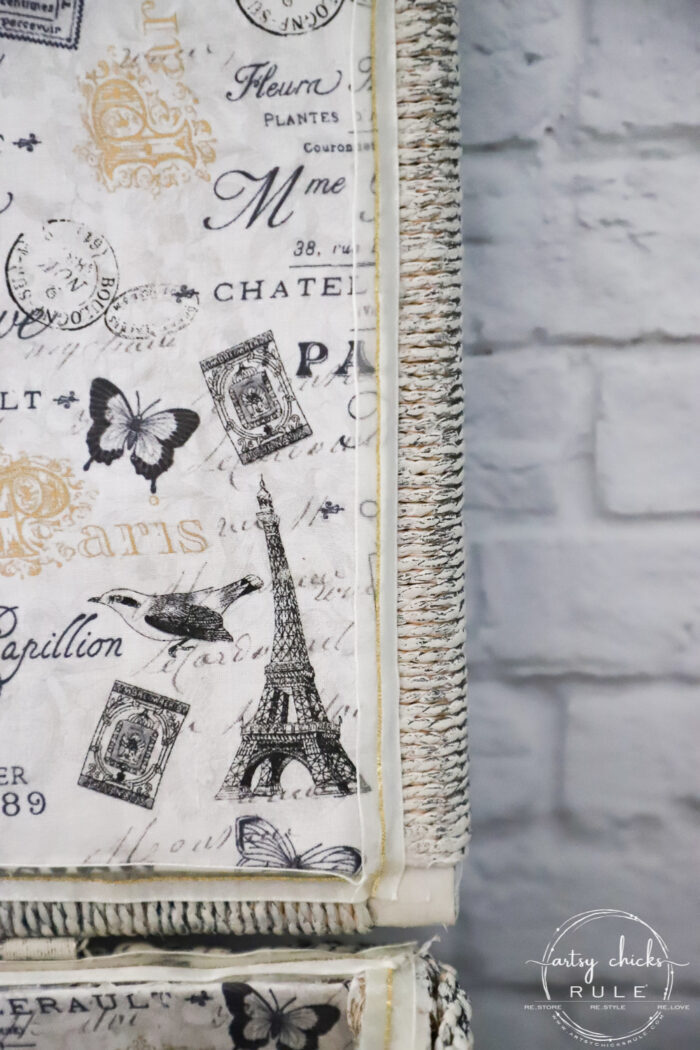
Once I had them all in, I decided to use some pretty ivory and gold ribbon (already had in the same pack with the gold/white cording I used further down) to cover the edges on both sides.
This is the top portion below.
And the base…
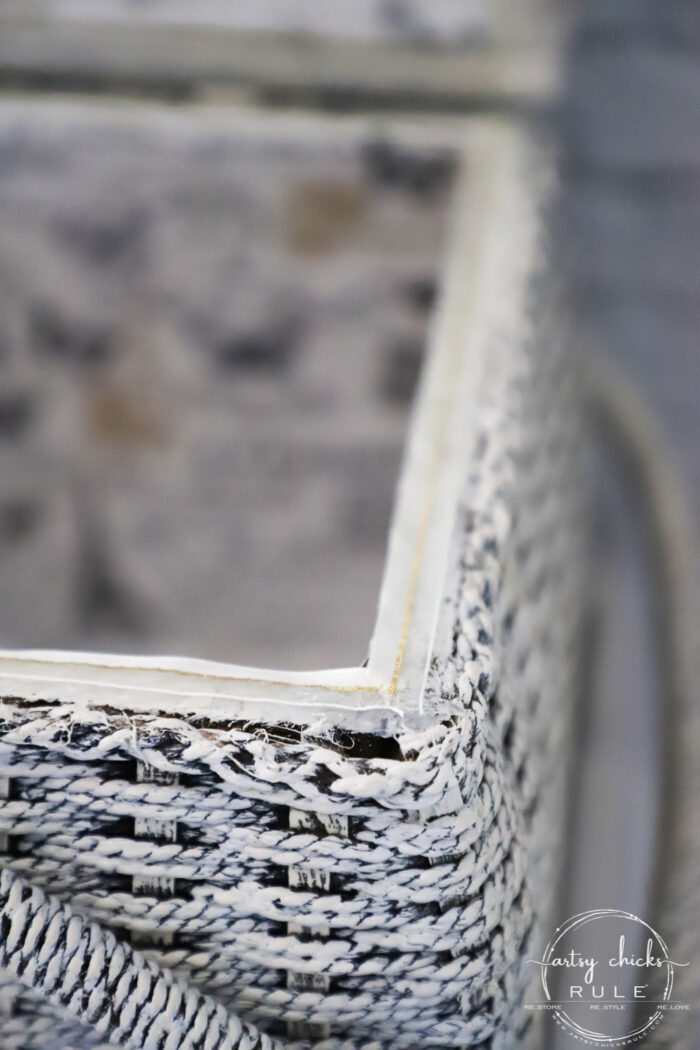
I think that finished it off so nicely.
Now if you recall, I had this going on in the front.
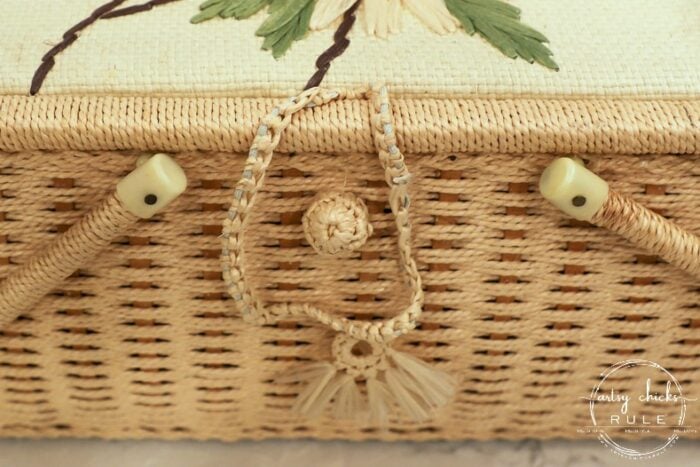
I cut both of those off and added my own.
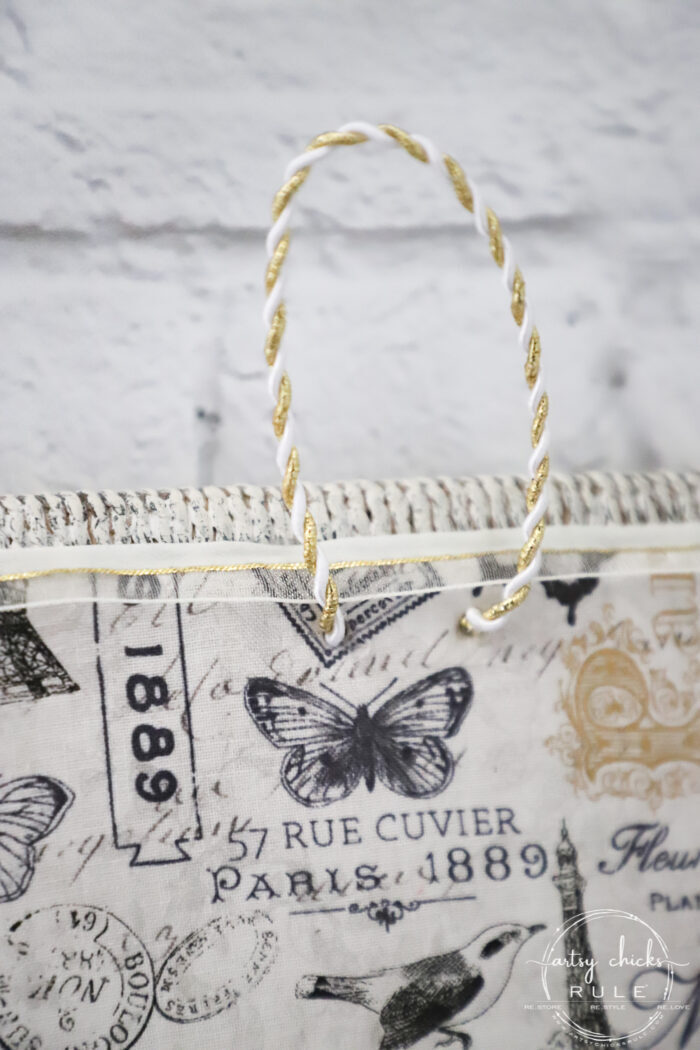
I tried to get it to loop through from the top outside crease like the one above but I didn’t really love the look of it going over the top like that. So since the fabric was pretty thin, and it was only cardboard inside, poking holes through underside of the top was easy. (see them there below)
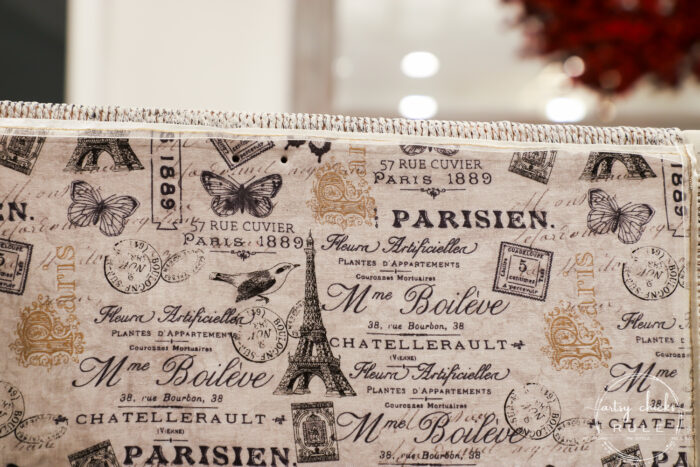
In order to put my pretty gold and white small cording (bought at Michael’s last year, it was in with a trio of ribbons) to stay, and to stay put, I stuck my glue gun in the holes and squeezed out a bunch of glue, then stuck my rope in quickly. This worked great! And it’s stuck.
I also used a bunch of hot glue to attach the gold knob (pulled from my stash in the garage) to the front. Remember that wood frame of the basket on the inside of the basket? That is what I glued it to.
It’s not just stuck in between the weaving as it looks. Thank goodness for that wood or I’d have had to come up with another solution for this.
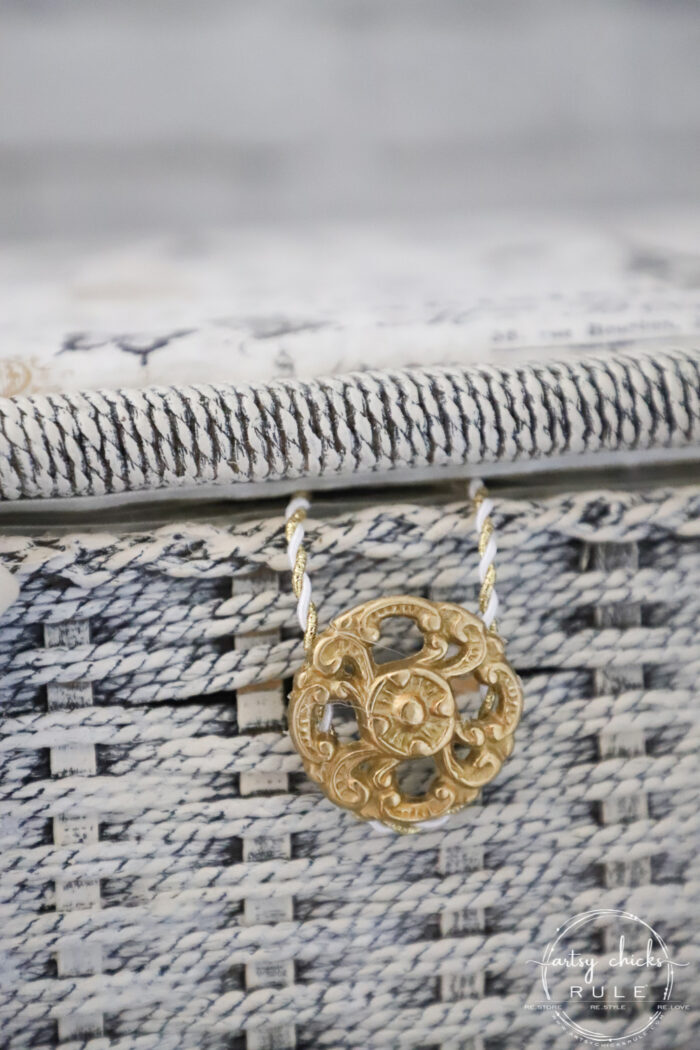
It’s stuck pretty darn good too. And really, neither one is meant for heavy-duty holding anyway.
So I think this will suffice.
Then I sealed the whole thing with Rustoleum’s Chalk Matte sealer.
I love how it looks “distressed” because of the black underneath even though I really did no distressing on this one.
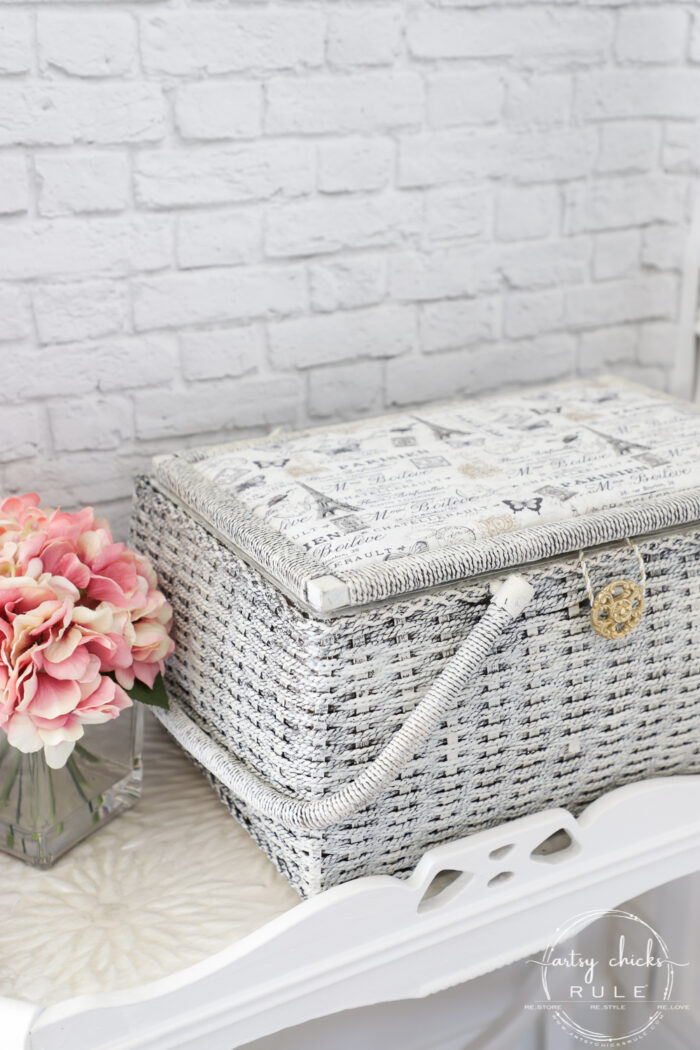
I think it goes so nicely with the French fabric I chose for this one.
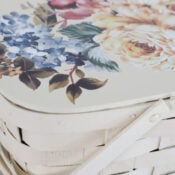
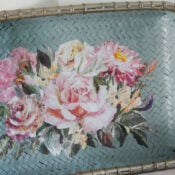
I also used this fabric on these projects:
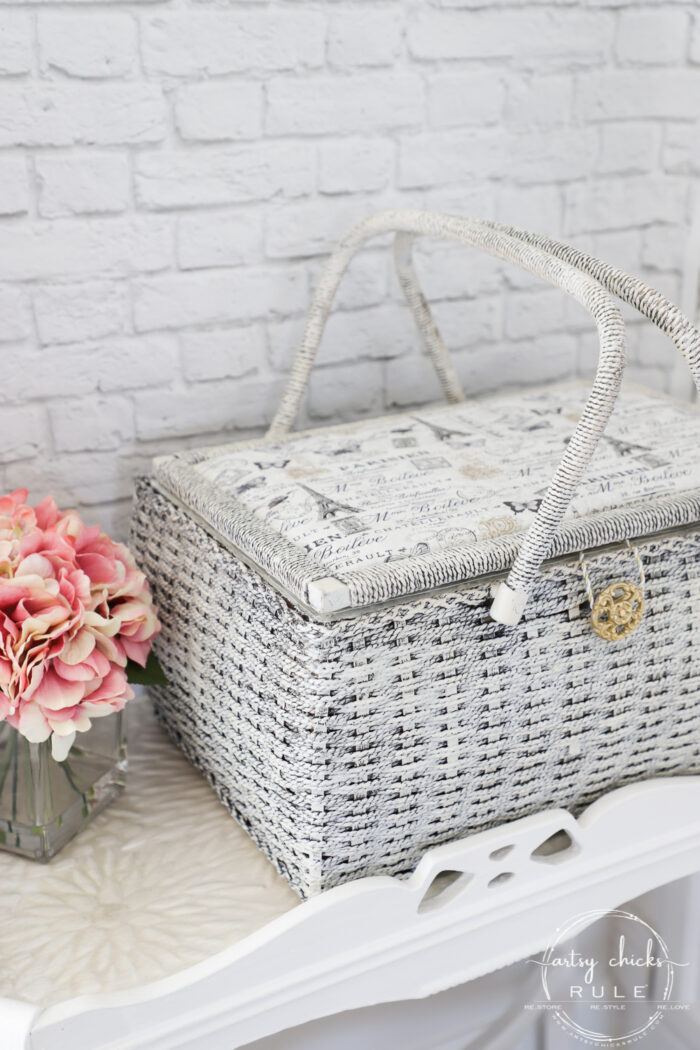
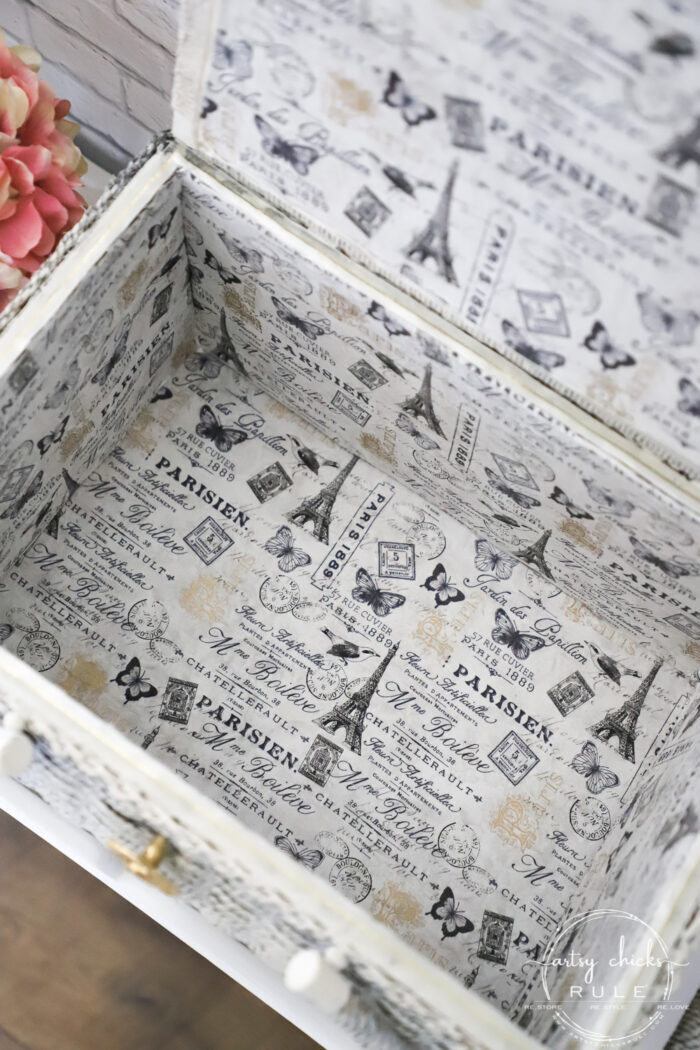
It’s such pretty fabric.
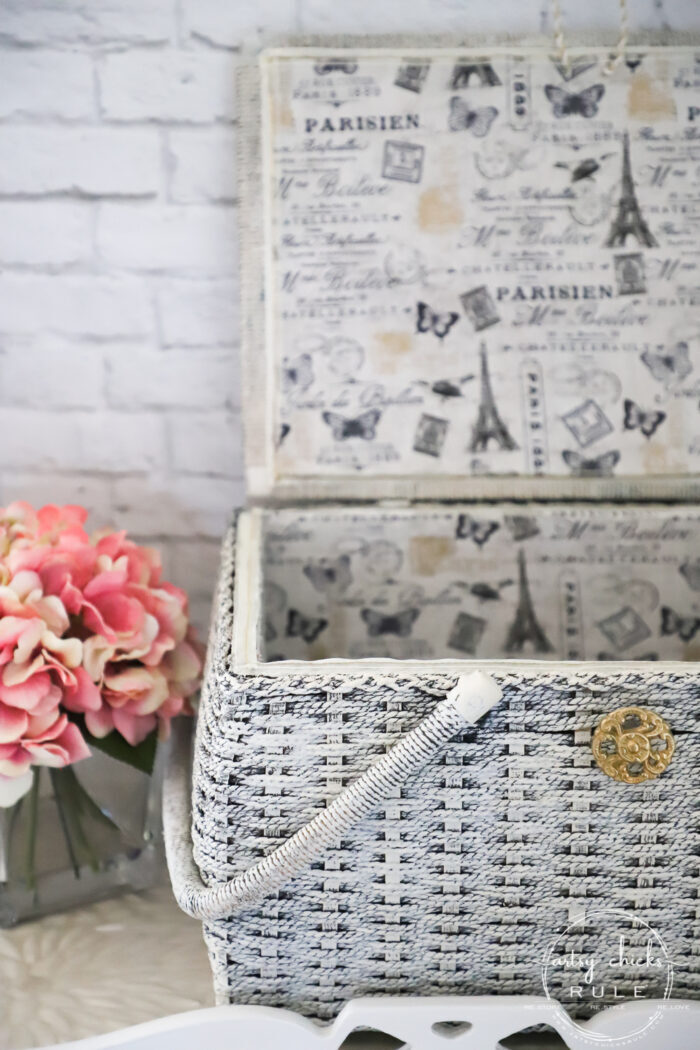
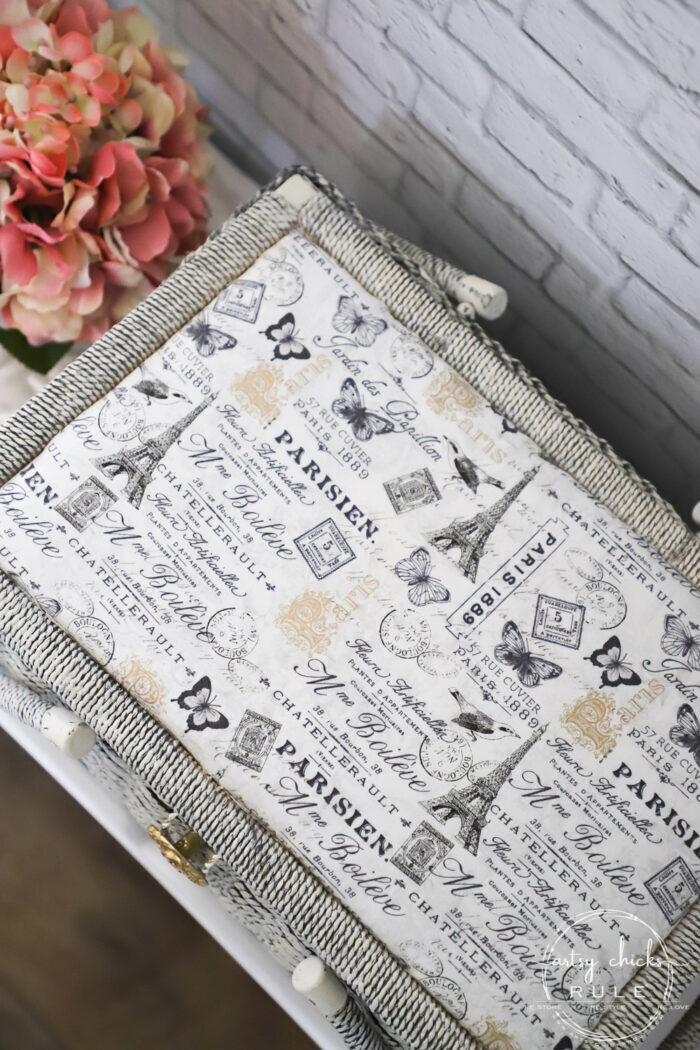
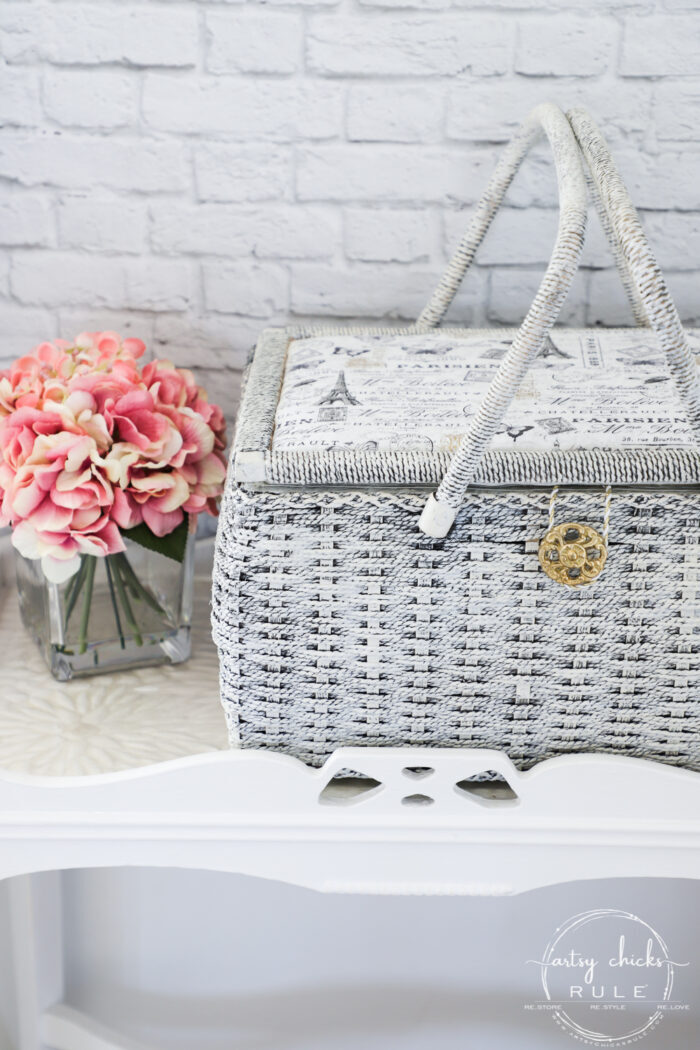
I’m really so thrilled with how it turned out.
And now to figure out who to gift it to! ;)
How about one of you???
Maybe…keep an eye out, you might see something in your inbox this weekend!
Not a subscriber?? If you don’t want to miss it, or anything else around here, be sure to subscribe >>> here. (you’ll also get my free eBook, “Creating Fabulous Finishes” AND access to my full Printables Resource Library with over 100 graphics!)
PIN it to save it!
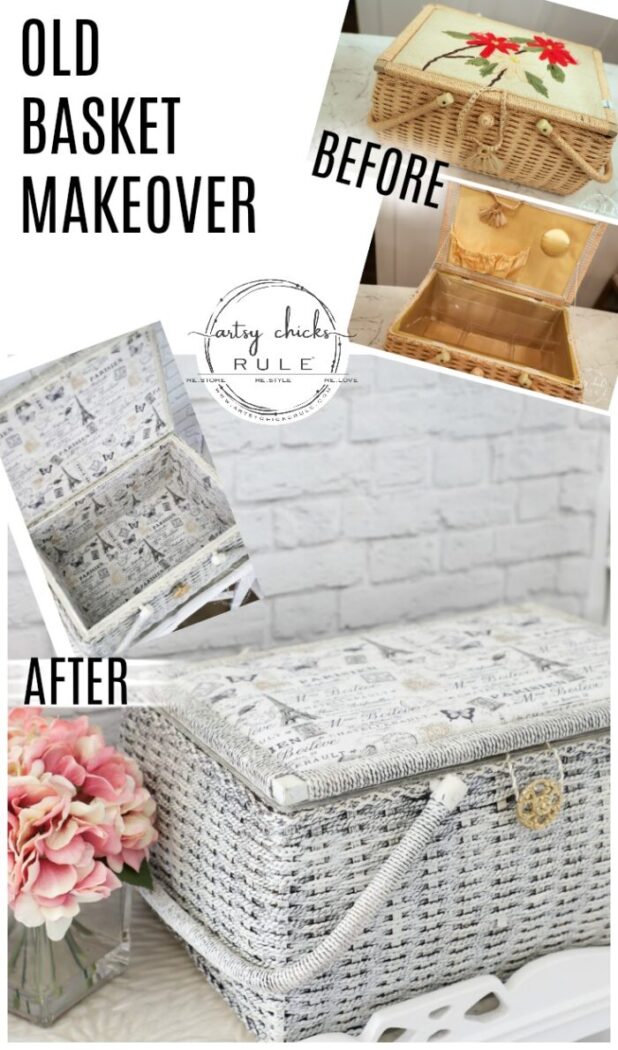
I hope you enjoyed this basket makeover. It sure looks different than when I found it. This is budget-friendly gift-giving at its best. Plus it has that special handmade quality too.
Don’t go just yet, hop on over to visit my friends, Vicki & Jennifer, over at 2 Bee in a Pod to see what kind of holiday fun they have for you today! (and for even more, scroll down)
I hope you have a wonderful weekend, my friends!
xoxo

I hope you enjoy visiting all the beautiful inspiration below! (click the links below each grouping to visit a post)


Sand Dollar Lane // Aratari at Home // Postcards From the Ridge // Sweet Pea

Worthing Court // Atta Girl Says // Sonya Burgess // Kippi at Home

White Arrows Home // Cribbs Style // Dabbling & Decorating // One House 2 Barns

My Family Thyme // The February Fox // A Life Unfolding


My Wee Abode // The Tattered Pew // Thistlewood Farms

Artsy Chicks Rule // 2 Bees in a Pod // Zucchini Sisters (not shown) // The Little by Little Home


The French Blue Cottage // Elizabeth Joan Designs // Joy in Our Home




Nancy, your sewing basket makeover is gorgeous!! Luv it!!!
Nancy, you did a beautiful job bringing this little basket back to life! Love the fabric, white and gold… you have a gift!
What a nice job Nancy, it turned out so beautifully! I LOVE that fabric!!! Anyone would be proud to own that basket. Now my old sewing basket is beckoning me… ;)
What a beautiful transformation!!
This is GORGEOUS!! Love love love it! XOXO
OK, that really was amazing. I’d never go to all that trouble for a sewing box, but I was glued to the whole process :)
See, a year ago I wouldn’t have given that little sewing basket a second (or first) )thought! You make it look ‘sew’ easy! Very nice!
Haha!! Thank you, Michelle! :) xo
I love the transformation! Looks gorgeous!
Thank you, Lindsay! :)
I love that sewing basket makeover! So cute
Thank you, Donna! :) xo
Wonderful basket-I have one I didn’t know what to do with-now I do. Great job-great inspiration!
Awesome! Thank you, Kathleen! :) xo
I never would guess this started as one of those tired sewing boxes, Nancy! It’s such a lovely basket now.
I know, right?? Probably looked over many times! Thank you, Marcie! :) xo
The sewing basket transformation is gorgeous!!! LOVE LOVE LOVE it!
Aw, thanks so much, Sherry! :) xo
What a great transformation. It went from something that could have easily would up in the trash to something you can proudly display anywhere. Your creativity continues to amaze.
So very true, Lizzy! And thank you so much! :) xoxo
Such a transformation! Love the fabric and how the paint turned out. You’re so good at little details like the knob. This is so versatile and would look great in my guest room😄.
Thank you, Cecilia! Maybe you will win it!! ;) xoxo
Cute basket!
Thank you!! :) xo
Most people wouldn’t have given this sewing basket at second glance at a thrift shop. You transformed it into something beautiful that can be used for years to come.
I bet you are right! Thank you, Paula! :) xo
A stunning transformation! I gotta go find one of those funky baskets and de-funk it like you did! What a nice gift this will make!
Thank you, Naomi! Yes, you sure do! xoxo
I need a new sewing basket, so I’m going to have to check out the thrift stores now:) And your idea with the cardboard is brilliant!
Thanks so much, Carrie! :)
I need to go on the hunt for one of these to fix up — it looks like such a fun project!
It really was fun to transform!! :)
As always, you never fail to surprise me with your lovely upcycles! Thank you for sharing this wonderful tutorial for making over a sewing basket. It looks lovely and would make a wonderful gift for a new bride or a young woman for Christmas! Pinned! So fun ‘hopping’ with your for the first time, Nancy! ;-)
Aw, thanks, my sweet friend! :) xoxo
Who would have guessed that pretty little basket was hiding in plain site!
Nancy,
This turned out so well! Love that you could see such potential.
Pinned.
Happy to be hopping with you!
Libbie
Thanks so much, Libbie! :) xo
It’s so much fun to transform ugly ducklings like this! :) xo
Wow, I can’t even believe that’s the same basket. What an amazing transformation!
You have such a knack for finding great things and giving them a new beautiful life.
I know, it’s crazy isn’t it?! So much fun!! Thank you, Leen! :) xoxo
What a gorgeous outcome!! Your projects are inspiring and “ALMOST“ make me think I can tackle some of my own up cycling projects. Fingers crossed! Thanks for sharing!
Aw, thanks so much, Claire! YES, you absolutely can!! Just do it. And if it doesn’t go like you plan first go-round, keep going! :) xoxo
Love a beautiful french basket. This one is perfect for storage, storage where there is none.
So sweet of you to have this giveaway!! Thank you!! And to giveaway this basket that you transformed into something more than any of us could vision!! And not only are you generously giving away the basket but you’re including gifts inside. Thank you!! And of course we’d all love more giveaways!! Wishing you & your family a very Merry Christmas & a wonderful 2020!! 🎄 Thanks again!!
Merry Christmas, Leslie!! :) xoxo
I agree, that basket is adorable! Has me eyeballing my baskets. But reaally love your basket make over!
Thank you, Yvette! :) xoxo
You turned a plain-Jane basket into something phenomenal! The black under the white was a brilliant idea. Now I have to find a basket to get to work on!
Thank you, Christe! :) xoxo
I adore the transformation!!!! Especially love how the black was used underneath!!!! I love all things Paris related and it doesn’t hurt that my last name is “Parisien”!!!!!! It was made for me 🙂
Oh my, I think it was!! :) Good luck!! xoxo
What a great makeover, I will never look at those thrift store baskets the same. Thanks for the inspiration.
Thank you, Sonya! :) xo
LOVE this idea! Will be attempting this idea soon with my daughter!
Awesome! :) xoxo
Super adorable! I have a sewing basket similar to this one and it could use an update. Thanks
Thank you, Kimberly! Perfect!! :) xoxo
Wow! That came out so pretty! Your paint, fabric, and metal colors are SO perfect together! Lovely basket!
Thanks so much, Becky! :) xo
You’re crafty and inspiring, what a great combo. Absolutley LOVE this basket!! The interior came together so neat and you did such a simple little trick, I love it!!!
Aw, thanks so much, Michelle! :) xoxo
Nancy, I love this basket! You did an amazing job…such a beautiful transformation! Pinned!
As much as I like the makeover of this sewing basket, I just wouldn’t have the heart to remove the embroidered top or cover it. I enjoy the rest of the basket makeover and it was definitely needed!
Aw, yes, I understand. :) xo