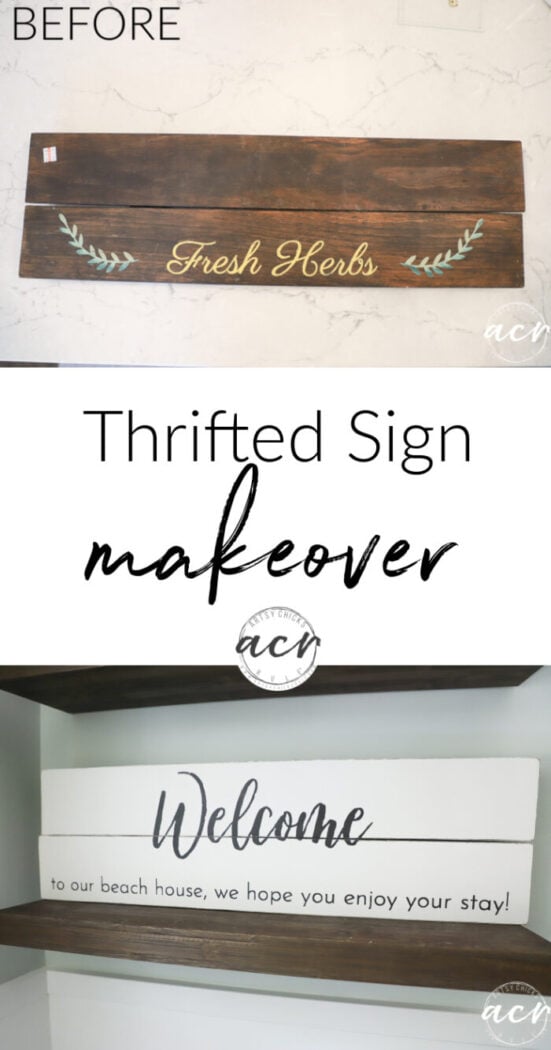
Welcome To The Beach Sign Makeover
You know, there are just those projects that give you a heck of a time. You know the ones.
This was one of those ones! lol
I mean, how? It’s such a simple project but hey, that’s how it goes sometimes.
Let me tell you all about it! ;)
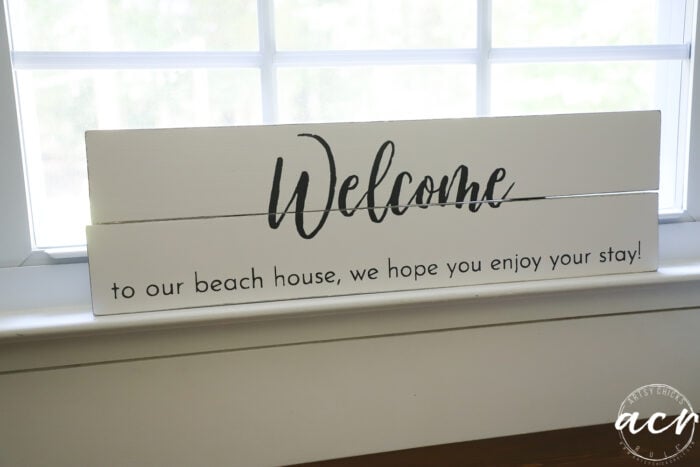
Welcome to the Beach Sign
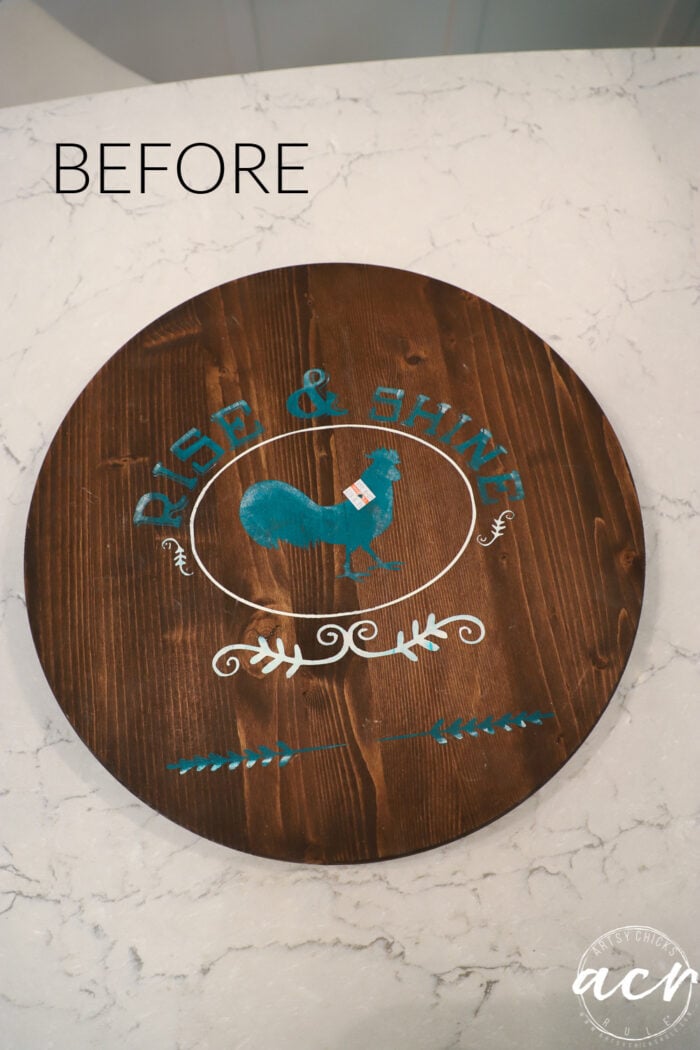
But first, let me remind you that this is one from my latest haul…
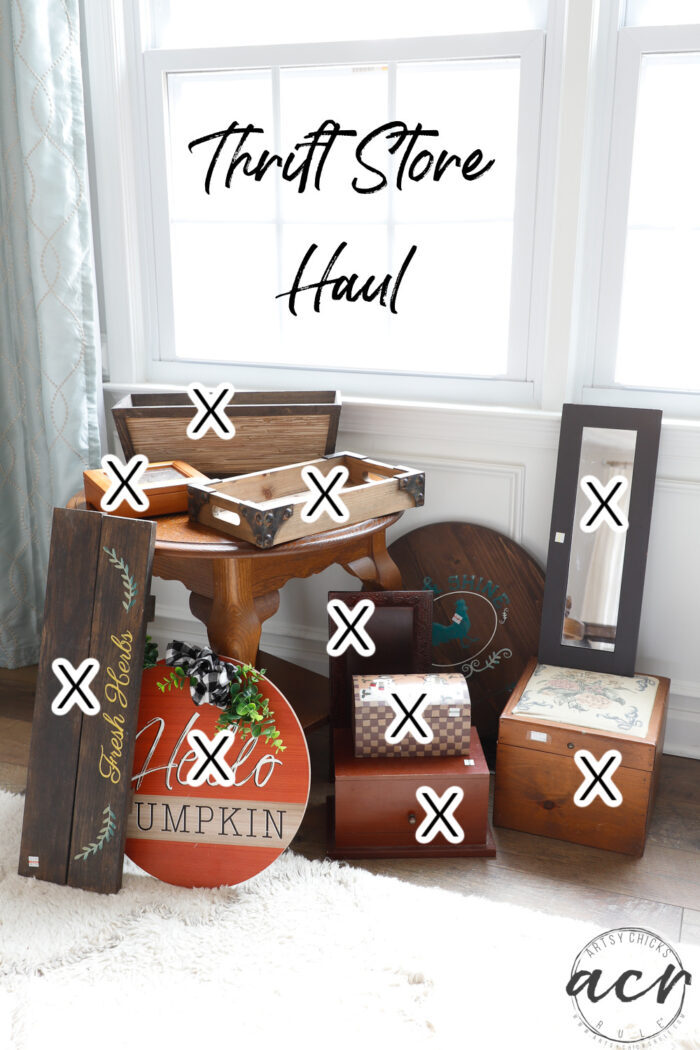
Only two more to go, then I’m off to shop for a bunch of new goodies. I may do that next week in the OBX, so stay tuned.
Missed any of the makeovers? You can see them right here:
- Wood and Metal Tray Makeover (napkin decoupage)
- Floral Paper Napkin Decoupage Box
- Hello Spring Door Hanger
- Makeover Using Transfers
- Scrapbook Paper Decoupage Tray Makeover
- Decoupage with Scrapbook Paper (round 2)
- Pineapple Paper Keepsake Box
- On Island Time Sign (this one is not pictured but part of the haul)
- Butterfly Card Box
- Antique Box Makeover
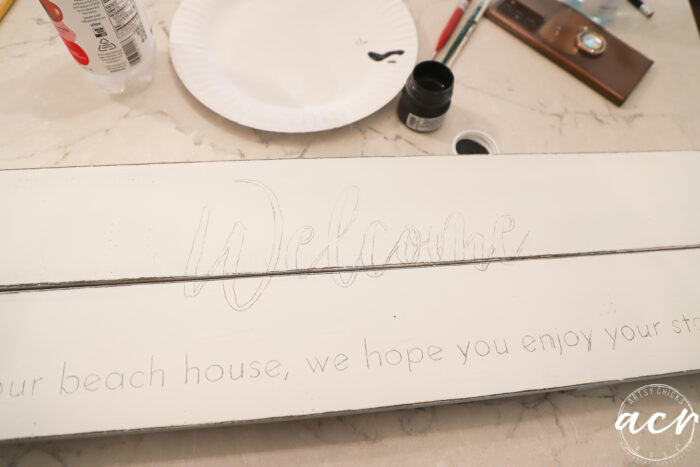
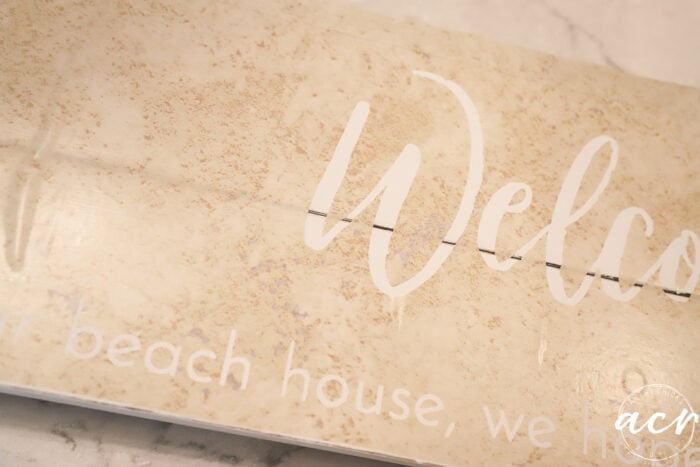
Here’s how this sign started…
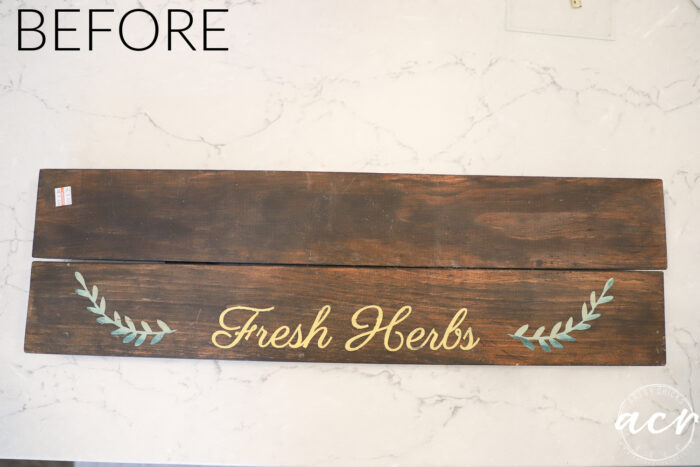
I cleaned it up, lightly sanded it, and then spray painted it with primer and then white flat spray paint.
I actually did it a while back then got stuck on what kind of sign I wanted to make so it sat for a bit painted.
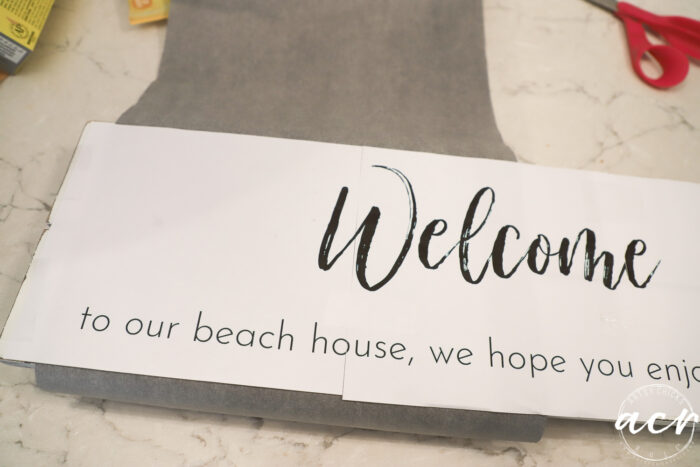
So I thought I’d just transfer my graphic onto the painted board using carbon paper and then hand paint it in. So simple!
Right?
Yep, for sure, just look how nicely that transferred.
Painting in that small print on the bottom, not so much. And no, I didn’t get a photo of it because I immediately knew hand painting
was not going to work.
It looked like a 5-year-old was painting it! haha
It’s SO much easier to paint script than the perfectly straight type font like above.
Anyway, so I sprayed it again with white paint to cover that up and let it sit overnight.
So the first try was a bust. Let’s go with the Silhouette and cut out a stencil instead. Yes!
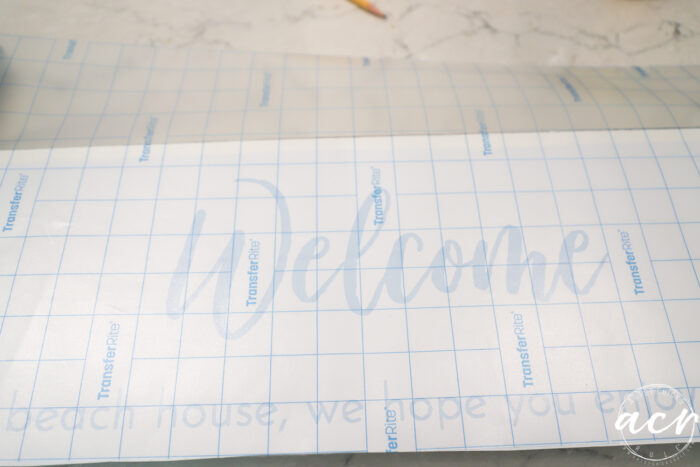
I had some white vinyl so grabbed that and cut it out.
Attached it to the painted board and then painted in the “stencil” I cut with black paint.
Yippee!! Almost done!!
Ha…nope.
I pulled off the white vinyl and then bunches of the white paint from the board along with it. Boo!
You know I was about ready to throw in the towel…but wait, there’s more. (haha)
No, I didn’t take a picture of it, I just scrapped the vinyl and immediately went to work on fixing it…again.
This time I sanded the wood all the way down…painted a coat of my Ultra Grip, and let it dry overnight before painting.
Then I used some of my white paint (instead of dumb ole spray paint) to paint the board this time, 2 coats.
Once it was very dry, I cut out another piece of vinyl. But just before I attached it to the board I freaked out and thought, no, the white vinyl is very sticky. (even after I tried to unsticky it a bit) It’s going to pull the paint again, I just know it! (I don’t think it would have this time actually but I was gunshy)
So, I cut it out again using Contact paper because that stuff is not near as sticky as my vinyl.
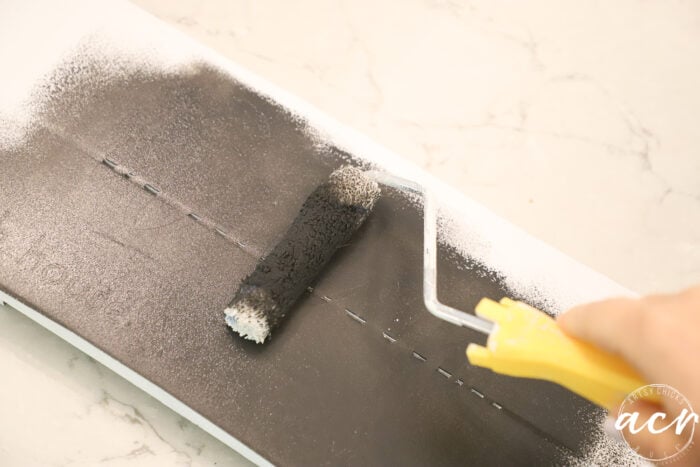
I attached it to my board …
Made sure it was pressed down very well all over and rolled my black paint again.
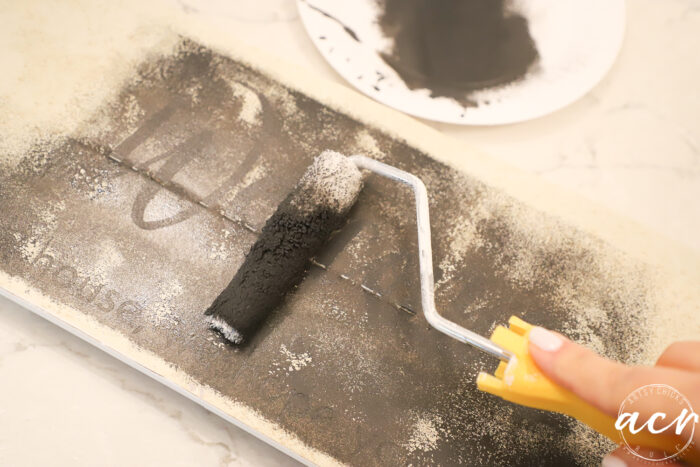
Yay, almost done, again!
Until…
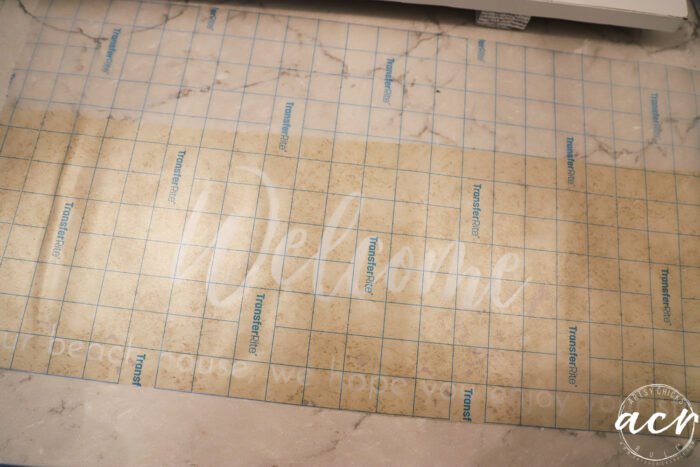
Noooooo. Ugh.
That is the reason I don’t use contact paper often. It’s bleedy because it’s not all that sticky.
Darn it.
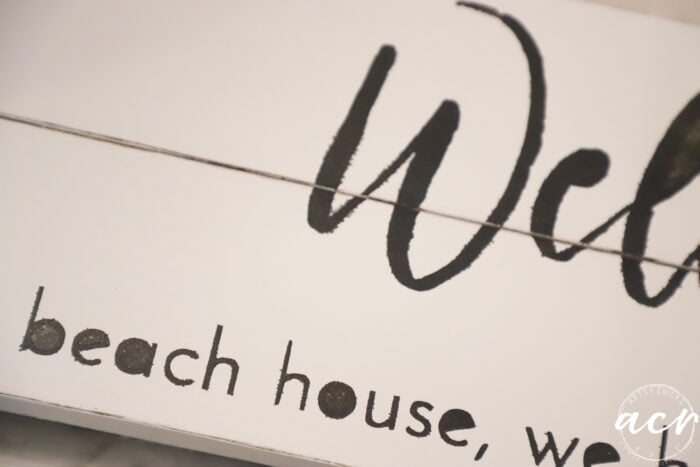
Well, we are rolling with this one, I’m just going to have to hand paint white all around those letters to get rid of the bleedy areas.
So that’s what I did.
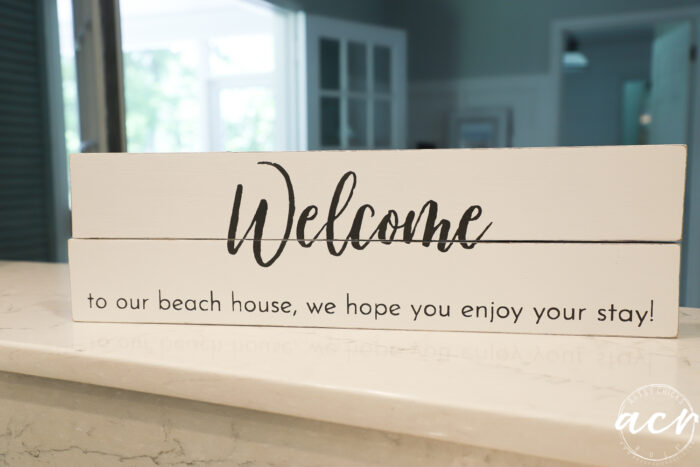
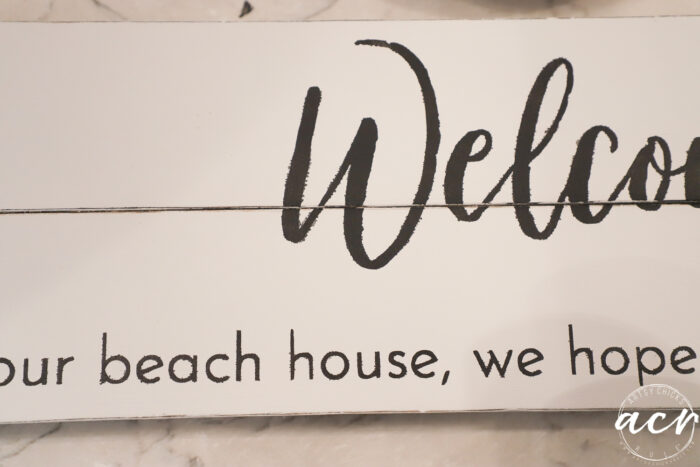
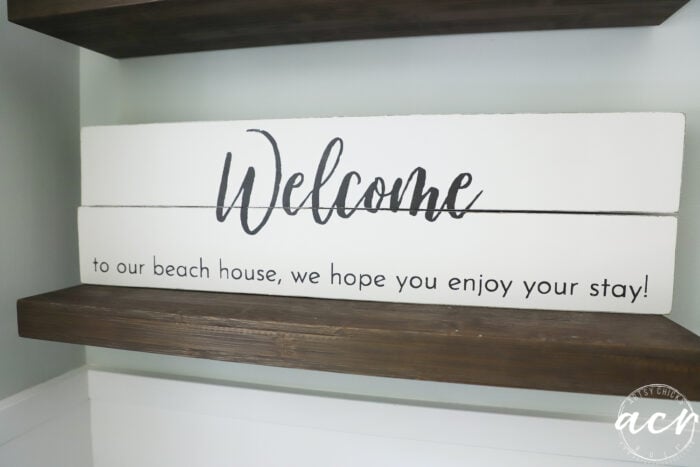
And now it’s done…
Whew! That was a project. lol
And just how it goes sometimes.
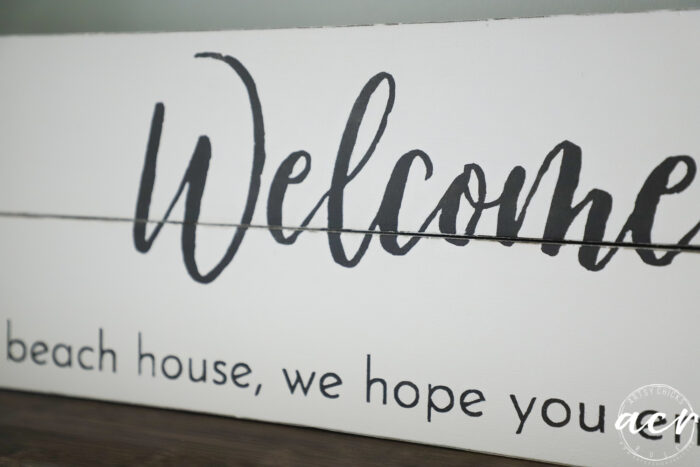
Much better.
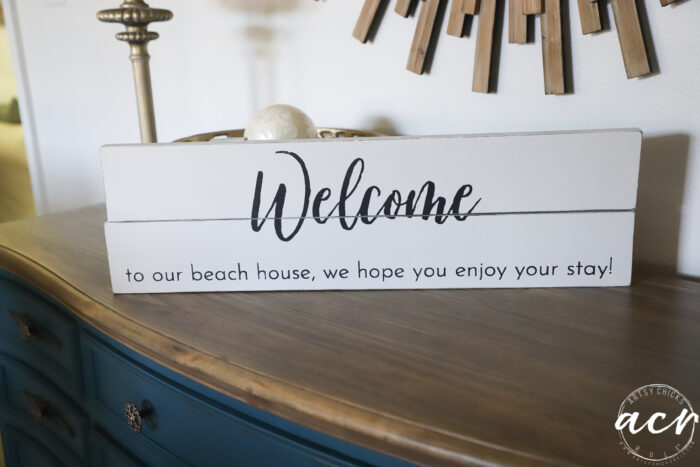
I bet you are wondering about the sign, huh?
Yep, we have decided to dip our toes into renting out our condo. We are going to rent to close friends and family first and see what we think.
We may open it up to others after that. Baby steps, y’all. :)
I’ll share where we are putting it over on my Instagram stories when we get to the beach. Stay tuned!
Here’s a list of all the things I used…
MATERIALS LIST
- Carbon Transfer Paper
- Small Artist’s Brushes
- White Vinyl
- Contact Paper (Dollar Store)
- Transfer Tape
- Ultra Grip
- White Paint
- Black Paint
- Microfiber Roller
- Silhouette
PIN it to save it!
Have you ever had such a tough project? Problem after problem? Haven’t we all??
It was worth it to finish it though, and 3rd time’s the charm, right?
Don’t forget to pop back over to see what I did with this one…
UPDATE!! Check it out here, now!
I hope you all have an amazing weekend and a wonderful Memorial Day!
xoxo


")

")

")


Thank-you for sharing. It’s actually comforting to know that experienced people don’t do everything right the first time. It’s interesting to see your process for solving problems. Thanks.
Yes!! Absolutely. :)
Wow, Nancy, what a challenge for such a (seemingly!) simple project. But it (finally!) turned out well, and looks great. I hope your renting adventure works out. You know that once you have a place at the beach, everyone becomes your best friend 😉, so you might as well make it available to them and get a little something to offset the cost.
Right?! So funny how the simple ones can be so hard sometimes. ;) And yes, so true!
Thank you for sharing your failure. I sometimes feel like a failure when the 1st idea does work out. Loved how you regrouped and tried again.
A tip that I don’t know would have helped or not. But maybe it can give some inspiration to another idea. To help with the bleeding on the contact paper stencil, maybe paint a coat of the board paint first. Let that bleed under the stencil. Then go back and paint with the black. I’ve seen that before with regular stencils, maybe it could help here.
Yes, it does happen! :) I love your tip, that is great! Will give that a try next time, thank you! xo
Looks great – you saved it well. Sorry what should’ve been way easier ended up you having to hand fix – but ya can’t tell at all and it looks awesome.
Have a happy weekend.
Thank you, Michele! It happens though, right?! :) xo
Your patience is remarkable girlfriend!!!
Like you said…it’s just the way things go sometimes 🙂
I so enjoy following you and learning so many tips and tricks! Thank you!!!
Aw haha!! Sometimes! ;) And yes, it does happen, for sure. Thanks, Barb! xoxo