Lazy Susan Makeover
This thrift store find was not my style. A simple fix wth a new graphic on this lazy susan makeover project!
Hello friends! And happy Friday!! Yay for the weekend. :)
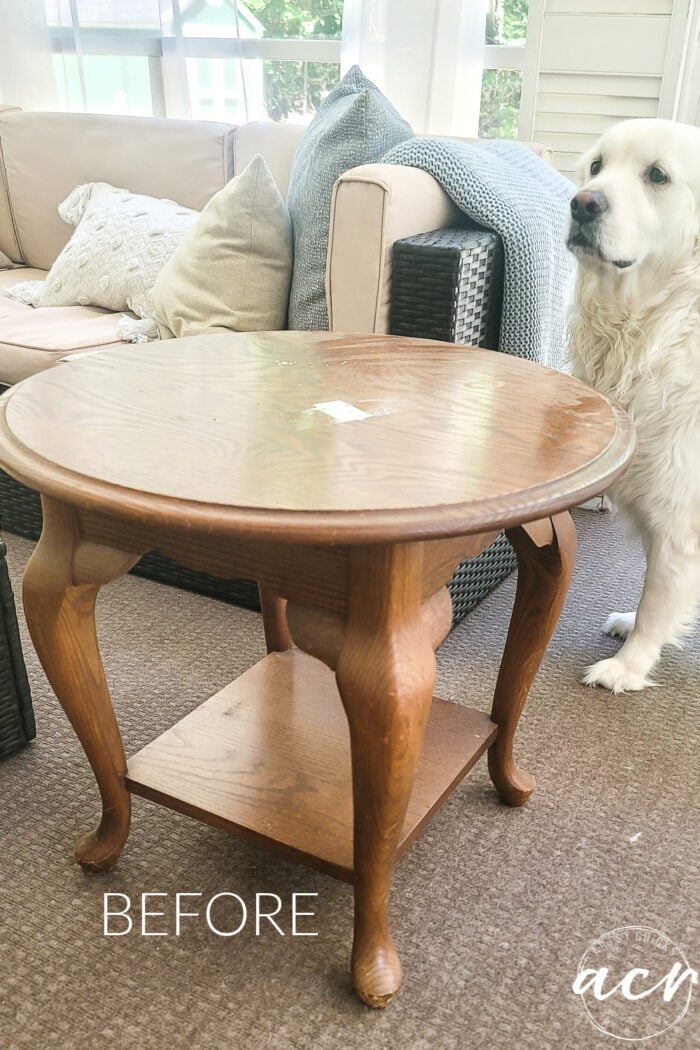
I’m sharing one more from my recent haul…only one left! I’ll be sharing that one on Tuesday with my “Trash to Treasure” friends then I can start on this next bunch of goodies I shared earlier this week.
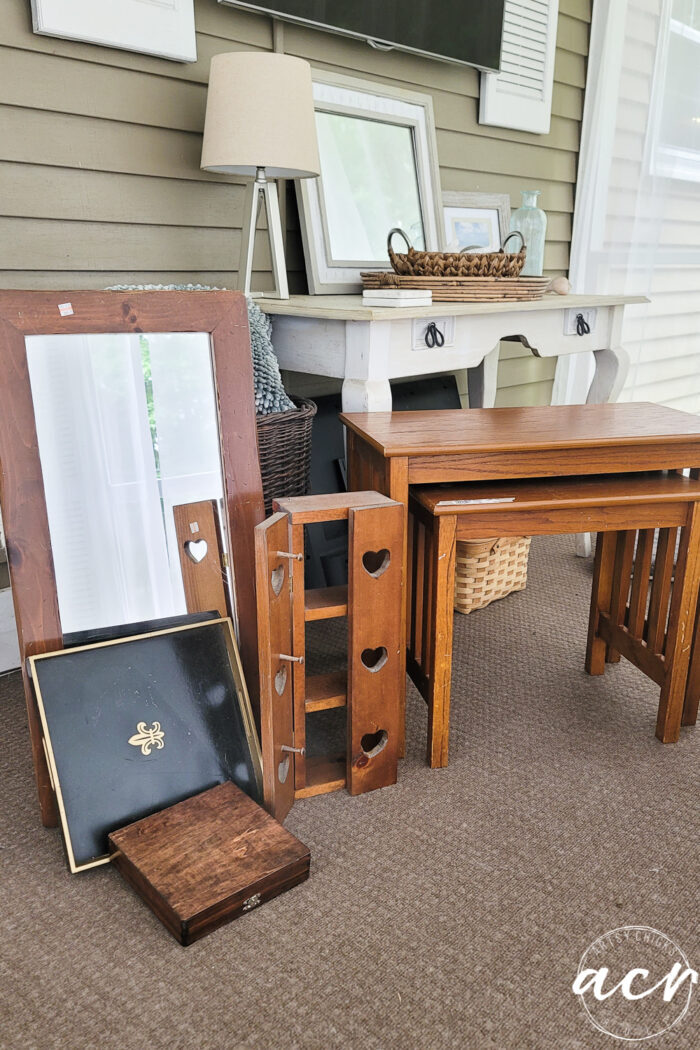
But before we get all excited about those pretties, let’s revisit what I’ve gotten done so far with this one.
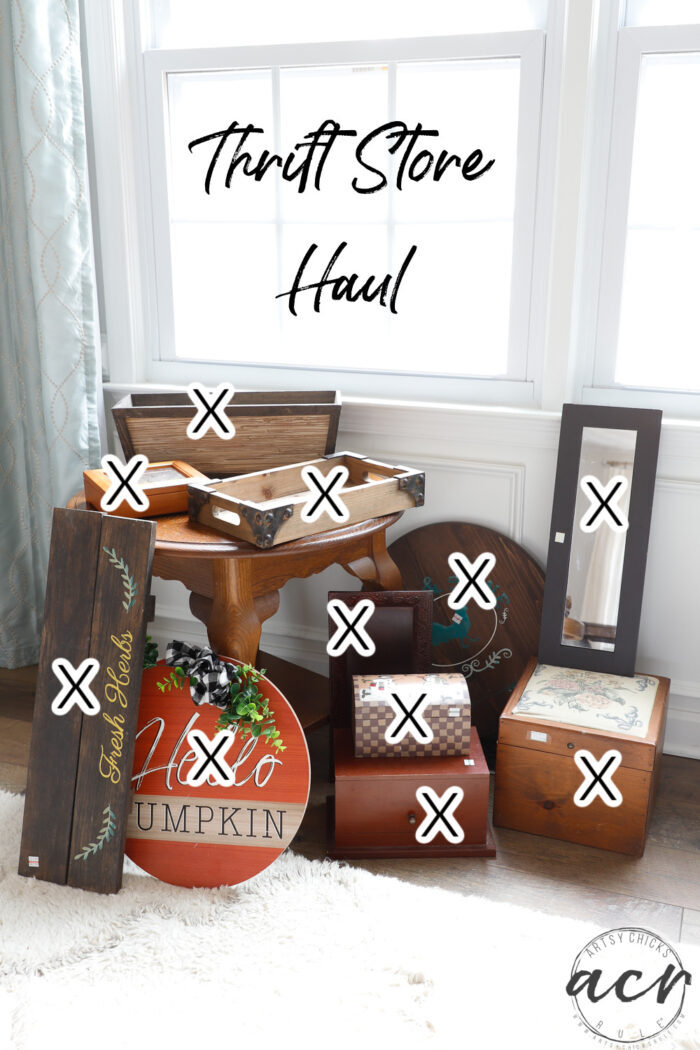
Missed any of the makeovers? You can see them right here:
- Wood and Metal Tray Makeover (napkin decoupage)
- Floral Paper Napkin Decoupage Box
- Hello Spring Door Hanger
- Makeover Using Transfers
- Scrapbook Paper Decoupage Tray Makeover
- Decoupage with Scrapbook Paper (round 2)
- Pineapple Paper Keepsake Box
- On Island Time Sign (this one is not pictured but part of the haul)
- Butterfly Card Box
- Antique Box Makeover
- Welcome To The Beach Sign Makeover
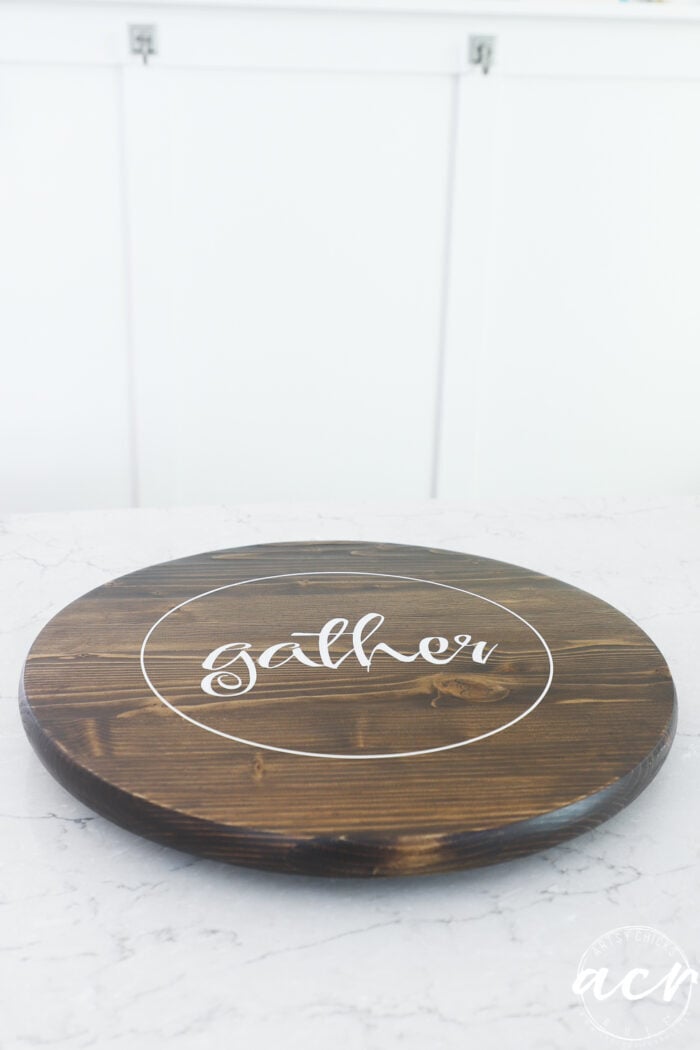
Today I’m sharing the lazy susan makeover.
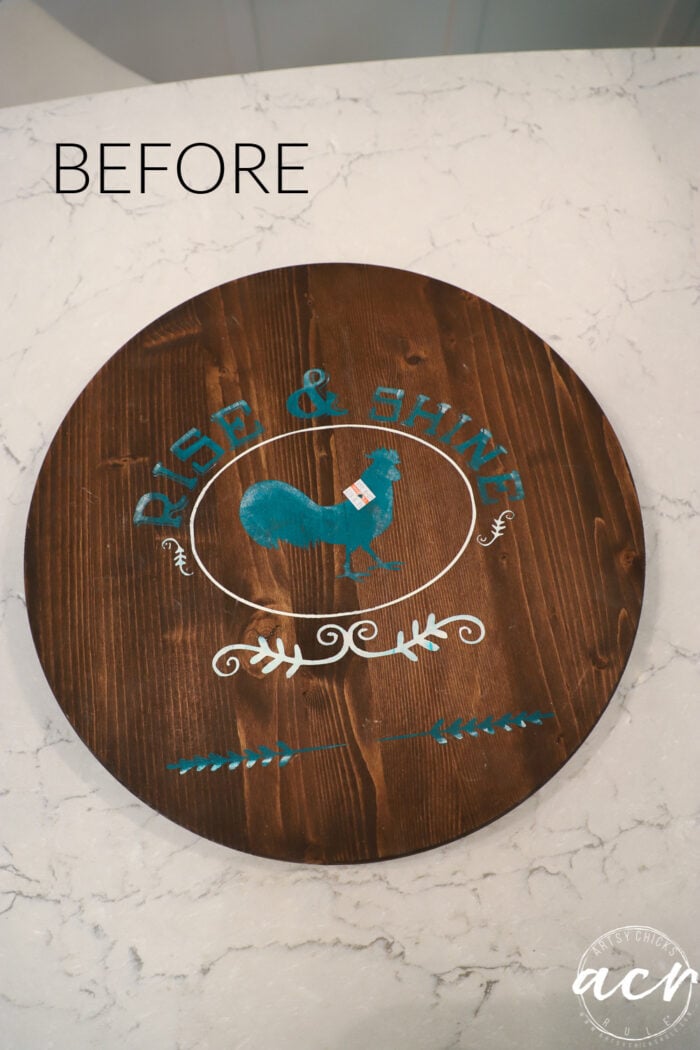
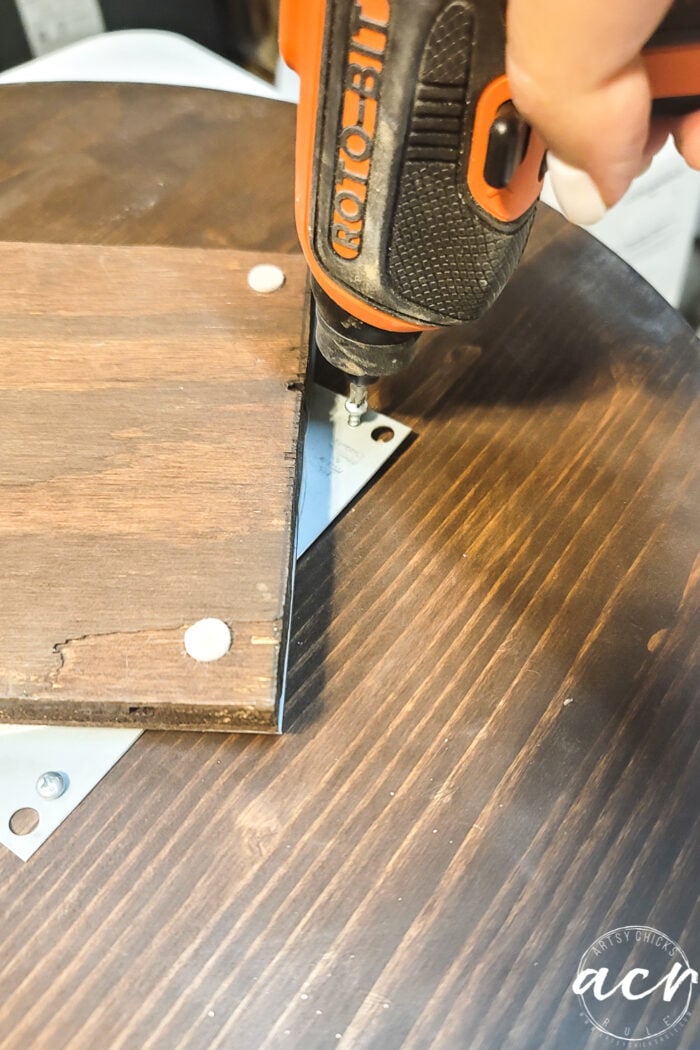
I started out by removing the turntable on the bottom and then sanding the top.
I thought I had taken a photo of that but I can’t see to find one. ??
But I sanded it down to the bare wood thinking I’d change the color. Then I sanded the sides.
Well, that darn stain didn’t want to budge from the sides and I’d had enough! haha
So I switched gears and decided to just stain it back dark. Well, not as dark as it was but similar.
I used one coat of the Cappuccino stain and let it sit for several days.
Here’s the products I used:
MATERIALS LIST
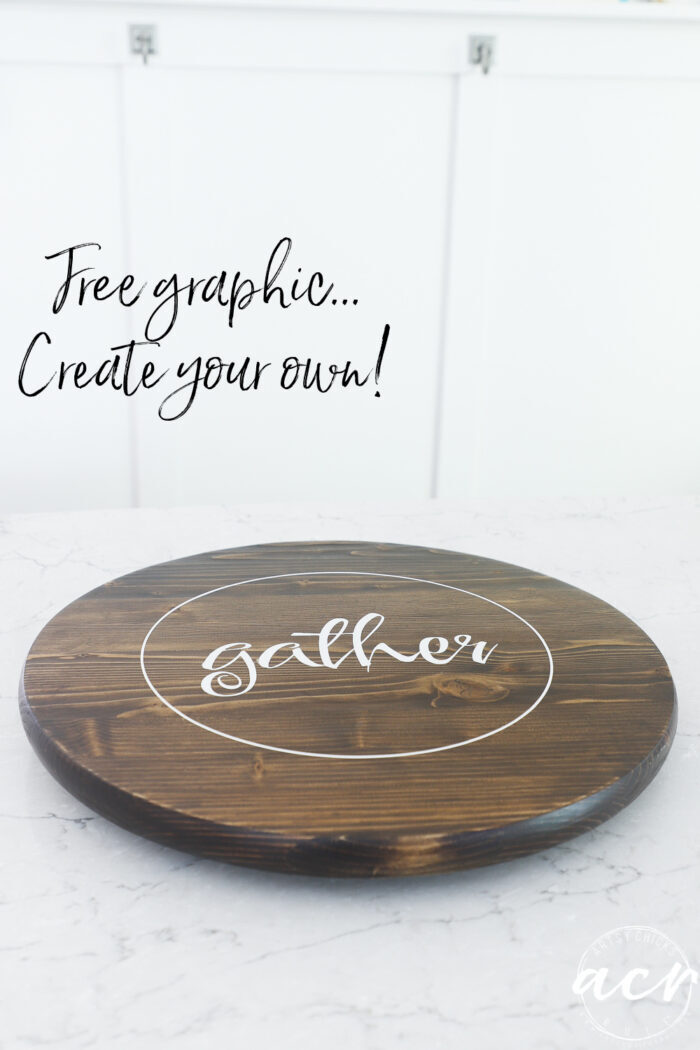
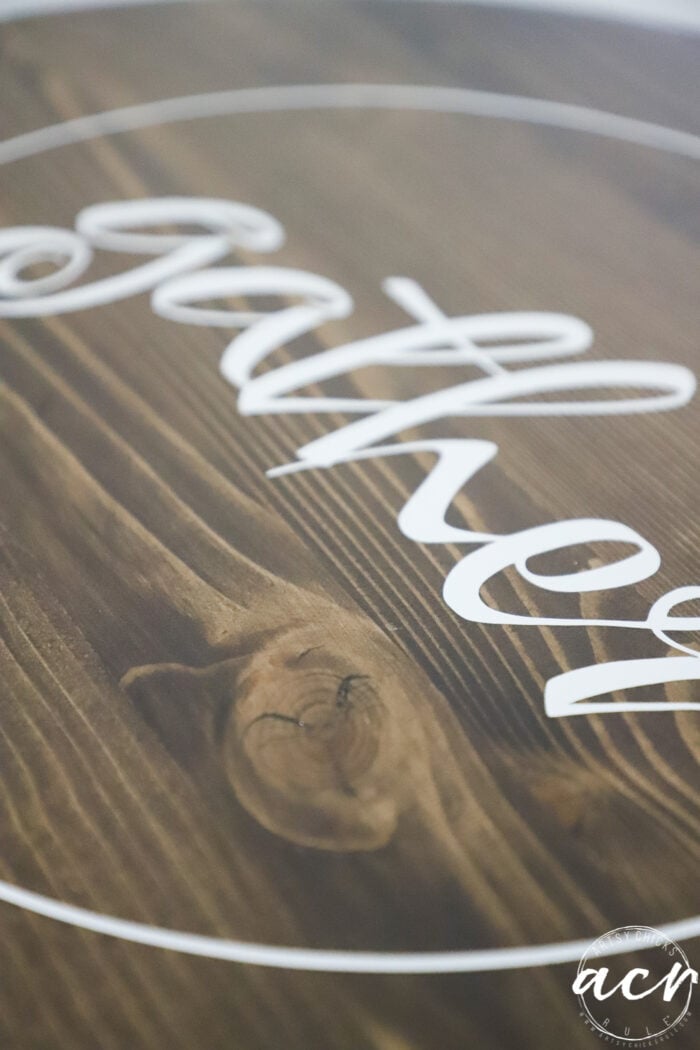
I created this design to put on the lazy susan.

But for some reason, I was having a bear of a time trying to get those small letters to cut properly. It might have been the font I used, who knows.
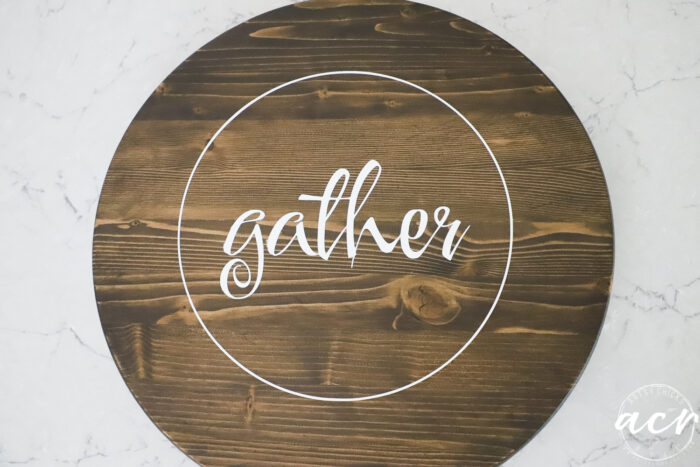
So I switched gears again! lol
And just did this one…


If you are already a subscriber, you can click here, enter your password (it can be found near the top of all my emails to you), and download this or any other graphic I’ve created over the years. (over 100!)
If you aren’t yet a subscriber, you can click here or the pink box below to become one to gain access.
I pulled out the vinyl lettering to create a stencil with the vinyl. Then I attached the transfer tape so I could transfer it to the lazy susan.
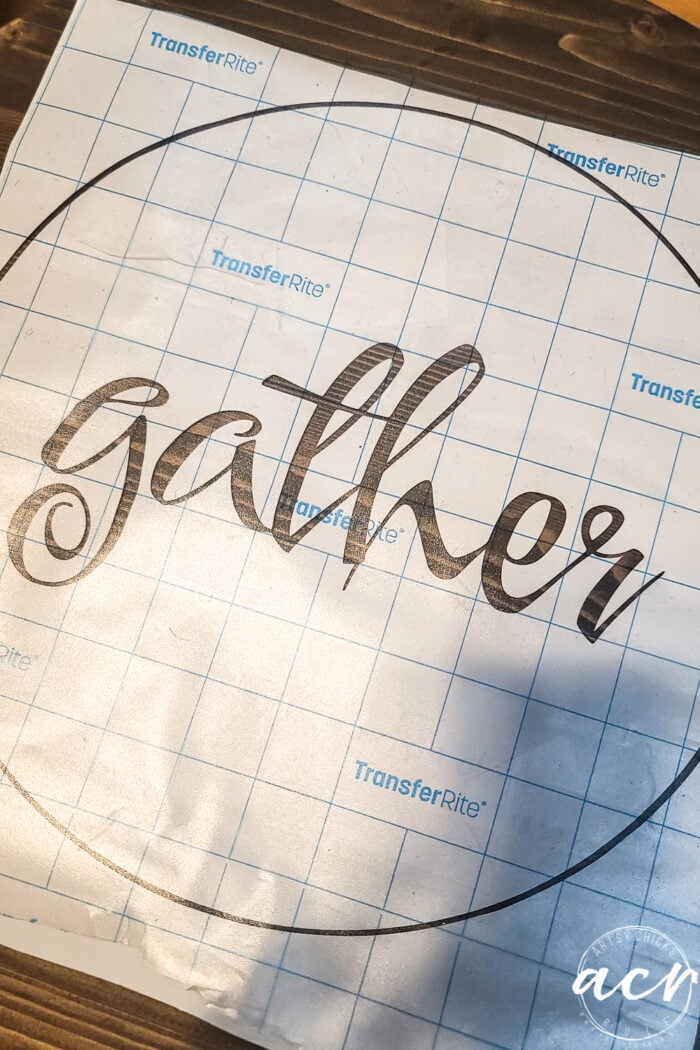
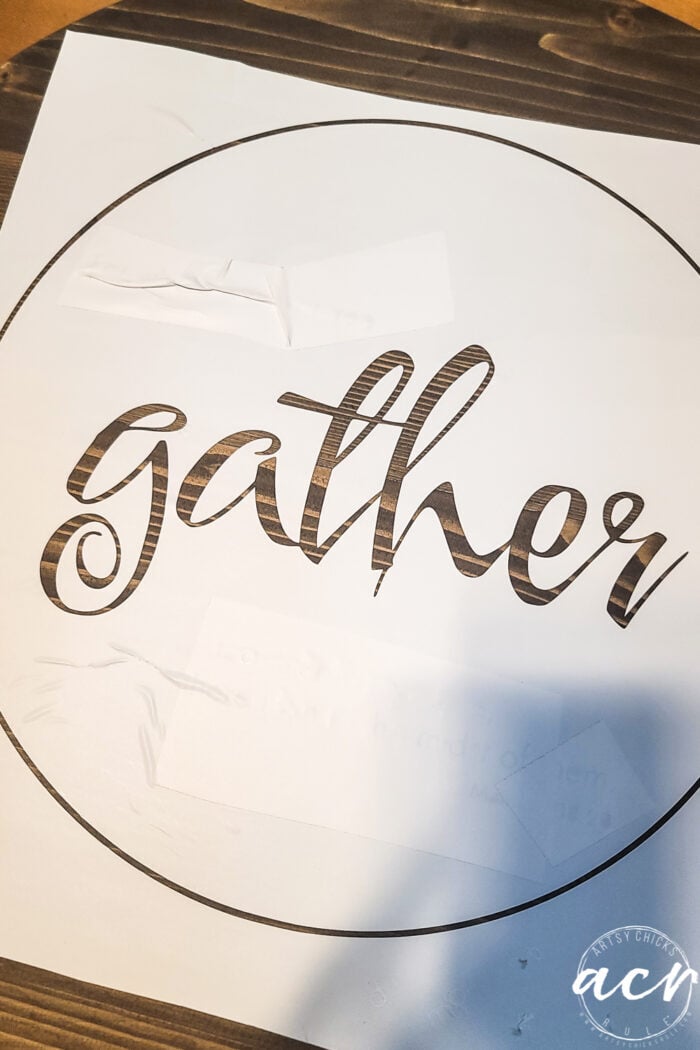
Once the vinyl stencil was transferred to the lazy susan, I removed the transfer tape.
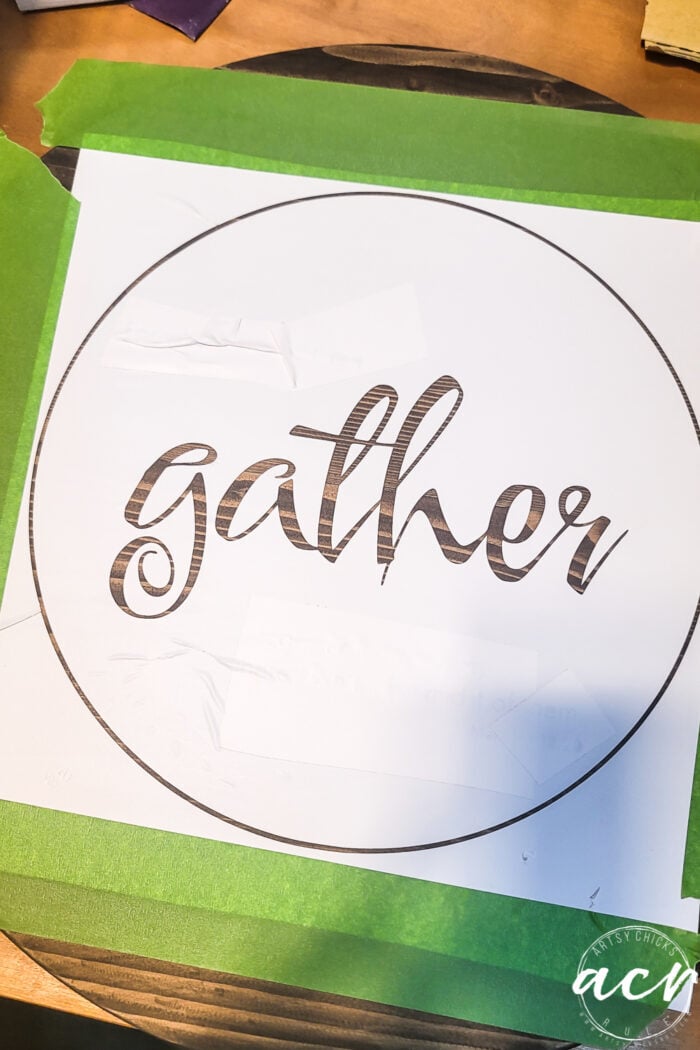
I taped up the sides so as not to get paint on the wood when I rolled the stencil with paint.
I painted several coats, drying in between.
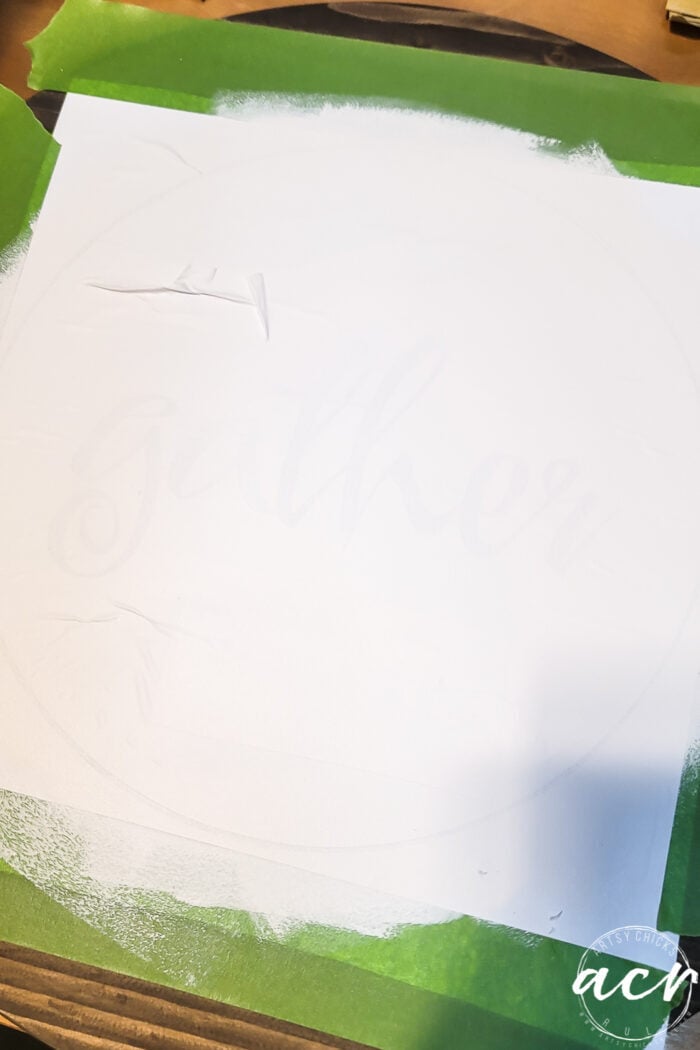
Then carefully removed the vinyl.
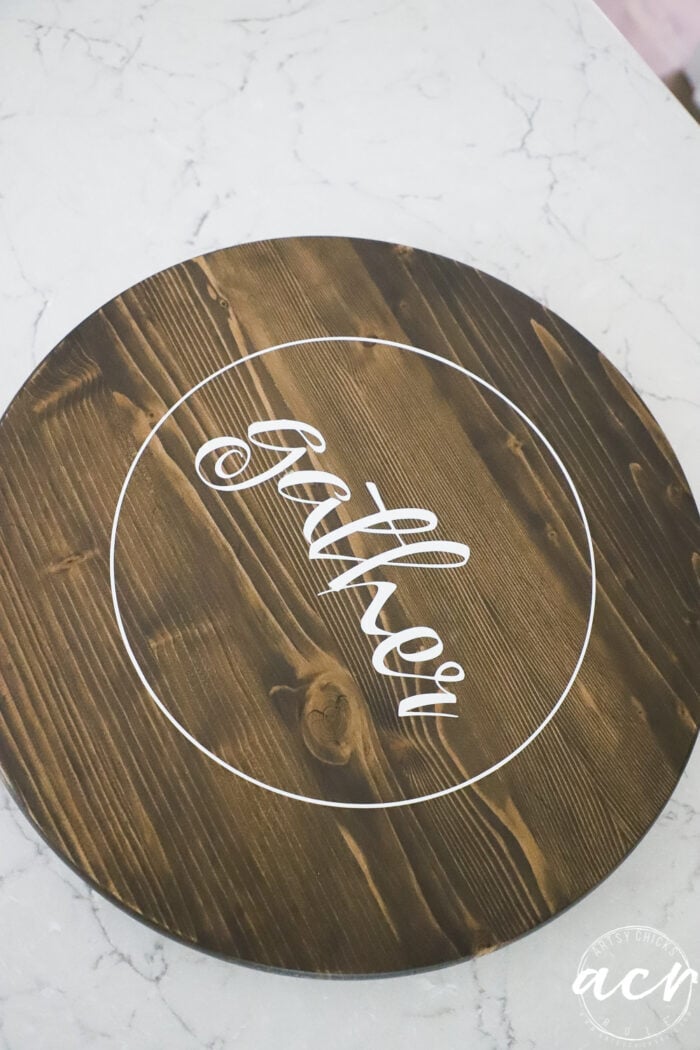
I applied 2 coats of Matte Tough Coat (linked above) and once dry, reattached the lazy susan hardware to the bottom.
And done!
Much more to my liking, style-wise.
Make it your own!

I love it now.
PIN it to save it for later!
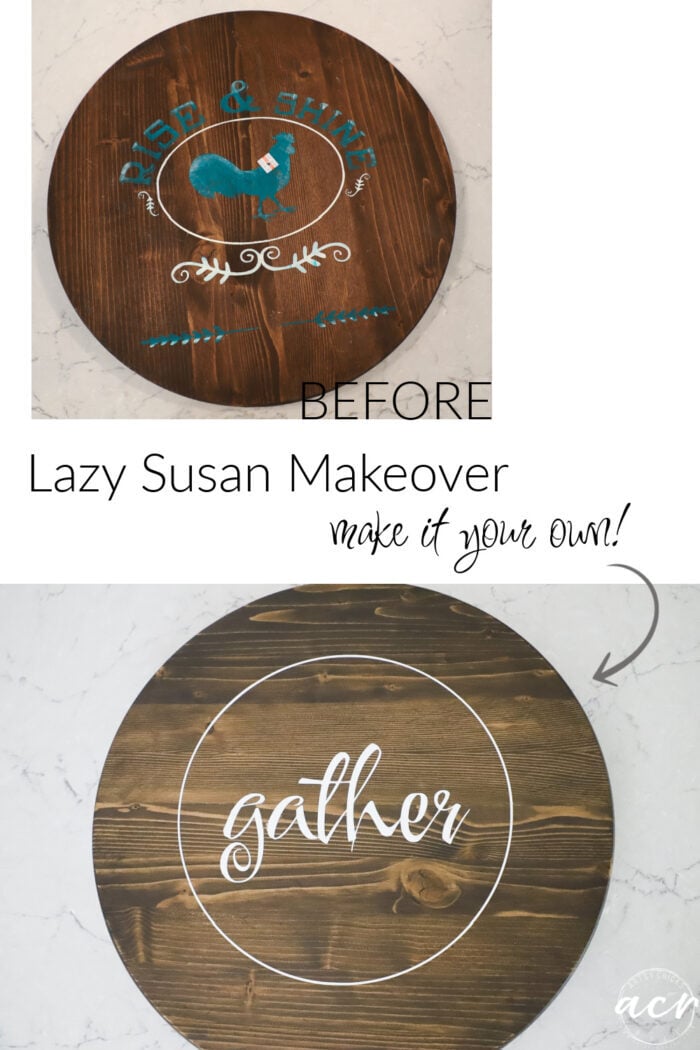
Such a simple change but one that makes it look completely different. Find old things at the thrift store and make them your own!
I’ll see you next week with this one…
UPDATE!! See it now, here!
Have a beautiful weekend, my friends!
xoxo

")
")

")


Bless you heart! I feel your pain. Some projects just semed to be cursed. But we persevere and hope for the best! And it all worked out in the end. Honestlly, it is off-center too, but once you laid her down on the counter you really could not notice it as much.
Bless your heart on this one. I often just throw it to te side and come back later when it all of the sudden it will scream at me as to what it needs! As it did hear for you. It was the perfect design and left you with a wider market.
Aw thanks! And I didn’t even realize that. haha! Oh well, par for the course on this one! ;)
This turned out nice! As much as I love that verse, I think just the one word on a smaller piece was perfect! Thanks for keeping it real and sharing your mishaps and frustrations along the way, as we can all learn from those experiences as well. I really enjoy your blog!
Thanks so much, Vicki! Oh yes, mishaps here and mishaps there! Keeps things interesting, right? ;) xo
Just goes to show, Nancy, persistence pays off! Nice job and much better than that chicken! Can’t wait to see what you do with that little table next week.
Yep! That’s right, Naomi! :) And I agree!! haha! Thanks so much! xo