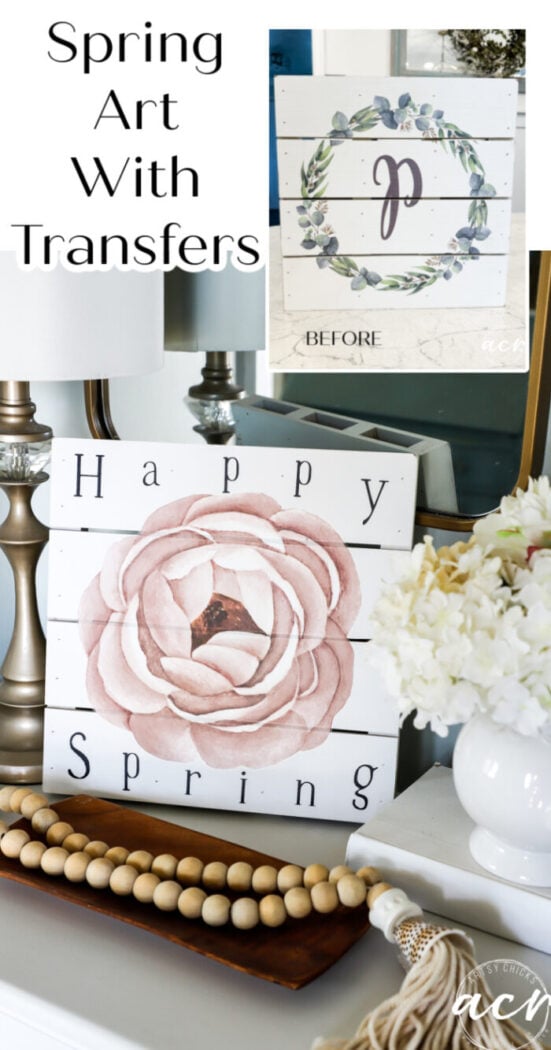
Happy Spring Transfer Sign
This simple spring transfer sign is easy to make when you start with a thrift store find like this!
Hello wonderful friends! I’m coming to you on a Friday this week. I hope your week has been amazing so far. I’ve been a busy little bee working on projects and stocking up the shop (and the Etsy shop too) this week. Today I’m sharing a brand new spring project. Hope you enjoy!
This one is so simple. Find an old sign at the thrift store (this one didn’t appear to ever have been used as the cardboard was still on the back), bring it home, and give it a whole new look. It’s sort of like a shortcut. This way you don’t have to make things completely from scratch and you’re helping keep things from going in the trash bin, right?
Before we get started, I have to share that Ryder’s birthday was on the 28th. He is 8!!! Eight years old, how can it be?? Remember >>> this post when I introduced you all to him?? Wow, time flies!
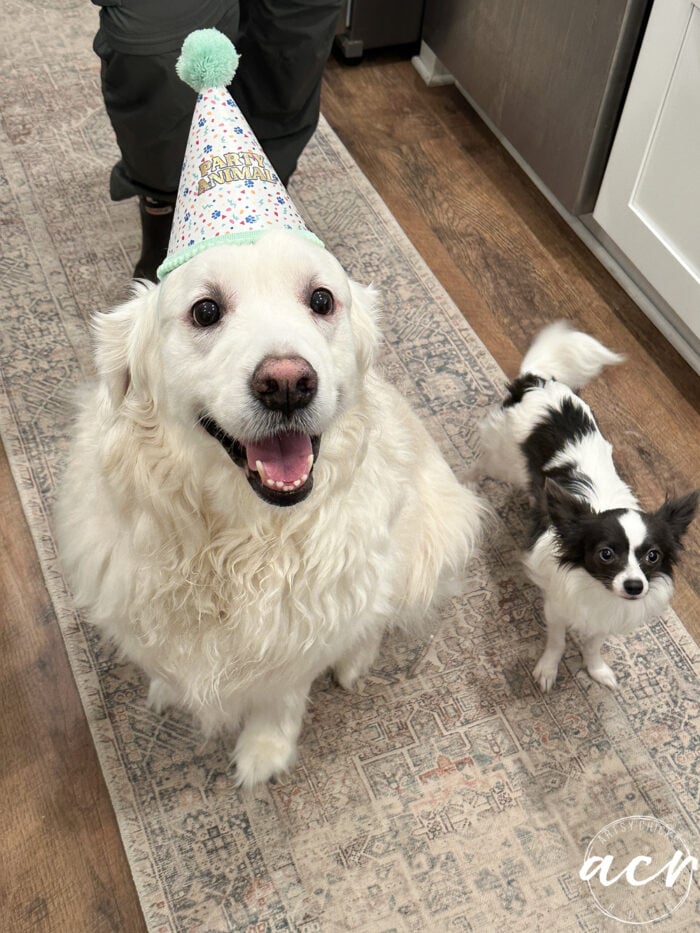
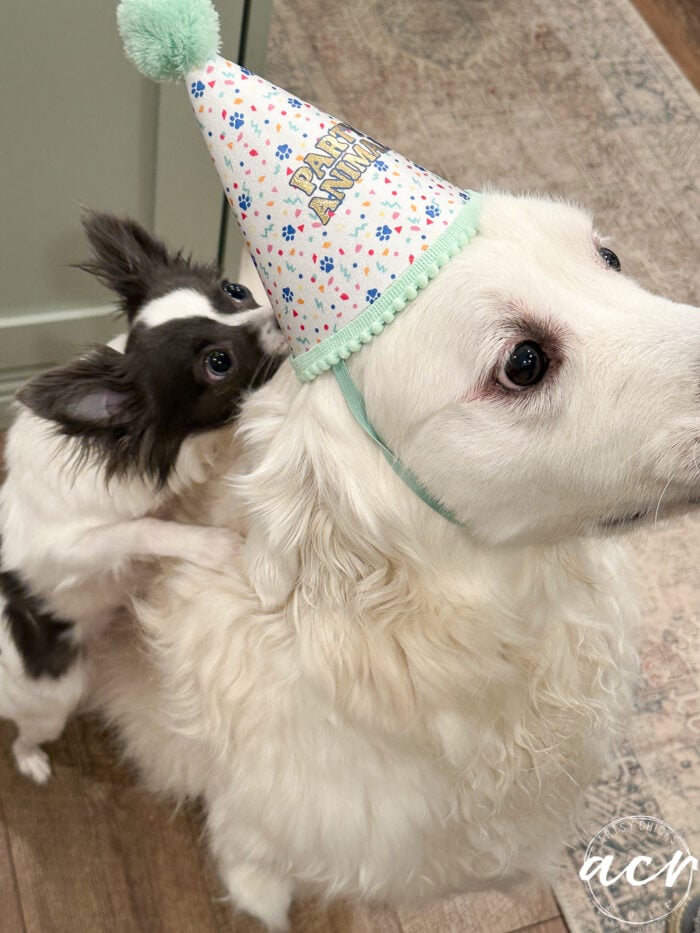
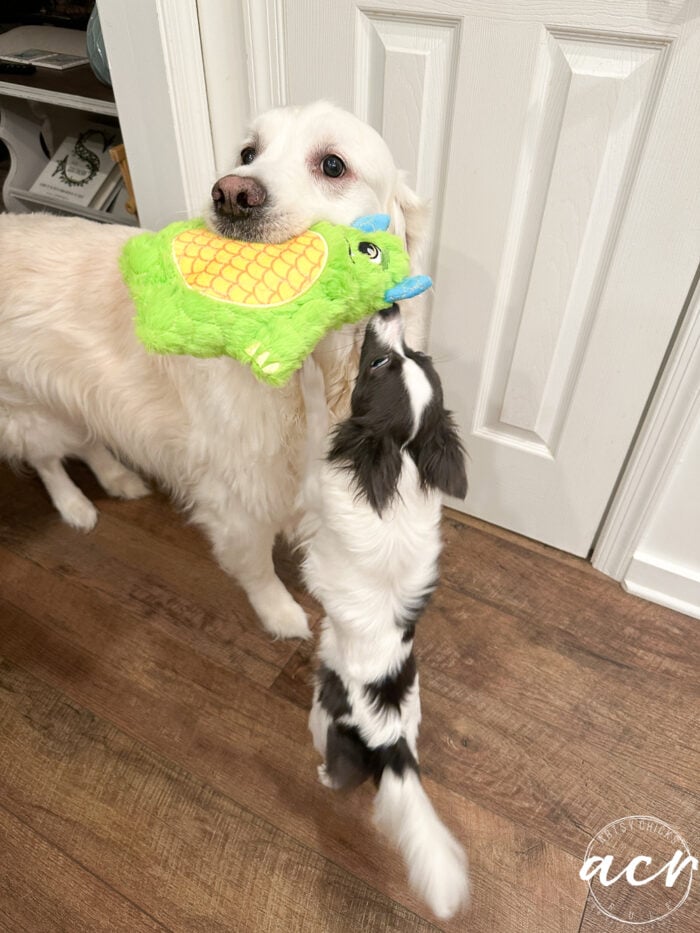
Our son came home with a bunch of birthday goodies for our sweet boy. I thought I’d share them with you! Piper was quite interested in his hat…and his new toy!! lol (there’s a sneak peak on the island there of what else I’ve been working on! ;) )
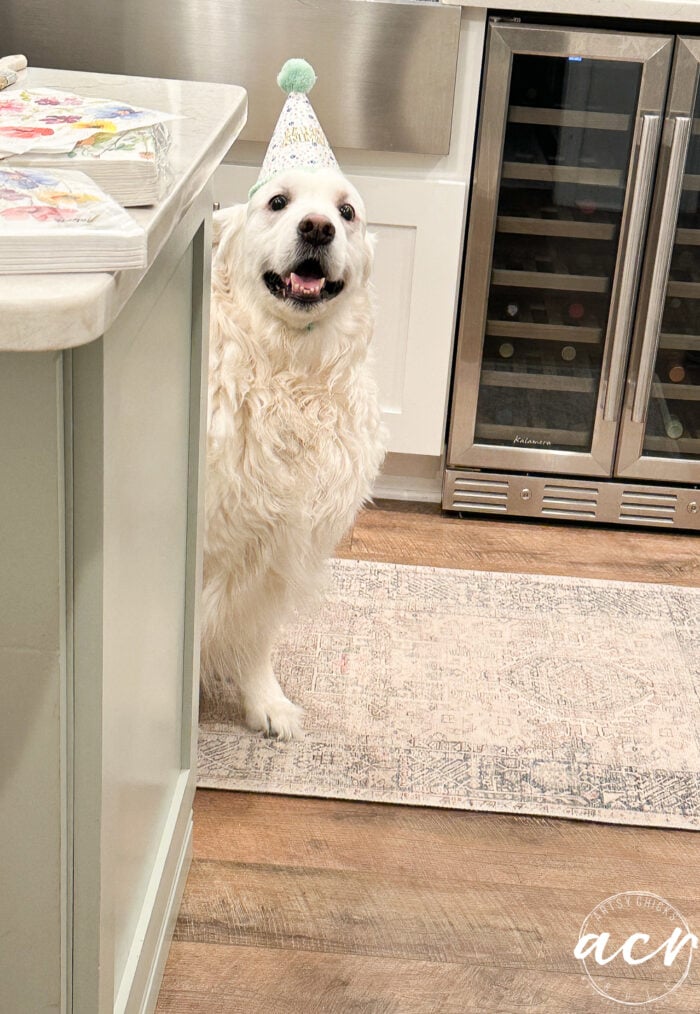
But look at that face!!
Waiting patiently for his birthday pop.
Happy birthday, Ryder boy!! You have surely been a blessing to us.
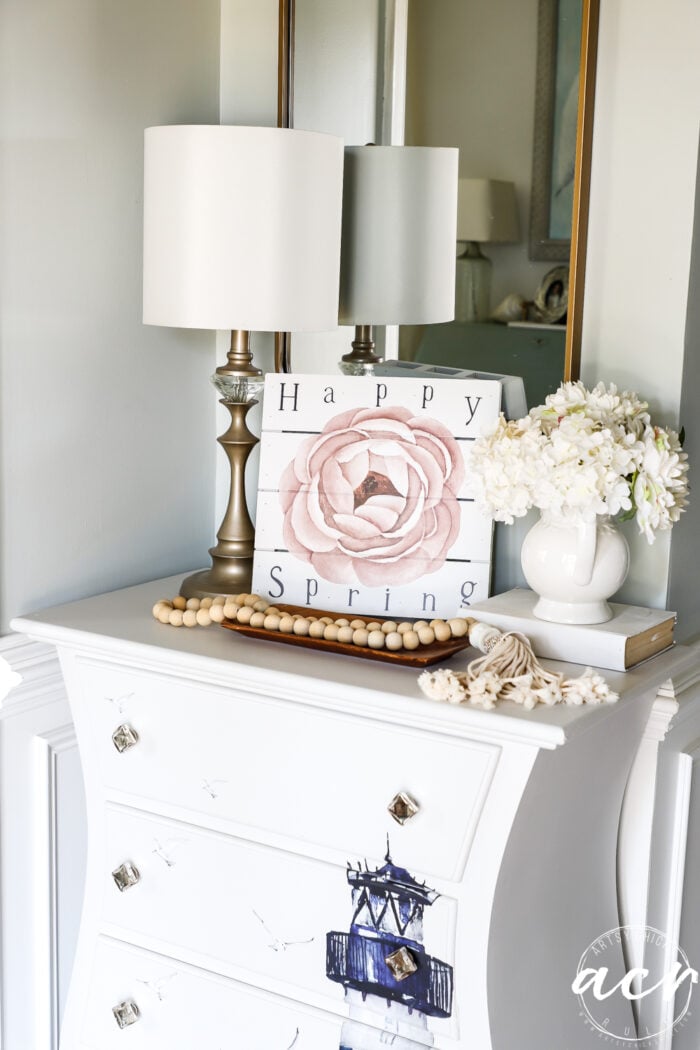
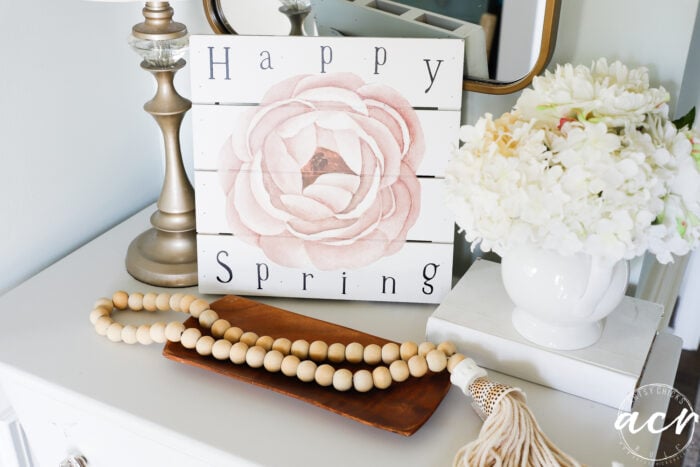
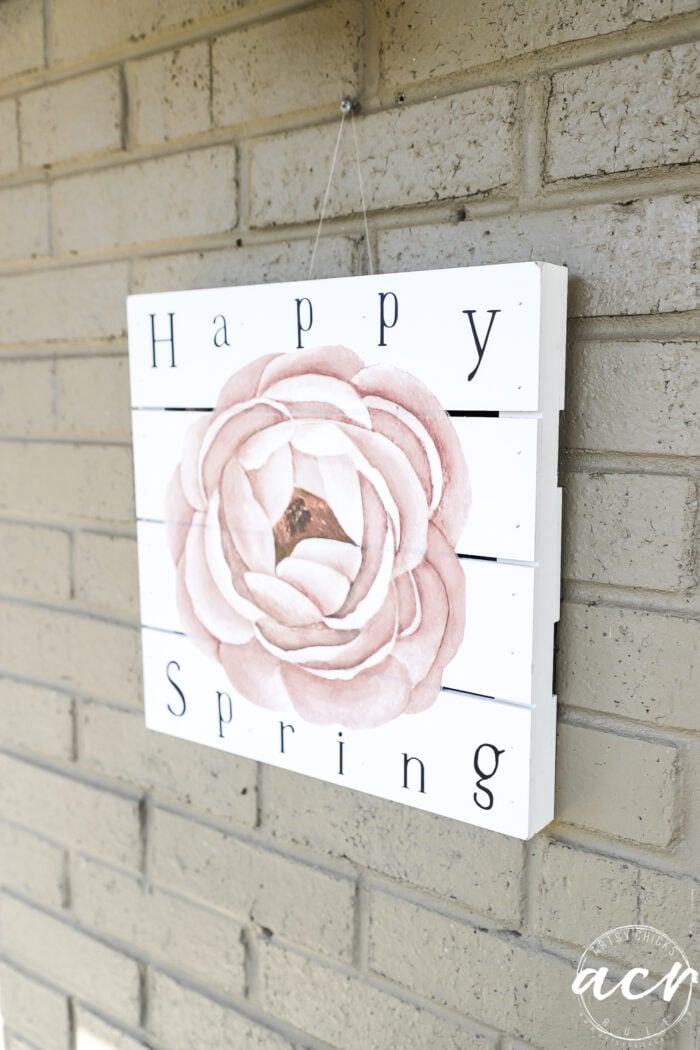
Happy Spring Transfer Sign
This is how it looked when I found it.
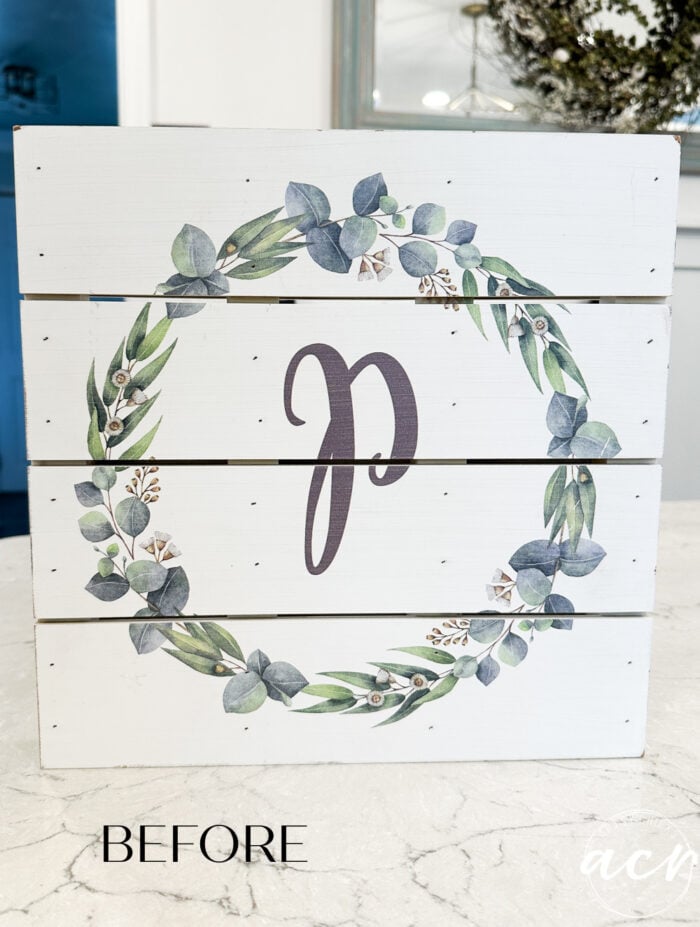
It’s a “p”. It could also be a “d”, which is what I thought it was when I first found it. However, the cardboarded-up hooks on the back are on the top so it’s definitely a “p”! haha!
Not that it matters at all because I’m going to cover right on up. I mean, it’s cute but it’s eh. Just a print and not too exciting. Let’s make something new and pretty for spring.
I began by spraying it with shellac-based primer. That way it would hopefully hide all of that. And it did.
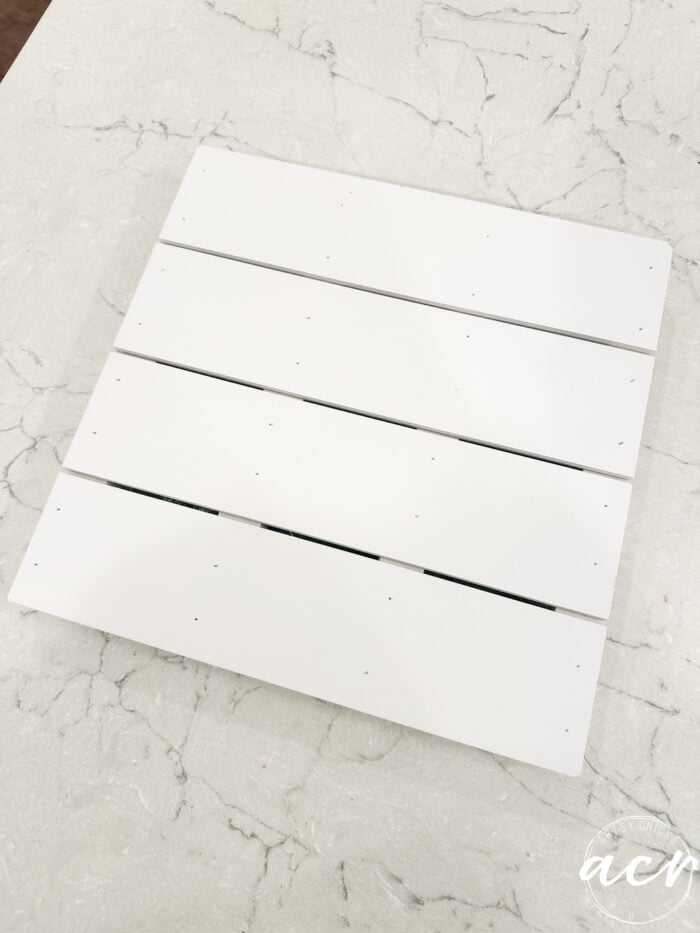
Once that was good and dry, I used a satin white spray paint on it next.
Look at that great coverage.
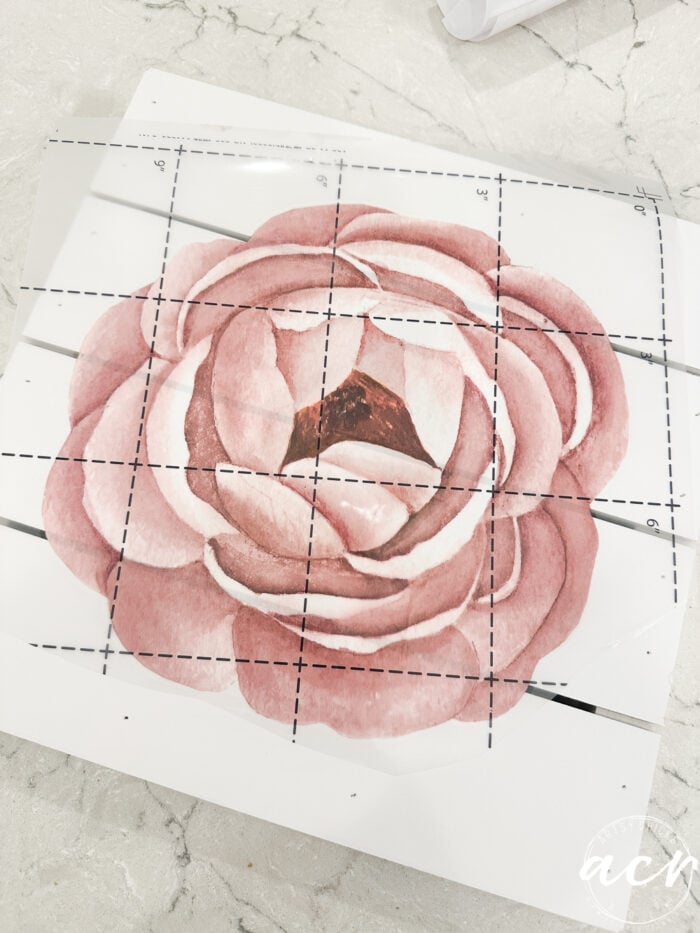
I pulled out this amazing spring transfer and decided on one of these florals. Look at them all, aren’t they beautiful?
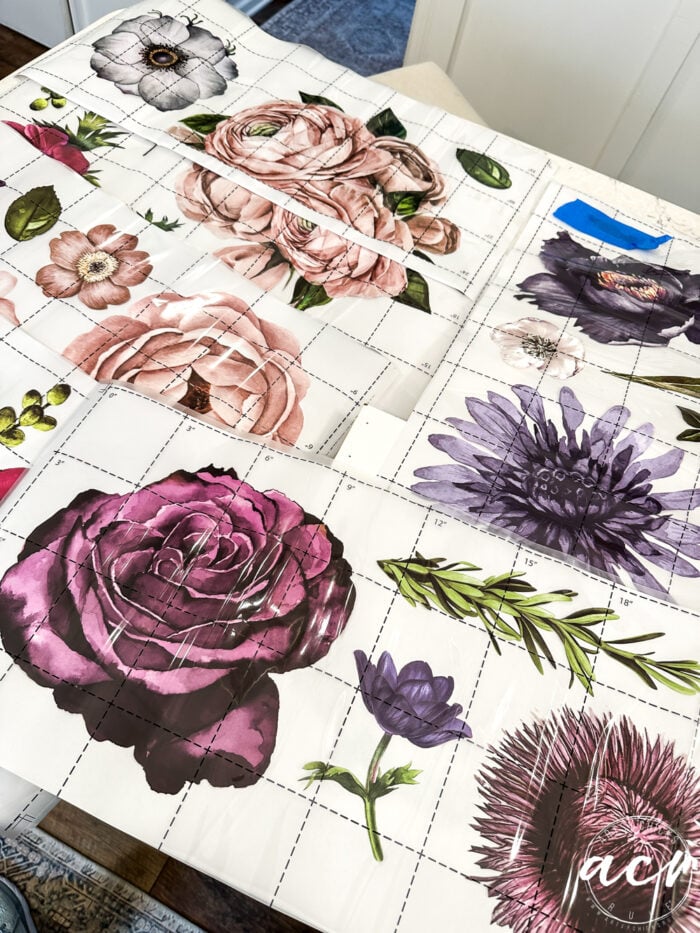
This one.
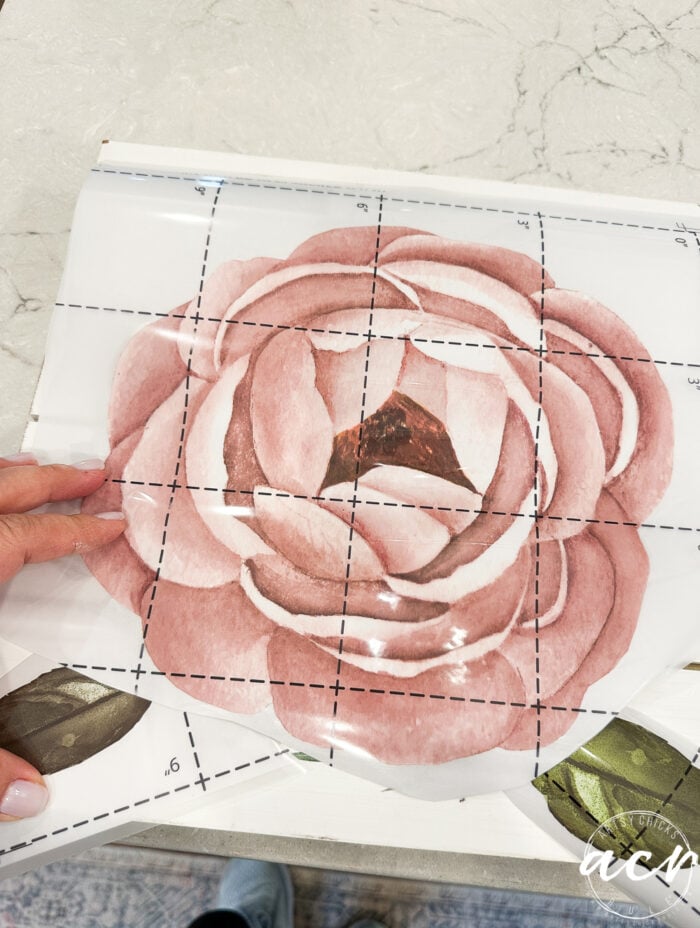
And cut out the leaves because I thought I’d use those like so.
But decided against it.
I knew I wanted some words on it and it wouldn’t really have room for all of that I left them off.
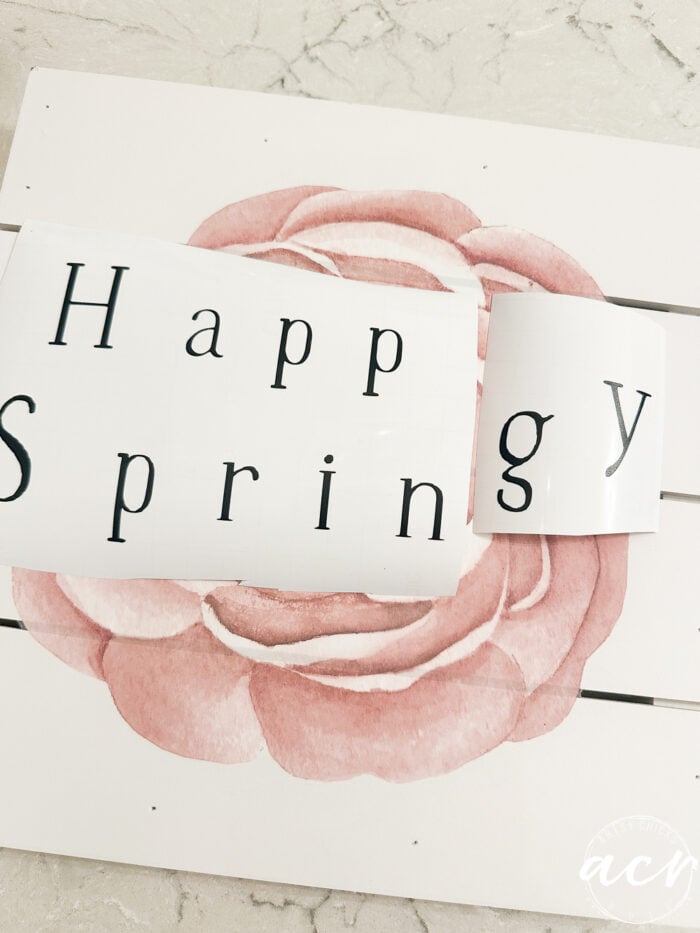
These are the words I cut out on my Silhouette. The Silhouette ran to the edge for some odd reason so I had to print the two end letters again.
I wanted to do something like this (sort of curved around the flower) so I laid them all out with their transfer tape before I applied them to the sign.
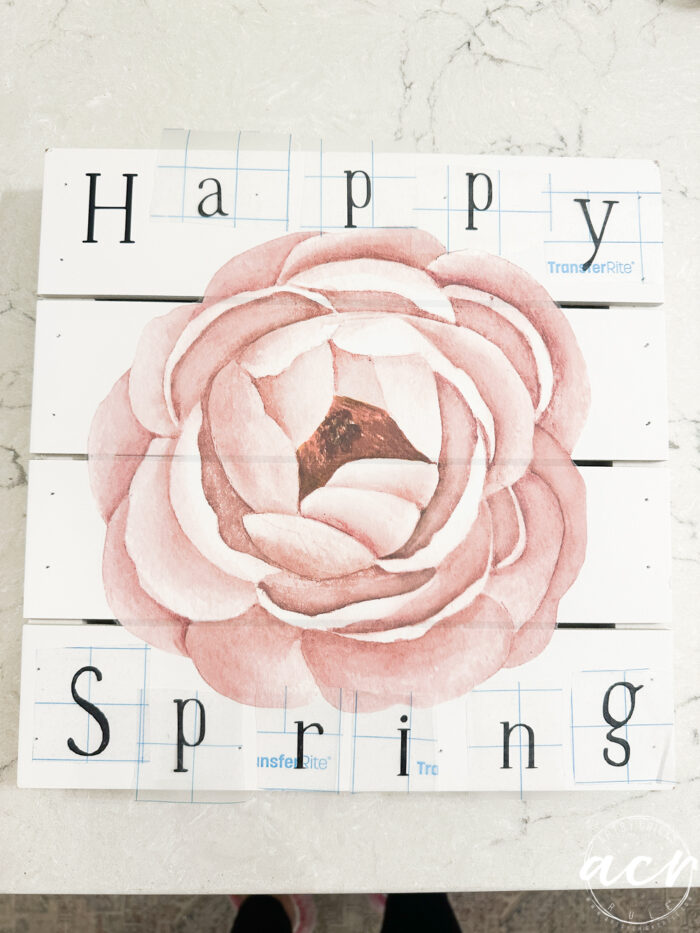
I used a polishing pad to polish and burnish the transfer. I thought I’d taken a photo of that but I guess not! Oops! Anyway, you can find them here. Just simply rub and burnish to remove air bubbles, smooth edges, polish, and more. I actually did not put a sealer on this one.
I also did not “push through” where the slats are. I left it covering the gaps. I usually will cut that but decided not to this time.
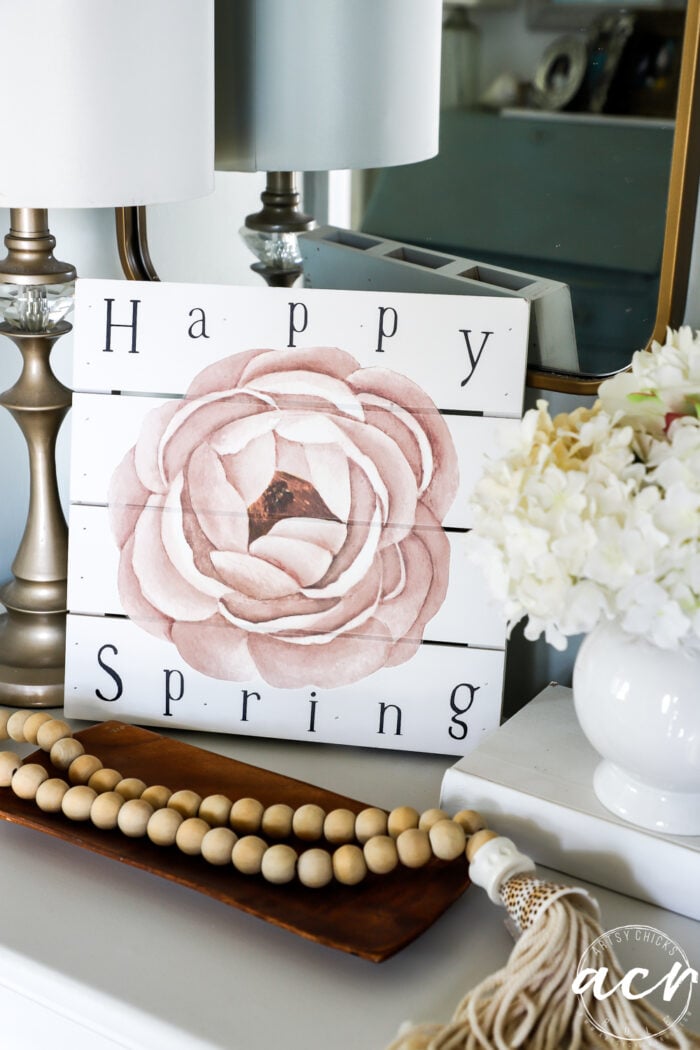
I don’t know about you but I’m SO ready for spring!!
This sign makes me so happy.
Lots of places you can use this. Not sure where it will end up in our house just yet!
PIN it to save it!
Have a wonderful weekend, dear friends!
xoxo


")


I love little projects like this and the touch they give to my home. Very sweet!
Thanks, Gina!! I agree! xo
Thank you so much for sharing your beautiful dogs and creativity with us. They are both adorable. Your post has made my day.
You are so welcome, Jaye! I’m so glad you enjoy seeing them and the projects too! I love sharing them both! :)
Love this sign! I have yet to venture into doing transfers. For some reason I’ve been a bit scared, but every time I see something pretty like this I get closer to wanting to go for it! I can’t wait for spring either, we’re in PA and I’m ready! God Bless you, love the pics of Ryder and your little one! So adorable!
Thanks, Michele!! I see a lot of people saying they are intimidated by them. I hate that because they are not really that hard to use at all. And they are so much fun! I say, give it a go! xo
I am ready for Spring too. Happy Birthday Ryder. I went to the post with the puppy pictures. He was beyond adorable when you brought him home!
Yes, oh yes!! Thank you, Cheryl! And he was, wasn’t he?! I can’t believe he’s 8 already! xo
Oh isn’t that nice!!! I was thinking I really liked that P and thought of one of my best friends whose last name starts with a P – she’d love that before……but your after is marvelous!
And happy belated birthday sweet Ryder, boy. Love his hat “Party Animal!” I laughed out loud.
Thank you, Michele! Haha!! Yes, he’s our party animal alright! ;)
And aw, that’d be perfect then! Love finding things like that that work right away. Sometimes you don’t even need to change a thing! xo
So first and foremost (HA HA) Happy Birthday to your sweet Ryder =) I never saw his puppy pics so thanks for sharing that link. Boy was he adorable. Love his birthday hat and his little sister checking it all out.
I love this sign. So pretty! The flower you chose is perfect. I have an old round sign that was made by someone for our camping site which we no longer have. Redoing it is on my to do list lol.
Hi Debra! Ryder says thank you for the birthday wishes! ;) And yes, wasn’t he the cutest???
Have fun with your sign!!xo
HAPPY BIRTHDAY RYDER!!!! ….you little cutie boy!!! I love your hat on you!
Keep helping mom with her projects….you know how she loves projects!!!…haha
Nice redo and save on the sign!!!
Ryder says thank you, Addie!! ;) Haha, she sure does!! And he is the best “helper”! Thank you, Addie! xo