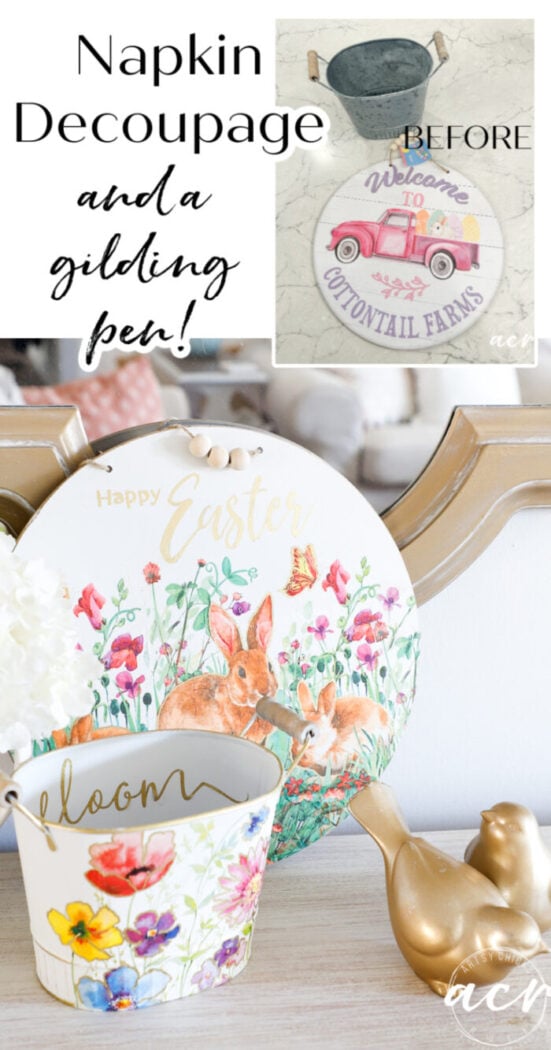
Spring Napkin Projects and Gilding Marker
These spring napkin projects are fun and easy to do! The Gilding Marker adds a nice touch of glam too!
Hello beautiful friends!
I hope you have had an amazing week, so far! I’m sharing only one project this week because I went to one of my favorite places this past weekend. Charleston, SC.
I went with 3 of my friends. All of us have had recent birthdays so it was a girl’s trip for our birthdays! Yay! We had a great time and I got to see the city in a different way than I usually do. In case you don’t know (or remember) my brother-in-law and sister-in-law live in the Charleston area so we visit often, usually at least once a year. We always stay with them but this time I stayed right in downtown! I will be sharing all about it, the things we did, and exactly where we stayed (which was a great location!) if you are interested next week.
Today I’m sharing a project I did last week before I left. It’s a napkin decoupage project for Easter using a new product I want to share with you all!
Spring Napkin Projects and Gilding Pen
Here is what I started with…
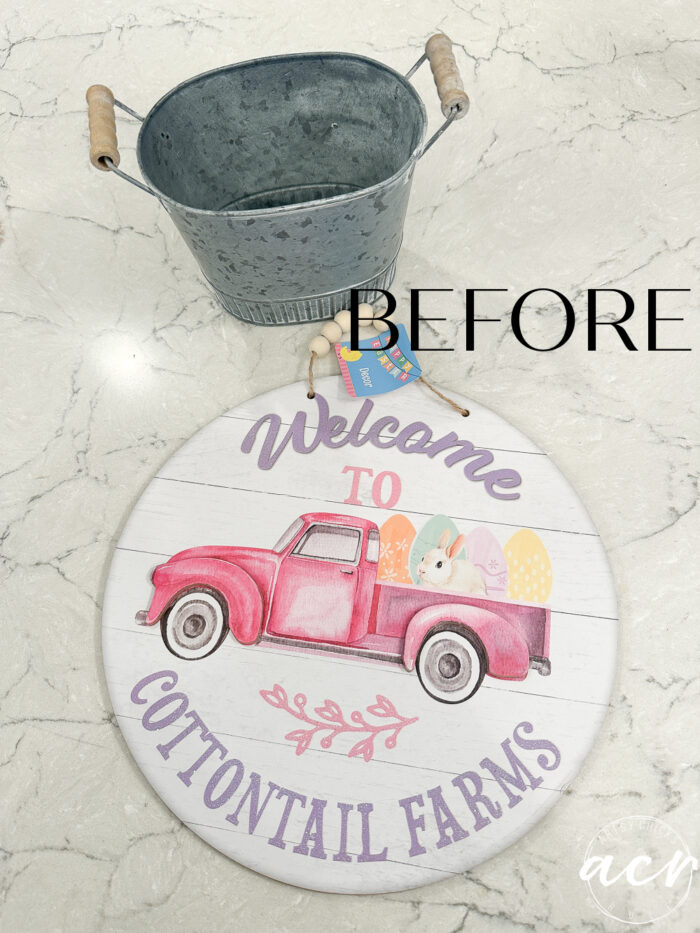
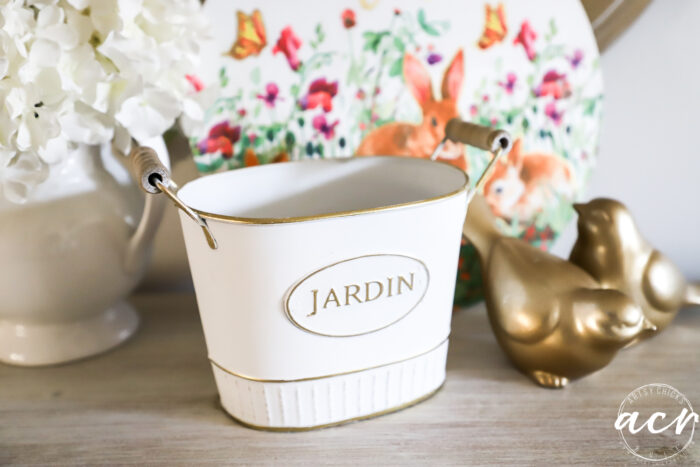
An old tin I got at Michael’s years ago and an Easter sign from the Dollar Store last year that I never ended up doing anything with. Until now!
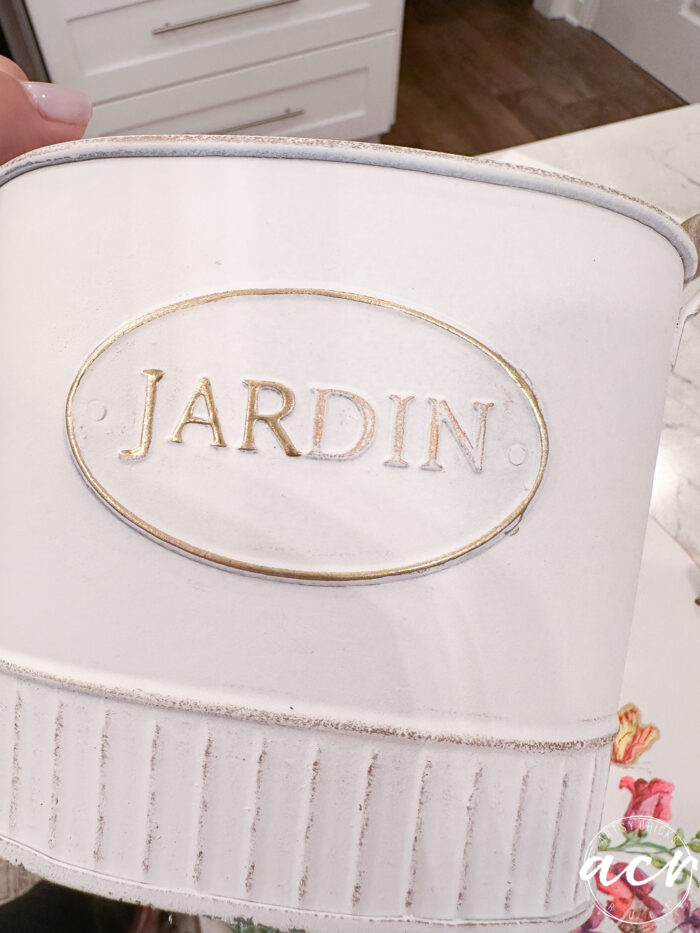
Here’s the other side of the tin container.
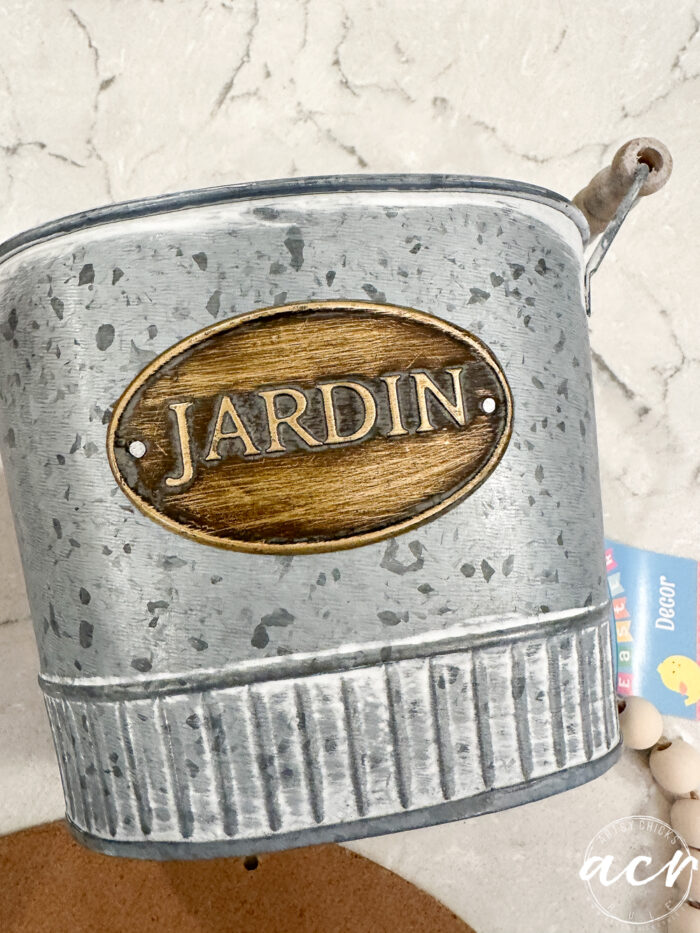
Nothing at all wrong with it except it’s a little too rustic for my decor these days.
MATERIALS SOURCE LIST
- Dollar Tree Finds To Makeover
- White Spray Paint (satin or matte is best)
- Decoupage Gel
- Bronze Gilder’s Paste
- Gilder’s Marker
- Matte Sealer Spray
- Napkins
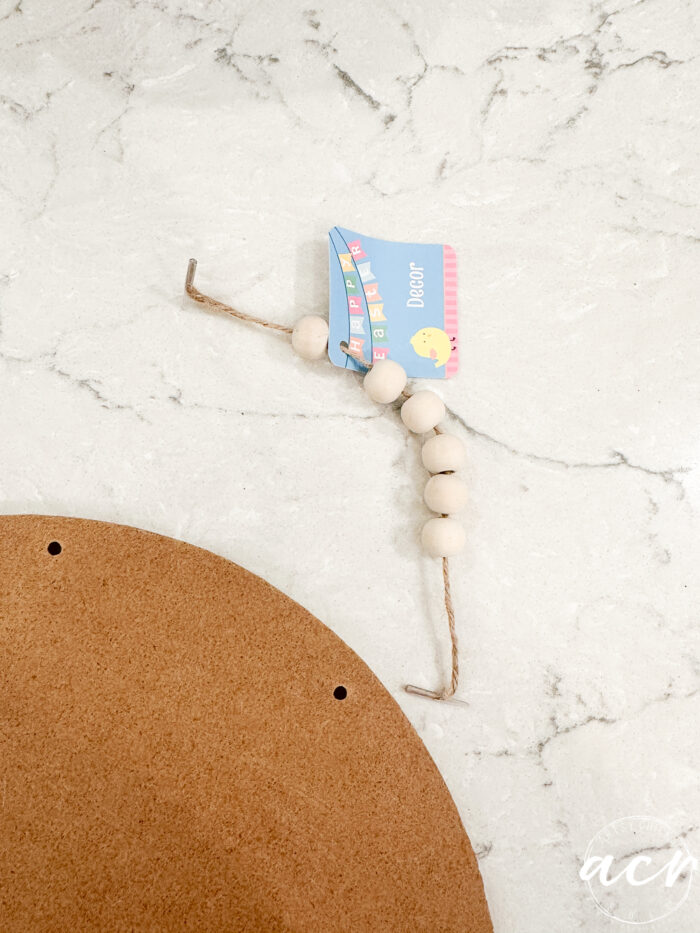
I loved the little beaded hanger and was happy I could simply remove it and turn it the other way. (since I’m using the backside of the sign for this project)
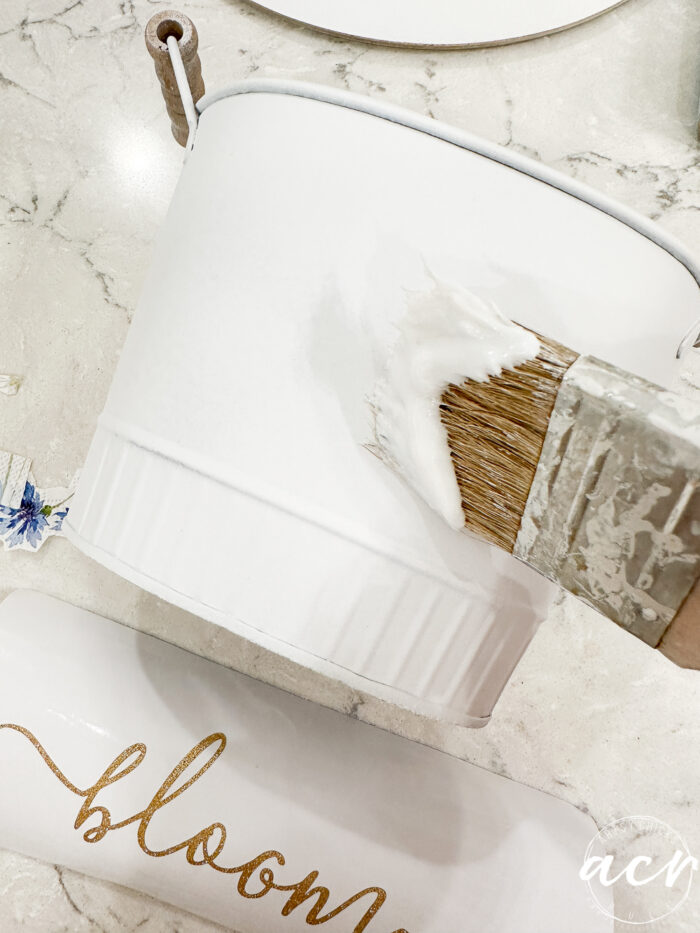
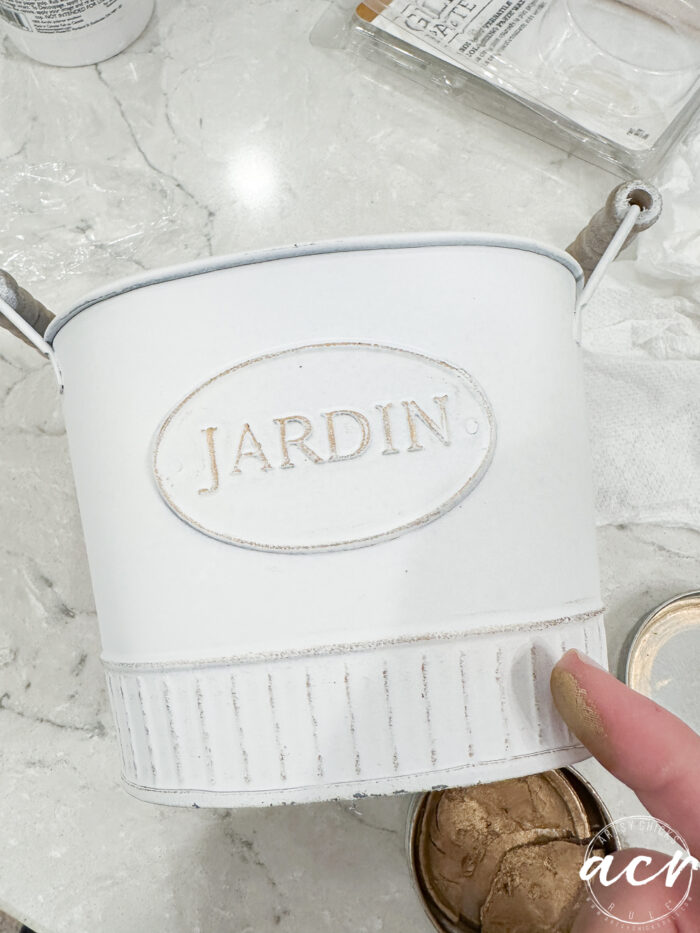
Both the back of this sign as well as the metal container got sprayed white.
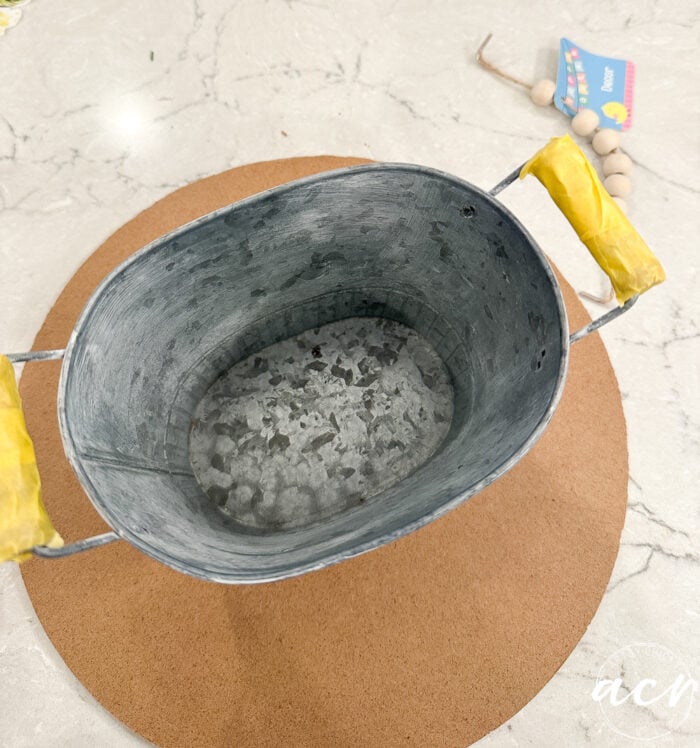
I made sure to tape up the wood handles though because I didn’t want those to get painted white. I loved the natural wood look of them.
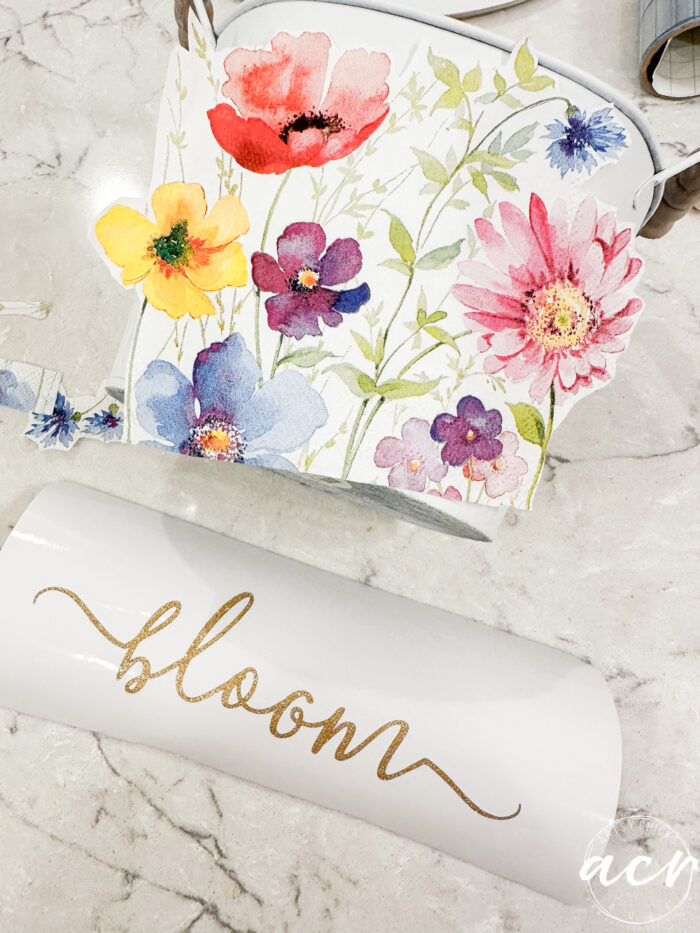
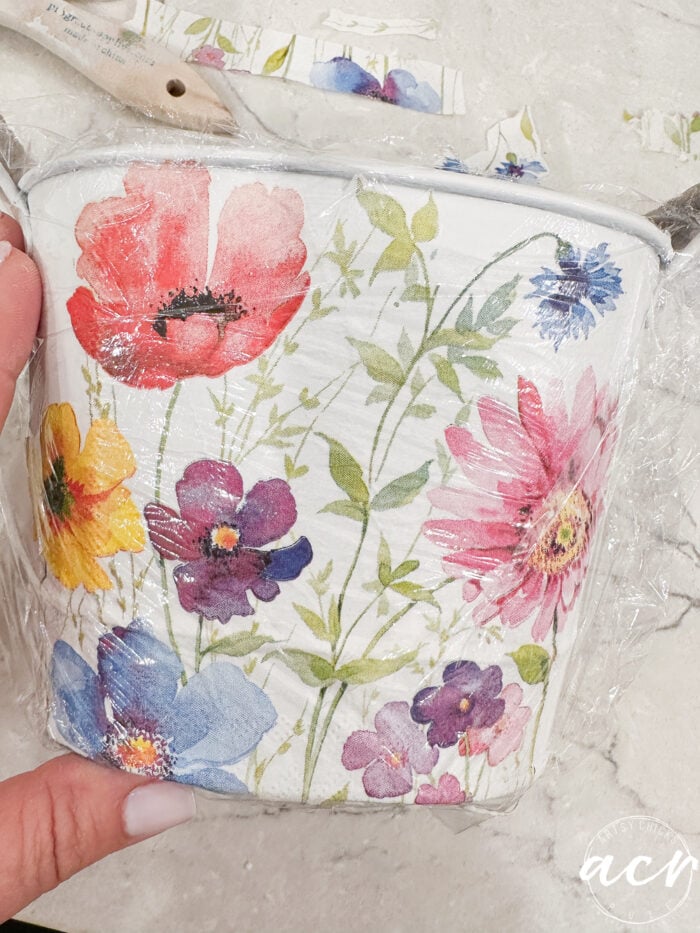
Here it is after painting and showing you the napkin I’m going to use.
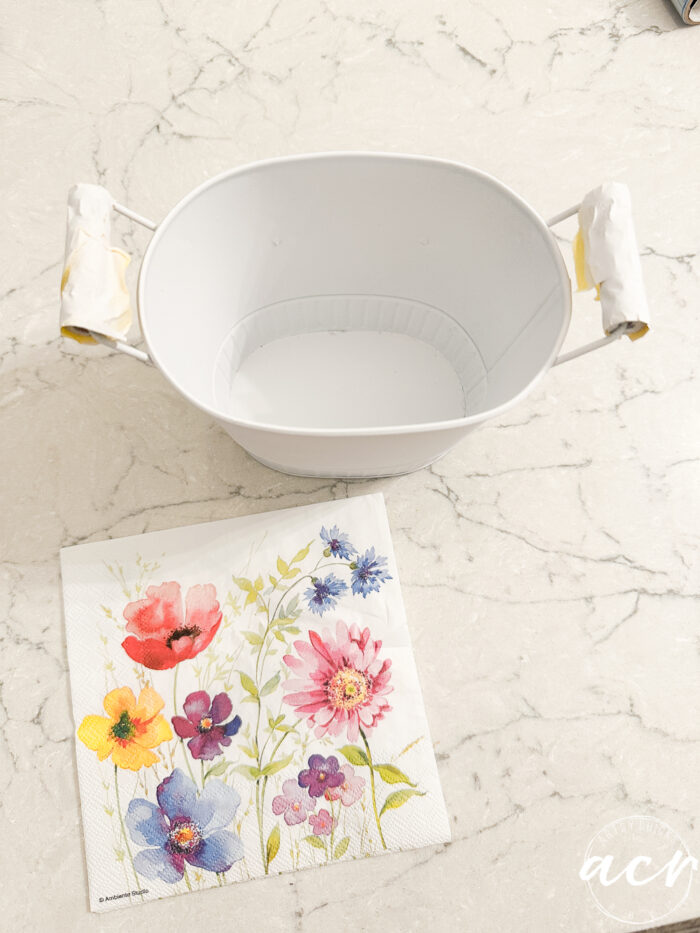
Isn’t it pretty for spring? I love the colors!
I cut out the portion I wanted to use…

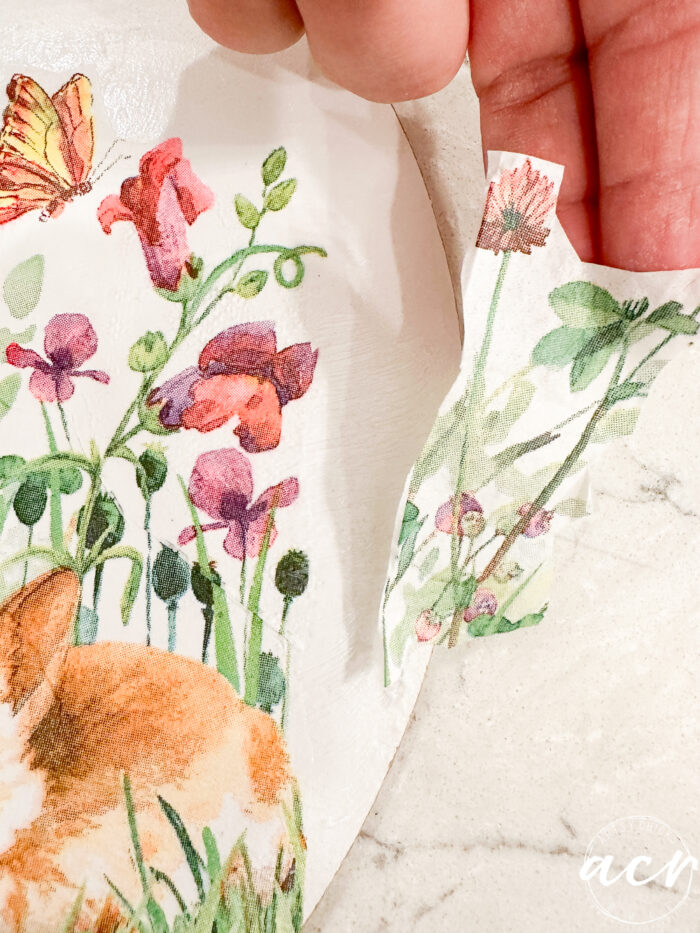
Then carefully separate the layers.
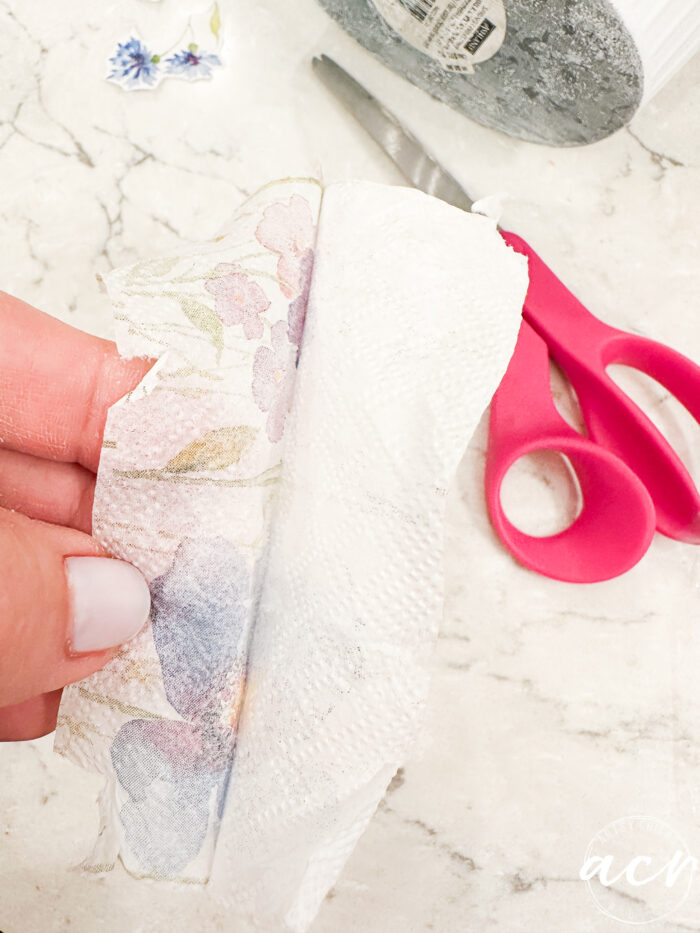
Be sure to get them all, there are usually about 3. You want the thinnest layer that is printed only.
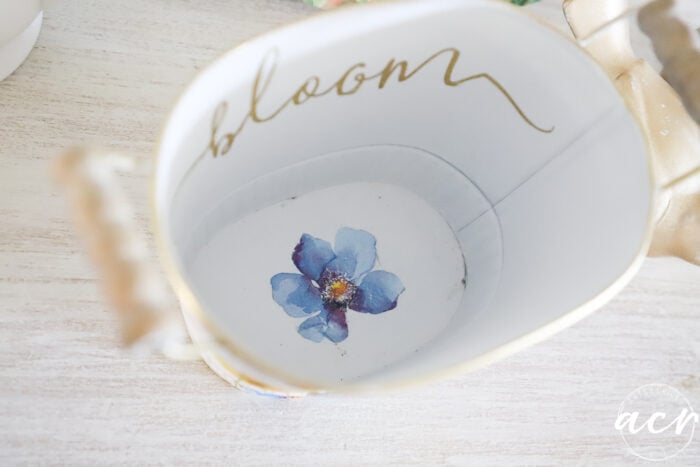
I also cut out the word “bloom” on my Silhouette in a glittery gold vinyl.
Apply a coat of Decoupage Gel…
Then apply the napkin. You can use plastic wrap over the top so as not to tear the very thin napkin.
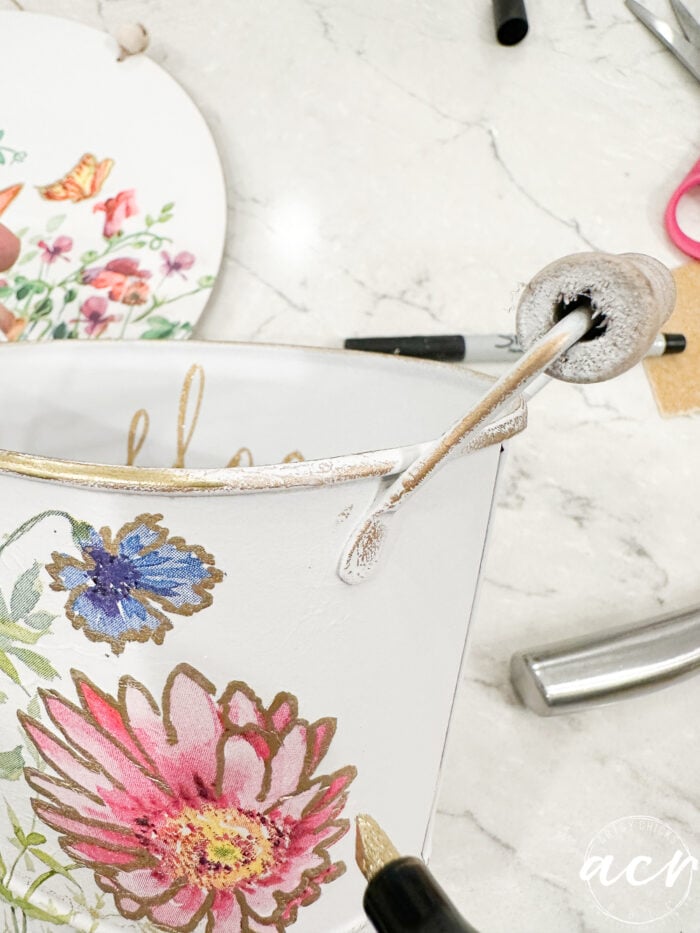
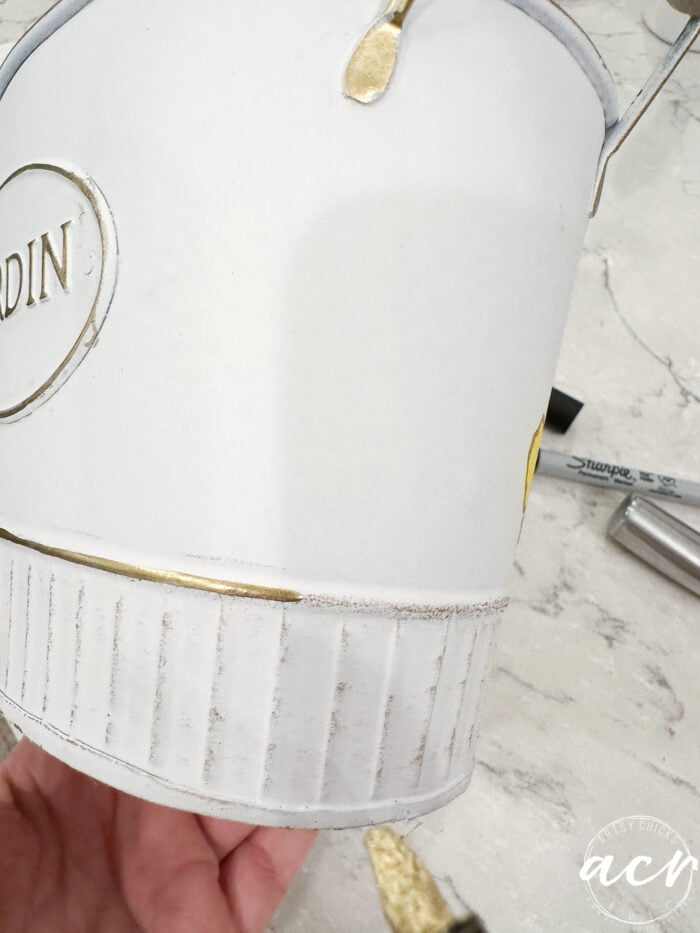
Next, I thought I’d use our Gilder’s Paste in Bronze on all the raised areas.
However, I pulled out this brand new Gilding Marker we have and used it instead!
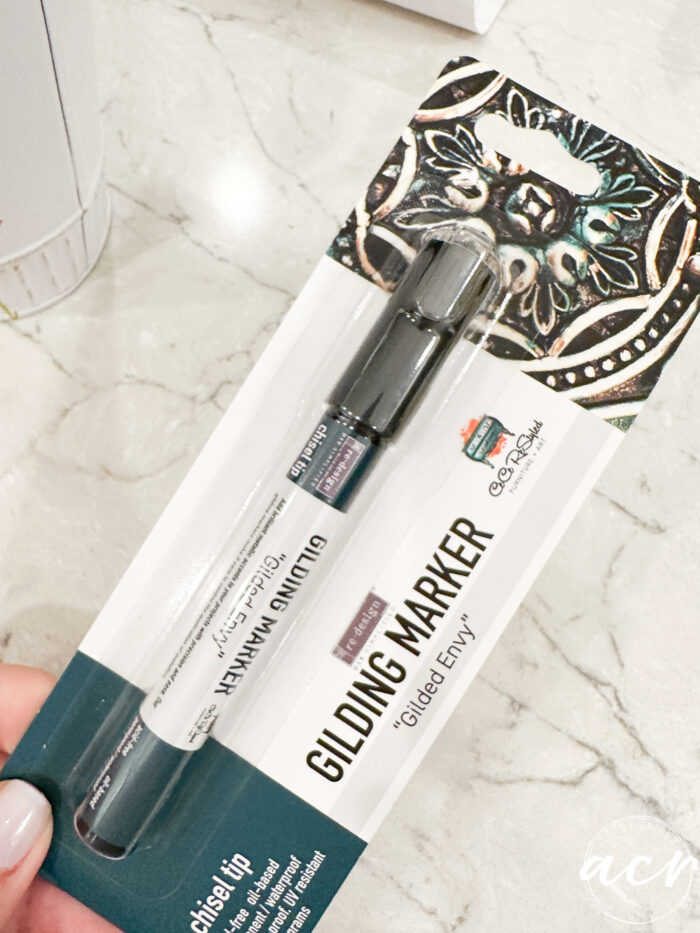
Get ready to have some fun with this thing! ;)
I decided to “highlight” the edges of the flowers in the napkin decoupage.
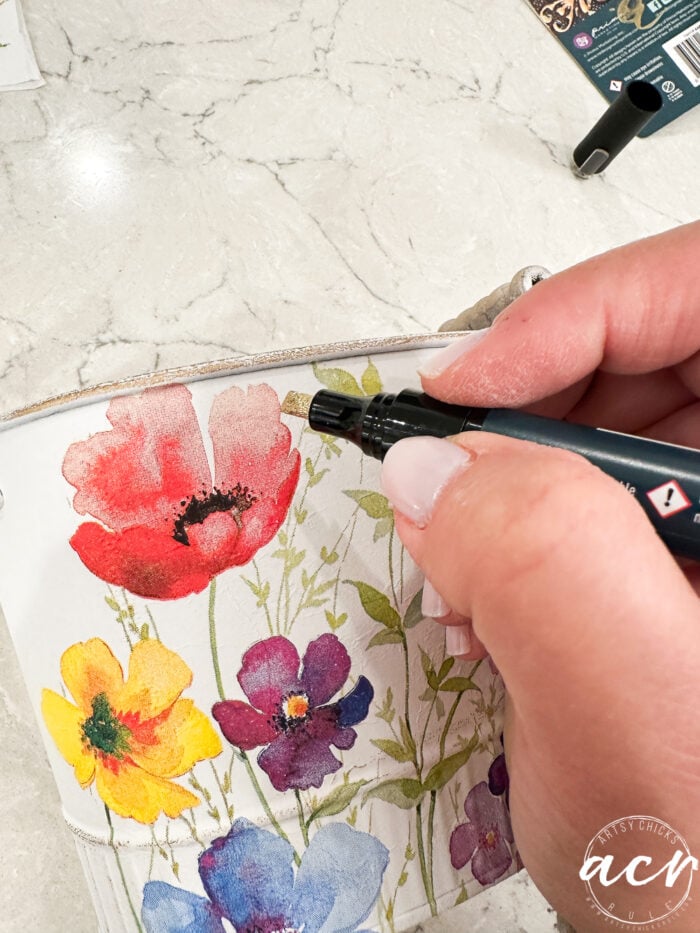
Be sure the napkin decoupage is fully dry before doing this.
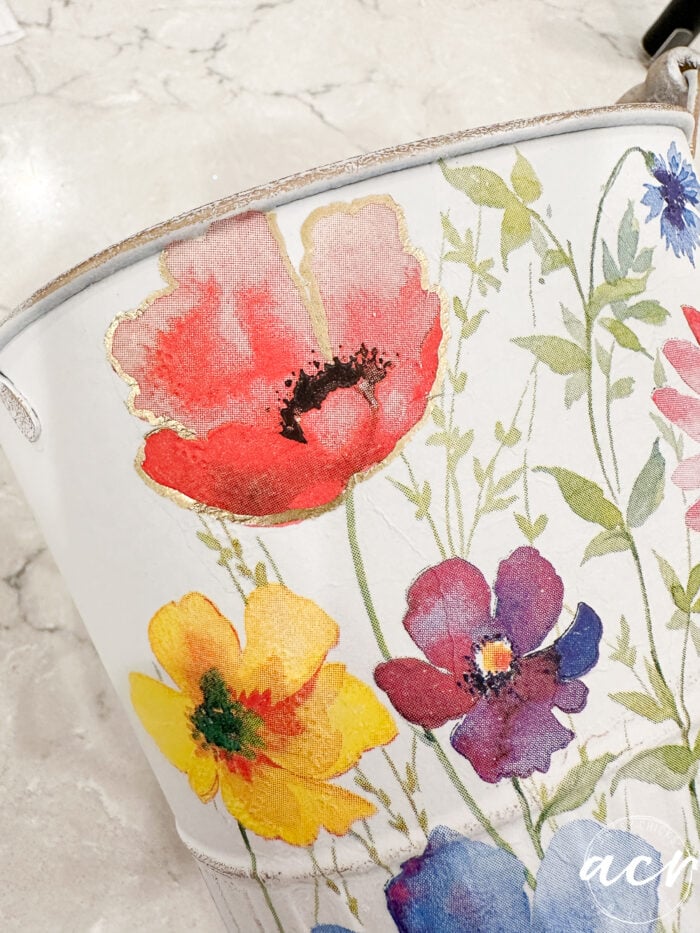
Isn’t that pretty???
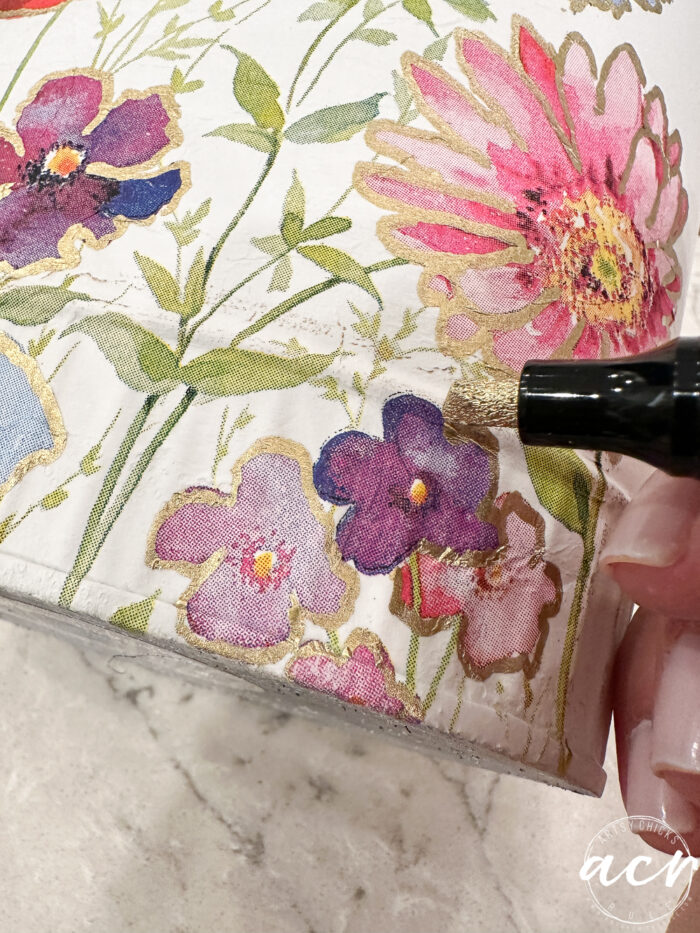
Then I decided to use it everywhere else!
Sigh…that’s SO pretty.
So much fun to use.
I kinda wanted to paint everything with it! haha!
However, I did decide to leave the vertical lines with just the Bronze Gilder’s Paste though to keep it more subtle there.
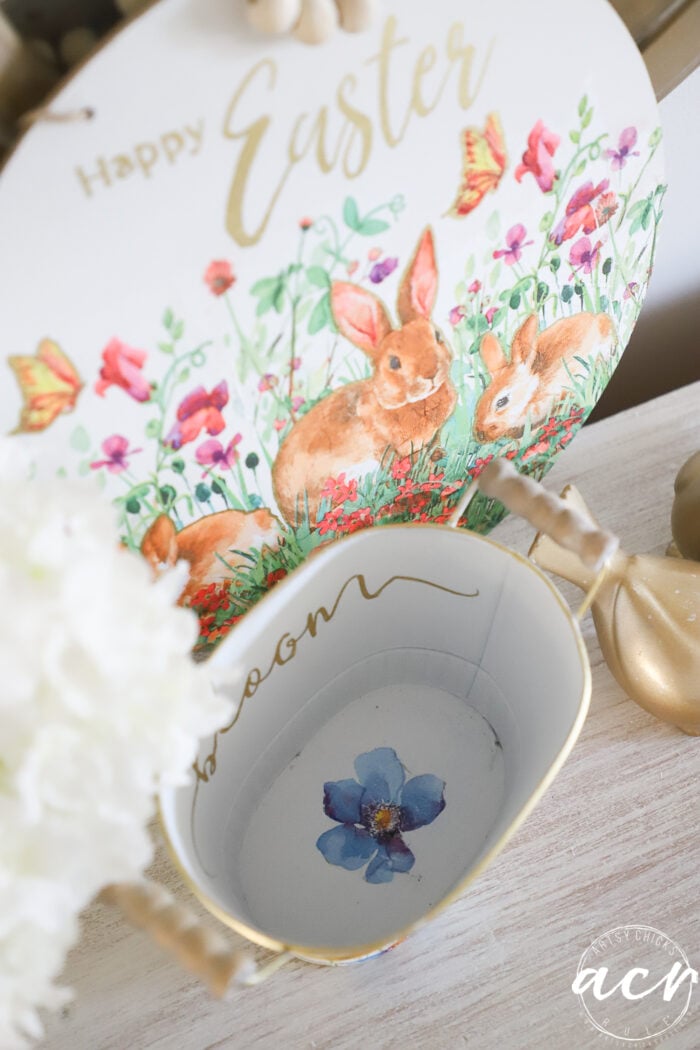
Here’s what I did to the inside.
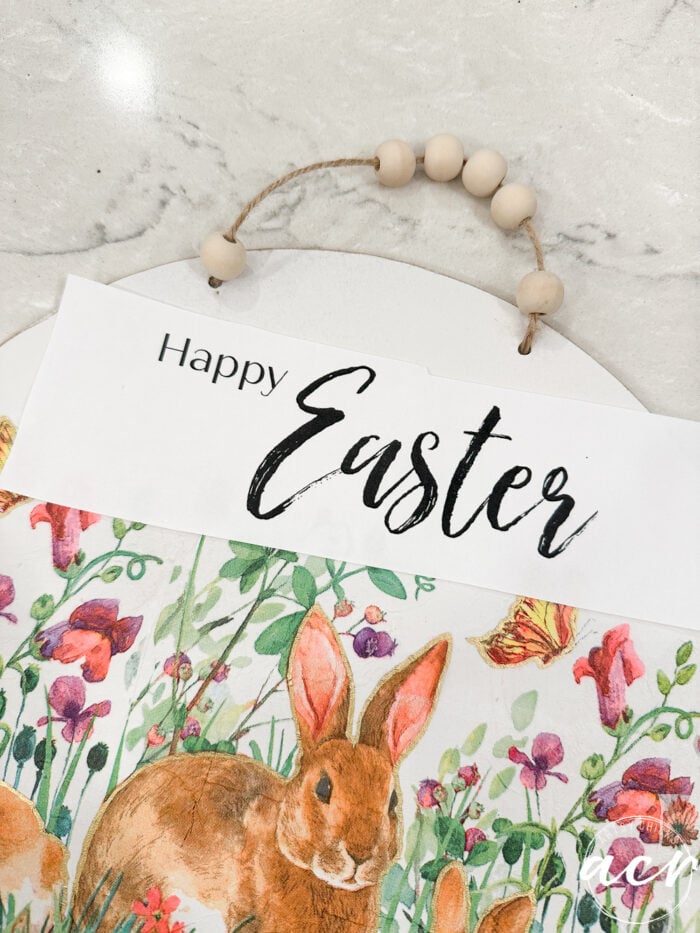
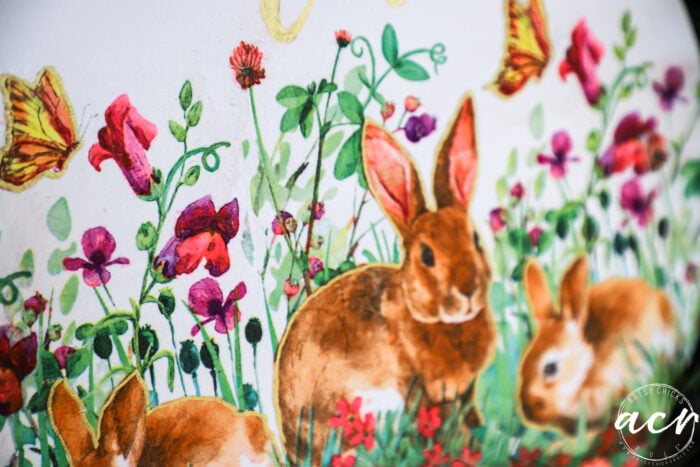
For the next napkin decoupage project, I used a napkin with bunnies.
This napkin had two bunnies on it. I decided to use the small one twice for this circular board.
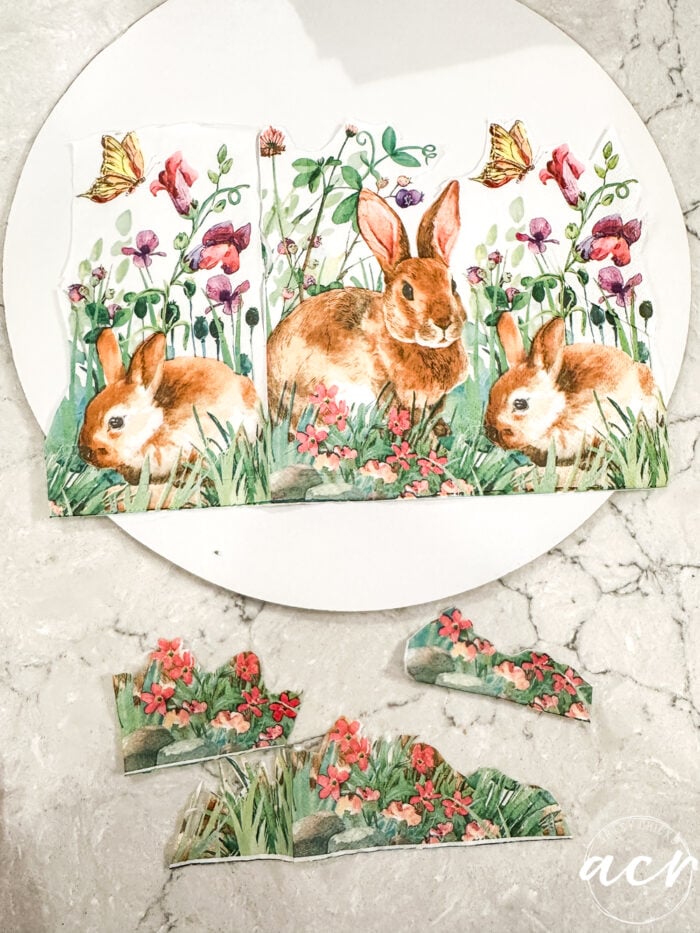
I had to use some more of the grass/flowers at the bottom too.
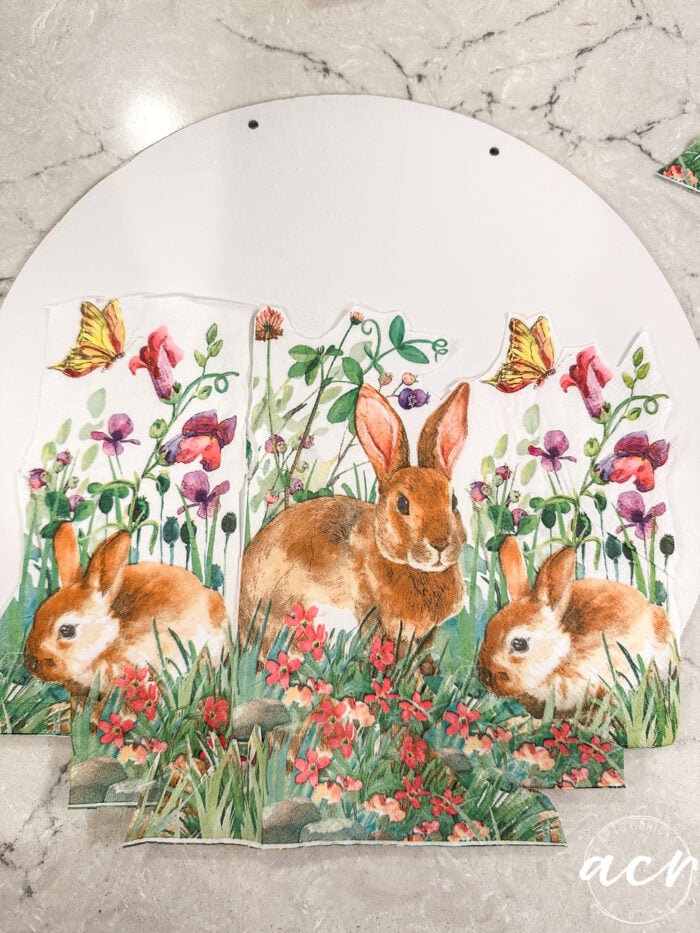
Then I filled in the sides a little too.
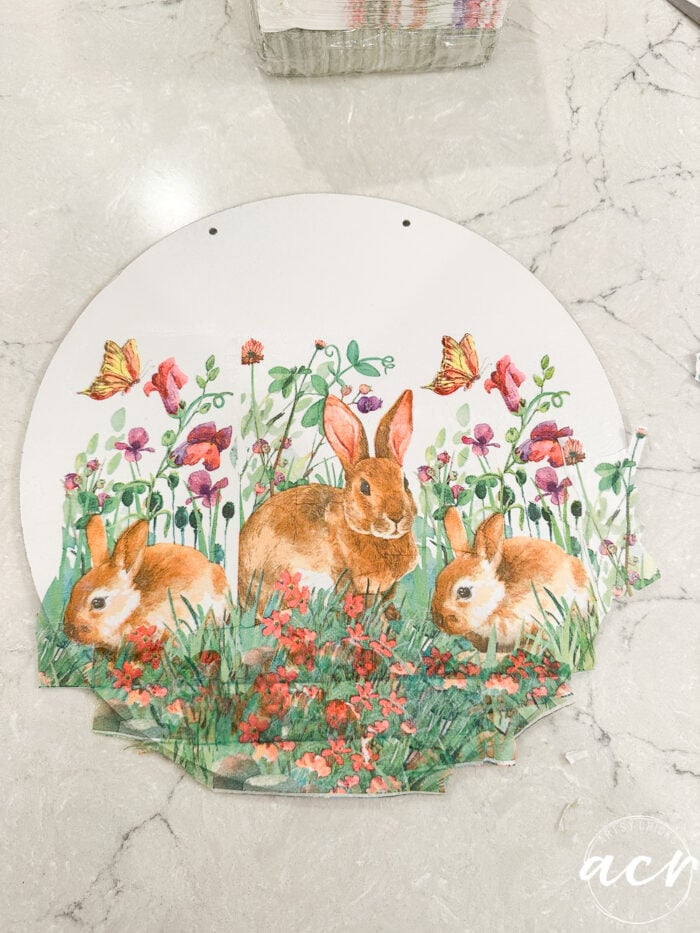
I’m not loving the “lined bottoms” once I attached them to the sign but kind of unavoidable I suppose. Had I thought that through, I might’ve cut around a bit to make it look more organic instead of a straight line.
Once it was dry I used some sandpaper to rub off the edges.
Then I printed out this “Happy Easter” to transfer to the board.
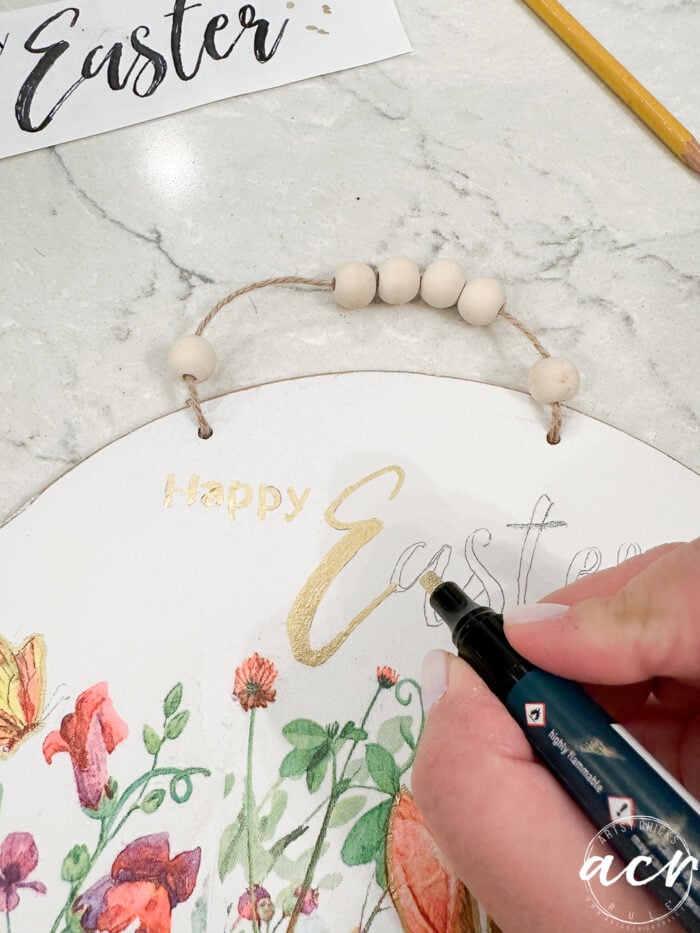
I did it the “old school” way of using a pencil to shade the back. Here are even more ways to transfer >>> “How To Transfer Graphics“. Did you see I used the Gilding Marker on the bunnies above? I outlined them too.

And then trace over it to transfer the pencil lead.
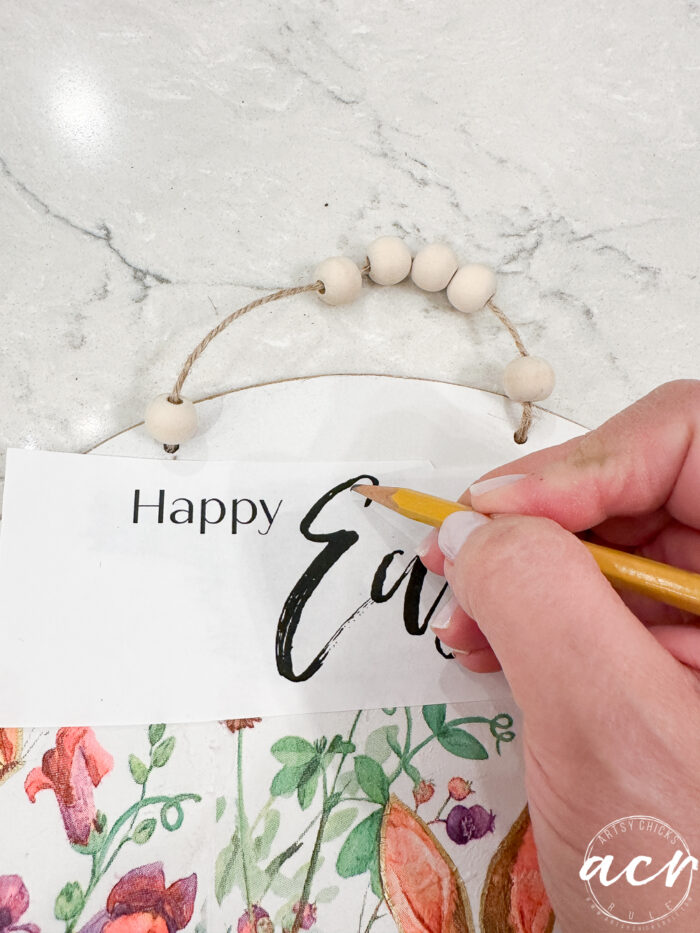
I traced over the lettering with the Gilding Marker.
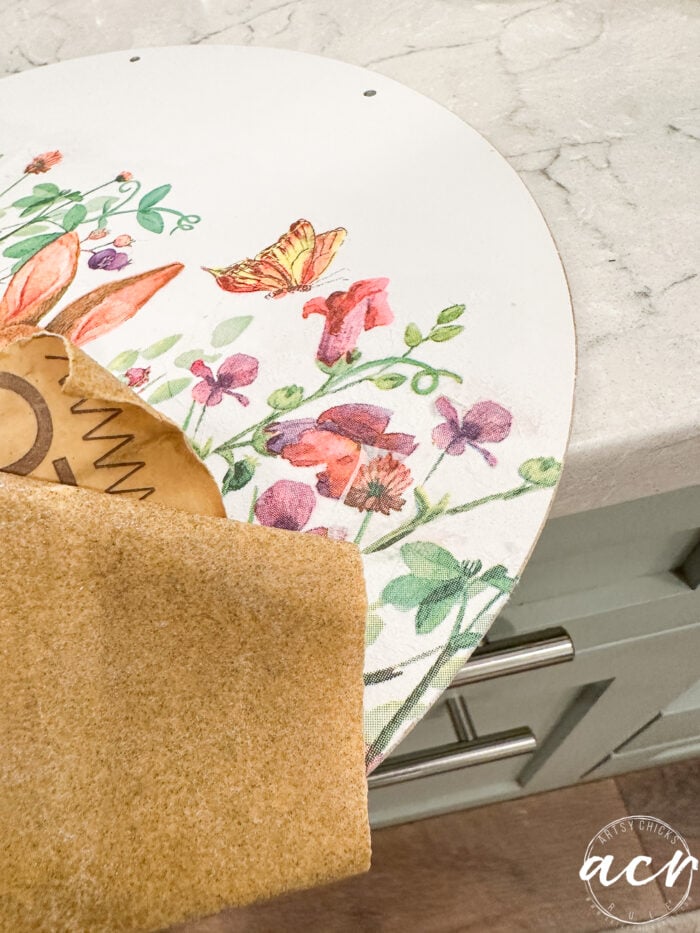
Then I sprayed both of them with this matte spray to seal.
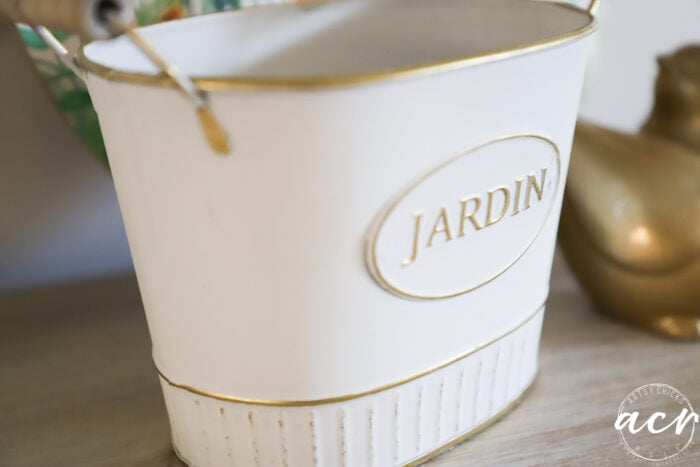
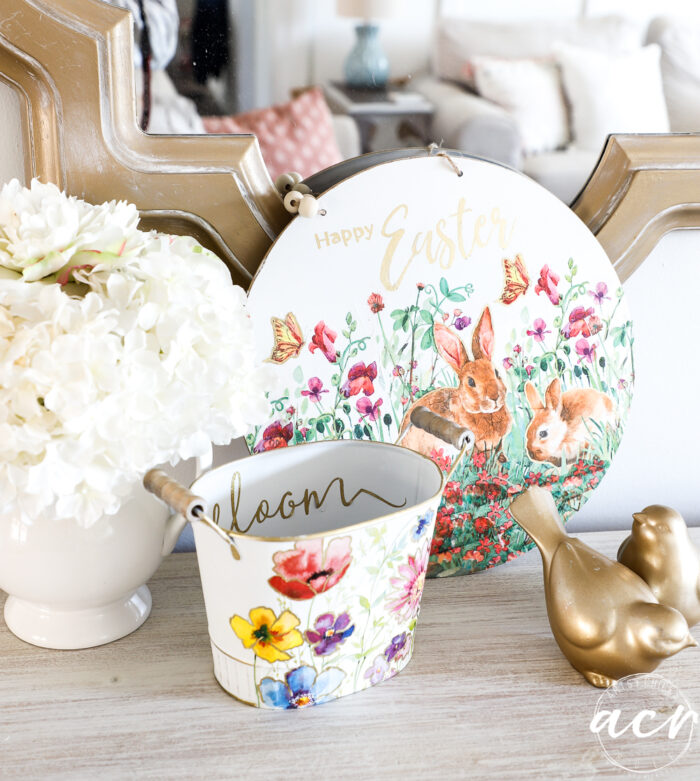
Here they are all finished!
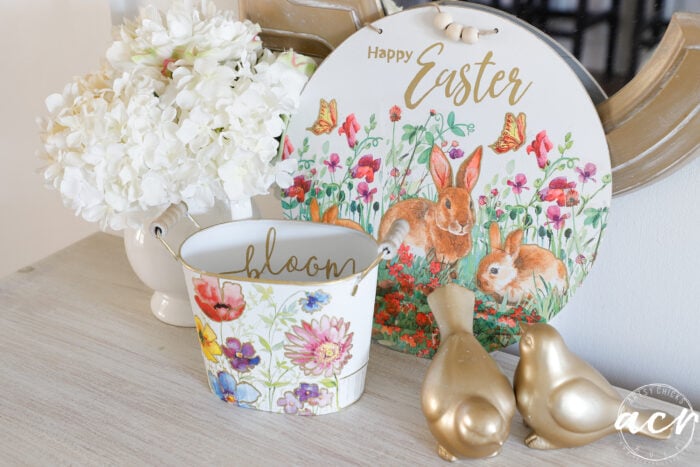
I love using napkins to create pretty things! The sky is really the limit as there are SO many napkin styles out there and there are SO many things you can craft with them too.
And the other side.
I hung it inside the wreath I currently have on my front door.
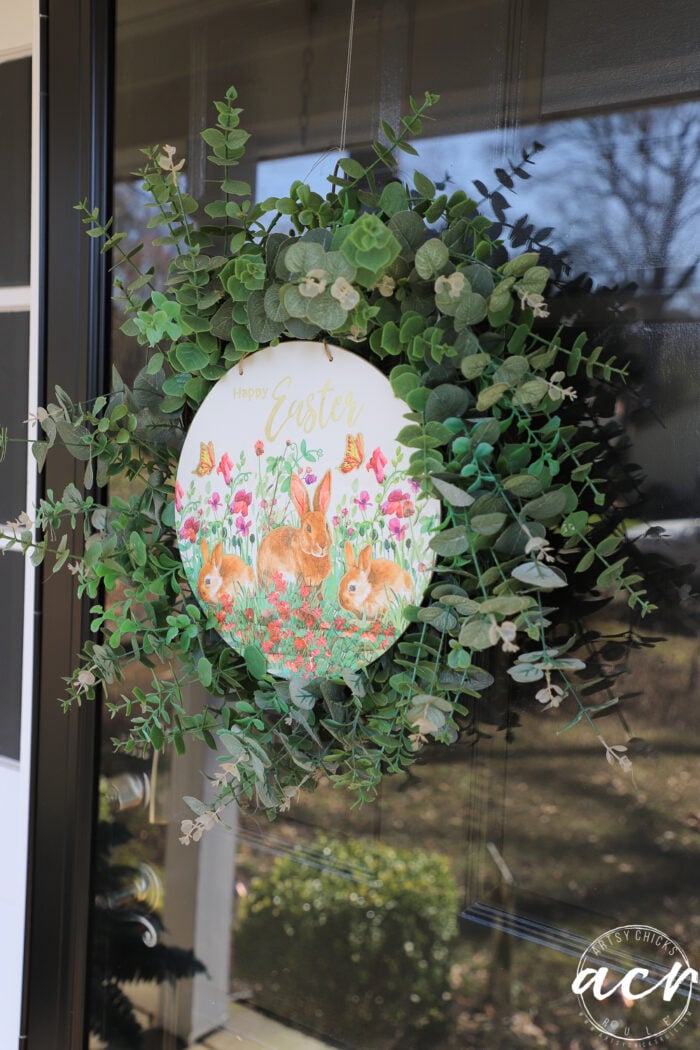
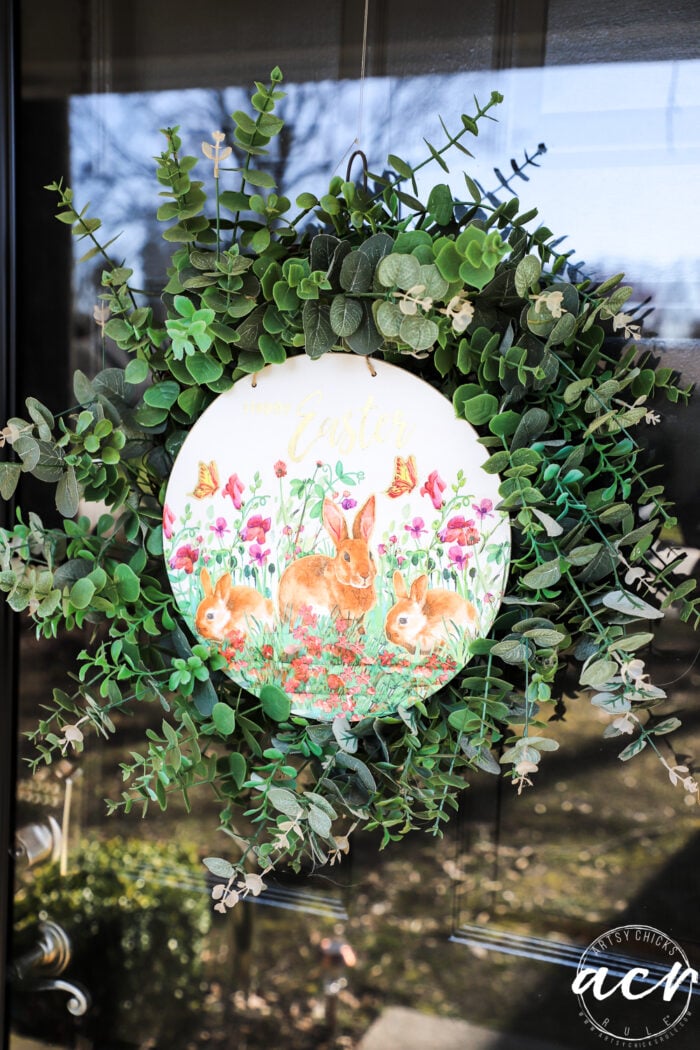
Hard to see the gold lettering at certain angles outside though.
Here’s a better look at the gilding around the bunnies.
And Piper girl keeping a close eye on me!
Have some old decor lying around that you want to give a fresh new look to?? Try napkins! Or maybe make something sweet for spring!
PIN it to save it for later!
OH! I almost forgot I’m going to try to be back this weekend with these pretties!
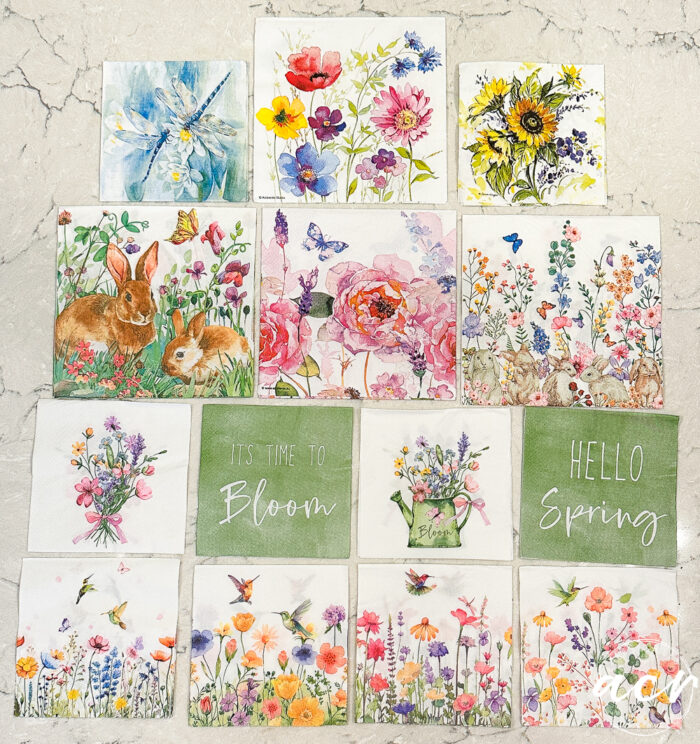
I have 14 different napkin designs and will be making pretty stuff with a bunch of them for spring! I will in no way be able to use all of them so have decided to pack them up and pop them in my shop for you all! You’ll get one of each design to make pretties with (each napkin has 4 design prints), so 14 different designs (and 56 total design prints). Fun, fun!
Stay tuned for that hopefully on Sunday. I’ll be in touch!
I hope you have a wonderful weekend! Don’t forget to change those clocks this weekend. Spring is almost here!! Yippee!
xoxo


")


")

Beautiful …. and ….. an edge of humor..:-). My favorite phrases ..from this project narration:
“I decided to use the gilding market for the edges of the flowers….. then I decided to use it everywhere else! :-)
Lol. Those are favorite moments; when you find an effect that you really like.. and then blast off into using the effect often. 🤔There should be a special word for that moment. 🤗
Thank you, Willie! Yes, yes, yes!! ha!
These are so pretty! Love that board! It looks so nice in your door wreath. I want to make one. That Gilding marker does look fun and easy. Graphic transfers still overwhelm me though, I don’t know why lol.
Spring is always a fun time to do DIY projects! Very nice!
Yes, I agree, Cecilia!! Thank you, friend! xo
Thank you, Debra! I kind of liked it there too. Fit perfectly! Oh goodness, don’t let them overwhelm you, they are less scary than they seem, for sure! Give one a try! :) xo
Soooo.. cute! Curious as to what font you used for the bloom on your silhouette? :D
Thanks, Dotte! The font is called Blooming Elegant Regular. I created it in another program and then transferred it to my Silhouette to cut. :)
enjoy very much at Charleston…wish to go there some day !!!
Ana from Uruguay
Hi Ana!! Oh yes, you must!
I need to get me one of them gildin’ thingies! Tell me where you picked yours up. Michael’s or somewhere similar, maybe? Your projects turned out great and I love the idea of using the designs on napkins. There are so many beautiful ones out there. Thanks for sharing these little projects, Nancy!
Hi Naomi! Yes, you do!! So fun. No, I actually have it in my shop for sale there. You can find it here. Thank you and yes, I love, love using napkins because so many design choices! xo
Those are adorable! I love to decoupage with pretty napkins.
Thank you, Carla! xo
One of my fav decoupage makeovers you’ve ever done. They look absolutely awesome, Nancy!
Hi Michele! Aw, really?! Thank you!! xoxo