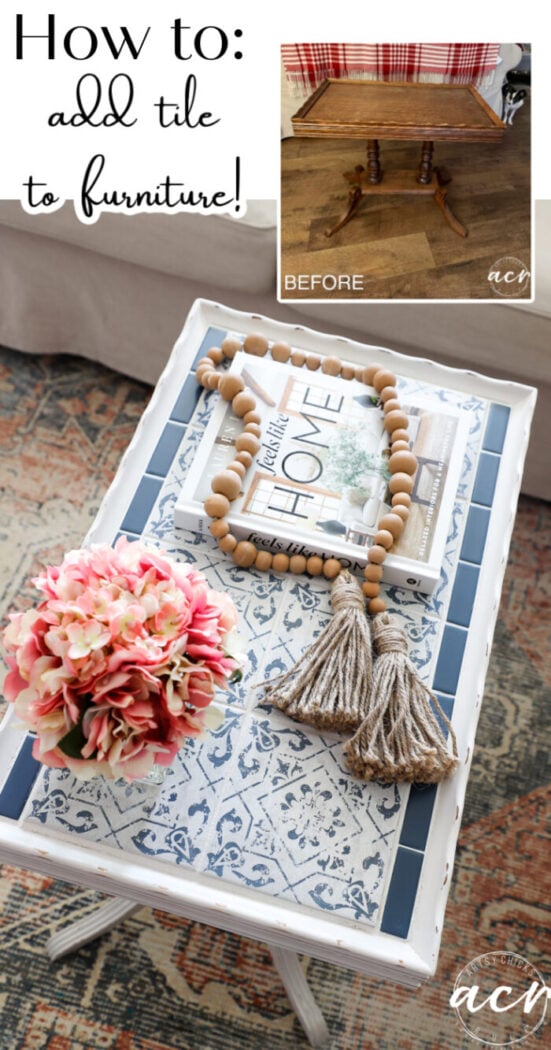
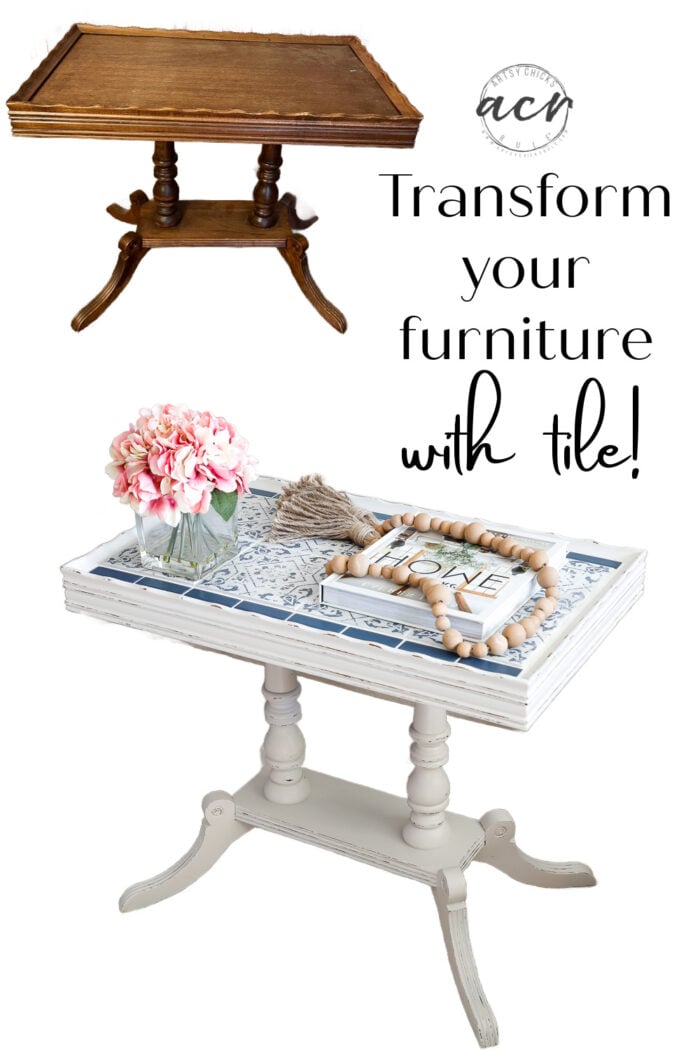
Transform Your Furniture With Tile
Hello friends!
Happy New Year and happy first Trash To Treasure Transformation Tuesday of the new year! Woohoo! That’s a mouthful, isn’t it?? Ha!
I hope the new year is treating you well. I am in ‘techy’ mode this month working on things around here (the blog) that need updating etc. I am also reviving my food blog >>> Foodie Chicks Rule. Lots of fun new things planned over there too! If you didn’t know I had another blog, a food blog, check it out here! (keep in mind though, if you do visit, that I’m redesigning the site…and it’s not quite finished)
Okay, so I am so happy you are here and I can’t wait to share my first makeover of 2024 with you today. Don’t forget to scroll down to the bottom to see my friends’ makeovers too. I can’t wait to see what they’ve done this month!
Transform Your Furniture With Tile
If you’ve been around here for a while, you know I love working with tile in my makeovers!
I’ve done many. I’ll link a few right here before we get started if you want to take a look.
- DIY Tiled Criss Cross Tables
- DIY Tiled Table Top
- Thrift Store Makeover with Tile
- Thrifty Print Turned Tiled Coastal Tray (my first tile project on the blog!)
- Simple Thrift Store Makeover With Tile
- Blue and White Tiled Tray Makeover
- Mother Of Pearl Tiled Tray
- How To Tile a Table Top
Told ya!! Quite a few there.
Here’s what I’m tiling today.
BEFORE
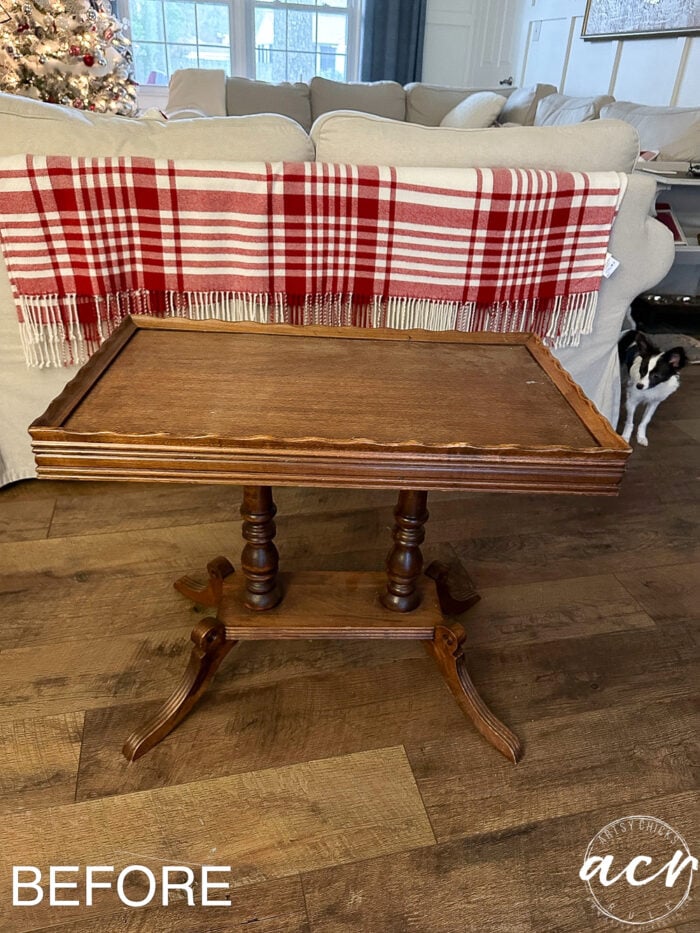
Spy my cutie??
Step one is to clean the table. I used TSP Alternative Cleaner for this.
MATERIALS LIST – Transform Your Furniture with Tile
- TSP Alternative Cleaner
- E6000 Glue
- Grout
- Grout Float
- Sponge
- Paint – I used Cashmere (and Transition for in between coats)
- Tough Coat Top Coat
- Paint Brush
- Top Coat Application Sponge
- Square Tile
- Herringbone Tile
Prefer to shop on Etsy? I have an Etsy shop also, here!
CHOOSE TILES
I will usually measure and try to fit tiles to whatever I’m tiling so I won’t have to do any cuts. I can usually always do this!
Since I couldn’t make it work with all the big tiles, I decided to line the edges with this to make up some of the difference.

MEASURE AND ARRANGE TILES
Like so…
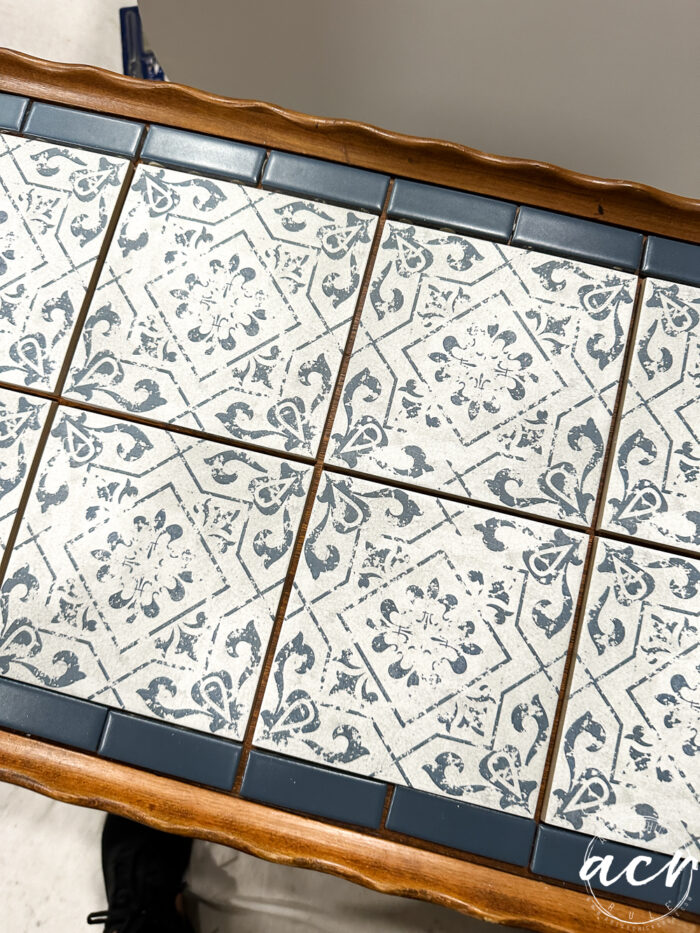
Just about perfect! Yay!
I did have to cut off the “connectors” before I began though.
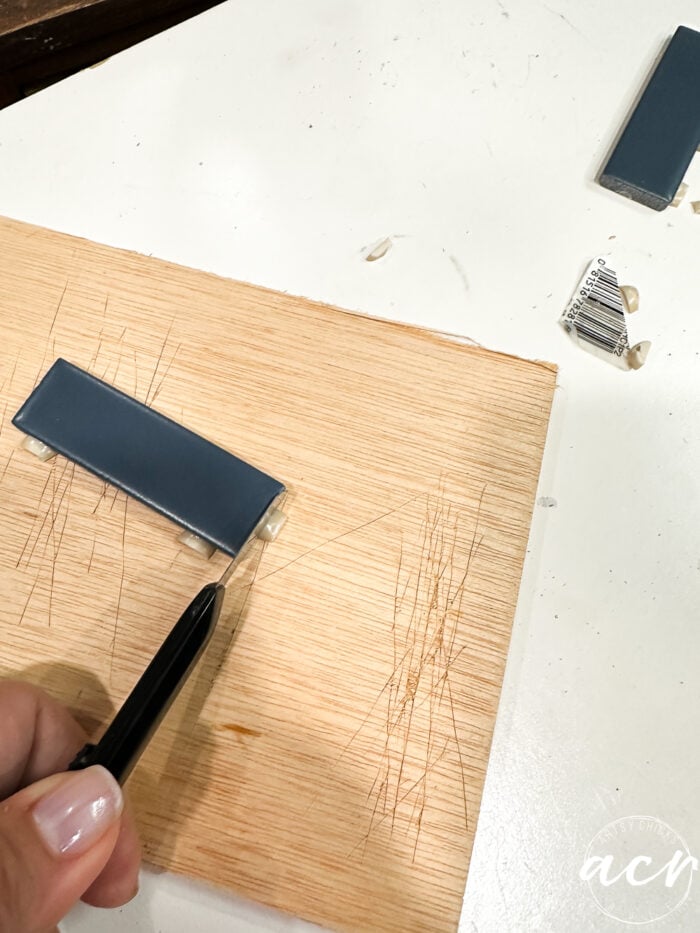
Simple to do, just time-consuming.
GLUE THE TILES DOWN
There are several ways to do this part. You can use mortar or glue. The table will be heavy enough with the tiles, I didn’t want to add to the weight by adding mortar. Plus I feel like it isn’t really necessary as the tiles are decorative.
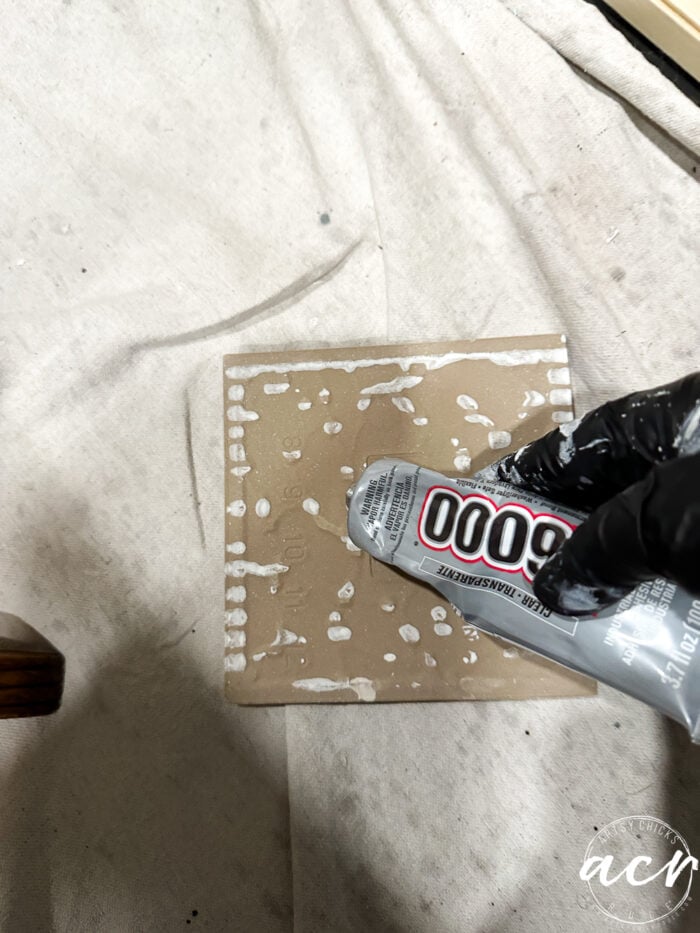
I use E6000 glue for this step. It holds VERY WELL.
Here they are all glued in.
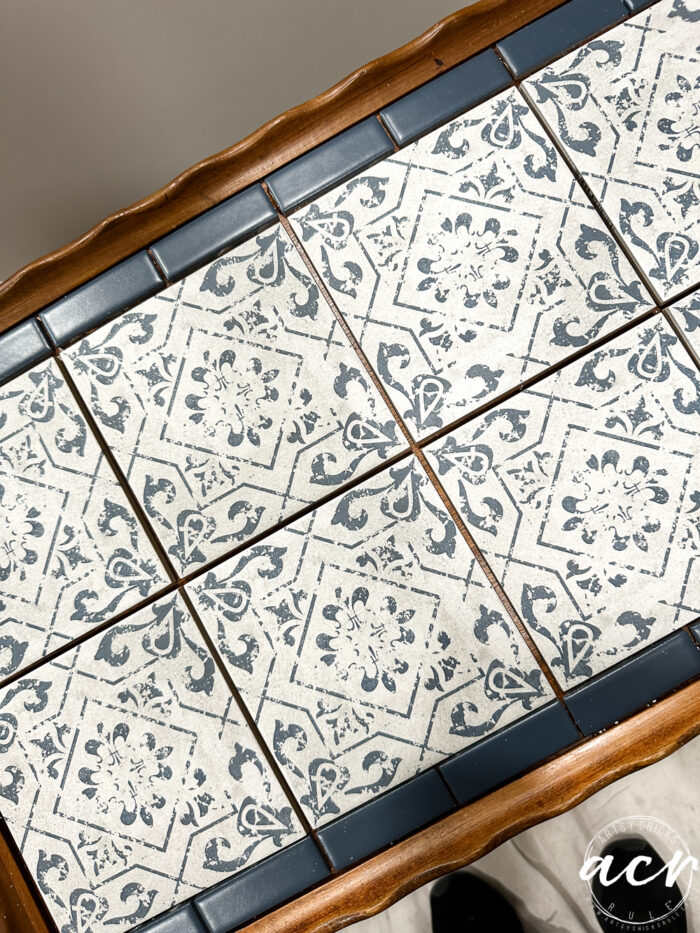
Be sure to keep checking them for a few minutes as they can sometimes shift right at first. And once they are stuck, they are stuck!
Now you will leave it to dry for a day or two. I actually began this project before Christmas and just finished it up this past weekend so mine sat for a few weeks. You don’t have to wait that long though.
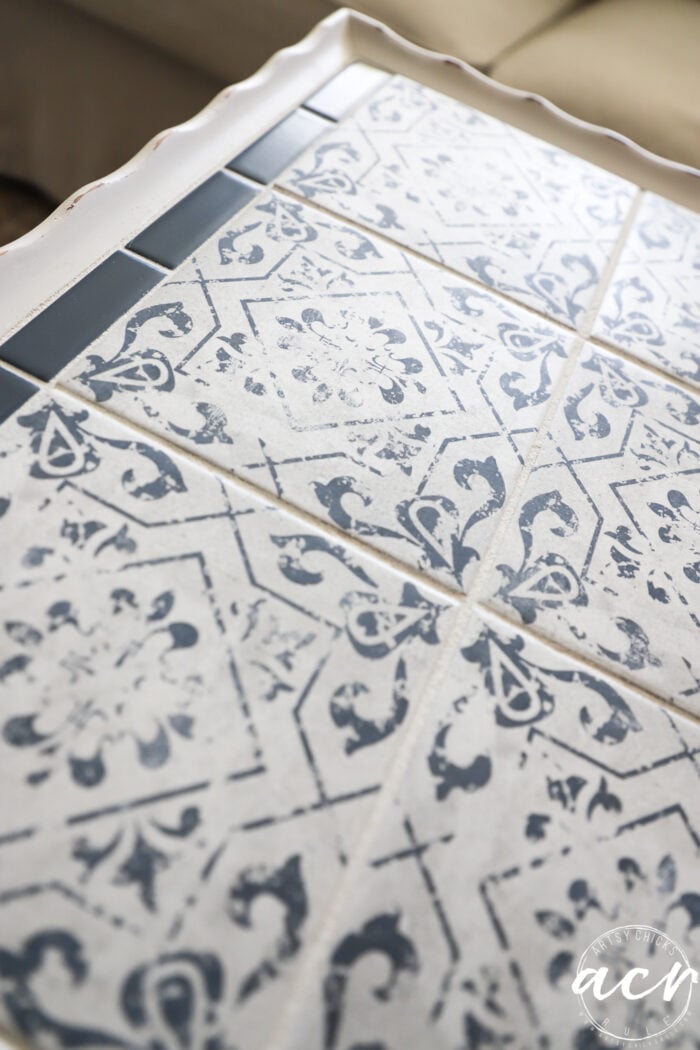
APPLY THE GROUT
I used pre-mixed grout in Bright White. (which you’ll see is not really that bright, or white, lol)
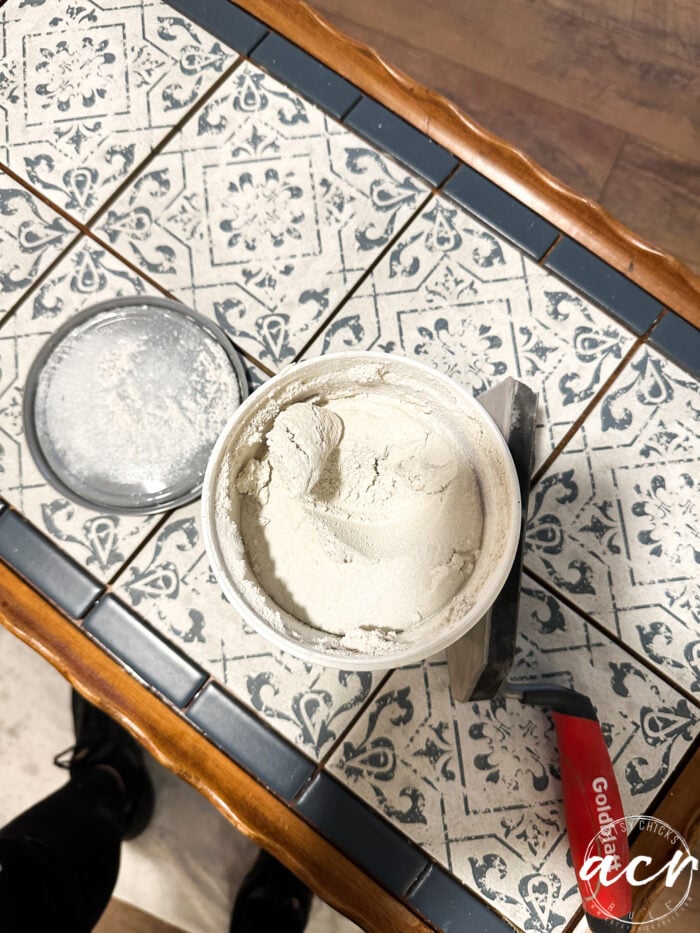
Apply it with a grout float. I used this one because it was the first one I came across in my tile stash. I linked the one that you’ll want to use though.

You’ll do this just like any other tile project.
USE SPONGE TO REMOVE EXCESS
Using a large sponge, go back over to remove excess grout. Washing and squeezing the sponge dry several times in between.
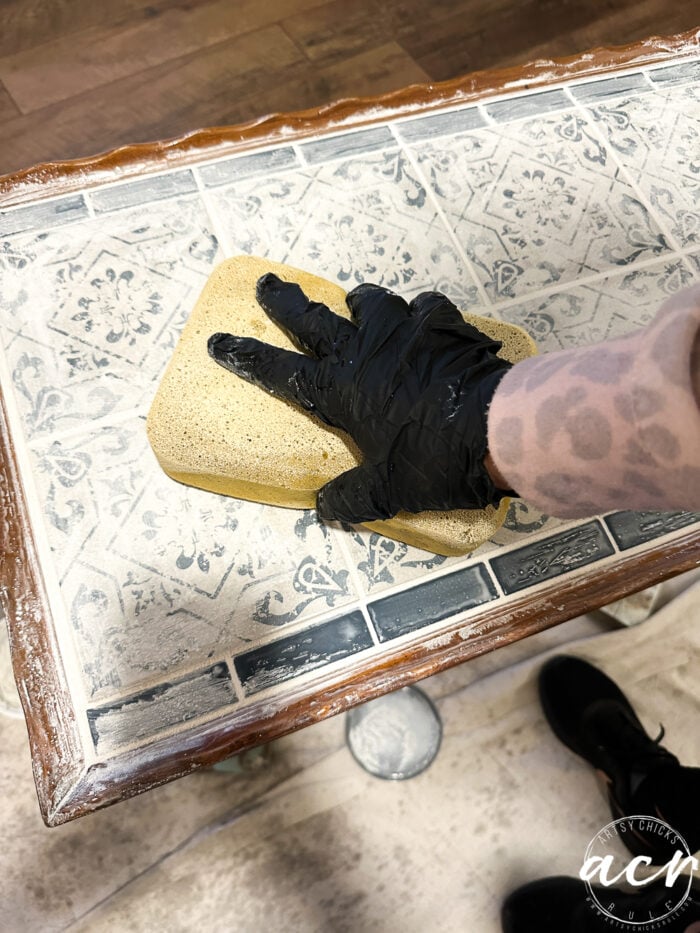
Do this until you have the excess gone. Then wipe away the haze, if any.
PAINT
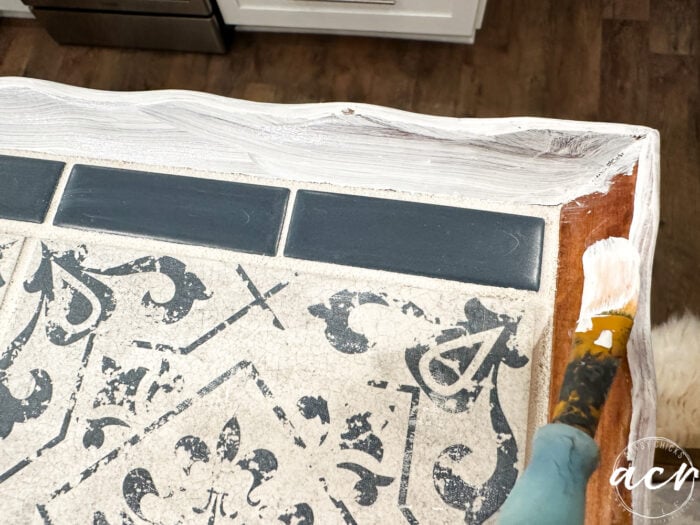
I had thought I was going to use Picket Fence for this table. Partly because the grout was “Bright White”. But as you can see, the Bright White is not very white. So the base coat is Picket Fence.
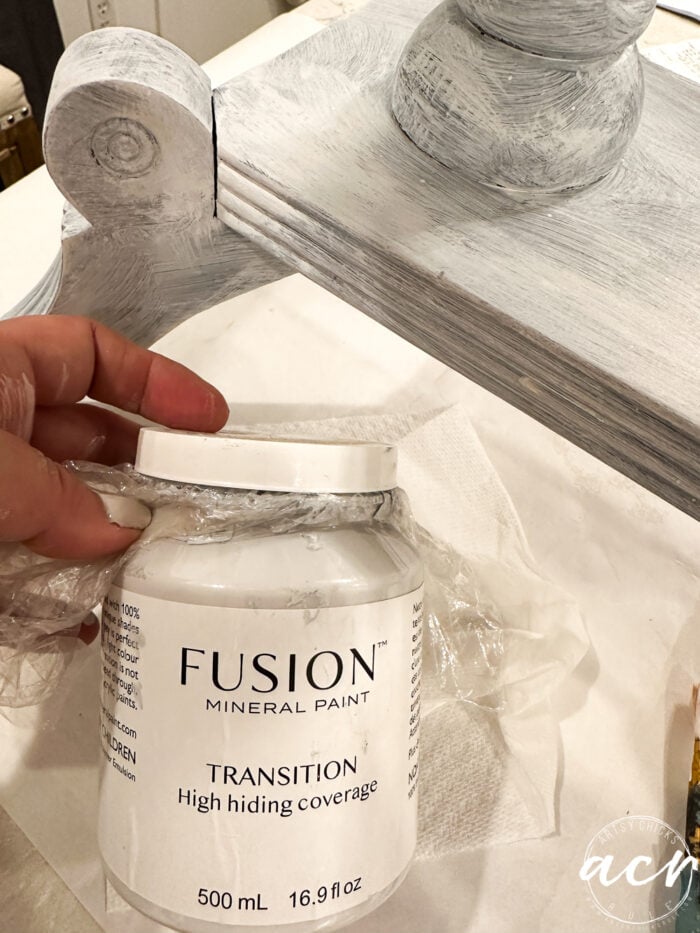
Then I used “Transition”, which is an off-white paint we carry that is used in between coats of paint when going from dark color to light. It’s much cheaper ($9.99) than the paint colors and a great choice when going from dark to light colors when more than a few coats will be needed.
After a coat of base paint (Picket Fence) and one coat of Transition, I added one coat of Cashmere.

Which is a perfect match for “Bright White” grout!
DISTRESS
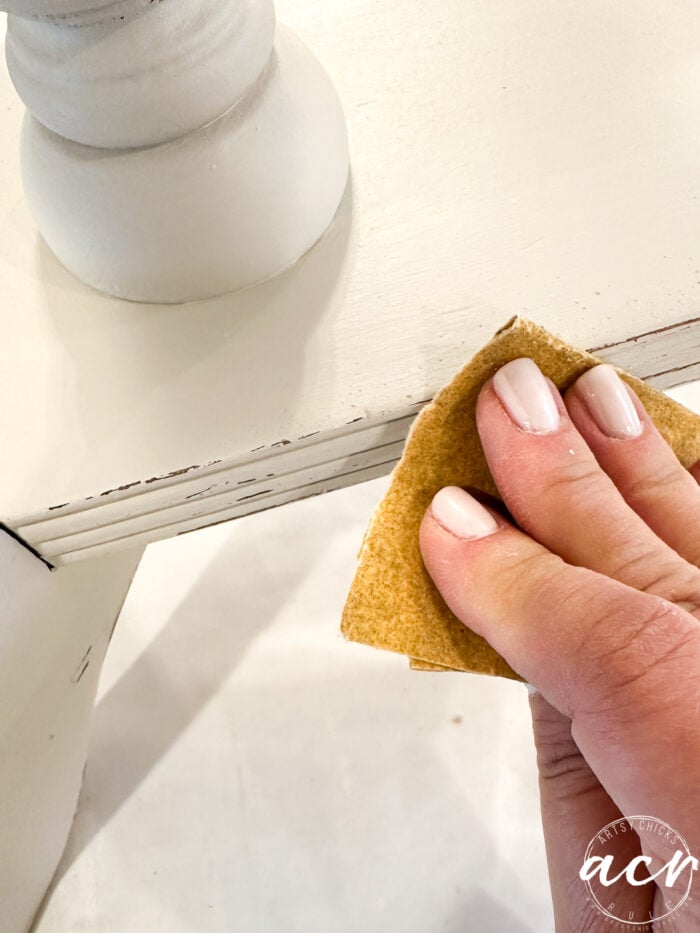
I used sandpaper to distress the edges on this one. There were so many details in the wood of this piece and I sort of wanted to make them pop.
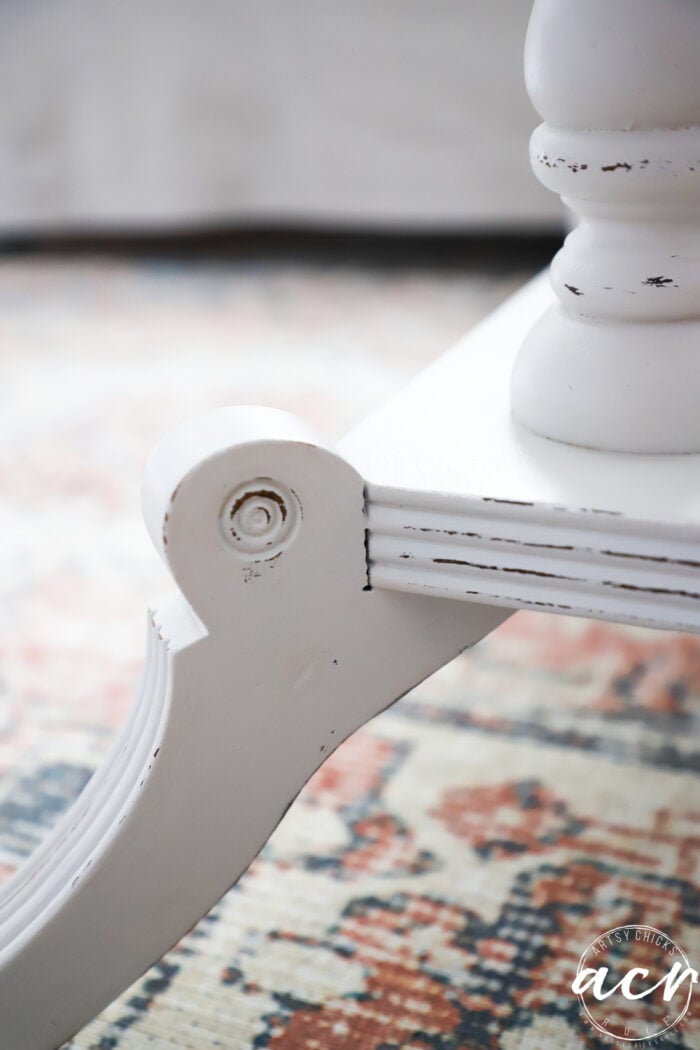
TOP COAT
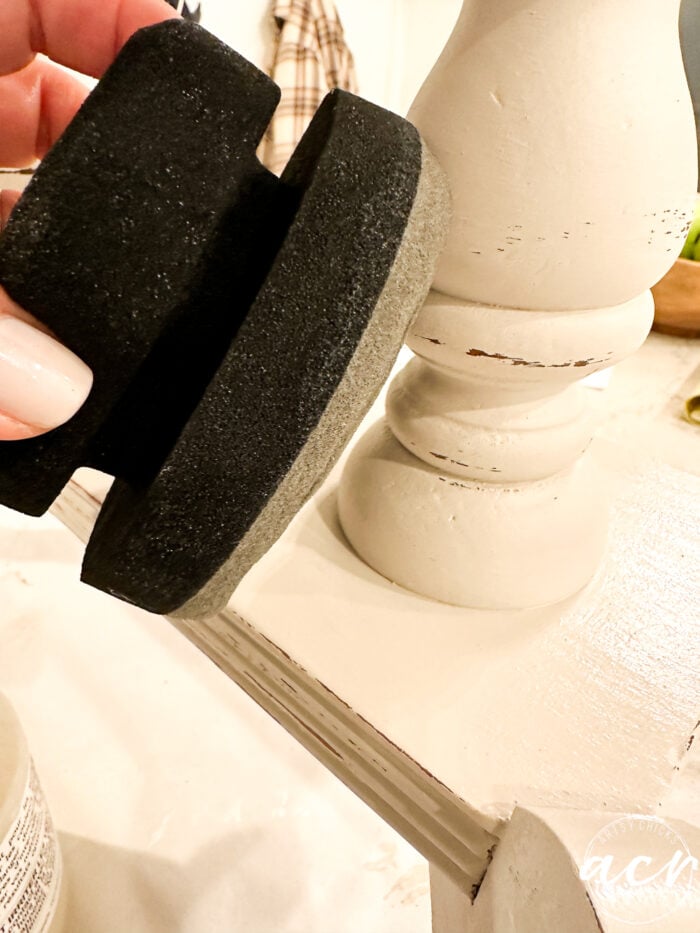
I used our Tough Coat Application Sponge to apply the top coat. There is no need to apply a top coat to Fusion Mineral Paint but I wanted to seal where I distressed. Plus it gives a little extra protection.
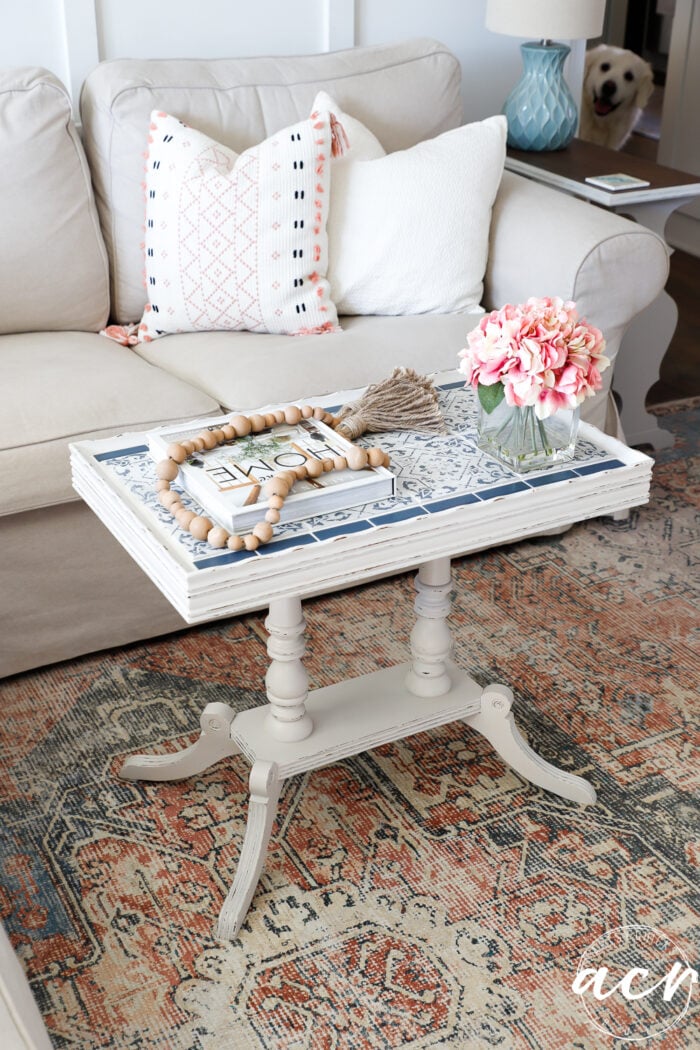
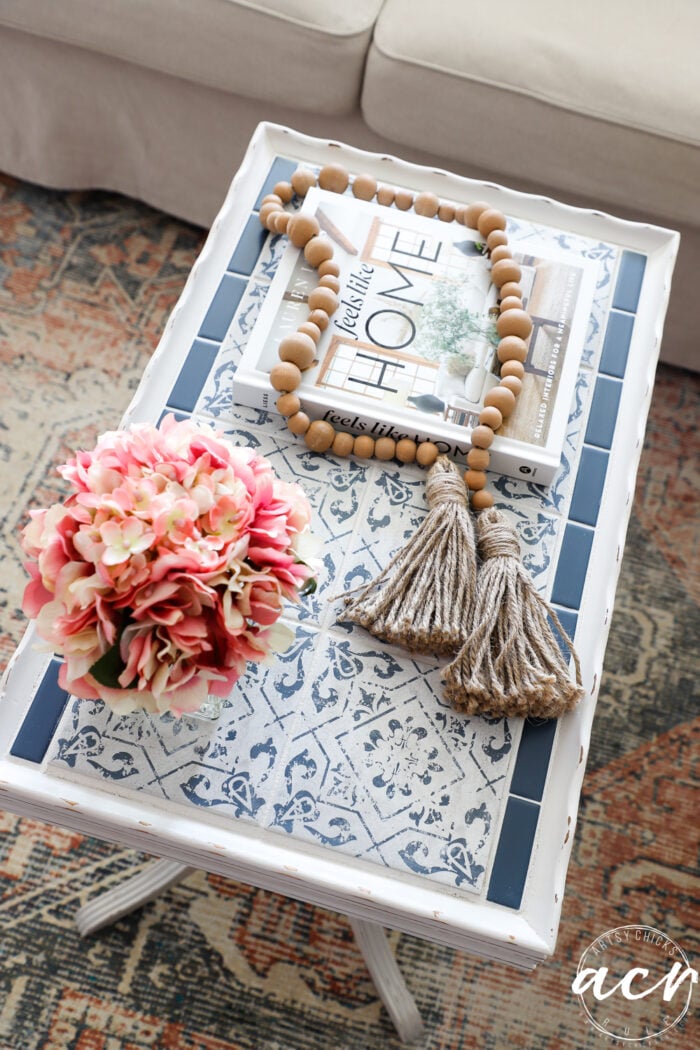
Cashmere is a beautiful shade! It shows a little yellow in my kitchen lighting photos but the photos below are much more true to life.
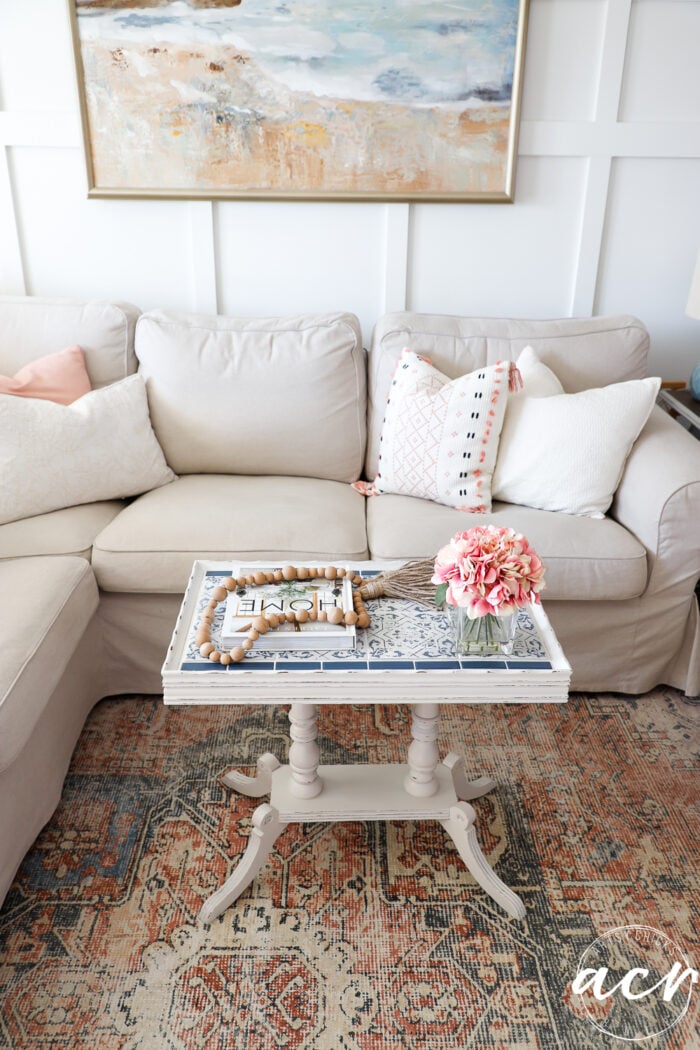
A great neutral shade.
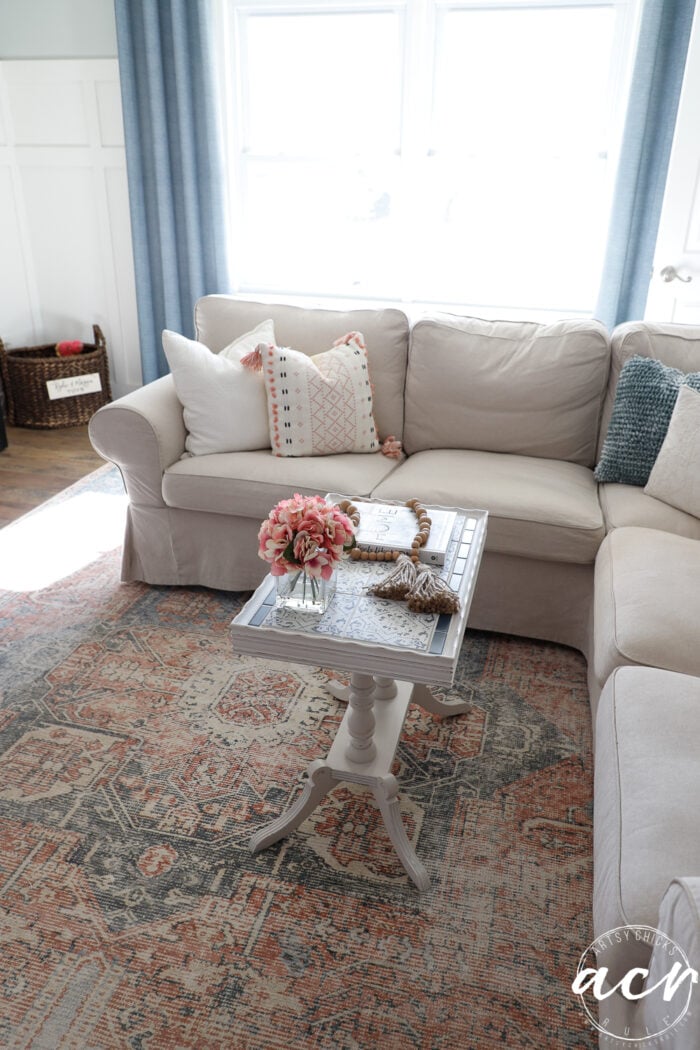
**The table is a little small for this area so this is just for “after” photo purposes.
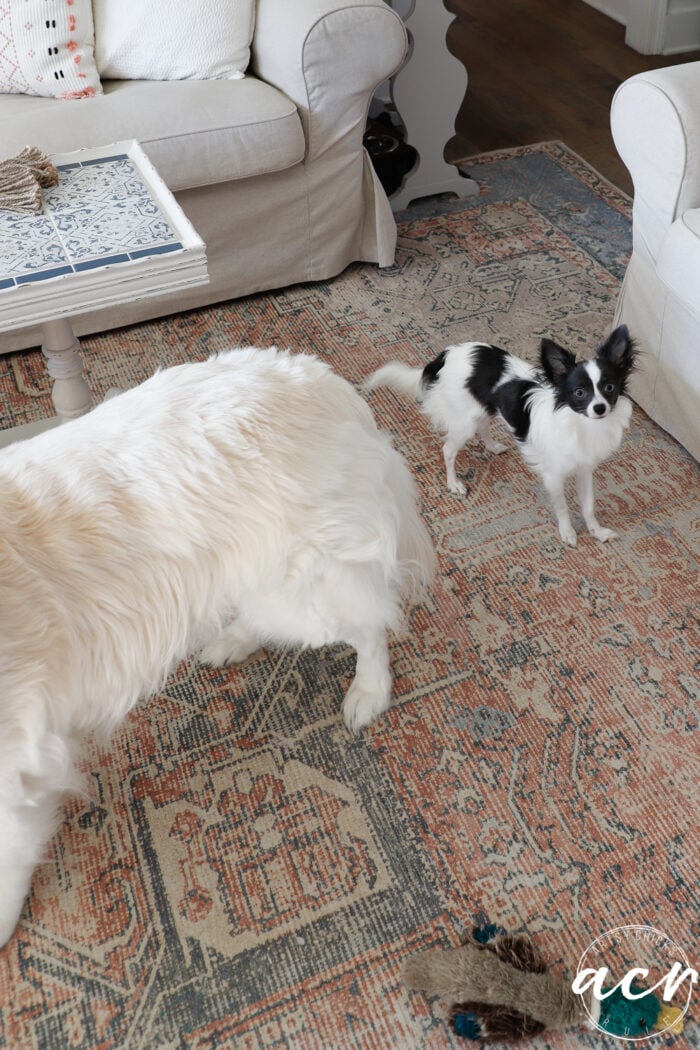
And this one wouldn’t stay out of the living room. Haha!!

Piper’s eyes are always so wild-looking! I just love them though.
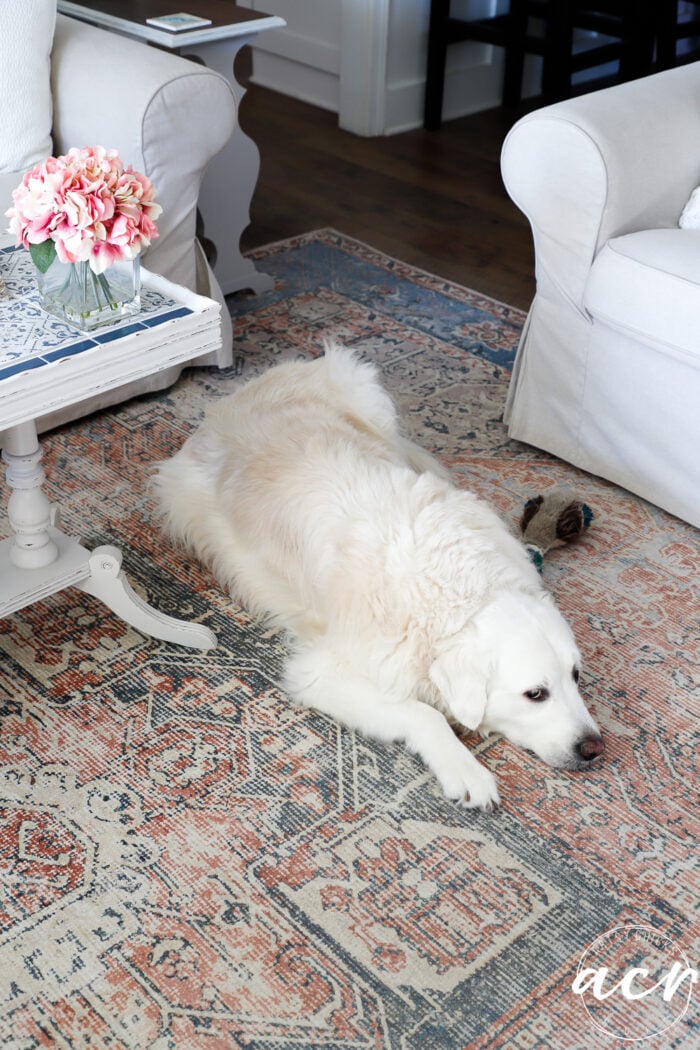
Then he proceeded to just plop down and go to sleep while I was trying to take my photos. haha!
Nope, buddy, you’ve gotta go out! Peep him over there??? lol Too funny!
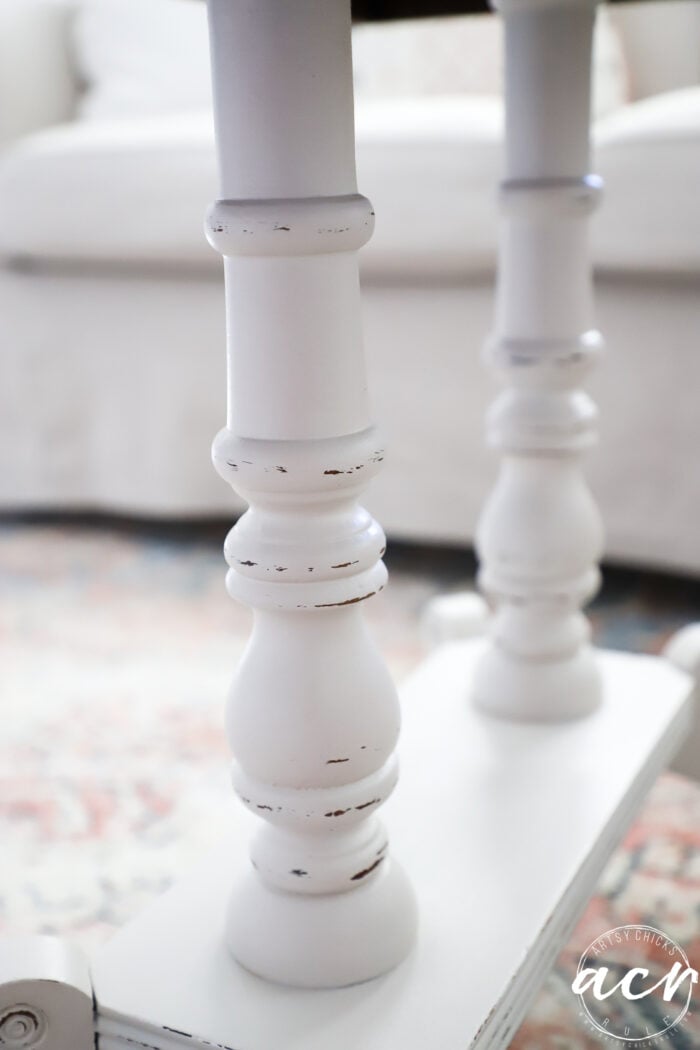
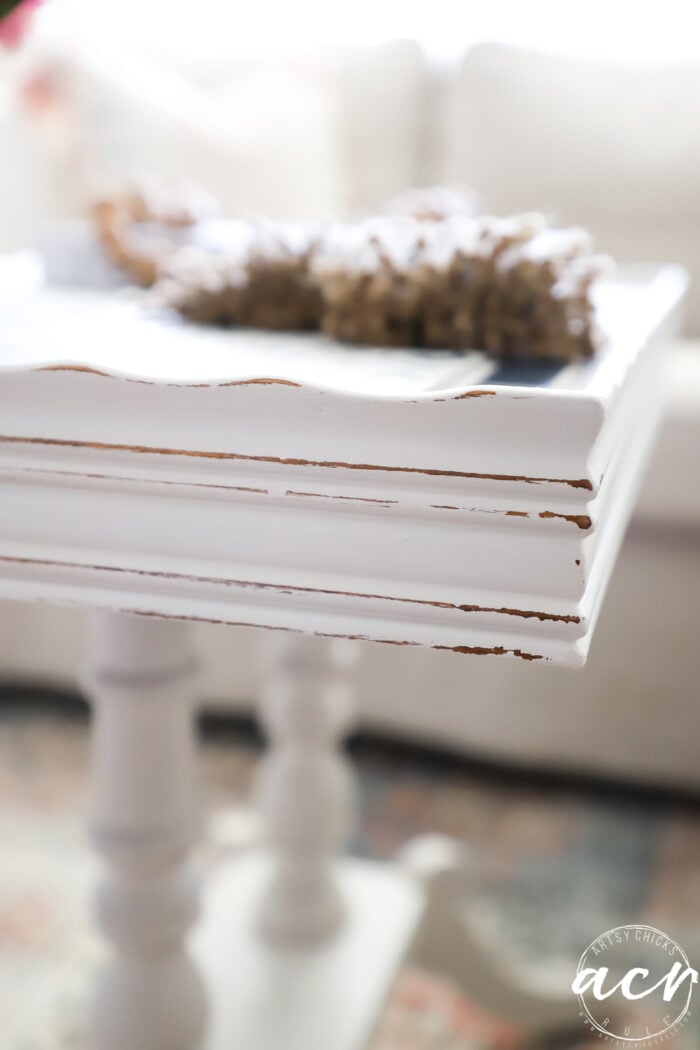
So much detail on this one, that I had to bring some of it out with distressing.
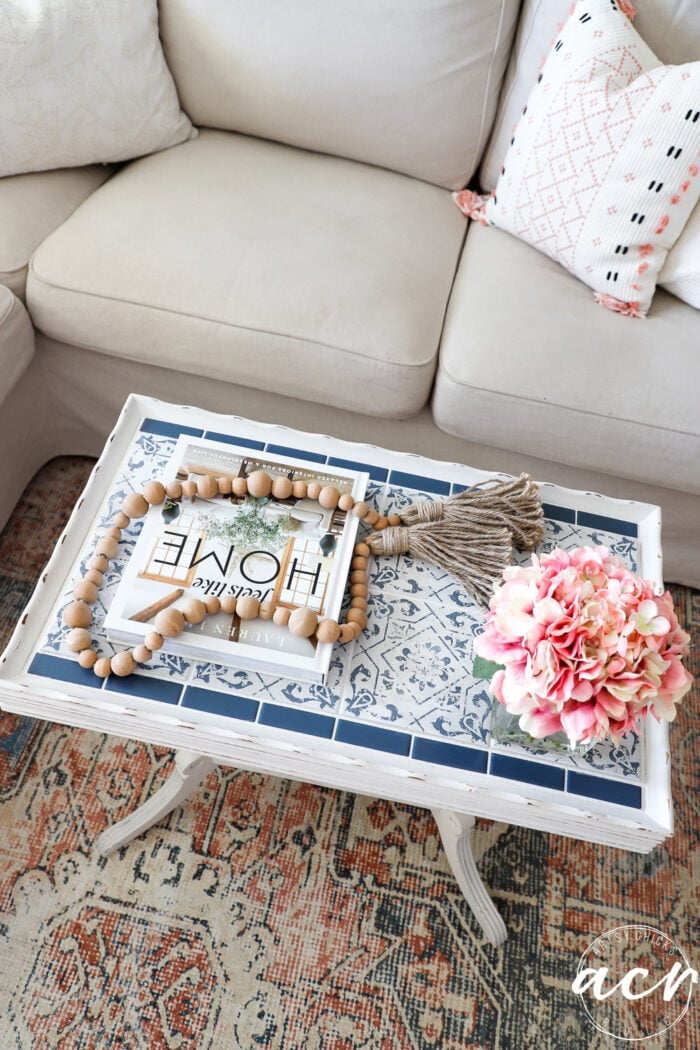
Look at how well that grout blends right into the paint around the edges. (I did not paint the grout)
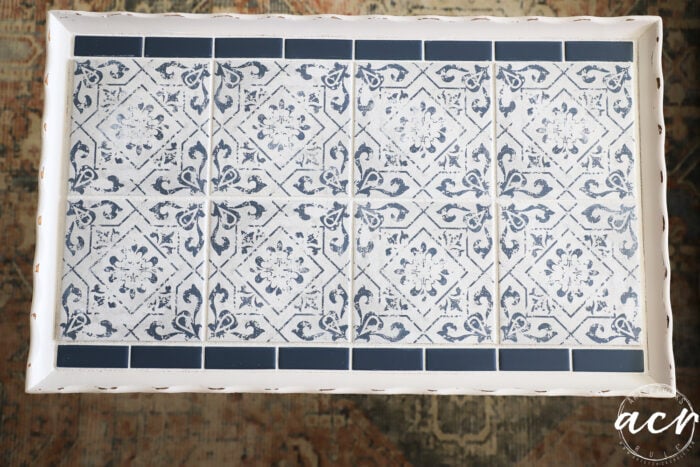
I love the design with the darker blue border. That only happened because I needed a “filler”…love it!

Don’t mind my slippers in that photo! lol Piper chases my feet when I walk around wearing them. So funny.
She thinks they are chew toys for her to play with.
Have you ever done anything with furniture and tiles?

Isn’t tile so fun?? The tile on the tabletop completely transformed this little table. I could see it being used as a side table or even in a garden room for plants. Lots of things you could do with it. So unique! And even more so now that it is tiled on the top.
PIN it to save it!
Don’t go yet!
Hop on over and visit my friends’ makeovers too!
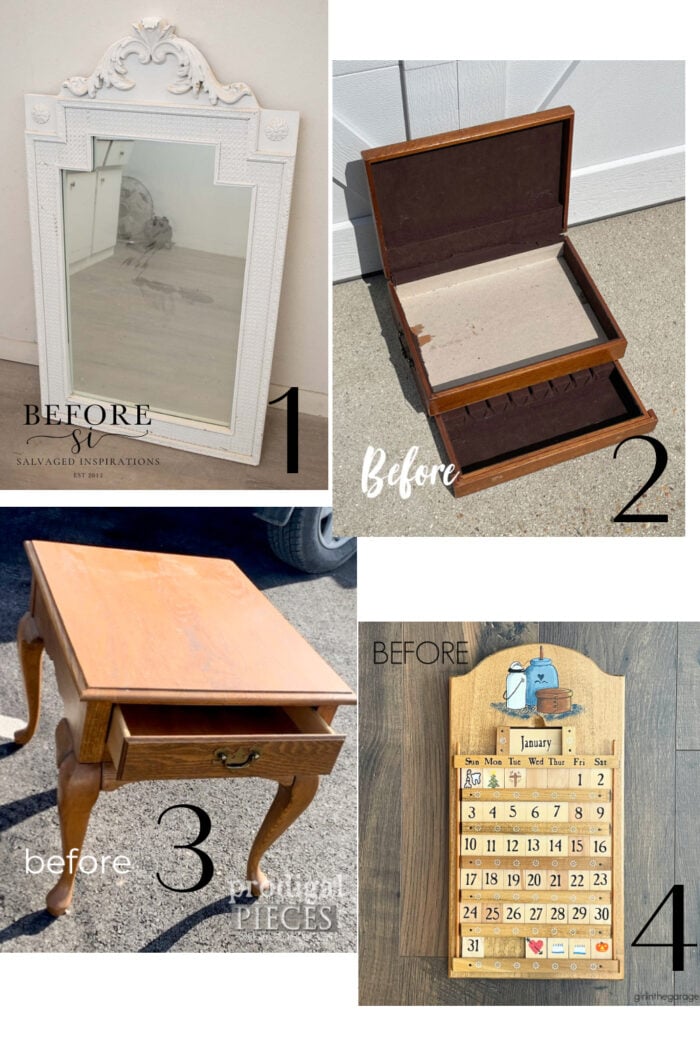
Want to see more Trash to Treasure makeovers? Click here!
Have a wonderful week!
xo


")


That tile is perfect as well as your adorable furbabies. Beautiful job, Nancy.
Thanks, Larissa! They are always the best part! :) xo
Really pretty! Great idea! I just love your doggies! ❤️
Thanks, Nancy!! Aw, yes, they are always the star of the show!! xoxo
Beautiful! You’re amazing!
Your doggies are so adorable.
Aw, thank you, Helen! They are the sweetest things! xo
I always get inspired by your tile projects, and this one is no exception! You did a fabulous job! Where did you purchase the tile? And I didn’t know that you have a food blog; I’ll check it out.
Thanks, Sherri! So happy to hear that! I found the tile at Lowe’s. I will update the post with info, sorry, I totally blanked on that! Yes, I started the food blog back in 2014/2015 but it was just a lot to keep up with but I’m going to take it on again! ;) xo
That turned out so cute! I love the tile! Your pups are adorable. My dog has the same duck. LOL
Thank you, Dawn! Oh too funny, they love the duck!! lol xo
Great update to a plain vintage table!
I’m interested in the white pillows with the black and pink-salmon stitching – purchased or updated?
Thanks, Gwen! The pillow covers are from Amazon. Here is my aff link. Unfortunately it looks as if they no longer have that colorway, only black and gold. Keep an eye on the link though because they may come back! xo
Thanks Nancy!
Gorgeous!! I love when you use tile to transform pieces! And those pups are too funny! XOXO
Thanks Christy! Yes, I love playing with tile! They are the best and definitely keep us entertained around here! xoxo
The tile is gorgeous and really updates this table! Beautiful Nancy! XOXO
Thanks, Denise! :) xo
Hi Nancy and Happy New Year! I have always loved your tiled projects and I think this might be my favorite. I have never tried it but I have some trays I might try this on so I Pinned for later. Ryder looks so happy and Piper is so cute. Thank you for sharing.
Hi Cheryl! I love playing with tile and will probably do a bunch this year. And yes, definitely, do give it a go on a tray first. That’s the perfect place for pretty tiles. The pups are always the stars as they should be! ;) xo
Great table for tiling! Love the tile! I think it will be better as a side table and perfect to set your drinks on!
Yes! I love these edged tables like this. And definitely would be great as a side table for sure! xo
Love this! Tile looks perfect with your paint color! Beautiful!
Thanks, Lynn! That paint color worked out so perfectly, so happy!! xo
I adore this little table! Great idea!
Thank you, Jana! Tile is fun, endless design options! xo
Oh Nancy! That’s one of your best! What an amazing transformation. That table is soooo cool now! It’s begging for lemonade days or tea time, isn’t it? And safe to burn candles without worry – love love love it. You did a GREAT job!
Aw, thanks, Michele! OH yes, I can totally see that in the sweet, sweet summertime! xoxo
Hi Nancy. I really love what you did with tiles! I’ve never worked with tile so I was glad to see how you transformed and otherwise “sleepy” table. What is the size of your tiles?
Great job, as always!
Your fur babies are just adorable and they MUST make an appearance. Lol
Thanks, Caye! The tiles were about 6×6 (I’ve linked them to the blog post now). Tile is fun to work with. Love the design options! And thank you, don’t you know it!! I try to get them in a shot here or there…and sometimes, as this time, I don’t have to try too hard!! lol xo
I LOVE your tile projects. I am on the lookout for a coffee table with an “edge” to hold the tile. I have some 1930’s Spanish tiles I have been holding onto FOREVER!!! In the 1970’s!!! My parents bought a fixer upper home in Santa Barbara, CA. The backyard was so overgrown. When they chopped it all down there was the table with these AMAZING tiles!!! They used the table for years until it fell apart. Mom was going to dump it….I snagged the tiles!!!! You gave me the idea of what to do with them. I have used them as coffee mug holders. They are unbelievable gorgeous and many have asked if I would sell them!!!!…..NO!!!!
Aw, thanks sweet Addie! Yes, yes, go find you one to play with and make pretty! Since you already have some, I say do it! I love that you thought to save them, good job! xoxo
Ooh!!!! Love this one, Nancy! First, the table itself is really cute, great details! Second, Tte tile is so pretty! I love good blue & white decor!!!!!
Thanks, Audra! I’m a sucker for blue and white decor, always! xo
I LOVE THIS! I WOULD USE IT IN MY HOME!
Thanks, Rose!! So happy to hear that!! I’m really happy with how it all turned out! xo
Love the table transition and the color used. Can you share where you purchased your sofa? Exactly what I have been looking for. Thank you in advance.
Thanks Cher! The couches are from IKEA. Ektorp is the style which unfortunately has been discontinued. It’s hard (very hard) to find a smaller sectional like this one. When we bought it new, I bought two covers. (having a second just in case, you know) They discontinued shortly after. I wanted to get a second one for our beach condo. Since they were discontinued, I found a used one on FB Marketplace nearby and bought it and put the new cover on it. SO glad I had the extra cover! So with that, if you need a smaller one like this, I’d say keep an eye out on FB Marketplace. Bet you’ll find one eventually! xo
That tile is so pretty, and now the table is too! Beautiful work, Nancy! xo
Thank you, Jen! xo
What a great makeover. Love the tile and the border tile. Looks so pretty. Always love seeing the furry ones too.
Thank you, Debra! And yes, they are the best! :) xo