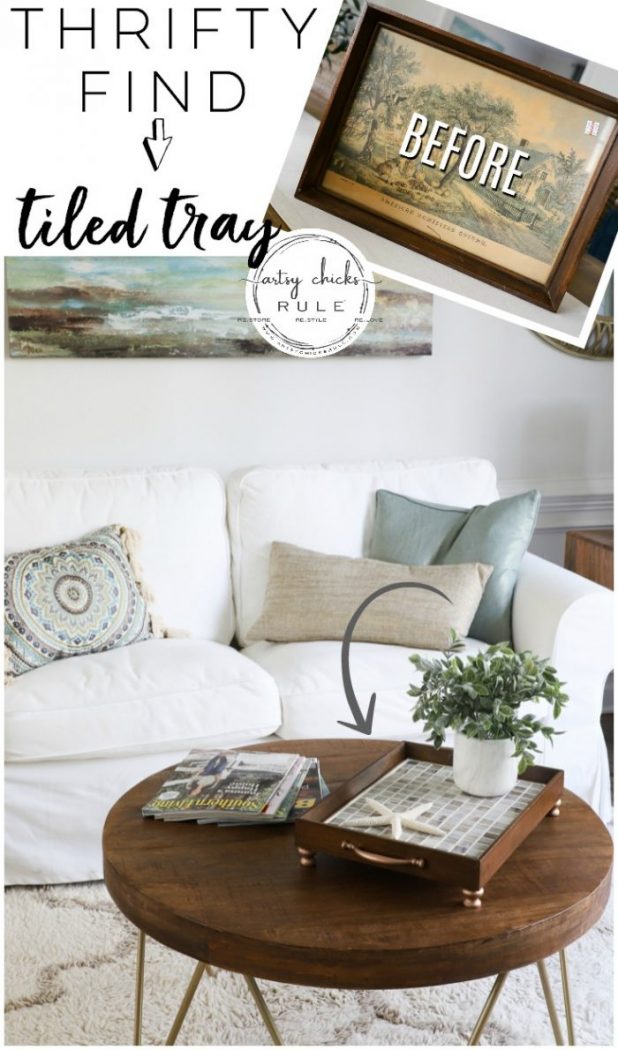
Thrift Store Makeover With Tile (simple home decor!)
Turn this old thrift store makeover into something brand new with tile!
Hey, hey friends! It’s trash to treasure Tuesday and my friends and I are sharing our makeovers with you. (be sure to scroll all the way to the bottom of the page so you don’t miss ’em!)
I hope you had a wonderful weekend! It was actually sunny and in the 70s here yesterday. Can you believe that???
We even took a break from the work (master bath reno – tear out phase – and projects for this week) to go to the beach and pop our toes in the sand.
It was beyond glorious!!!
I can not wait for it to stay that temp.
I shared a little of our beach visit on my Instagram page and in my stories. You might have seen them.
Thrift Store Makeover with Tile
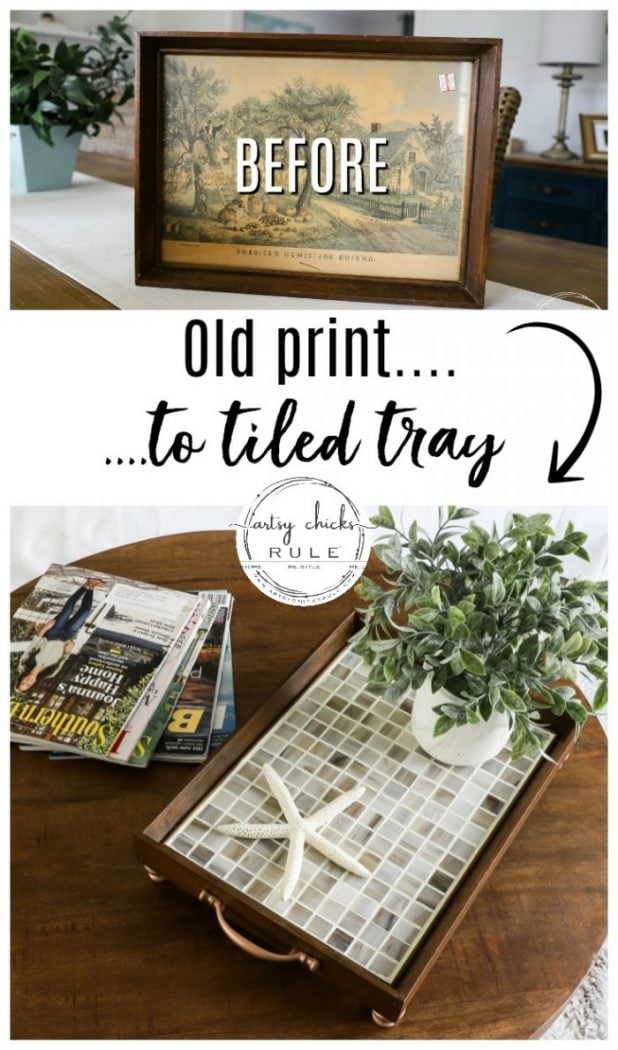
So here is what I was working on before we went to the beach…
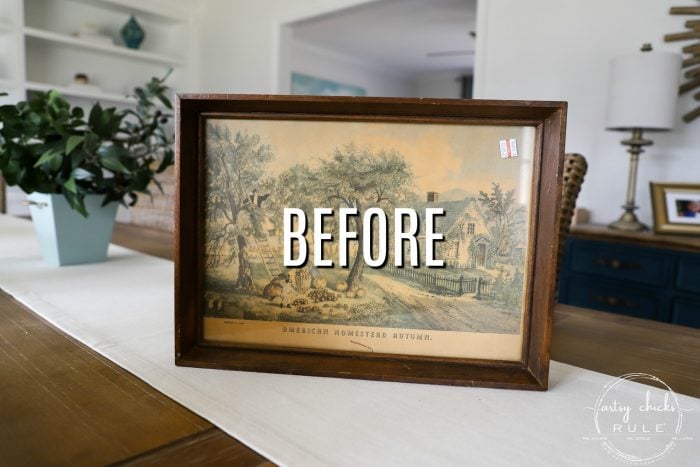
I found it at the thrift store a while back.
It looks to be an old print inside a raised frame.
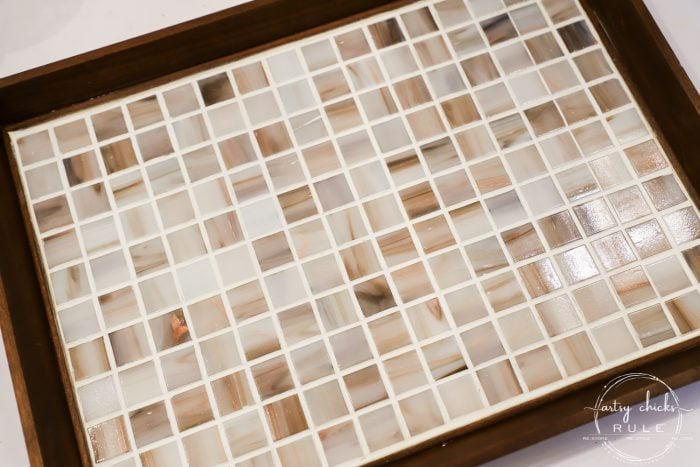
With that very raised frame, it was just begging for tile.
I do a lot of tile projects around here, I know. ;)
But I just couldn’t see anything else in this one.
Here’s what the back looked like….fancy, huh? haha
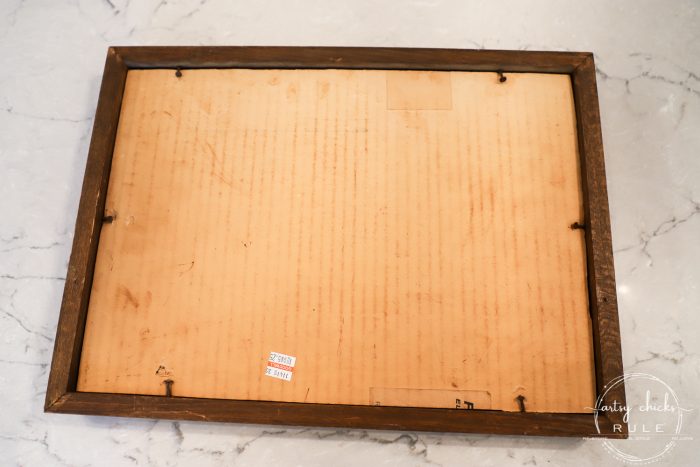
I removed the nails, the cardboard, the print, and the glass.
Then replaced it with a board for the tiles (I screwed it into the back).
The tiles I used are the same ones I used on my crisscross tables.
You can see those tables, here.
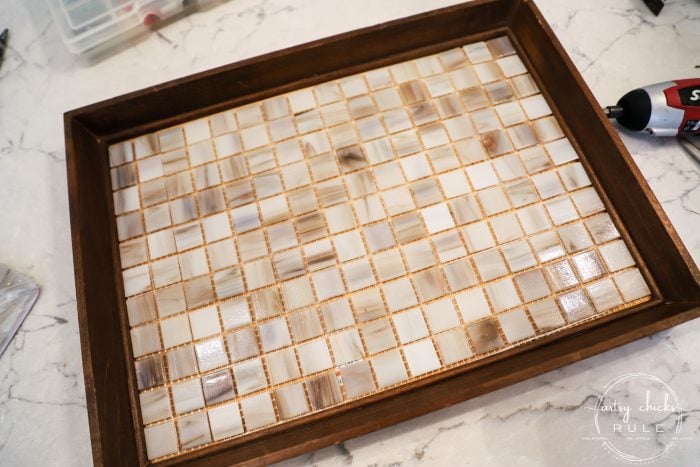
They fit pretty much perfectly. It’s easy to adjust them a little if needed though.
The actual frame was in pretty good shape and I liked the wood look, so kept it.
I did give it a little refresh with some walnut gel stain.
MATERIALS LIST
- Gel Stain
- Tiles (these are similar)
- Glue
- Grout
- Sealer
- Knobs
- Handle Pulls (similar)
- Spray Paint
I simply rubbed some of the gel stain over the whole piece.
I then sealed it with one of my fave sealers, High Performance Top Coat.
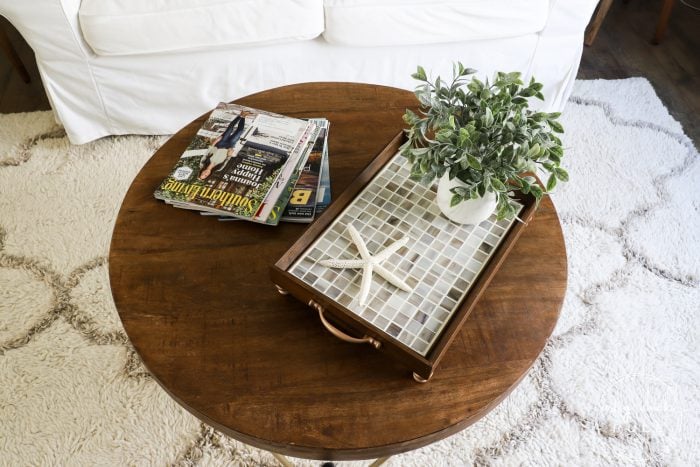
Next, I glued the tiles to the board.
Once they were dry, I applied the grout. (all linked above)
Pretty simple!!
And really nice when you don’t have to cut any tiles.
I used 4 small wooden knobs I had in my garage from another project as feet on this tray.
I did the same on this recent project.
They were just a little smaller than the ones I used on that one.
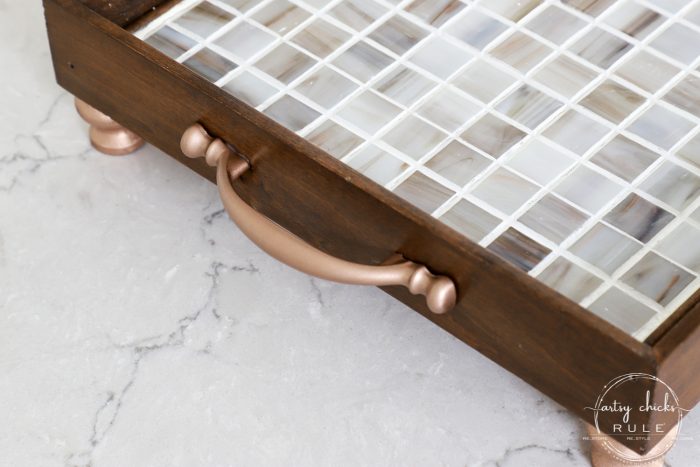
The “handles” on the side are leftovers from our kitchen remodels. (we’ve done several!)
You can see the latest one, here.
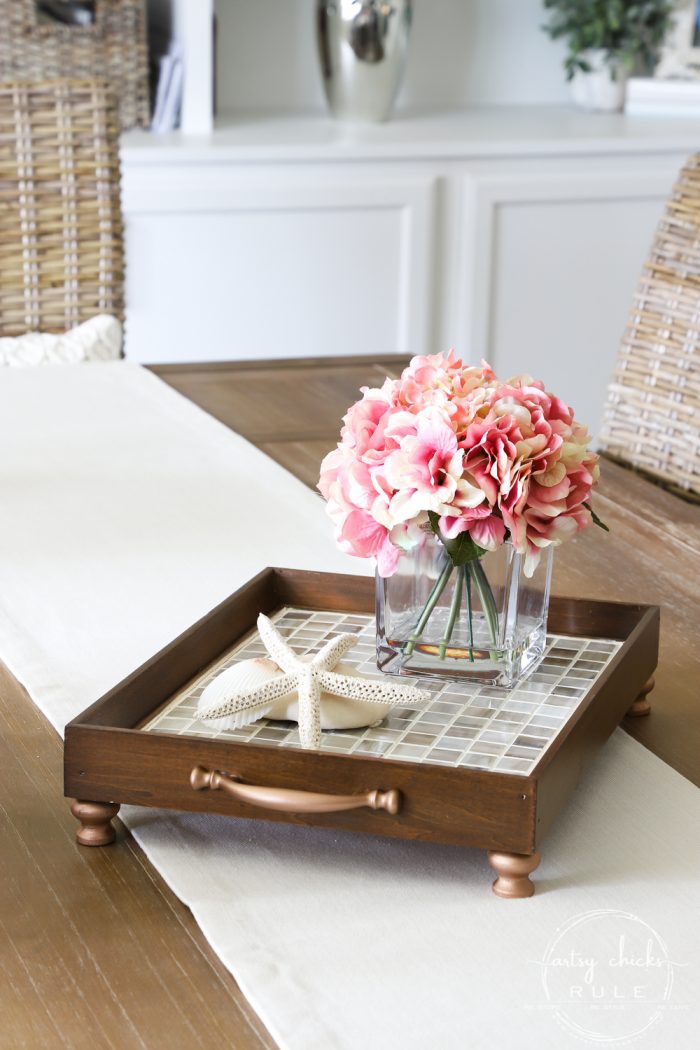
And since the tiles have a metallic copper color running through them, I decided to spray the handles and knob feet in a copper color.
Here’s a better shot to show the copper in the tiles.
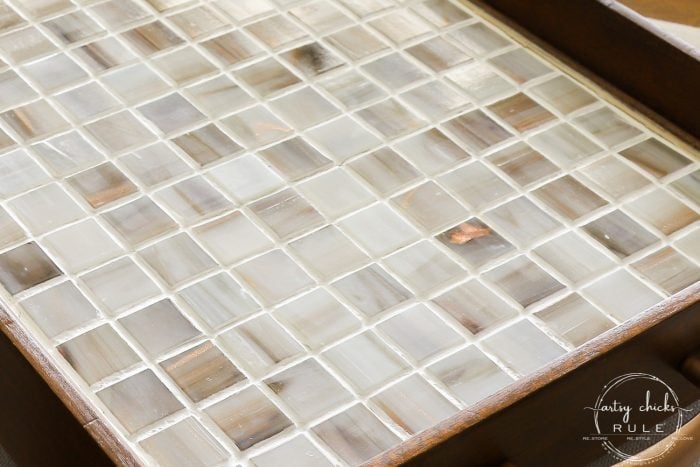
It’s running all through them.
Much easier to see in person. Basically, anything that looks orange-ish in the photo, is copper metallic.
Anyway, I wanted the hardware to be copper spray paint color too. (linked above in the materials list)
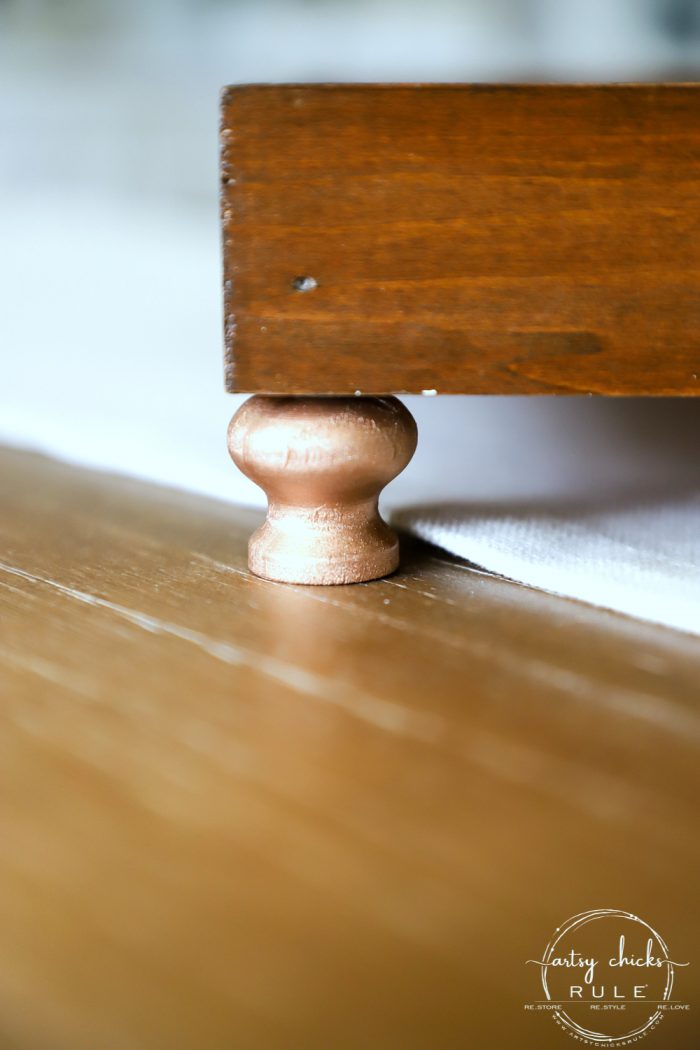
See?
Just simple wooden knobs turned upside down….and painted.
The handles are for looks only, so I simply glued them on.
Simple and done.
Want to see some of these projects in “live” time? Hop on over and follow along with me on INSTAGRAM. I’m always sharing in my stories as I’m doing projects, finding new furniture, fun finds….just all the day to day behind the scenes.
I think it turned out so cute.
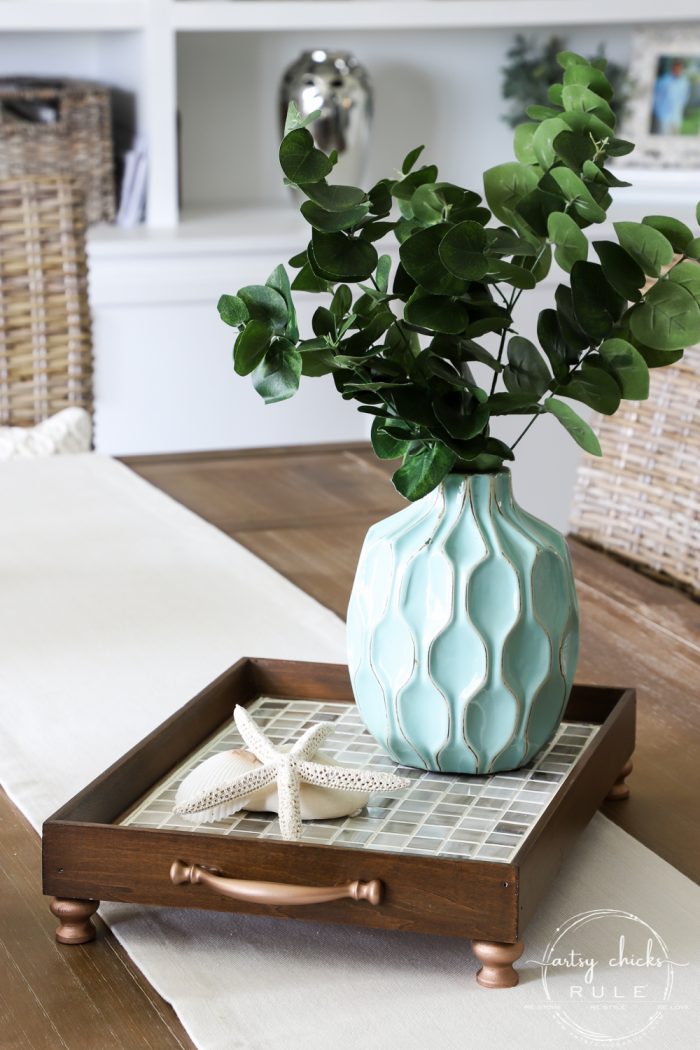
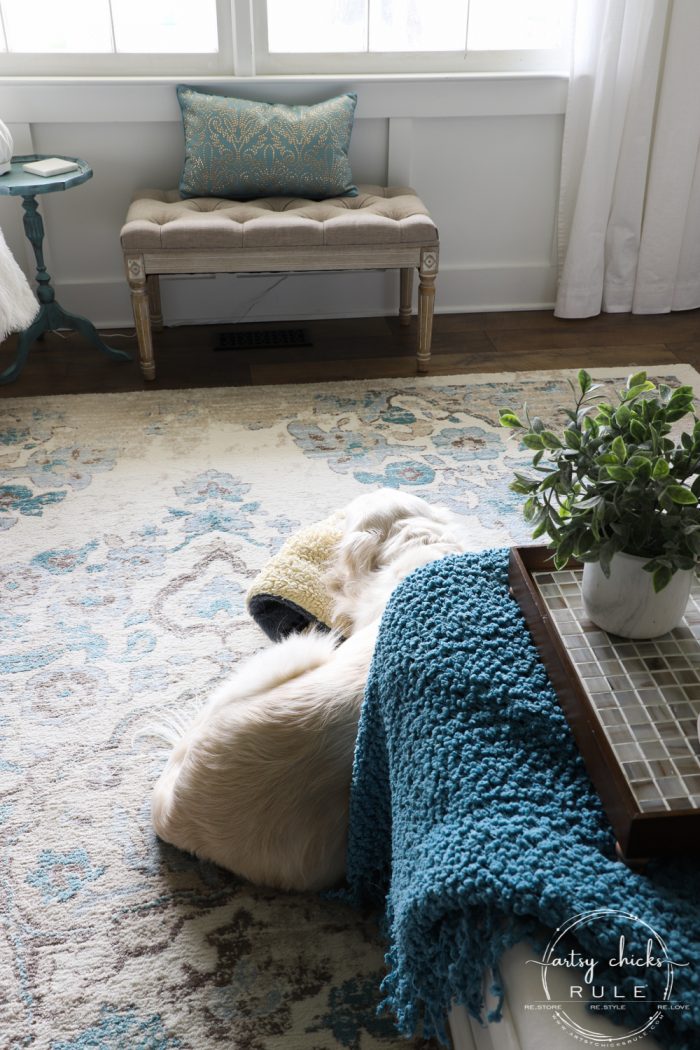
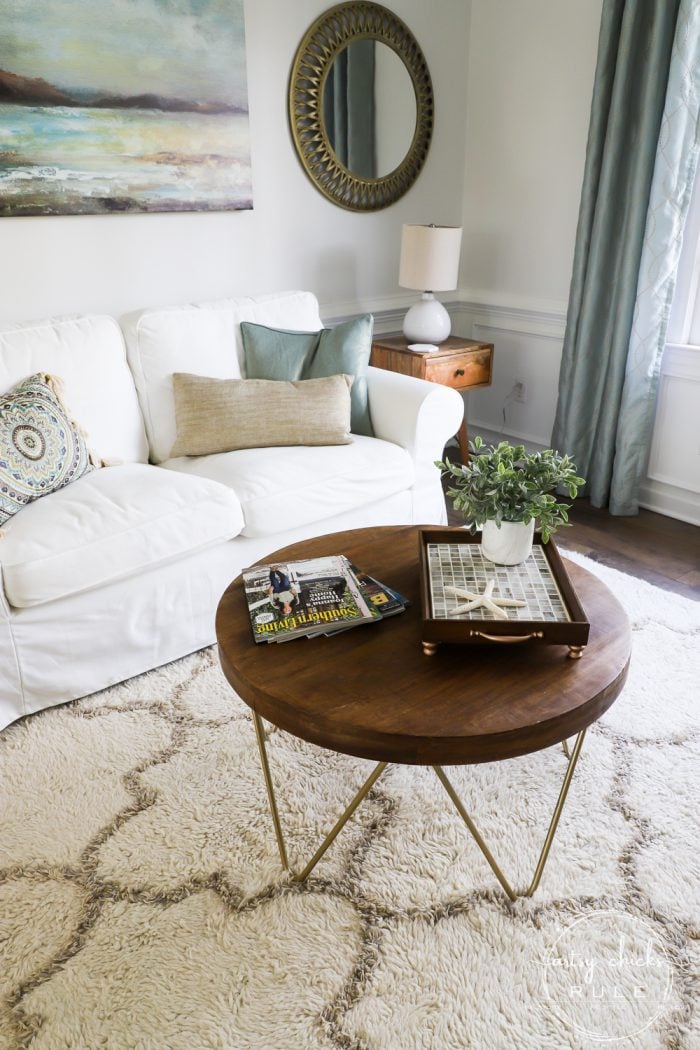
Here it is in our dining room.
Or maybe like this?
If you want to shop for any of the things in our home, decor, furniture, etc.
You can hop on over to my Shop Our Home tab to find all the links.
There are so many ways you can use a tray like this.
You can find the rug in this room, here.
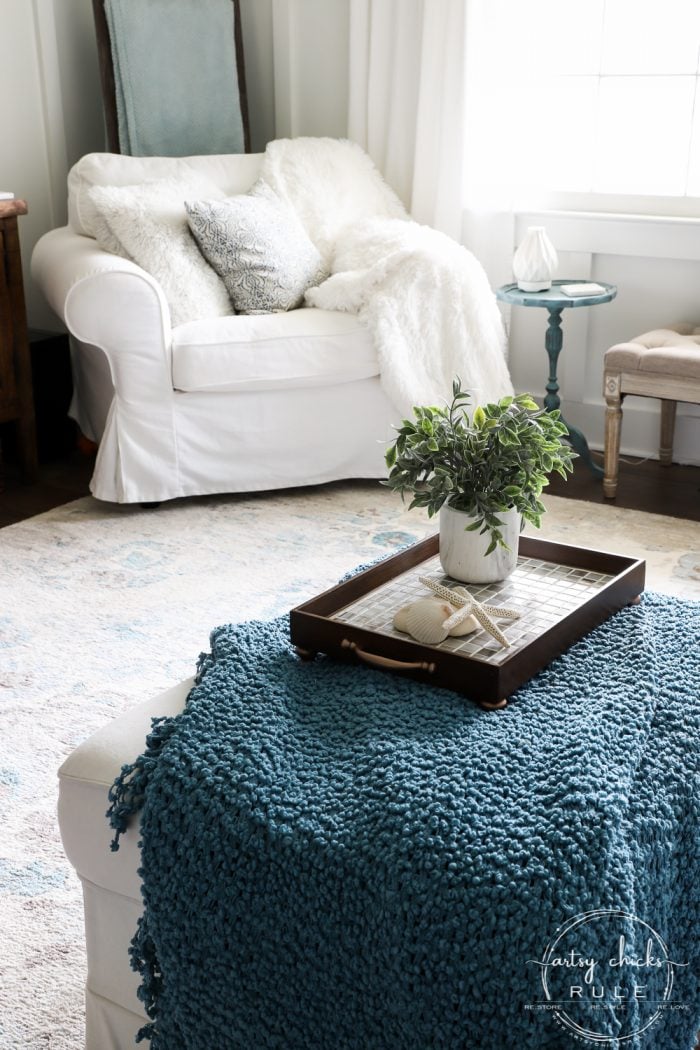
Something is lurking on the other side of that ottoman there. Hee hee
Well hidden, though!
Want to see what it is??
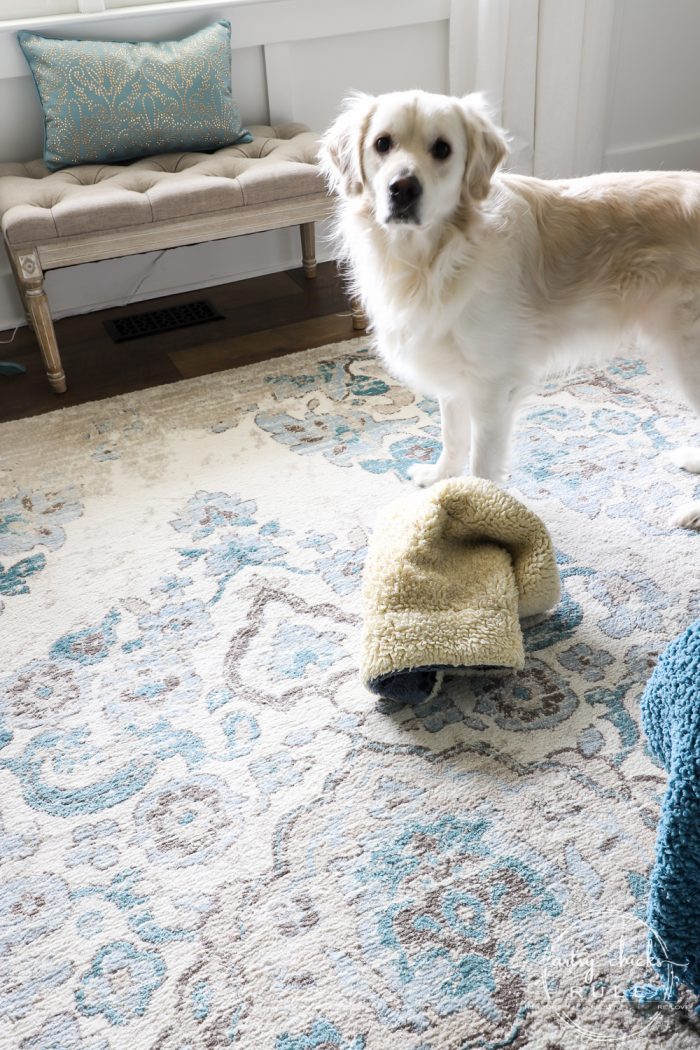
This lil cutie.
Laying with his “paci”. One of them anyway!
This is his very first baby bed and he lays here with it in his mouth. lol
Oops…I disturbed him.
Watcha doing mom? (you can find the bench, here)
Not for long though…..
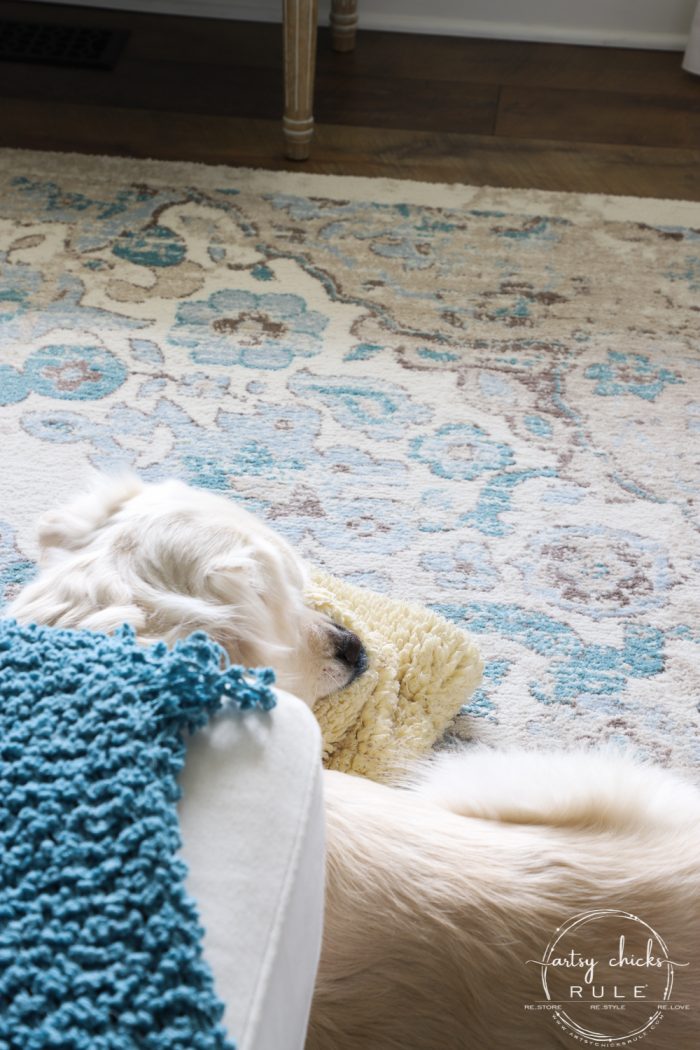
Right back at it! On the other side now though.
He’s so funny.
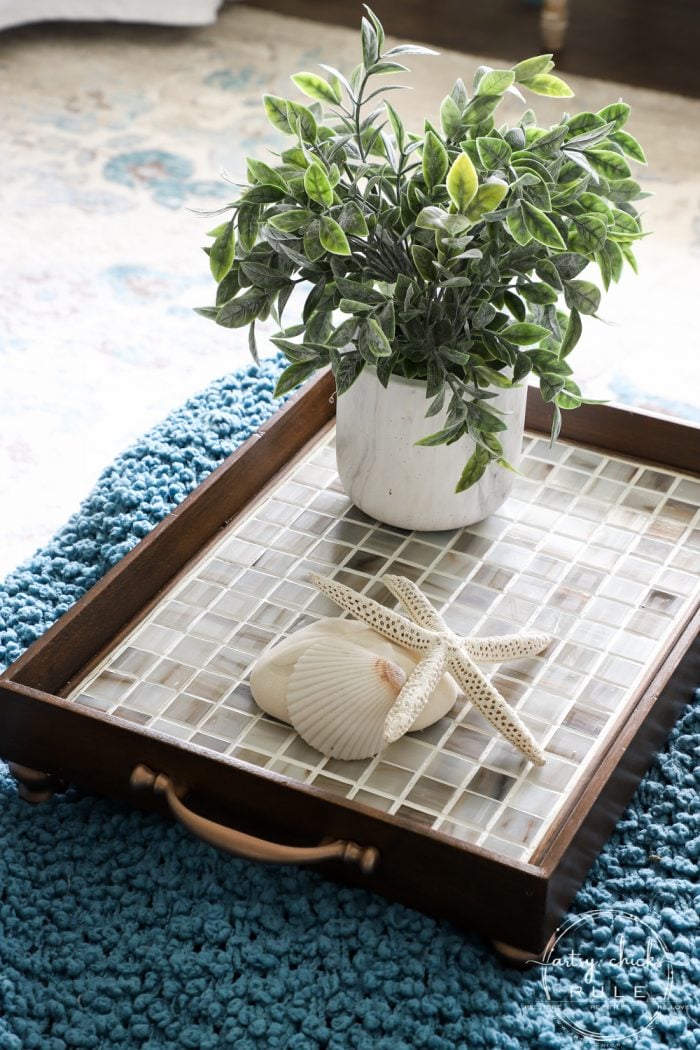
I actually think I’m going to use this brand “new” little thrift store makeover right here in our morning room …..
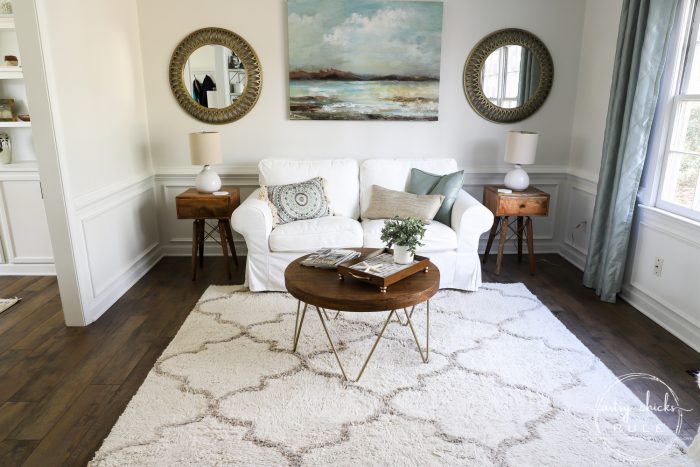
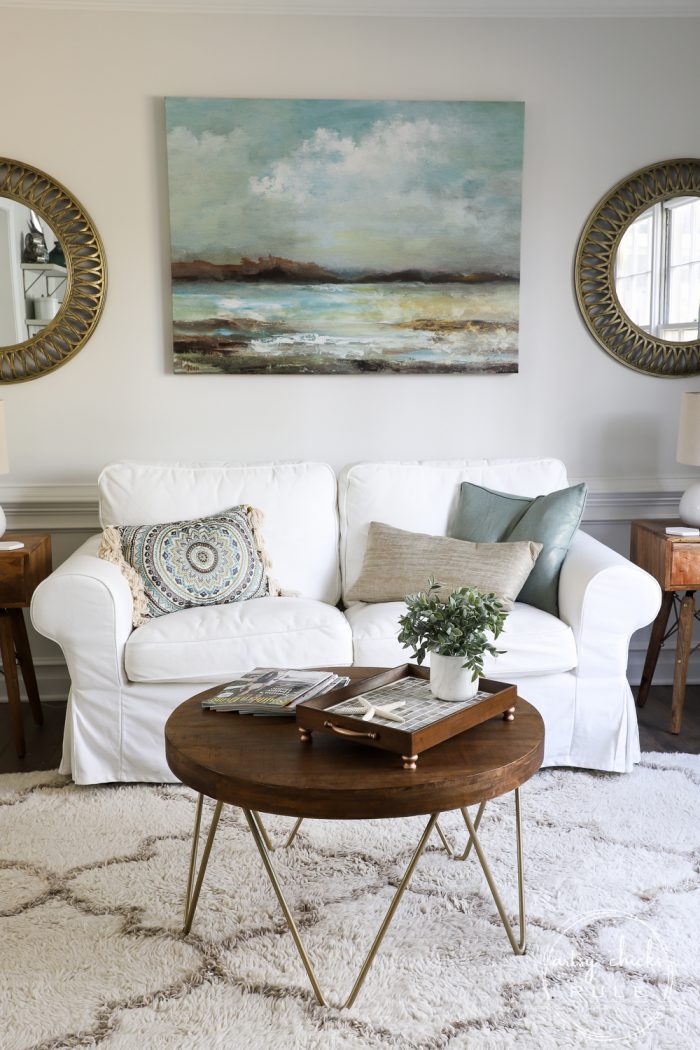
The colors go great in here.
And I love how the tiles look like sand and shells.
Much different than how it began!
Here are a few more thrift store makeovers, and tiled trays I’ve done.
PIN it to save it!
But wait!
Don’t forget to check out my friends’ thrift store makeover below:
Want to see even more trash to treasure thrift store makeovers? Click here for the gallery.
On Thursday, I’m meeting up with my girl Christy for a little thrifting fun! Yay!!
That means we’ll have a video of it for y’all soon. AND we may even go live while we are out! (that is yet to be determined though, lol, but keep an eye out on mine and Christy’s FB pages)
I will at least do a story or two on Instagram, so be sure to follow along over there if you aren’t already! :)
As far as my project for Thursday, hmmm, not sure what will come together between now and then.
Stay tuned!
xoxo


")

")


This upcycle is beautifully done, Nancy. Love the copper. ♡♡♡
Thanks, Larissa! :) xo
I adore this makeover!!! Wow!!
Question: What kind of board did you use to replace the back? Masonite? And how did you secure it to the frame so when you picked it up, the tiled board doesn’t fall out? Forgive me if you have covered this before.
Thanks and have a great week!! Maybe toodle off to the beach again!
Aw, thanks so much Christina! :) Just a thin piece of wood scrap we had in the garage. Nothing fancy! And I just used teeny, tiny screws and screwed it to the frame in the corners and in the middle of each side. I also used some of the E6000 glue along the edge before I screwed it in. That probably would have held just fine by itself if I’d had time to let it dry fully (24 hours) but I was ready to start adding the tile, so screwed it in too. Hope you have a great week too! Looks like we have some 60s, low 70’s toward the end of the week, yippee!! You are in one of my favorite places to be…lucky! Beautiful all year round! xoxo
Did you make your slip covers in your sun room?
Hi, no I didn’t. They are actually from IKEA. (Ektorp is the name of the furniture and covers) :)
I love what you do with tile!! This turned out so pretty and how awesome that they fit in there perfectly!! Can’t wait till Thursday woohoo!! XOXO
Thanks, Christy! I love playing with tile! Me too! :) xo
Adorable make over….great job.
Thanks so much, Pamela! :) xo
What a pretty tray Nancy! I love the tile colors and the copper color you went with for the handles and feet and it is perfect in your morning room! I’m looking forward to seeing what you and Christy discover Thursday too!!
Thanks, Kaycee! I don’t always keep all the stuff I make so it’s fun when something fits in my decor! :) And yes, keep a lookout for us..at least over on IG! I’m not sure we have the nerve to go live on FB. I know I’m trying to work my way up to that…one day! lol xoxo
Love the tiles on the bottom Nancy! And I have to mention your fur baby… too sweet and cute! x
Thanks so much, Denise! :) And yes, thank you, he’s a sweetie, for sure! He’s an awesome companion to have every day while I work…so I’m not really talking to myself, I’m talking to him! lol xo
Hi, Nancy. Love your ideas and decor. Question- where did you get that small bench under the window between the drapes in the pic with your pup? It’s exactly the size and type of bench I’m hunting for right now.
Thanks!
Hi Mercedes! It’s a great bench! I actually have the longer one too, in our dining room under the coat rack we built. I edited the post and included a direct link to it for you! :) xo
You’re awesome! Thank you!
I love your picture frame tray, Nancy! So pretty with the tile base and adding feet. Your sidekick is a cutie :)
Thank you, Marie!!
Your tray turned out so pretty, Nancy! Your pup is so cute and I love the artwork in your morning room! xo
Thanks, Jen! :) xo
Love what you did with the tray! And your morning room just says “come in and enjoy your coffee”!! I just subscribed to you and I am so looking forward to your posts…thanks for sharing and I think I gotta get me some tile!!
Thank you, Karolyn!! And yes, I agree! I am so thrilled with this room and so happy we decided to turn it into this! (it used to be our dining room) I’m so happy to have you following along! xoxo