Eat Pray Love Sign (and FREE printable!!)
Make this EAT PRAY LOVE sign, simply!!! A cute addition to any kitchen. Perfect for gift giving or fun for your own kitchen decor!
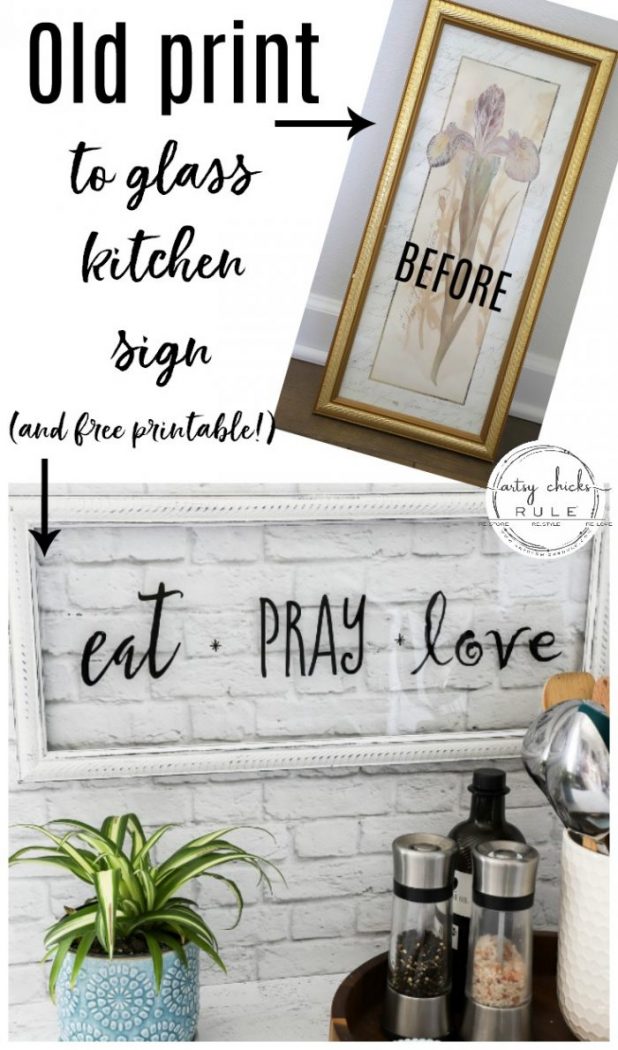
If you look around here, you’ll know I love making signs.
I haven’t made any lately so I thought I’d throw one together for today’s post.
Years ago I created an ” eat pray love” wall in our kitchen.
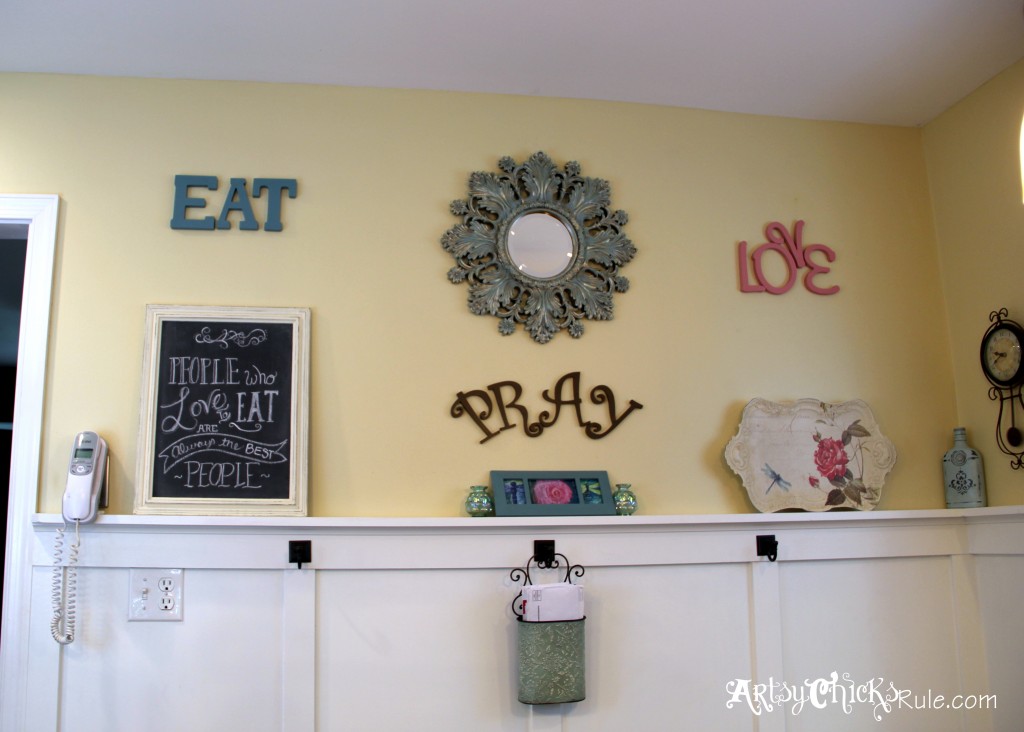
It was fun, colorful and whimsical.
I’ve since changed up my decor a gazillion times though!
But I just love that saying.
Hmm….just for fun, let’s see what I did with the things on that wall since I redecorated.
- The mirror is now at the top of my gallery wall going up our stairs.
You can see it, here. - The chalkboard sign got turned into another chalkboard sign that I used for the holidays.
You can see it, here. - The rose and dragonfly tray was used on our built in bookcase for awhile.
You can see it, here. - And I even reused some of the block letters.
You can see what I did with them, here.
Ha! Now let’s get back to today’s project.
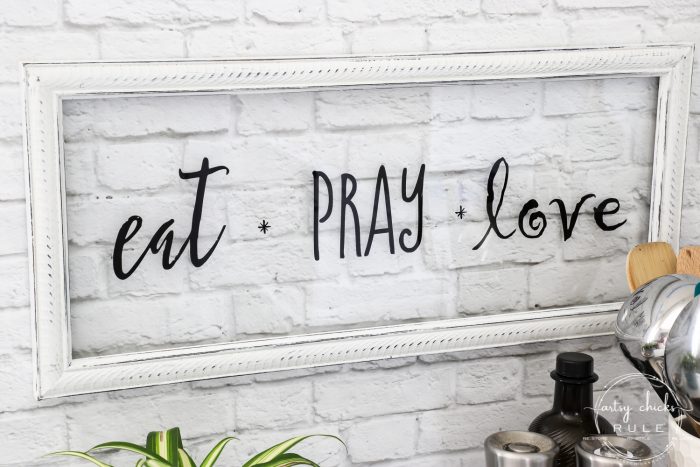
This Eat Pray Love sign.
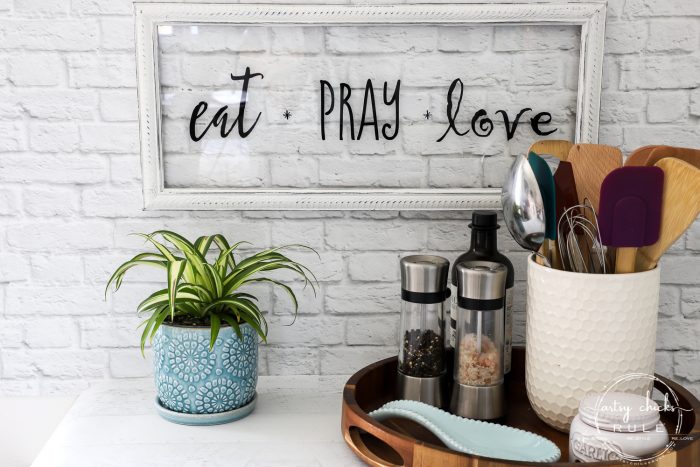
This one was ridiculously simple, y’all. Really.
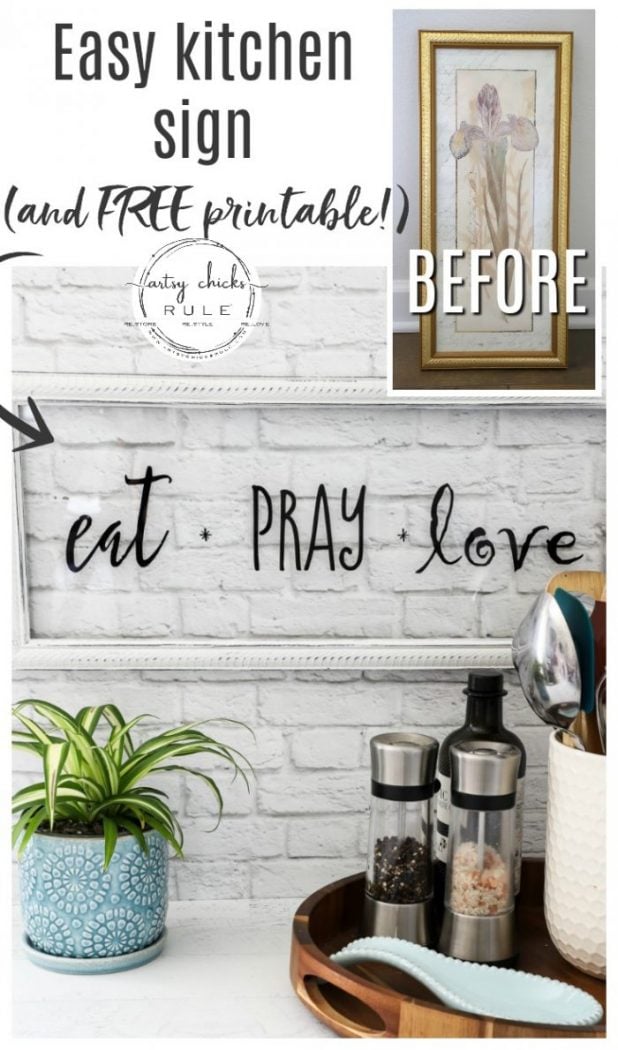
Here’s what I started with….
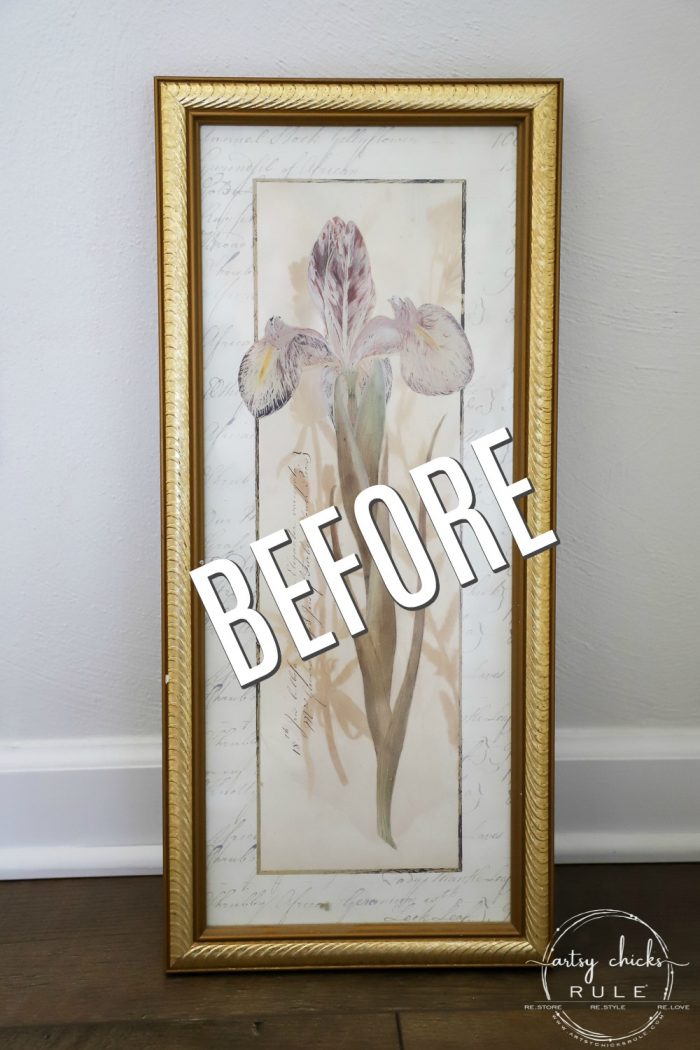
We used to have a botanical theme in our bedroom years ago.
And well, in some of the rest of our home too! I really like the botanical theme.
So I still had a few of these old prints laying around.
I thought this one would make a great sign, sideways.
I hadn’t originally planned to do it on the glass only but I decided it’d be fun to do that instead.
I began by painting the frame black with black spray paint.
MATERIALS LIST
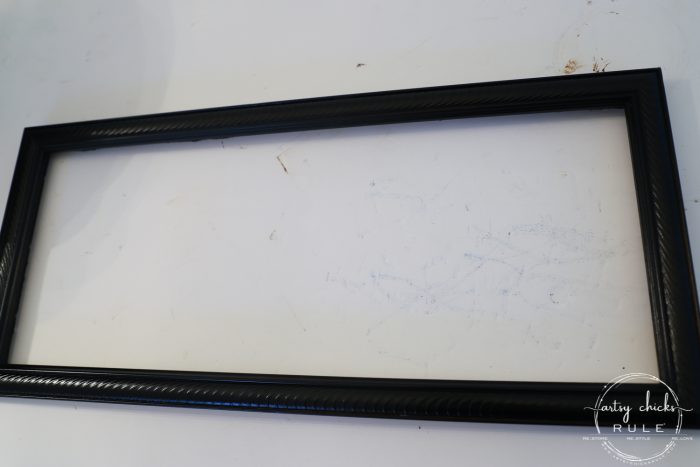
Then I went over it with one coat of white paint. I didn’t really try to cover all the black.
Since I was doing black vinyl letters for the eat pray love sign, I wanted some of the black to show through.
Want to see some of these projects in “live” time? Hop on over and follow along with me on INSTAGRAM. I’m always sharing in my stories as I’m doing projects, finding new furniture, fun finds….just all the day to day behind the scenes.
Then I lightly sanded the edges so even more of the black would show through.
Once that was dry, I used this glue to attach the glass to the frame. That stuff works great but it does take a little bit longer to dry.
So I set it to the side for a day before hanging it.
I added these little hooks to the tops but realized I didn’t have the chain I wanted to use, so instead just attached some fishing line.
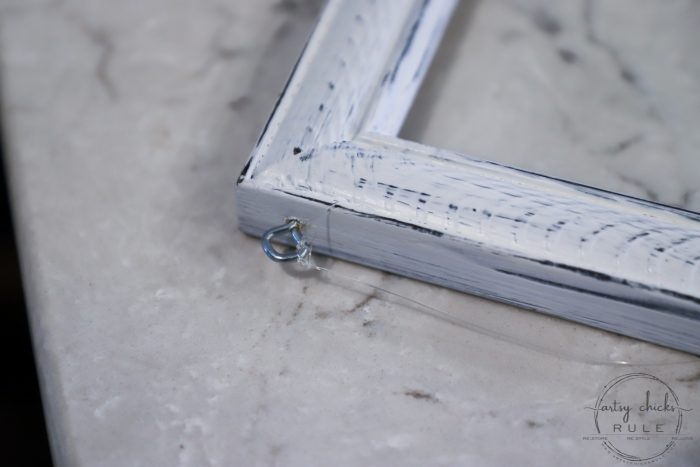
Oh, and I added a top coat sealer on the paint. I used this one that is new to me, for the first time.
I’m looking forward to trying it out on a larger piece soon. (it was recommended to me by several readers here)
I like it so far though!
Here it is hanging from the fishing line. (I really wanted a small, delicate chain but didn’t have one…thought I did!)
I edited in some dotted lines to give it the look of a chain, sort of. ;)
Hopefully, you get the idea.
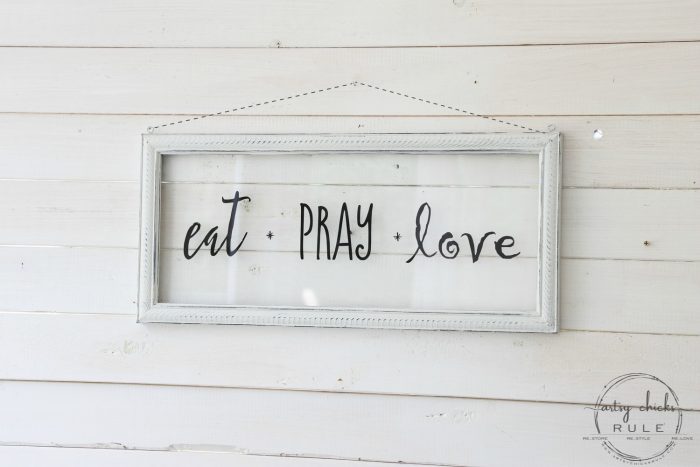
Anyway, that is just one way you can hang it.
I am also sharing it this way…
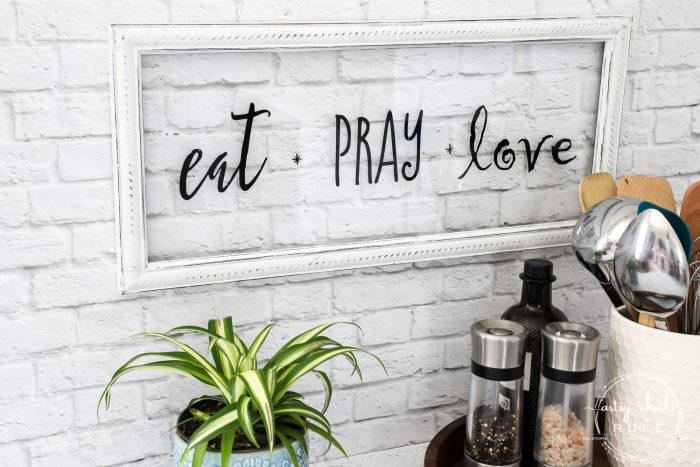
This is actually up with 3m strips but it simulates having a holder on the back with either a nail or screw in the wall.
You can either add one in the center or a hook on each side to hang it from.
Okay, for the graphic, I simply created it in PicMonkey.
Then opened it up in my Silhouette program.
You can find out how to do that in this post I wrote, here.
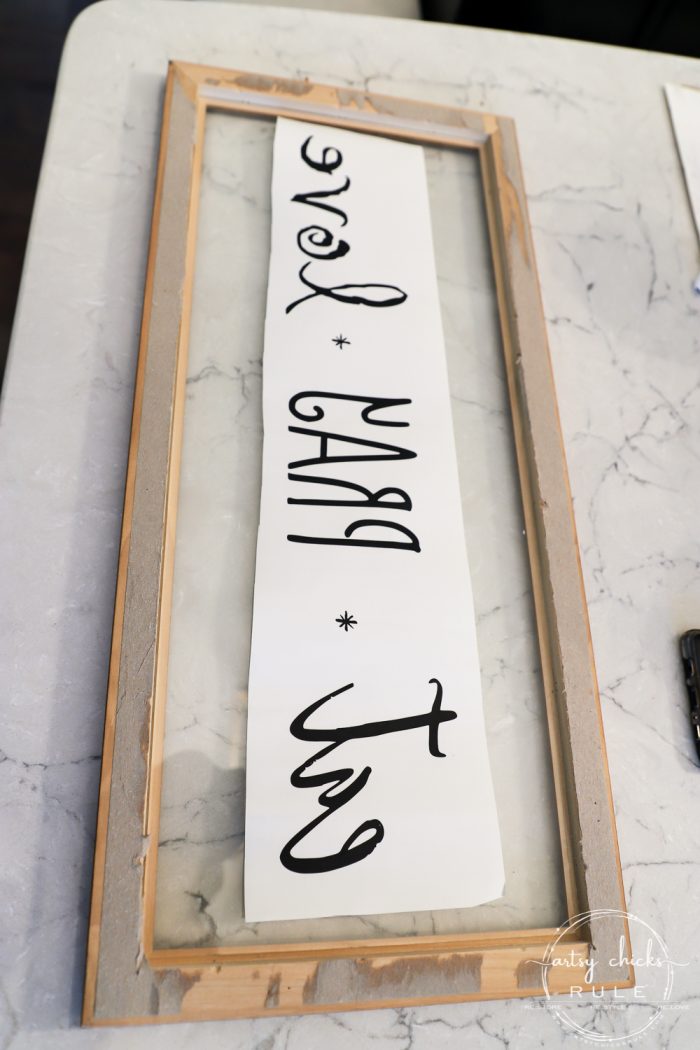
I cut it out backward so the sticky side would be on the front.
I wanted to attach the vinyl letters on the back side of the glass.
That way the front of the glass would be nice and smooth.
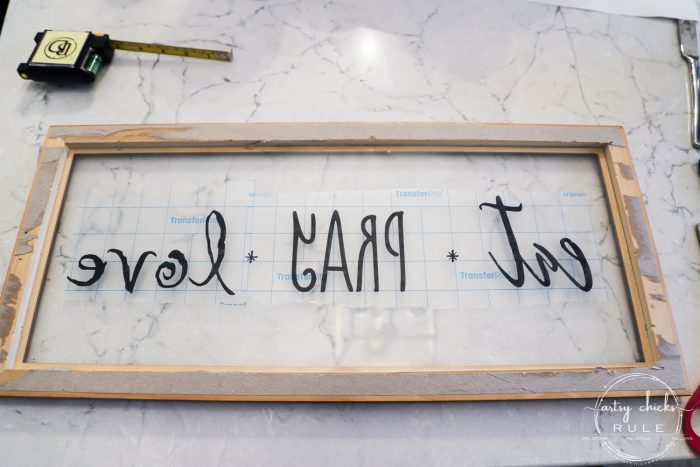
Then I used my transfer tape to attach it to the backside of the glass.
In the above photo, I have added the transfer tape and attached it all to the glass.
Next, I will just remove the tape and the letters will stay behind on the glass.
See my little measuring tape up there? I always measure to make sure everything is lining up correctly before I stick it all down.
And here it is all attached and right side up.
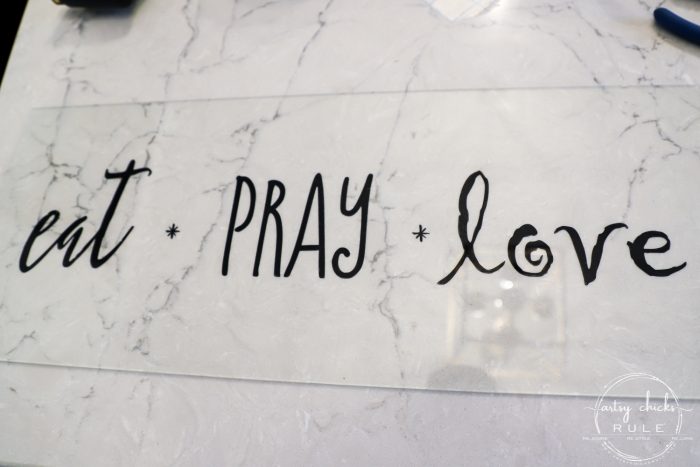
You can get this free printable….

here…
Already a subscriber?? Click here and enter the password that is in your email newsletter from me.
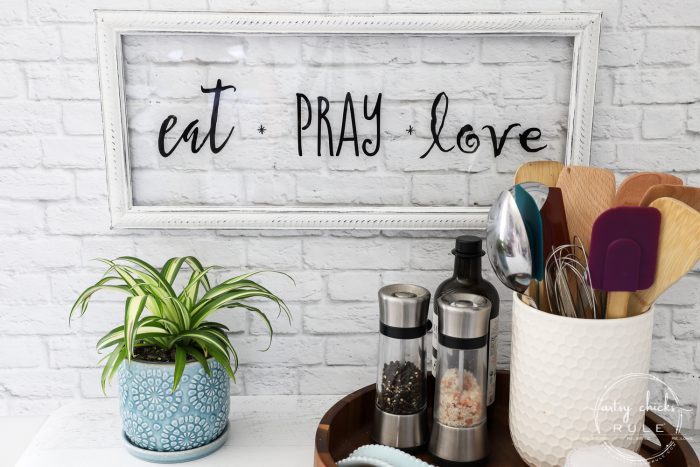
I really love how this one turned out.
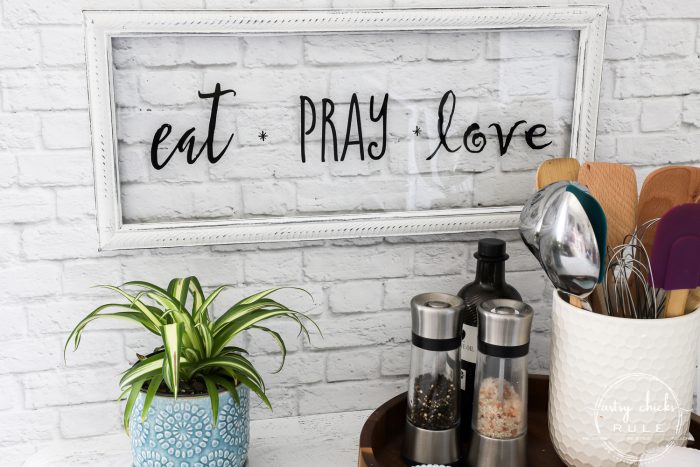
Here are some of the items in the photo, if you are interested:
- Round wood tray
- S&P shakers (love these!)
- Garlic dish (mine is no longer available, and I’ve since broken (and glued back together!) the lid) This one is similar and one I’m going to purchase to replace mine shown since it’s adorable…and not broken…oh, and larger. We like garlic around here! lol
- Utensil holder (mine came from TJ Maxx but this one is similar)
- Aqua spoon rest (similar)
I hope you’ll give this “Eat Pray Love sign” a try!
And if you like to make a lot of signs (like me! lol) then investing in a Silhouette Cameo is probably a good choice.
It’s a game-changer, for sure!
Makes things so much easier….and quicker.
PIN it to save it!
Hope you have a wonderful week! I’ll see you back here on Thursday with this!
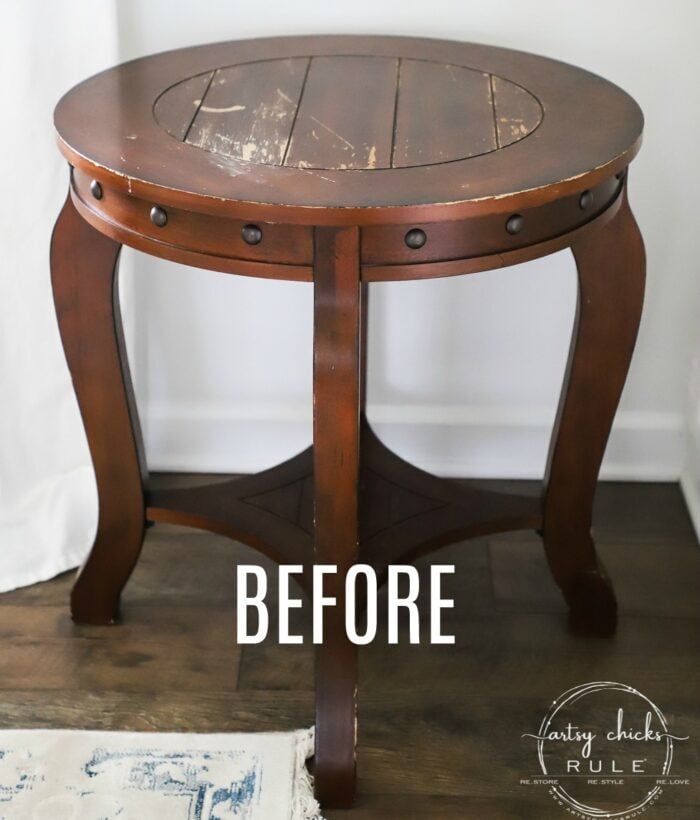
UPDATE!! See it now here!
xo




Wow, Nancy, this is very cool! Love it against the brick pattern…. making the sentiment of the sign the “building blocks” of a great day! :)
The design process lends itself to SO many possibilities, thank you!!!
Have a great week!!
Thanks, Christina! That brick pattern is so fun, makes me want to have a brick wall somewhere in my home! ;) I love what you said about the building blocks, so perfect! xoxo
This is fun and beautiful. ♡♡
Thanks so much, Larissa! :) xo
I love the clean look of this sign on the glass! It enhances the space, without taking away from the beautiful textured brick wall behind it! It’s just perfect Nancy!
Thank you, Kaycee! :) I’m really loving the “clean look” of this one too! xoxo
Love this! How did you attach the glass to the frame?
Ack!! I have edited my post to include that info, Gail. I left that out, sorry! It’s just E6000 glue around the edge of the frame. It holds wonderfully! :) xo
love the transparency with whatever you put it in front of!
Yes, so much fun! And even better with something like tile or brick behind it! :) Thanks, Gwen! xo
What would you use as a clear sealer to seal glass so as to not get a hazy finish? I stenciled on glasss and want to protect it. TIA! Love your blog.
Hi Jeannie! Hmm, I would try a spray of some sort. I wouldn’t try brushing anything.
If you do spray, make sure you are far enough back and do a very light even coat. I would test that on a scrap piece of glass first so you can get a feel for how light to go. You could even try wax too. Rub it on and over the paint and then buff it back off until the glass is clear. That might work out nicely too. And thank you!! I’m so happy to hear that! xoxo
Very sleek and clean looking. I have been asked to donate something to a silent auction and this would be perfect. Easy and I have all the materials! Win-Win! Thanks for the idea!
Oh, yay! Yes, this will be perfect for that! :) xo
I love this! Never think to put the vinyl on the glass like this. Can’t wait to try it! Do you remember what font the “love” word was created in? I could use that font for a project. :)
Hugs – Wendy :)
Yippee!! Thanks, Wendy! :) That font is so sweet and it’s called, “Gigi”. Have fun with your project! xoxo