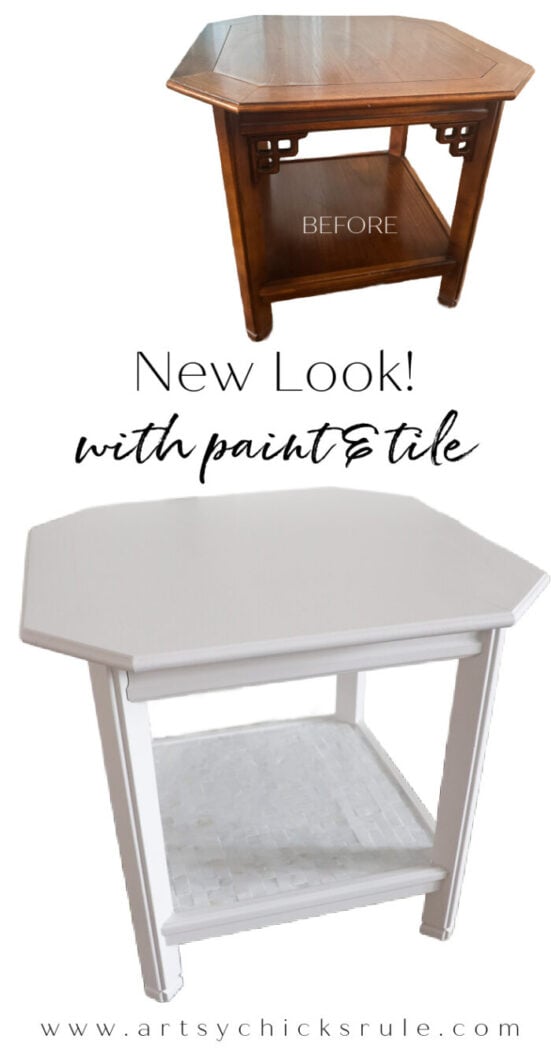
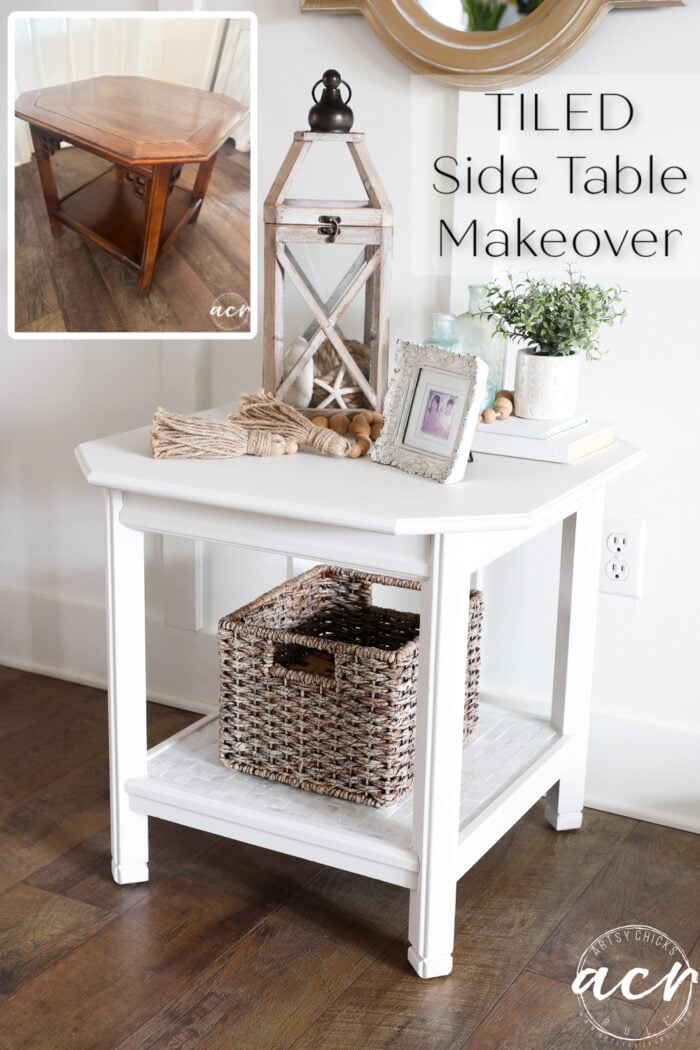
This DIY tiled side table makeover is easy to replicate. Just choose your paint and tiles and create your own look!
Hello friends and happy Trashy Treasures Tuesday! Today my friends are sharing our latest “trashy” finds. If you are new here, a few of us get together on the second Tuesday of every month with a brand new makeover! Scroll all the way to the bottom to see what my friends have new this month.
Oh and before we get going on today’s side table makeover, have you entered my Birthday Giveaway yet?? You still have time! Hop on over >> here to enter to win the goodies!
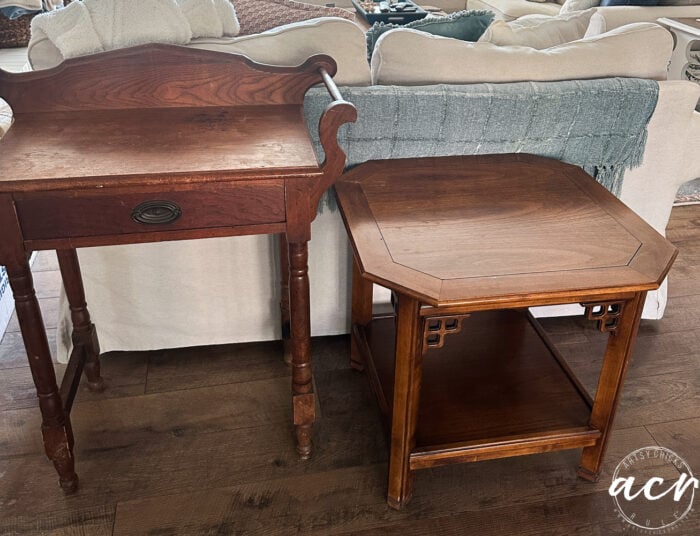
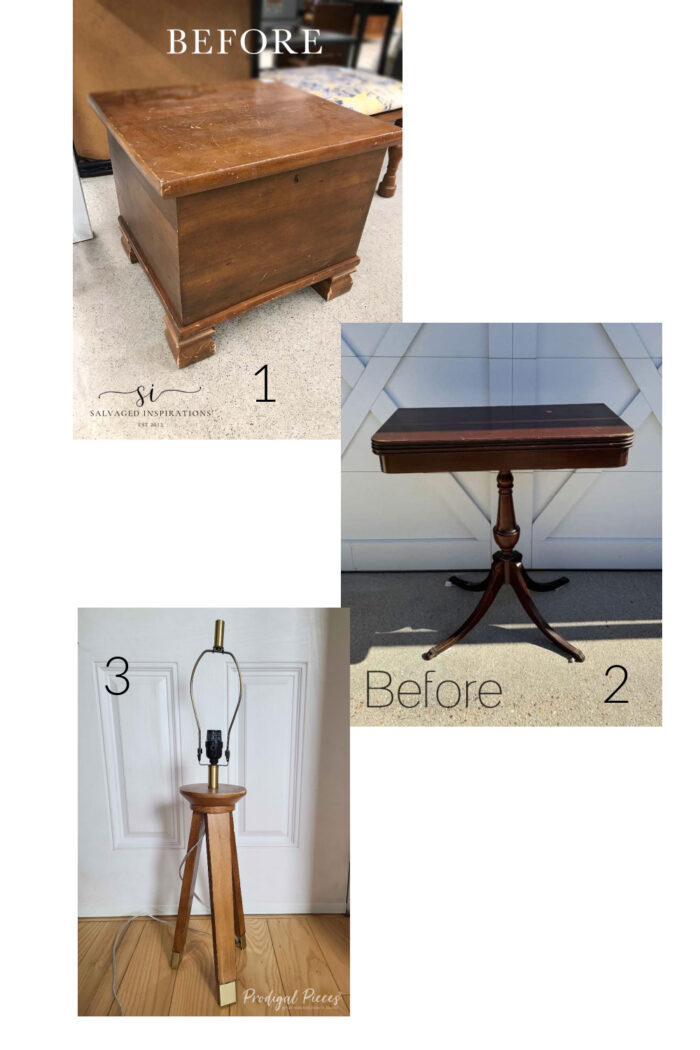
I’m sharing one of two recent ReStore finds…
…the one on the right. I have plans for the one on the left and will be sharing it soon too.
DIY Tiled Side Table Makeover
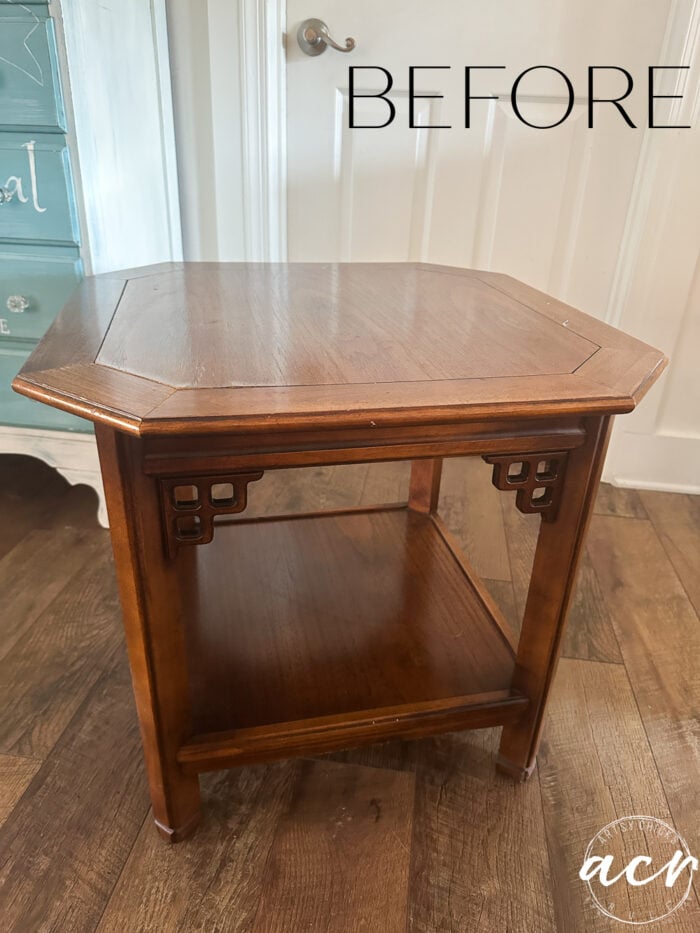
This table is similar to another one I gave a makeover to a while back. Both of them are sort of Asian inspired.
I didn’t change the design of the other one like I did with this one but I did lean into a more “coastal” style. You can see it and the makeover here.
Prefer to shop on Etsy? I have an Etsy shop also, here!
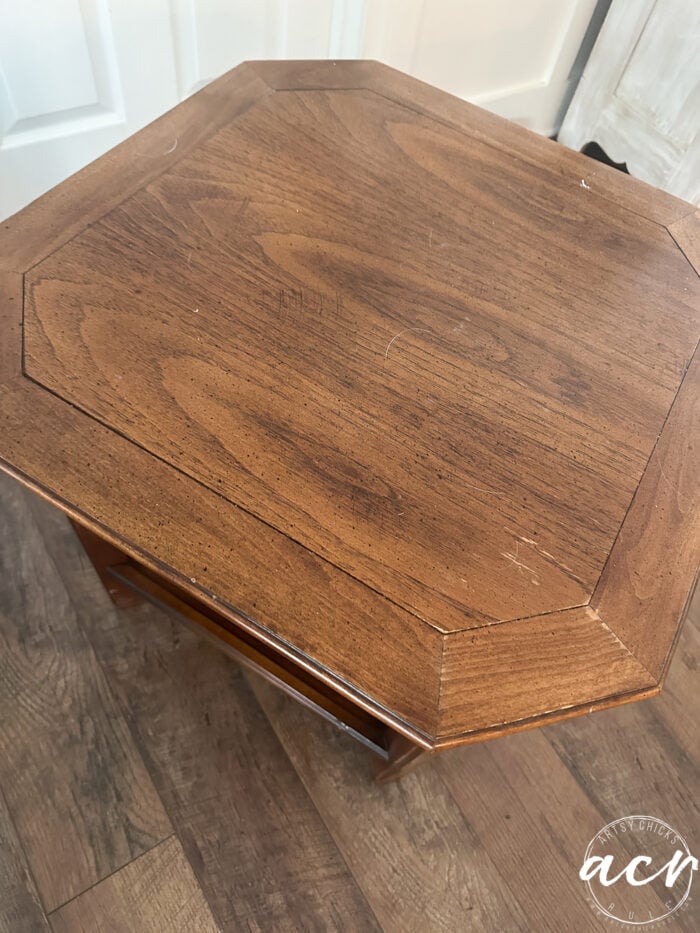
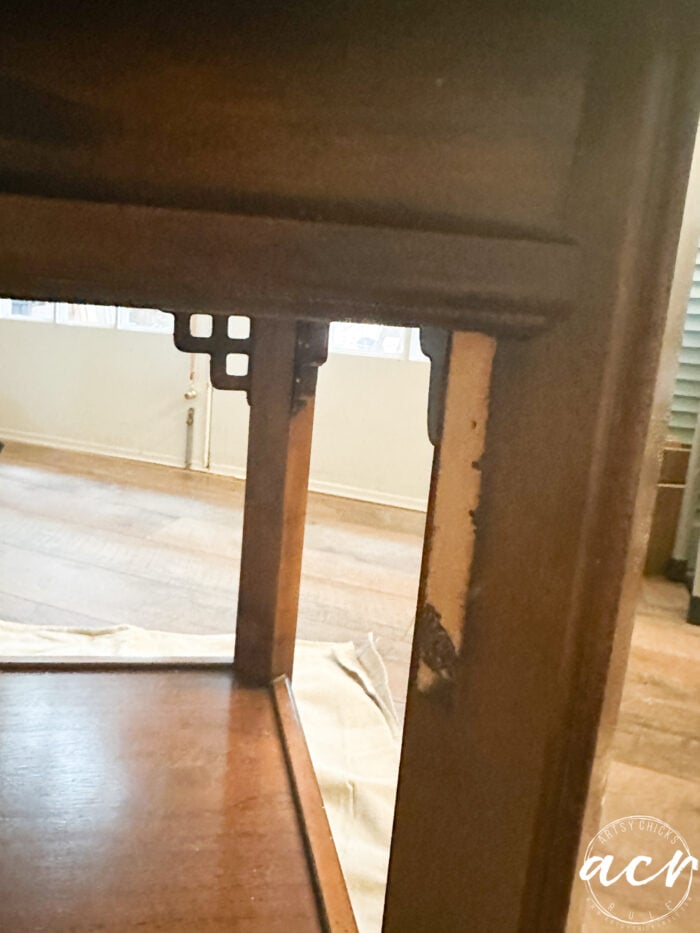
Here’s the condition the top was in…
It’s hard to tell from the photo but that entire area in the corner closest was raised.
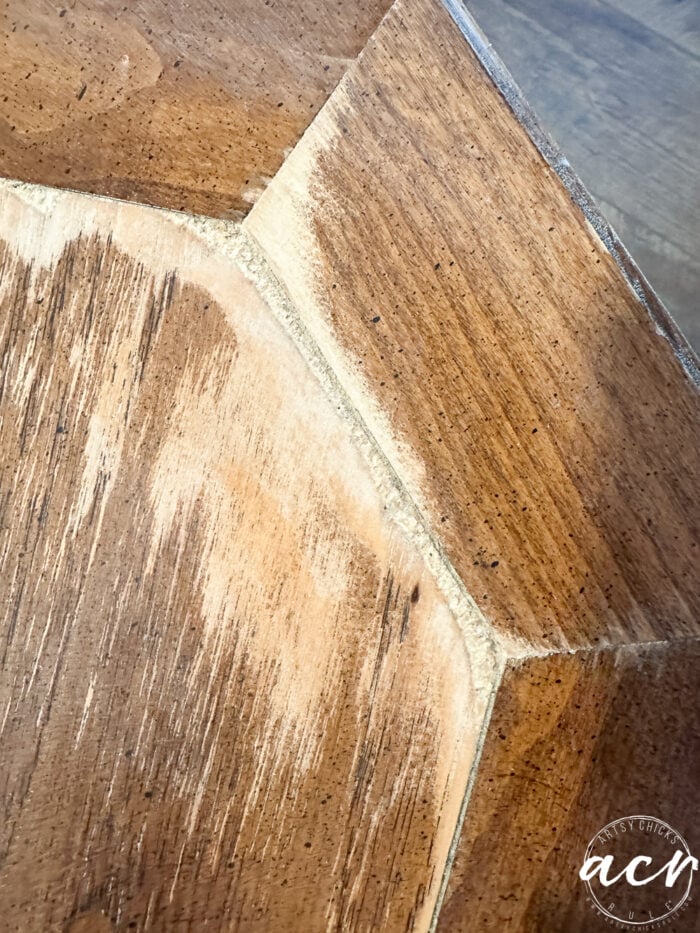
So I sanded it smooth.
Which unfortunately took me down to the particle board. Boo.
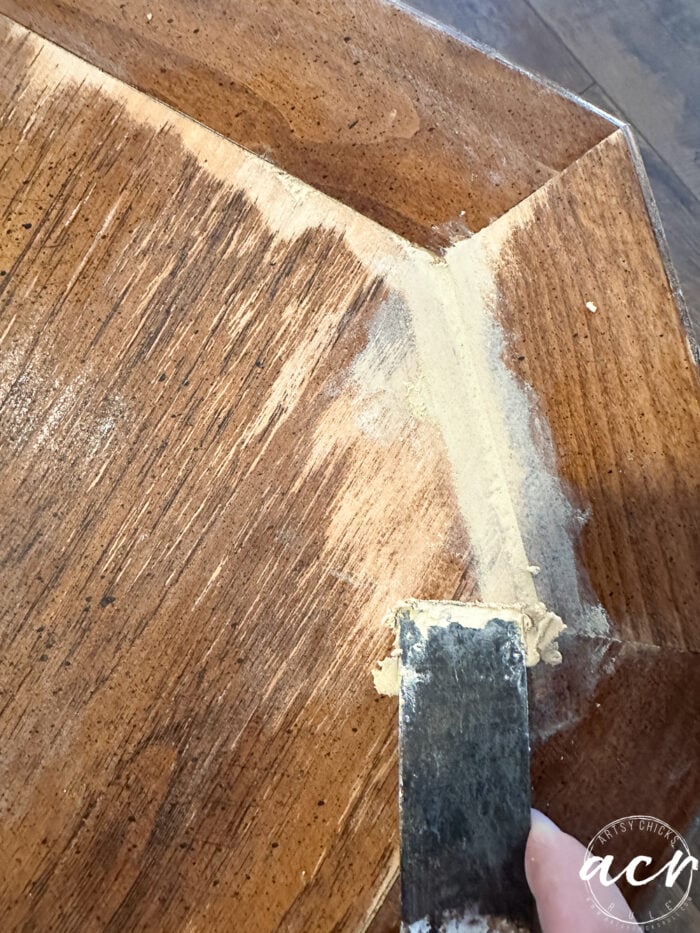
I decided to use wood filler to smooth it back out. And with that, I went ahead and used it all the way around the end table to make it match better.
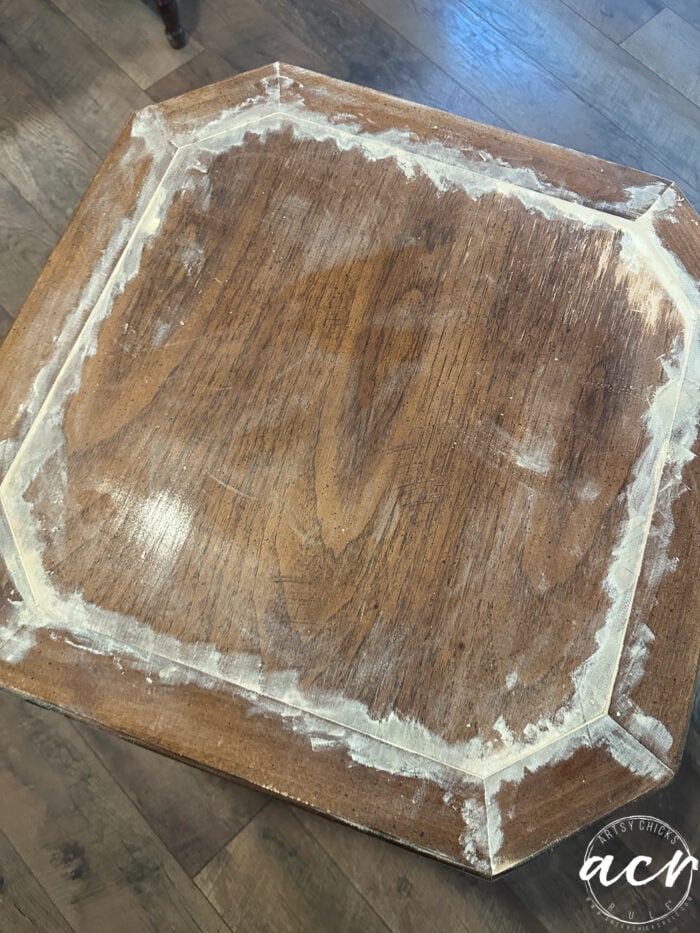
Once it was dry, I sanded it smooth with my sander. This way I’ll have a completely smooth top.
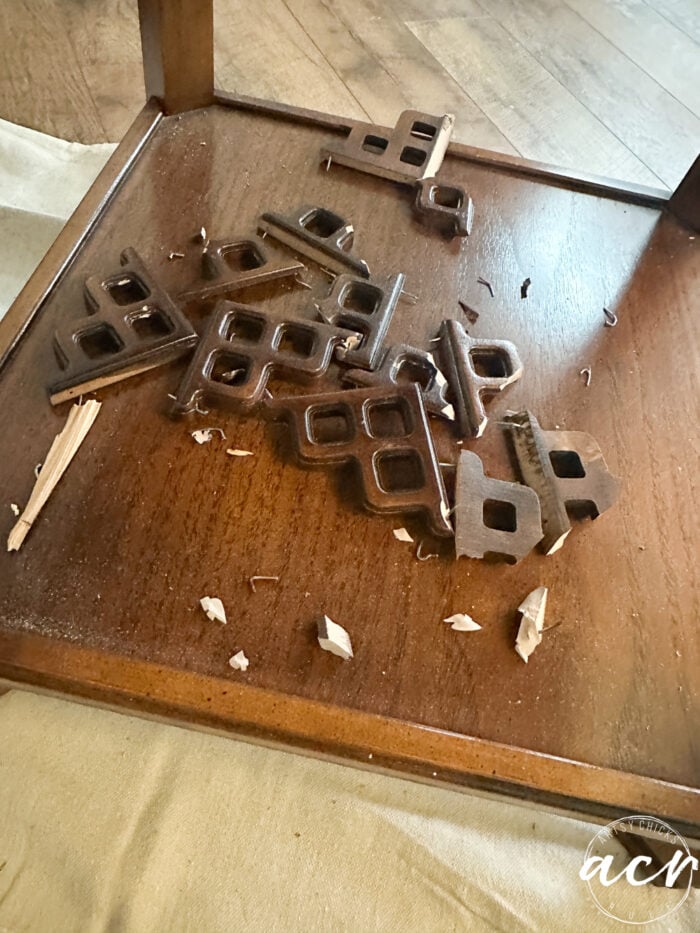
Next, I decided to take these decorative pieces out. I struggled with what to do with this side table partly because of those. They, to me anyway, limited what I could do with the design of the makeover.
They popped out pretty easily!
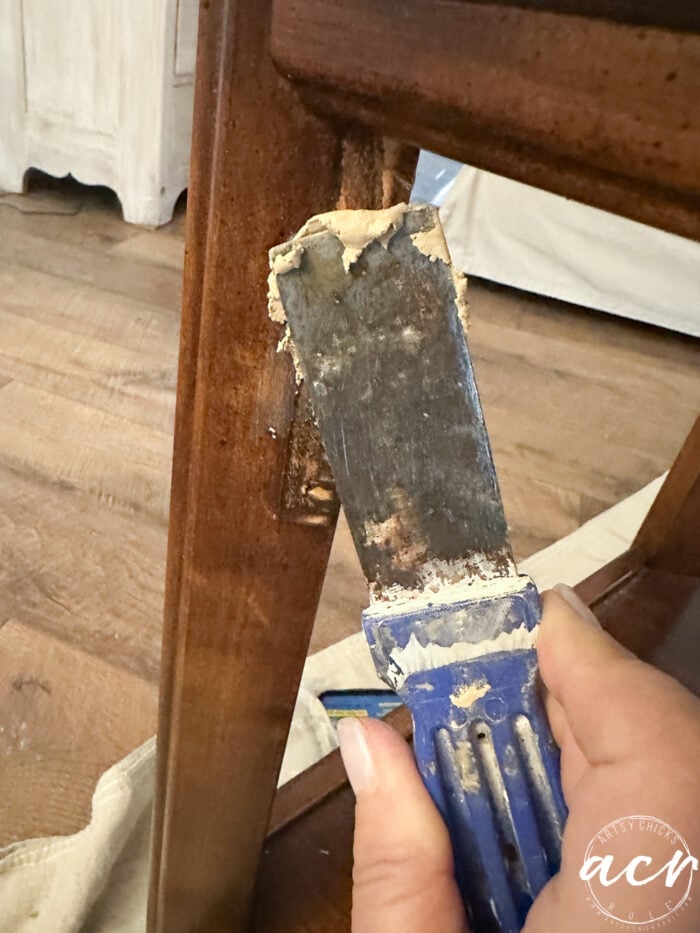
I then just filled the holes they left behind, sanded once dry and you’d never know they were there.
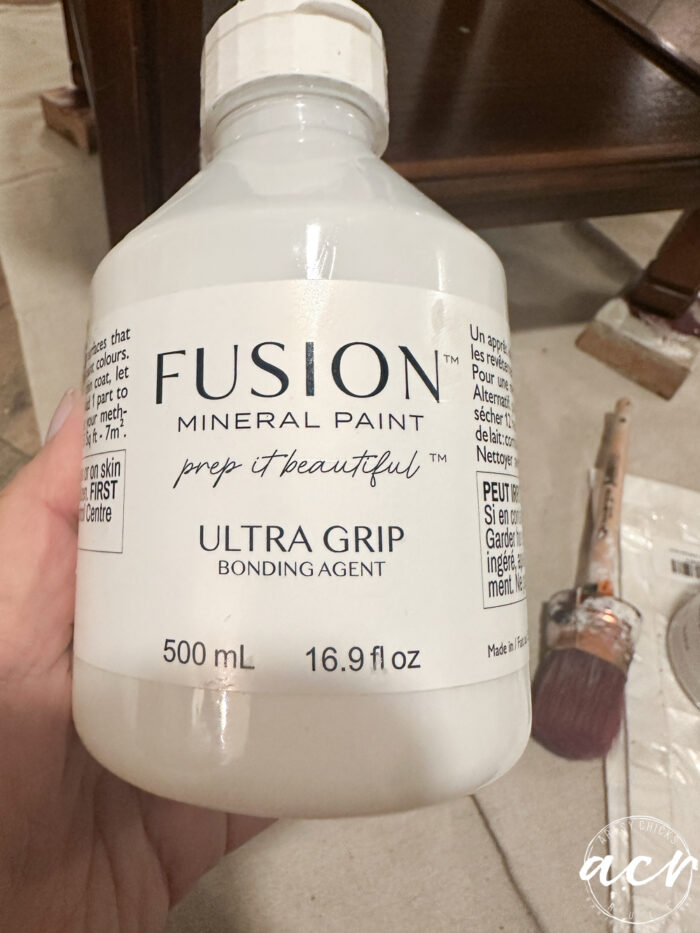
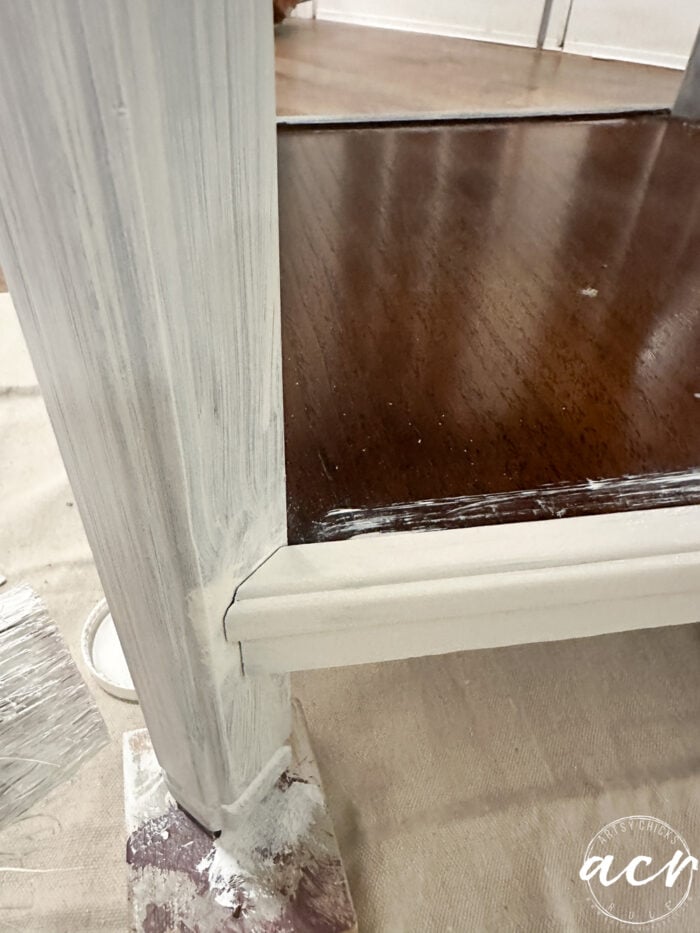
After that, I cleaned the whole thing with my TSP Alternative and gave it a coat of Ultra Grip.
I love our Ultra Grip, it really grips well and makes the perfect base for many pieces. It’s not necessary to use it for every project but I like to add it when whatever I’m painting has a more slick finish.
I had different plans for this side table when I began but started by giving it several coats of Victorian Lace white.
Tiled Side Table Instructions
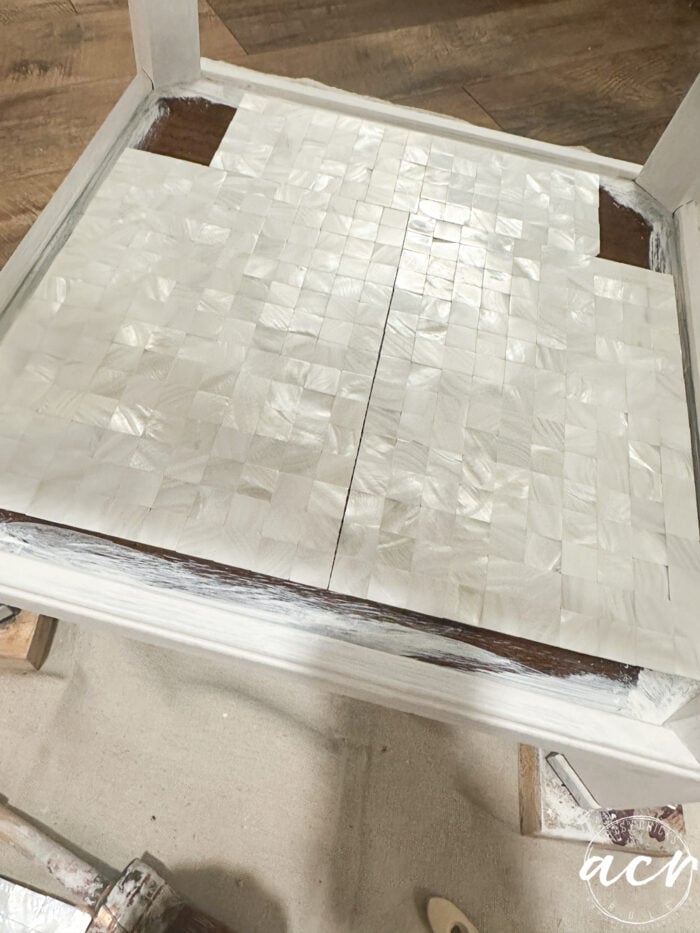
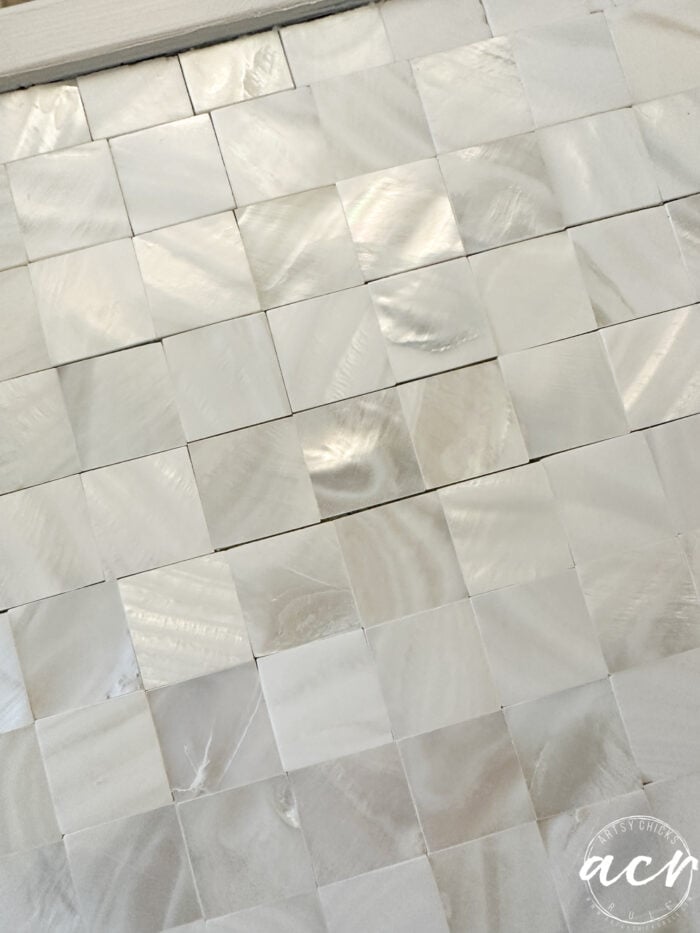
I had thought I’d use a pretty transfer on the bottom shelf but instead, I pulled these pretty tiles from my stash to use.
I did end up painting one thin coat of white on the bottom to help with any shadows that may show through. In retrospect, it wasn’t really necessary.
Here are my husband and I figuring out what and how many are going to need to be cut. He worked his magic on that and made every piece fit.
I usually try to find tables and tiles that will line up perfectly without having to do any cutting. That didn’t work out that way this time so I’m grateful he was able to do that part of the makeover for me.
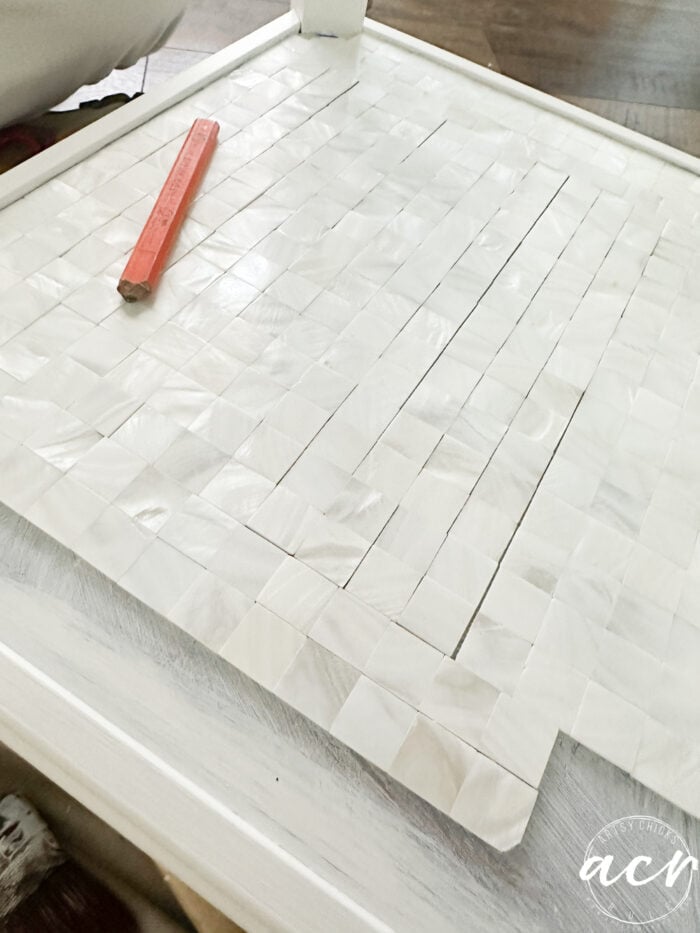
These tiles are TIGHT to each other. So when you have to cut some to fit, they leave an ever so slight gap as you can see above.
In past tile projects, I’ve used E6000 glue to attach the tiles to the project. This time I decided to use my hot glue gun with those majorly sticky Gorilla Glue sticks. This type of tile is more decorative so it’s not necessary to use mortar & grout, etc. Plus, it would make the table very heavy.
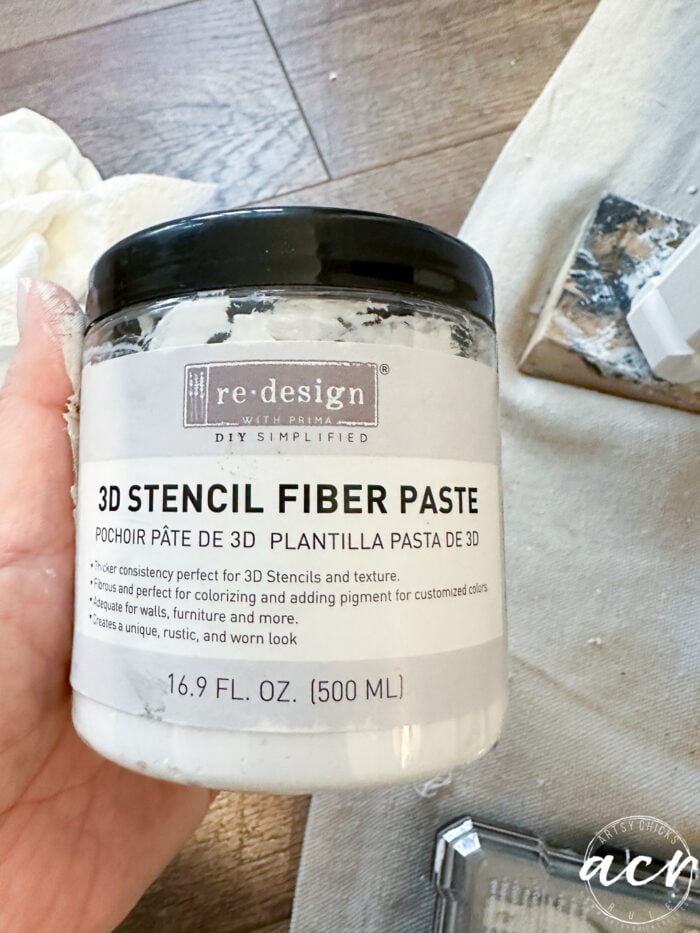
I don’t like gaps. Ha! I love caulk and a nice, finished look on everything. So, I ended up using this to fill in some of the tiny gaps so they wouldn’t be noticeable.
I simply applied where needed and wiped away.
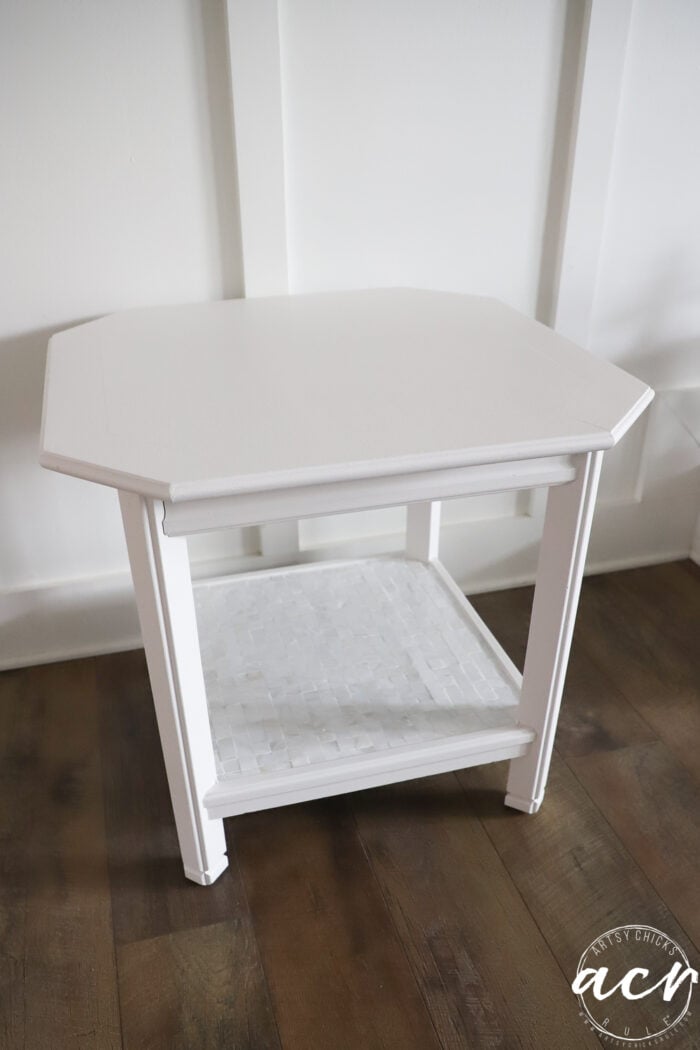
You can kind of see below where the tiles have some of the white Fiber Paste and the upper ones do not yet.
I could’ve used grout, as I have before. But honestly, I only needed a bit and wanted to quickly fill in those areas. This worked perfectly.
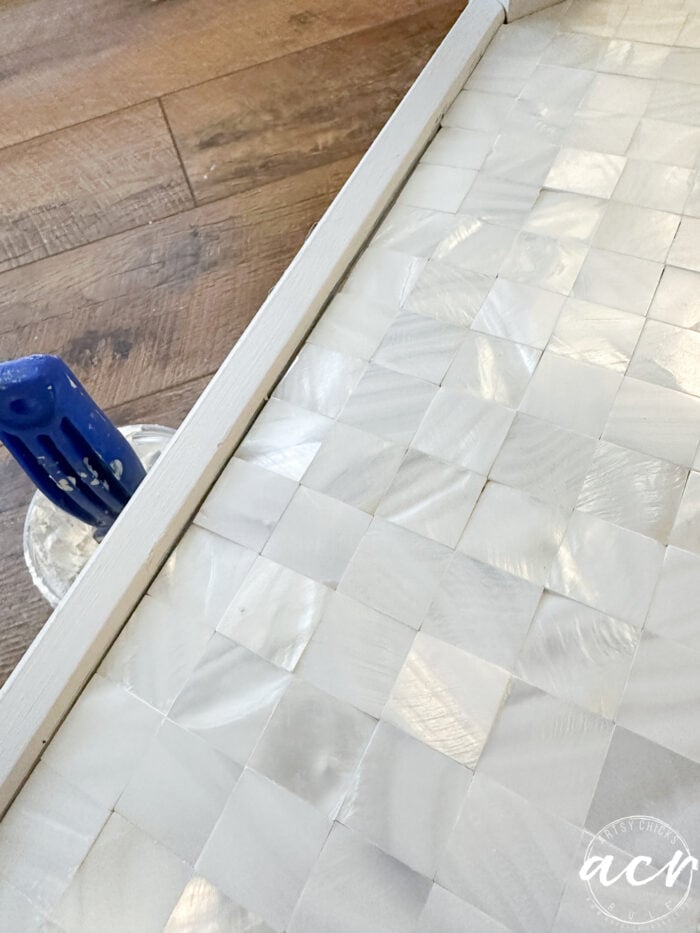
And yes, my tile line is off at the edge, shhh, it’s okay. haha! Like I mentioned, those Gorilla Glue sticks STICK well. There is no moving the tiles once stuck. Because they are stuck! So, yep, as you might have guessed, that meant one or two additional cuts needed to be made to the edge pieces so they’d fit. It was perfect, so that was a bummer but hey, that’s how it goes sometimes.
No worries though, you don’t notice this being slightly off once it’s all done.
The edges on each side needed to be caulked too. I just love that finished look it gives.
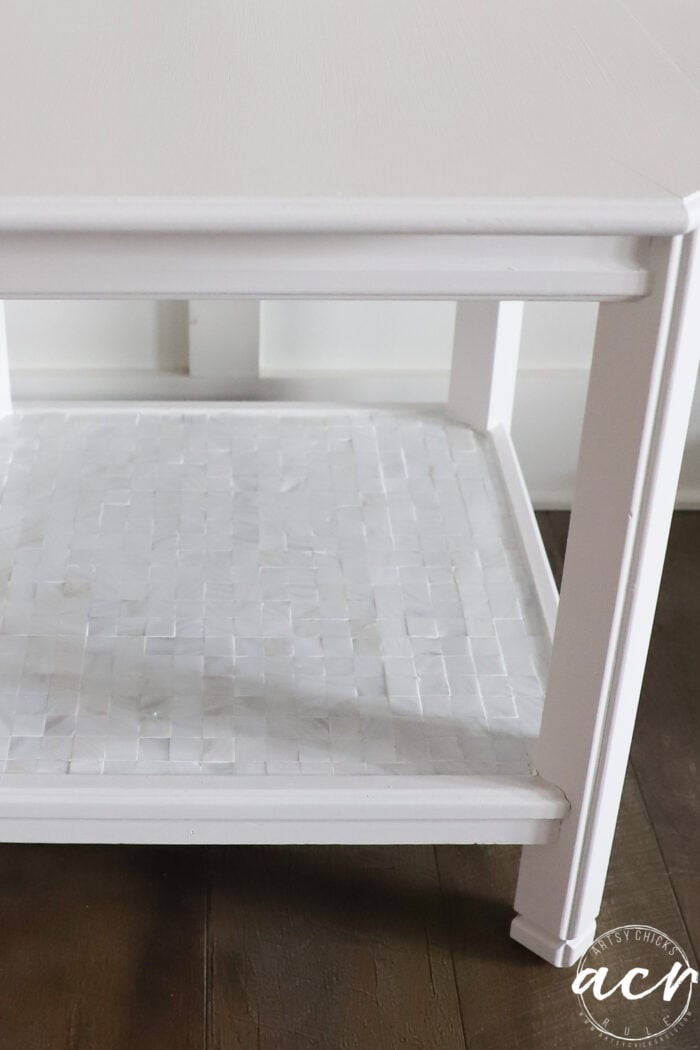
Before caulking around the edges…
And after…
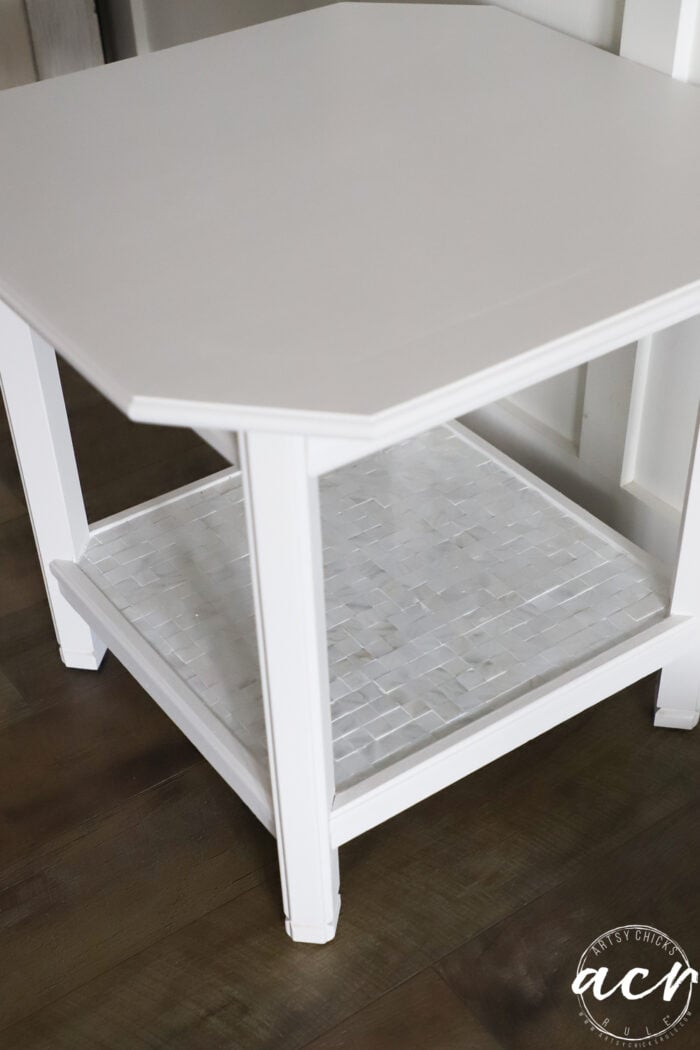
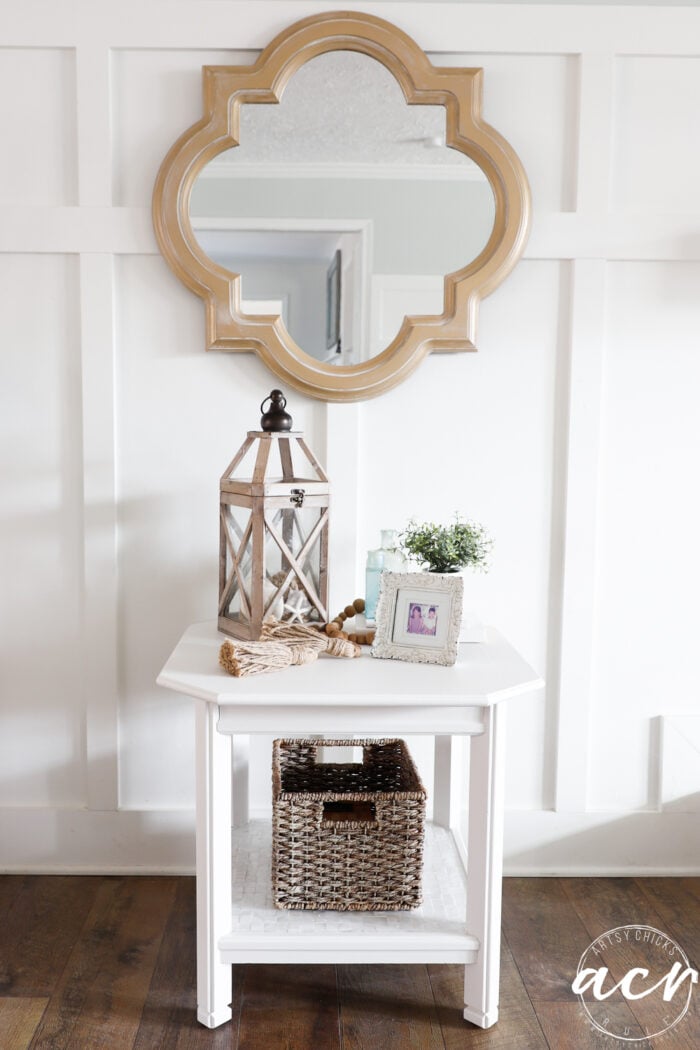
Done!
A completely different look for this little side table, huh?
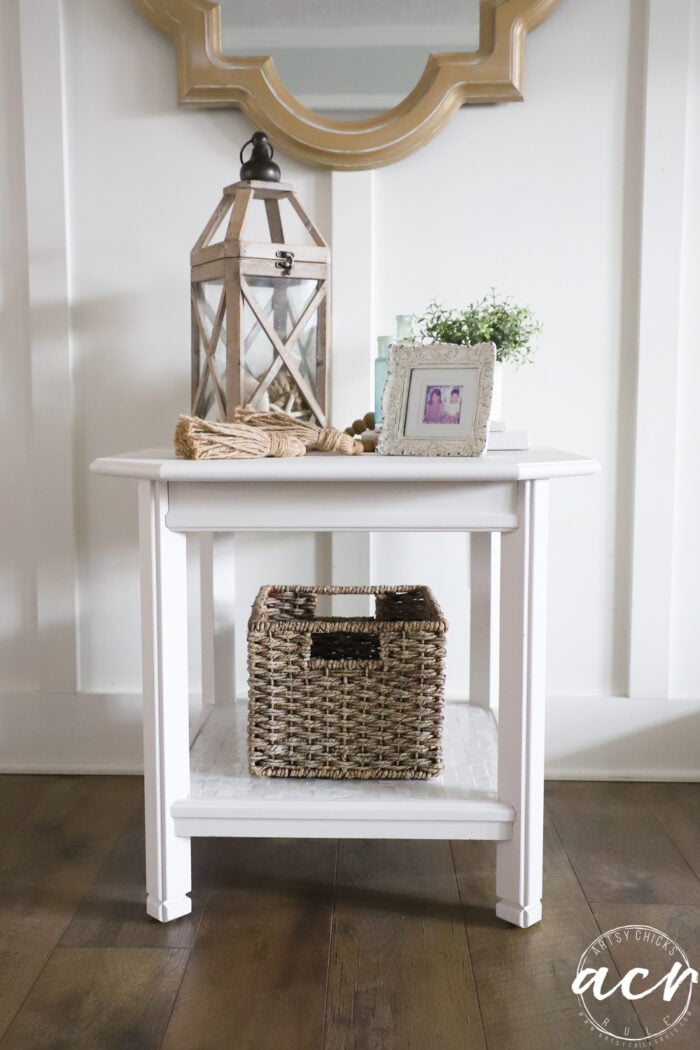
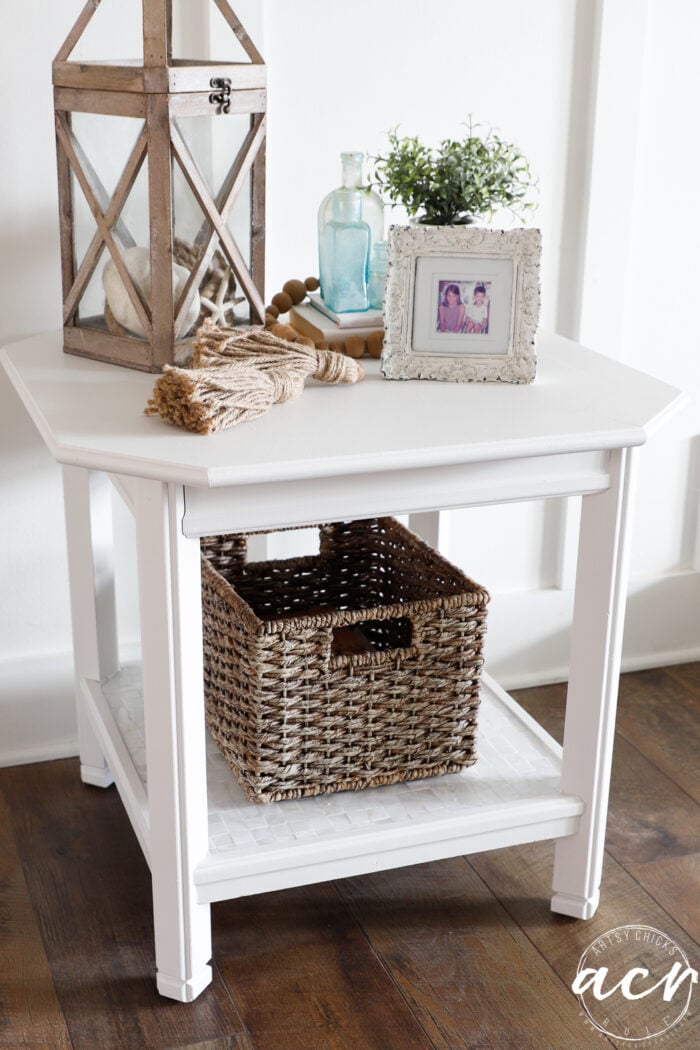
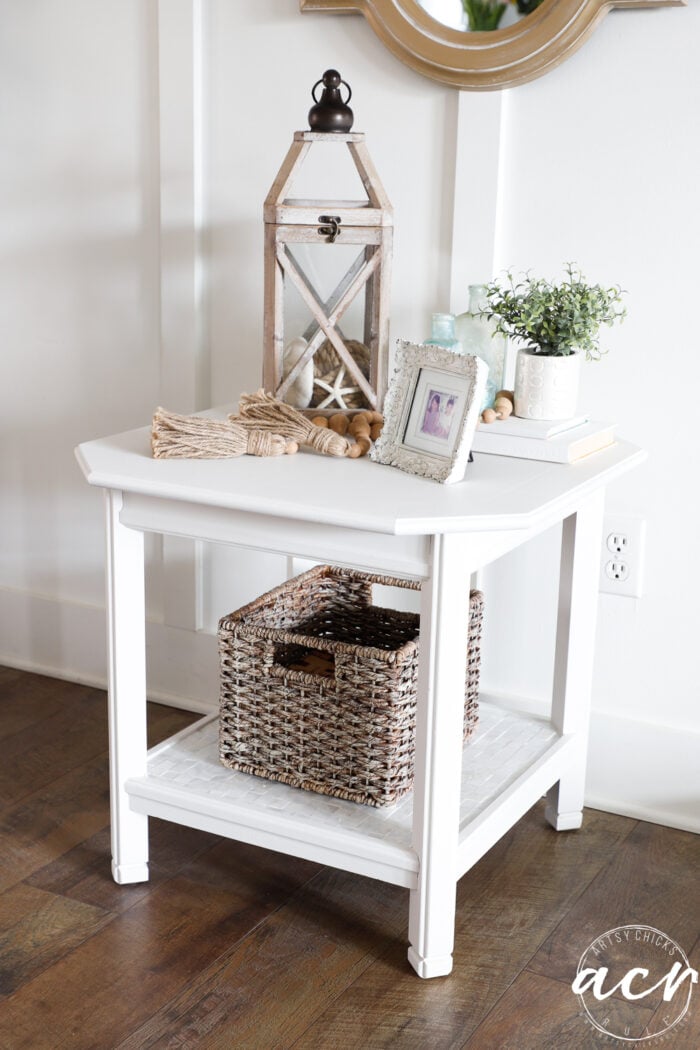
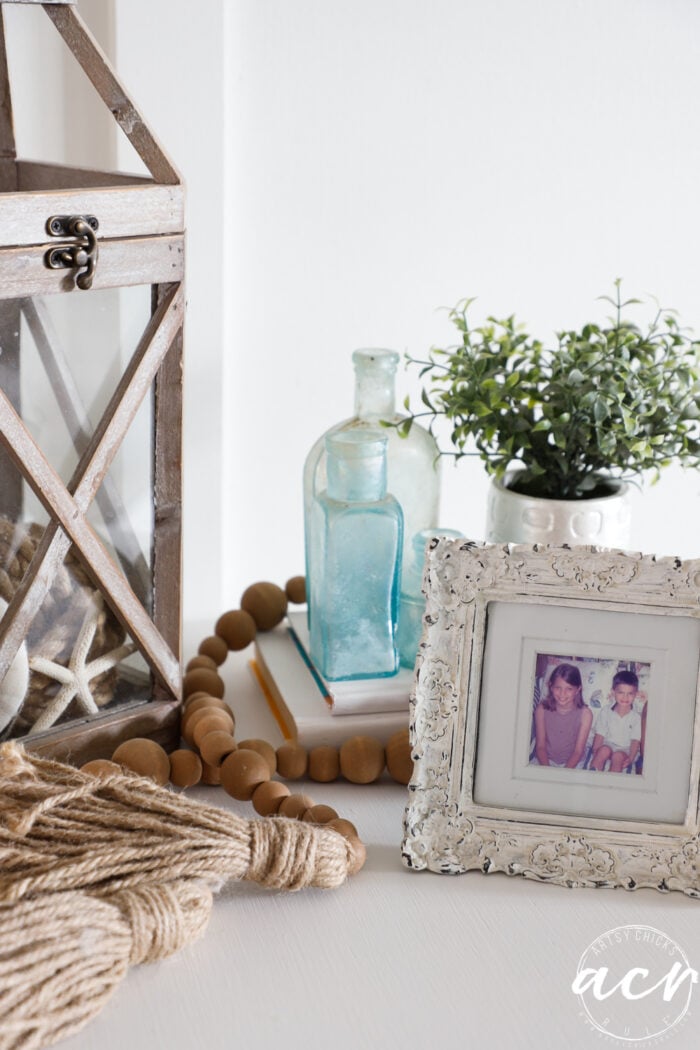
Styled up a bit.
My two cuties when they were very young. Sure do miss those days when they were little!
I love how this one turned out. I might even have to keep it!
Want to see more of my DIY tiled projects with all kinds of different tiles?
Every time you do a tile table, Nancy, I start thinking about the tiles I have stashed away. But then I think about how much work it takes and I move on! I prefer more tile/less grout – who knew texture paste could do the job?
Oh, you should give it a go, Marcie! It’s not that bad, really!! Yes, I love that look too and I think that is why this texture paste works well in this particular situtation.
Oh that turned out so cool, Nancy!! You really may want to keep it for sure. I am thinking if you kept those Asian decor side pieces they could be made into a trivet for hot plates or to protect a floor from planters. Just a thought. Well done, looks great.
Thanks, Michele! I think I really might!
Oh yes, that would have been a neat project. I didn’t keep them though. (and I keep so many parts and pieces of everything, but didn’t this time! lol)
Want to be inspired, learn new skills, discover all the tricks to furniture makeovers, creating new out of the old and more? You'll also receive my FREE ebook "Creating Fabulous Finishes" PLUS access to my private Printables Resource Library, too!
Sign up to get the Weekly Newsletter! Our emails include an unsubscribe link and you may opt-out at any time. Your information will *never* be shared or sold to a 3rd party.


")

")


Such a lovely save and the tile is perfect.
Thanks Larissa!!
Those tiles are beautiful! Great choice!
Thank you, Susan! :)
Love this! Great work.
Thank you, Amanda! xo
Beautiful! Great call taking those little decorative corner pieces out, and the tile is perfect for this.
Thank you, Cyndi! I’m so glad I did that too! xo
Beautiful and fresh now! I would be tempted to keep it too! XOXO
Thanks, Christy! I know, it’s right up my alley! xo
It’s a keeper Nancy! These tiles brought it to the next level! Pinned XOXO
It is! Thanks, Denise! xo
Every time you do a tile table, Nancy, I start thinking about the tiles I have stashed away. But then I think about how much work it takes and I move on! I prefer more tile/less grout – who knew texture paste could do the job?
Oh, you should give it a go, Marcie! It’s not that bad, really!! Yes, I love that look too and I think that is why this texture paste works well in this particular situtation.
Oh that turned out so cool, Nancy!! You really may want to keep it for sure. I am thinking if you kept those Asian decor side pieces they could be made into a trivet for hot plates or to protect a floor from planters. Just a thought. Well done, looks great.
Thanks, Michele! I think I really might!
Oh yes, that would have been a neat project. I didn’t keep them though. (and I keep so many parts and pieces of everything, but didn’t this time! lol)
It looks great now. Love the tile shelf and the tiles you used.
It is beautiful
Thank you so much, Linda! xo
Thanks, Debra! :)