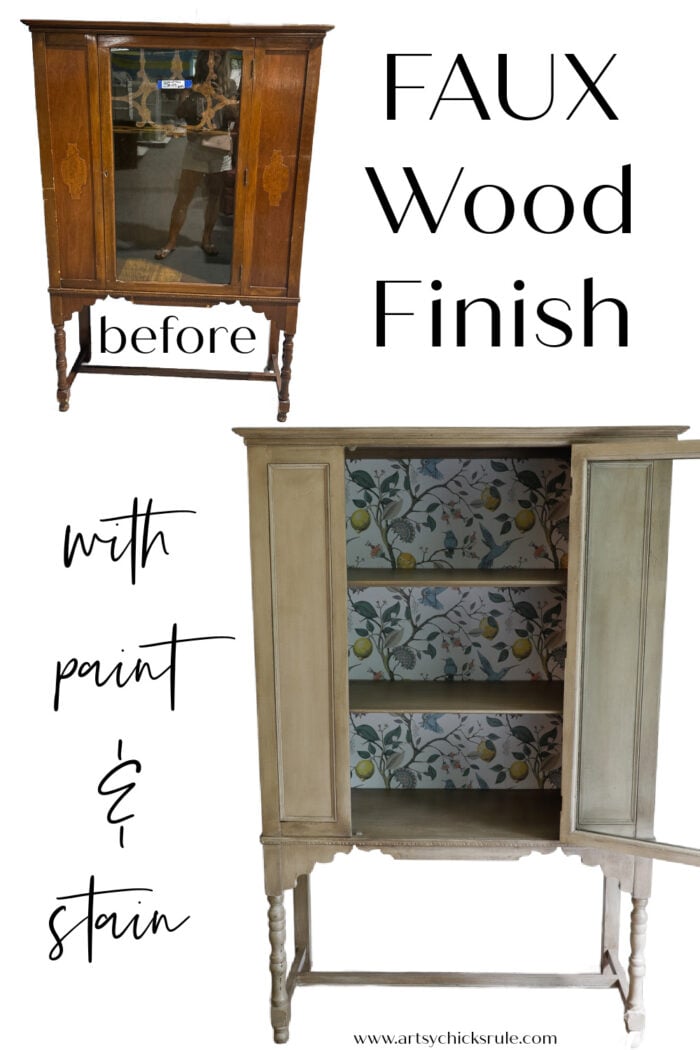
Check out this simple way to create a faux wood finish with paint and stain! Easy to follow steps to a beautiful finish!
Hello friends, today I am sharing all about that fabulous faux wood finish I gave to the vintage cabinet from last week. If you missed it, I shared about using peel and stick wallpaper on furniture updates. You can read all about that here >>> Update Furniture with Peel and Stick Wallpaper
This was such a fun process. Well, the painting part, not the finish removal/sanding part! ha! That is never fun, sorry, but true! But oh so necessary sometimes, unfortunately. The finish part to create that faux wood finish is like magic though. There are so many variations you can try too! I’ll share some at the bottom of this post.
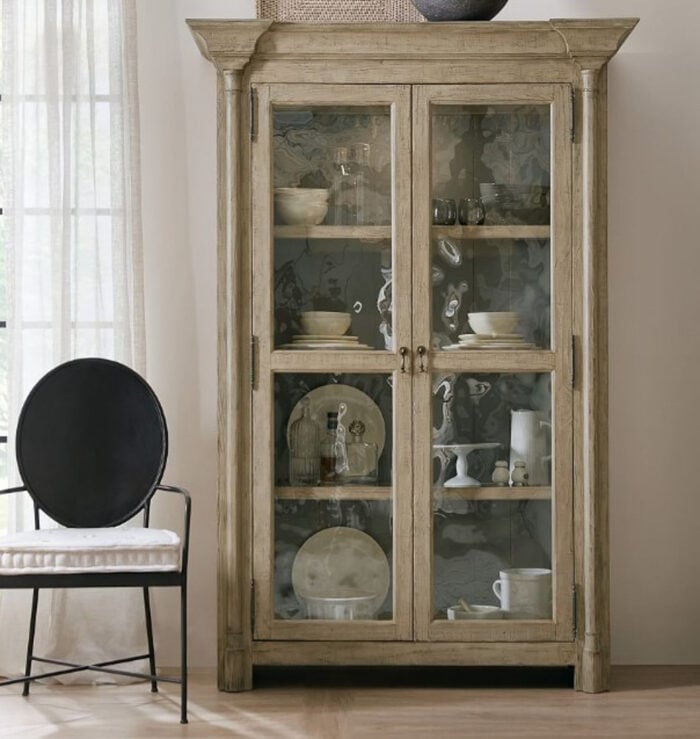
Price tag is… $4,300. Wow! But check out the finish! I was able to recreate that pretty easily. Yay!
Here are a few more I found (all with similar pricetags…yikes!)
They call it a Seadrift Finish or Sausolito, I think. Now let me show you how to create this faux finish yourself instead!
Create a Faux Wood Finish with Paint and Stain
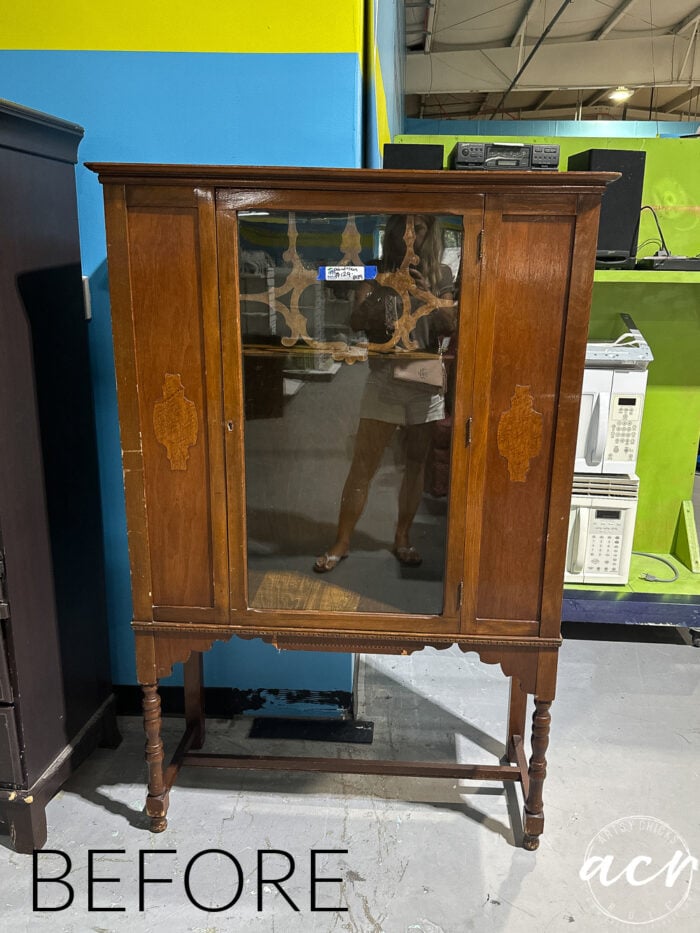
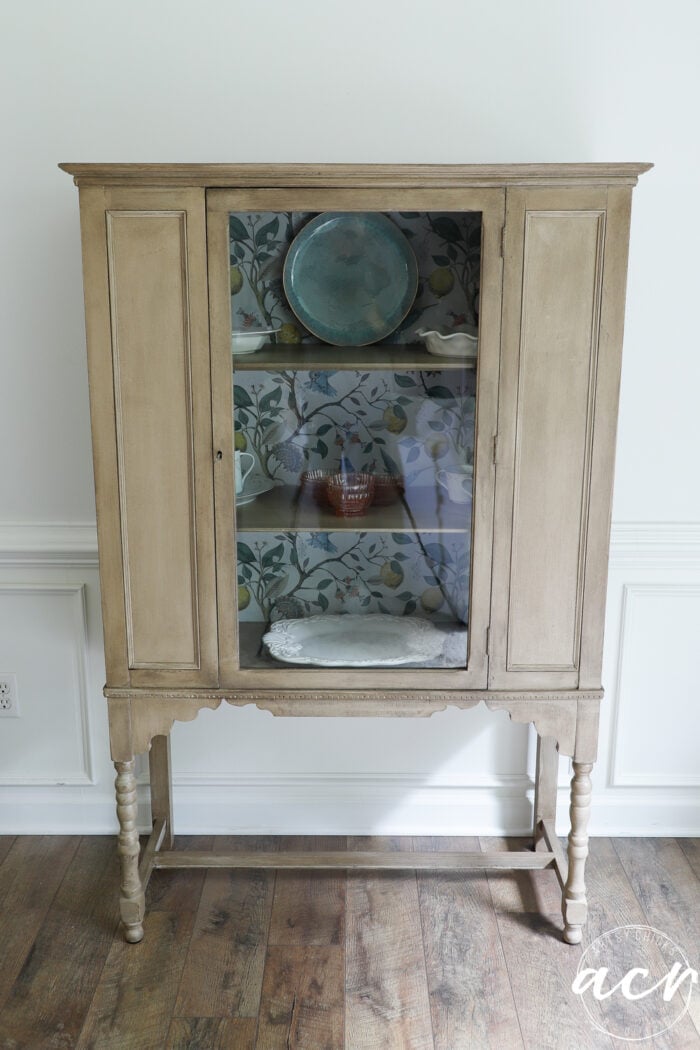
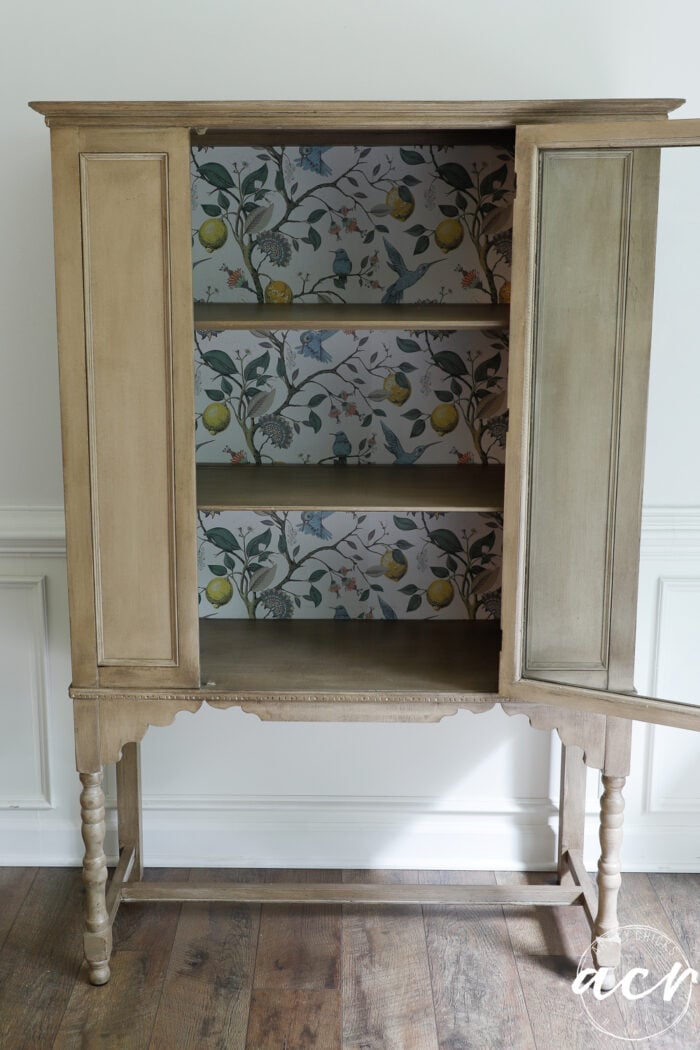
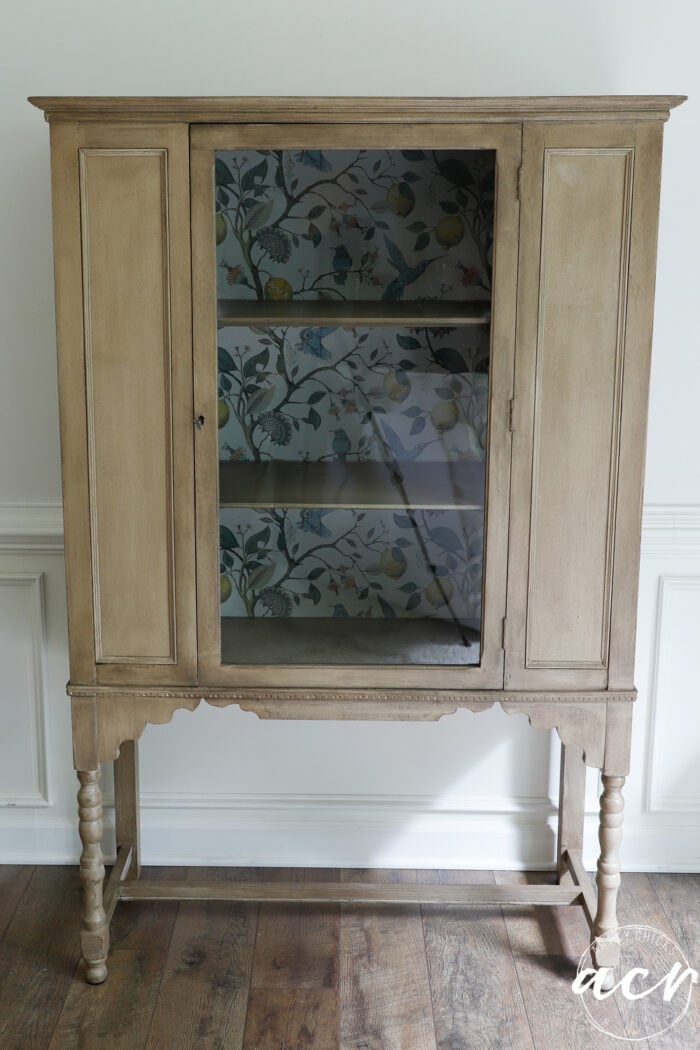
Here’s the pretty cabinet in its “before” state…
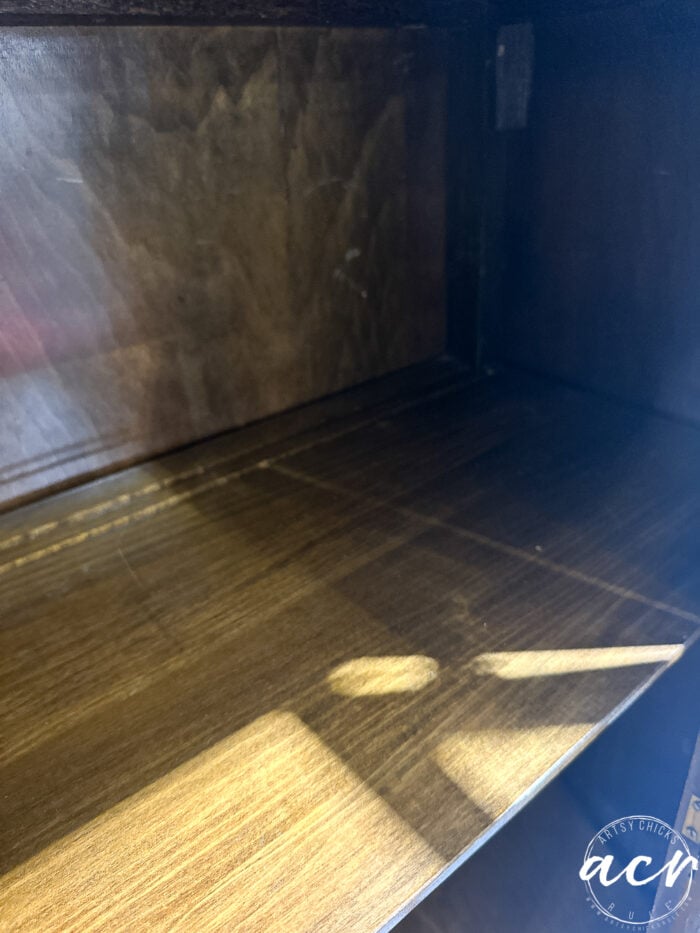
Inside…
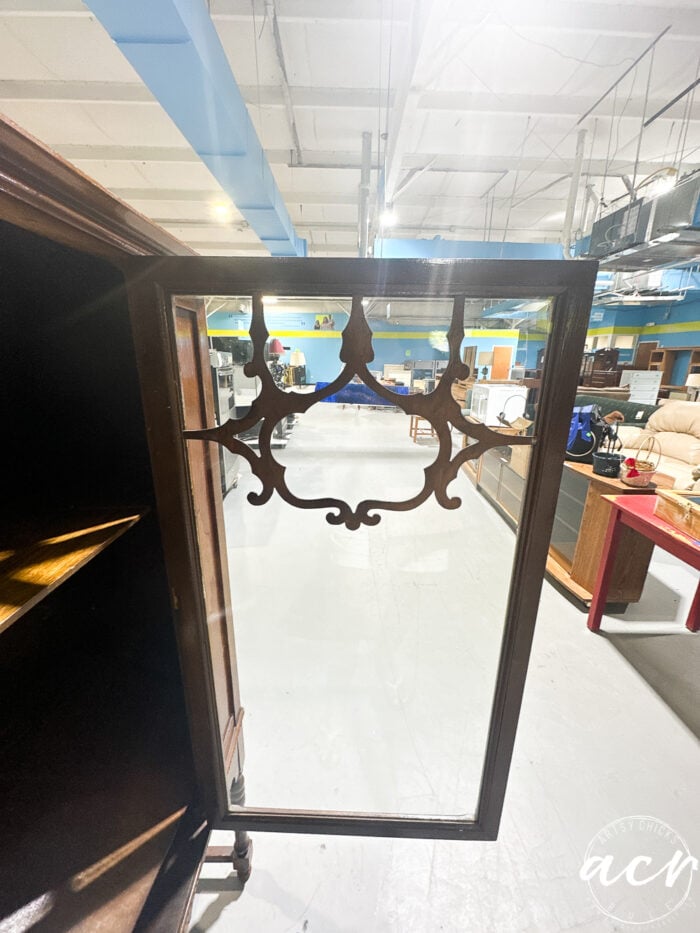
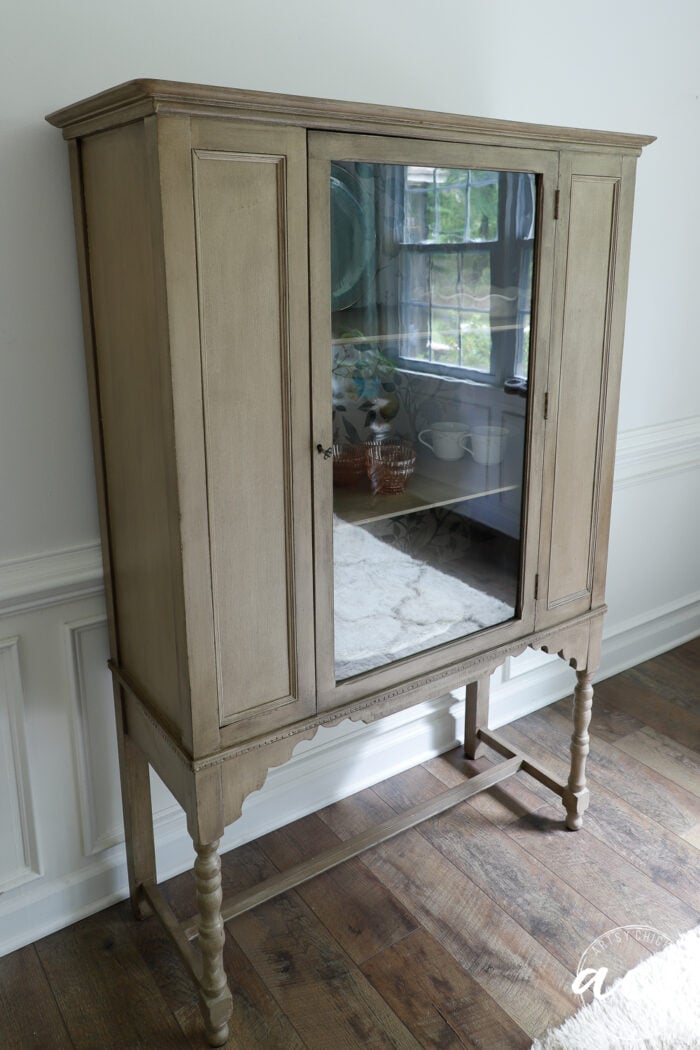
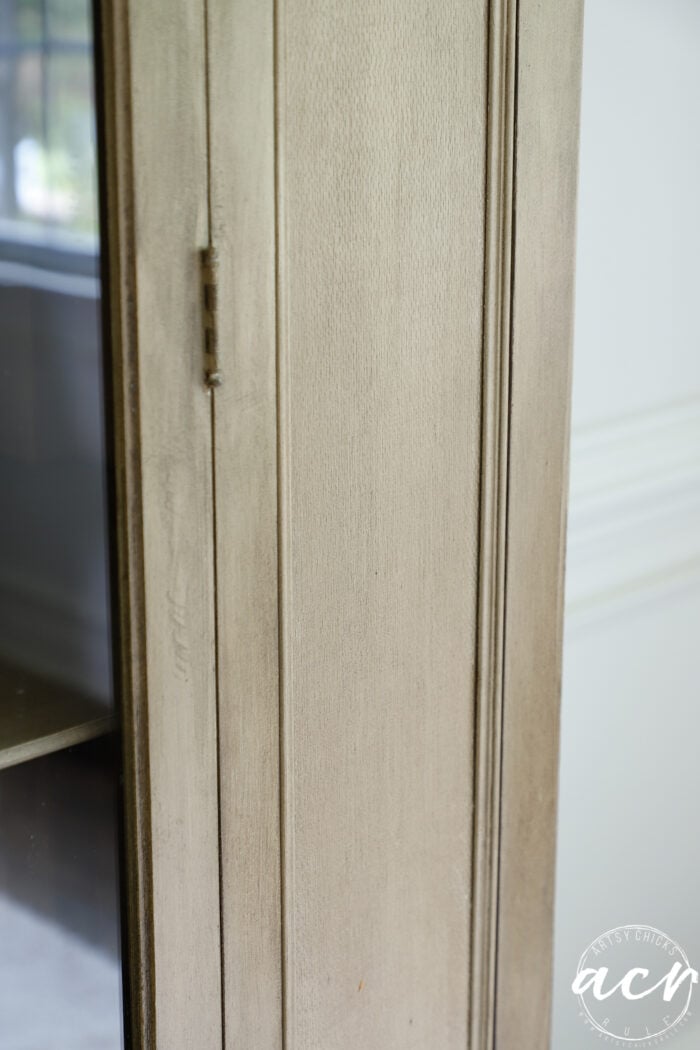
And the glass door had this wood detail…
…that I decided to remove.
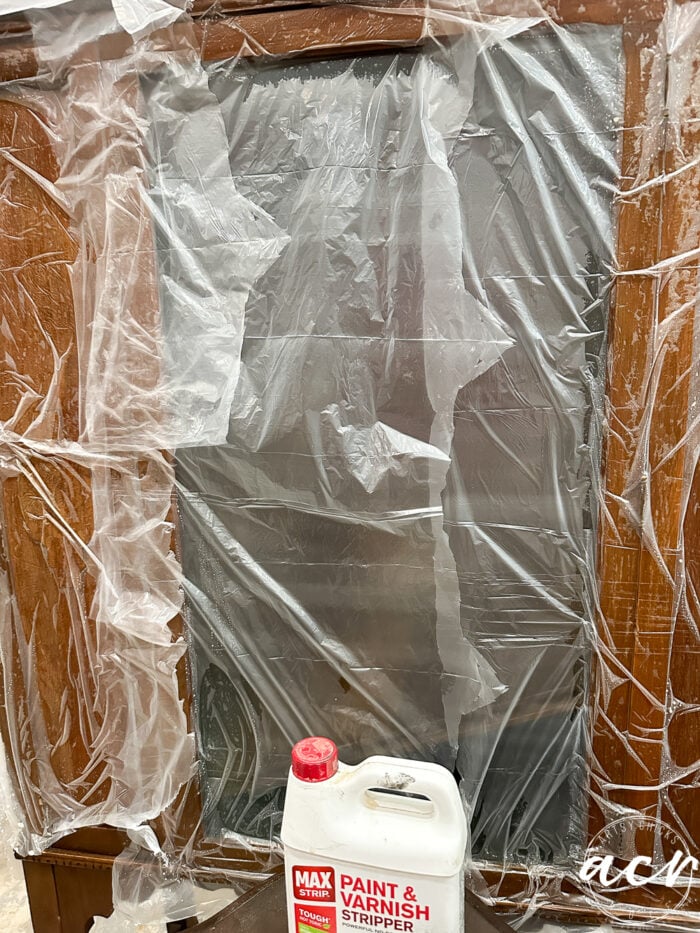
The finish needed removing because the old shellac was flaking off everywhere.
I still haven’t found a stripper that I love! I need to do some major testing because I plan on doing more wood-style makeovers. Hmm, stay tuned because I may have to buy a bunch of strippers, do a whole test run, and write a post to follow with the winner. I’ll try to do that soon.
This one got the job done mostly. I would like to find one that is better. (but also not terribly caustic, etc) They all pretty much work better if you cover them in plastic wrap. It keeps it from drying out which then stops working and that’s no good, right?!
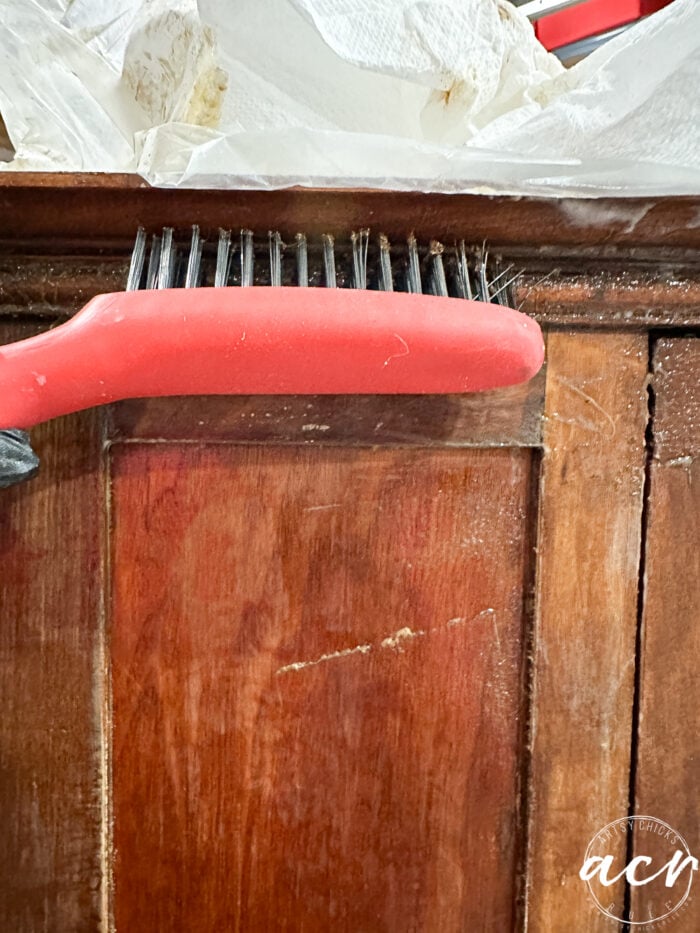
I used several sized wire brushes to get into the crevices well.
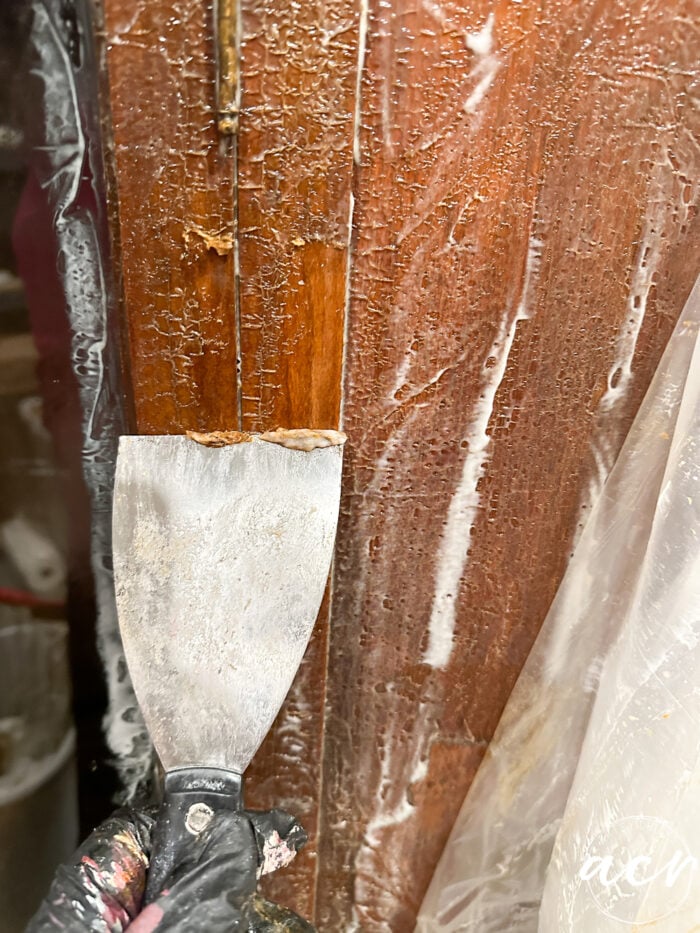
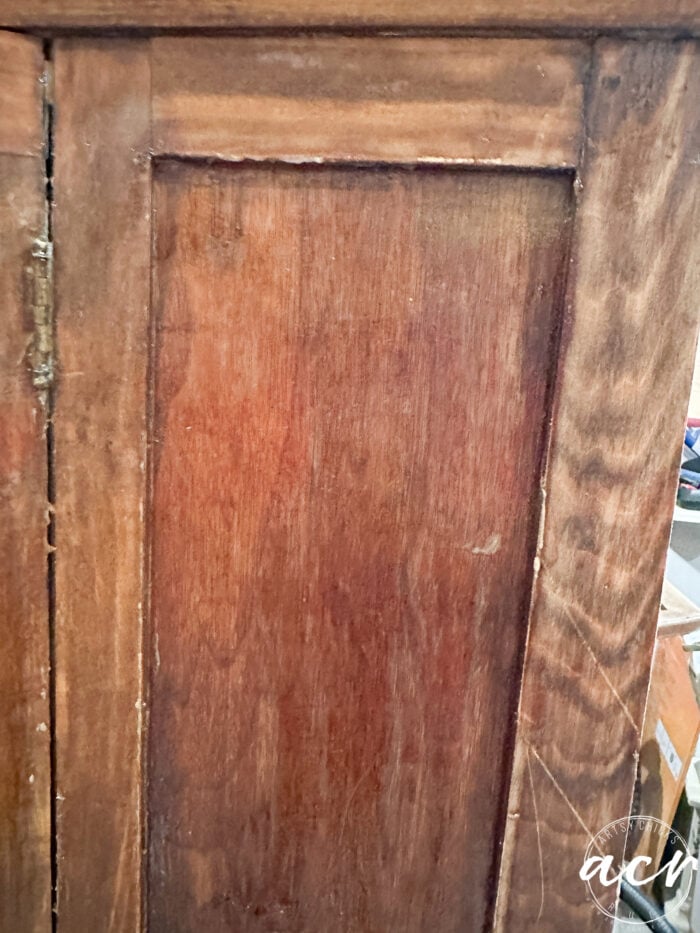
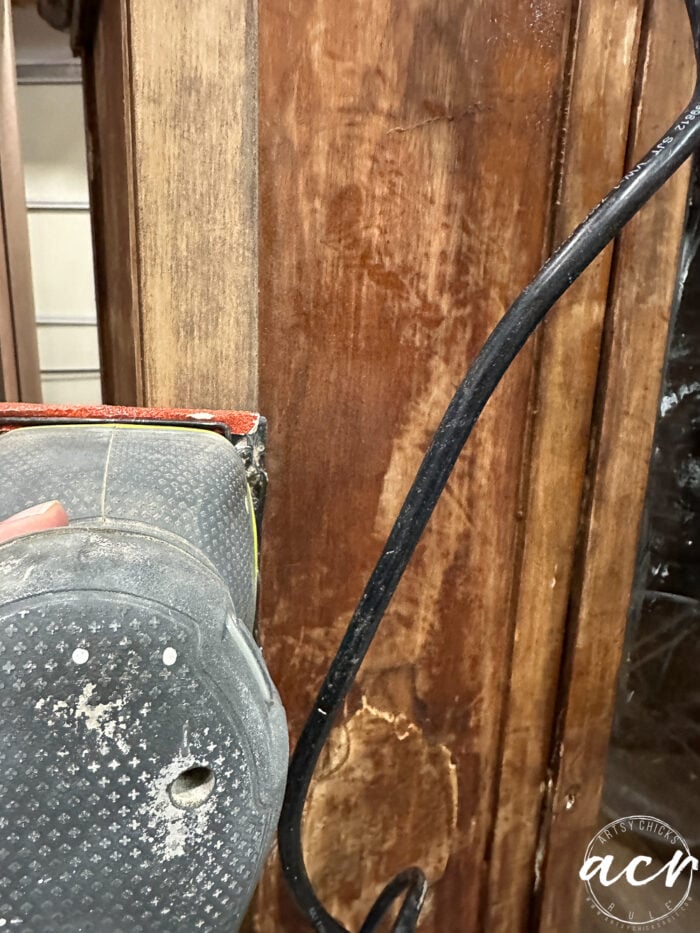
I’m mainly trying to remove that flaking and loose finish here, not take it all the way down to the bare wood.
Next, I sanded here and there. Again, not with the intent of taking it down to the bare wood, just smoothing things out.
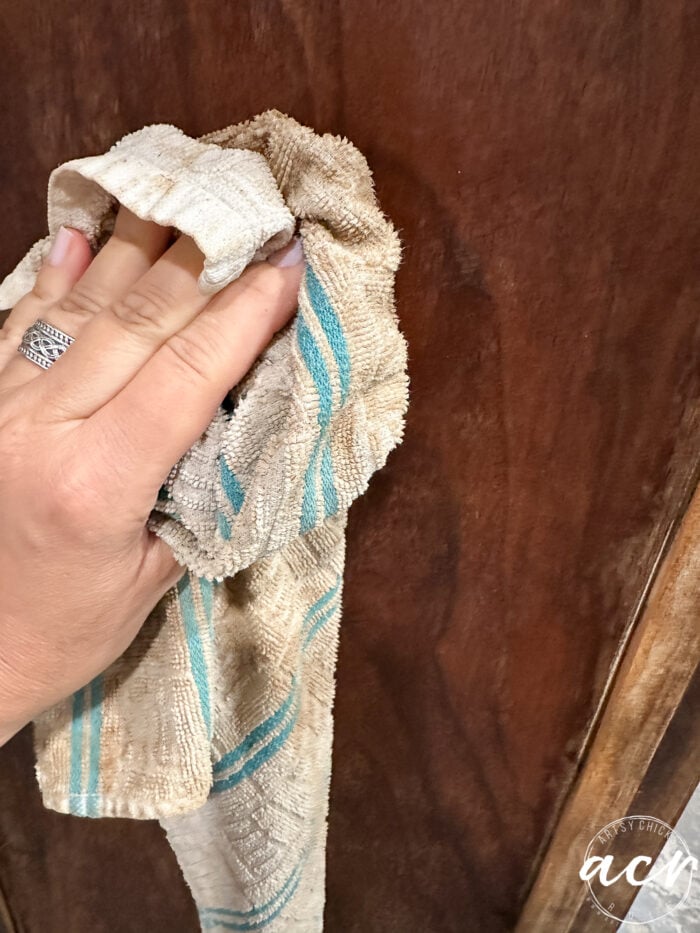
Then I wiped everything down with TSP Alternative Cleaner.
I’m carrying these Continuous Mist Sprayers in the shop now too. They are great! I use them for my TSP Alternative solution and plain water when painting. They work great to spritz the paint with a fine mist which minimizes brush strokes. You can find them here.
Now let’s see how easy it is to create a faux wood finish with paint and stain!
Prefer to shop on Etsy? I have an Etsy shop also, here!
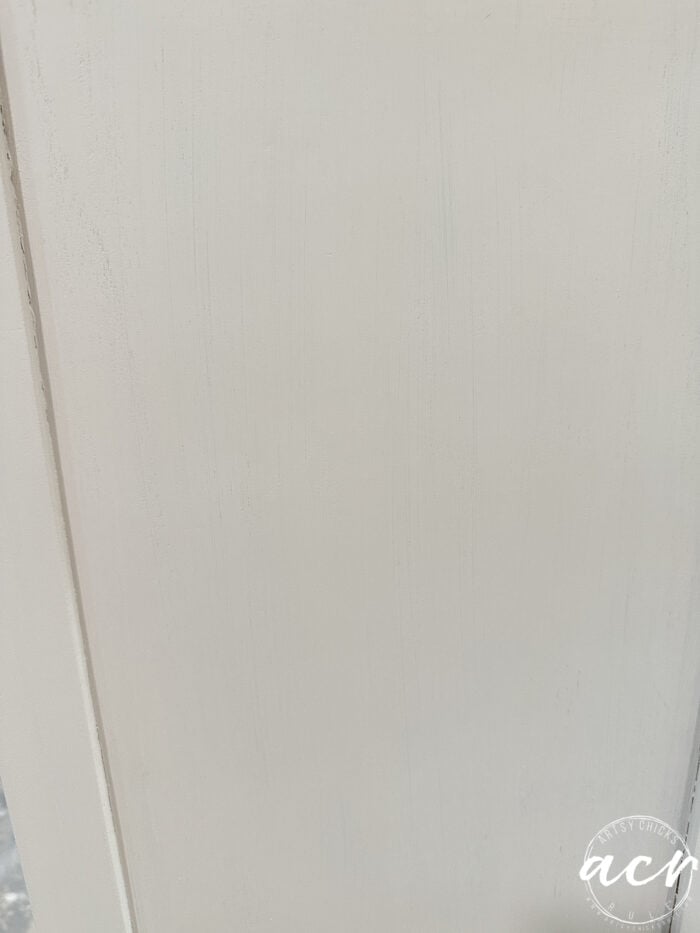
Only one coat of Cathedral Taupe was needed.
I was okay with some of the wood showing underneath. Obviously, you won’t want a lot of the wood showing through though.
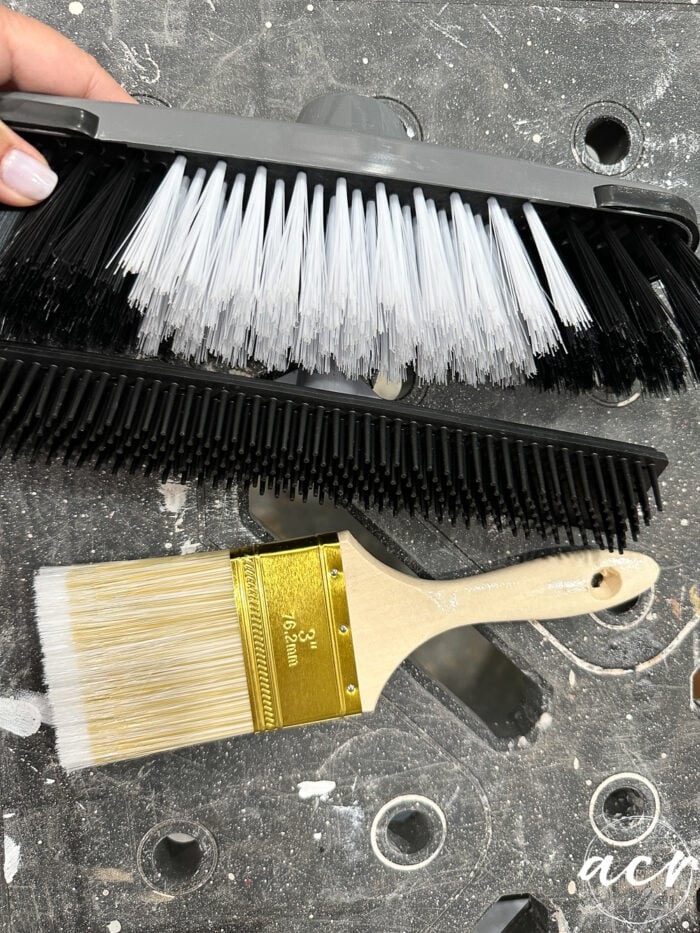
I picked up these brushes at the Dollar Store to use for the staining of the “wood”.
Now, there are several ways you can do this. You can apply it with a rag, sponge, etc, then go back with your “bristly brushes” and make a wood look finish. OR you can apply with the brush and do the same. One is just more time-consuming than the other.
With that, you can also use varying brushes to get the look you want.
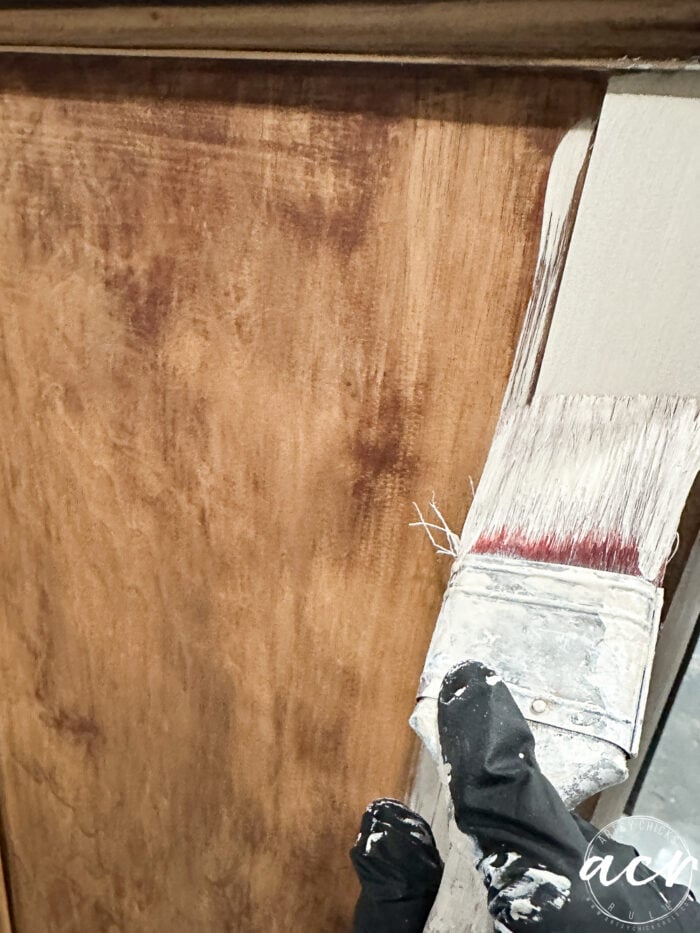
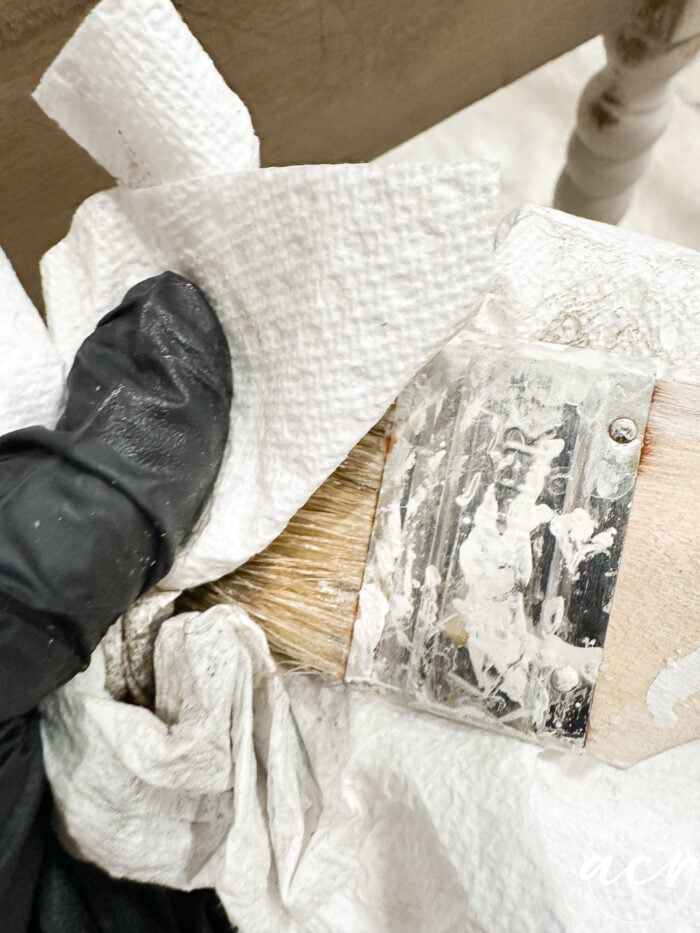
I mainly used a dry paintbrush and the large brush pictured above.
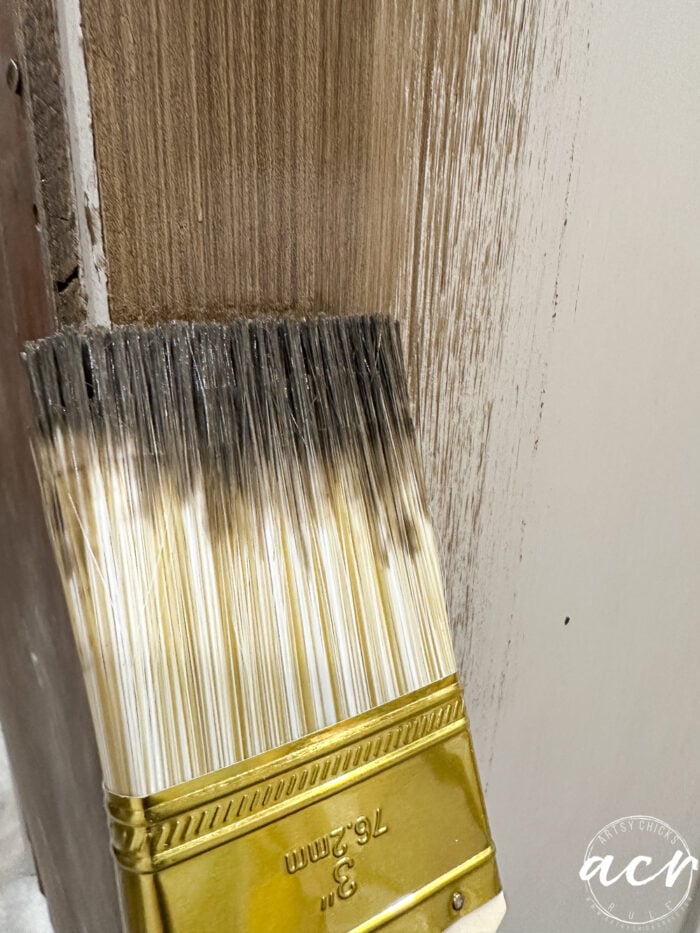
Long, even strokes to create that wood “look”.
This brush is great for large areas.
Doesn’t that look so cool? I love this effect.
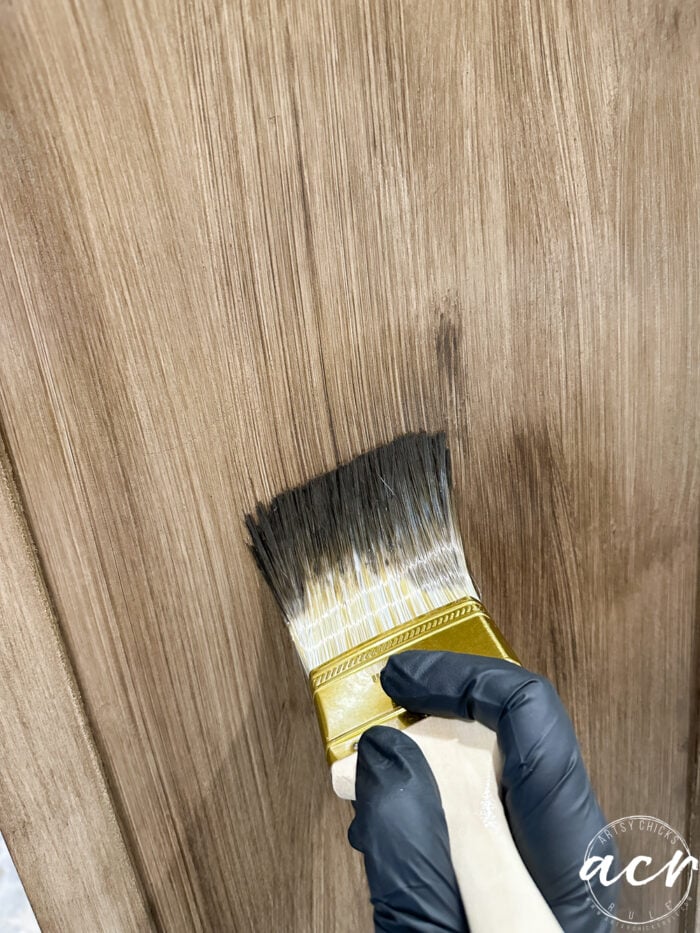
You will want to make sure to use the stain sparingly. As well as, wiping the excess stain off your brush with each pass of the brush.
I didn’t bother putting the stain on the inside back of the cabinet since I was putting the peel and stick wallpaper there.
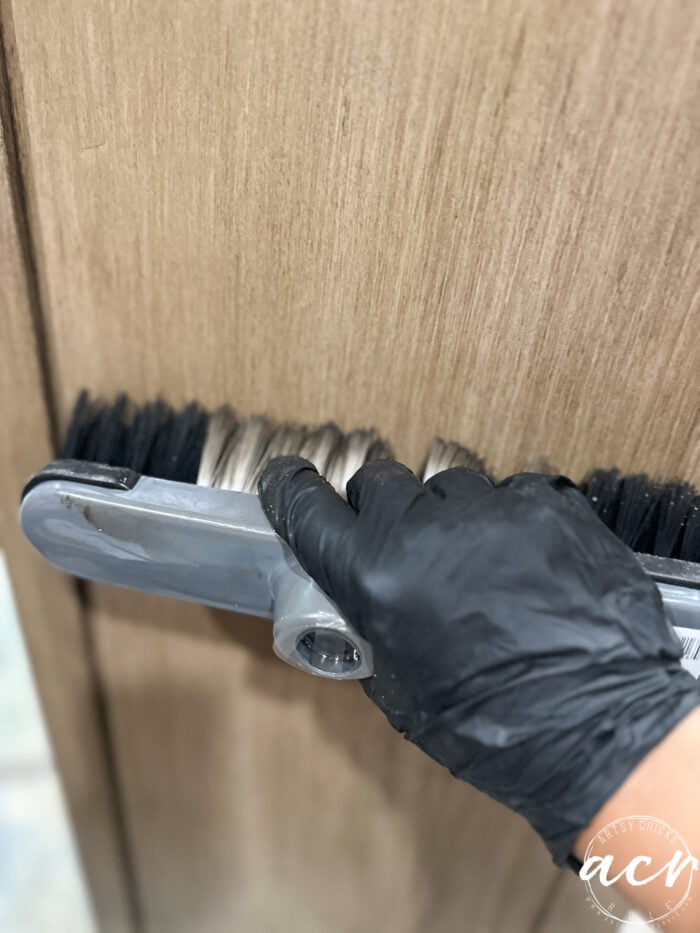
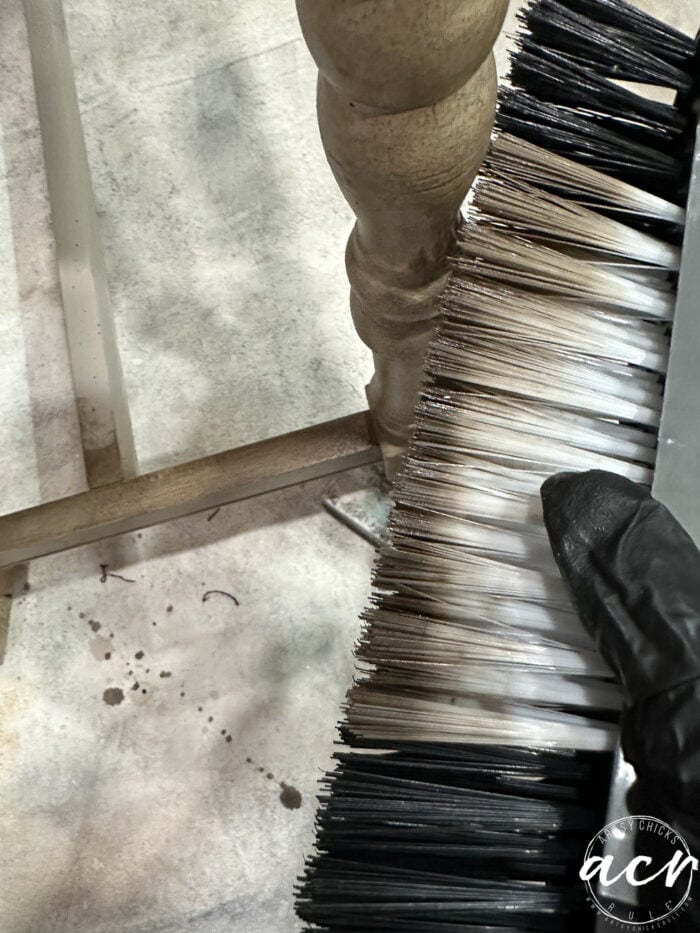
I used the large brush to go around the legs in a swiping movement, left to right.
You can see the base above where I’ve done the wood look stain and where it’s still just painted. What a difference, huh?!
It’s where simple to do!! And hard to mess up. The great thing is the Stain & Finishing Oil is amazing to work with and it has a long workability timeframe.
I did one coat and done! When I say this really was simple, I mean it. The hardest part was stripping and preparing the piece to paint/stain.
I had difficulty getting good photos because this area is so close to the window.
This is great for those times that you want a “wood look” but don’t really have the desire (time or ability) to completely sand an entire piece of furniture. You can give it a wood look without all of that. Love that!
And I love our Stain & Finishing Oil as well because there is no need to add a top coat. (you can add a coat of “Natural” for extra protection, if desired, but it’s not necessary) It’s unlike PolyShades if you are thinking it may be similar. PolyShades sits on top of the wood and our SFO actually soaks into the wood like regular stain but has a finish built in. So good!
Think you’ll give it a go?
This combo was Cathedral Taupe/ Cappucino. Some other base paints that would work well for a faux wood look, are Algonquin, Raw Silk, Champlain, Plaster, and Putty.
Depending on the faux wood finish you are after, you could go with Cappuccino or Walnut (yes, we have Walnut stain now!). Even Driftwood as that would give a totally different look.
We have several new stains coming to our Fusion line! Yippee!! I already have the Walnut and Heartwood in stock. (you can find them here) Coming soon are Taupe and Light Oak (can not wait for these two!) We should have them sometime in June. Stay tuned!
PIN it to save it!
Have a wonderful week, friends! Let me know if you decide to try this finish!
You completely nailed it. I soooo appreciate the tutorial. Your piece is just perfect. I loooove that look. I’d love to have my china cabinet redone to look like that. I am not able to do it but I wonder if I could hire it out? Just so inspiring. Love it, Nancy. Are you keeping or intending to sell that gorgeous cabinet?
Aw, thanks, Michele!! I would imagine if you could find someone who paints furniture, yes, you could! I had originally intended to keep this one but plans changed. It will not work for what I was needing it for after all. xo
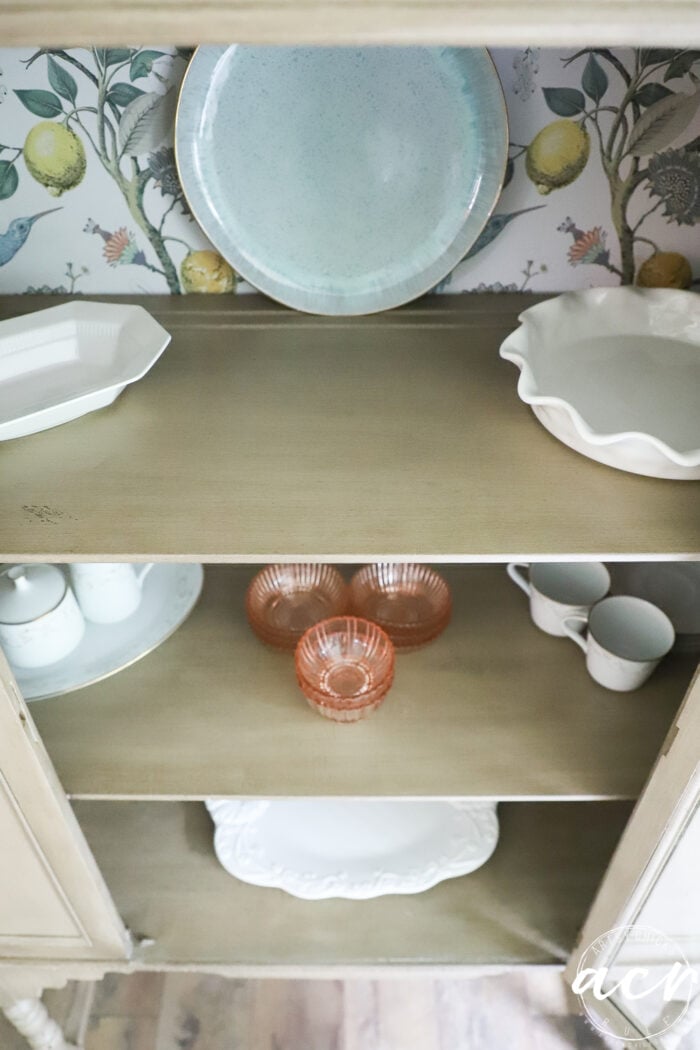
Nancy, It is just stunning. And I have the same pink depression glass bowls that you displayed. My friend bought them when we had an estate sale and turned around and gave them to me for Christmas. I just love this piece of furniture.
Thank you, Gail! They were my mother’s and we recently finished up with cleaning out my parent’s home. I loved these! She had several other pink (and green) pieces too. I kept a candy jar with lid also. And what a sweet and thoughtful friend you have! xoxo
It’s beautiful, Nancy. I painted a cabinet in a similar color and don’t really like it, trying the stain technique might be better. If it looks anything like yours, it will be worth it!
Want to be inspired, learn new skills, discover all the tricks to furniture makeovers, creating new out of the old and more? You'll also receive my FREE ebook "Creating Fabulous Finishes" PLUS access to my private Printables Resource Library, too!
Sign up to get the Weekly Newsletter! Our emails include an unsubscribe link and you may opt-out at any time. Your information will *never* be shared or sold to a 3rd party.


")

")

")


Very pretty! What a difference!
Thank you, Cyndi! xo
You completely nailed it. I soooo appreciate the tutorial. Your piece is just perfect. I loooove that look. I’d love to have my china cabinet redone to look like that. I am not able to do it but I wonder if I could hire it out? Just so inspiring. Love it, Nancy. Are you keeping or intending to sell that gorgeous cabinet?
Aw, thanks, Michele!! I would imagine if you could find someone who paints furniture, yes, you could! I had originally intended to keep this one but plans changed. It will not work for what I was needing it for after all. xo
Magnificent!!
Thanks so much, Carolyn! xo
Nancy, It is just stunning. And I have the same pink depression glass bowls that you displayed. My friend bought them when we had an estate sale and turned around and gave them to me for Christmas. I just love this piece of furniture.
Thank you, Gail! They were my mother’s and we recently finished up with cleaning out my parent’s home. I loved these! She had several other pink (and green) pieces too. I kept a candy jar with lid also. And what a sweet and thoughtful friend you have! xoxo
It’s beautiful, Nancy. I painted a cabinet in a similar color and don’t really like it, trying the stain technique might be better. If it looks anything like yours, it will be worth it!
Thank you, Marcie! Oh yes, give that a go! It might just be the thing it needs for you to love it! :)