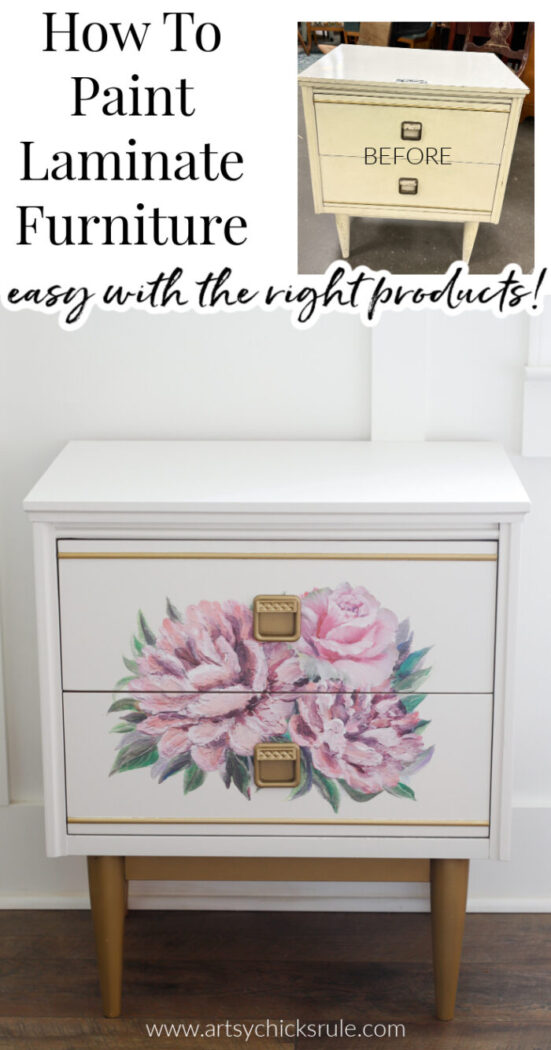
How To Paint Laminate Furniture (easy with the right products!)
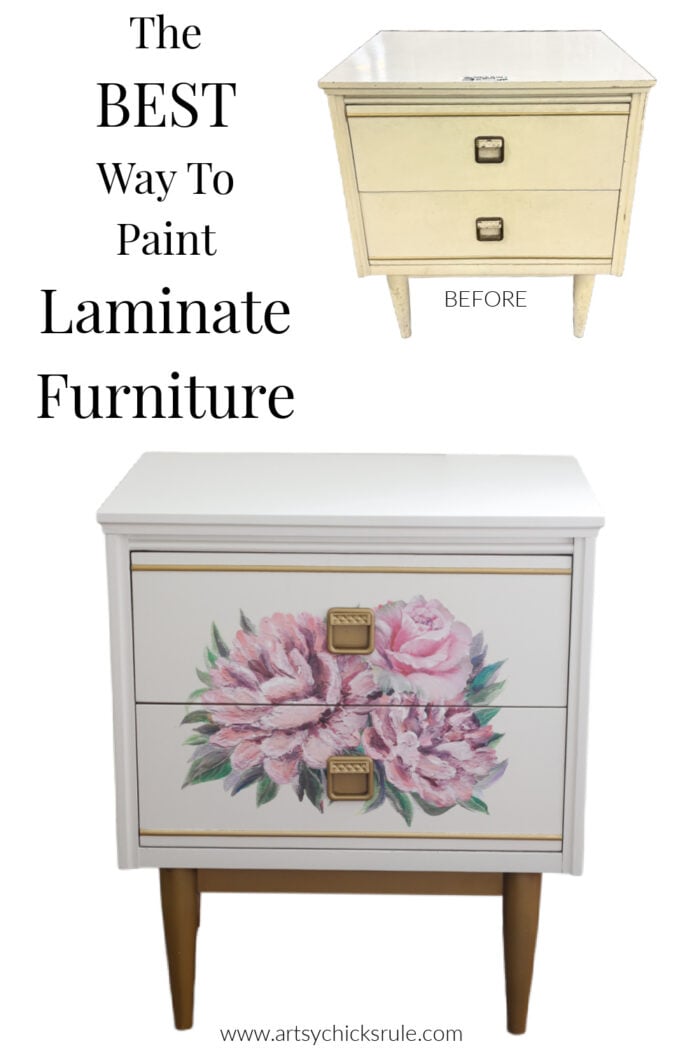
How to paint laminate furniture is easy with the right products! And the right steps. Learn how to paint laminate successfully!
Hello wonderful friends! Happy Trashy Treasures Tuesday!
Have y’all been having this heatwave where you live? I don’t think it’s ever going to end!! haha! It’s been SO ridiculously hot here, for days and days, I mean weeks and weeks! With no end in sight. I am an all-out summer-loving girl but even I’m feeling like fall might be nice right about now. Ugh!
Anyway, not only are we building out our screened porch for more living space. (with specific needs in mind for it) But we also finally installed a new front door/sidelites this past weekend! Yippee!! We’ve had the door since November and I stained it a while back so I’m thrilled to have it in place finally.
I love it!!
But installing it in 100 degree weather was not fun. lol It was hot for hours in our house and the flies were having a field day in there! It was downright miserable but it’s DONE!! And I feel so fancy now every time I enter or exit our home. haha! It’s so beautiful and something we have wanted to do for years.
Here’s a sneak peek! (I’ll be sharing more about it soon)
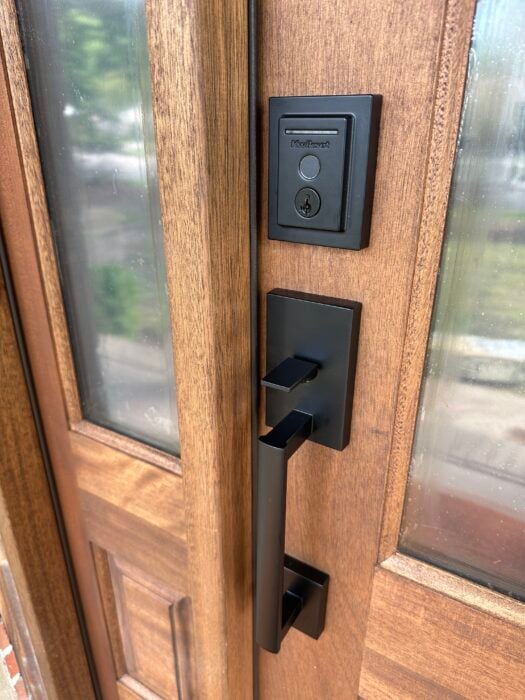
The protective film is still on the glass in this photo.
How To Paint Laminate Furniture
Anyway, let’s talk about today’s Trashy Treasure Makeover and the tutorial I’m sharing to go along with it. Have you ever struggled with painting laminate furniture? Or ever just wondered if you could paint laminate furniture? Well, you can and I’m going to show you the products to use for success!
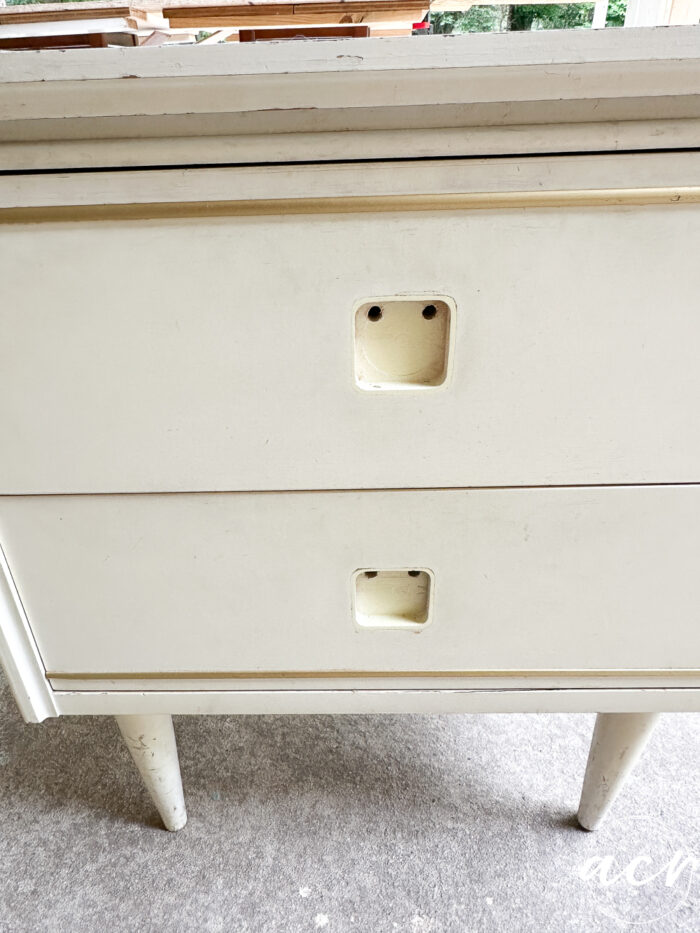
Here is what I found at the ReStore to makeover!
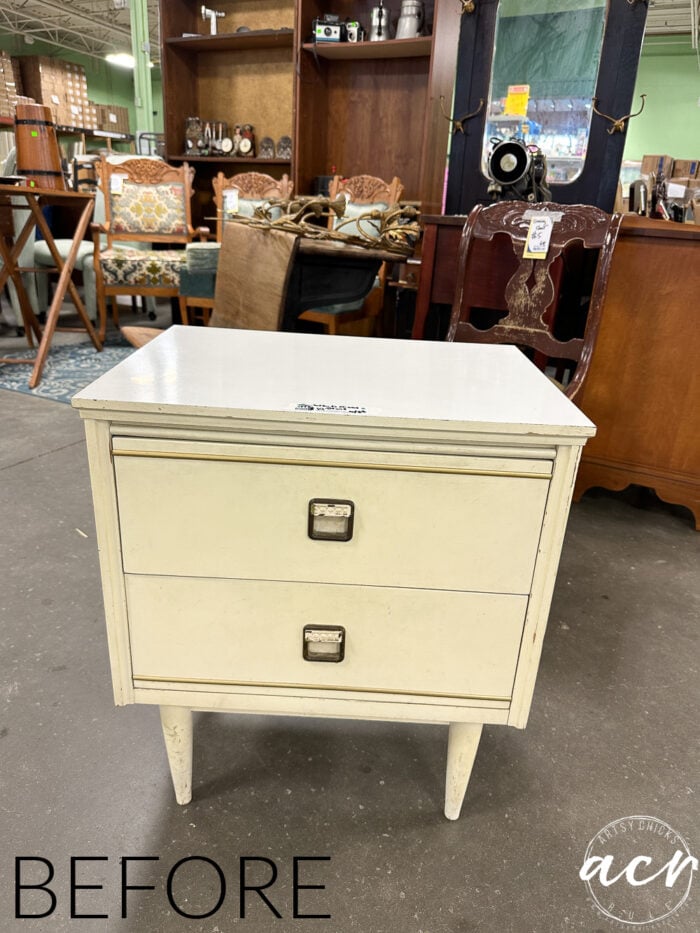
In all of its laminate glory! ha!
No, really, it is laminate on all sides so it’s the perfect piece to show how I paint laminate furniture.
It is honestly not as hard as it seems. However, it can be a disaster if not done correctly. Therein lies the hesitancy I am sure.
Here’s what you’ll need to complete this project:
MATERIALS LIST – Laminate Furniture Tutorial
- 220 grit sandpaper
- soft cloth or paper towels
- TSP Alternative
- Continuous Mist Sprayer
- Microfiber Roller
- Ultra Grip
- FrogTape
- Victorian Lace Paint
- Gold Rush Metallic Spray Paint
- Rose Quartz Transfer
- Polishing Pads
- Tough Coat Topcoat
Prefer to shop on Etsy? I have an Etsy shop also, here!
I began by removing the hardware.
SAND
Prep is key.
Prep is always key.
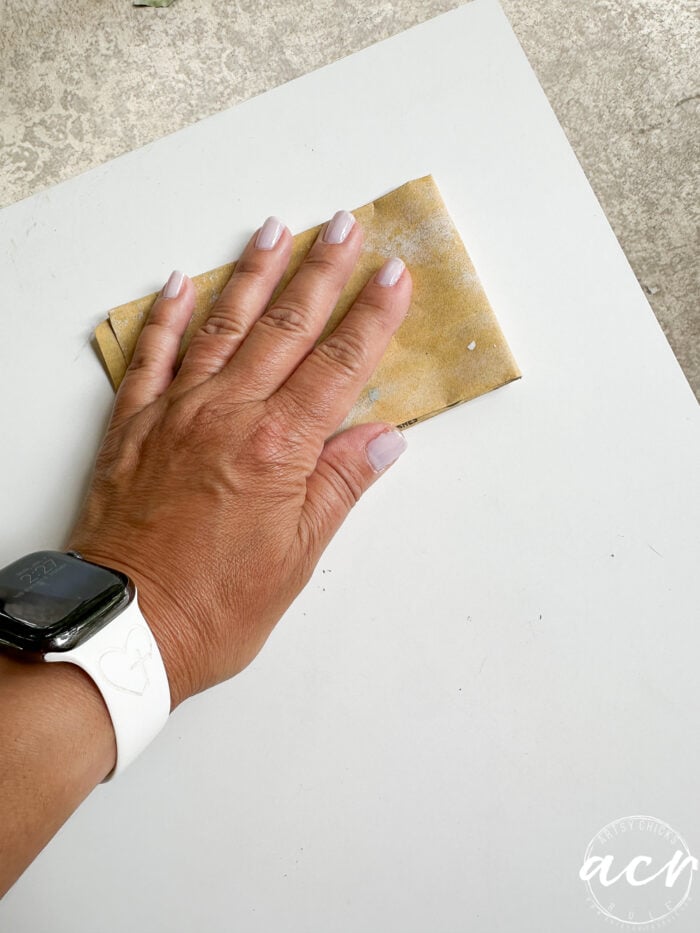
I am sure there are times that you could get away with not sanding but why chance that?? It really does not add too much time or effort to the job. Obviously, the larger the piece the more work it is but you aren’t sanding to remove layers. You are only doing a light sand, by hand, to remove some of the “slick”, “shine”, etc.
CLEAN
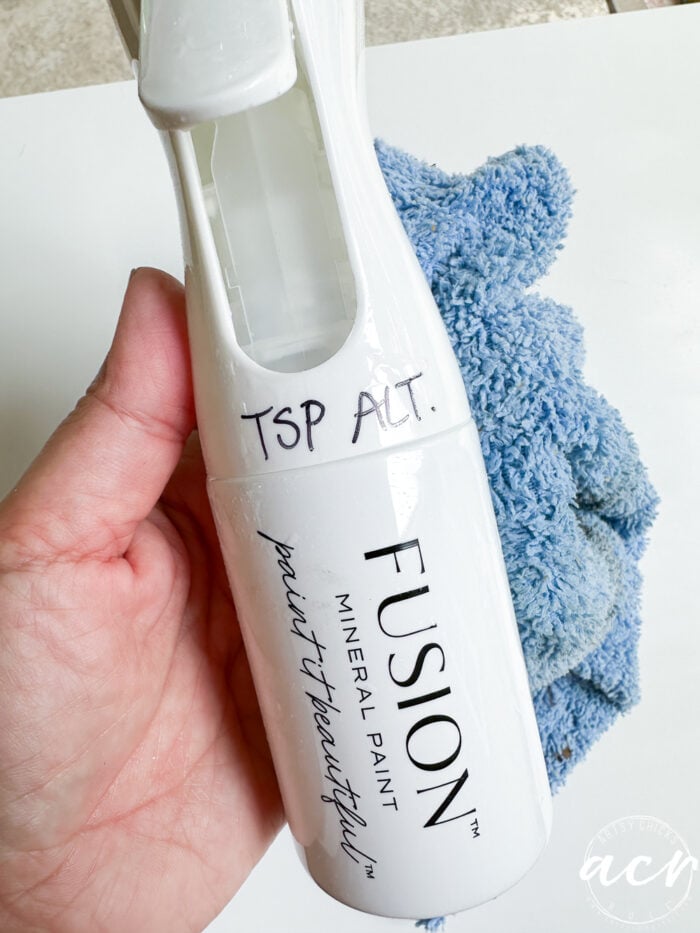
Use a soft cloth or paper towels and clean well. I use TSP Alternative in one of our continuous mist sprayers. (you can find this and all of the products I used for this makeover in the pink box notated “MATERIALS LIST” above)
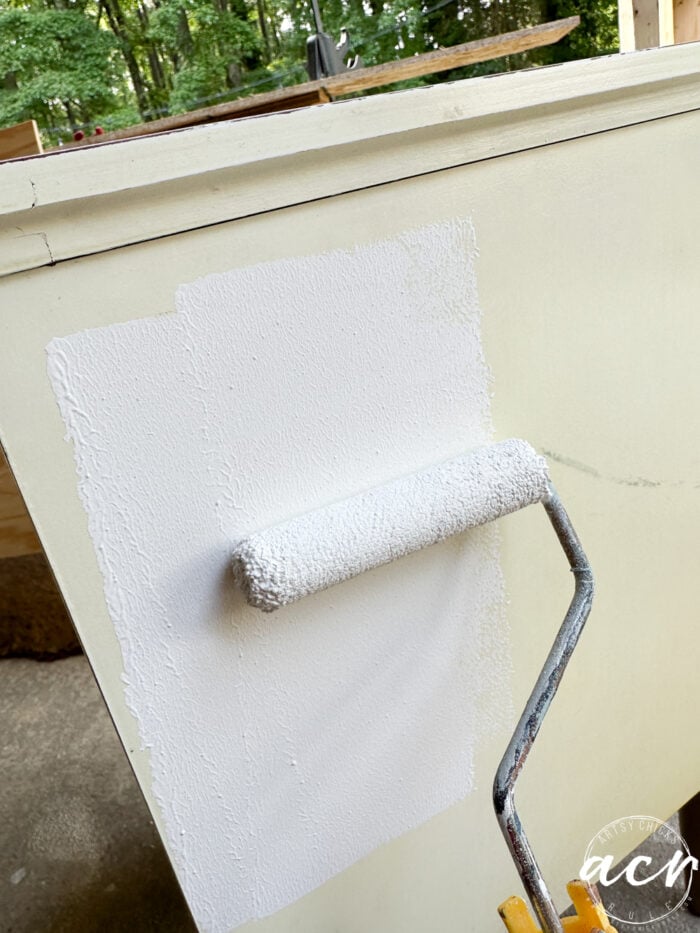
PRIMER
Not just any primer! This is an adhesion primer and what I believe is the key to making this project a success! Ultra Grip is an amazing bonding agent. It is exactly that…grippy!
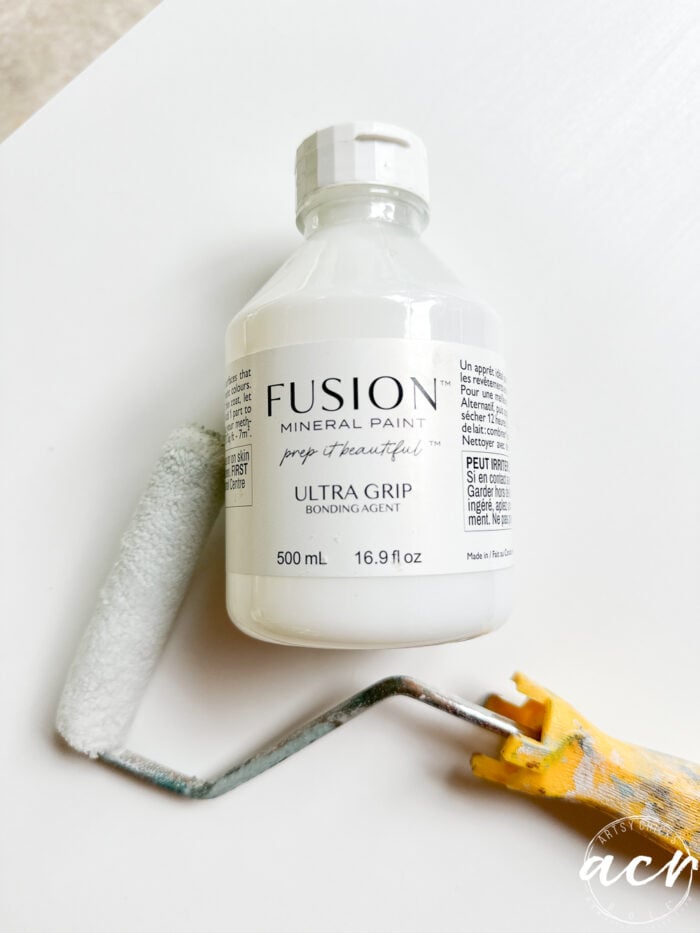
I used our microfiber roller to apply the Ultra Grip but you can use a paintbrush as well. Be sure to apply a thin coat and let it dry for at least 12 hours before applying paint. (however, you can paint after 2 hours)
Ultra Grip is clear once dry but be sure to apply it smoothly as you will want a smooth surface for the paint application.
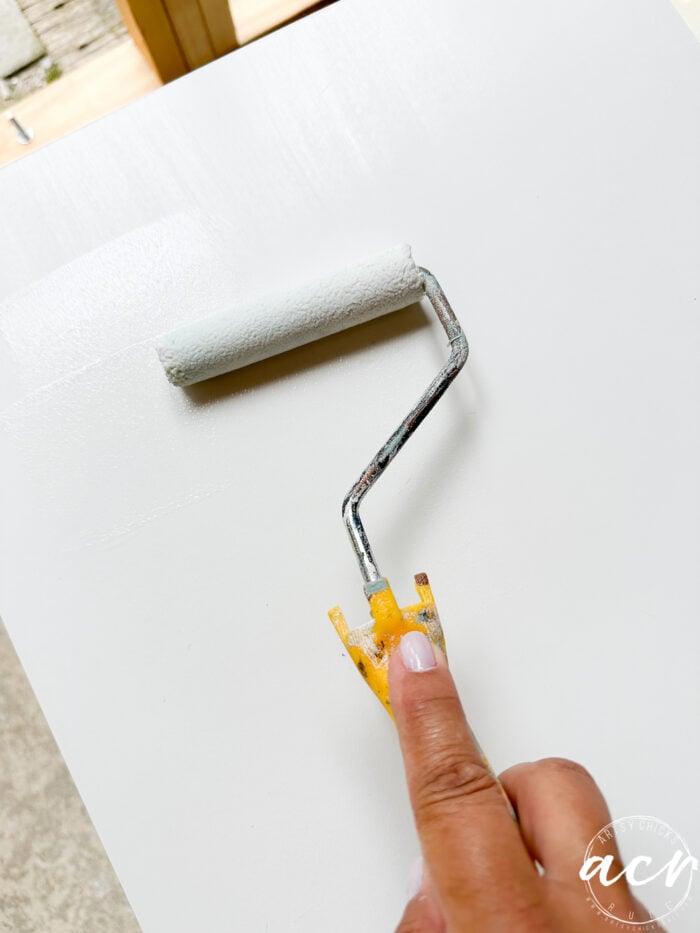
Once that was dry, and the allotted time had passed, I applied the paint.
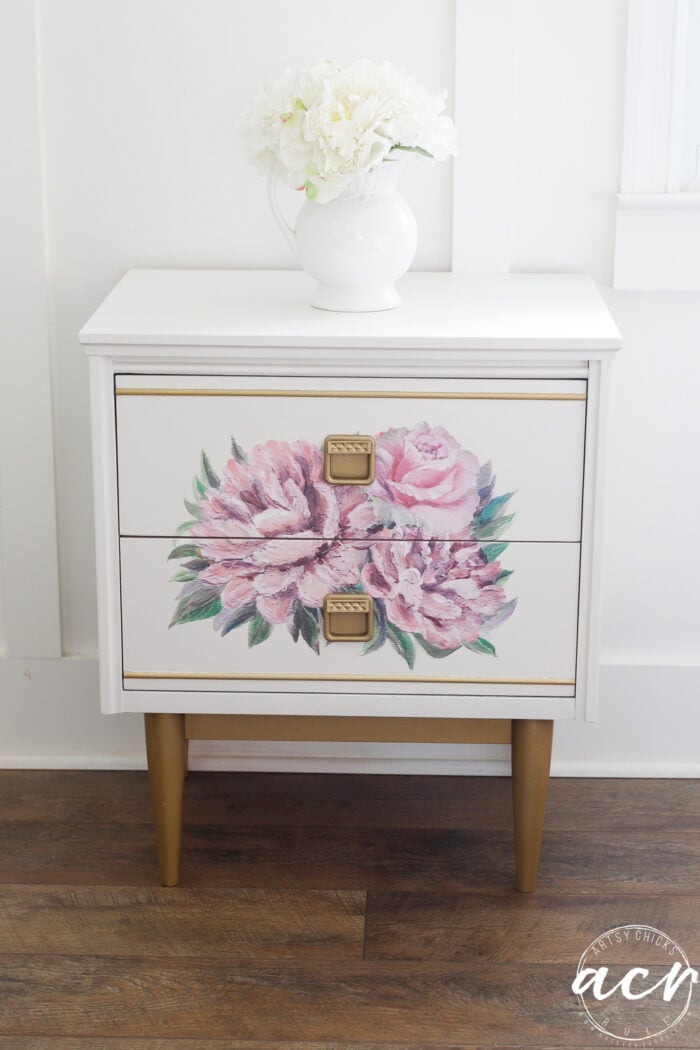
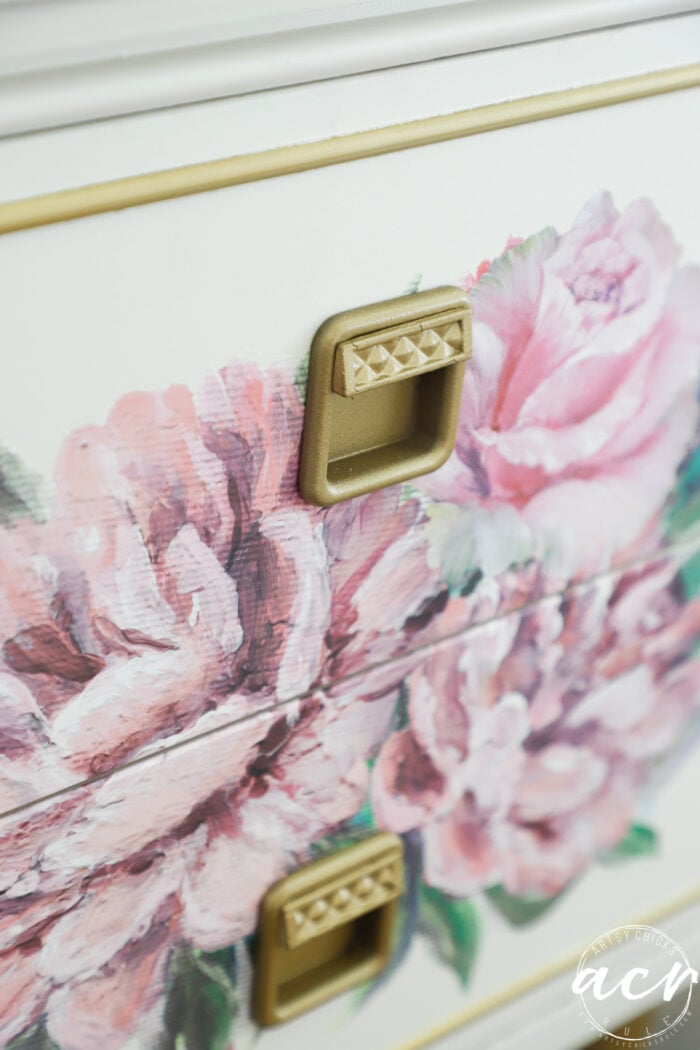
PAINT HARDWARE
I painted the hardware using spray paint that would somewhat match the gold lines on the drawer fronts.
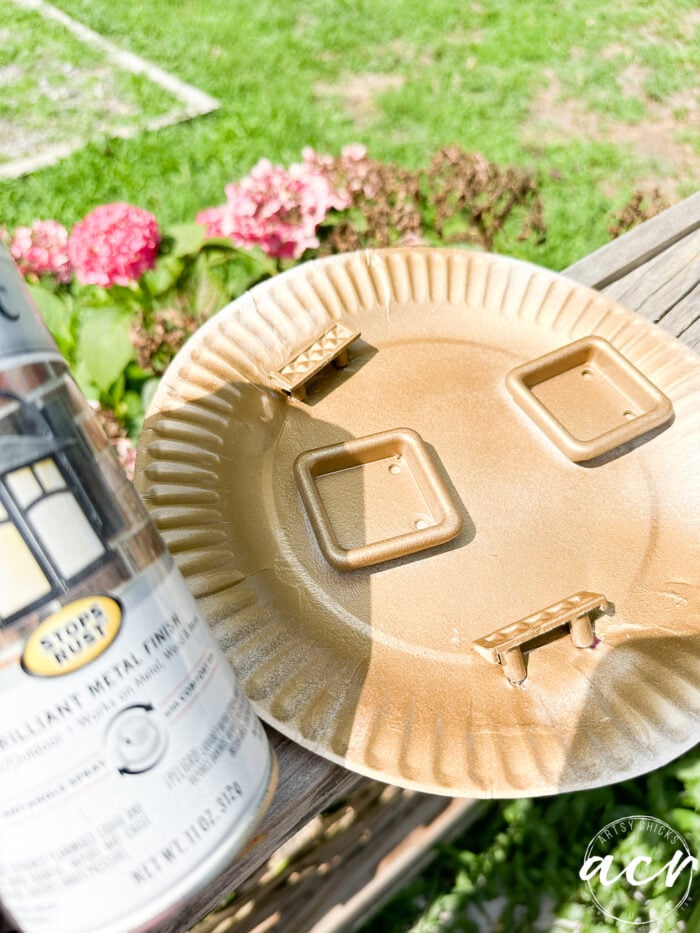
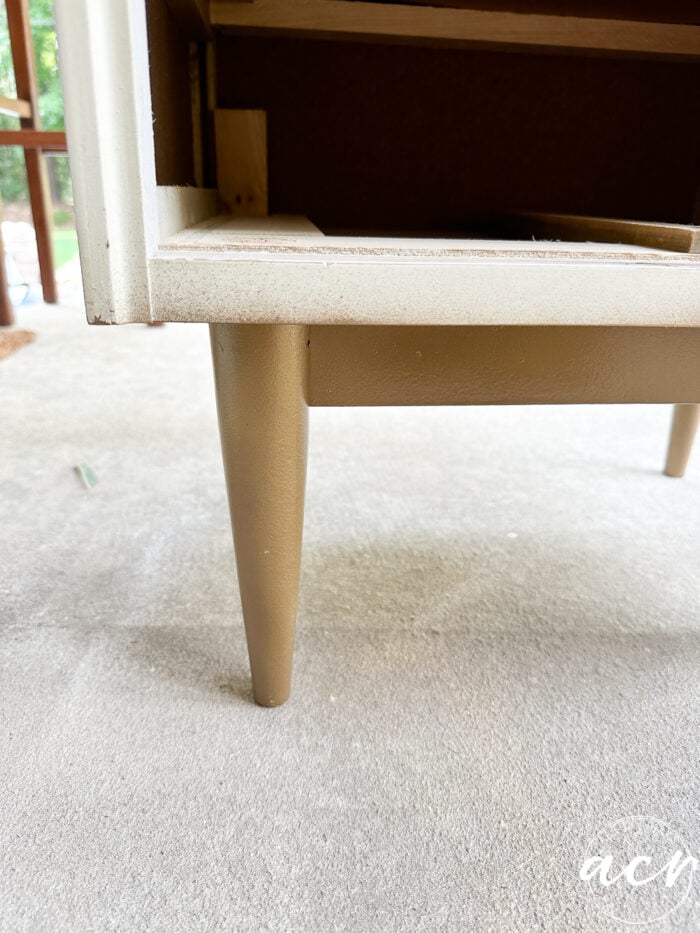
And I decided to paint not only the legs gold but also the trim piece connecting them.
PAINT
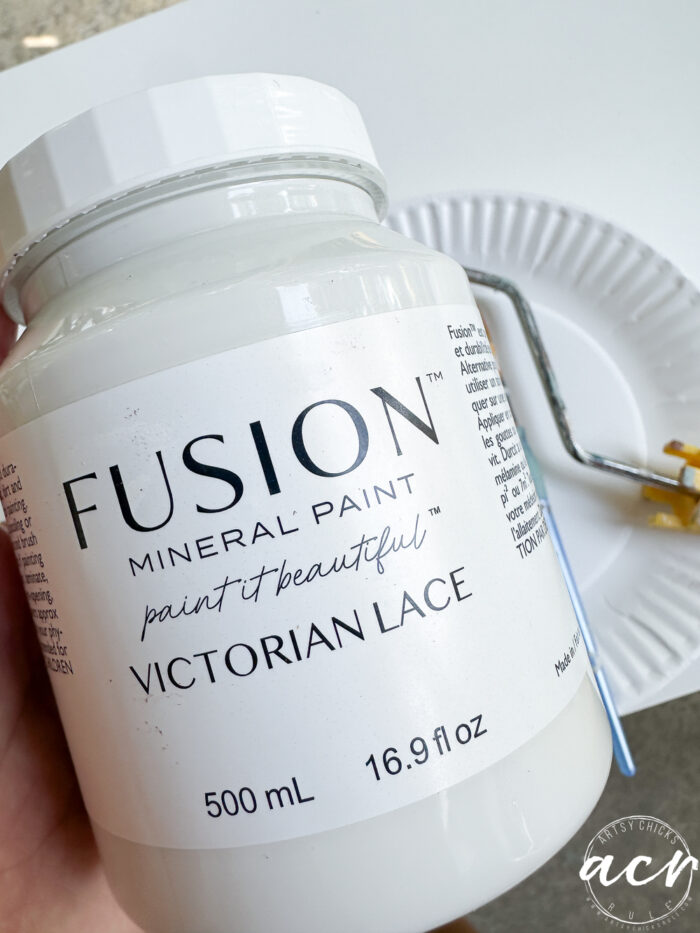
I chose Victorian Lace. Love this white. It’s probably my favorite one in the line.
As you can see below, you cannot tell I even applied the Ultra Grip. Remember I mentioned that it dries clear.
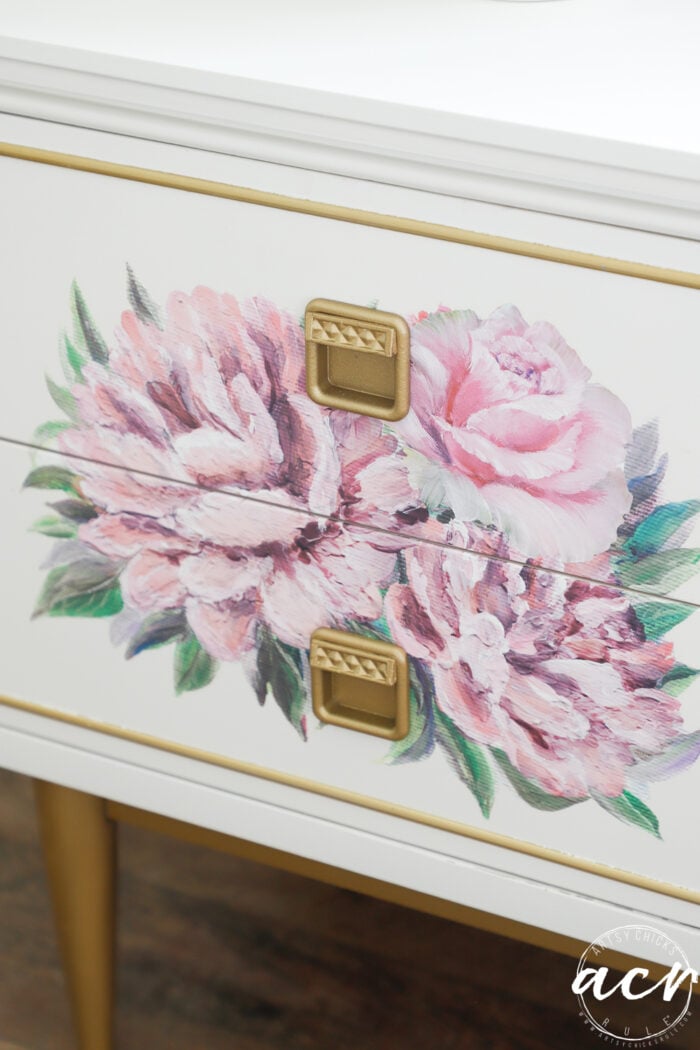
I originally thought I’d spray the gold details on the drawers with the same paint I used for the hardware. However, they were in pretty good shape and so why?? I taped them up and painted over and around them instead.
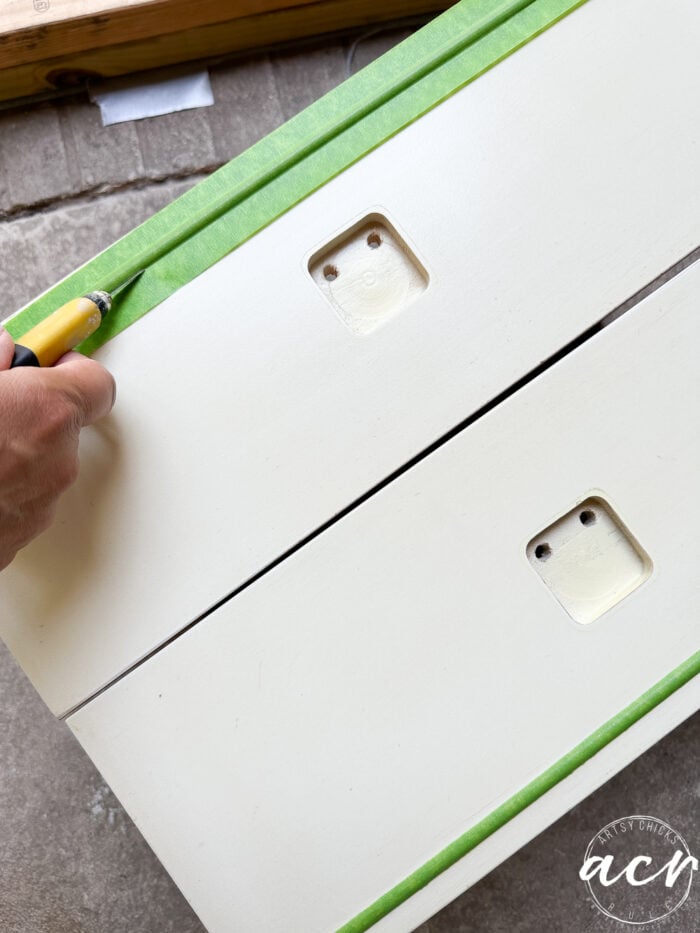
I simply used FrogTape over each one, and then using an Xacto knife, I carefully cut along each edge.
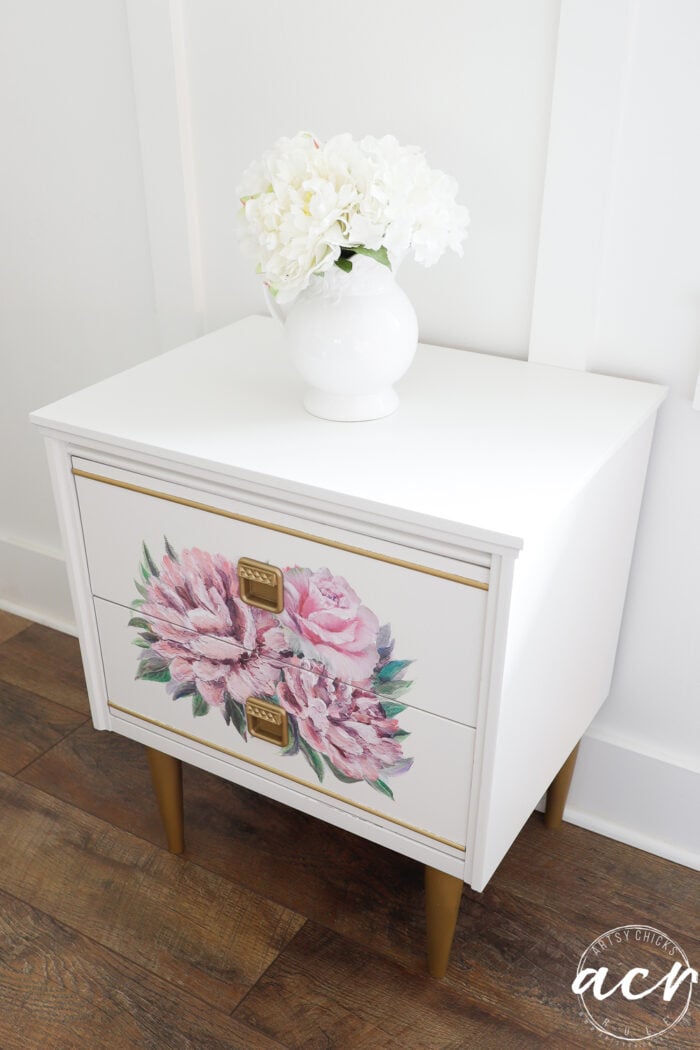
ADD TRANSFER
This is the transfer I chose to use on the drawer fronts.
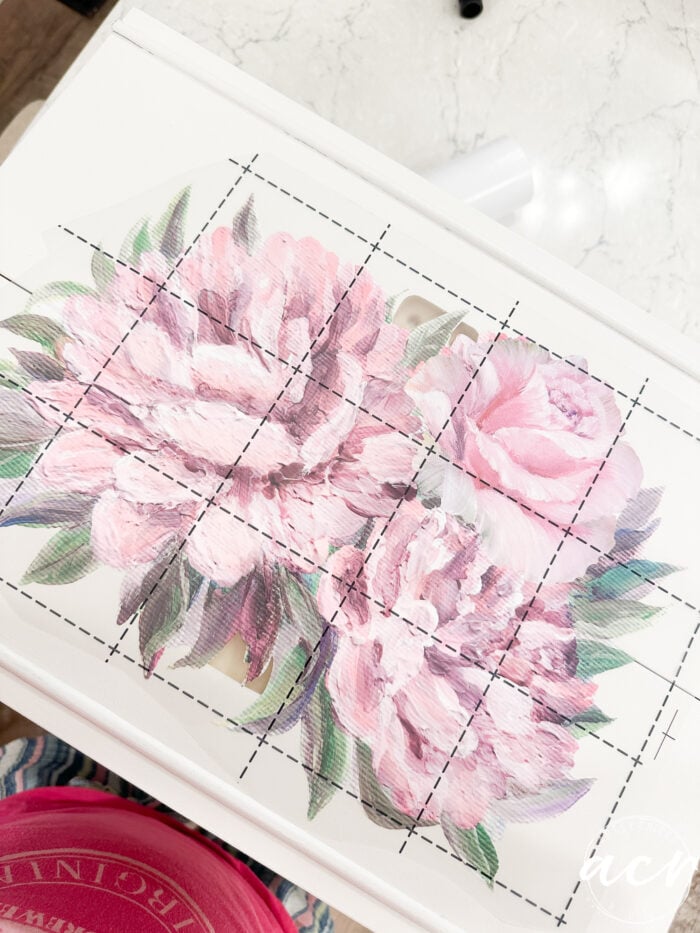
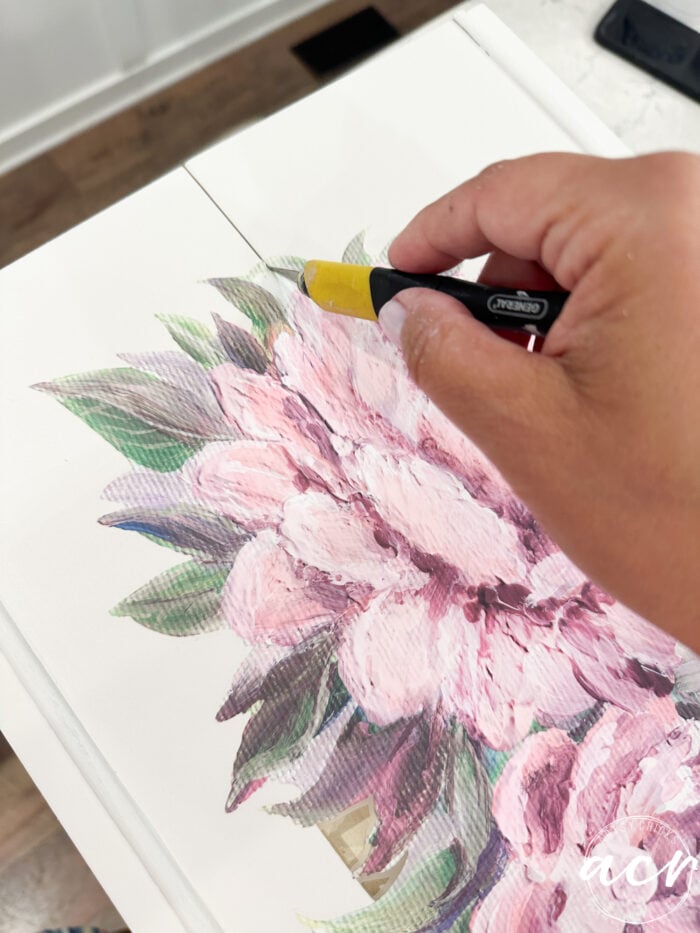
I lined it up and then applied it carefully to the drawer fronts as they sat next to each other.
Once it was applied, I used the Xacto knife to gently cut along the two drawers to separate.
Want to know how to apply decor/furniture transfers? I wrote an entire post with ALL of the details here:
How To Use Rub On Decor Transfers
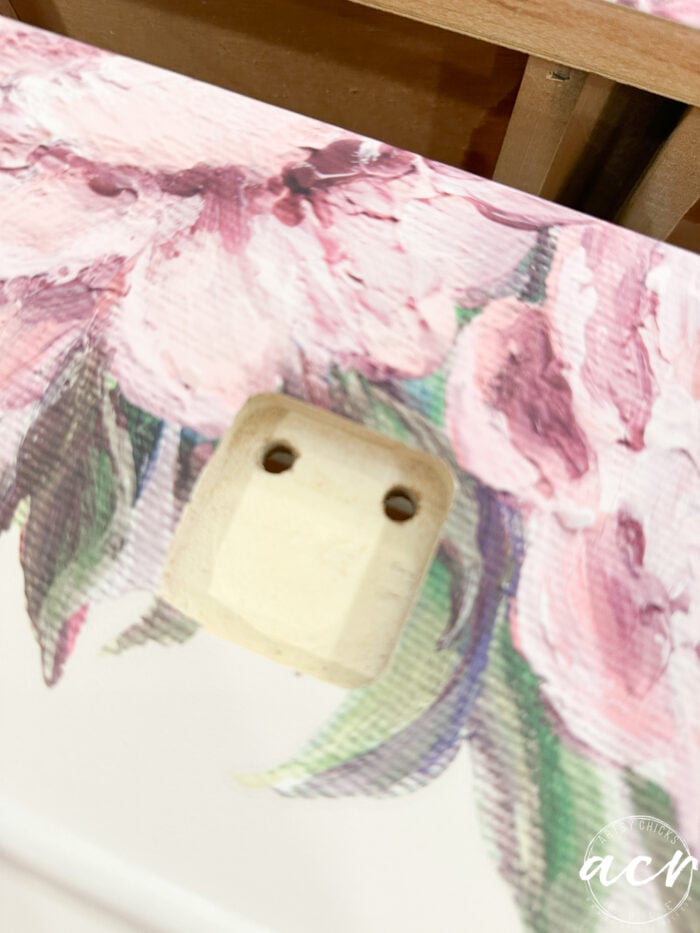
I did the same where the holes for the hardware areas.
To make removing the FrogTape that was painted over easier to remove, be sure to score it with a razor or Xacto knife first.
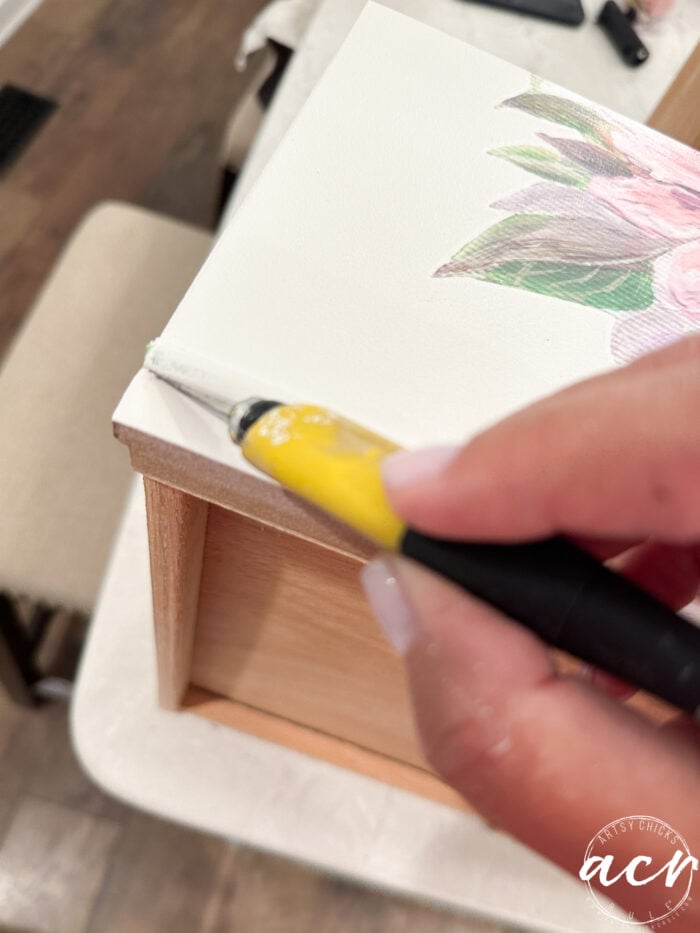
It will then pull off cleanly without taking any of the paint with it.

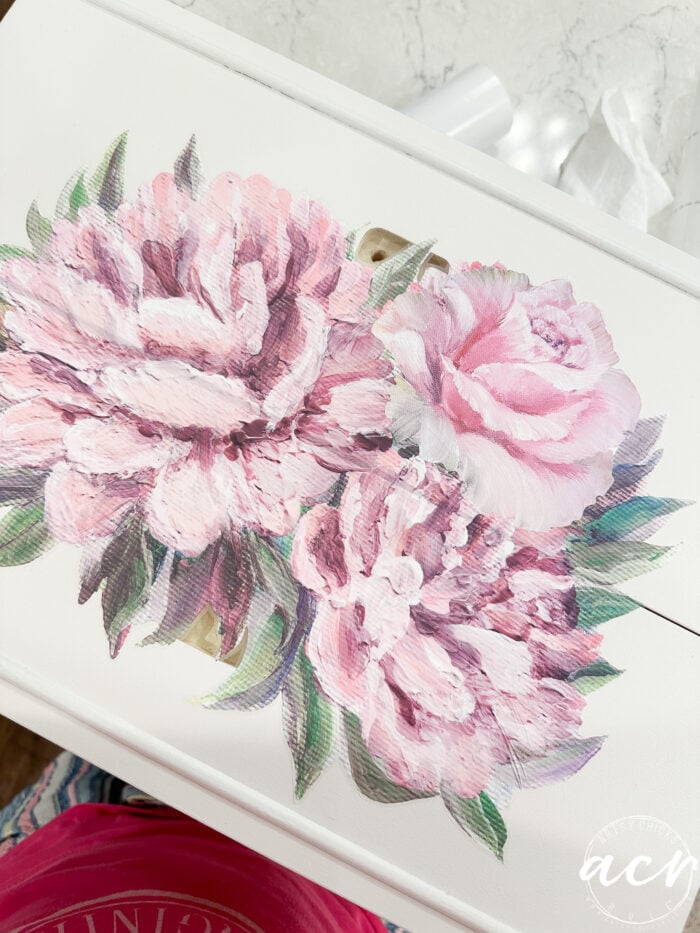
I used a Polishing Pad to burnish the edges of the transfer before applying a coat of Tough Coat Topcoat to protect the transfer.
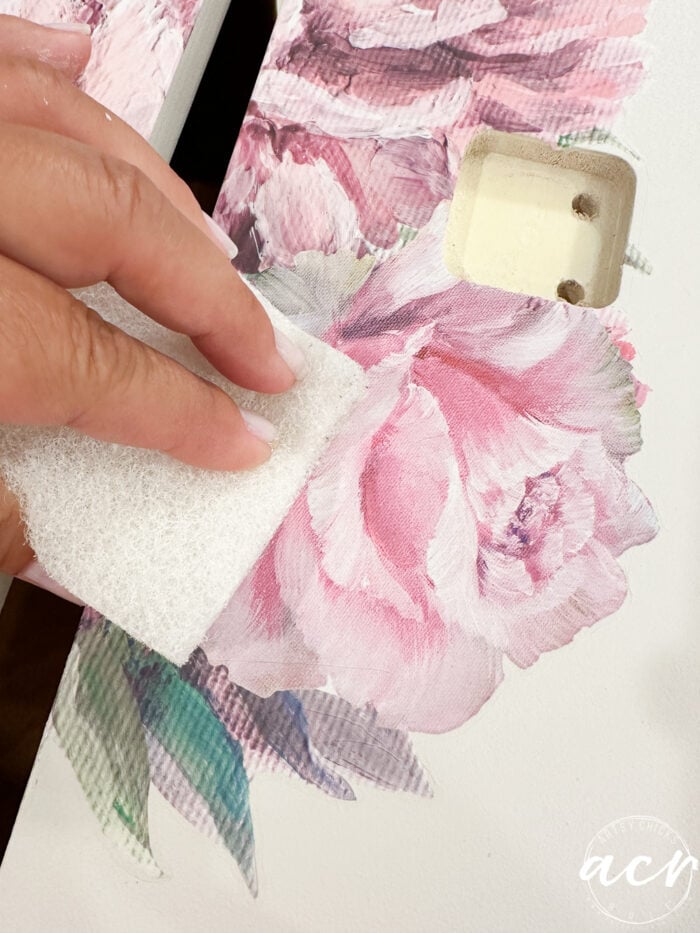
You don’t have to apply a top coat over the paint once finished painting the laminate. However, you can to give it added protection. I chose to apply it to the entire piece, not just the area with the transfer.
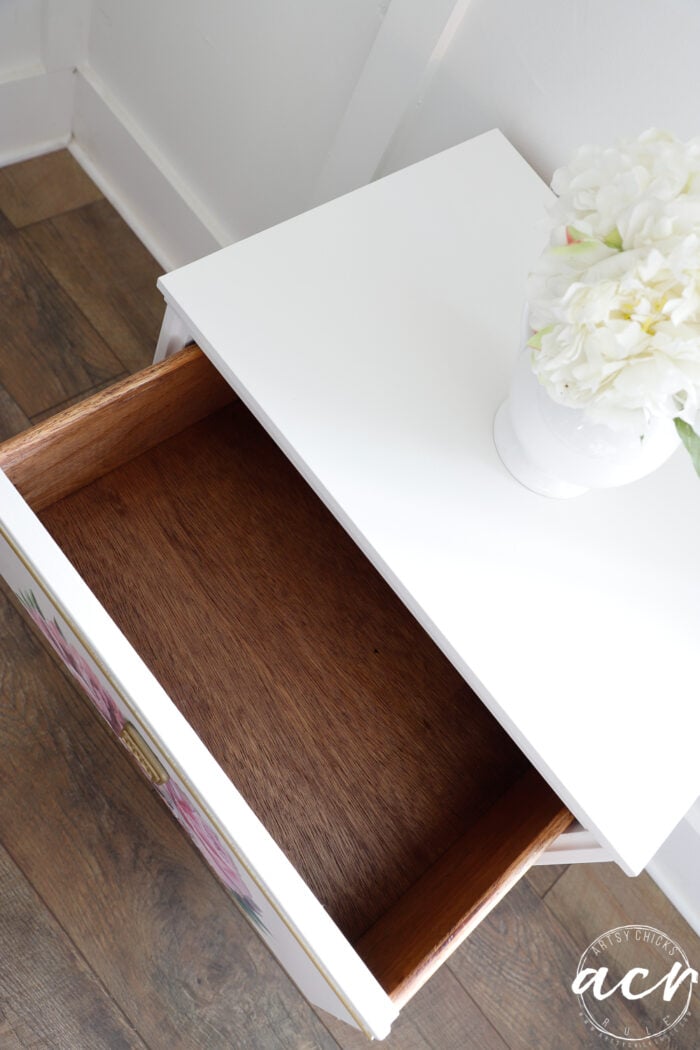
DRAWERS
Both drawers had nail polish spills. I used some acetone to remove it.
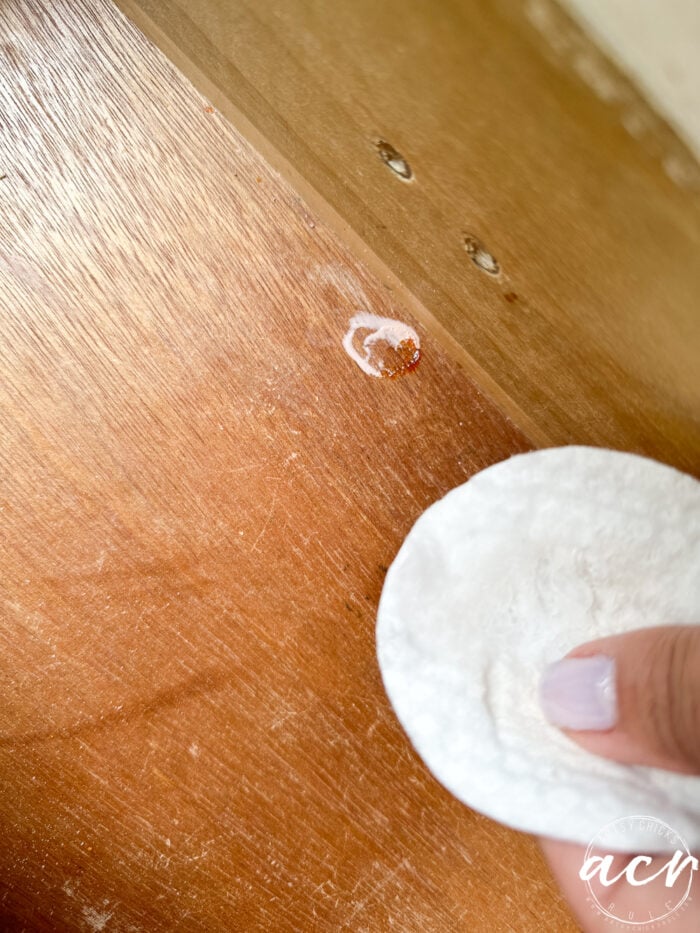
Unfortunately, it left some residue that I could not remove.
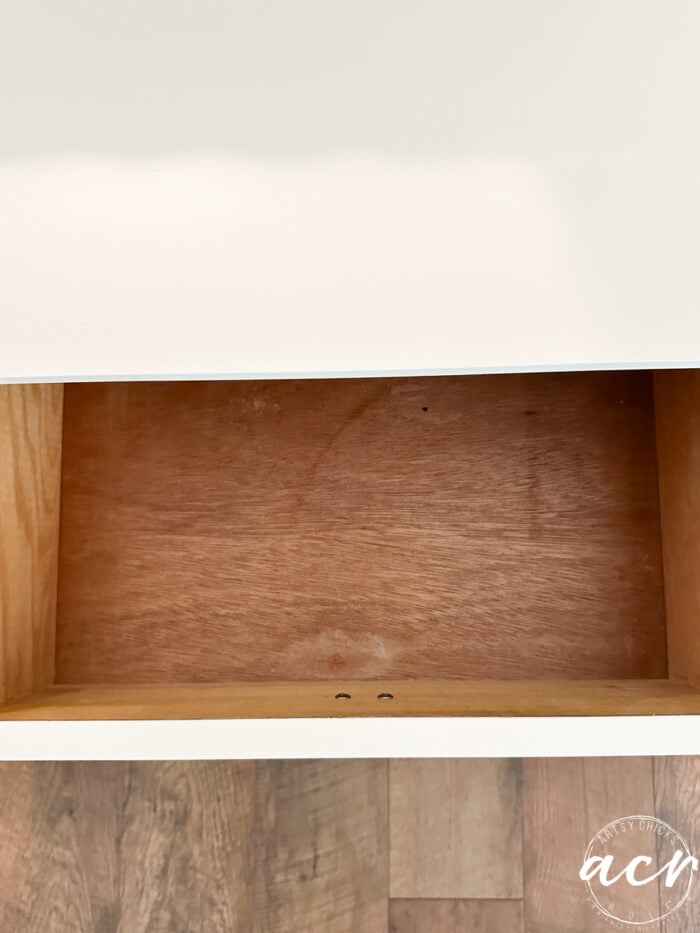
I had planned to add some stain anyway though.
I used one of our new Stain & Finishing Oil colors. (Fusion has several new colors of stain…Walnut, Heartwood, Taupe, Light Oak)
Heartwood, which has a purple-ish hue and a very cool tone.

I thought that might be a good choice with the pink and purple floral colors in the transfer I used.
However, it didn’t really translate as “purple” as I’d hoped!! haha!
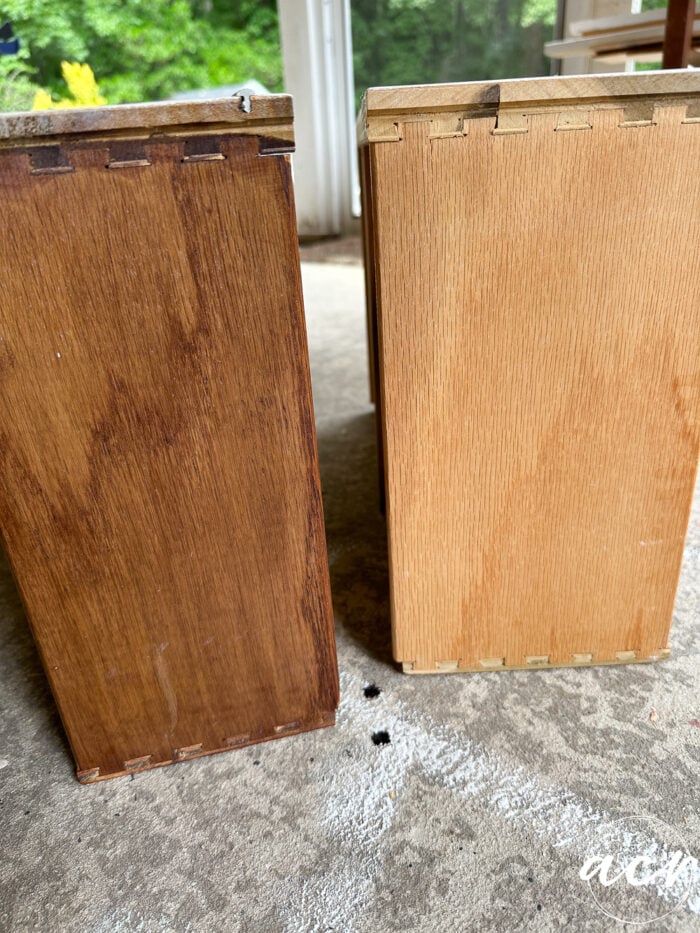
But it did look so much better!
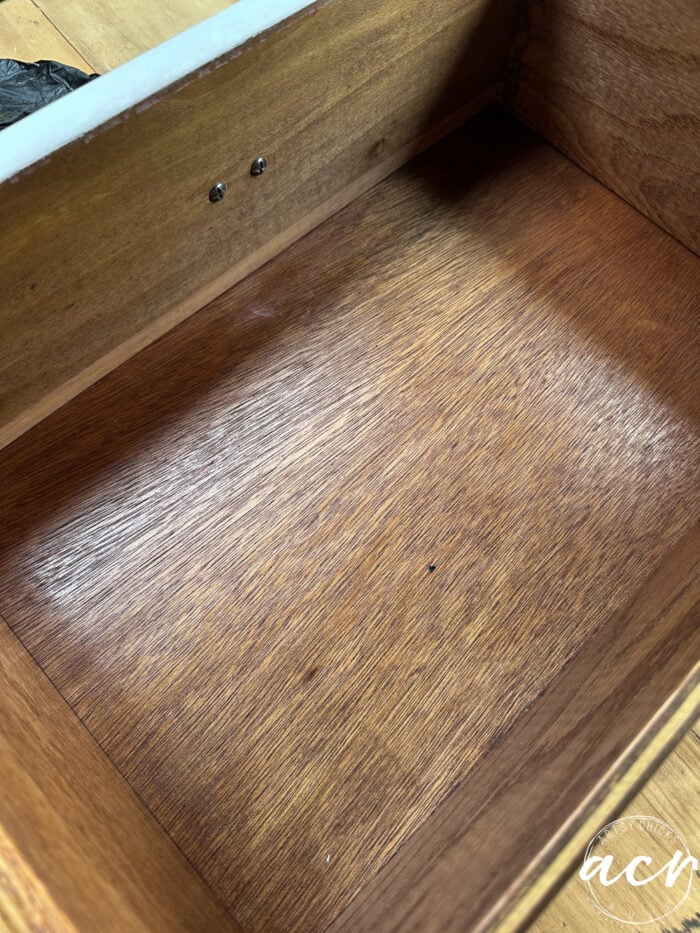
Nice.
And our Stain & Finishing Oil is a joy to work with. It is a stain and finish in one. But not like PolyShades where that just simply lays on top of the surface. Our Stain sinks into the wood just like a regular stain but has a finish coat built in. It’s so nice!
I applied one coat and done!
REVEAL
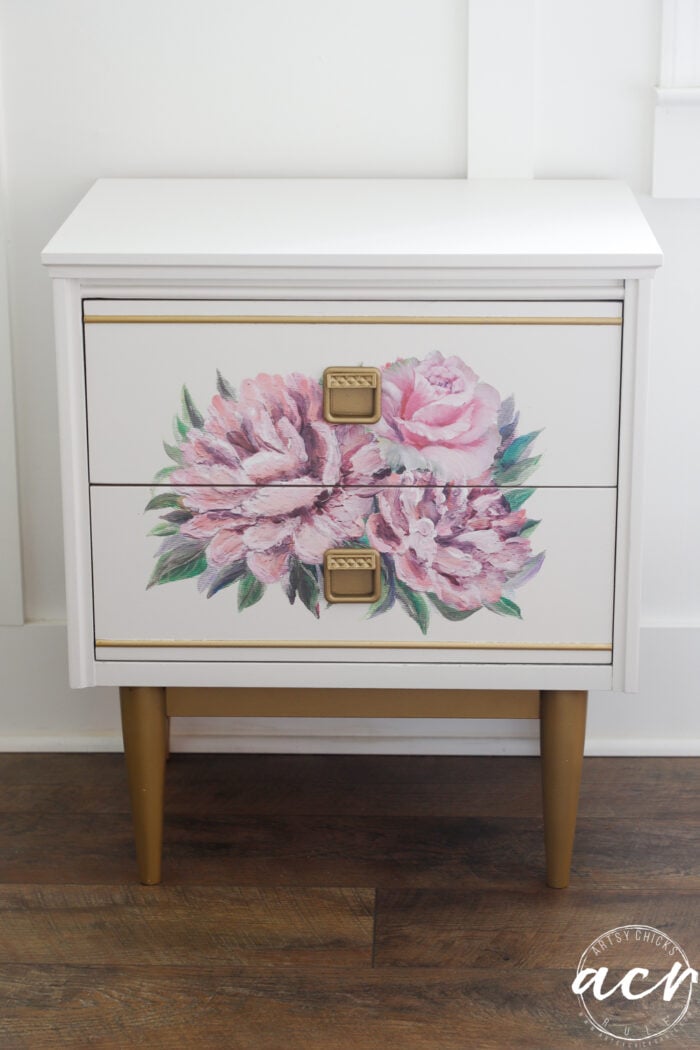
Isn’t she a little cutie now???
I’m so thrilled with how it turned out!
This piece was so sad and tired before but it’s ready for a whole new life!
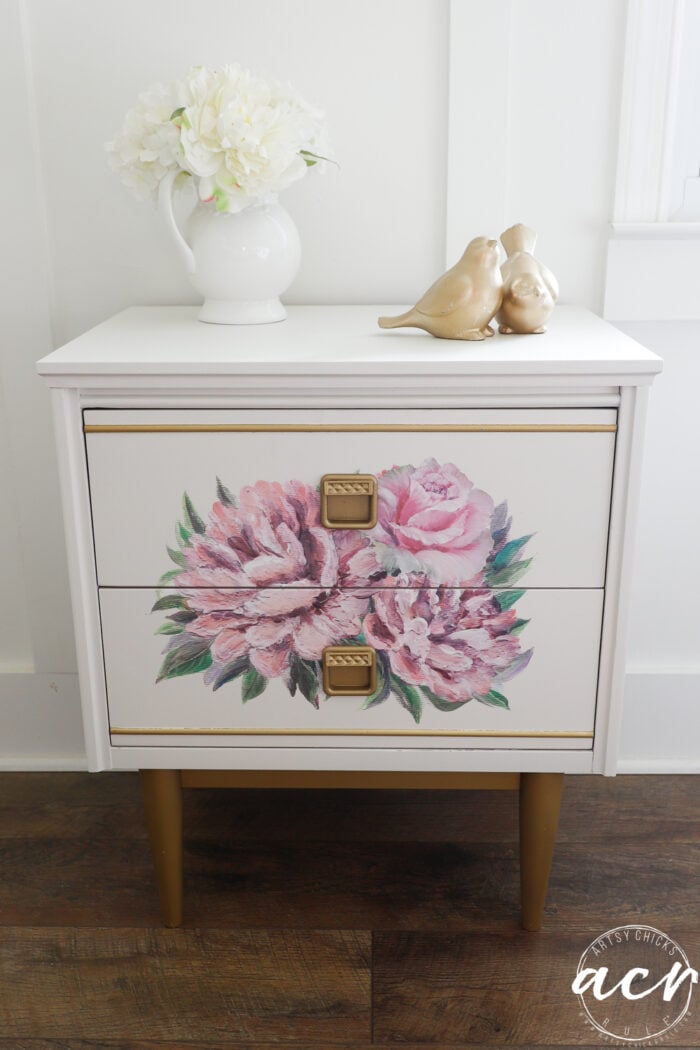
Think you’ll tackle a laminate piece now? Don’t pass them up when you see them just because they are laminate or melamine. You can do this too!
PIN it to save it!
Don’t forget to hop over and visit my friends too!
Hope you have a wonderful week!!
xoxo


")


Great save, Nancy. :)
Thanks, Larissa! xo
That little piece of laminate furniture has been revised. That is a sweet little piece. The furniture from the past is a come back to the future. Have you noticed that era of furniture is a come back in today’s market?
Yes, this one definitely came back from the past! Fun to give it brand new life. :) Thank you, Donnita!! And yes, this style has become very popular again! xo
I love this blue shelf! You did a fabulous job of transforming into a real keeper! Thanks for sharing the work that you did.
I LOVE what you did with this Nancy, super sweet with the florals and gold highlights! Pinned! XOXO
Thank you sweet friend!! xoxo
Great tutorial and beautiful end result, Nancy!!!
Thank you so much, Michele!! xoxo
That sad little table may have been the height of fashion last century, but I couldn’t see the beauty before. I didn’t even notice the gold trim or fancy hardware. You spied a diamond in the rough, Nancy. it looks beautiful with the paint and transfer, now it can go another 60 years or more!
Yes, it was hard to see past the dingy, worn look, for sure! It’s a solid piece and everything functions well…and now a pretty little thing again. I hope it has a nice long life to go!! Thank you, Marcie! xoxo
It’s just perfect Nancy! The gold details really jive with the transfer too. Good job!
Thanks, Caye!! xoxo
This could not have turned out any sweeter!! I love the after! And yessss…this heat is killing me! 🤣 Love the door too…can’t wait to see more! XOXO
Thank you, Christy!! Yes, it really is so bad this year!! Hoping it cools off soon for us!! haha!! xoxo
Wow, that turned out great. I bet if the person that gave it up could see it, they wish they had it back!!
Thanks so much!! Right?!!