DIY Tiled Frame Criss Cross End Tables
Make your very own DIY criss cross end tables! See the reveal today!
Good Morning Friends!
My Trash to Treasure girls and I are back to share some fun new makeovers with you guys this month.
You might remember some of my previous trash to treasure makeovers here….
“Thrifty Print Turned Tiled Coastal Tray”
and this most recent one…
“Old Frame Turned DIY Tile Tray”
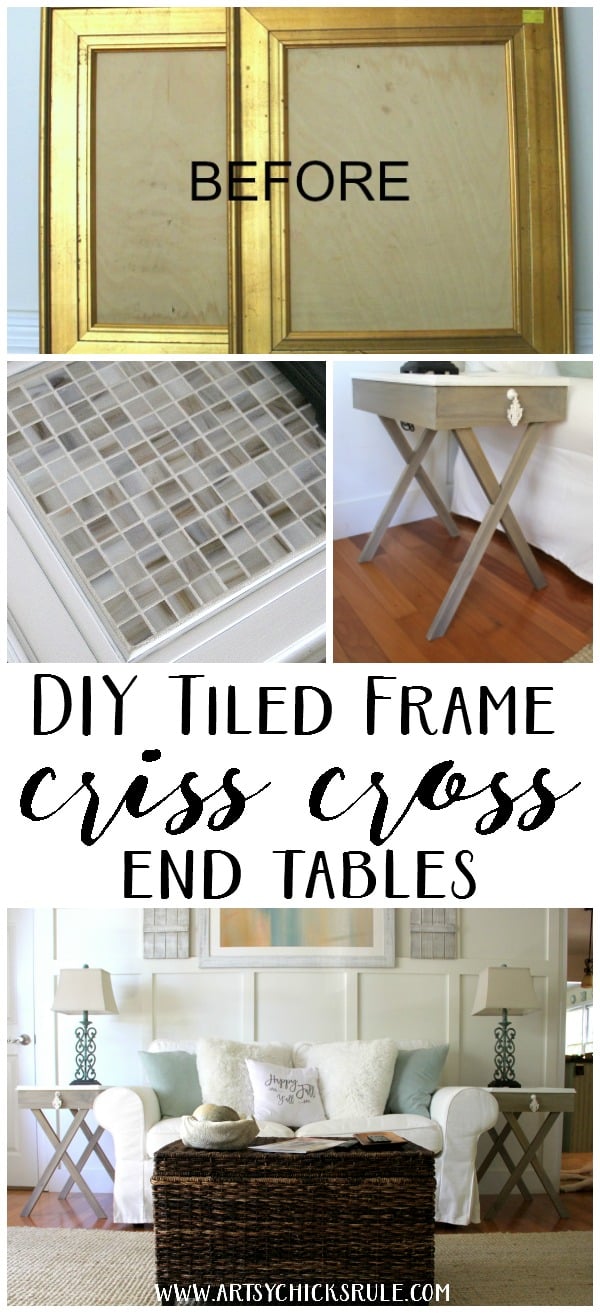
The reason I shared those two specifically is because I used that same idea to create two criss cross end tables for our family room out of these….
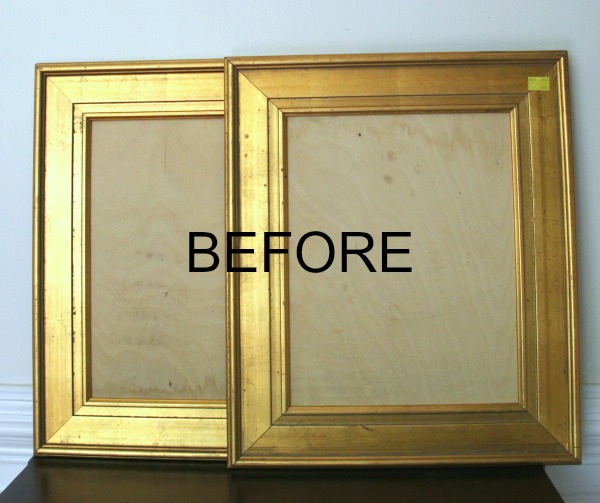
….two frames I found at the thrift store.
Which, by the way, I totally forgot to take a photo before I got started.
Imagine that! ;) haha
This was after I had glued in the base for the tiles to lay. The frames were empty when I bought them.
Here’s the criss cross end tables my husband and I made….
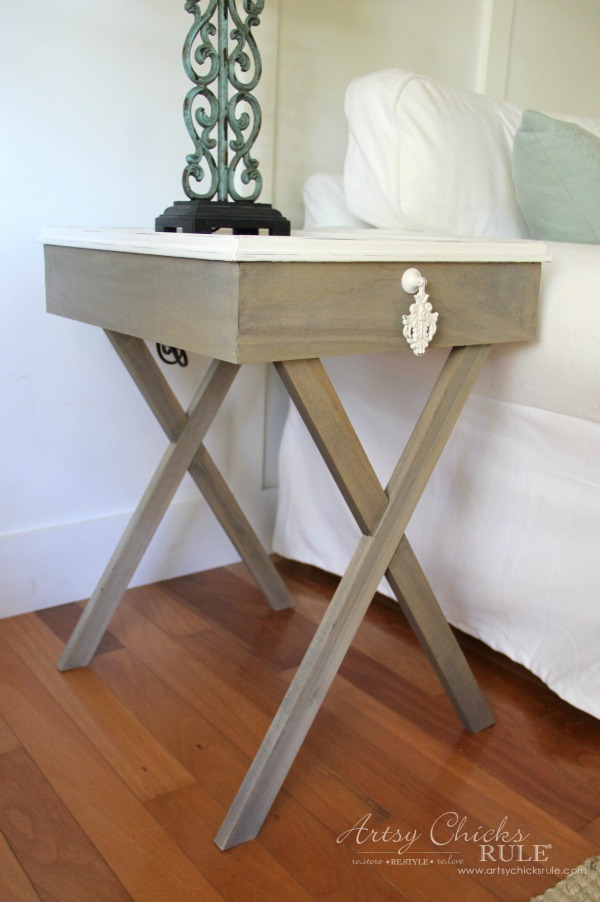
I came up with the plan and idea for these and my sweet husband got to measuring and cutting! ;)
They were pretty simple to make minus angles and such.
That’s never fun but it is doable!
I created the tops for these criss cross end tables with the same tile I used in one of my other trays I linked above.
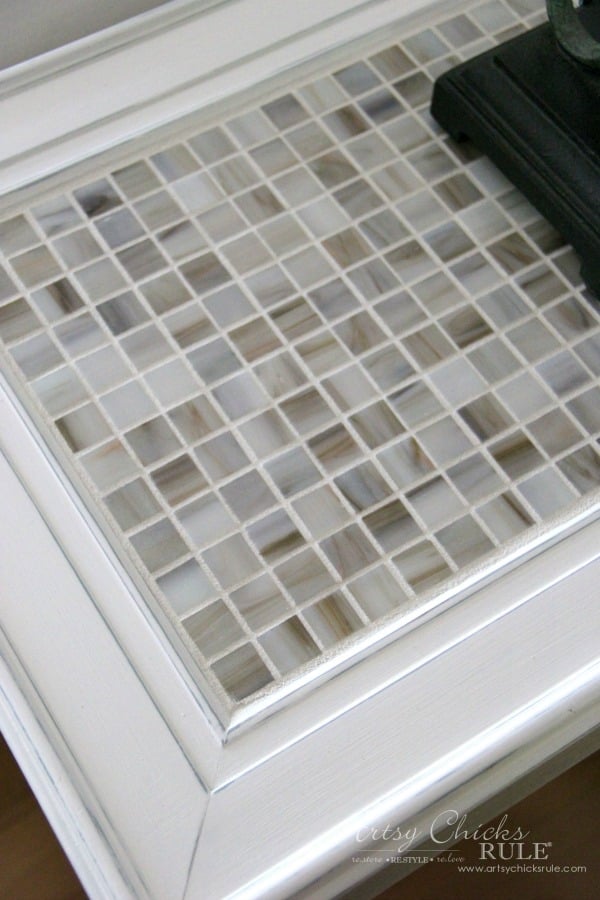
I thought the colors would be perfect for the family room.
Plus they sort of have a “shell” look to them.
Perfect!
As you can also see, I painted the frames too.
If you follow along on Instagram, you saw me as I was doing all of this!
I shared each step in my “story” over there. Sadly those only last for 24 hours so are no longer available.
If you are on Instagram, I’d love to connect with you over there. :) Find me here … Nancy’s Instagram
Anyway, I’m giving you the “reveal” today and will come back at a later date and give you all the “make” details so you can make some criss cross end tables too! AND with that fun tiled top. :)
We just finished these up late last night (Sunday night) so it was all I could do to get the photos taken, edited, watermarked, sized, post written, etc. ;)
So be on the lookout for that tutorial post.
UPDATED: You can see it now, HERE!
If you aren’t already, you can also sign up to receive my newsletters so you won’t miss it.
You can sign up here … Artsy Chicks Rule Newsletter
So for now, it’s pretty pictures and a few little details. :)
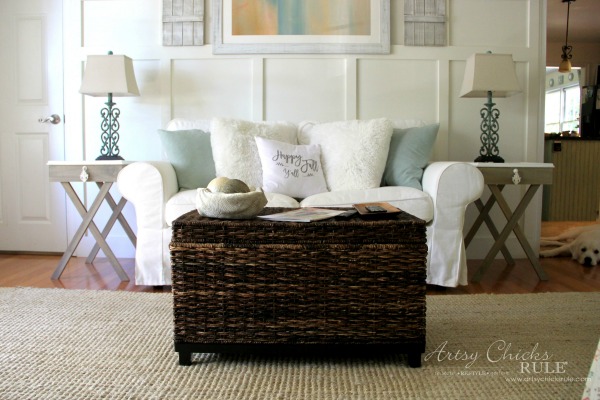
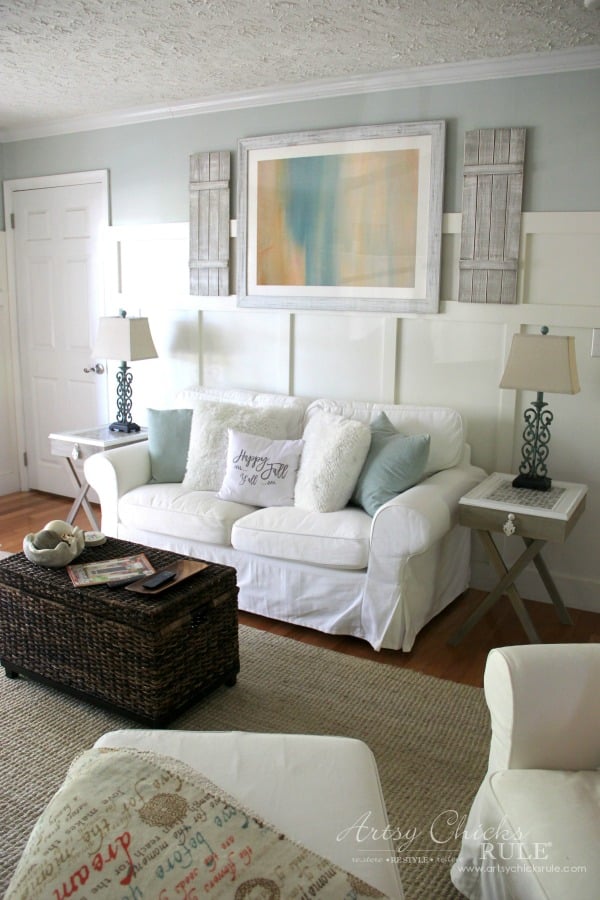
This is one of the reasons I wanted to put a love seat in this space instead of a large couch.
I’ve never been able to have end tables on each side like so.
I love the new look!
Although, I think the lamps I bought are going back.
They don’t seem to work for me in this space. I think the “scroll” pattern is a bit too much with the curtains, etc.
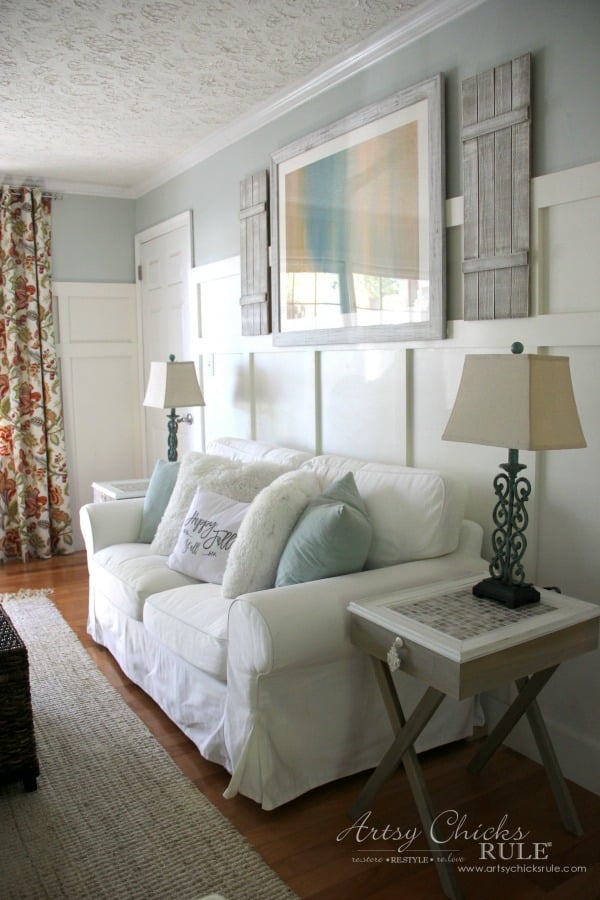
Plus, although I want something a little bit tall, I feel these are a bit too tall and tippy. (I can envision my puppy knocking them over! ;))
I’ve also considered moving the artwork and shutters down a bit. They seem high since I put in the new couch.
I have also considered putting a long sign just under the artwork too, instead. We’ll see!
Probably not until after the holidays.
So, just to give you an idea of what they will look like with lamps, I included them.
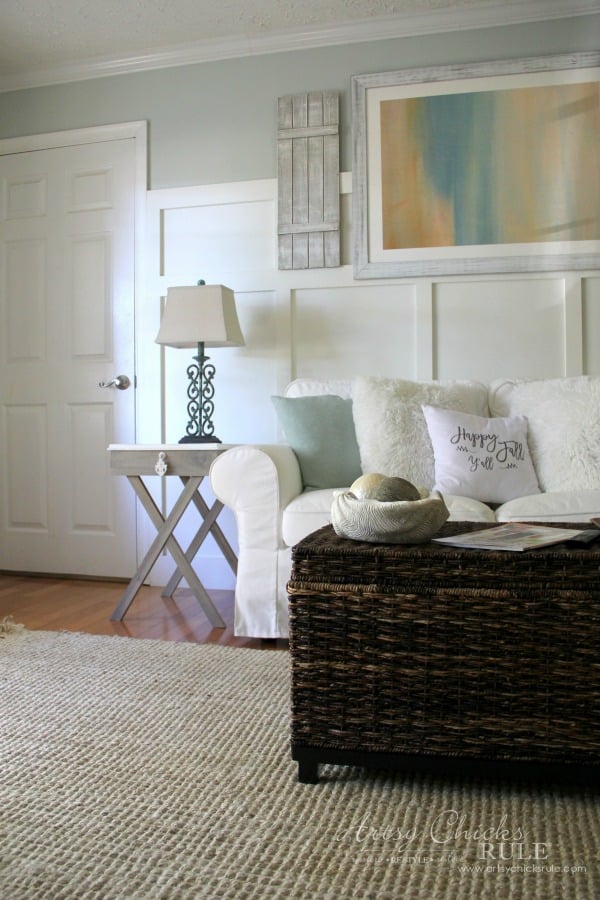
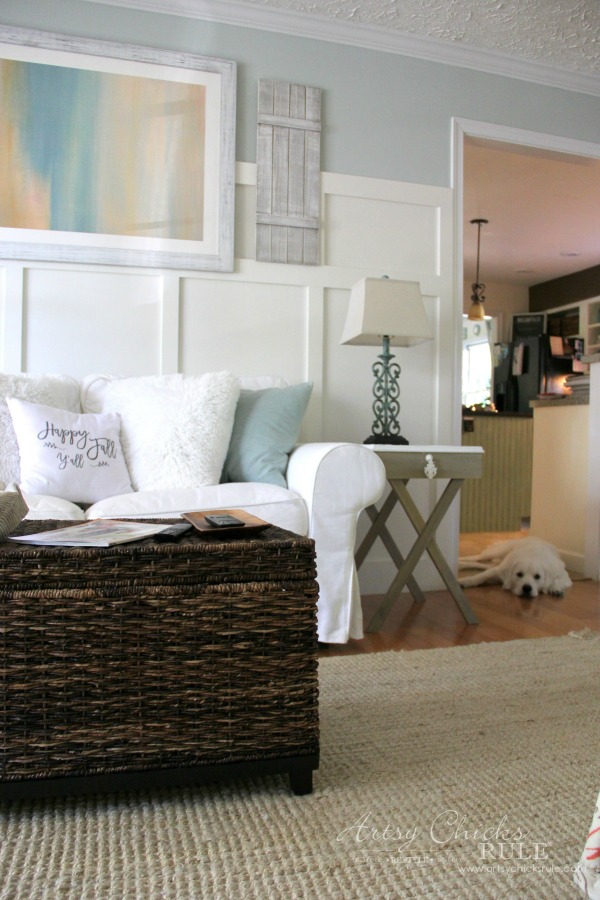
Don’t let that sweet little face fool you. ;) He was constantly underfoot while I was trying to take these photos! lol
I finally had to put him in a “down/stay” to keep his blurry self out of the photos as he milled around underneath and around me. ;)
Sweet puppy baby.
And without so you can see the top better…..
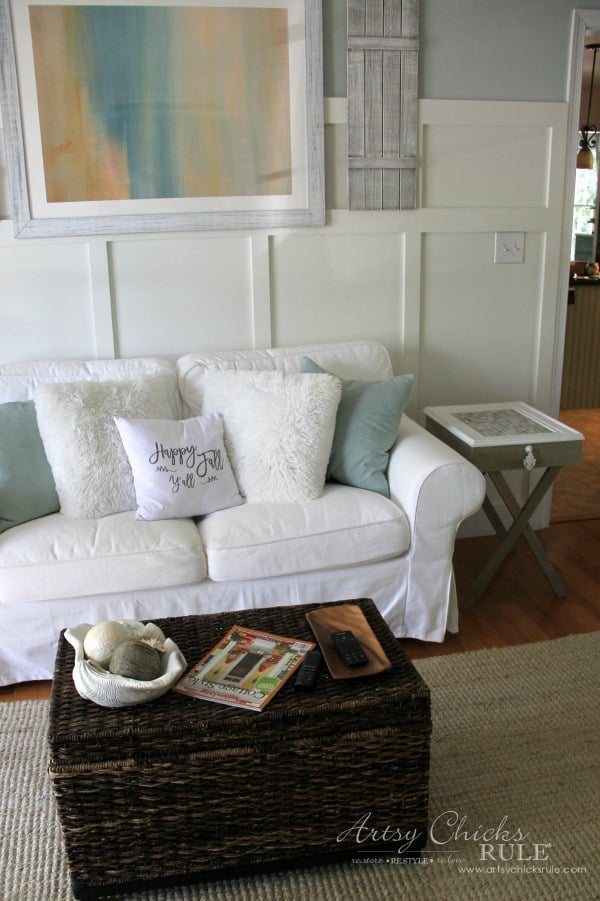
I wanted the base of the tables to look like weathered wood so used one of my favorite products….
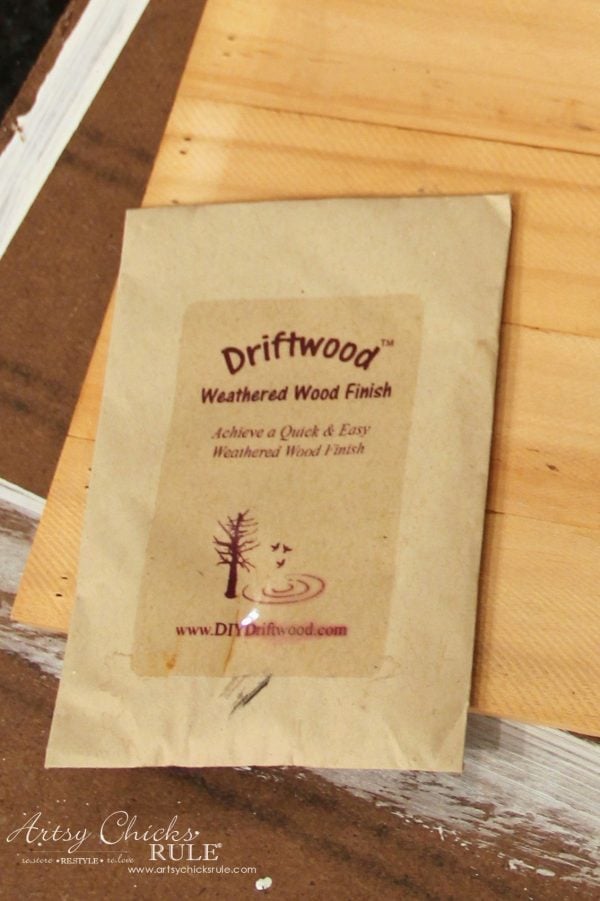
You can find it here …. (affiliate link, disclosure here) …. Best Driftwood Stain Ever!
You can see a few other projects I’ve used it on here >>>
“Grateful, Thankful, Blessed Sign”
“Give Thanks Sign”
“Weathered Wood Coffee Table”
The base wood you start with will affect the color but that’s the fun part! ;)
I also wanted them to be casual and not clunky.
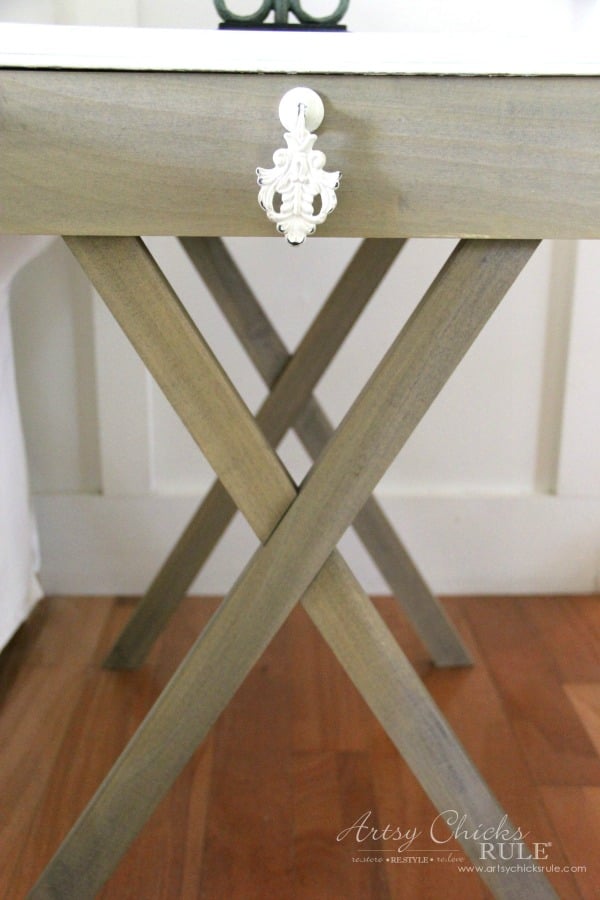
And the reason why I chose criss cross legs giving them a relaxed, open feel.
I originally thought I’d put a drawer in but wanted to keep it simple, so didn’t.
But I did include a cute handle so it would mimic a drawer.
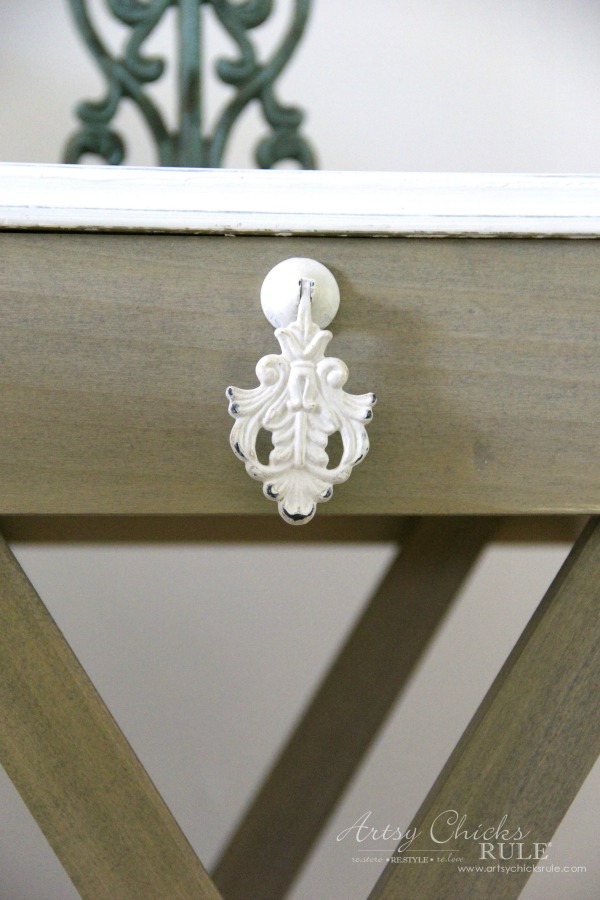
I am SO happy with how these criss cross end tables turned out!
What do you think?
PIN this so you can make some fun new criss cross end tables too! :)
Don’t forget, I’ll be back with the full tutorial at a later date. :)
UPDATE! You can see the “how-to” now, >>> here!
Now let’s see what my friends made over this month ….
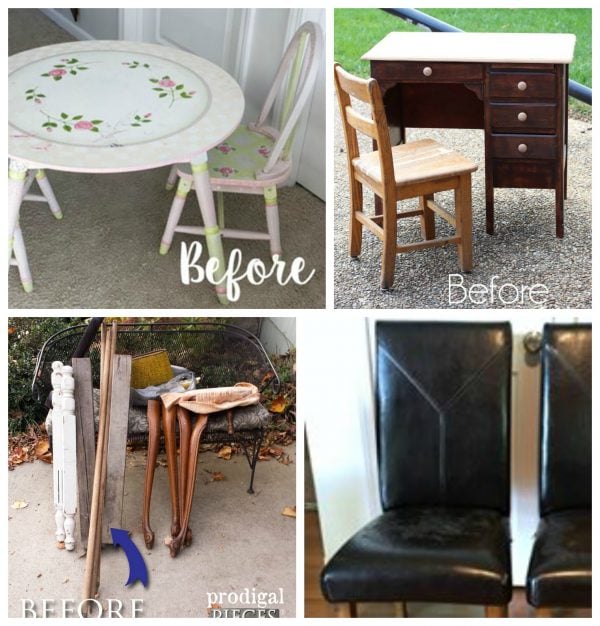
Bless’er House / Confessions of a Serial Do It Yourselfer / Prodigal Pieces / Girl in the Garage
I’ll be back on Thursday with my decorating friends. We all have something very helpful for you this week! ;)
See you then!!
xoxo

See more Trash to Treasure makeovers here >>> “Trash to Treasure“



What a fantastic upcycle! I love the simple lines and versatility of them, Nancy. The could go in any room. Kudos to you and your husband!
Thanks Larissa! :)
Beautiful result…thanks for posting!
Thanks Geri Ann! :)
Really nice. Love that finish – did I miss the name of the color you used?
Thank you.
Do you mean the gray/brown bottom half?
It is listed in the post … the “Driftwood” packet that I took a photo of. It’s also linked to the actual product right under the photo. :)
Hope that helps! :)
Thank you – I looked at the package and decided it was part of the brand name.
Sheila
This little table came out great! I love the tiled top. So pretty!
Thanks so much Randi! :)
Beautiful tables, Nancy! I love how you used the frames on top. Your space is coming together perfectly.
Thanks Jen! :)
Love how they turned out! I just got a frame and mosaic tiles to make a tray, hope it comes out as well as yours do. I recently passed up a really big frame, too big for a tray, but it would make a great table top.
The lamps are beautiful, but I agree with you that you need something chunkier in there – maybe some ceramic beanpots?
Thanks Marcie! :)
Oh fun!! Please share a photo (if you like) after you’re done. Would love to see!
Yes, I’ve already returned those but haven’t had a chance to look for more yet. Not sure what I’ll end up with there but know they won’t be that tall or then. xo
I was looking forward to this post…and you didn’t disappoint! They look fantastic in your restyled living room. Great job :)
Aw thanks Annie! :) I can’t wait to find lamps and finish styling that space! xo
Those tables are wonderful! Love everything about them! xo
Thanks Karen! :) So glad they are done! xo
Those tables are awesome, they look like you bought them at a high end store. I personally like the lamps there. I also, like you, immediately thought of adding a sign under the mirror to “connect” the art to the sofa..isn’t the rule of thumb approx 6″ above furniture to keep the art from floating? If the light hits you in the eye when you are sitting on the sofa, the lamps are too high.
Love all your projects, and thanks for posting them.
Aw thanks Karen!! That really is a nice compliment! :)
I’m not sure of the exact rule but yep, they looking like they are just floating up there and it’s driving me a little crazy. ;)
I’m hoping a sign under will look okay since I’d rather not move all of that if I can help it!!
Oh and great tip on the lamps, thanks!! xo
First of all, your puppy is adorable!!!! Second, I love, love, love the tables you made. Gorgeous!! I love them!!
Aw thanks Crystal! He’s a sweet baby. :)
And yay, thank you again!! So glad they are done! xoxo
I love your new tables. The tile work is so pretty. I personally like the art work above your new love seat. I think the height is perfect.
Thank you Bonnie! :) xoxo
Hello Nancy!
Love the tables! I use a love seat too in my space so that I can have side tables. As I’m sitting here at my computer that is sitting on an old silverware storage box that I have painted and distressed I noticed that we have used the same hardware!! How fun! I love those handles!
Thanks for all your inspirations!
Thanks Jan! And yay, for love seats and side table. :)
Oh that’s so neat about the hardware too! So pretty, I just love them! xoxo
These are SO cool!!!! I love the driftwood finish next to your beautiful new sofa! And I am loving the lamps, but I can see in that one shot with the curtains that they are fighting with that pattern in the curtains…maybe an option to a switch out the curtains to more blue tones now that the wall is painted? Just an idea…those tables are awesome!! XOXO
Thanks Christy! I’m so glad they are done!! :)
And yep, I like the lamps but just not in the room.
And nope, those curtains are staying until I get sick of them…and I’m not sick of them yet!! haha
I’m sure it’s only a matter of time. But no really, I knew I was painting the wall that color when I made those curtains.
They have several shades of blue in them but hard to see well in the photos. I know they are a little crazy and bright though.
But I muted this whole room, I need to keep a little crazy and bright…for now. ;) xoxo
Hi Nancy, I have a question; did you fill the space between the table top and the the top of the frame with mortar to lay the tile on?
Hi Terri,
I’m going to have a full tutorial upcoming on the blog. It will have all the details for everyone. :) But in the meantime, no, if you take a look at the “before” photo of the frames you can see the base for the tiles. It was glued directly to the frame and then the frame was attached to the box that is the bottom of the table.
Hope that helps! Be on the lookout for the tutorial. I’m hoping to get it in before the holidays but it may be January before I can get it done.
xoxo
Hi nancy.
Your tables are fantastic. So coastal and beautiful. I think your painting is hung sideways. Was that intentional? It is a Lise rendering of a shore line. rotate it to the left one turn.
Xoe
Thank you! :)
Actually the painting is hung appropriately. I know it looks like it’s not, I thought the same. But you can see it here, by the artist …. http://www.minted.com/product/wall-art-prints/MIN-16F-GNA/serenity
She has several done like this. I suppose it’s her take on it. :)
Such a great upcycle! I wonder if it will be cool to use tv trays and frames to get this look?
I bet you could! Great idea!! :)
The end tables look just right on each end of your loveseat. I agree with you about the lamps — too fussy. What about a pair of clear glass lamps that you can fill with shells?
Thanks Sandra! :) and thanks for the suggestion too!