Compass Rose Tray
A very easy and fun way to update your thrifty find…a compass rose tray! The compass rose is SIMPLE to create!
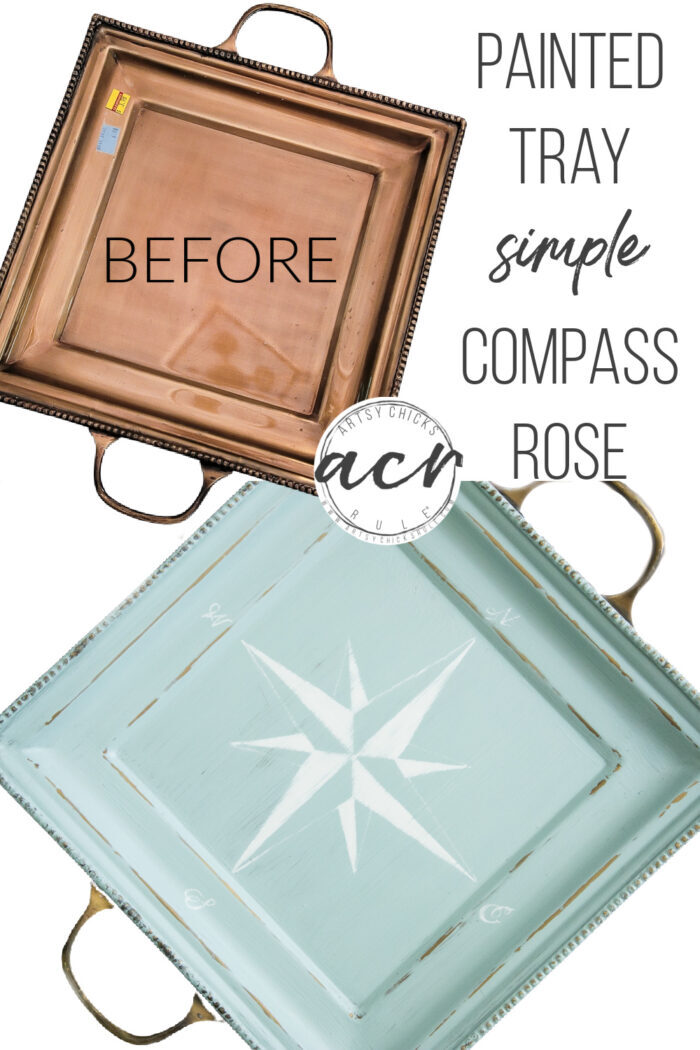
Hello beautiful friends! I hope you had an amazing weekend. Summertime is in full swing….the heat and all. We never get much actual spring around here, it just jumps right to hot. But I’m not complaining at all. Gimme all the summer days!
Today is Trash to Treasure day and if you are new around here, it’s the second Tuesday of every month that my friends and I get together to share our latest thrifty treasures. So be sure to scroll all the way to the bottom to catch theirs!
I’m sharing another one from my latest haul, (you can see my latest haul, here).
OH! And before we get going on that, let me give a huge congrats to Holly H. on winning my latest giveaway. Stay tuned for June’s. I’ll be announcing it soon.
If you are not already a subscriber and don’t want t miss it, click here to become one.
Compass Rose Tray
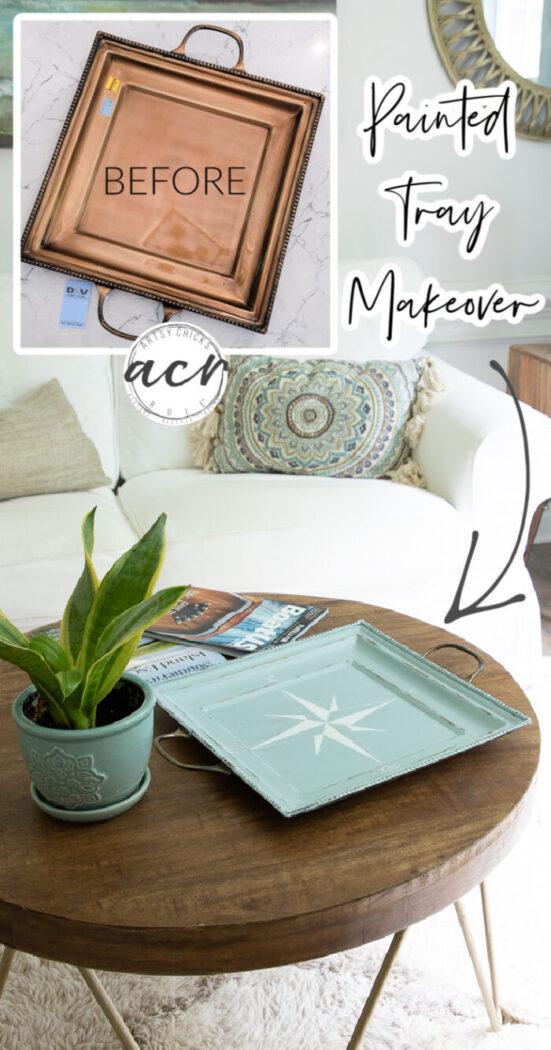
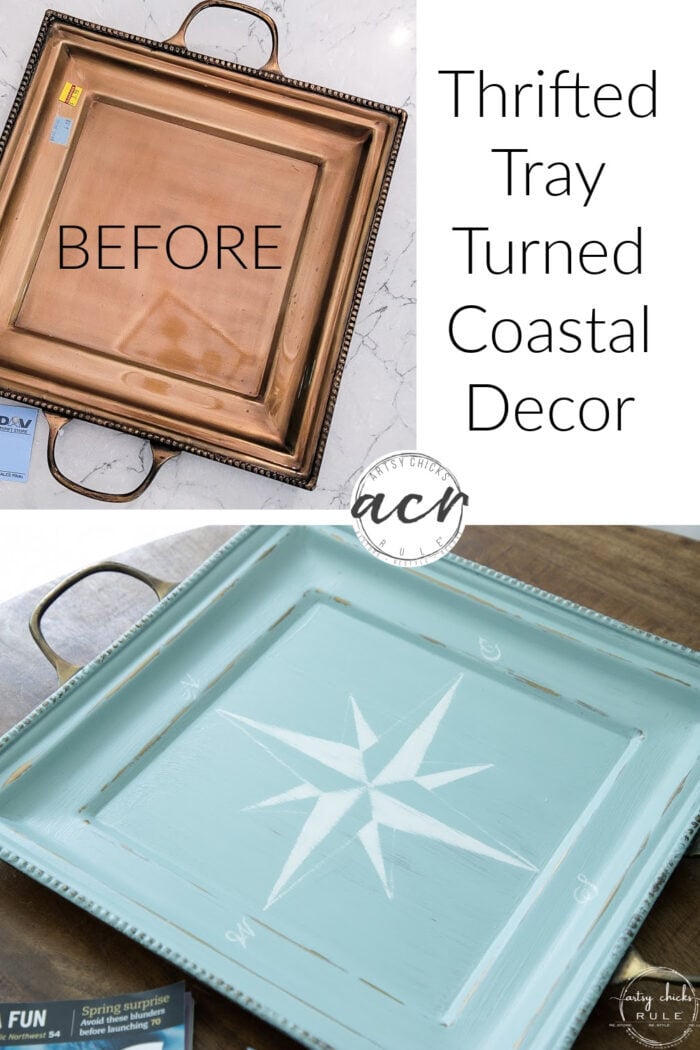
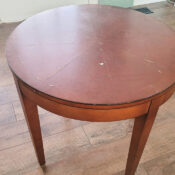
This sweet little tray was from Target (per the sticker on the back) and was not bad at all to begin with…
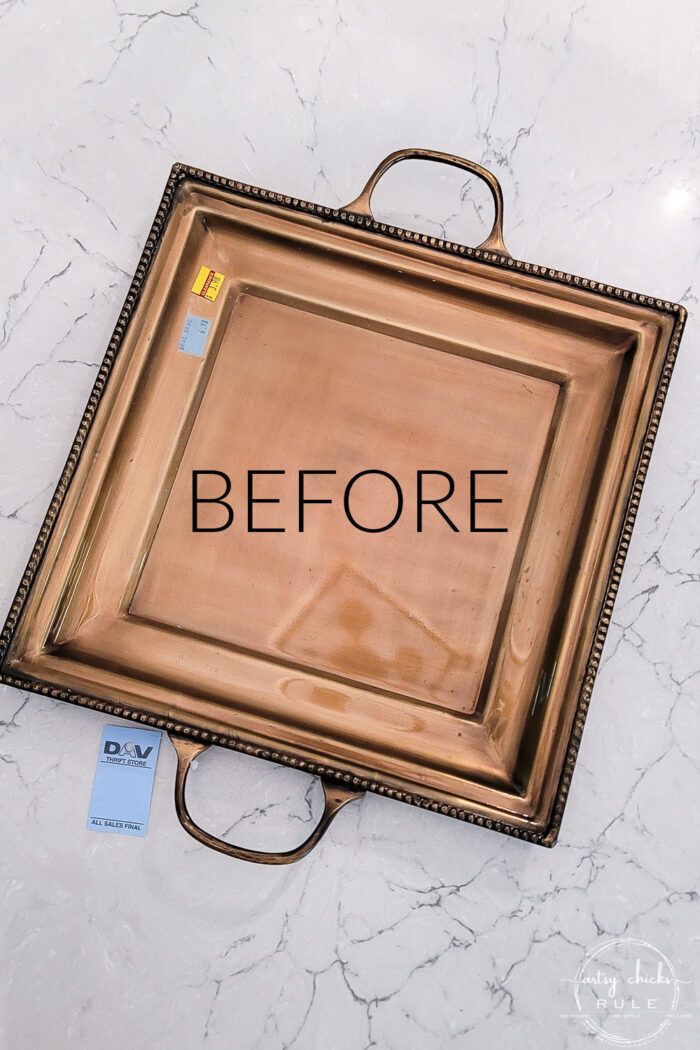
…and it was on clearance for $3.98. Win!
This is the kind of find that I think is the best. You don’t really have to do a thing with it, just bring it home and add it to your decor.
I love thrift shopping to decorate my home.
But you know I was going to change it up for y’all.
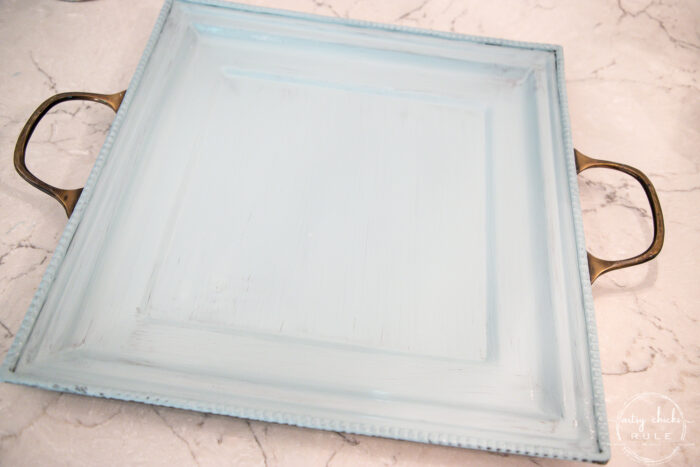
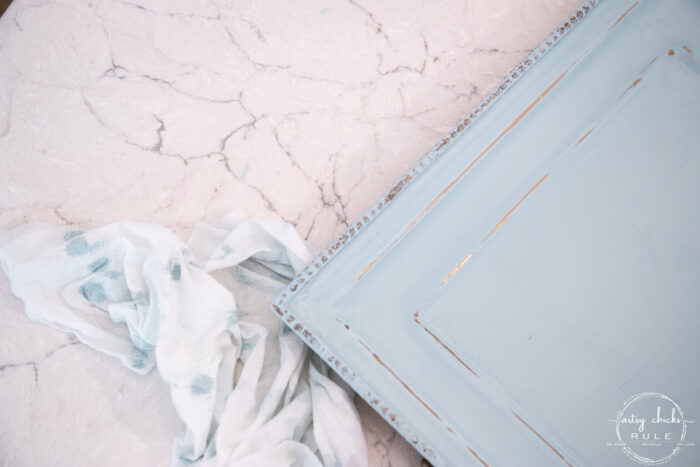
So I painted it a pretty aqua blue. (linked below)
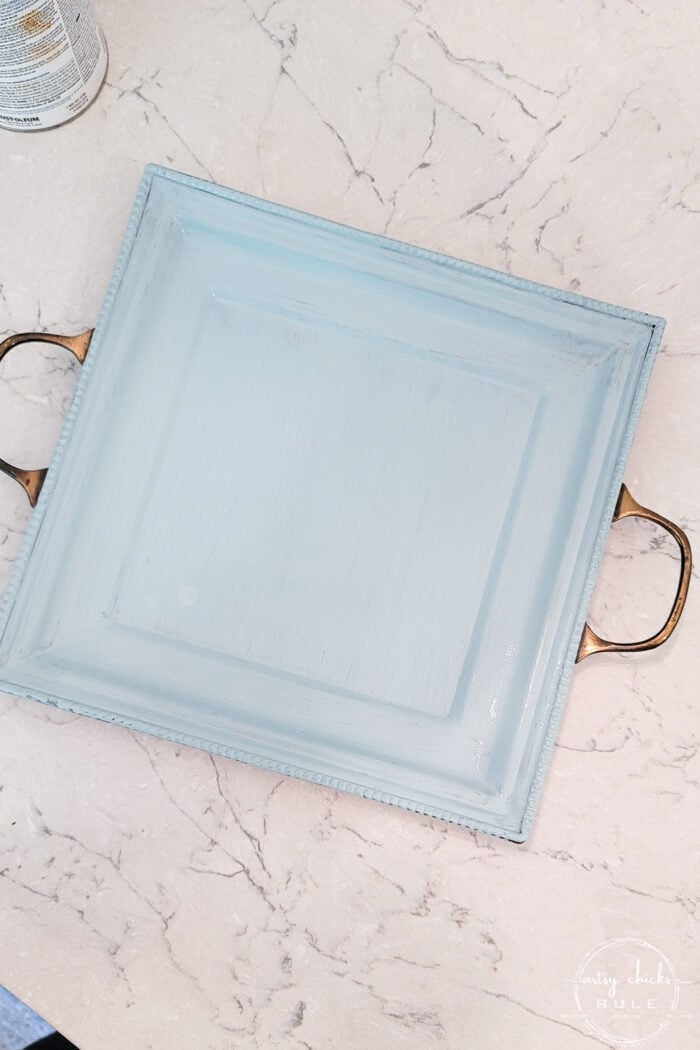
I usually love this paint but it was quite streaky and brush marking this time.
But I just decided to go with it and call it character! ;) (old, coastal, worn, etc)
Once it was dryish, I took a wet paper towel and went back over raised areas to remove some of the paint.
Then I began drawing on my compass rose. I used a white watercolor pencil and a piece of chalk.
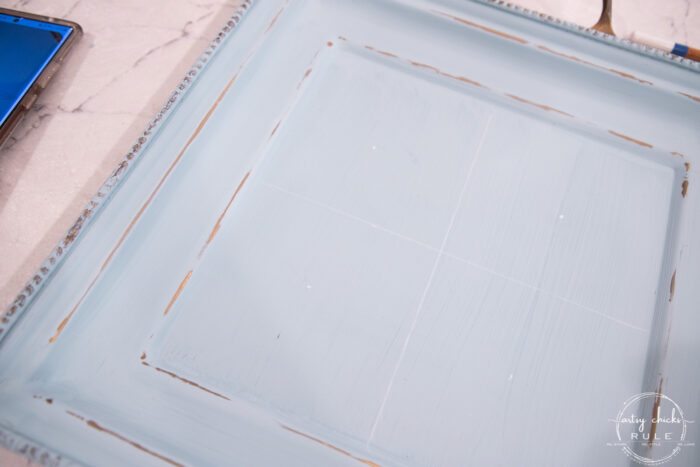
(I’m painting it white so didn’t want to use anything dark to draw it)
Want to see a few other posts on how I do this? Check out these:
- Hand Painted Compass Rose Tables
- Modern Masters Metallic Paint Makeover (a little different compass rose…my favorite)
I created the first set of lines and then started making the “triangle” sections.
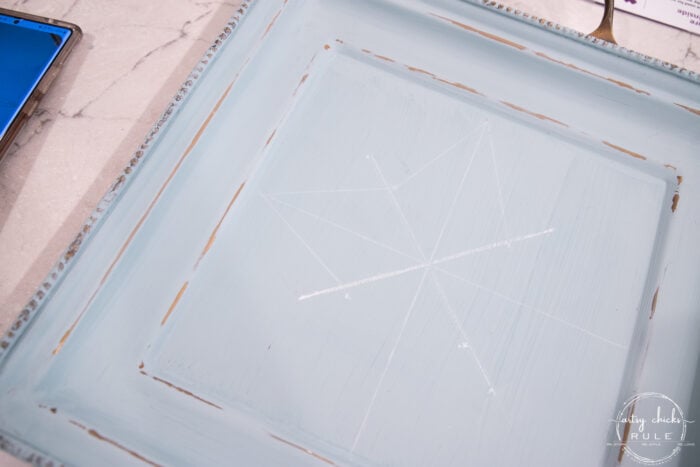
But I wasn’t loving how fat I was making them. So I gently washed those away and began again.
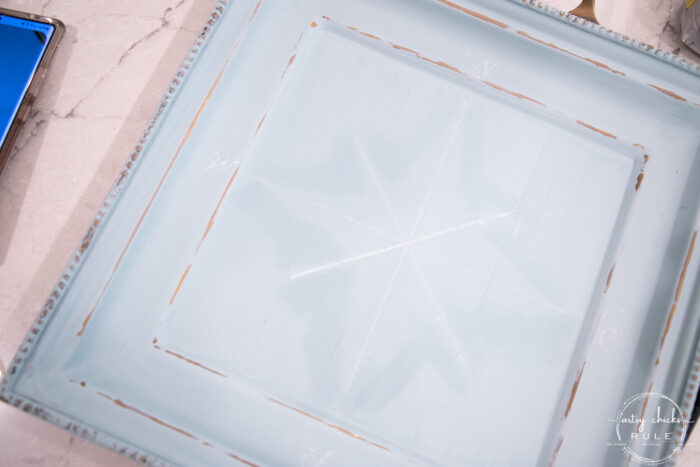
Much better!
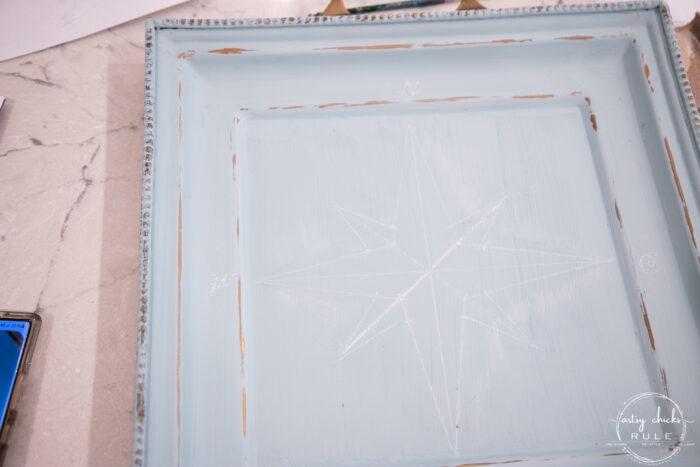
Now I just need to paint it in.
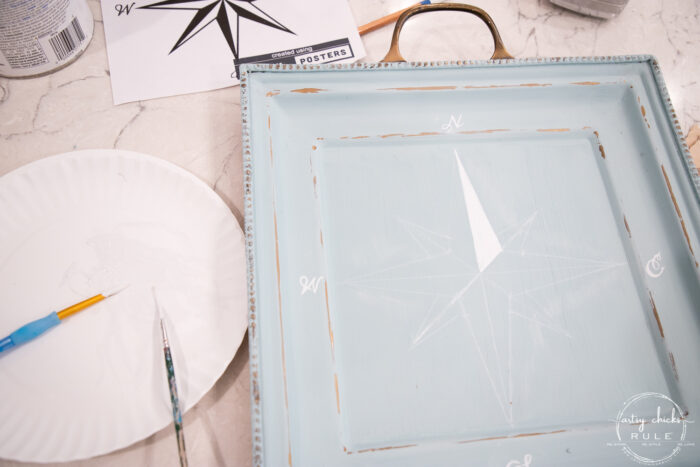
I printed out the printable from this post to create these letters. (N, E, S, W)
I rubbed the chalk on the backside of the paper and transferred them.
You can see how I do this and several other transfer methods in this post >>> How To Transfer Graphics
Once I was done and it was all dry, I lightly sanded it all to distress it a bit.
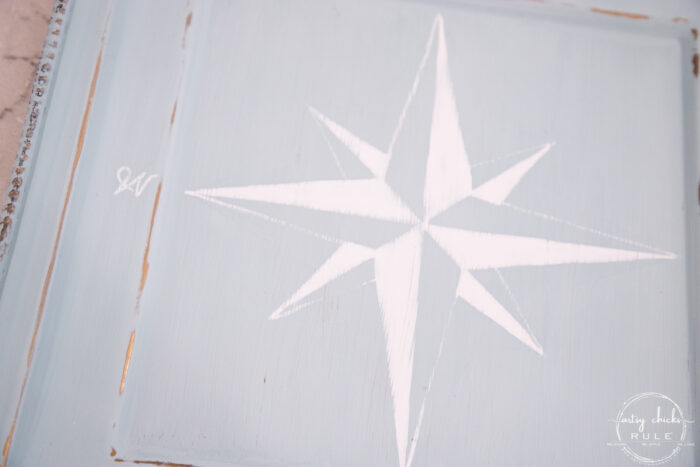
I used my new favorite top coat to seal it. (this stuff is called tough…and it is!)
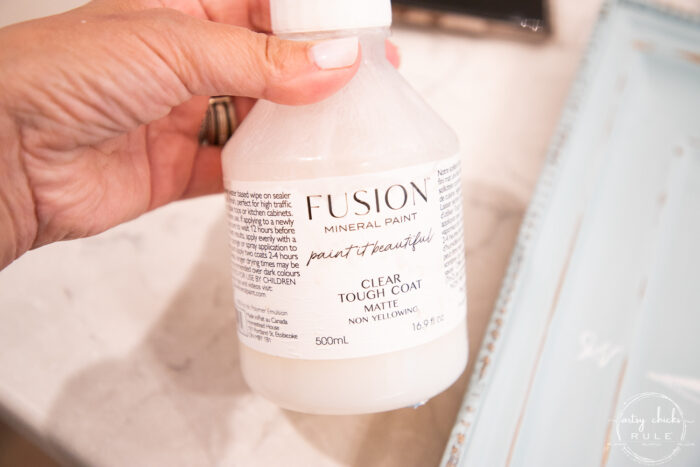
MATERIALS LIST
And done!
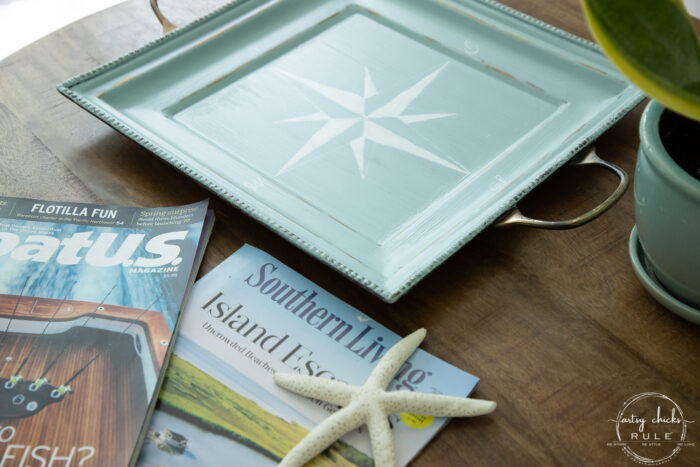
It does have that perfectly, imperfect weathered coastal look.
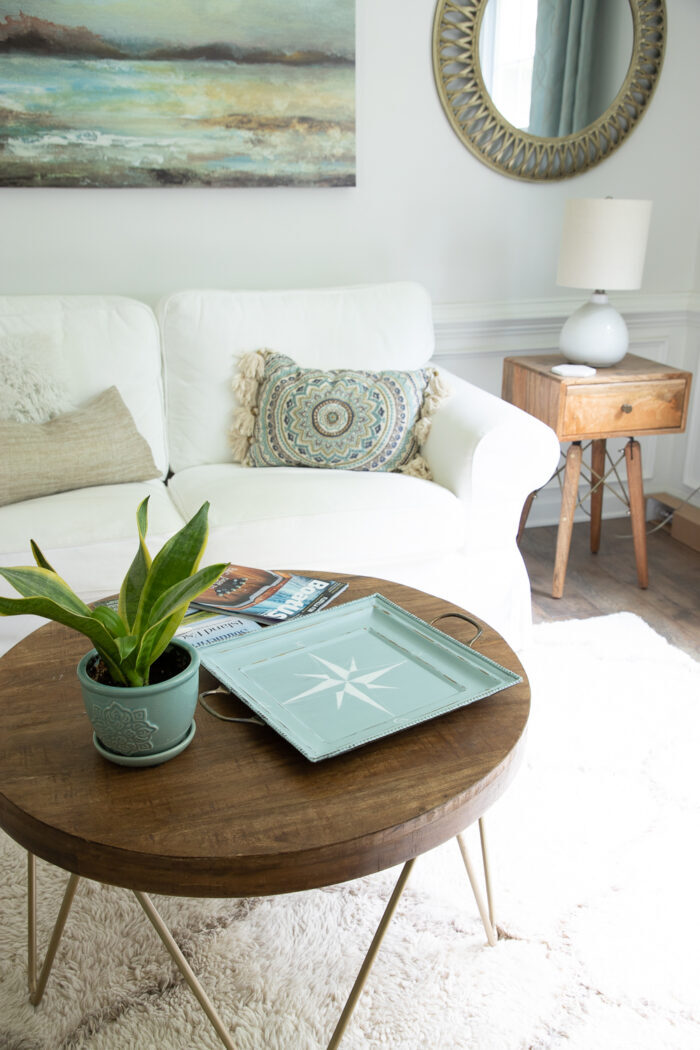
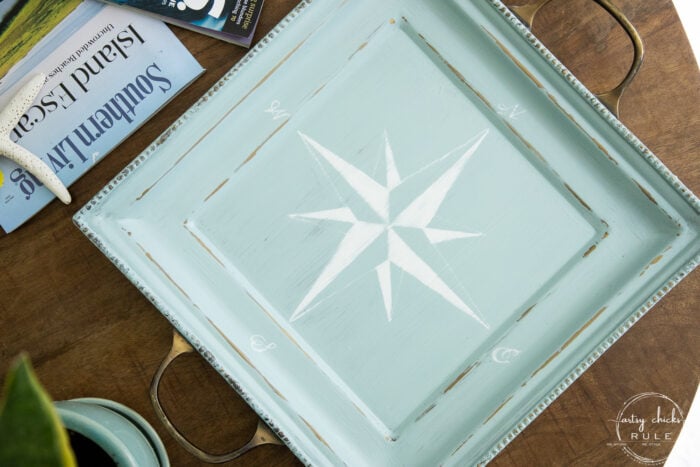
As you can see, I left the handles unpainted and I love them.
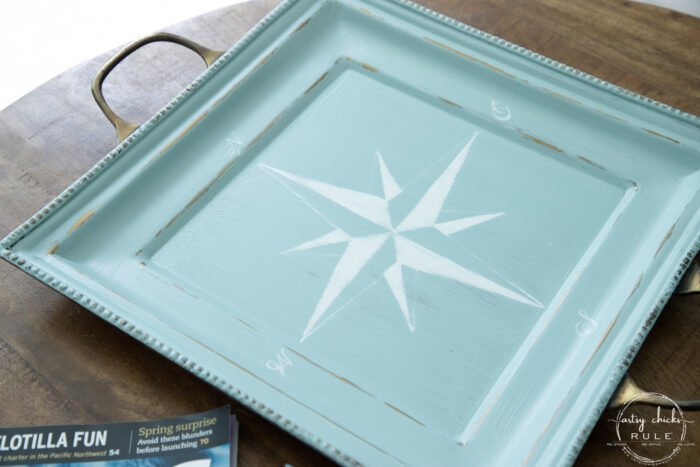
A very simple update for this one! Even the compass rose. Anyone can do that!
PIN it to save it!
Don’t forget to hop over and visit my friends! (linked below)
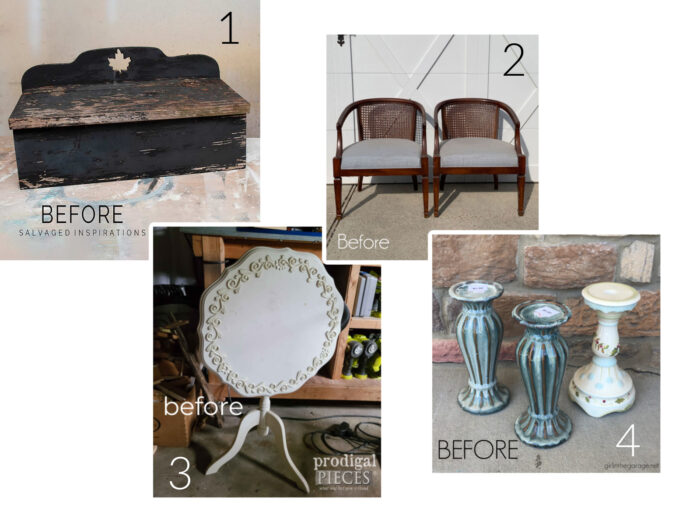
- Salvaged Inspirations – Denise
- Confessions of Serial DIYer – Christy
- Prodigal Pieces – Larissa
- Girl in the Garage – Jen
Want to see more? Check out the Trash to Treasure archive here >>> Trash to Treasure Transformations
Have a wonderful week! I’ll see you on Thursday!
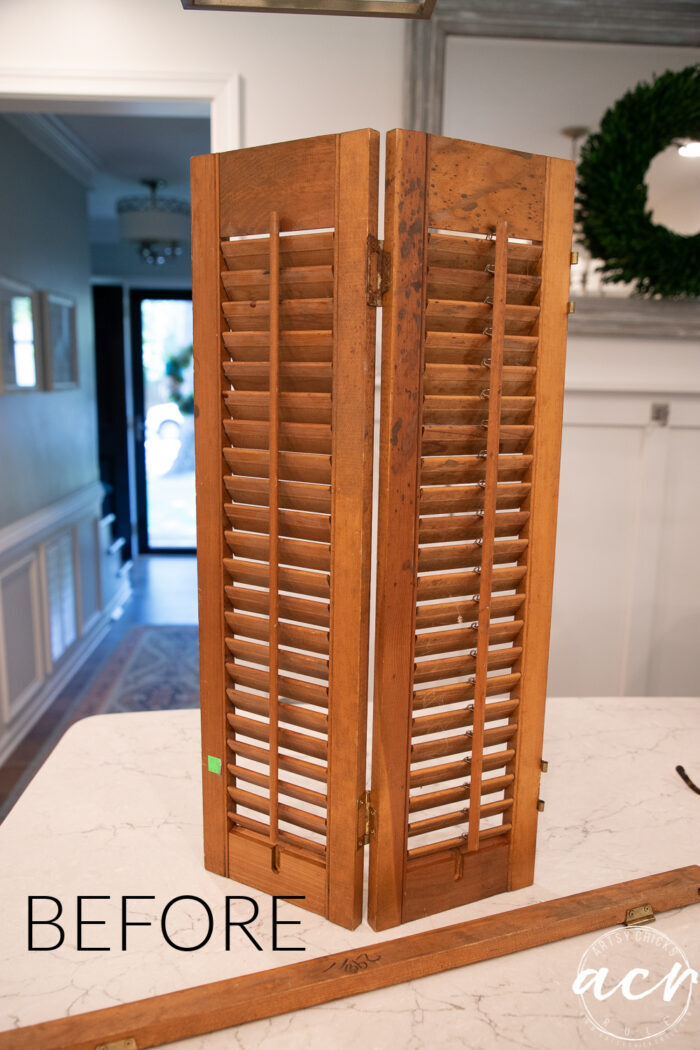
UPDATE!! See it now here!
xoxo




Looks so good now, Nancy. Love the color. 💙
Thank you, Larissa! xo
Super cute Nancy and that tray was a steal! Beautiful job creating the compass rose!
Thanks, Christina!! :) xo
Beautiful compass rose I do believe I’m going to give it a shot and create myself one.
Oh yes, do!! They are easier than they look to make! :) xoxo
I love the new look, Nancy! It would fit right in in our house! And, I can’t believe you sketched out the compass rose by hand…it is just perfect! XOXO
Yes, it would!! lol Thanks, Christy! xo
I’m with Christina…steal of a deal for that Target Tray and I love the compass idea! Looks amazing Nancy! XOXO
Thanks so much, Denise! xo
So pretty! Did not have a clue of the size until I saw it on the table. Great tray size! Love it
Oh yes, thank you, Vicki!! xoxo
Love the makeover! Better in aqua than the original. Thanks for sharing again how to draw and paint a compass rose. That addition really makes the tray pop! Have a great week.
Thank you, Sue! I hope you do too!! xoxo
Love this tray!
Thanks, Nancy! xo
I love this Compass Rose Nancy! I didn’t even know they were called that. I checked out and pinned your tutorial, it really doesn’t look too difficult and I have just the table to do it on!
Oh no, it really isn’t difficult at all. Just drawing lines!! :) xo
I love the Compass Rose ! I also did not know that was it’s name. ;)
Great instructions. Thanks for sharing.
It turned out Great !!!
p
Thank you, p!! Have a great weekend!!xo
So cute. Love the color!
Thanks, Lizzy!! Hope you are having a great weekend so far! xo
Super cute, Nancy! I love the coastal style of it. :)
Thanks Jen!!
Thanks again Nancy, I love everything you sent me!! I can’t wait to try them out! Love the tray, I can’t wait for your next blog post. I check my emails every day for them, along with your trash to treasure crew! Do you have any suggestions of other sites I could visit? Holly H. 😊
Congrats again!! And you are so very welcome, Holly! Yes, I will put together a list of some I think you might like and send to you. :) xo
All your compass roses are lovely but with the pretty blue on this tray, the compass rose is perfect. Can’t wait to see what you’re giving away this time!
Thanks, Cecilia!! June is going to be a fun giveaway!!😁 xo
WOW, Nancy! That tray is so perfect where you placed it – just works wonderfully with your vibe there!!!! Well done – that compass rose had to be difficult to figure out.
Great sized tray, too and you got it for a steal!
Hey Michele!! The first time I ever created one I think it was but they are really easy .. Just drawing lines!!☺️ Thank you my sweet friend!! Happy weekend to you! xo