Best Heat Transfer Vinyl For T-Shirts and More!
The best heat transfer vinyl for t-shirts, totes, pillows, and more!! Overall favorite brand that beats them all hands down!
Hello friends!
For Halloween, I needed to make something that used heat transfer vinyl. I’ve used several different kinds in the past but don’t have any currently. None that I really loved. So I went searching for some on Amazon.
I researched and found some and decided to give it a try.
And I loved it! It’s really the best one I’ve ever used. So I decided to create some fun new printables/graphics for you so I could share this new heat transfer vinyl with all of you.
Hope you enjoy the things I made using the best heat-transfer vinyl I’ve found!
(be sure to scroll all the way to the bottom for the “and more”!)
I also want to say congratulations to Karen, Donna, Nancy, Mary, and Karen on winning the $500 ($100 each) giveaway!
Best Heat Transfer Vinyl
Here are the printables/graphics I created for you.
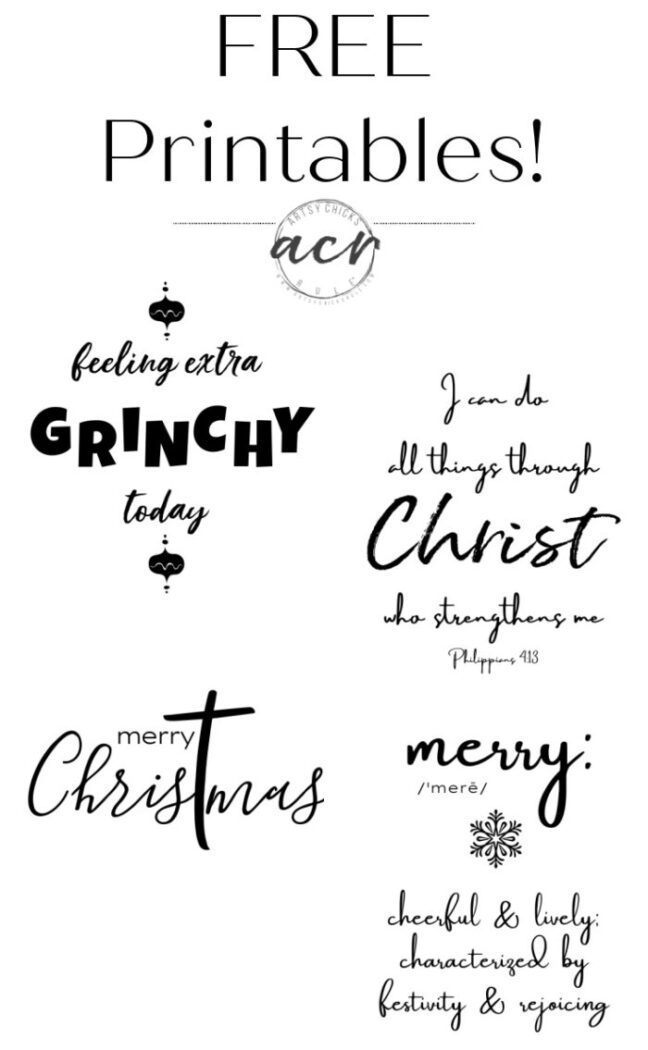
Want these free graphics/printables?
All of my graphics are free to my subscribers. Not a subscriber yet? No worries, you can become one right here. >> Welcome!
Then hop on over here to download! >> Download printables
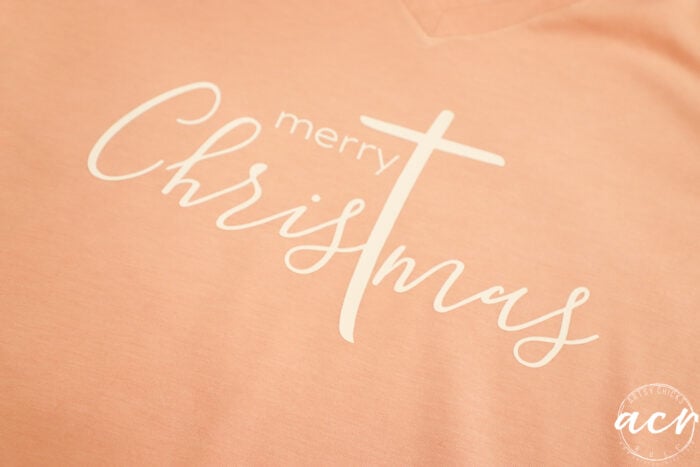
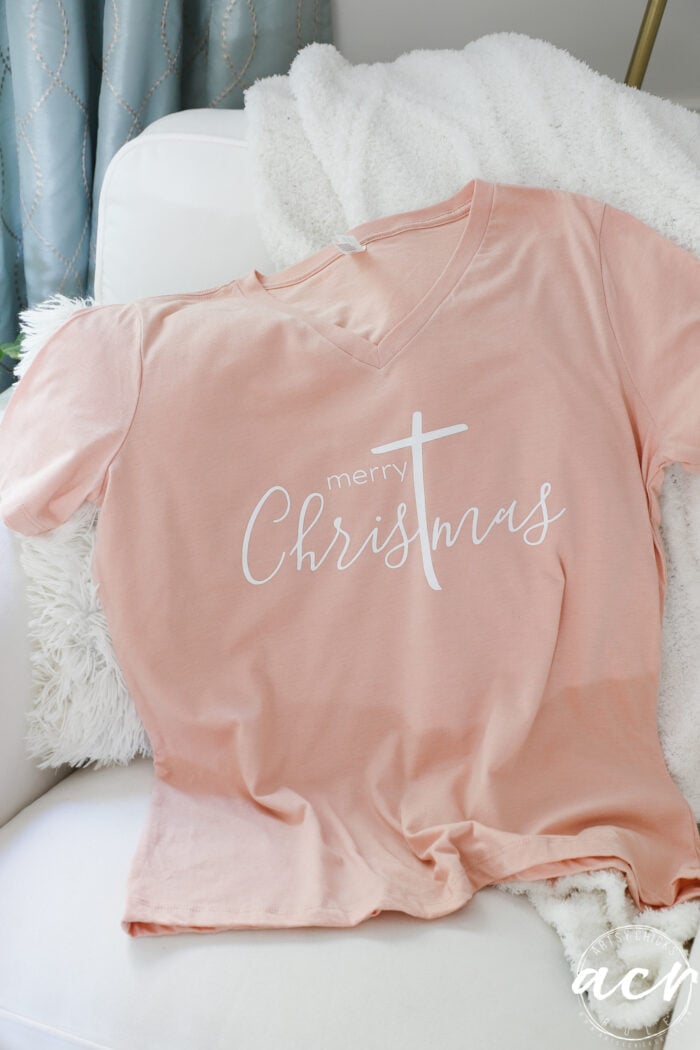
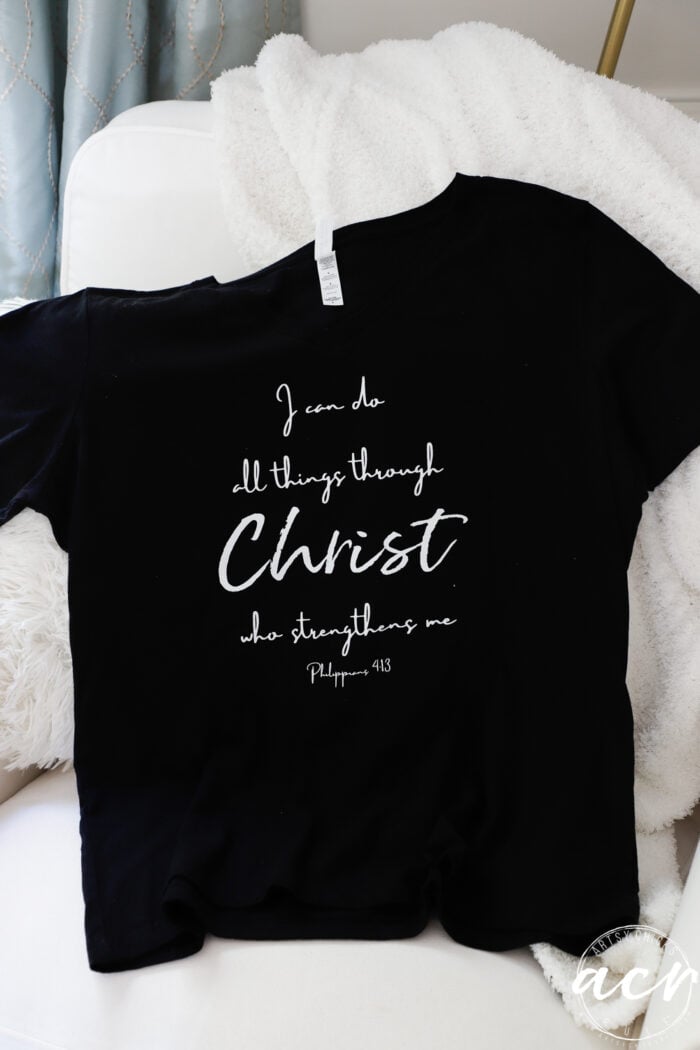
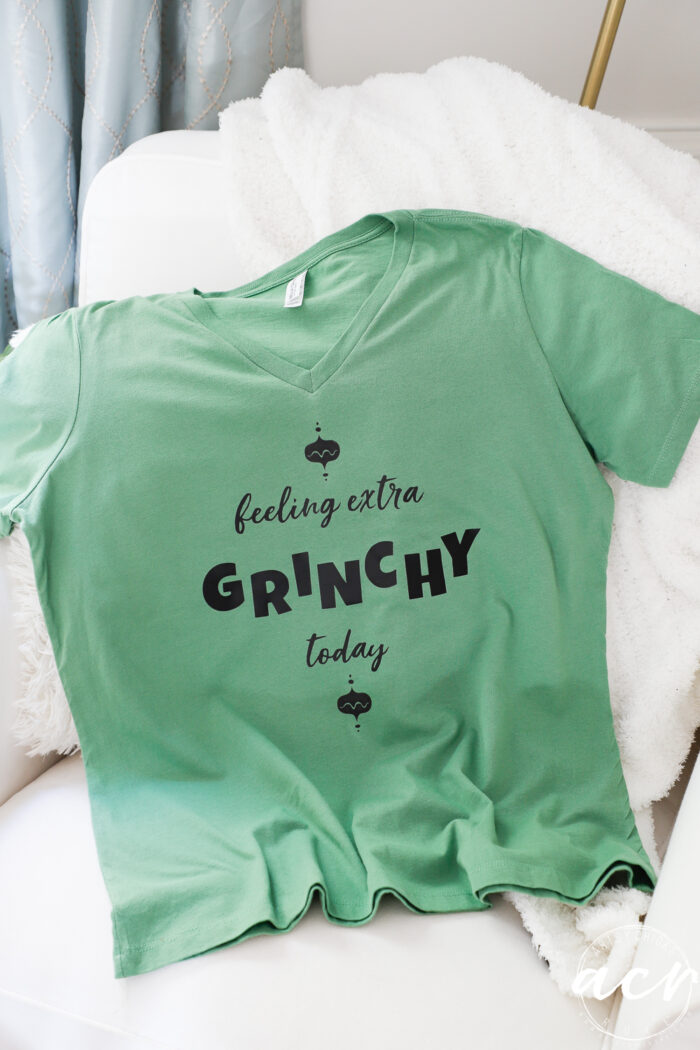
MATERIALS LIST FOR CHRISTMAS TSHIRTS
I found some shirts at Michael’s. They are “Bella Canvas” brand which is usually my favorite type of Tshirt.
You can also find these online here and here.
I love how these turned out so much! This heat-transfer vinyl is the best.
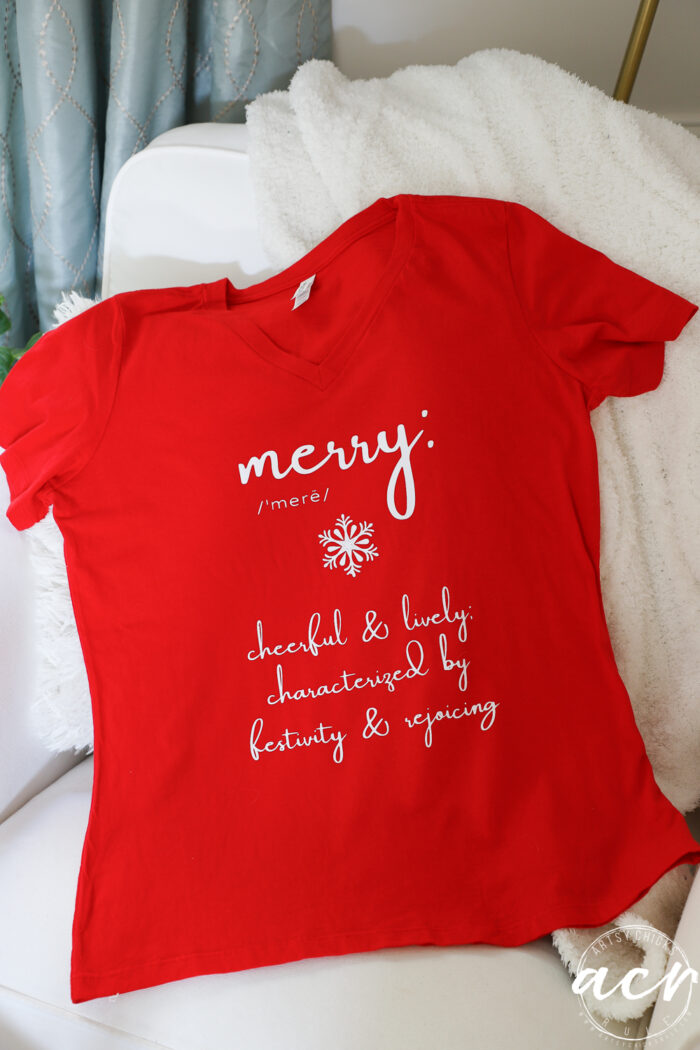
You can find the heat transfer vinyl here >>> Black Heat Transfer Vinyl and White Heat Transfer Vinyl
I used my old Silhouette Cameo. I think it is the original and they are onto about series 5 now!
It still works great so I have no need to update at this time.
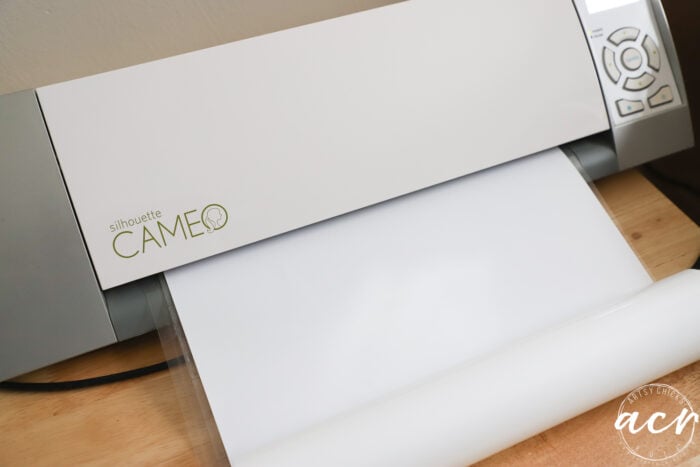
Here is a great Silhouette Cameo Bundle if you don’t have one yet, though >>> Silhouette Cameo Bundle
They have other versions if you want to save a little and go with an older model. As I said, mine is old and I don’t think they even sell it at all anymore but I love it and it still does everything I need it to!
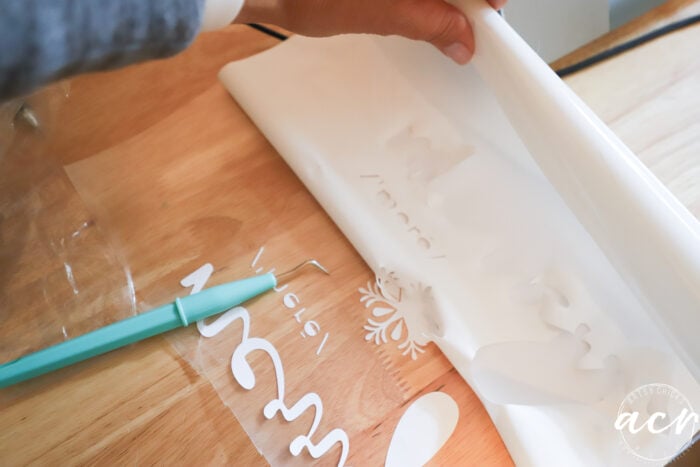
Once everything was all cut out, I simply weeded it with the tool that came with the vinyl. (that was a nice bonus!)
By the way, weeding is when you pull the excess vinyl away/off.
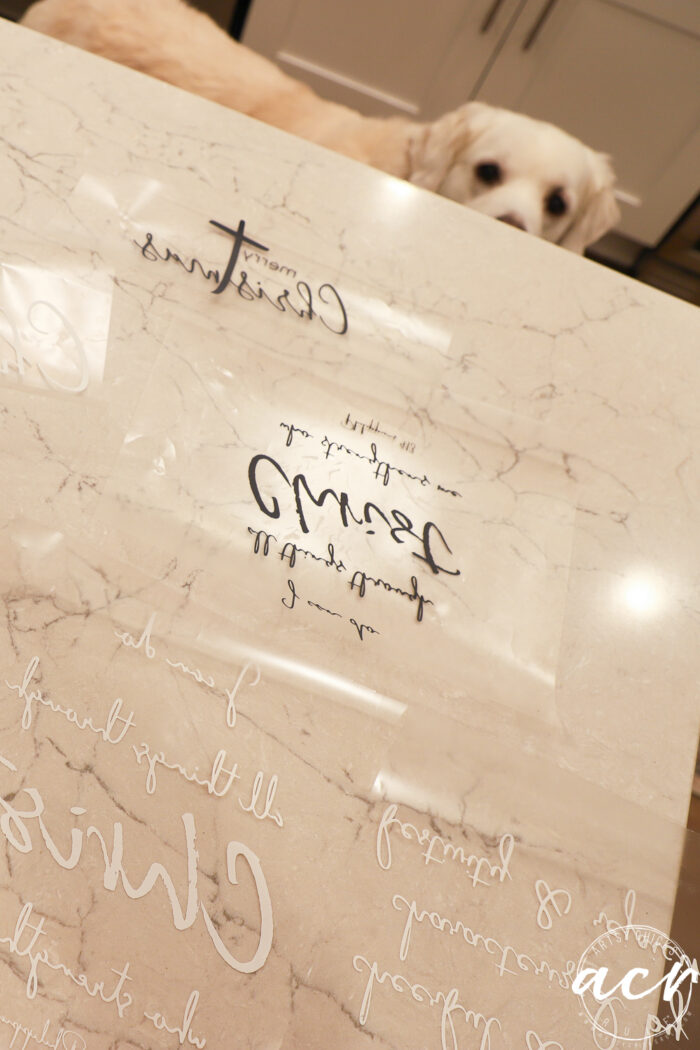
Here they all are here, all weeded and ready to be ironed on. And my photo bomber over there! ha!
The directions say it takes 10-15 seconds. I say it took a bit longer than that!! lol
Just for your FYI.
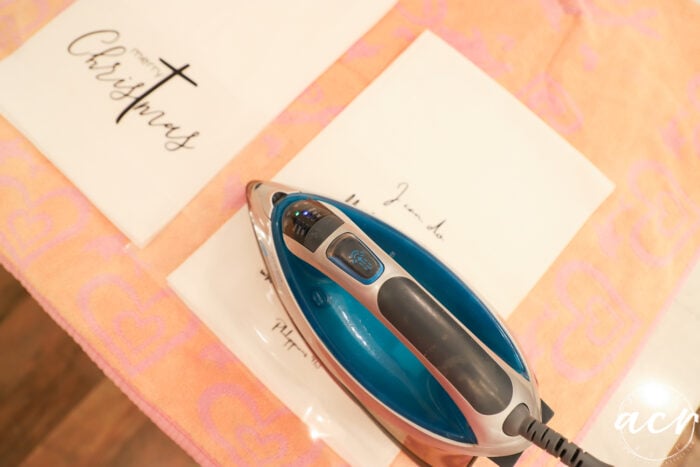
I actually did this process… peeled the protective clear sheet off once it was stuck (or mostly stuck) then put a piece of parchment paper over it and ironed again to get it good and hot…and stuck!
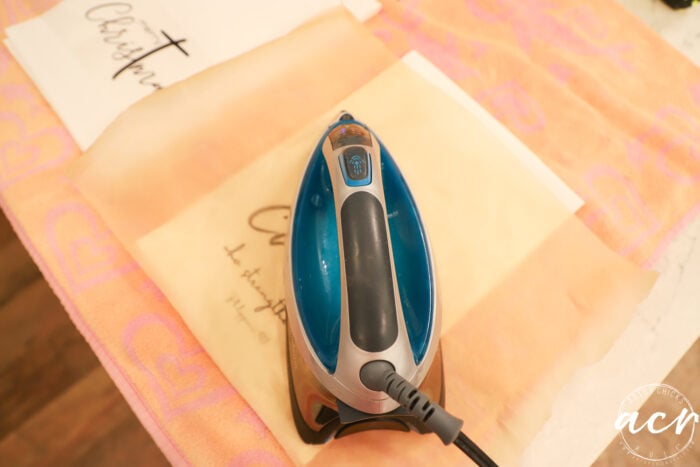
The directions didn’t tell me to do this but I found that it worked really well to get the transfer into with the fabric.
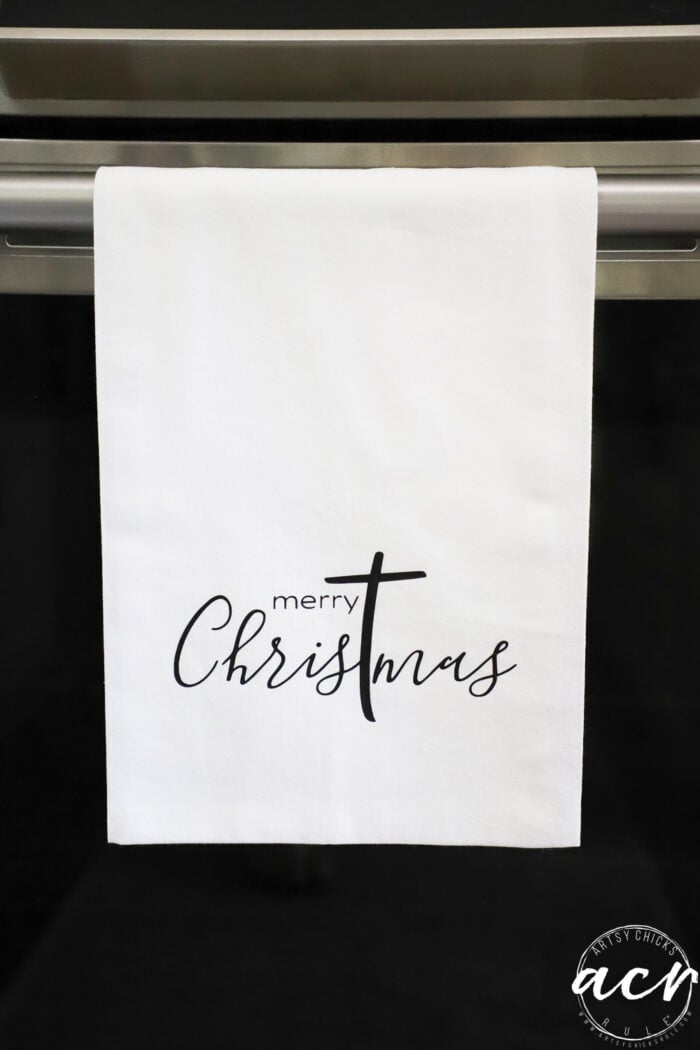
I made some tea towels first.
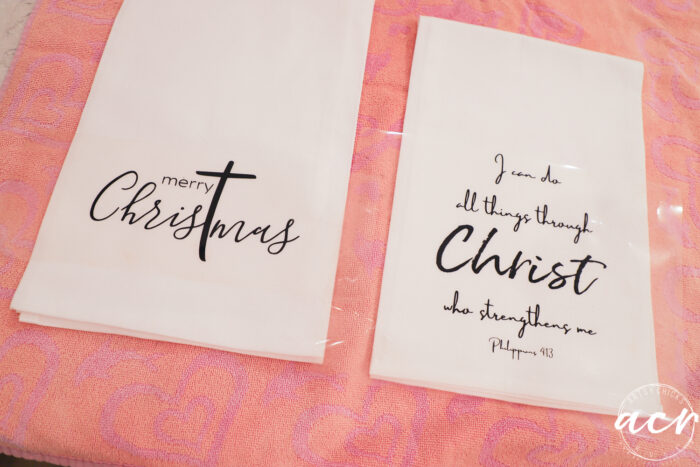
They turned out great!
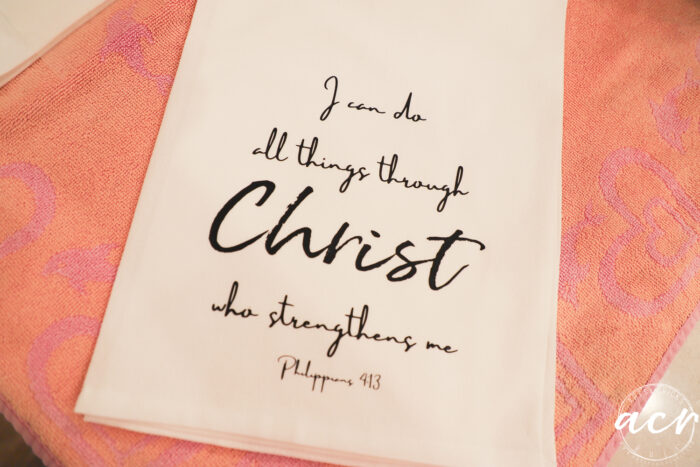
I love how all of the tiniest of tiny pieces cut and transferred so very well.
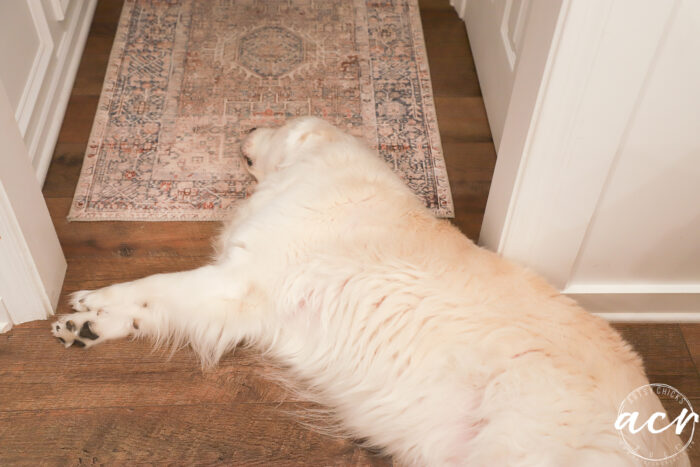
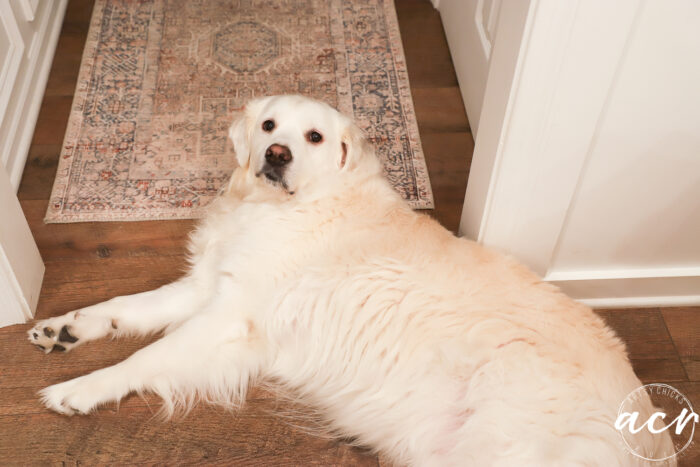
I also had a helper or two.
Hee hee…hi Mom!
And this one…
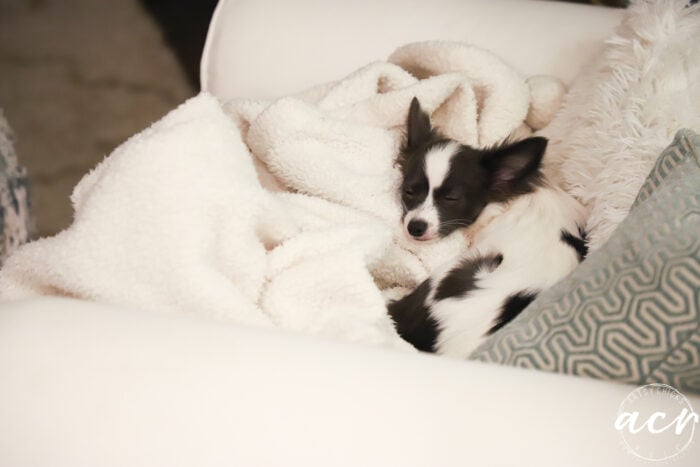
Why do you keep waking me up, Mom?

Because those eyes are so pretty, Piper! lol
Anyway, they didn’t help much but they sure are great company!
Here you can see how it looks as you peel the protective clear sheet off.
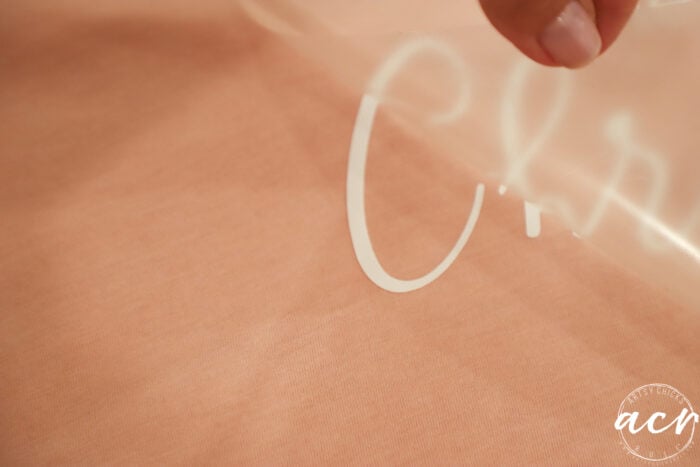
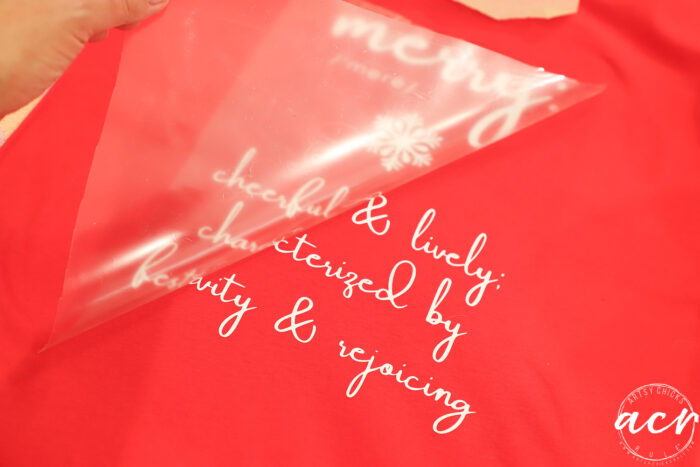
And done!
I had an “oops” here. I didn’t see all the extra cutouts inside the snowflake vinyl section until after I hit it with the iron! Bummer!
But I’m okay with it.
I thought I’d go ahead and try it on this Dollar Store knit hat too.
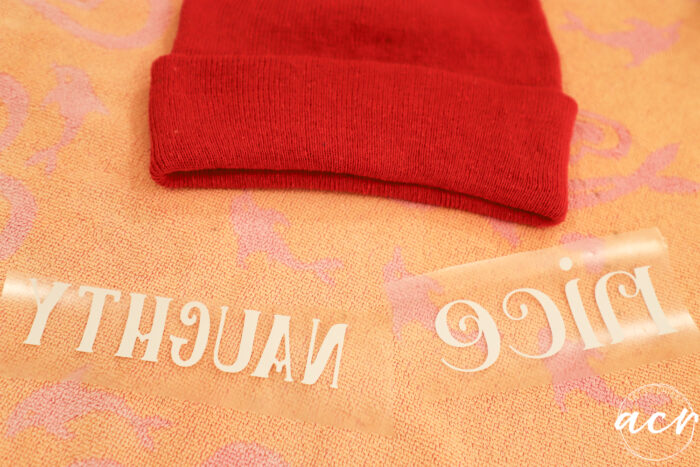
It’s kinda stretchy and I wasn’t so sure how well the vinyl would stretch and move.
But it stretched so well!
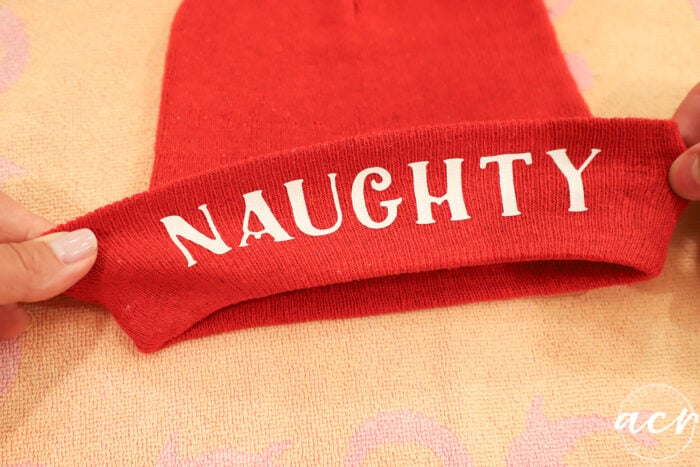
It just kind of becomes one with the fabric. This is really great stuff! Highly impressed.
Here they are all finished.
And the two white cotton tea towels…
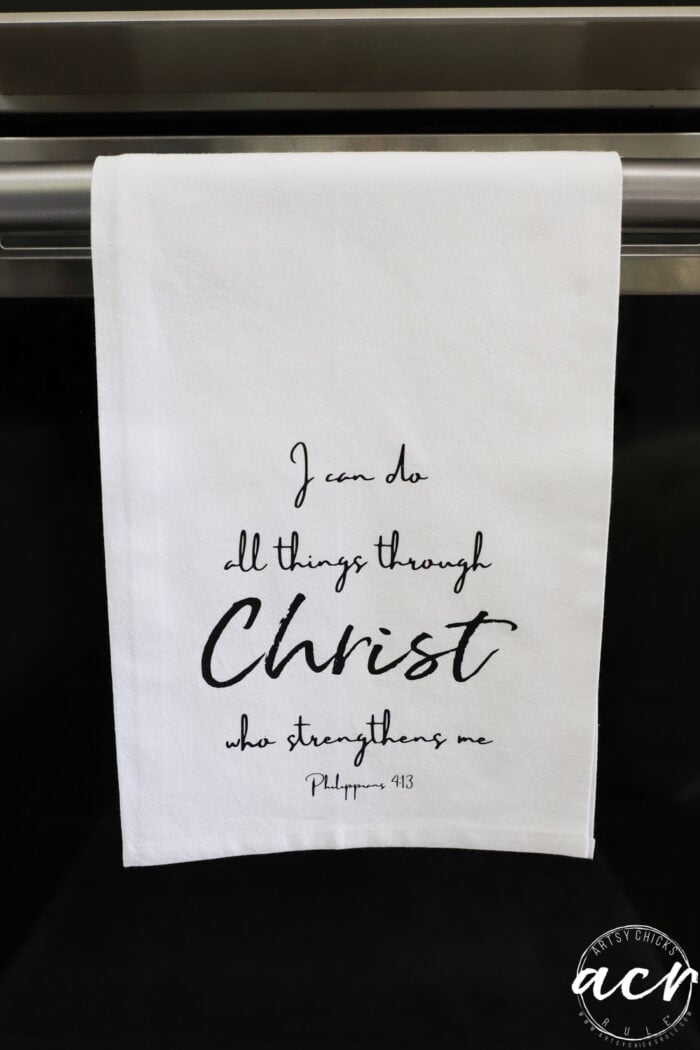


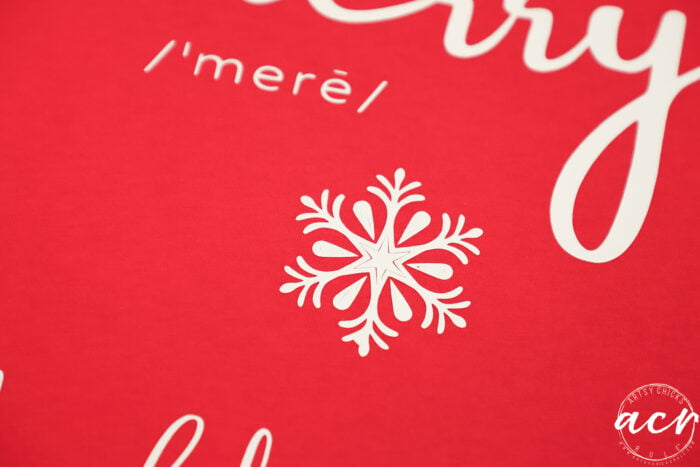
I took a few shots to try to show you up close how well this vinyl “goes into” the fabric.
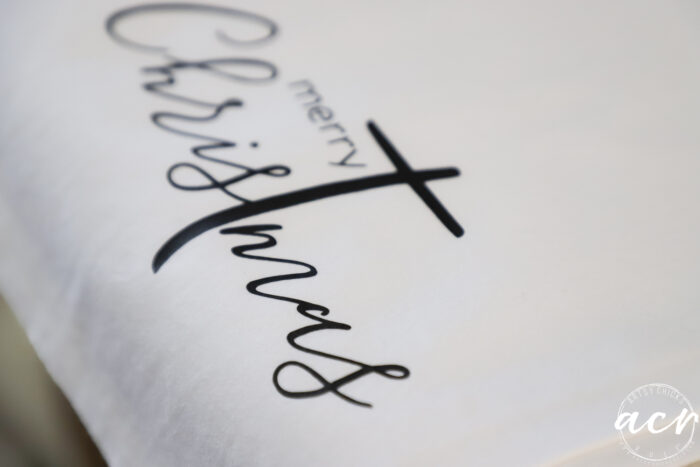
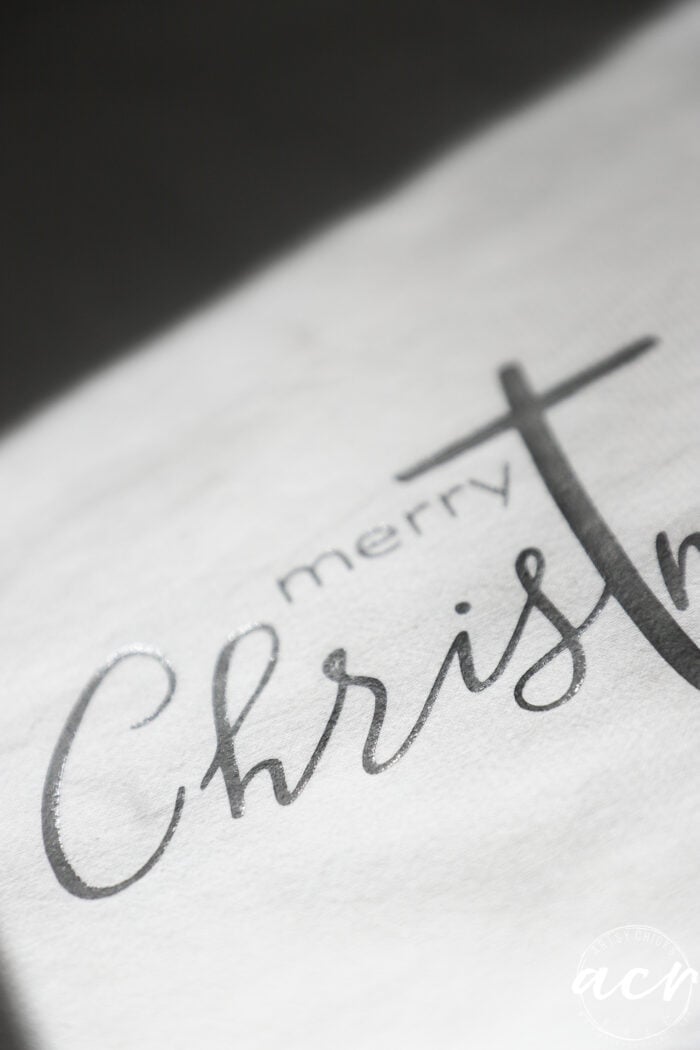
Hopefully, that shows how well it bonds and becomes “one with” the fabric. Good stuff!
Have you ever used heat transfer vinyl?? I love it and this one is definitely my favorite one so far!
Give it a go!
PIN it to save it!
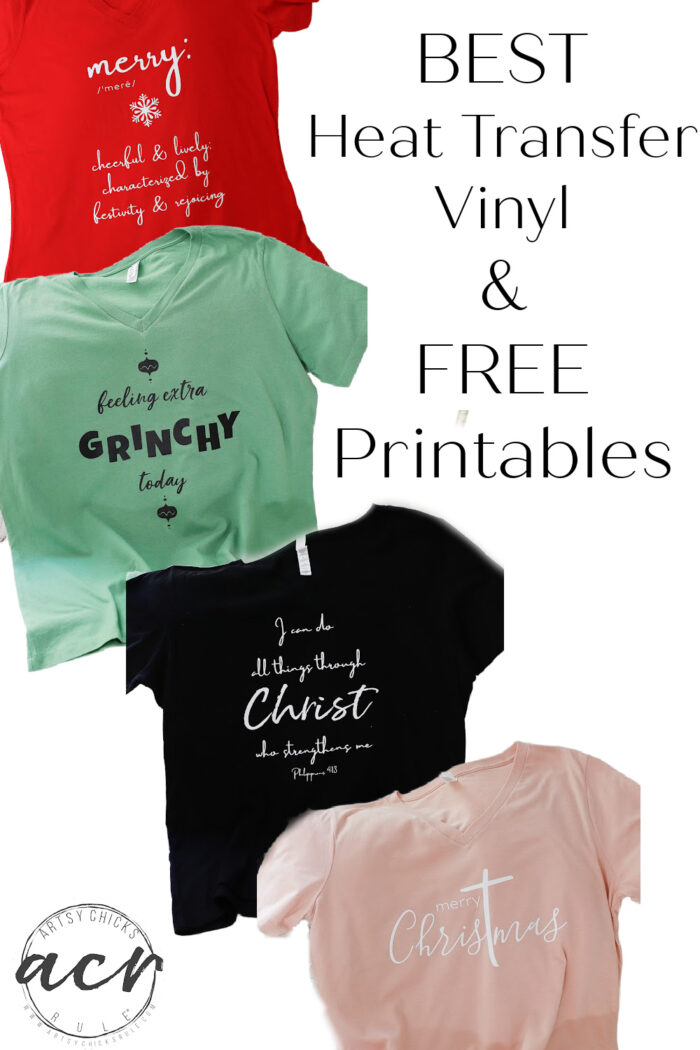
But if you don’t want to make your own. I decided to add these designs to my shop! I created t-shirts in various colors plus a bunch of other new products too! Pillows, totes, bags, phone covers, etc. Go by and take a look!
I hope you have a blessed and wonderful Thanksgiving, sweet friends!!
xoxo

")
")
")

")

")


Link to black/white vinyl not working for me?
Sorry about that! I’ve fixed it all up for you! :)
These are awesome!! I’ve never tried hear vinyl before, but this makes me want to! Happy Thanksgiving, my friend! XOXO
I’m so impressed with this vinyl! Now I want to make all the things! lol Happy Thanksgiving to you too!!❤️ xoxo
Oh my goodness, Nancy@!!!! These are incredible!!! They look absolutely amazing. Thanks
so much for this tutorial! I drooled over that beautiful light pink Merry ChrisTman vee tee.
I’d buy that fast if I saw it in a store.
I may need to try this one day. Or ask my children to for me, lol.
Happy Most Wonderful Time of Year! ♥
Thanks, Michele! I really loved this vinyl, looks like a professionally made shirt, etc! Happy back at ya! xo