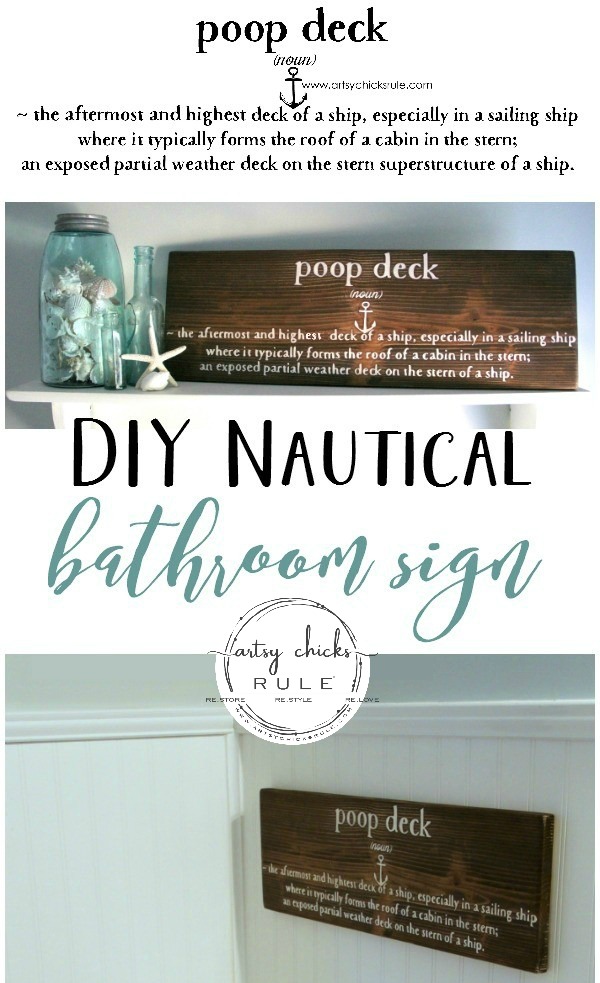
DIY Nautical Bathroom Sign (& free printable!!)
Poop deck sign…..or DIY nautical bathroom sign, whichever you call it, it’s fun!
I’m sharing a fun little sign for my bathroom makeover today.
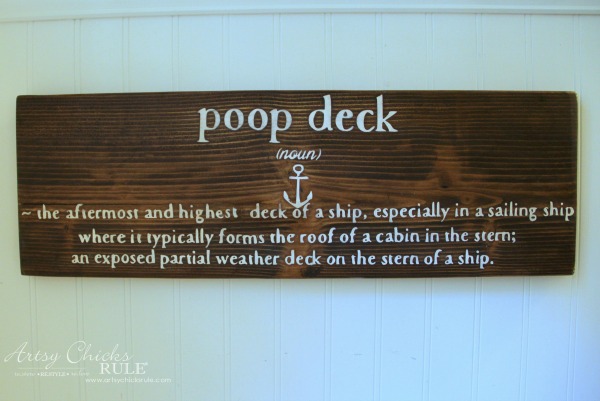
Yep…. a DIY Nautical Bathroom Sign aka …. POOP DECK Sign.
Hey, it is a nautical term, ya’ll.
And I didn’t exactly come up with it on my own.
I was doing a little search in google for ideas for a “nautical bathroom sign” and what do you think I found?? Ha!
Yep.
And how could I resist? I couldn’t.
I like to have fun and we are pretty lighthearted around here so the “poop deck” sign won. ;)
I can’t wait to have guests over. hee hee
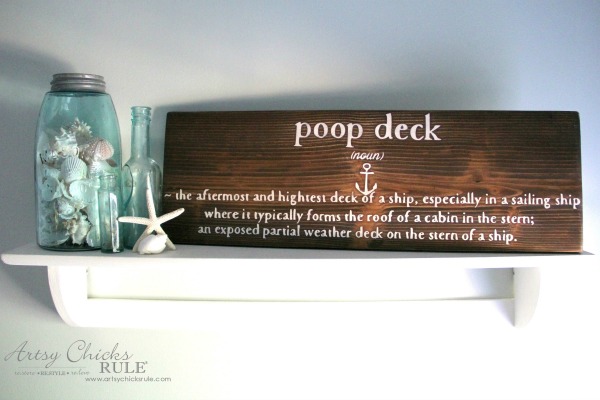
I even decided to add the definition of “poop deck” to my sign, just in case they were confused about what it meant. ;)
This month my Get Your DIY On friends and I are sharing our projects made with wood.
You guys can pop back over on Sunday and share your projects made with wood too.
Or just take a stroll through everyone else’s wood projects! :)
Alright, on with the tutorial for this one.
I’ll share a few affiliate links for the products I used below. See my disclosure here.
M A T E R I A L S L I S T:
- Antique Walnut Stain
- Matte Finish Spray Sealer
- Silhouette Cameo (here’s an awesome bundle)
- contact paper (I use contact paper for most things ‘except’ when I want to leave the vinyl letters attached)
- white paint
- brown craft paint
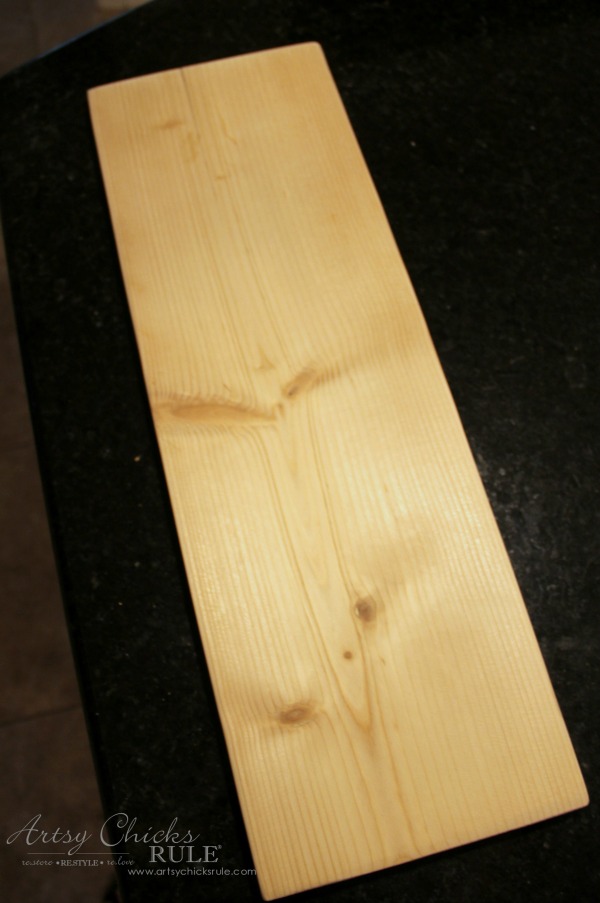
My sweet husband found an old scrap of wood in the garage, cut and sanded it a bit for me.
I used the antique walnut stain on it and let it sit overnight.
Then I created this graphic to use on it….
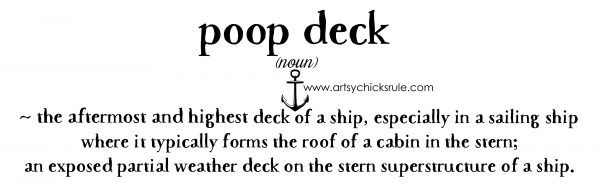
Download for free here! (the watermark will not appear on the downloadable copy)
****EDITED to add that I’ve corrected the spelling mistake for the download.

The “wood” element was not only perfect for this month’s GYDO theme but also for my bathroom.
I really wanted to add a bit of wood to the mostly white and light color theme in there.
You can see my most recent bathroom post here >>> DIY Faux Roman Shade
More to come in the next 2 weeks.
Once the graphic was completed in Picmonkey (love that for creating these fun graphics!), I moved it over to my Silhouette program.
Want to see how easy it is to use your own designs inside of Silhouette? Click here >>> How To Import Your Own Designs Into Silhouette Cameo.
Or you can also use any of these transfer methods to do it if you don’t have a Silhouette machine.
This time I needed it to be a “stencil”. Most times I will paint the underneath a darker color, add the cut letters and then paint the lighter color over top.
Remove the letters …and looks like I painted lettering in.
You can see an example of that here >>> Laundry Sign and a recent one, Dairy Sign.
It’s a GREAT way to create lettering but using a stained board created a challenge.
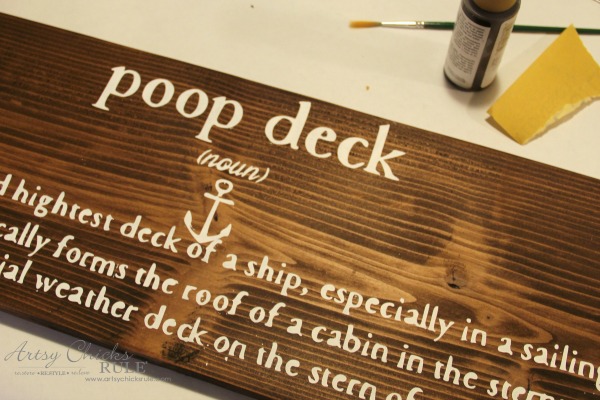
So instead of using the vinyl letters, I used the cutout of the letters like a stencil…..
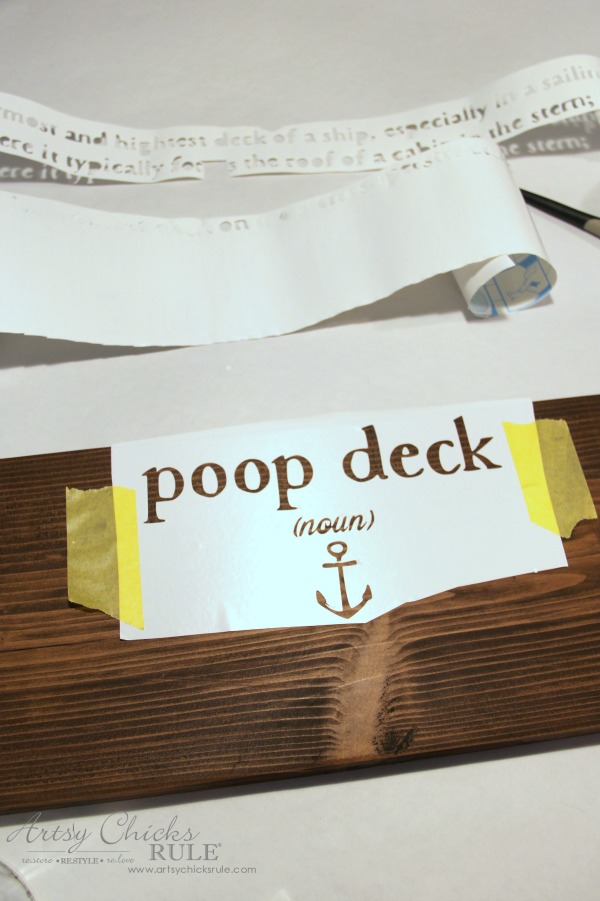
….which also created a few challenges. ;)
None that couldn’t be overcome, however.
Don’t have a Silhouette and want to see even more ways to transfer?? Check out my “How To Transfer Graphics” post! (sharing all the techniques I use)
First up, I needed to make sure I saved the “insides” of the letters, like “o” and “p”, to put them back in once the main piece of vinyl was attached. (see above)

I did the same for the bottom lettering.
BUT did not for the small ones like “a” and “e”.
This was a little tedious to do but probably still quicker than hand painting all those words in.
See below…..
….the “a”, “e”, etc, need to be filled in since they got painted white.
I used a bit of brown craft paint to do it.
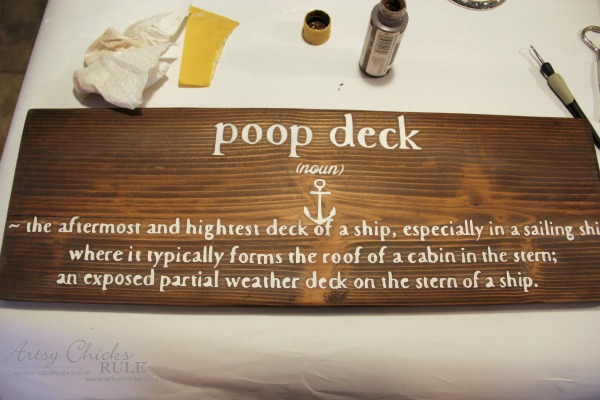
Easy and quick fix! And since they are so small, it just looks like stained wood, not brown paint.
Once that was all dry, I sprayed with the matte sealer.
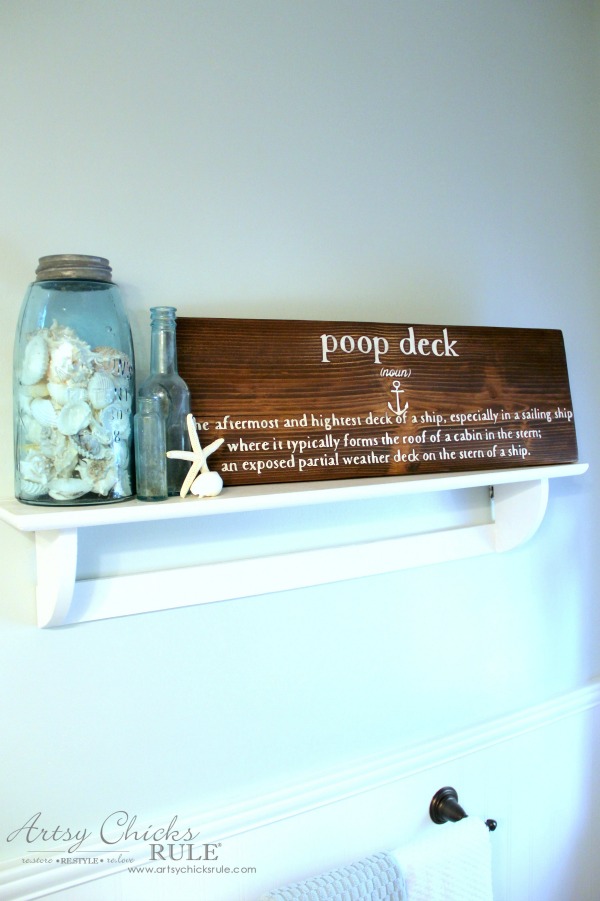
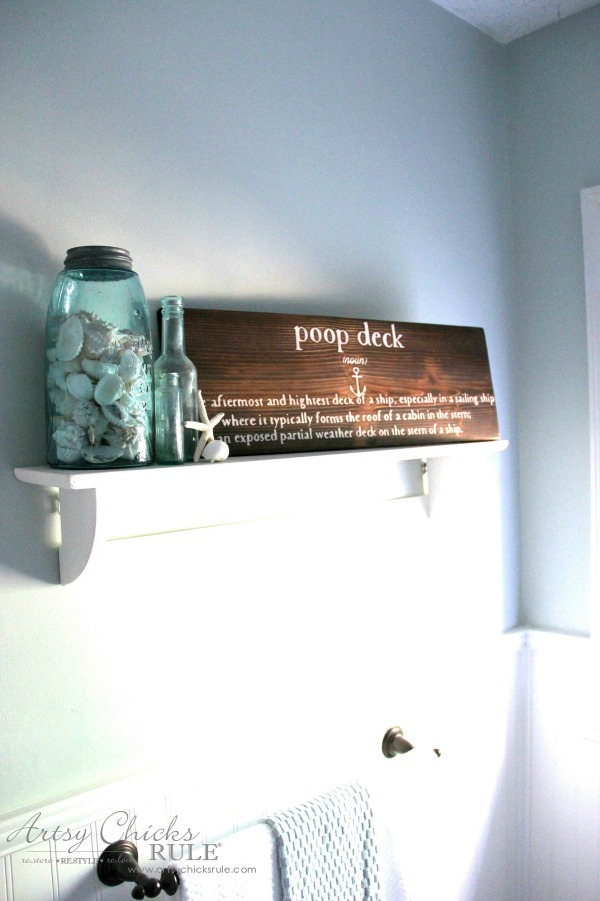
Then I thought I might hang it here….
….or maybe put it here…..
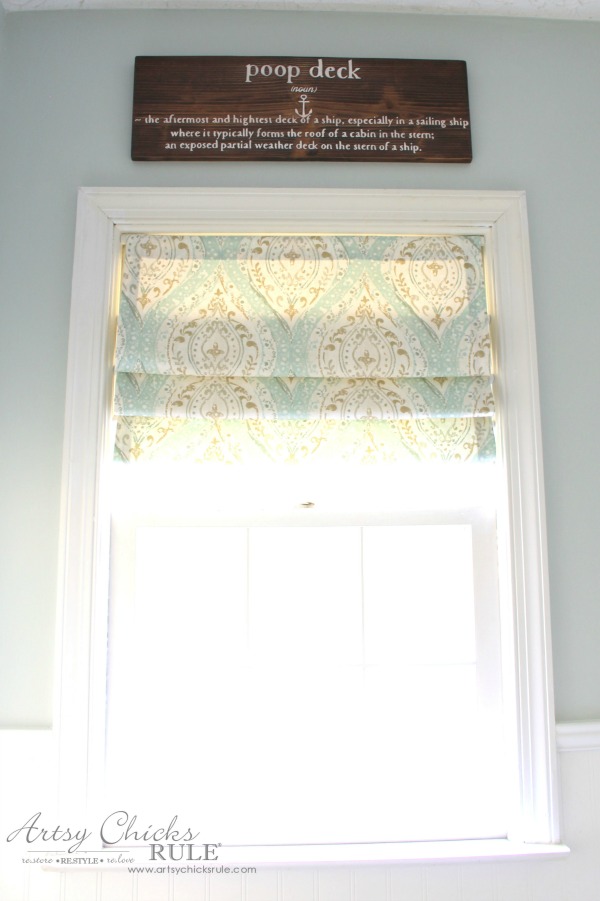
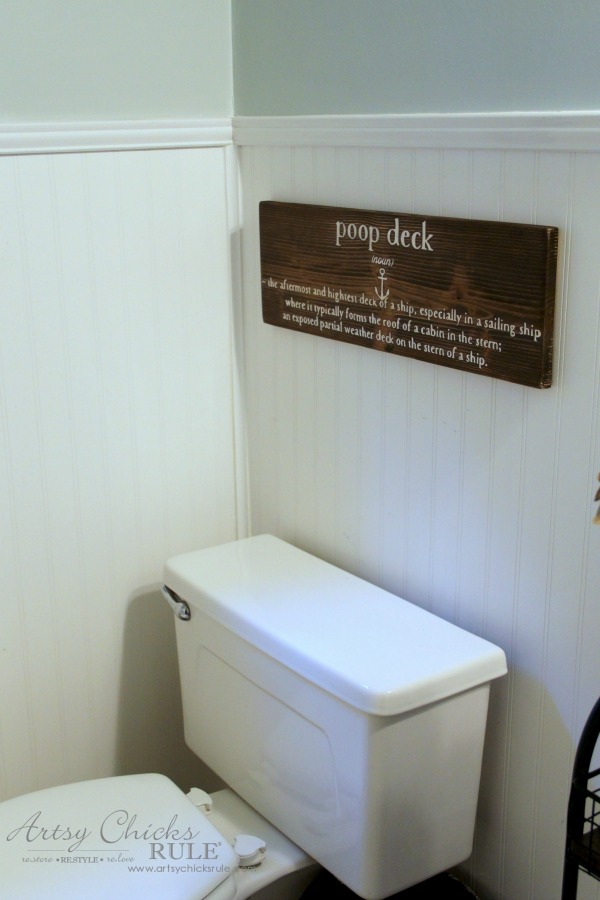
But decided it needed to go right here…..
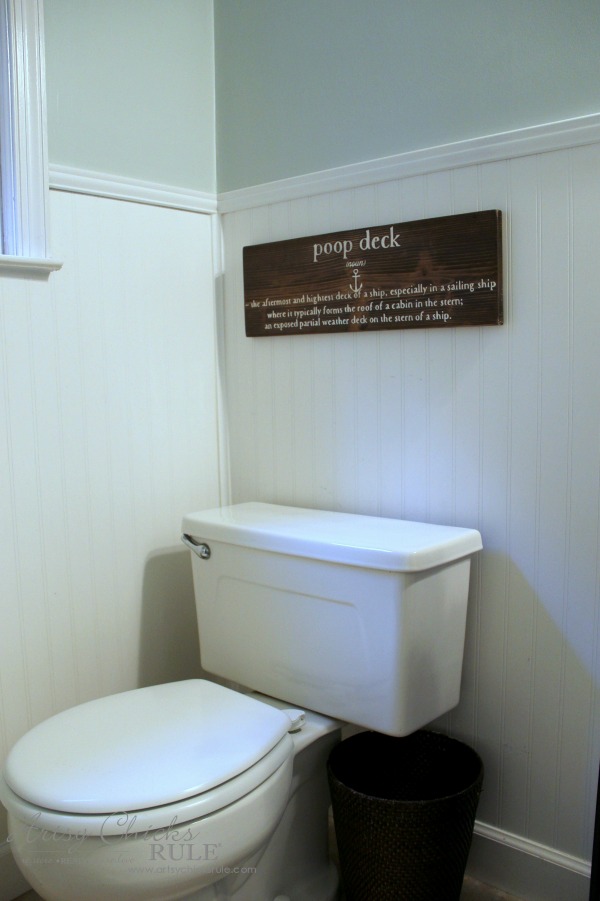
…..ha ha. Perfect spot for it.
And my husband even said the anchor looks like an arrow pointing down. lol
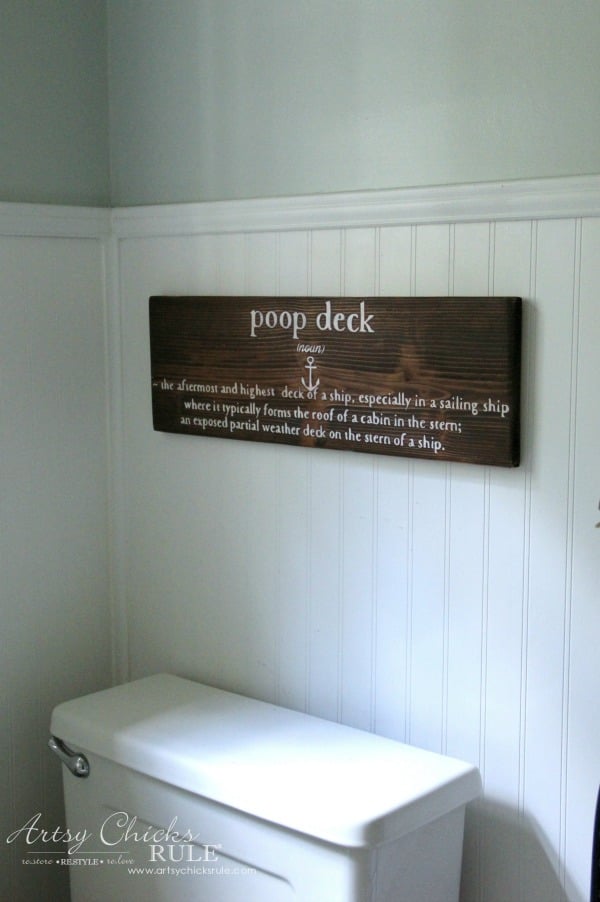
I can’t wait to give my guests a little chuckle when they use our guest bath. :)
They can even learn the true, nautical, meaning of the phrase “poop deck”.
All in good fun! :)
And the corrected version…ugh! Couldn’t see the forest for the trees. (“highest” not “hightest”, oh well, you win some, you lose some!! lol )
Thanks to a few readers for pointing out my mistake. ;)
You want a poop deck sign too?? I know you do! haha
Pin this so you can make a DIY Nautical Bathroom sign too.
Now let’s see what kind of wood projects my friends are sharing this month!
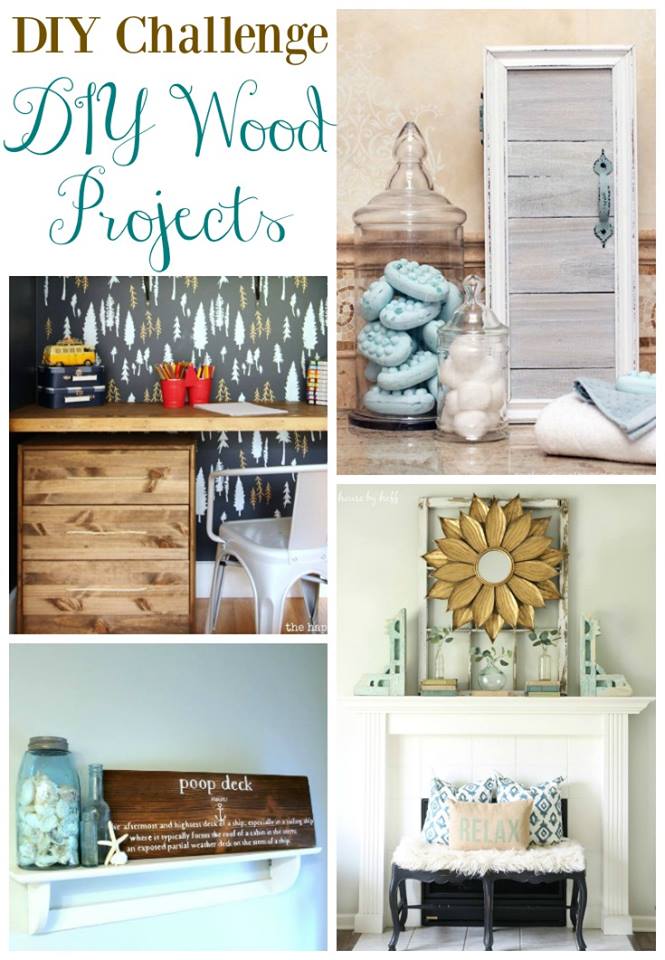
Christy at Confessions of a Serial Do It Yourselfer – “10 Thrifty Reclaimed Wood Projects”
April at House by Hoff – “Old Wood Window as Backdrop for Decor”
Krista at The Happy Housie – “Rustic Ikea RAST Hack with Rope Handles”
Don’t forget to pop back over and visit on Sunday for the “DIY Wood Projects” link party. :)

I’ll be back next week with something I’ve been making for my Family Room.
If you follow along on Instagram, you may have seen what exactly. :) I shared a snippet or two on my “stories” over there.
If you are on Insta, I would love to connect over there!
I also shared a sneak peek of the dining room changes over there too.Will be sharing that on the blog soon too.
See y’all then!!
xoxo


")

")


I LOVE IT!!!
Ha ha Thanks!! :)
Hi Nancy, I’ve been following you for years, you’re such an inspiration to me! But “hightest”? ?
AW thanks Yvonne!! And thank you for pointing that out!! I had no idea what you meant until someone on Facebook repeated it …with the correct “highest”. Ugh!!
This was not a fun one to fix since it was stained underneath but I managed! All straight now. :) xo
Ha ha this is awesome, and so funny!! XOXO
Thanks Christy! xo
hey girl love the sign! So cool! hee hee!!
Thanks Shawnna!! it’s a fun one, for sure!!
Too funny and perfect for a bathroom!
That’s hysterical!!!!! :)
Haha, Thanks Jayne!! :) xo
Too cute, Nancy! Pinning to share :)
Hee hee, thanks Marie! :)
You are TOO funny!!! Haha! This is great… maybe down in the boys bathroom… oh, and I bet my sister would love on too. Have fun with your guests reactions! : D Thanks!
Hee hee!! ;)