Easter Decor Ideas with Transfers
Easy Easter decor ideas with transfers!! Rub on transfers make it easy to create pretty decor for Easter…on glass too!
Hello beautiful friends! Today, I want to share some Easter goodies or things that would be perfect to make and use for Easter. They’re so easy, too!
Just to update on the condo, we are almost done! Woohoo! Unfortunately, there are 2 big things we wanted to do but just ran out of time. They are still coming but will most likely have to be after the summer season is over. That’s okay, I’m tired!! haha! I’m ready to put it all away and enjoy when we are down. I’ll share more on what those 2 items are once I share the “reveal” post with y’all.
Easter Decor Ideas with Transfers
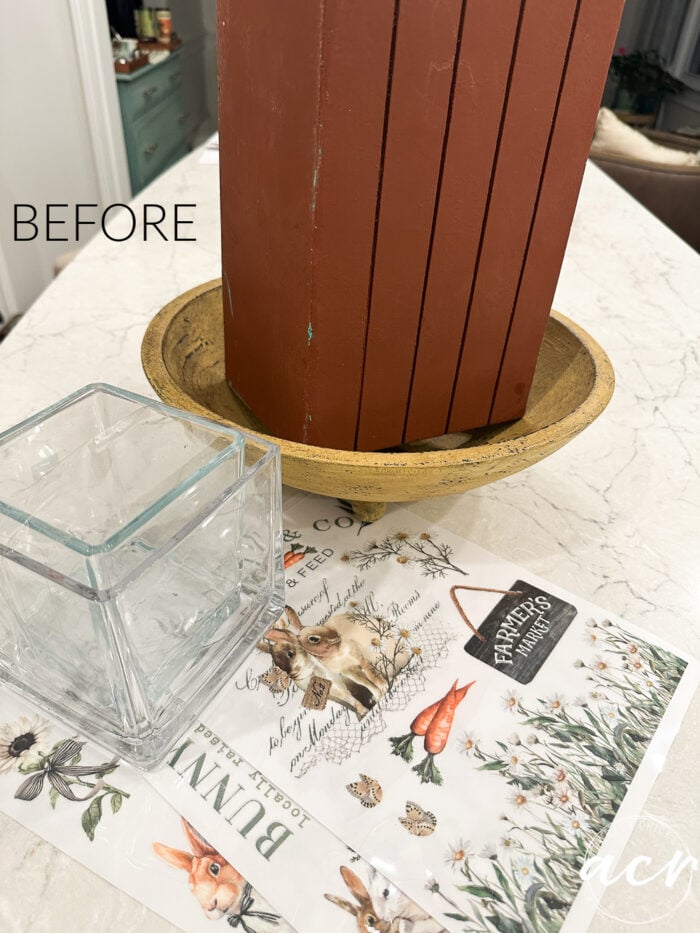
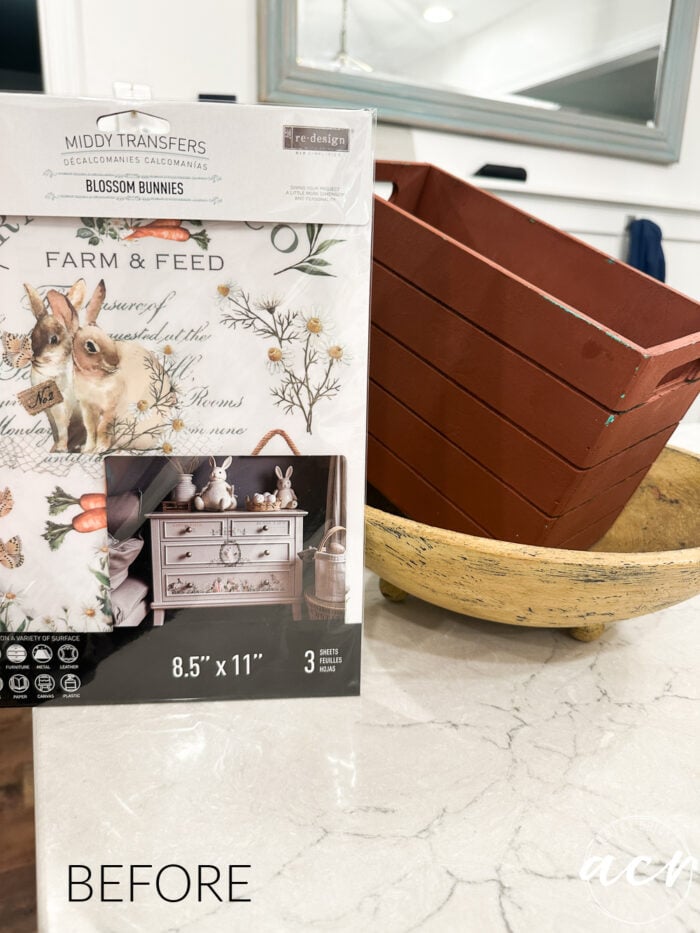
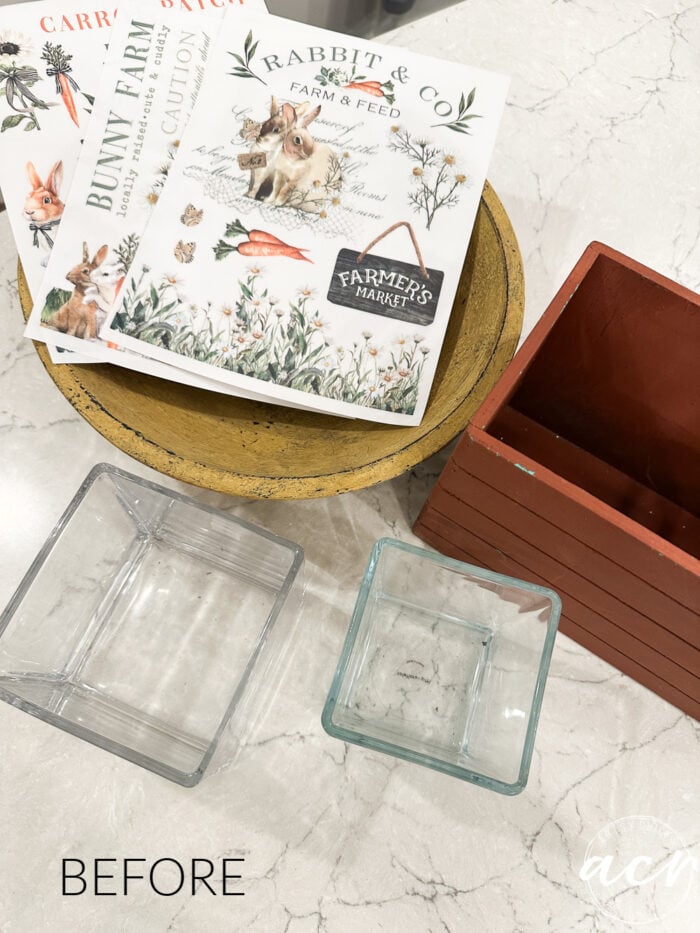
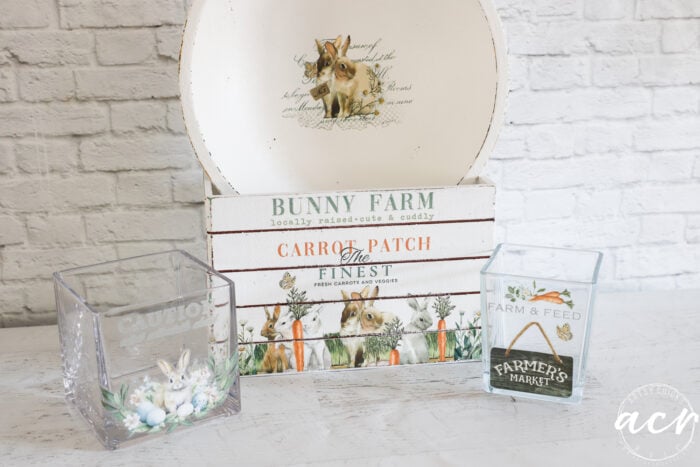
I found a big wood bowl, a wood crate, and 2 square glass containers to make over.
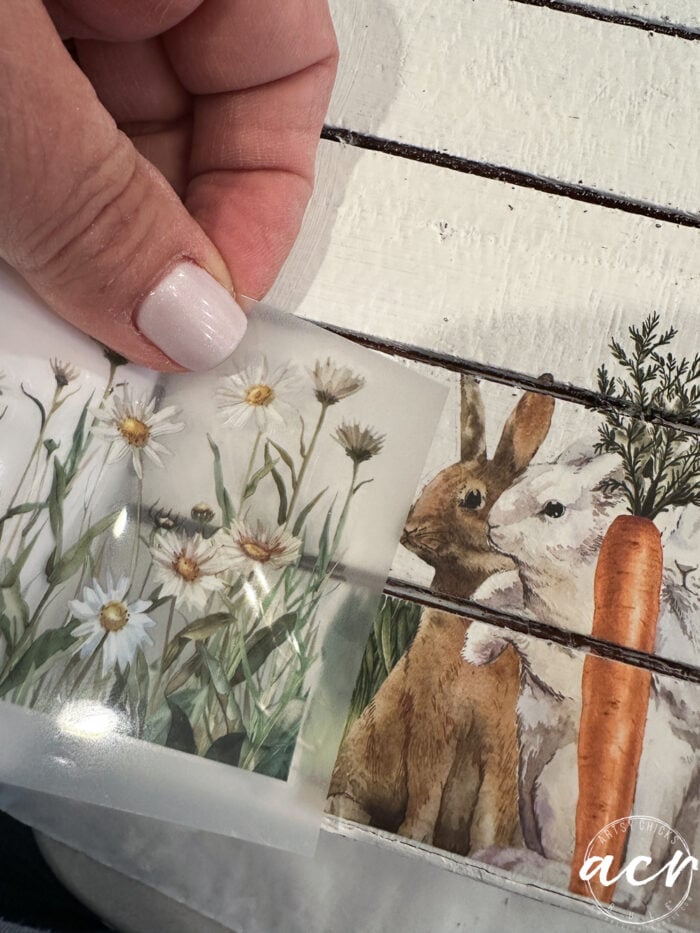
And this super sweet bunny transfer.
The two wood pieces are begging for paint, aren’t they! lol Yes.
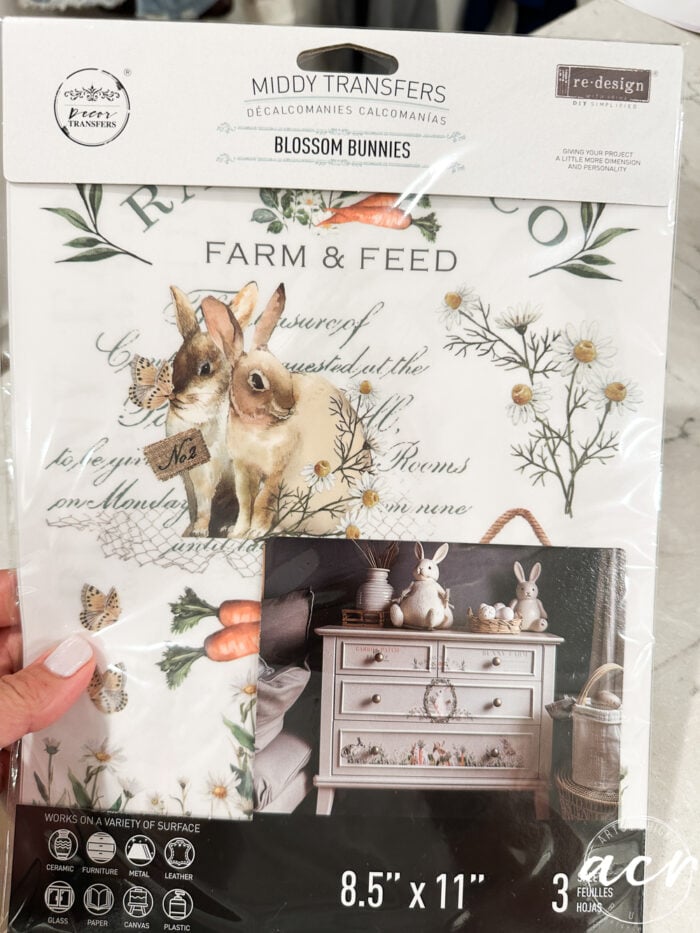
Today, I’m using this transfer “Blossom Bunnies”. (I have a couple left, hurry and get them before they are gone!)
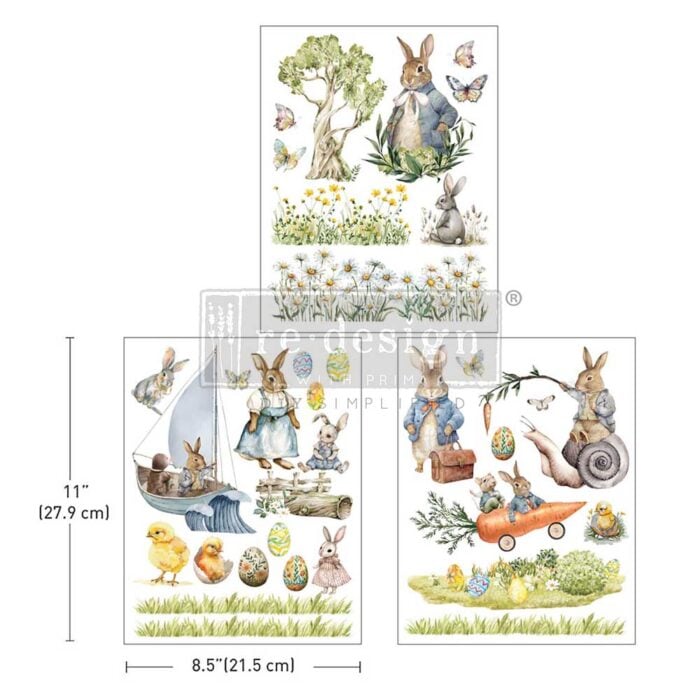
This other set is super cute too! I only have a few left of this one, too.
MATERIALS SOURCE LIST
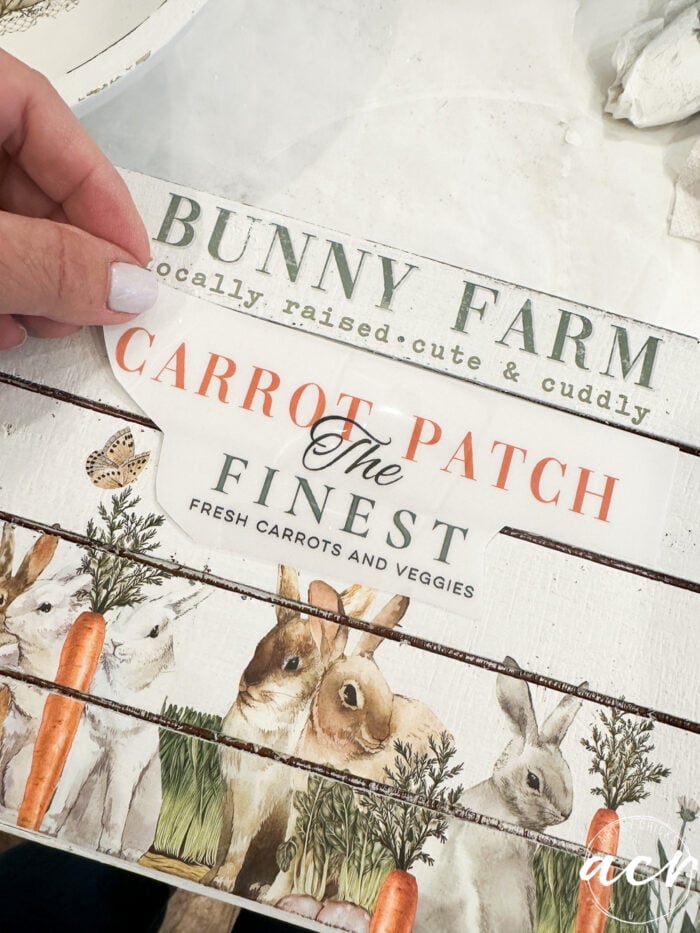
- Blossom Bunnies Transfer
- Bunny Trails Transfer
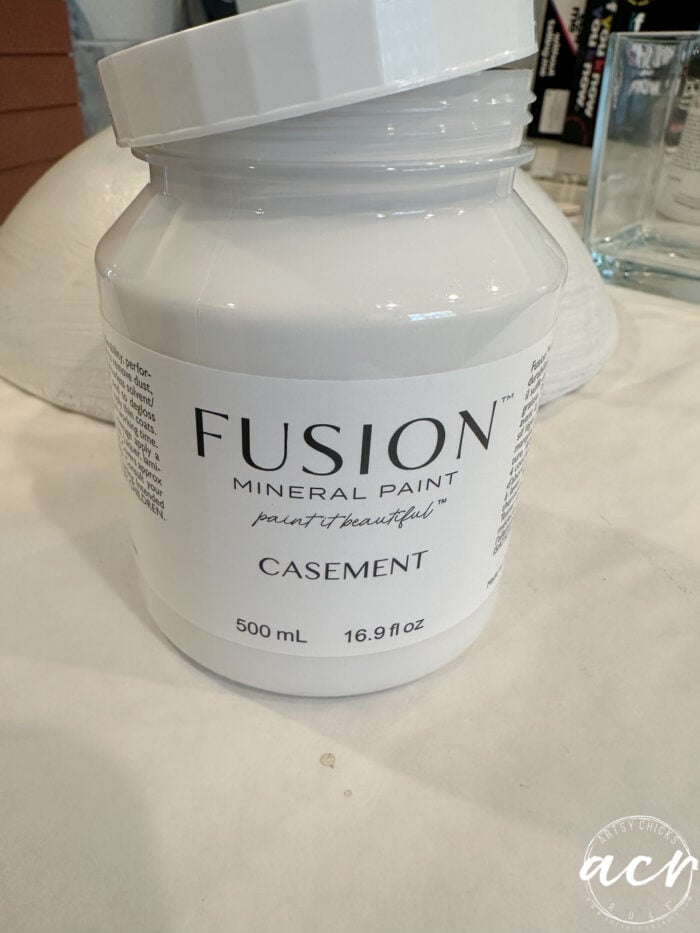
- Casement White Paint
- Sandpaper
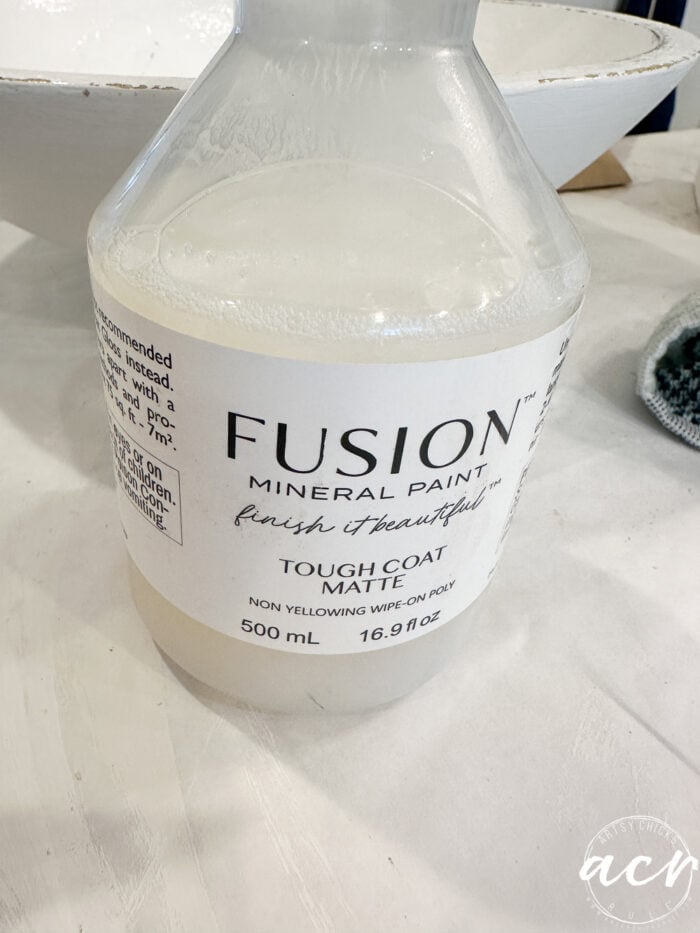
- Tough Coat Topcoat in Matte
- Matte or Gloss Spray Sealer
Prefer to shop on Etsy? I have an Etsy shop also, here!
Here is sort of “the plan” for each piece.

Lots left over for other projects too!
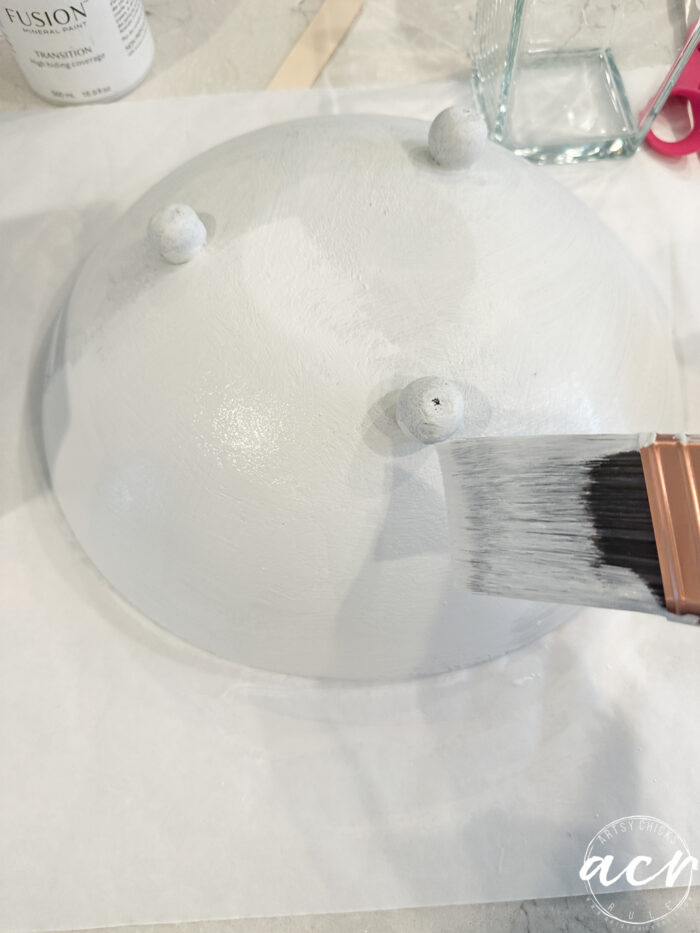
I used Casement for these.
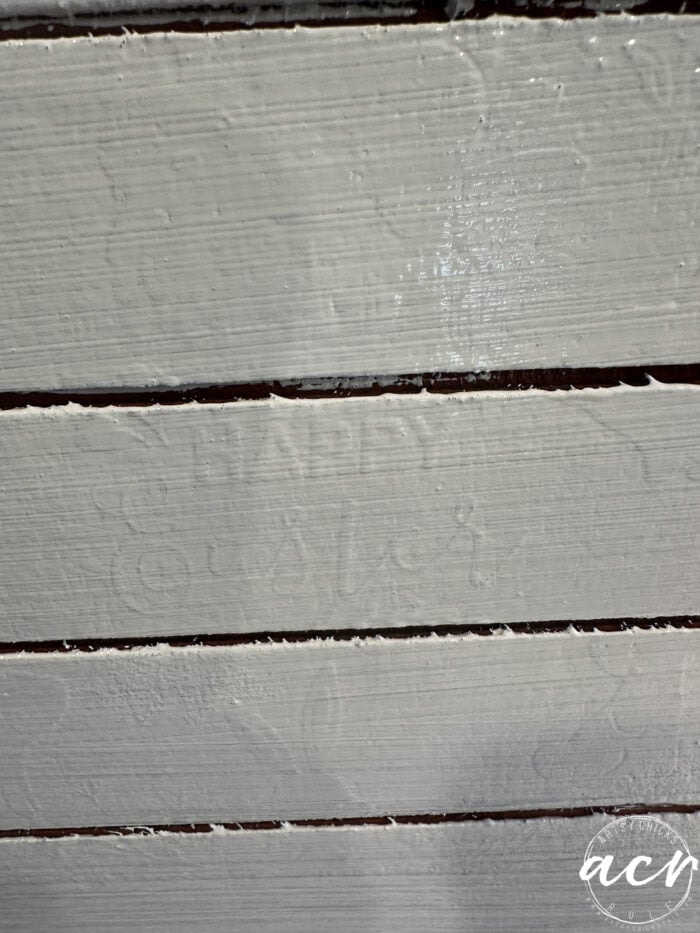
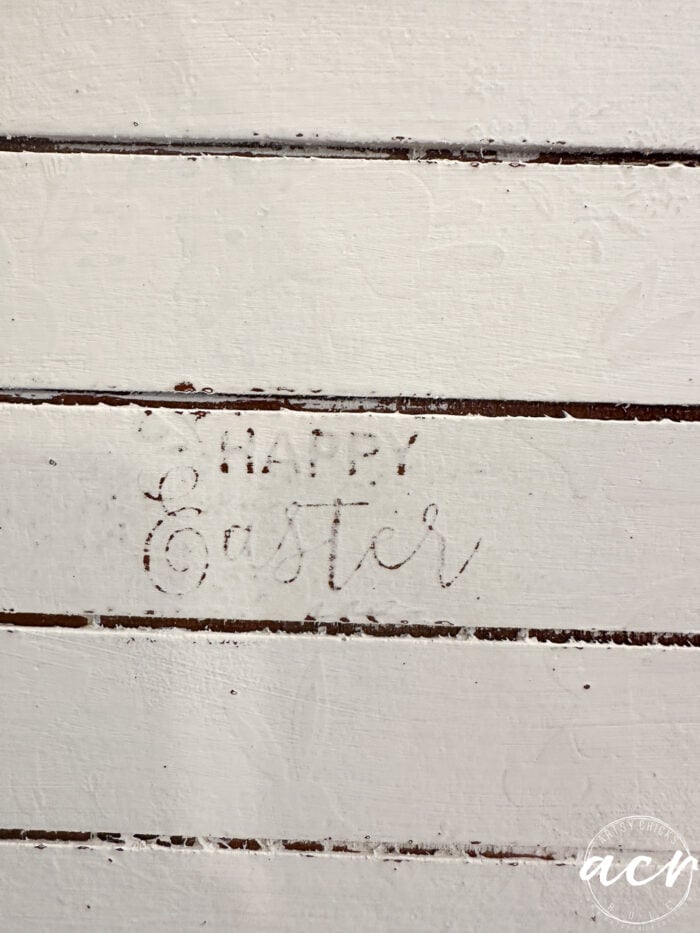
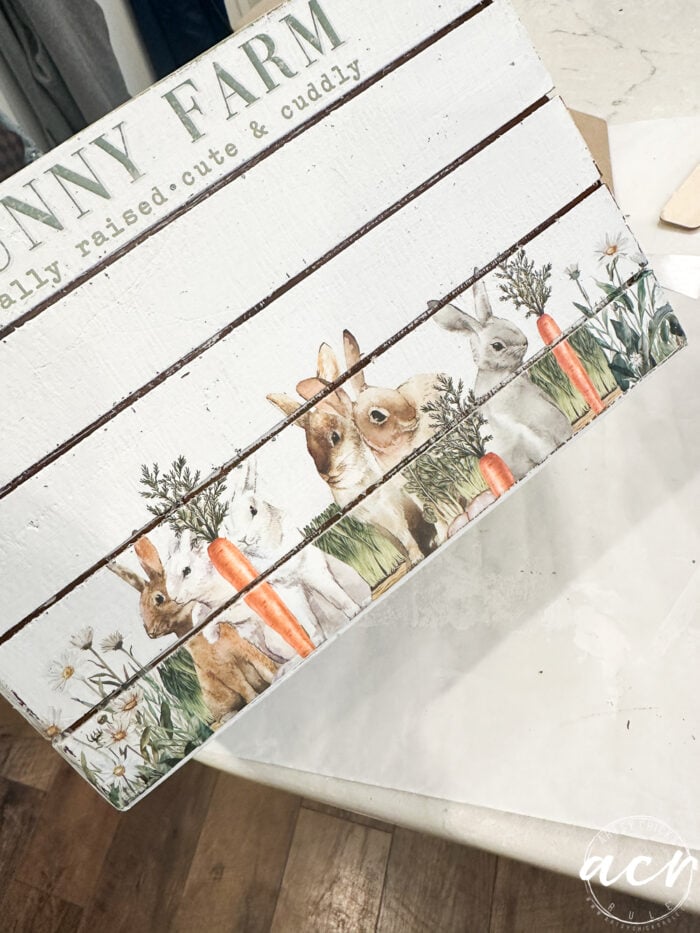
It was funny that once I started painting the crate, I noticed it said “Happy Easter” on one side!! Haha!! It had been painted over by someone so I didn’t notice it until I painted it white.
I can see a bunny there too, that I didn’t notice in person.
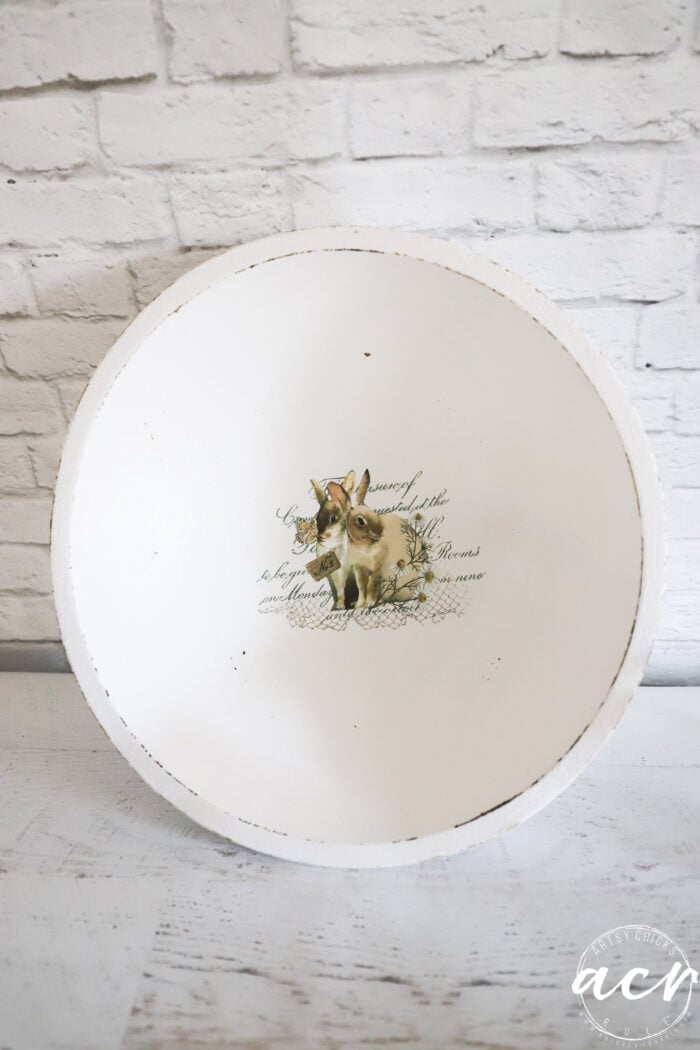
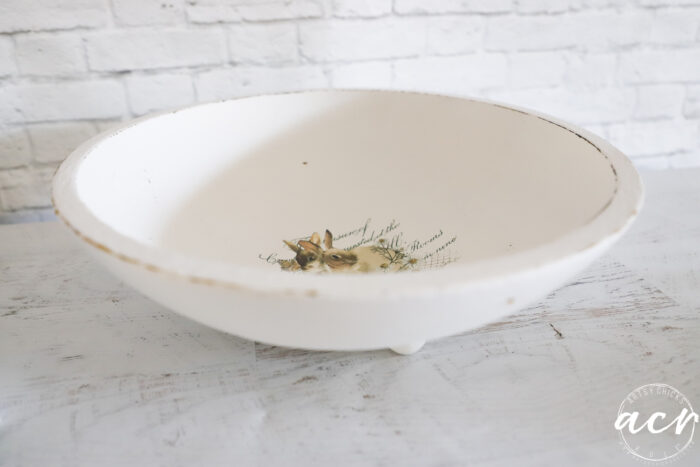
Breathing new life into this yellow wood bowl. And all it took was a little white paint!
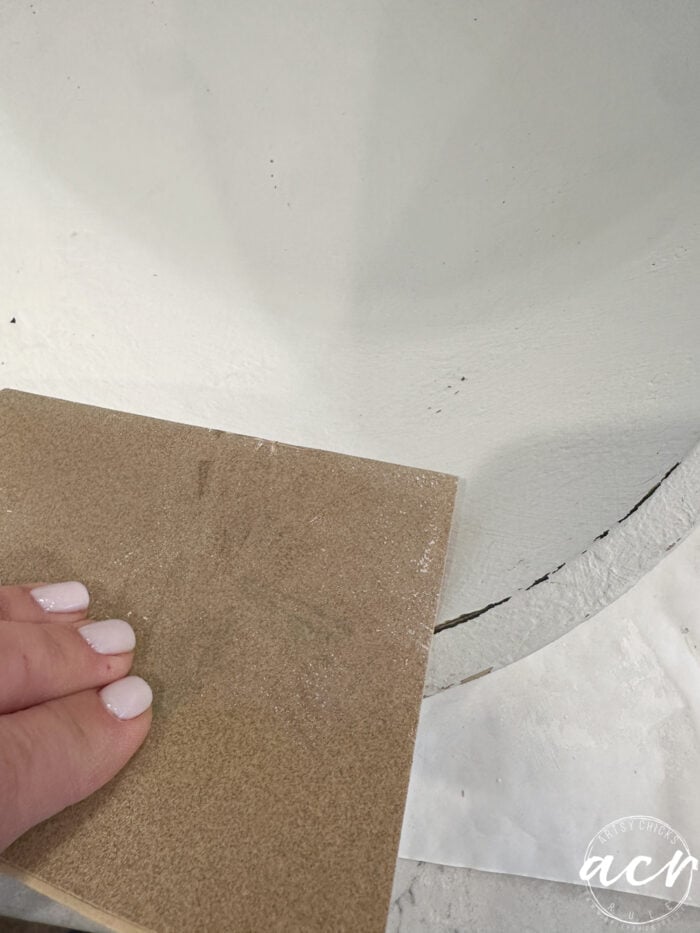
Once dry, I decided to sand both to give them a more relaxed feel.
I purposely sanded the “Happy Easter” so it would show through.
Since this one had these large slats I simply pressed the transfer down into them.
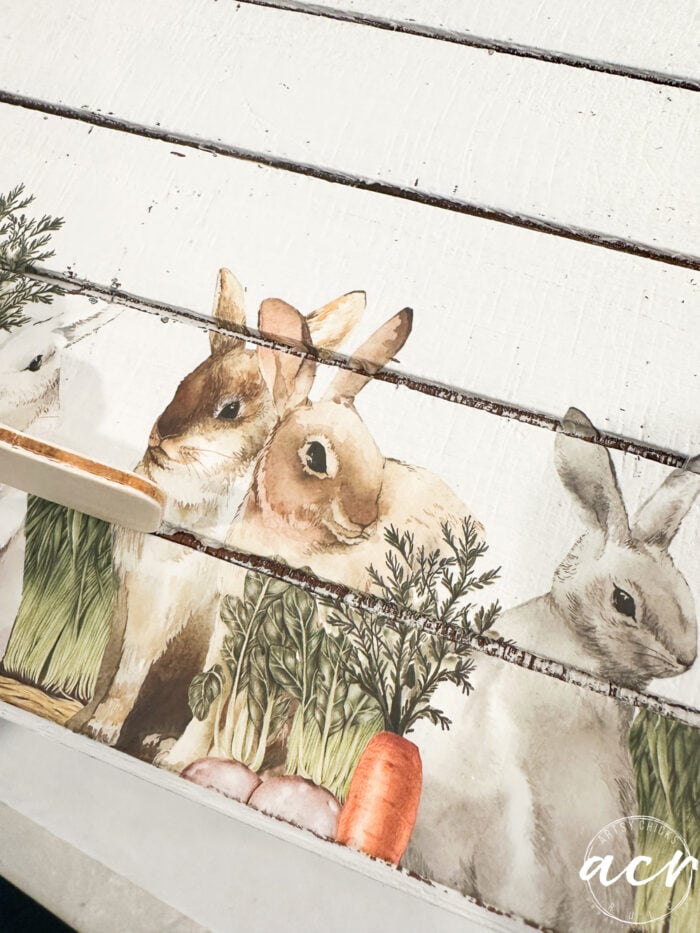
Since the transfer was a bit short and did not go all the way to each side, I decided to fill in with this one.
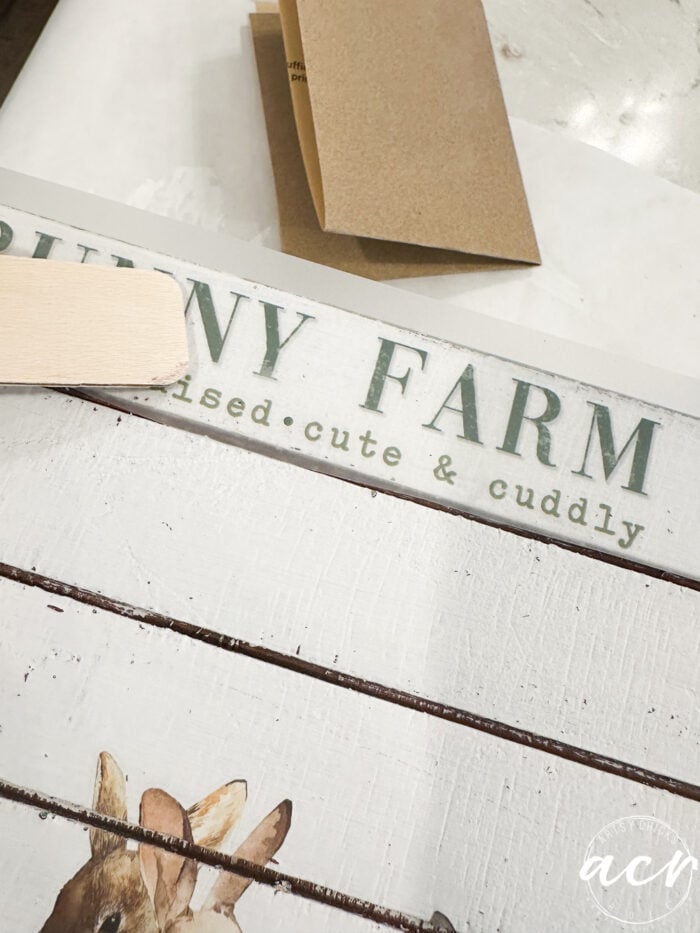
Looks SO much better going all the way across the bottom without any gaps.
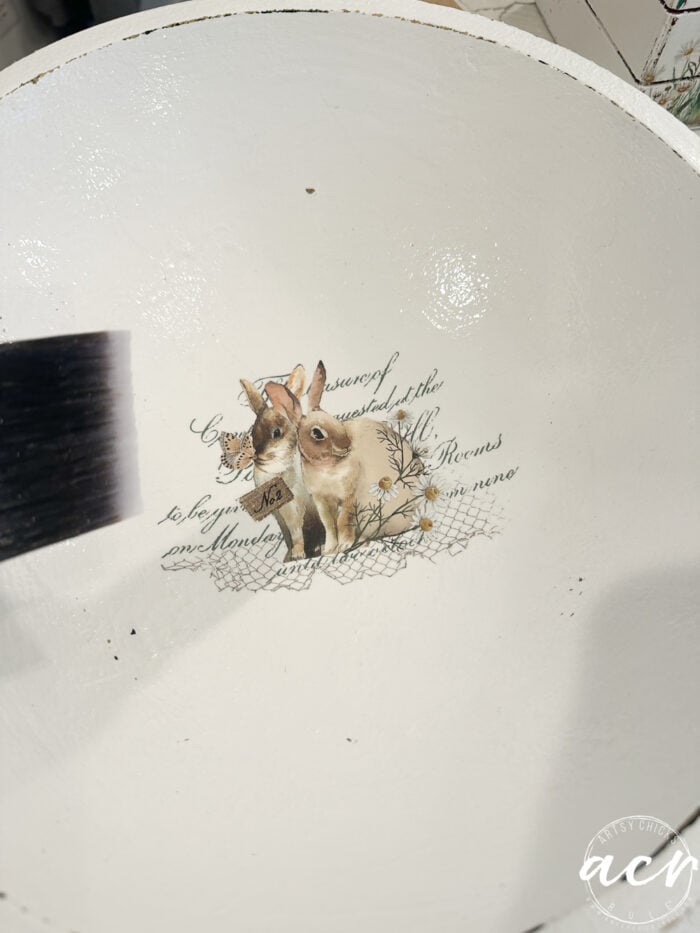
Next, I applied this one to the bottom of the bowl. And if you’ve ever applied a transfer to a round area, you know how that can be a bit of a pain.
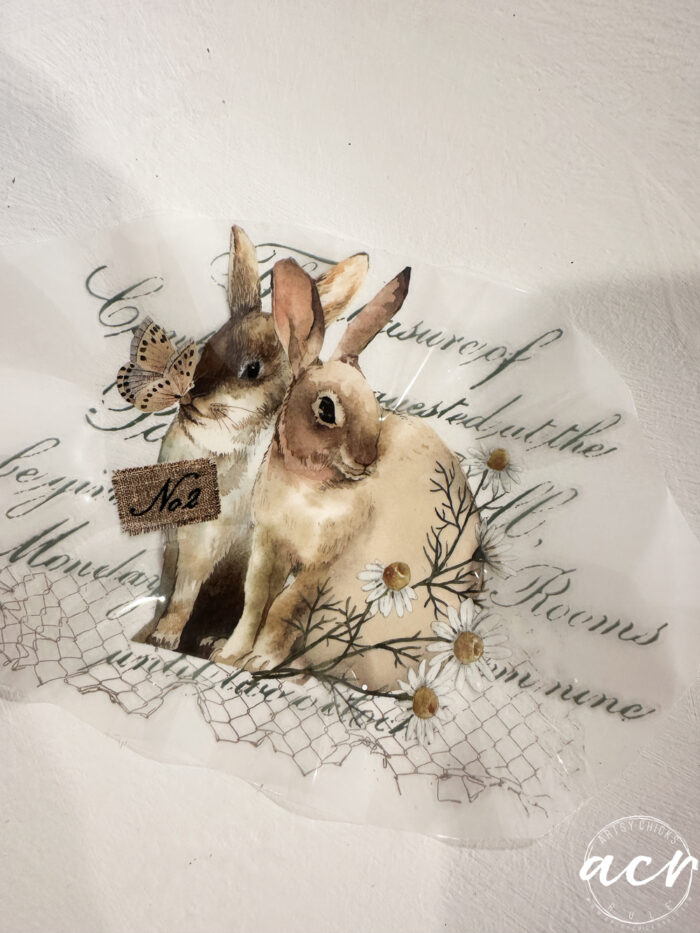
It will not lie “flat” no matter what you do. So, here is how I do it. I will sort of press and rub the transfer on one side or corner, working my way around it. Where I’ve rubbed and transferred the decal, it will lift back up. This releases that tension, and you are able to press down the next section and so on.
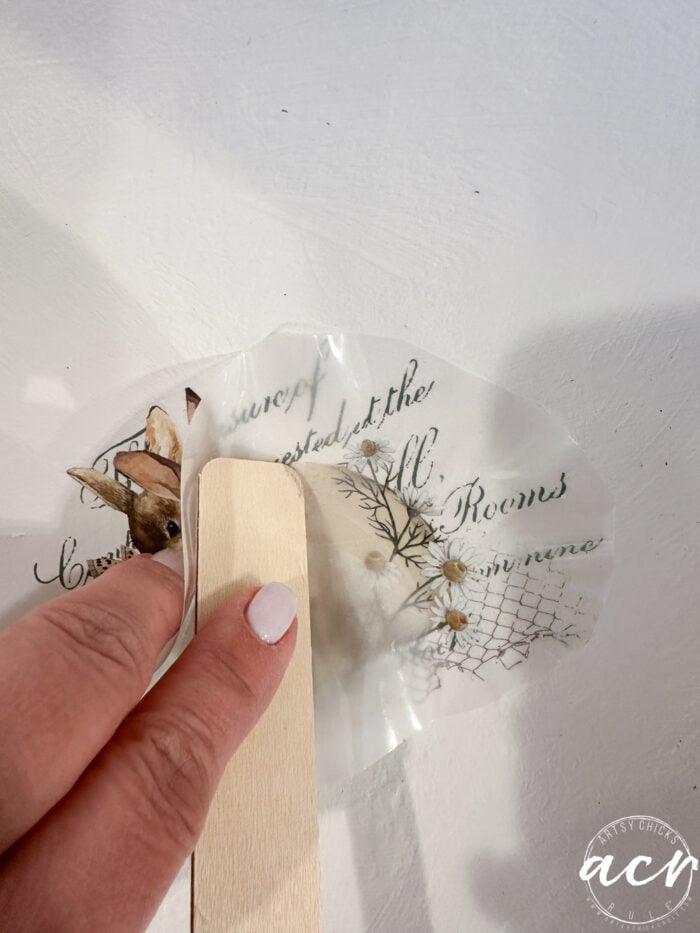
Does that make sense??
It works very well doing it this way.
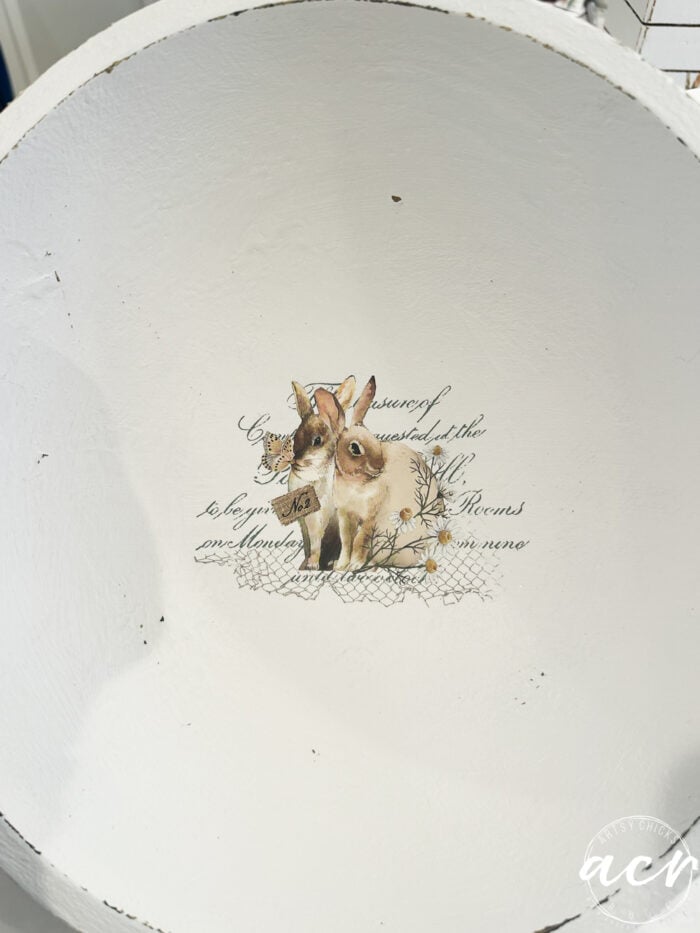
I was planning to put the “carrot” wording just above the bunnies in the bowl, but decided I liked it just like above. Simple!
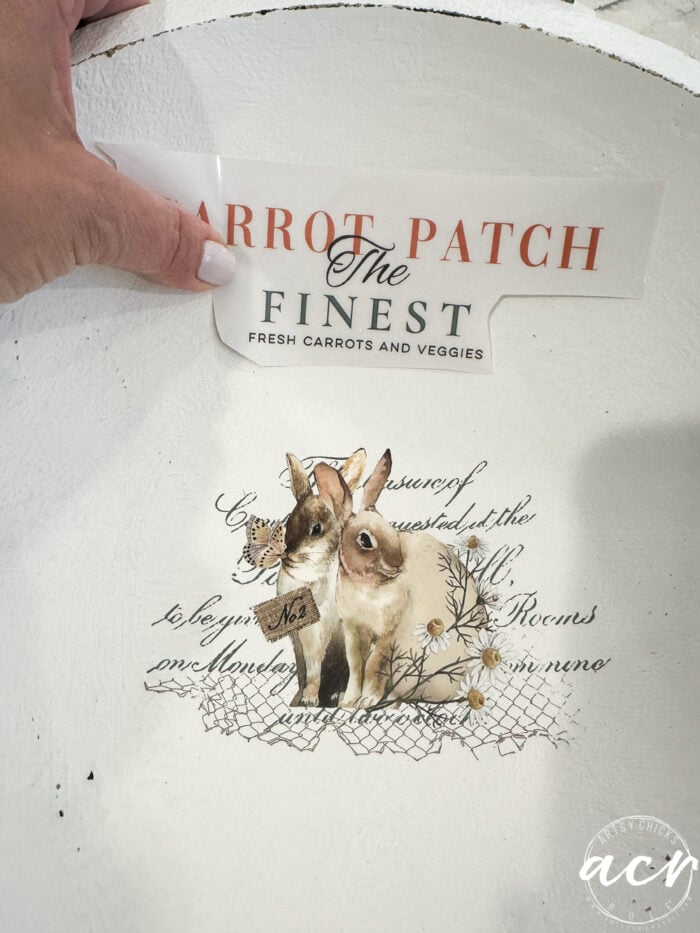
Instead, I used it on the crate below the other wording.
I thought it went with this one better. Plus, there are carrots on the bottom.
I sealed both with a coat of Tough Coat Topcoat.
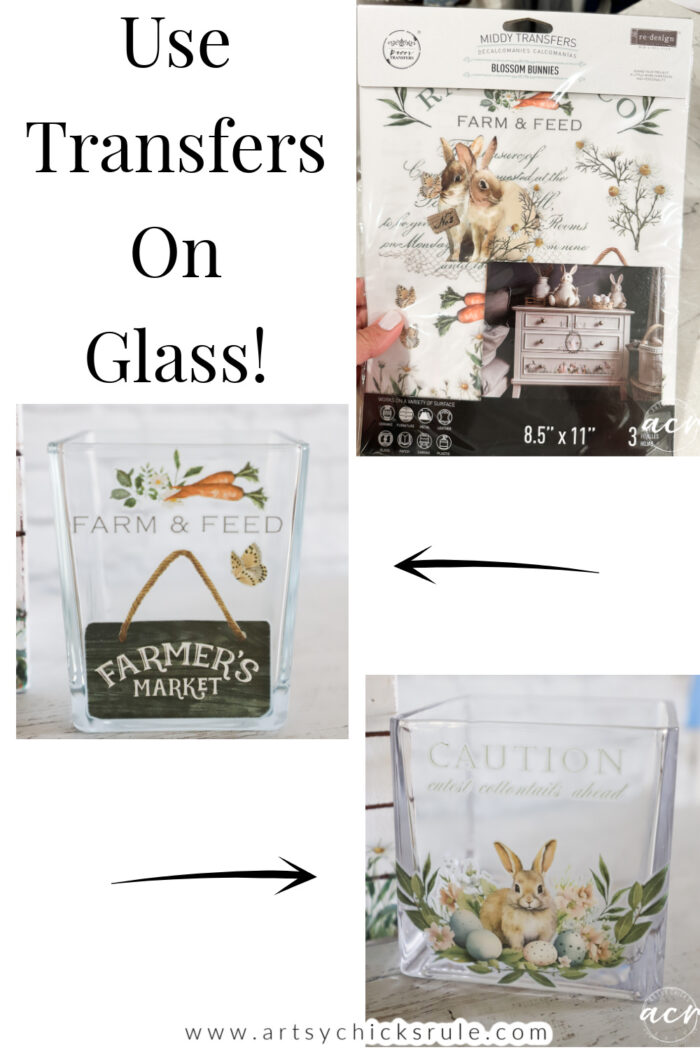
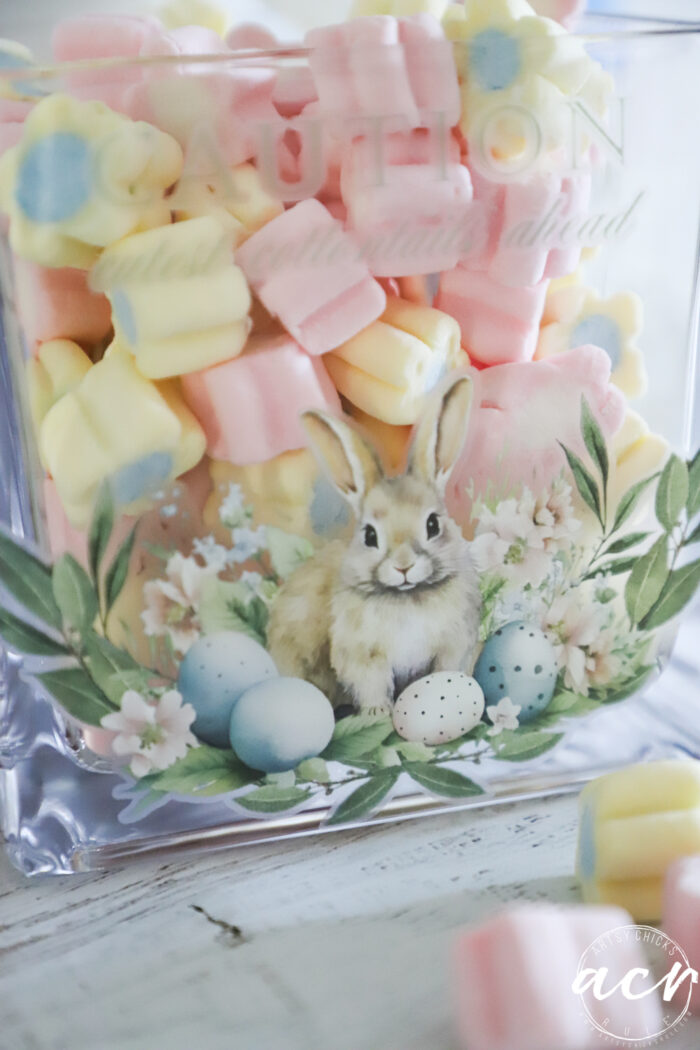
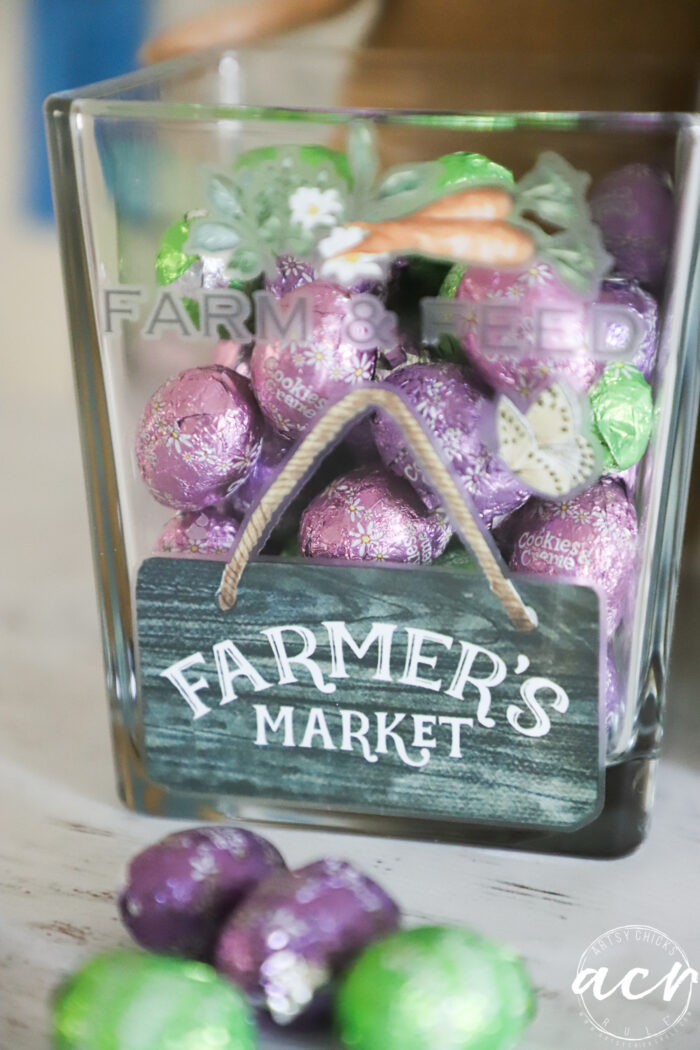
Easter Decor Ideas with Transfers On Glass
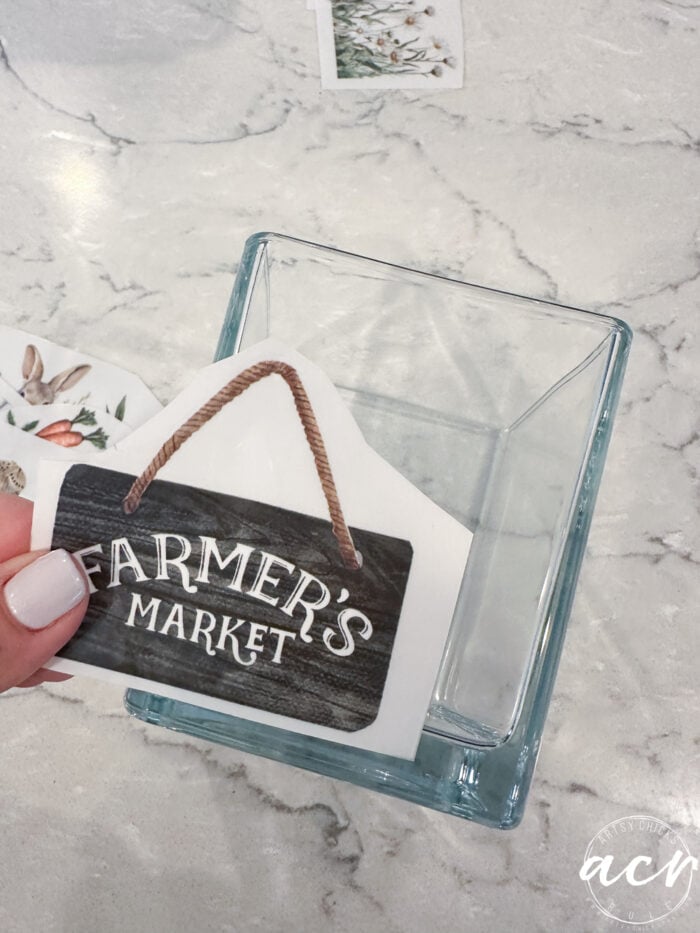
I used these small ones on the smaller glass container.
And this big one on the larger one.
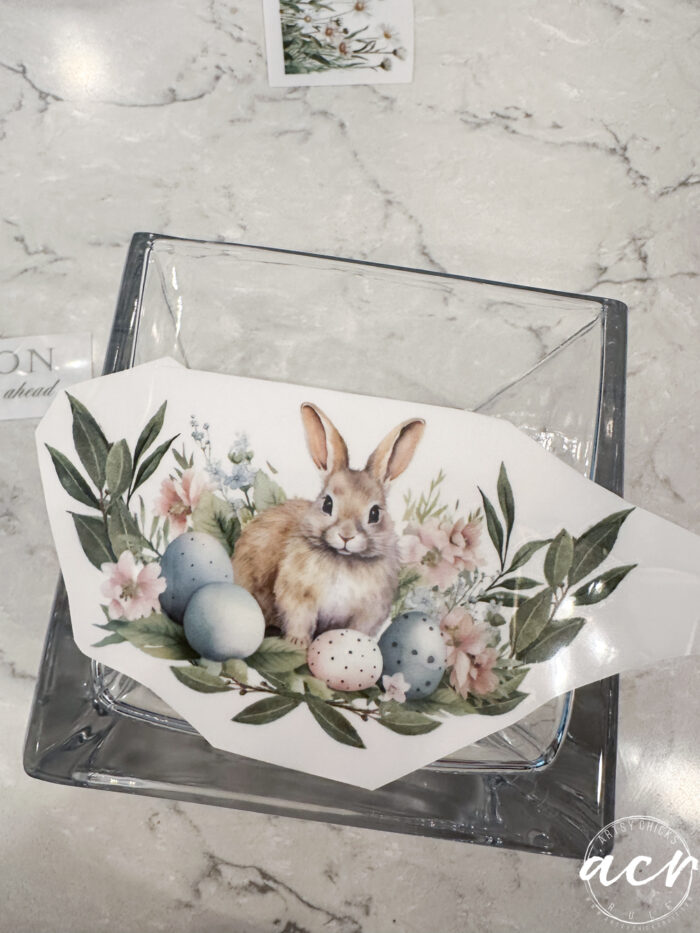
Simple and so easy!
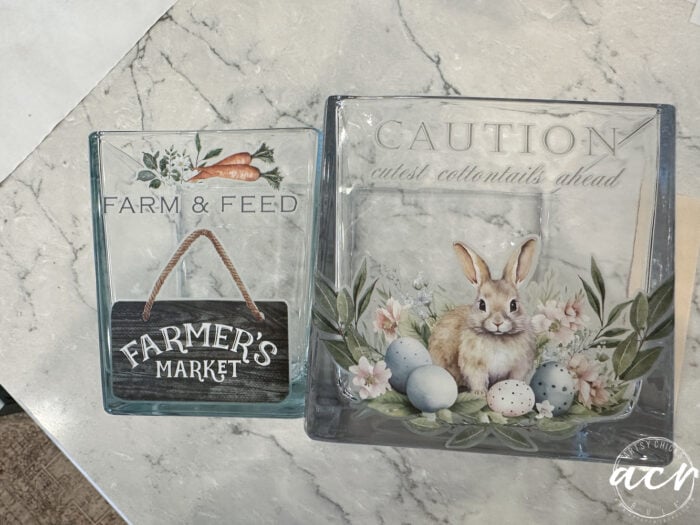
Aren’t they pretty?
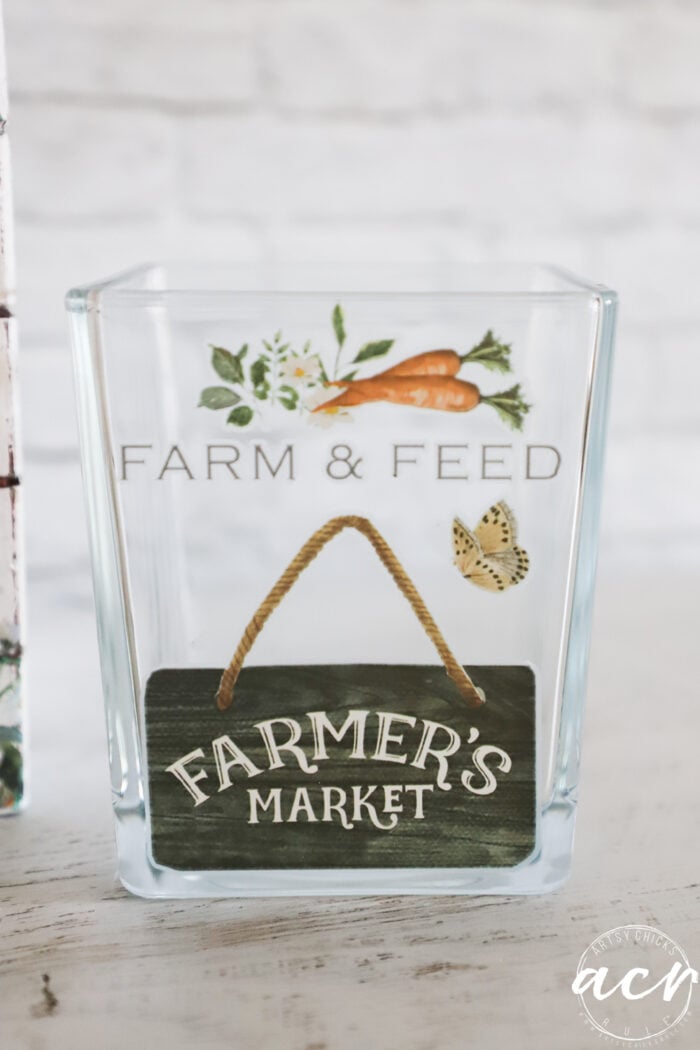
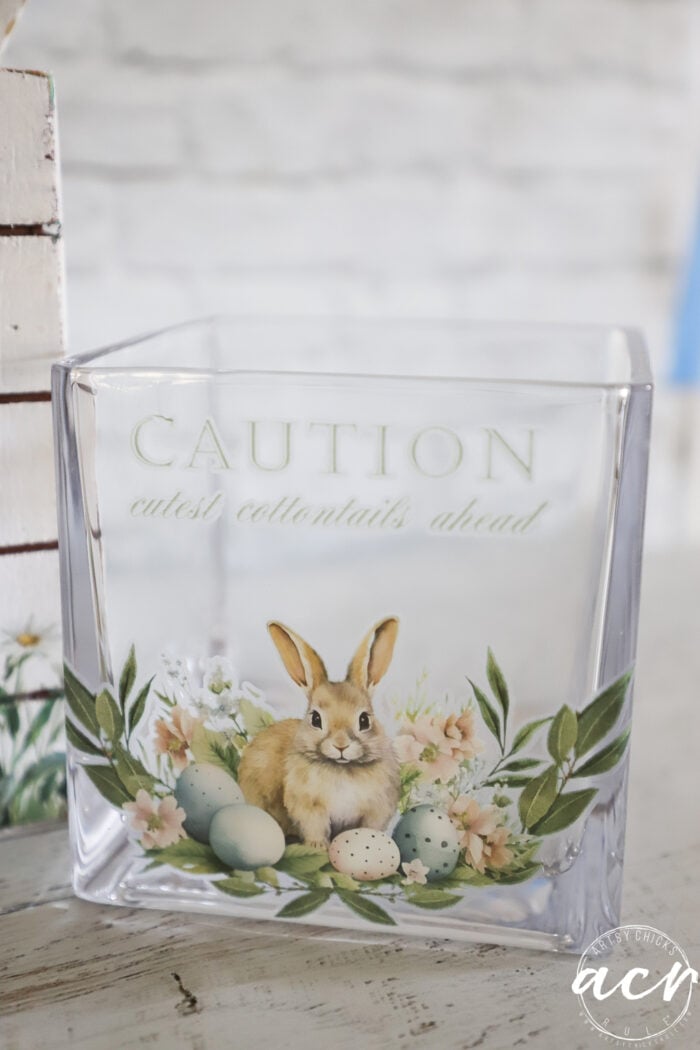
I sprayed them with a quick shot of spray type sealer.
I am really loving the transfers on the glass.
But I think the wood bunny bowl is my favorite!
Look at how cute they are all dolled up with Easter goodies.
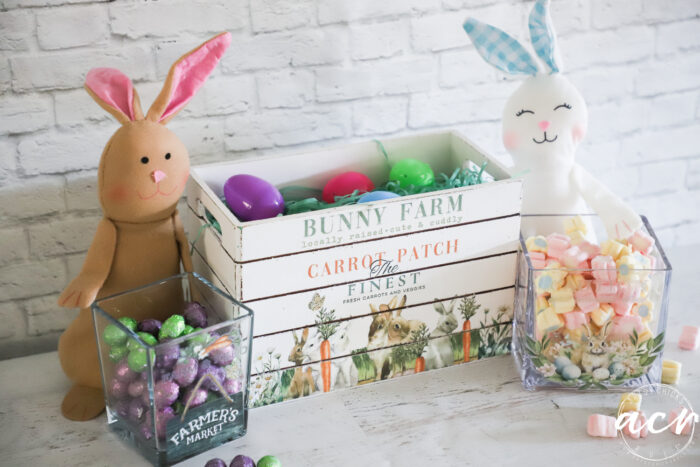
Aren’t those bunnies the cutest?? They came from the Dollar Tree. And they have “weighted” butts so they stand up so well.
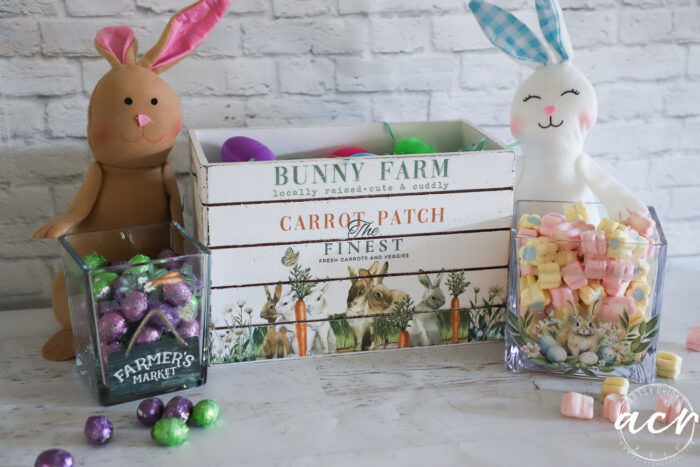
Hop on over and get ’em before they are gone!! (ha! Did you see what I did there??)
PIN it to save it!


")
")

")


Great job!
Thank you, Denise! xo
They are so cute! Can the glass containers be washed or wipe clean only?
Thank you, Gin! I would only wipe clean the glass jars just to be safe. :)
They are all adorable! I have some wooden bowls I might try this on. :)
Thank you, Cyndi! Yes, that’s a great idea!! xo
Adorable was the first word that came to me also! I love them all.
Aw, love that! Thank you, Marietta!! xo
These are all so adorable! Love these transfers. Ok, so I haven’t really decorated for Easter in a few years and just asked my husband to get the Easter decor down so I can try to sell it lol. Now you made me want to decorate…and..do Easter crafts lol. Dyed eggs would look so cute in that bowl.
Thank you, Debra! Are they the sweetest?! And haha, I love that!! xoxo
Oh, Nancy! They are so stinkin cute I can hardly stand it. Love love love!!!!
Cannot WAIT to see your condo updates reveal. What a fabulous thing to own and enjoy. Yipppeee – season is upon us.
Thanks, Michele!! They really are so sweet! And yes! I’ll be sharing it next week!! xoxo
Hi Nancy! They all turned out so cute. I love those transfers.
Thank you, Cheryl! They are the sweetest! xo