Glass Top Table Makeover
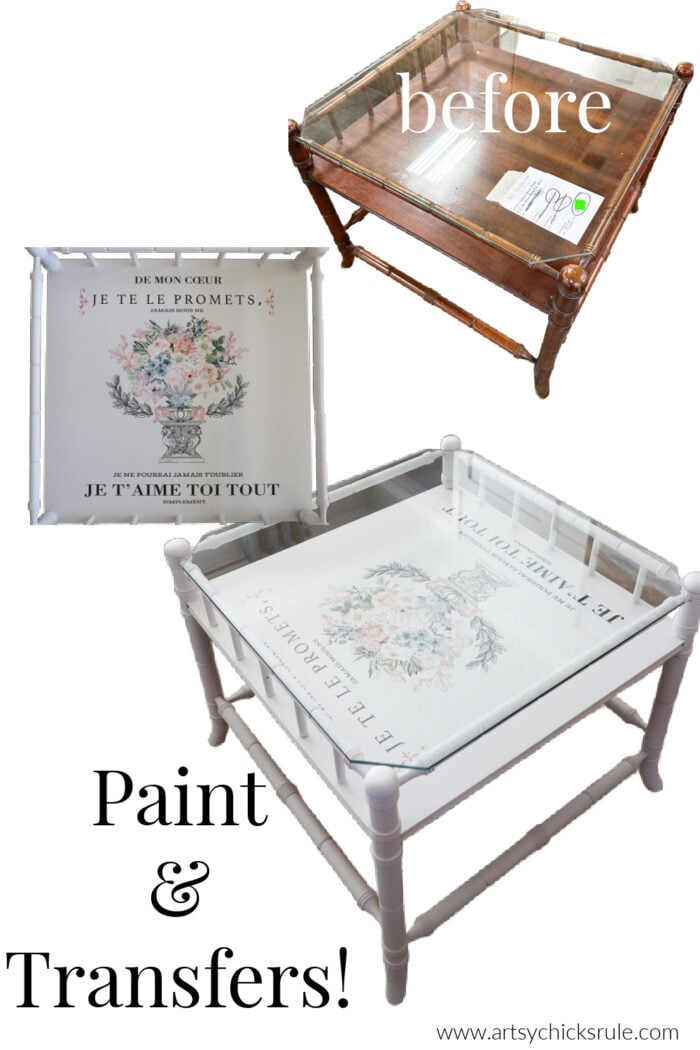
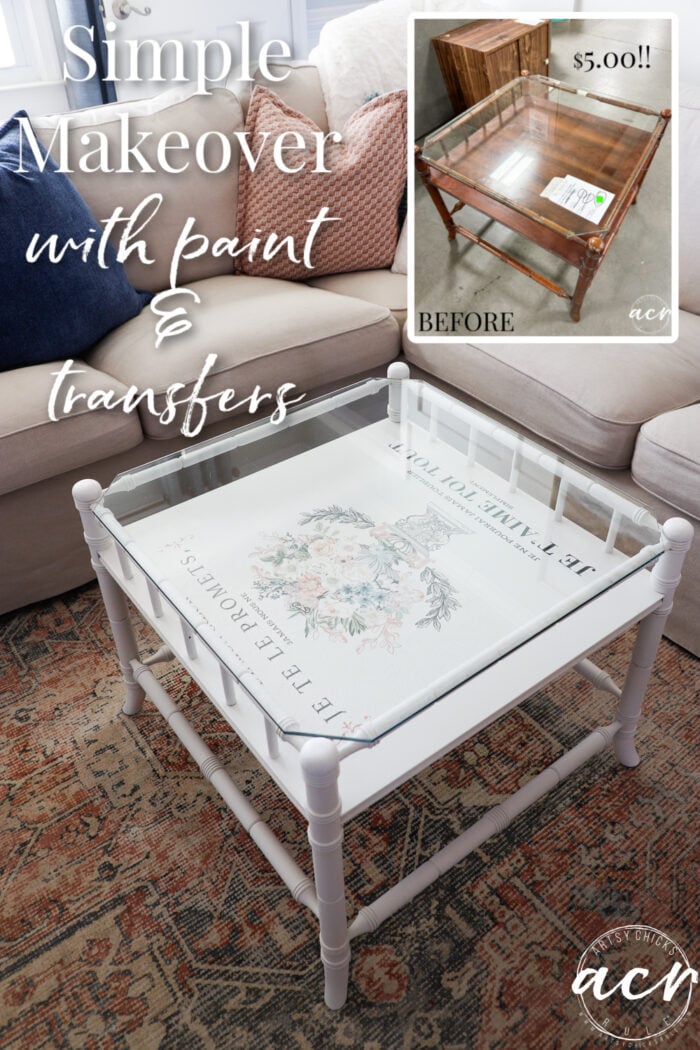
Glass top table makeover with paint and transfers!
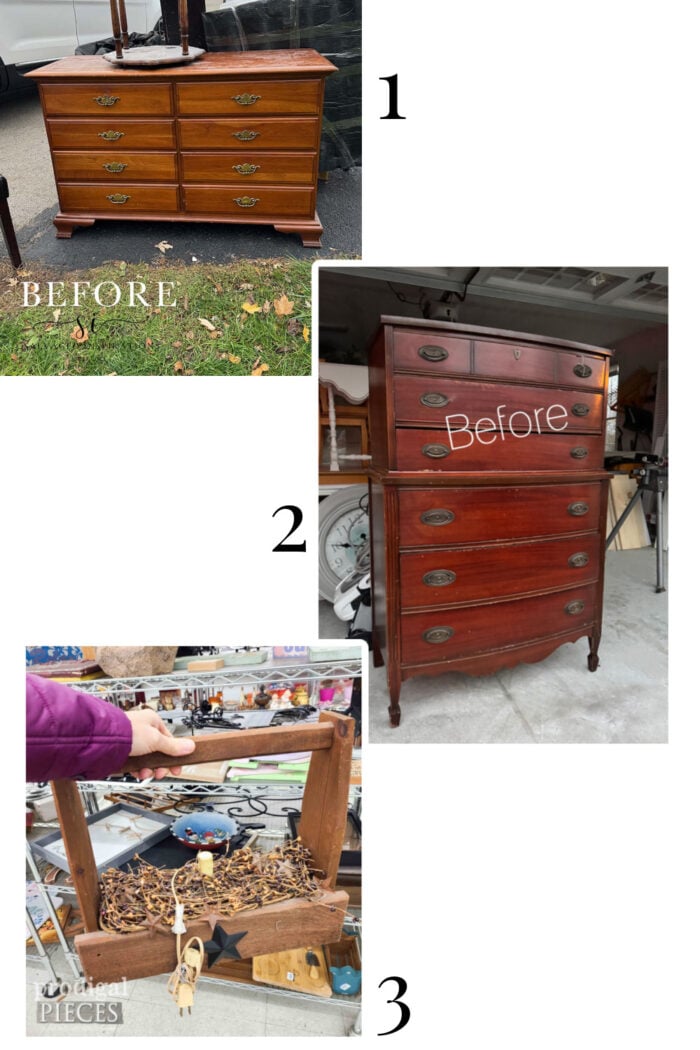
Hello friends! It’s the first “Trashy Treasure Tuesday” of 2025! We’ve got some good ones in store for you today. And mine was a whopping $5!
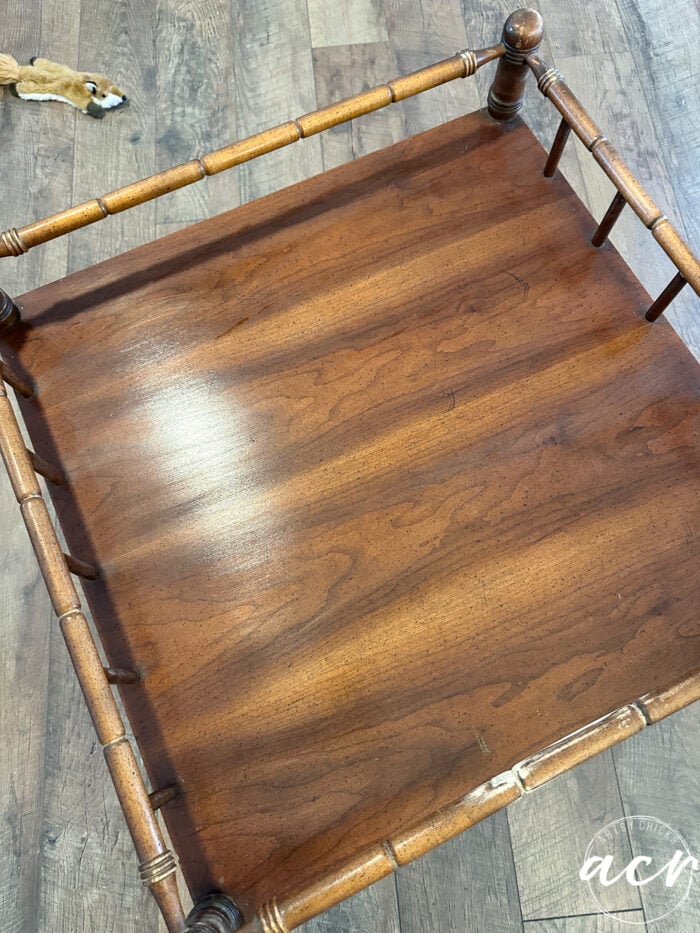
If you are new around here, welcome! My friends and I get together the second Tuesday of every month to share our latest “trash” finds made over. I’m sharing a small coffee table/side table that I picked up at the ReStore for $5.00. It was originally $45 and they marked it down several times and then finally stamped it 5 bucks! Sold!
Glass Top Table Makeover

Wow, it started out at $59!!
But then got marked all the way down to 5.
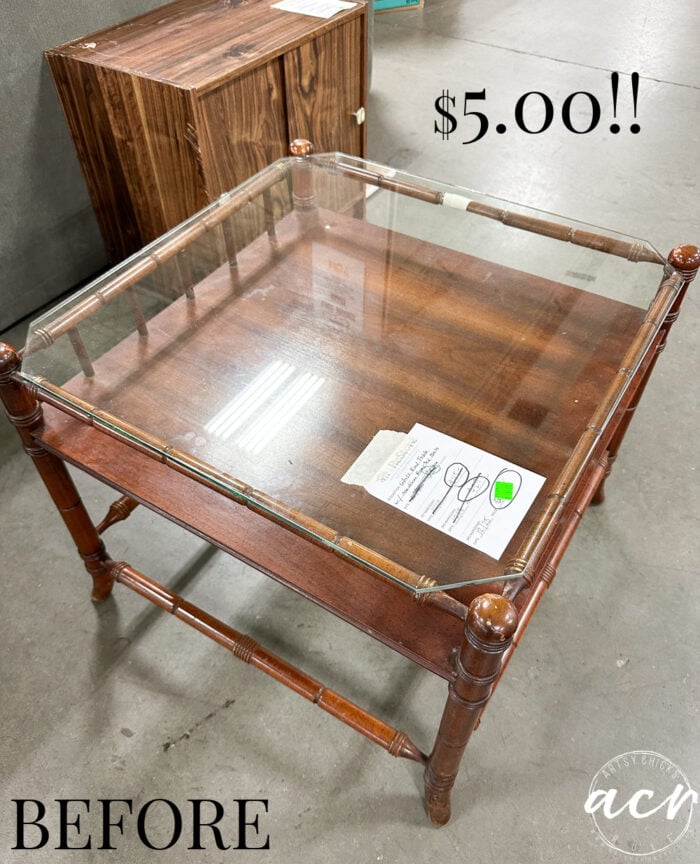
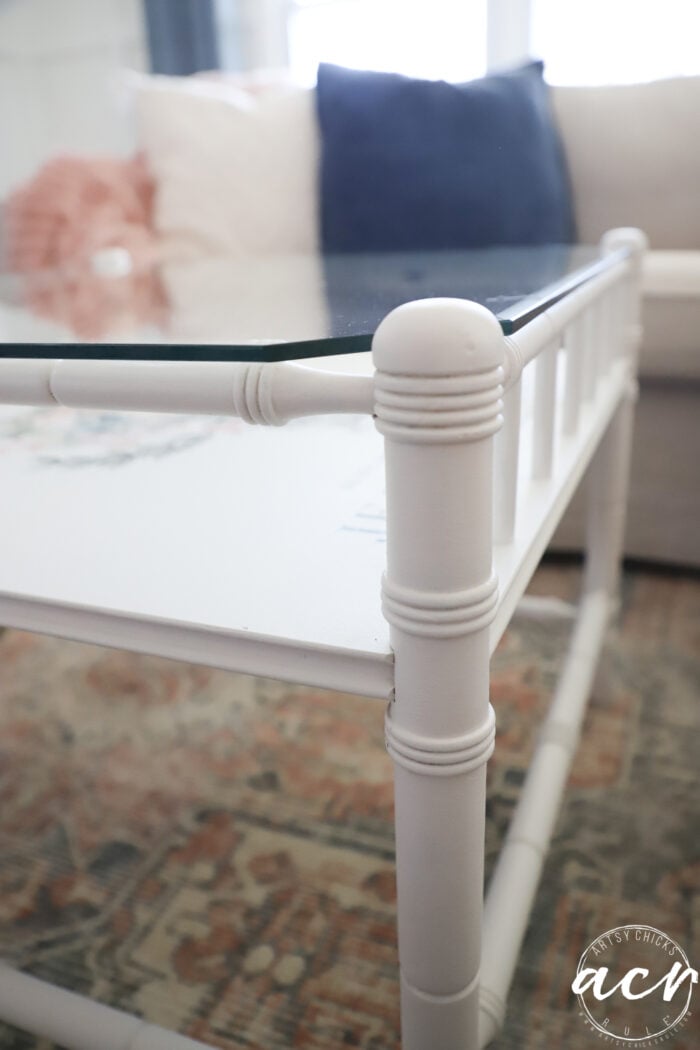
It’s a nice table for $5 and a very heavy piece of glass on top too.
I might have missed this broken piece! haha
But honestly, it wouldn’t have scared me away and it’s still worth way more than $5.
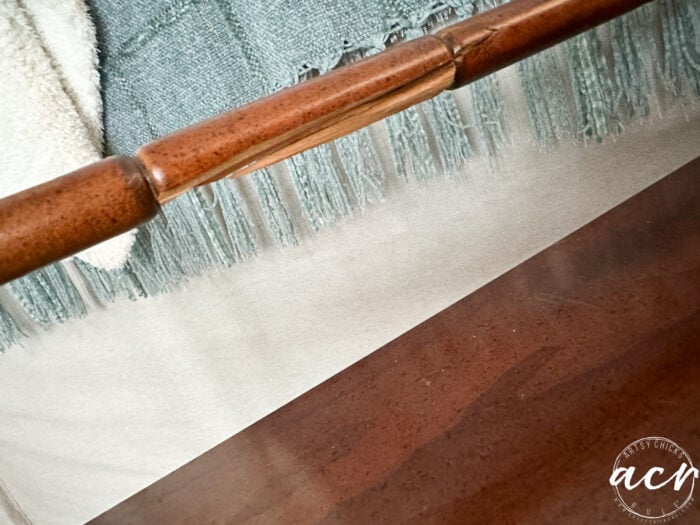
Sadly though, it was broken across and missing some of the wood. So I had to do a bit of work on it before I could get started on the makeover.
MATERIALS SOURCE LIST
- Wood Glue
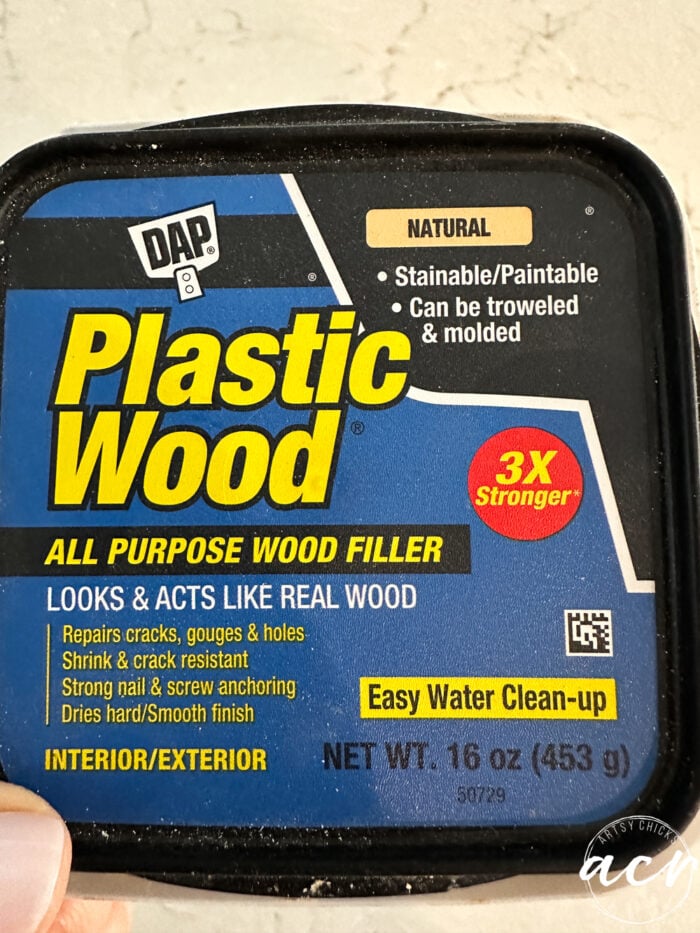
- Plastic Wood
- TSP Alternative
- Continuous Sprayer
- Spray Tent
- Paint Sprayer
- Victorian Lace Paint
- Royal Bouquet Transfer
- Tape Measure
- Sandpaper
- Matte Topcoat
Prefer to shop on Etsy? I have an Etsy shop also, here!
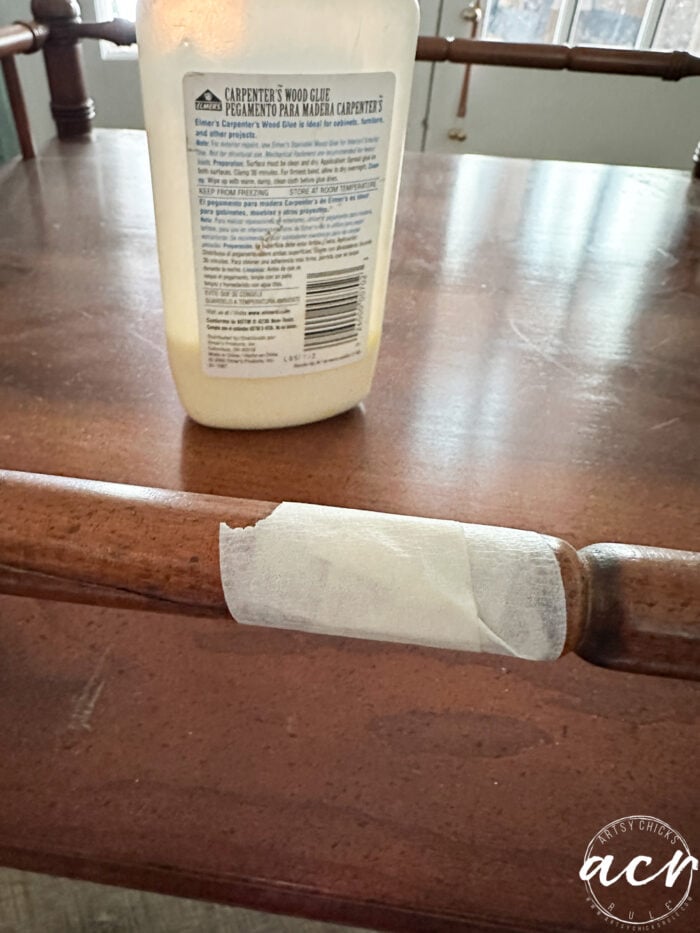
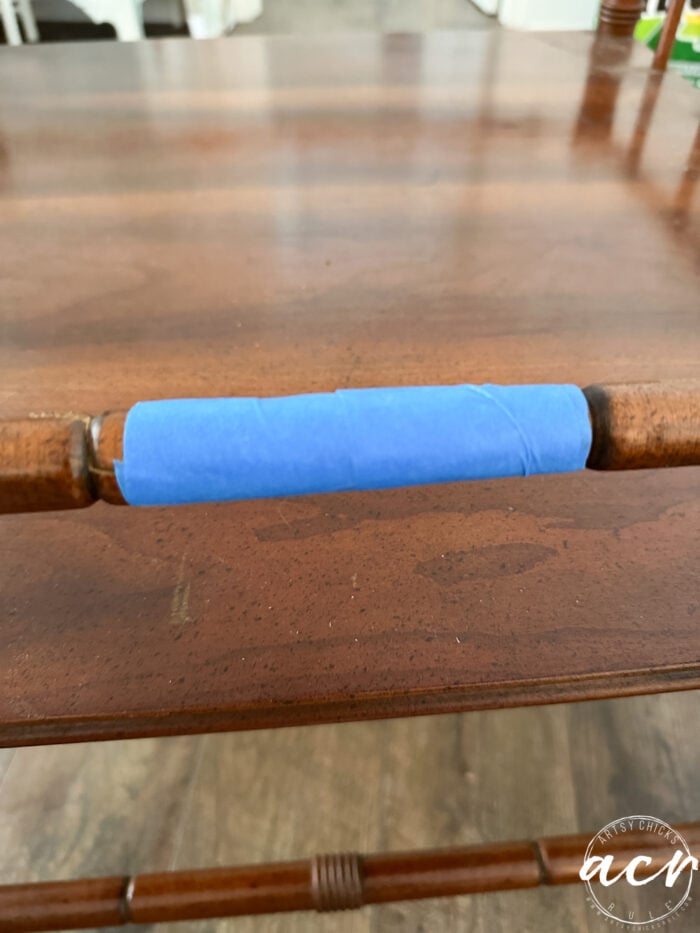
GLUE BROKEN PIECE
I glued it back together and taped it up tight overnight.
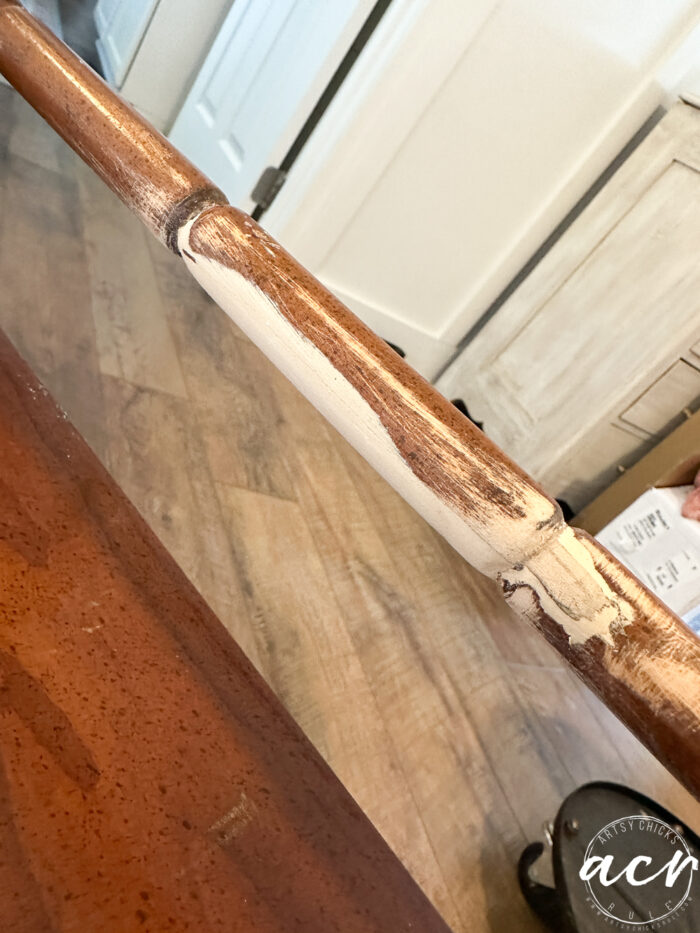
REBUILD BROKEN MISSING AREA
Then I used this to create and build back up the missing portions.
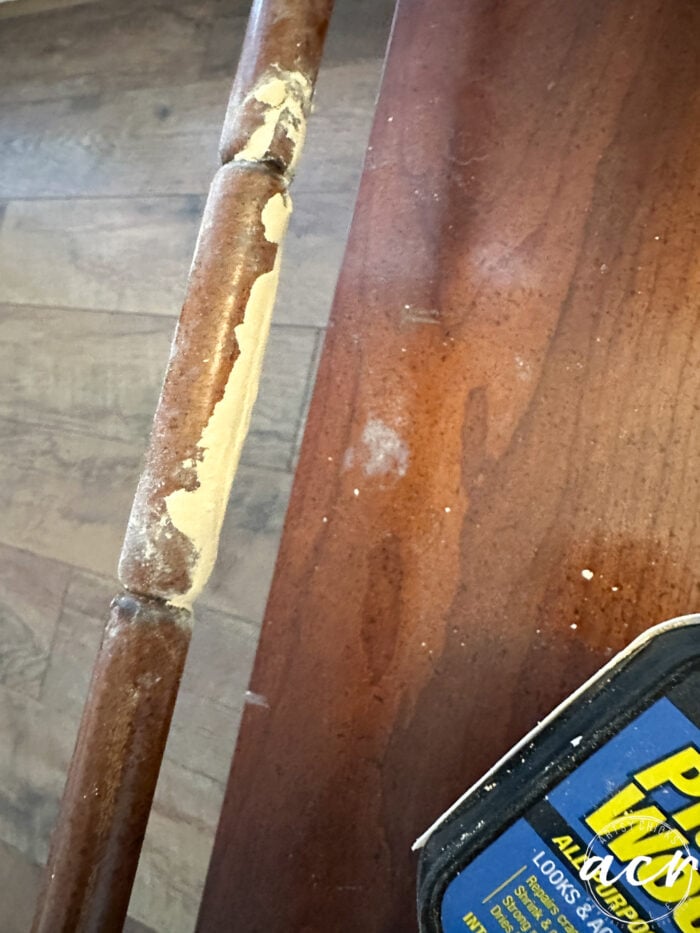
Once it was dry, I sanded it to match the rest. Worked great!
SAND & CLEAN
Next, I cleaned it up with our TSP Alternative.
It was sort of slick looking so I also gave it a quick, light sanding and cleaned with TSP again.
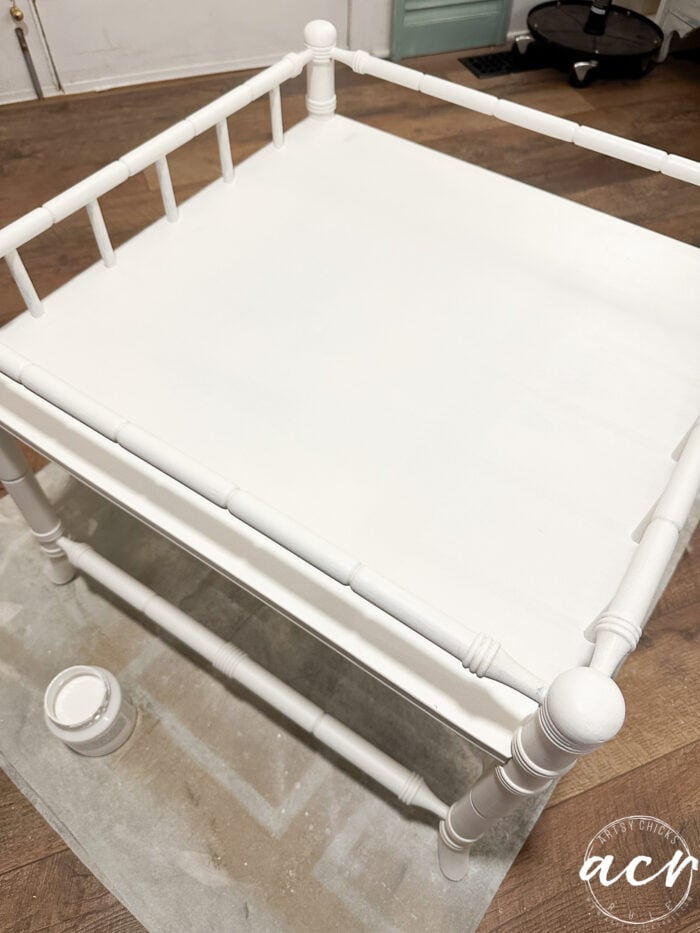
PAINT
Then I pulled out my small tent (I use this one way more often than I do the large one) and paint sprayer to paint it.
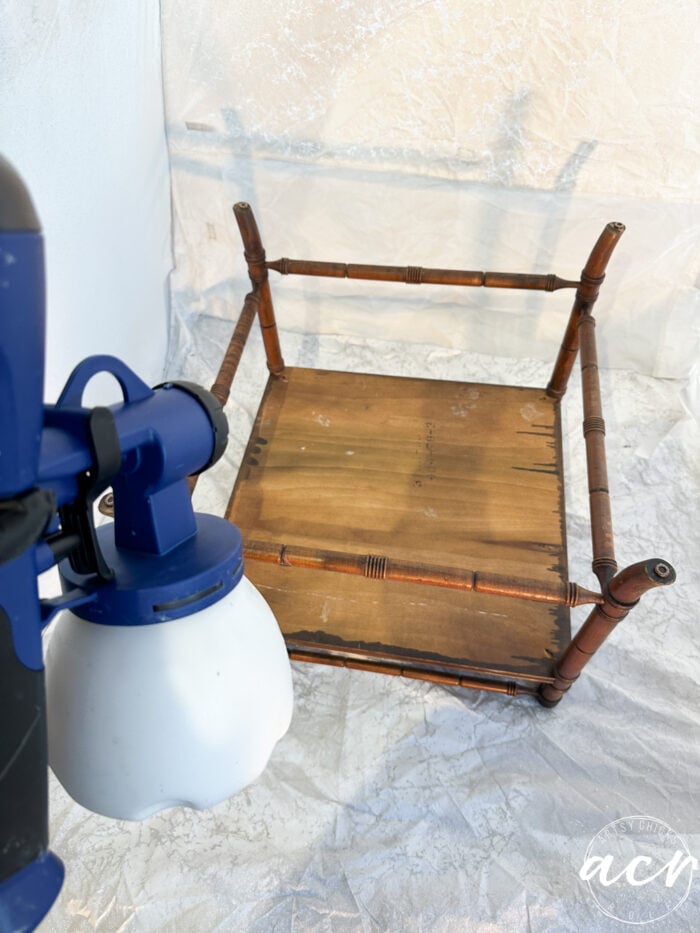
Upside down first, then right side up after.
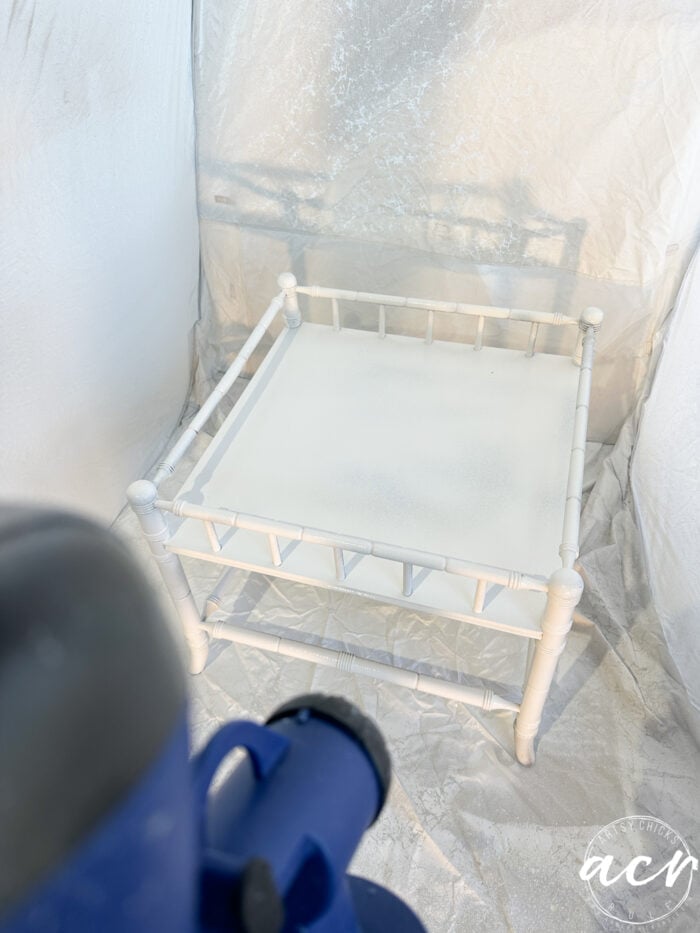
SO incredibly fast! And way faster than painting by hand. Especially with all those spindles.
There were just a few small spots I needed to touch up when I brought it in. By the way, I’m using Victorian Lace, one of my very favorite whites.
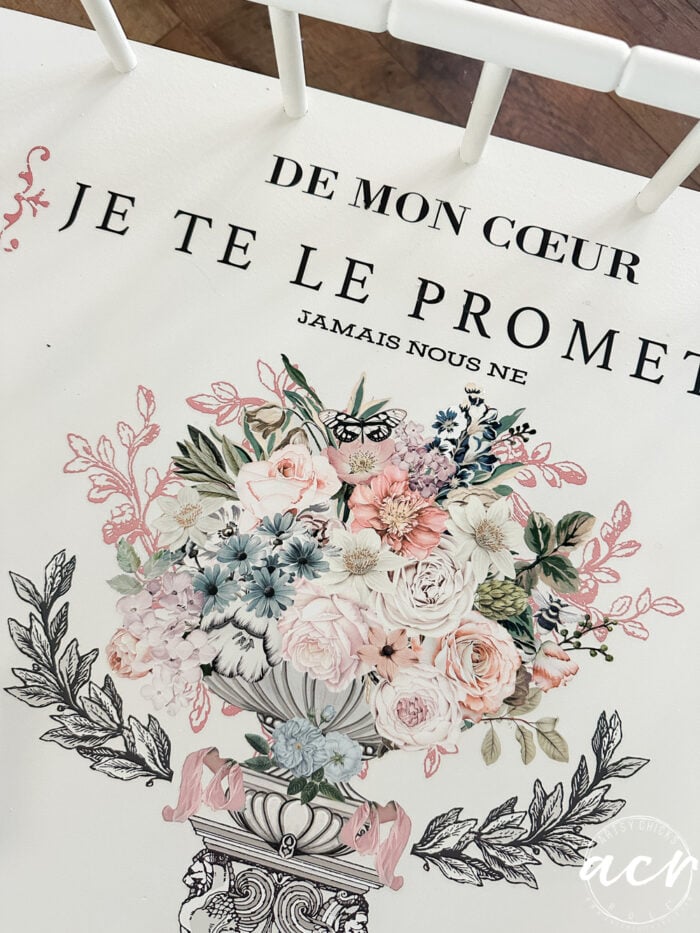
APPLY TRANSFER
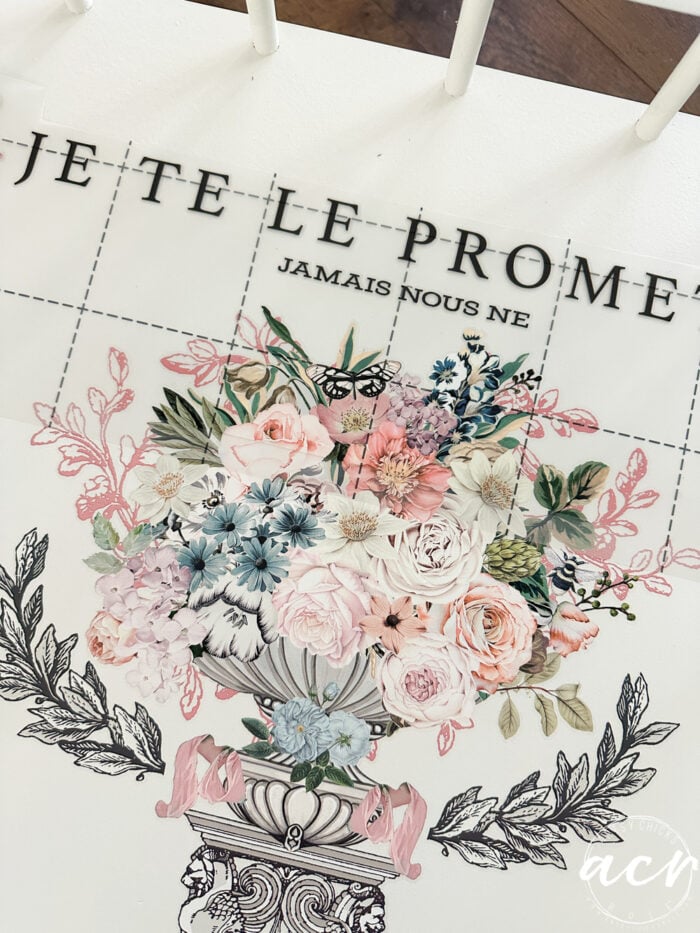
Once that was dry, I pulled out the transfer I was planning on using.
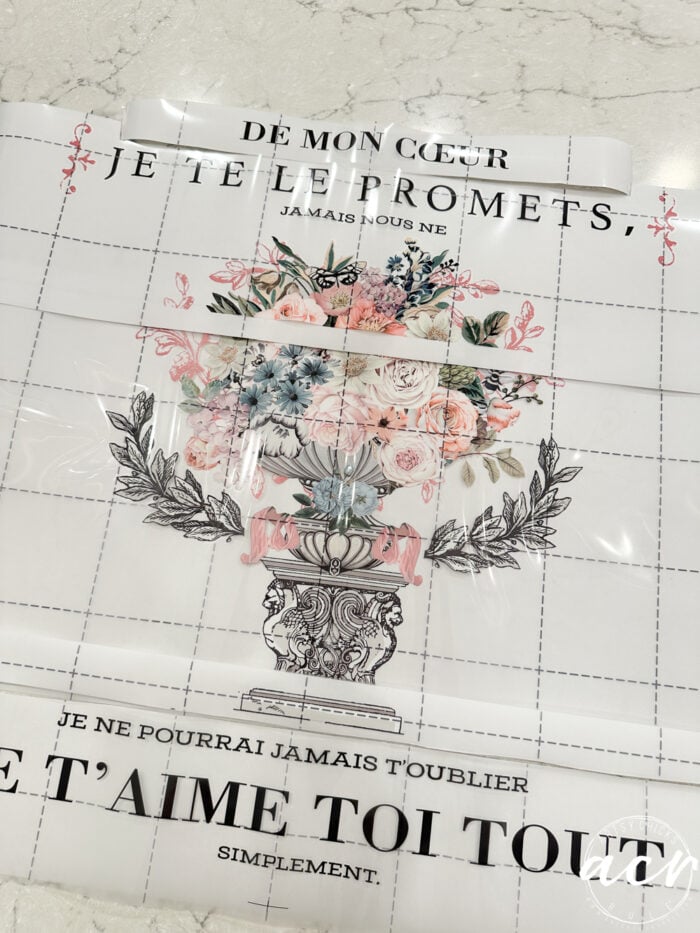
Which, by the way, says this: (per a translator)
From the deepest,
from my heart,
I promise you,
we never (??)
We will move away,
Nothing can separate us,
I will never be able to forget you,
I love you everything,
Simply.
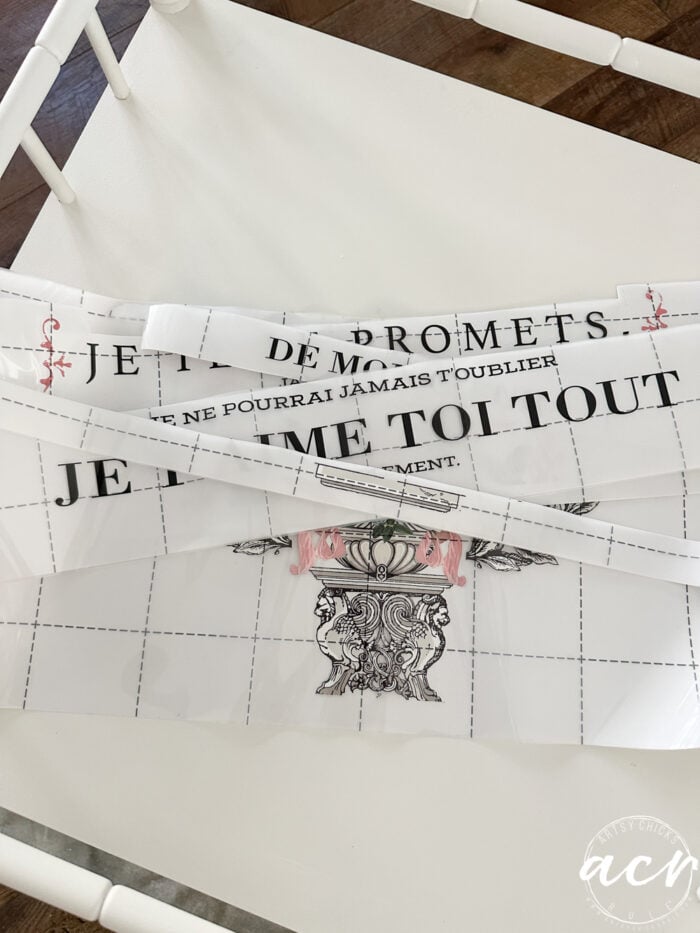
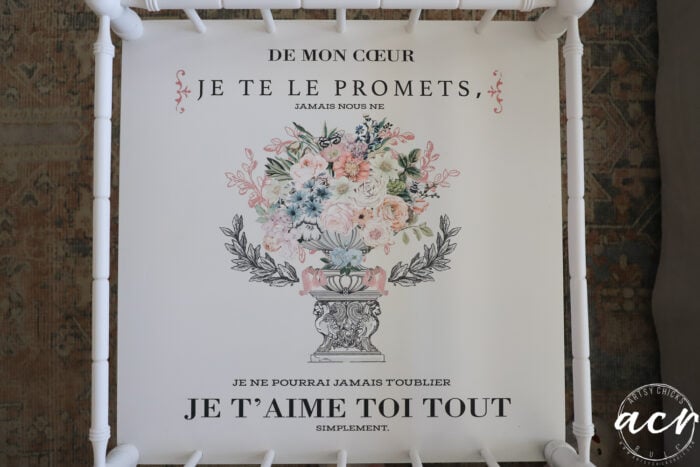
I knew the transfer was too long to use it all, so I decided on this:
So it doesn’t say all of that anymore, just some of it…same sentiment!
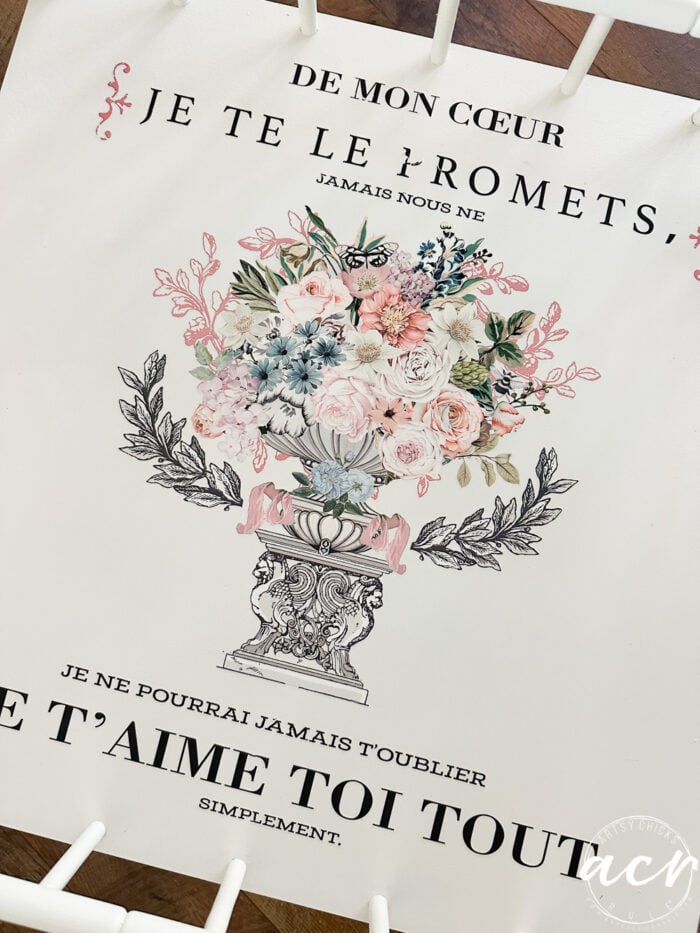
Now too arrange them perfectly onto the top of the table.
Want to know how to use decor transfers?? Check out this post here >>> “How To Use Rub On Decor Transfers – Tips & More“
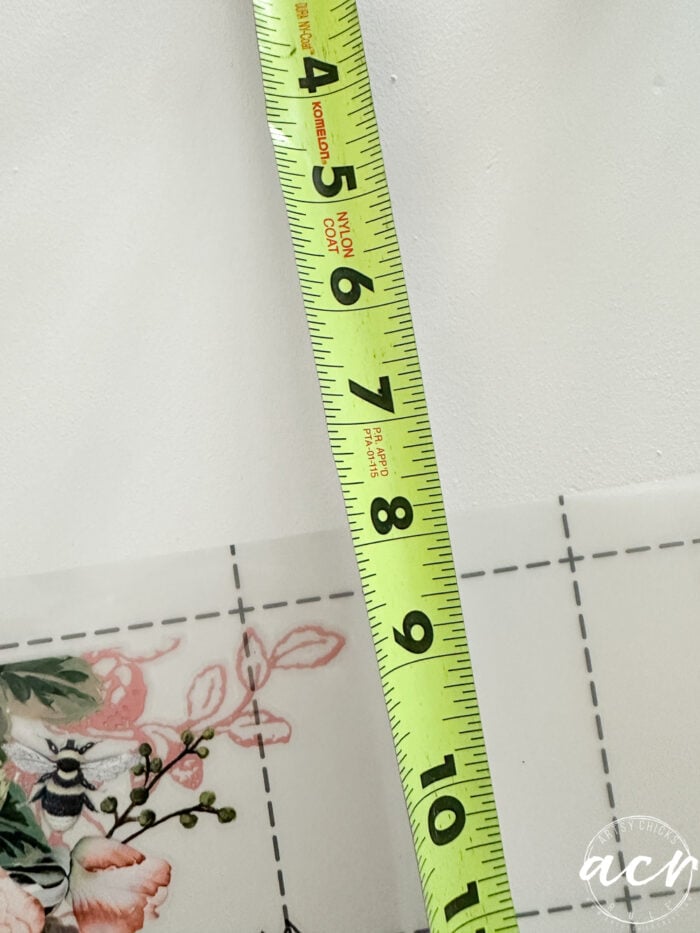
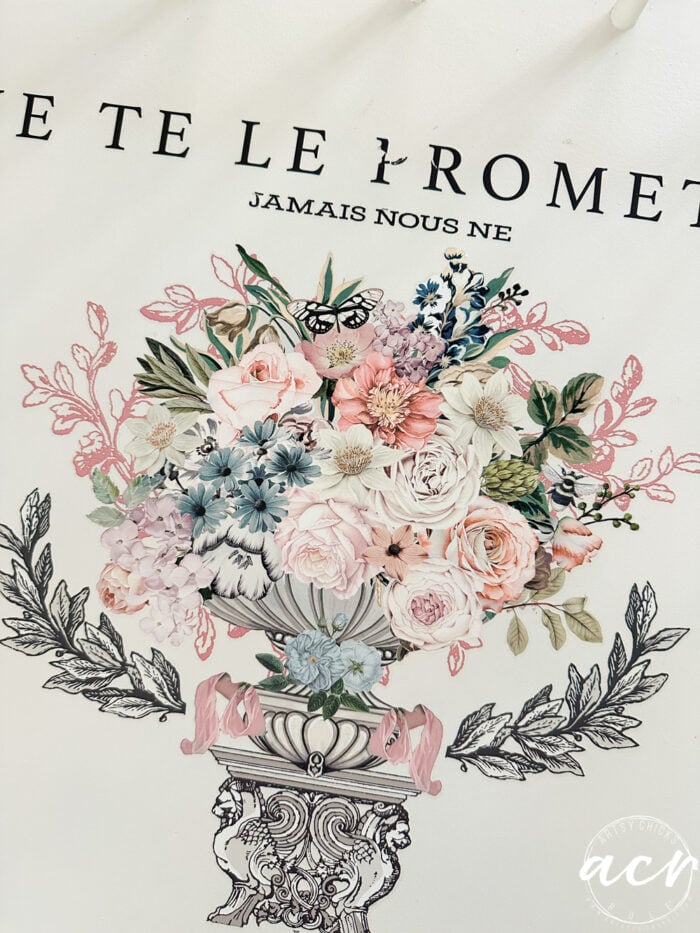
I decided to apply the bottom section of the floral arrangement first. I measured both sides to make sure it was aligned properly.
Next, I did the section just above that.
And worked my way up and down from there.
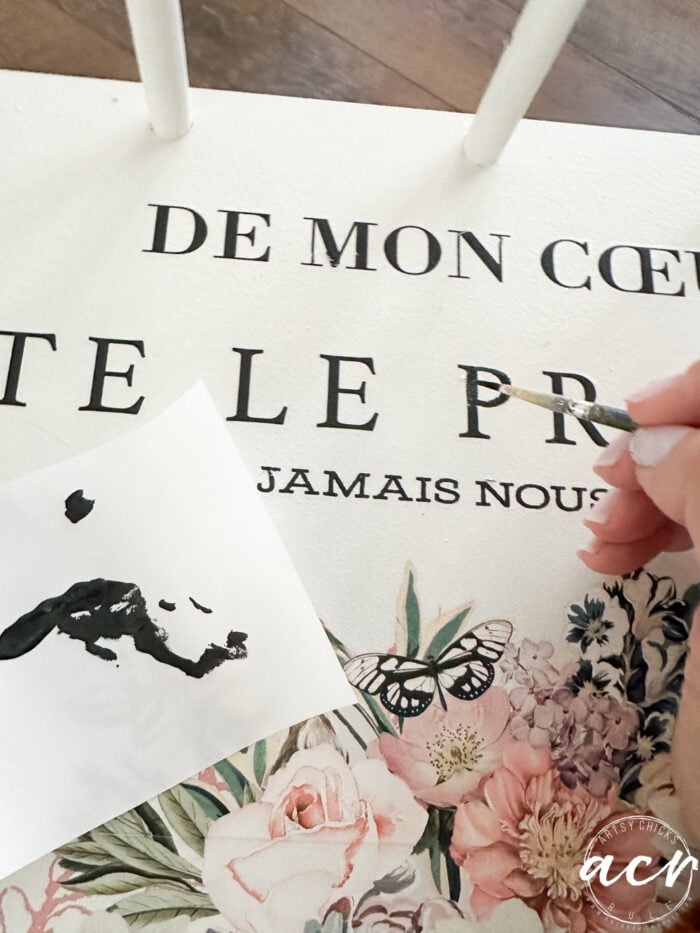
Until I had an uh-oh moment… Oops, dang.
Pulled the transfer paper up too quickly and some of the letter “P” came up with it. Ugh. (and the little “J” also)
(**I had some questions sent to me about this, so I thought I’d explain a little better what I mean. When I’m applying transfers, yes, you can and I do, lift it up and take some of the transfer up with it. So I simply put it back down and rub some more until it’s fully transferred. This time, I pulled it up and the lettering on the “P” and a “J” came back up with it but also twisted onto itself. Meaning, that it no longer would lay back down because it was sort of mangled onto itself (and onto my finger too! lol), if that makes sense. So, there was no way to lay it back down to transfer it. And why I had to end up painting it in. The lesson here is patience! haha! I was not as careful as I should’ve been.)
Ah, well, I just continued on and briefly considered leaving it as if it were old and worn and supposed to look that way.
BUT … nothing else looked old and worn! hah!
So I pulled out my “Ash” paint (a perfect soft black shade that matched perfectly) and fixed it.
And the “J” too.
Better. Yay!
TOPCOAT, PROTECTIVE COAT FOR TRANSFER
I put a coat of Matte finish topcoat all over and done!
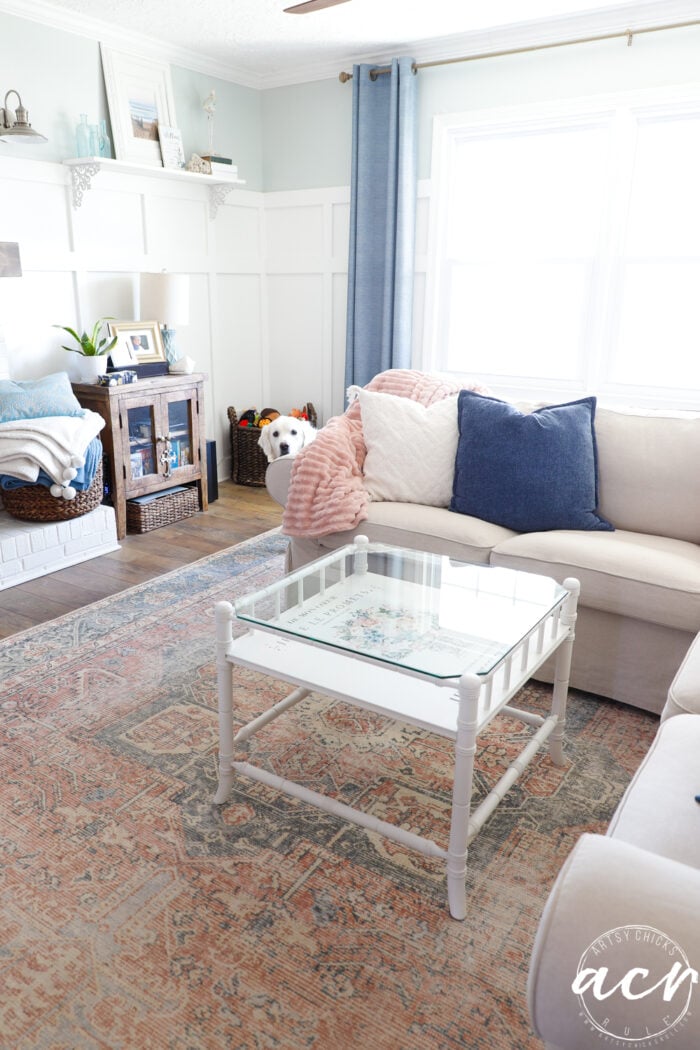
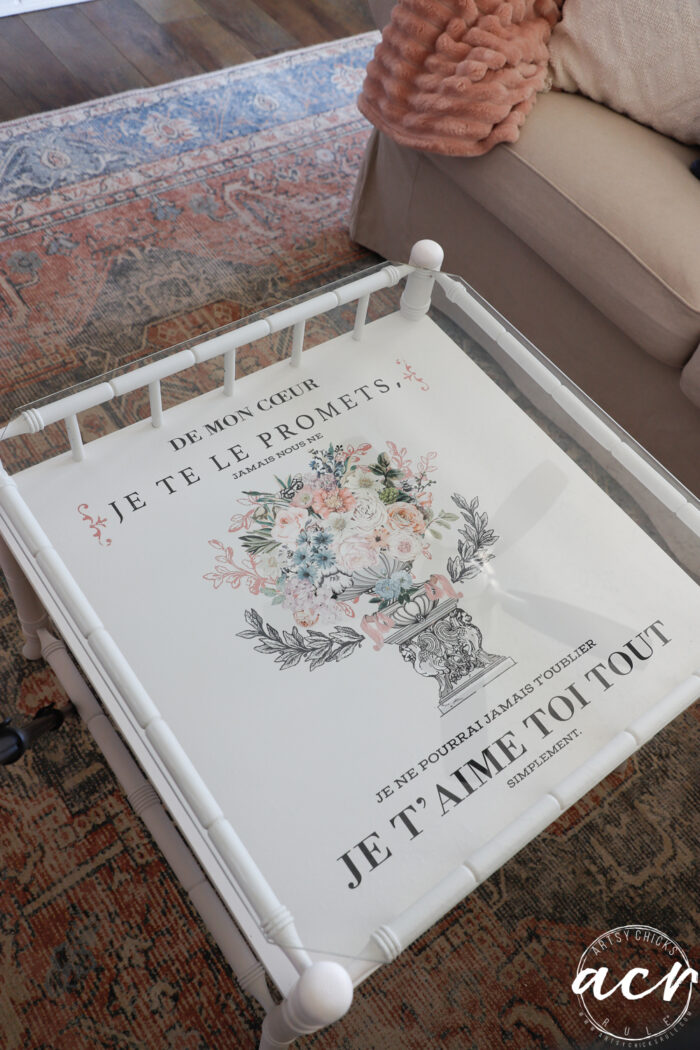
REVEAL
Without the glass top.
Do you spy the cutie peeking at me?? haha
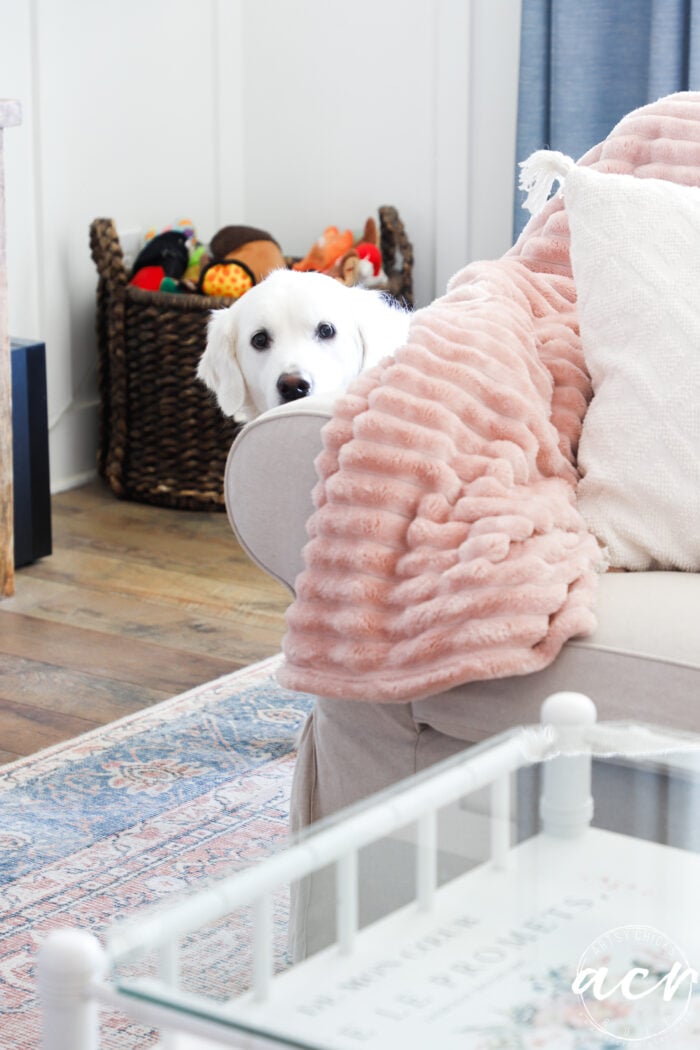
Hi Ryder. Sweet boy. We finally got his itching under control so no more jammies!! lol
By the way, you can find the living room rug here.
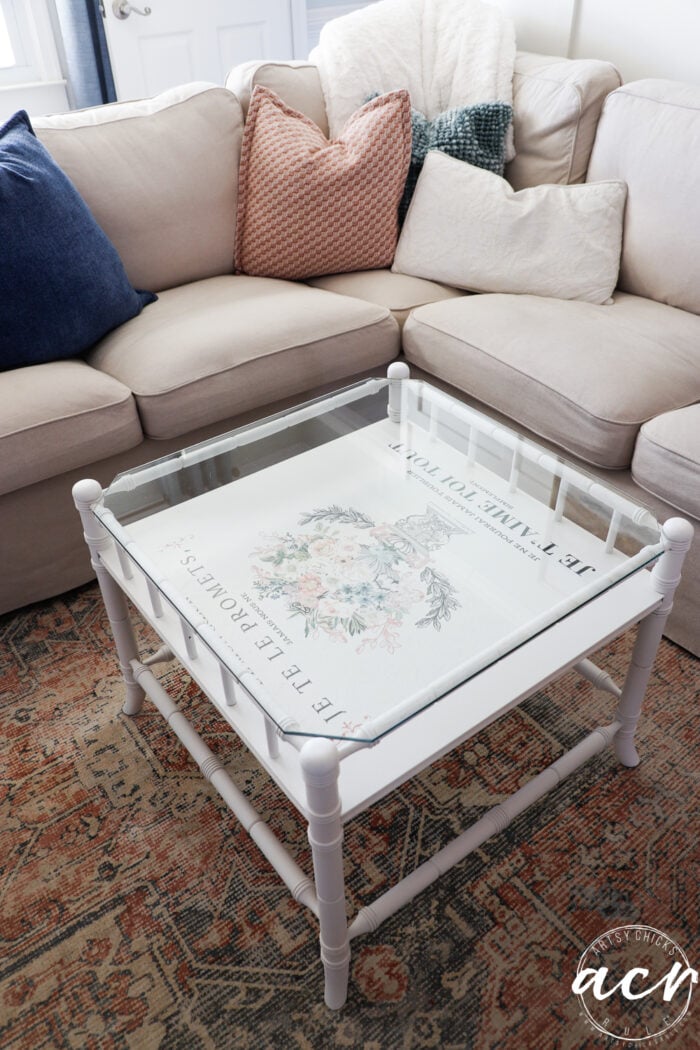
Such a unique table. And even more so now that I’ve painted and given it some beauty with this pretty transfer.
I considered lightly sanding the raised areas to bring out all of the wonderful detail on this table but decided against it. However, I think it would have been really pretty that way too. Especially with all of that detail.
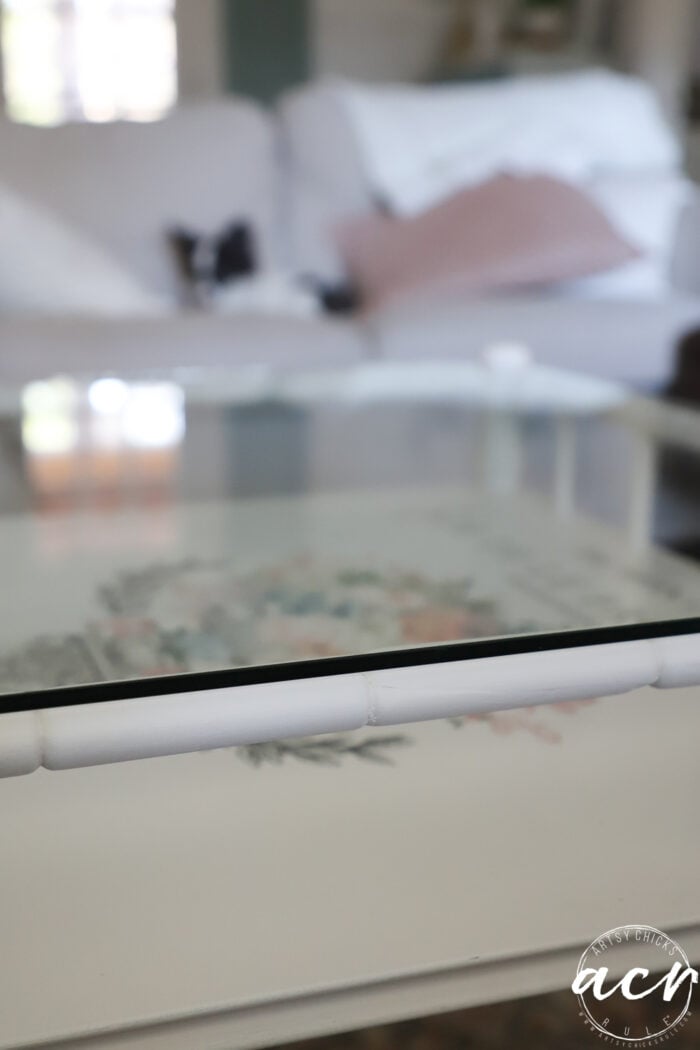
Here’s the area I repaired. You’d never know!
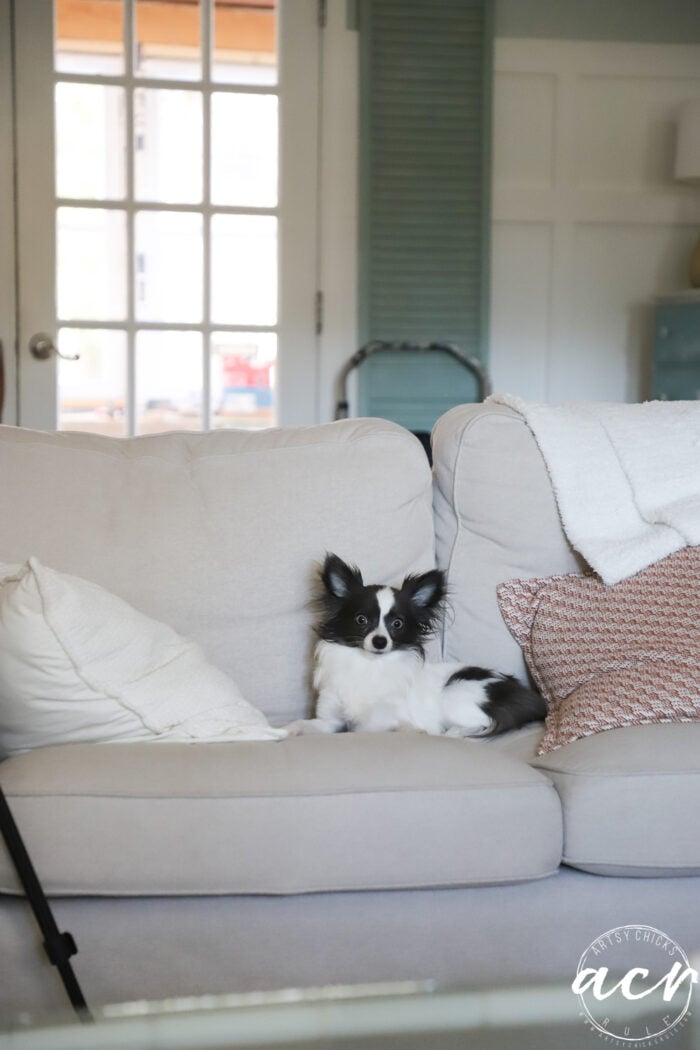
And another peeker keeping an eye on momma. lol
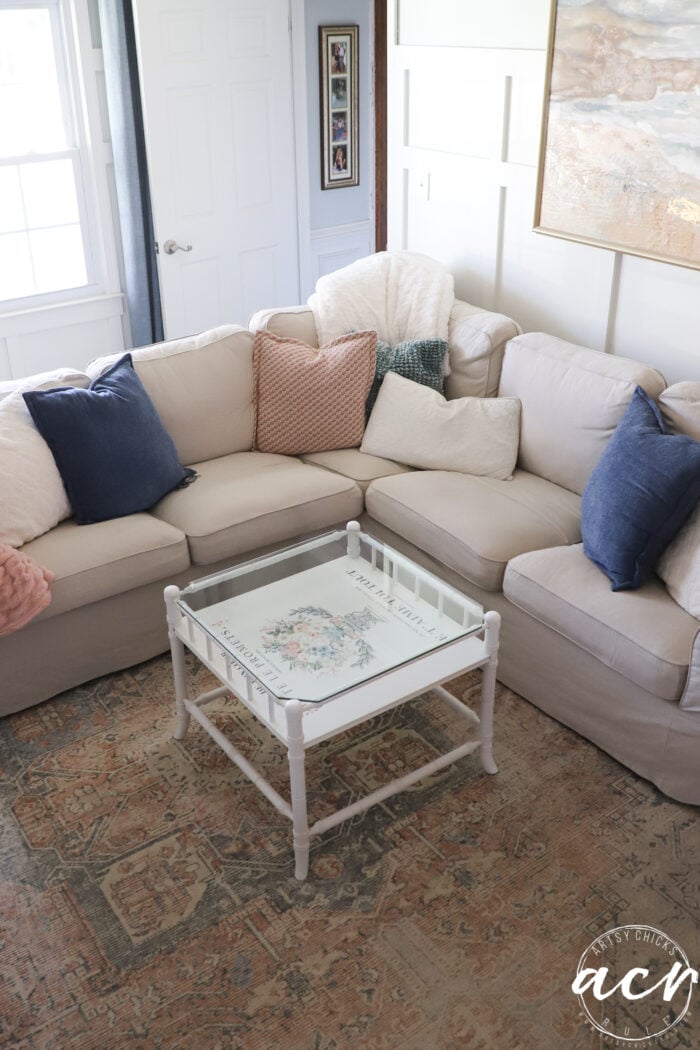
Just lovely now! It can be used as a small coffee table or even a side table if you prefer.
PIN it to save it!!
Don’t go just yet! Hop on over and visit my friends to see their pretty makeovers too!
Have a wonderful week, friends!
xoxo


Sweet score and even sweeter save. Beautiful job.
Thanks, Larissa!
It looks beautiful now and so glad you didn’t scuff it up. Have to be honest I hate that look, why put all the work in to make it look pretty, then scrape it all. xx
Thank you, Janette! I like the look on some things but I understand where you are coming from! :) xo
Nice job! I love seeing all your makeovers!! One of these days I’ll try something myself!! You’re very inspiring!!
Thanks, Cathy! That is so kind of you to say! And yes, I hope you do!!! xoxo
Your pictures did not come thru
Oh no, Gail!! I am not sure why?? I looked from my phone and computer and didn’t have any trouble. I’m so sorry, maybe try again?
The first thing I thought was NO WAY, Nancy! But yes way, that Restore is serious about moving its merchandise 😁 I can see how you’d miss the bit of masking tape on the break, which may have put other people off. But it turned out to be a seamless fix, especially since you were going to paint it anyway, and the transfer takes it up a notch. It’s just beautiful now and someone is going to love it.
Yes!! Haha!! They have just recently started this markdown type of pricing. Ours didn’t do that before. Will have to keep an eye out there for more deals. And thank you, Marcie! xoxo
Nancy, you did a wonderful job on this table, and I love glass top tables. I like how the repair turned out too. I can’t even tell it was damaged. Bravo!
Thanks, Darlene! :) xo
So unique and beautiful Nancy, and awesome repair work!! XOXO
Thanks, Denise!! xo
Just gorgeous, Nancy. It takes a special talent and patience to get this result.
Thank you, Sue! Yes, repairwork does, for sure! xo
It’s gorgeous with that transfer! I cannot believe it was only $5!! Well done, my friend! XOXO
Thanks, Christy! That transfer was the perfect fit! And can’t beat $5…like the old days! lol xoxo
What a transformation! WOW!!!
And that price – what a great deal!!
Thanks, Michele!! For real! Hard to find those $5 prices these days! Have a great week, friend! xoxo
Great job with the repair. No one will ever know.
Sooo cute now :)
You DO have such cute pups !
FYI some pics did not come thru.
Thanks, p! It was fun to do and the repair was not hard at all. Yay! And I wonder what’s going on with the photos?? I didn’t notice it happening but someone else mentioned that too. Thanks for letting me know!
What a great deal you got. I can’t believe how you fixed it and you’d never know it. Great job. Love Ryder, the photo bomber lol and his little sidekick lol.
Yes! $5 is a win for sure! Thank you so much, Debra! xoxo
Hi Nancy! Happy New Year! Your table turned out to be amazing! Your pups are so adorable. Ryder is the perfect white. I have a standing jewelry box that I’m thi king about getting g this transfer for but I’m not sure the vase of flowers will fit. Can you tell me how wide just the vase of flowers is?
Happy New Year, Cheryl!! Thanks so much!
The vase of flowers from one side to the other is approx. 13.5 inches. Hope it will fit for you, it’s a beauty! xo