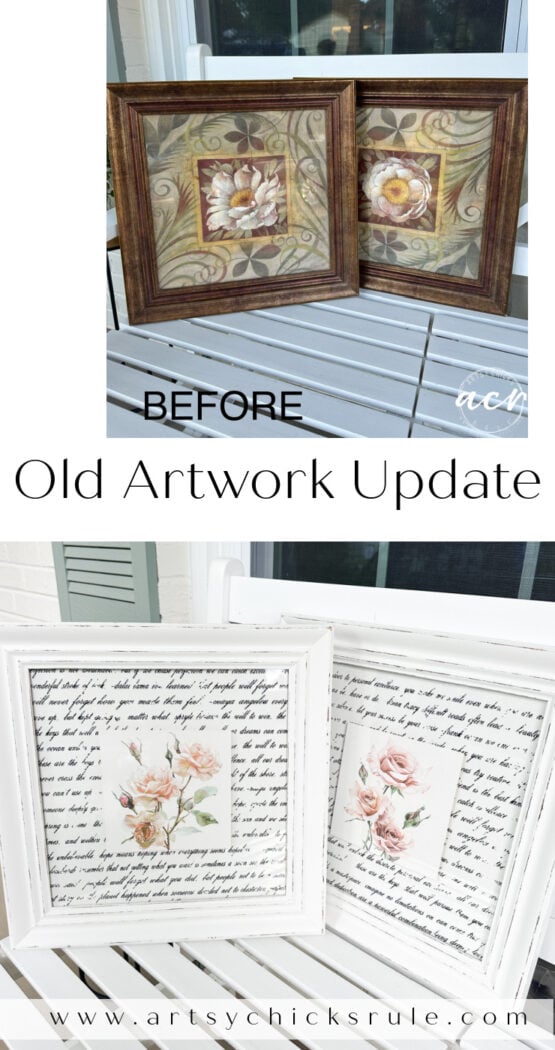
Update Old Artwork with Decor Transfers
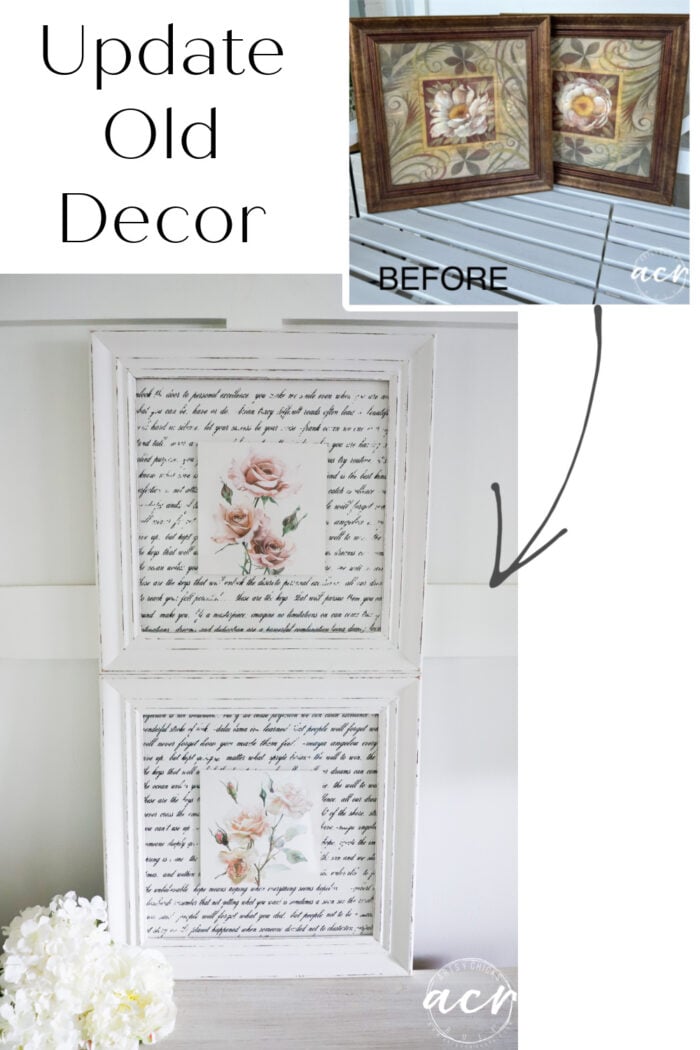
Update old artwork, so easy with paint and transfers!!
Hello and happy Trashy Treasures Tuesday!
I’ve got a fun, thrifty decor makeover for ya today. I love making over the small decor pieces. They’re a lot of fun to do, and it’s a great way to get beautiful decor for your home. (without breaking the budget!) I’ve got so many pieces in my home that I’ve thrifted and made over. This artwork update today is definitely one I’d keep! Hope you enjoy it!
I also wanted to mention that I’m having a big sale on everything in my shop. Be sure to hop on over there and check it out! You can find my Etsy shop here and my other shop here.
Update Old Artwork
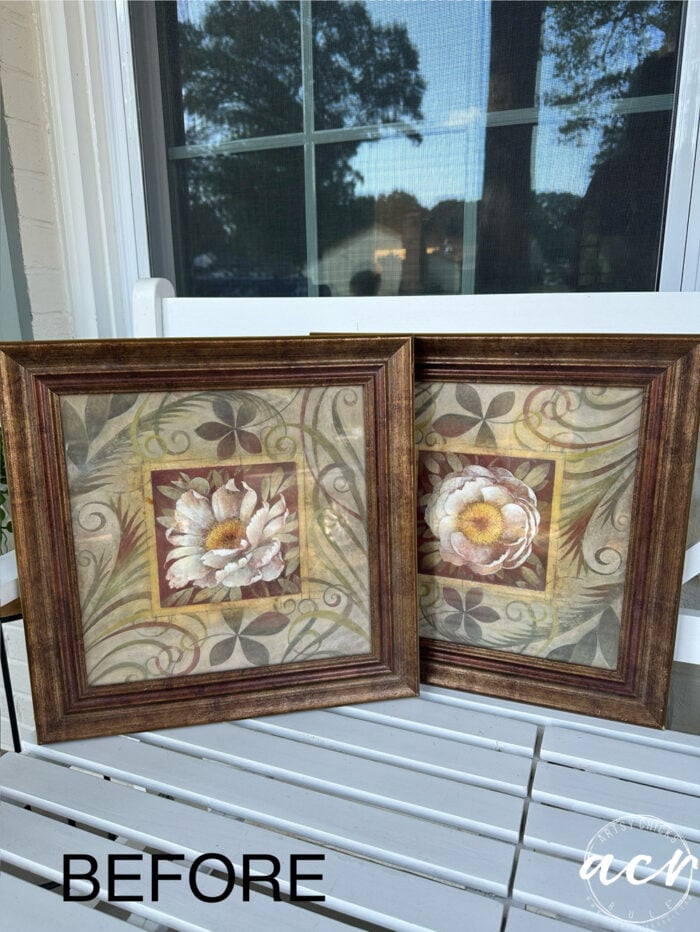
BEFORE
So I’ve had these in the garage probably for a couple of years. I pulled them out and decided it was time to give them a much-needed update.
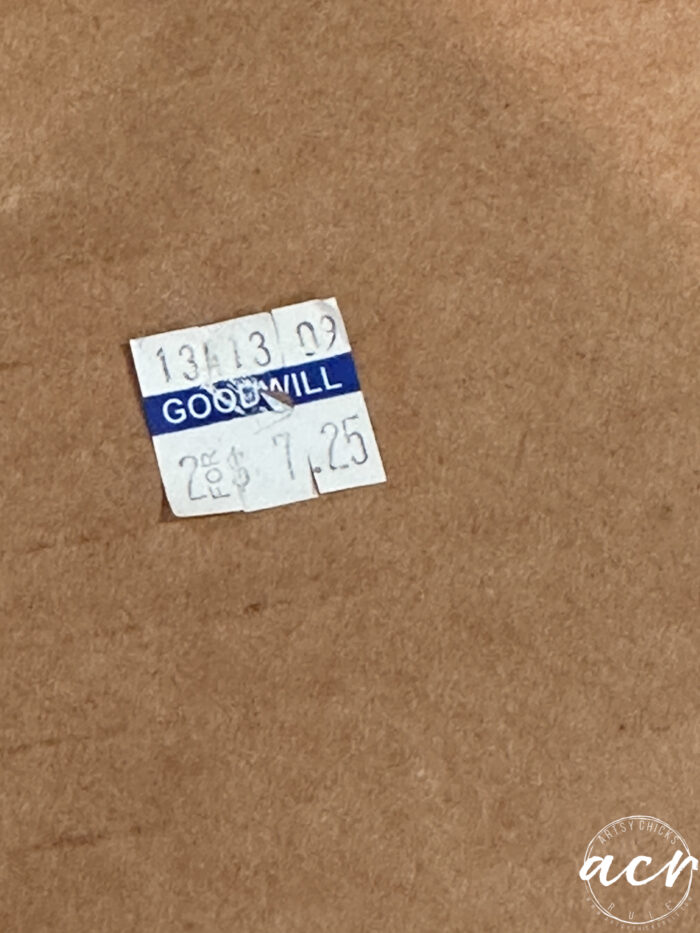
Got these for $7.25 for the pair.
I wasn’t sure at all what I would do with them when I chose them for this month’s Trashy Treasure. But with a bit of thought, it came to me!
MATERIALS SOURCE LIST – UPDATE OLD ARTWORK
- Victorian Lace Paint
- Ultra Grip
- Paintbrush
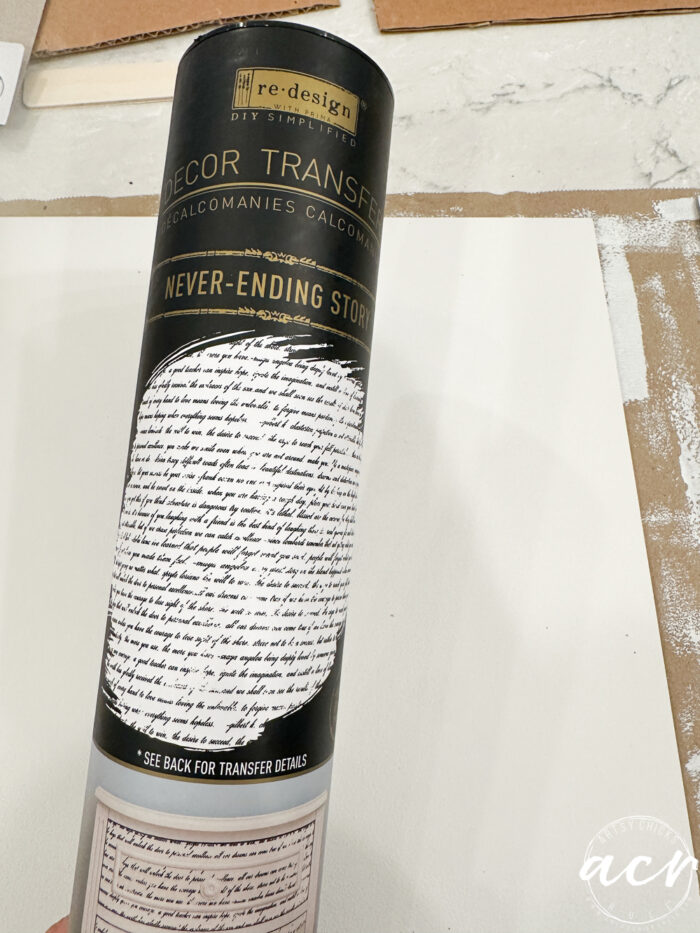
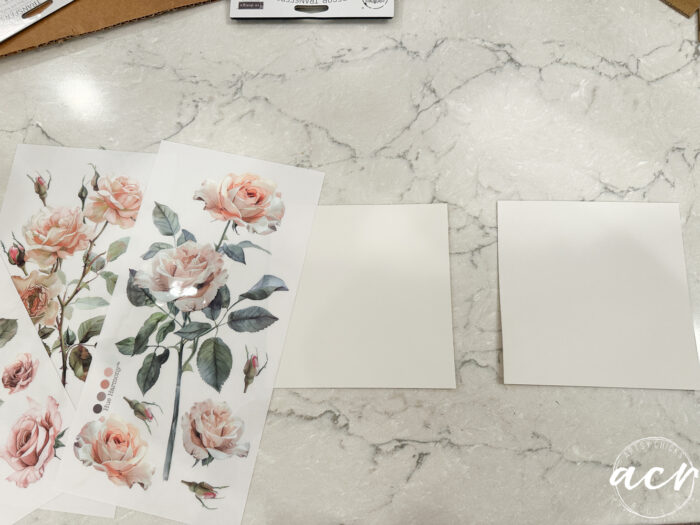
- Never Ending Story Transfer
- Blush Symphony Transfer
- Folder or cardstock
- Paper Cutter
- Velour Paint Roller
- Cardboard
- Glue Gun
- Sandpaper
To begin, I removed the backing to get the prints out.

And that is all they were, papered prints. Lovely frames, nicely done on the backside, but very simple paper prints.
Here’s the plan. Well, it was between “Blushing Blooms” and “Blush Symphony”.
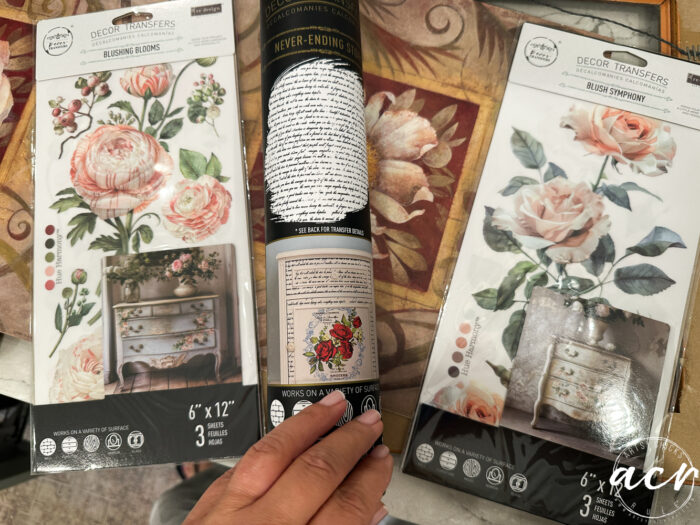
Blush Symphony won.
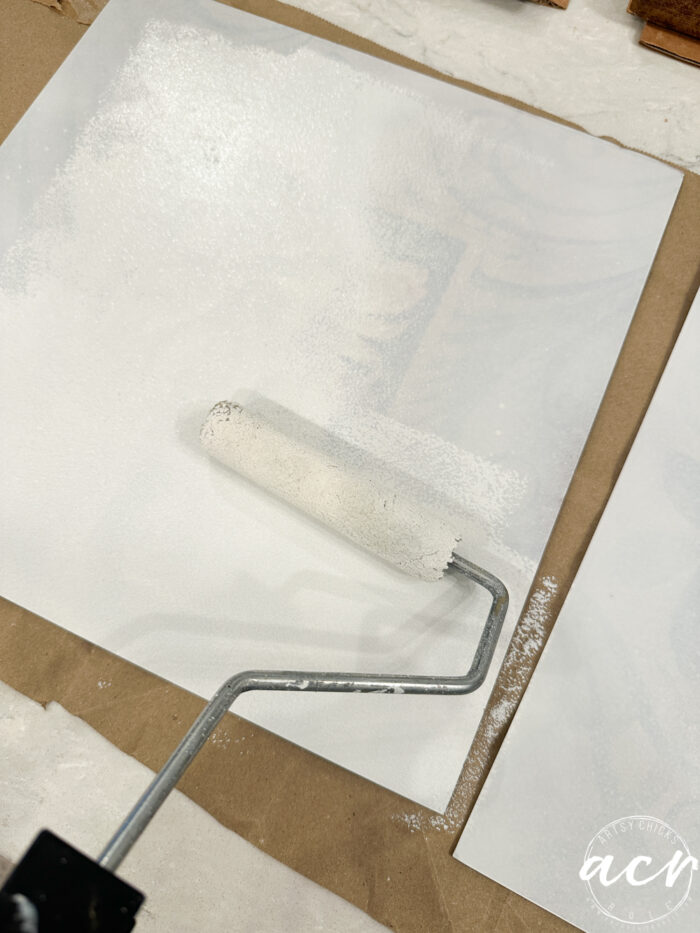
PAINT
I used my roller to paint the prints. They are very sturdy and have a flat surface, so I decided to just paint them and reuse them. Easy!!
Can you see where I’m going with this yet??
I needed some cardstock or something with some weight to it. Unfortunately, I didn’t have anything like that, but I did have this folder.
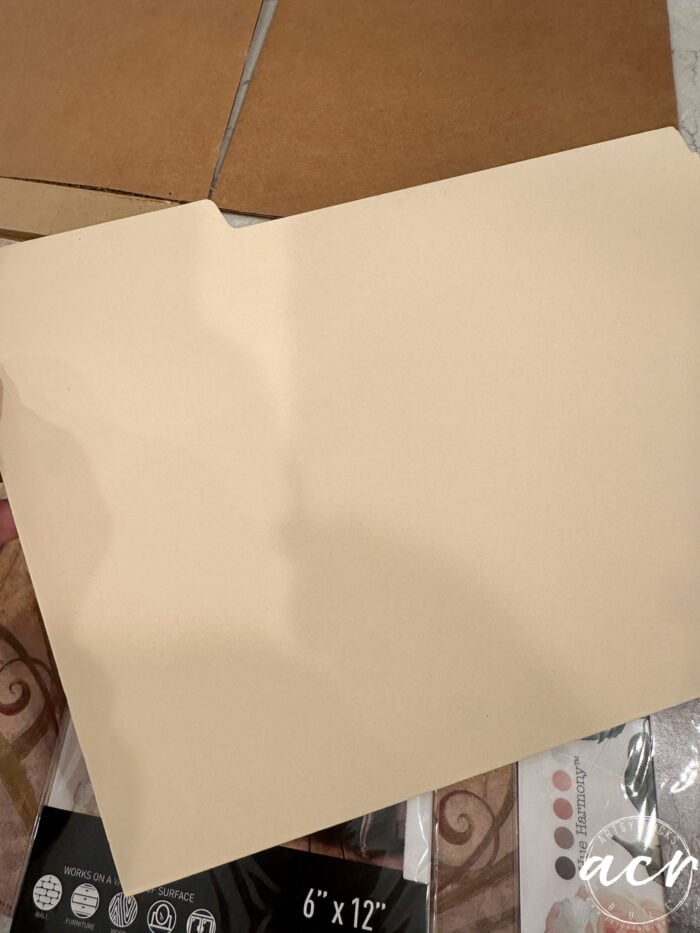
That’ll do!
So I painted it too.
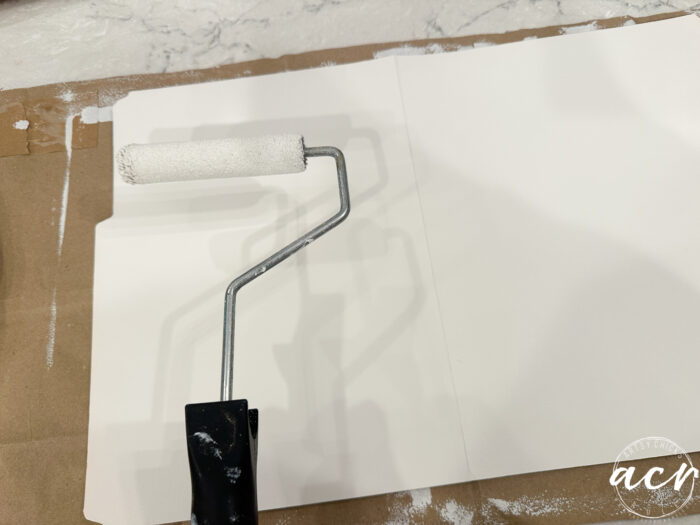
I know you are all kinds of confused right now, aren’t you? lol
You’ll see in just a minute where I’m headed with this makeover.
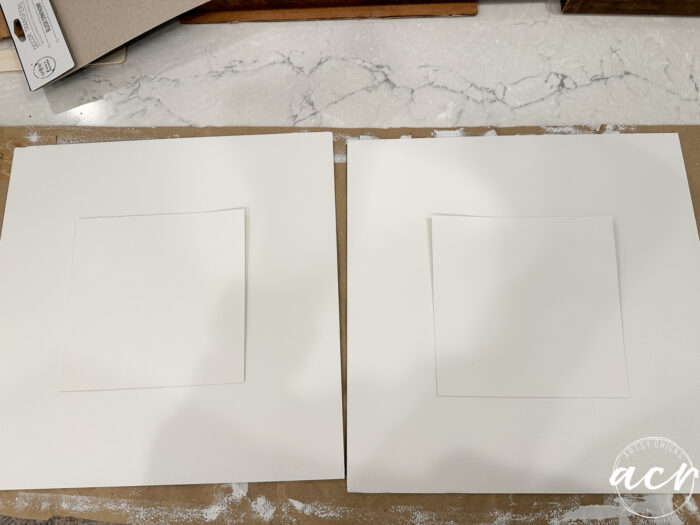
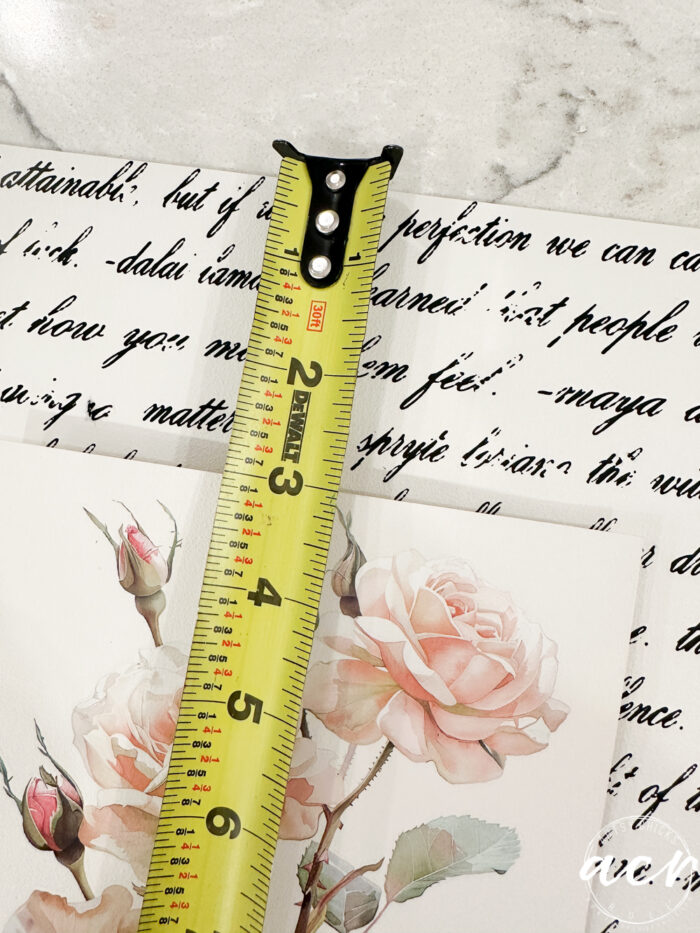
Next, I turned over the folder after the other side was dry and measured a 6-inch square.

Then I used my paper cutter to cut them in nice, straight lines.
And tada! This is what I was going for.
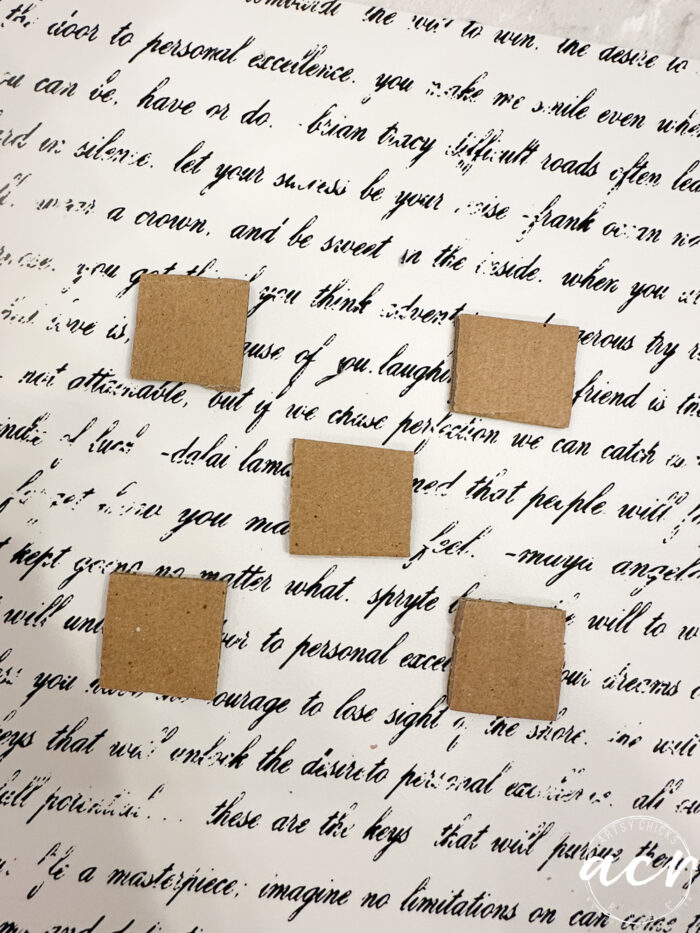
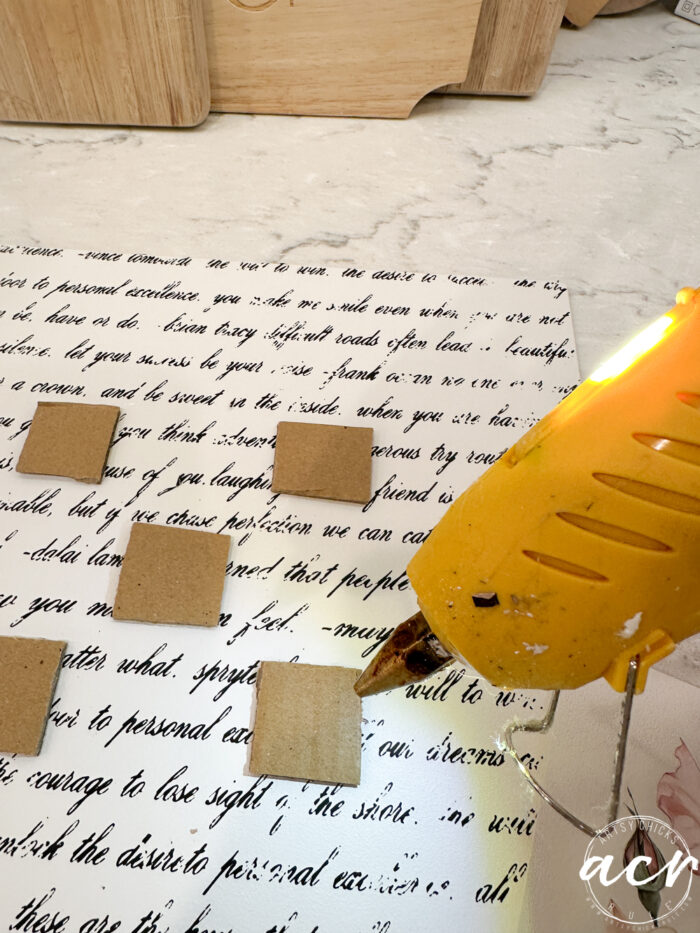
But these two “folder” squares are going to be raised. I wasn’t sure how I wanted to do it, but I ended up going with cardboard cut into five pieces to give the paper support on the corners and in the middle.
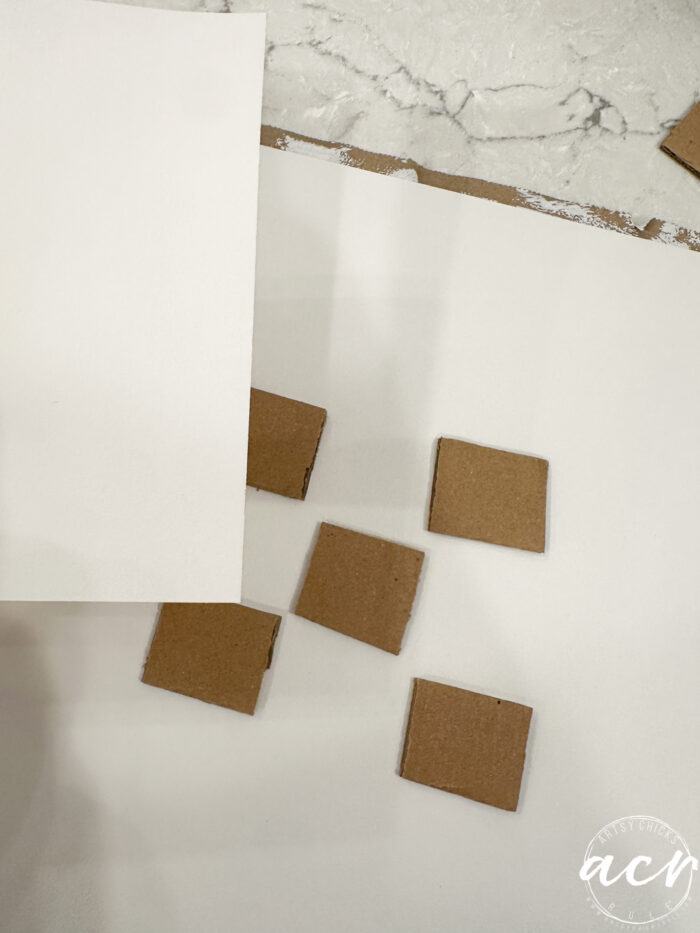
Like so…
I held it up, and one of the pieces slid out, but you get the idea.
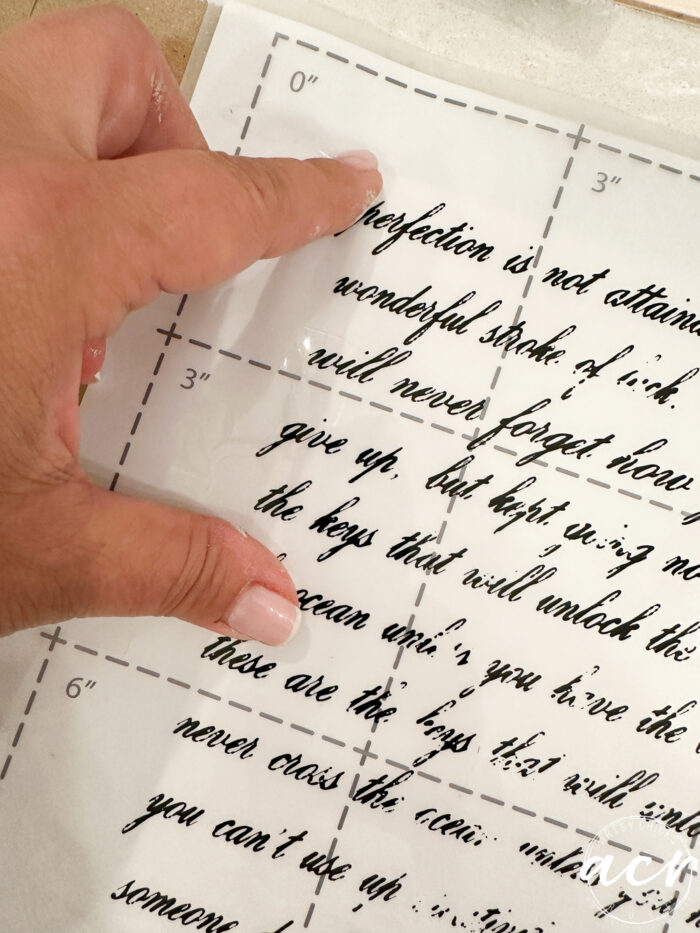
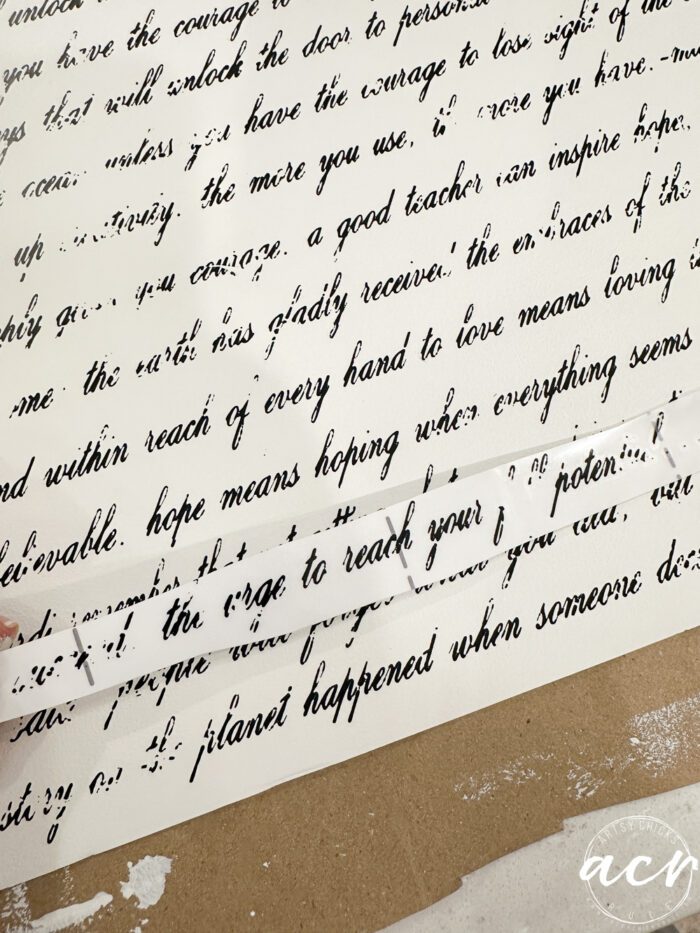
APPLY DECOR TRANSFERS
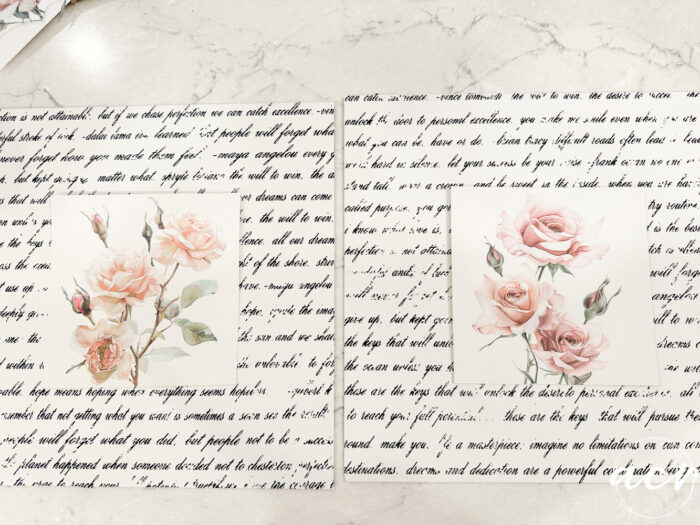
The script transfer is going on the large piece, for the background of this artwork.
I cut the large sheet to fit the white board. (it’s narrow but long, so I’ll have to fill in at the bottom)
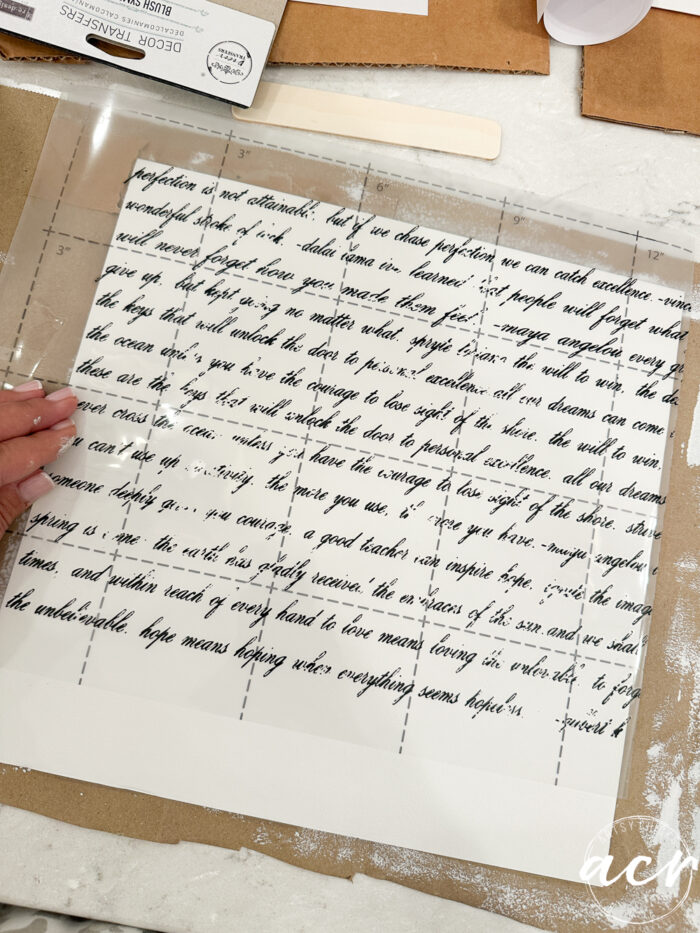
To keep the other large piece, I decided to use the other side of the piece I cut in half. (this transfer comes in 3 large, wide sheets) Now I’ve got an entire sheet of the transfer left to use on another project.
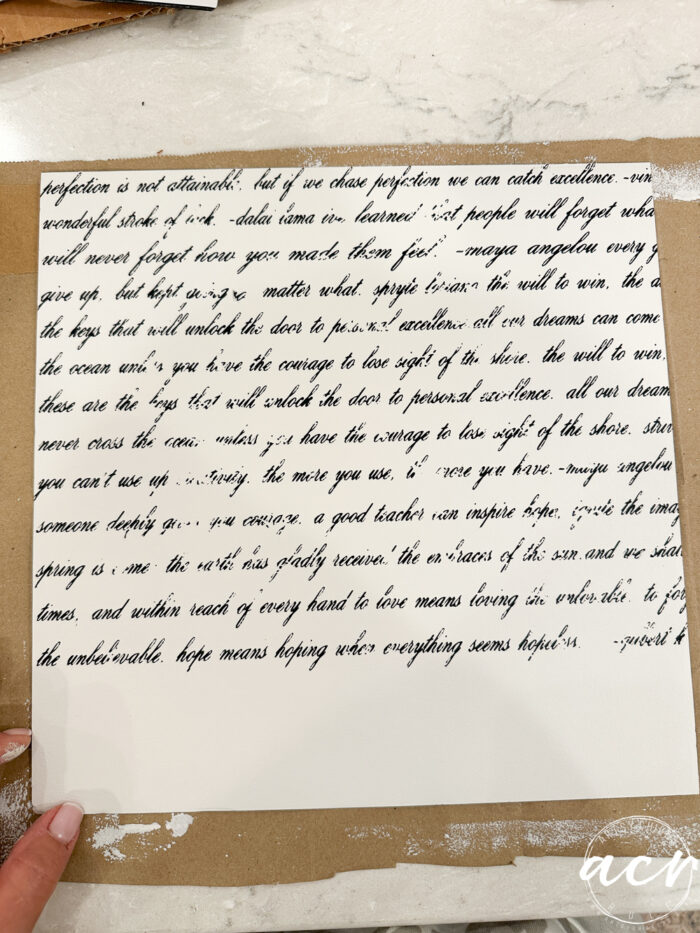
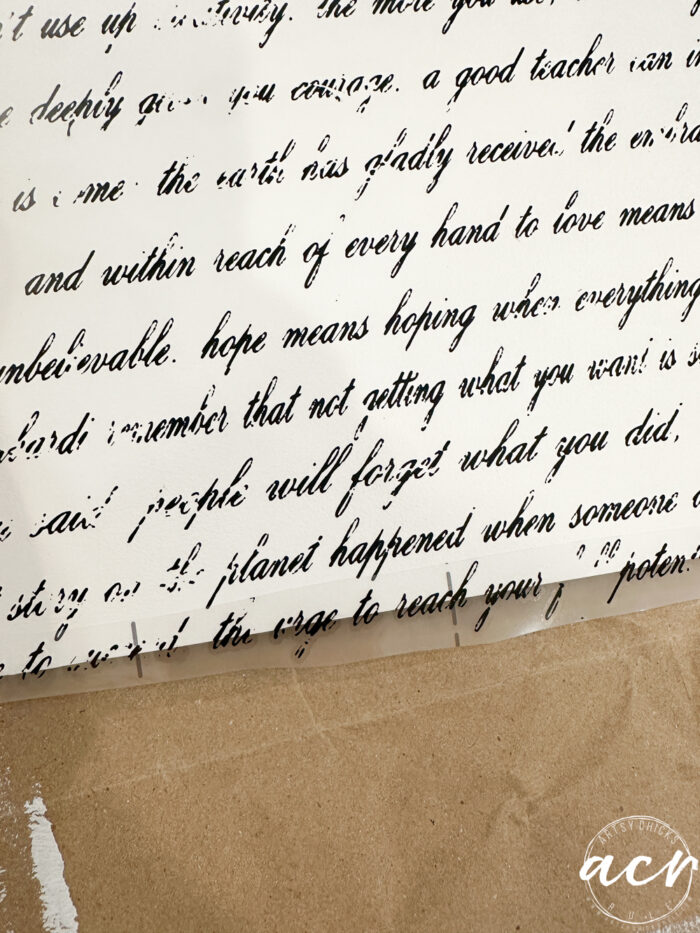
Kind of bummed there’s so much white space at the bottom. I didn’t plan well on that!! haha!
But I’m going to fix it by adding another line of script.
To make it look right, I kept the spacing the same as the lines above and made it go off the bottom like this…
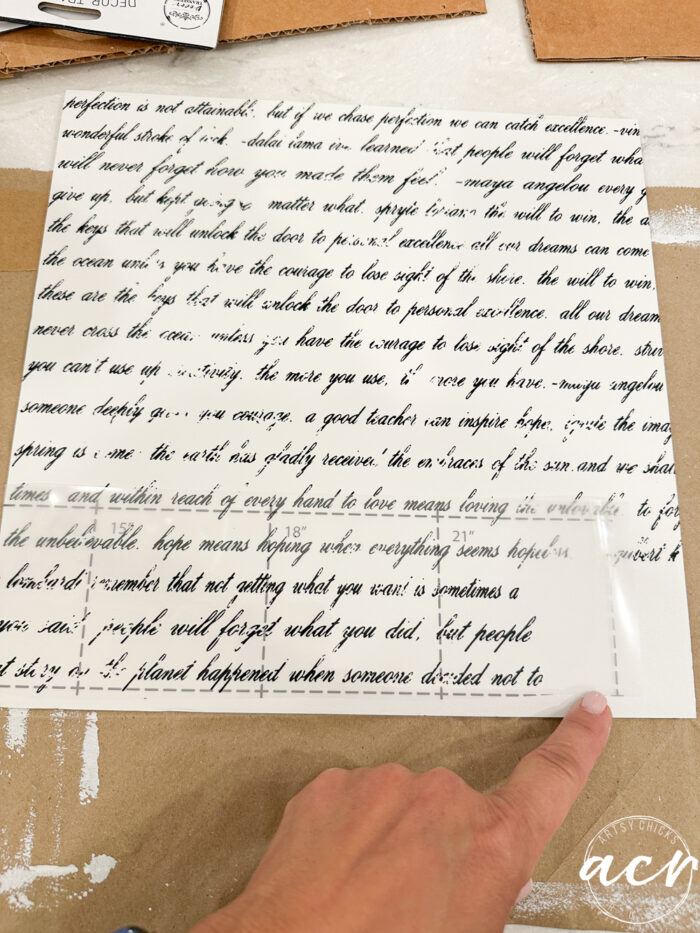
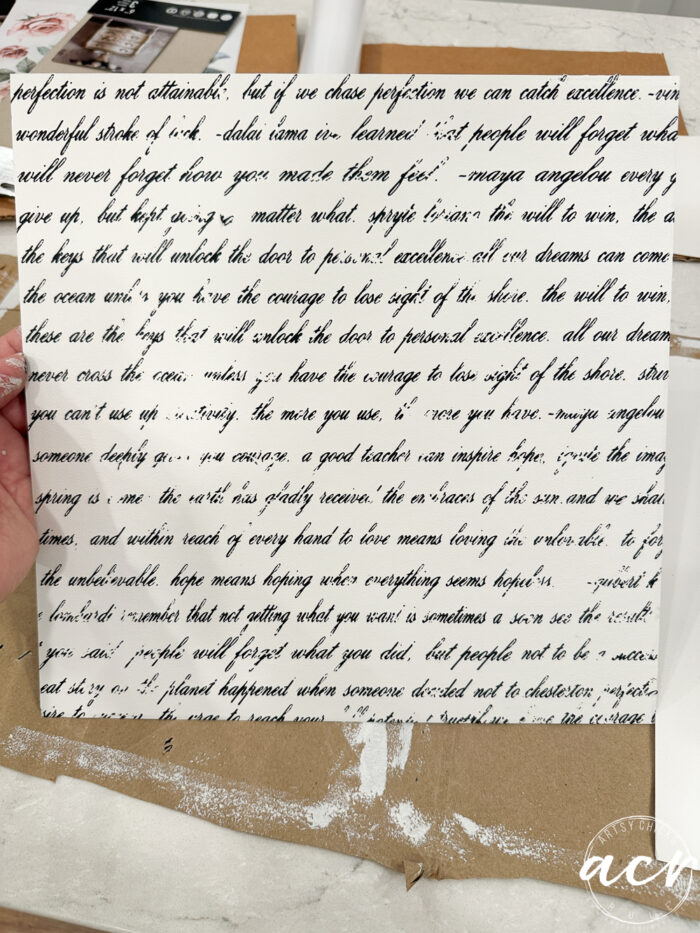
And for the blank area here, I simply cut up the transfer to fit words. It doesn’t really matter what it says, as no one will pay attention to that. I don’t think so anyway. lol

One done, one to go!
So, when I did the second one, I thought hmm, I can do this one the “right” way this time. Well, I should’ve done it the “wrong” way like I did the first one, so they would match. DUH.
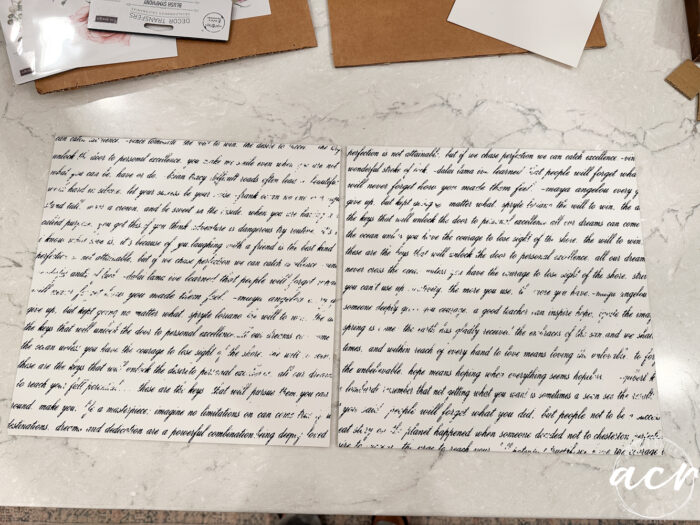
Anyway, here they are. Hopefully, it won’t matter once they are framed.
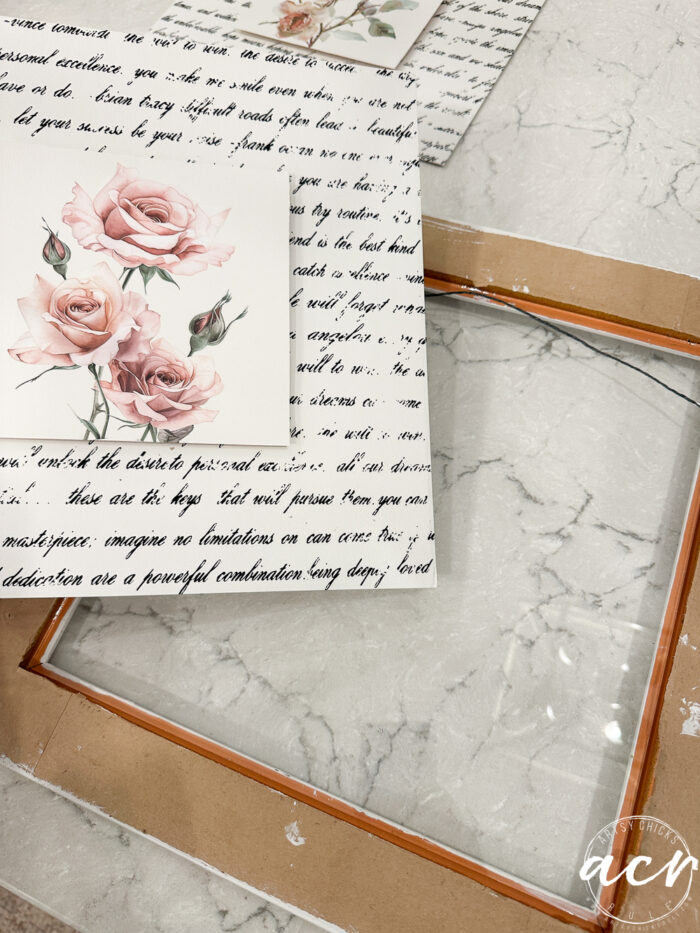
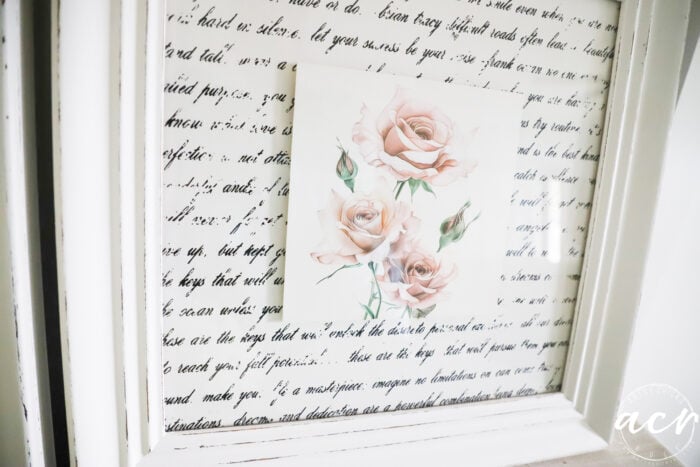
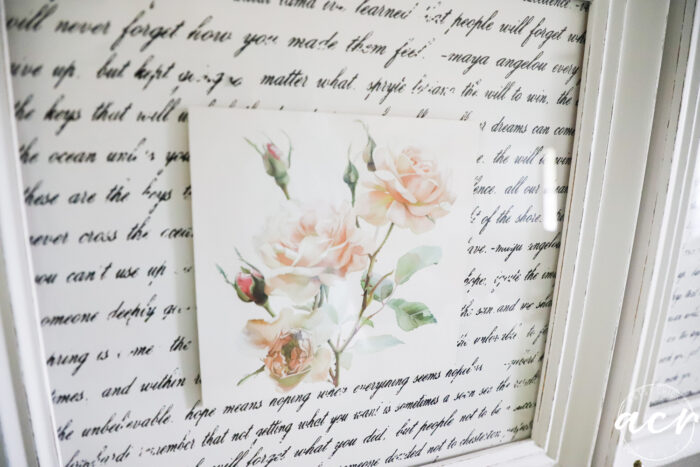
Next, it’s time to do the floral decor transfers. The “center stage” area.
Here’s what I came up with.
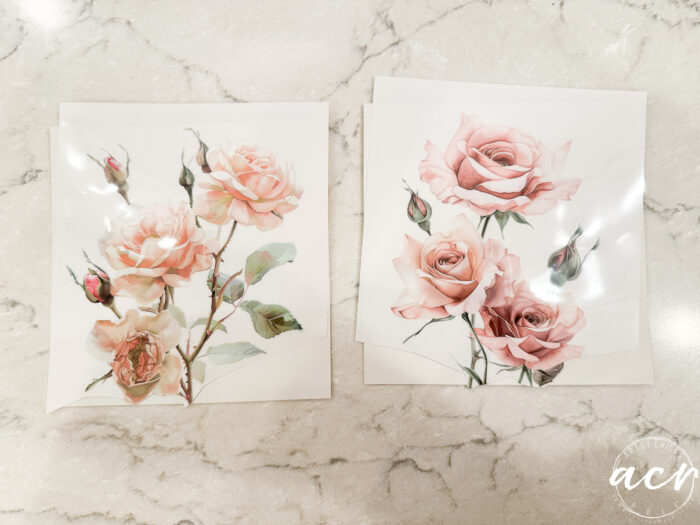

And this is what it’s going to look like. I’m loving it!
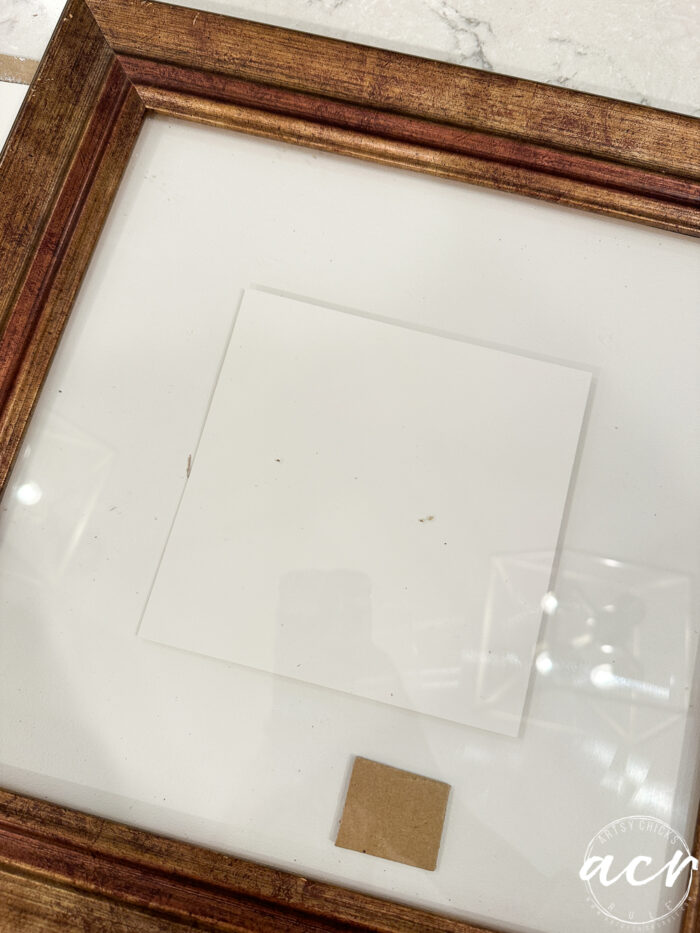
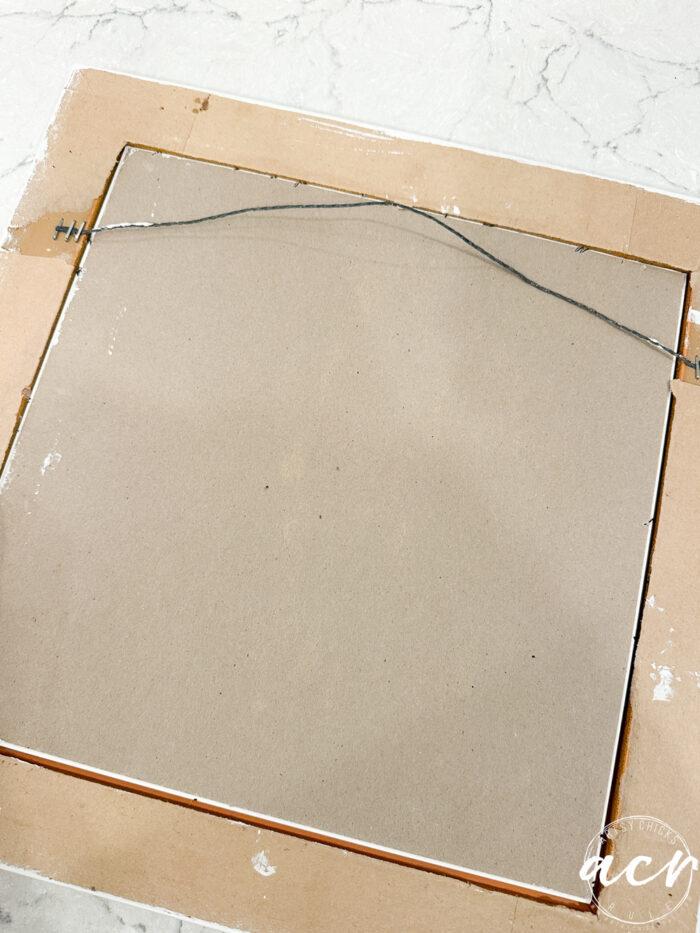
ATTACH CENTER PIECES
For the center raised area supports, I laid them out and measured.
…and measured again.
Then I glued them with my hot glue gun, being very gentle not to move them. (holding and lifting one side at a time, etc)
PAINT THE FRAMES
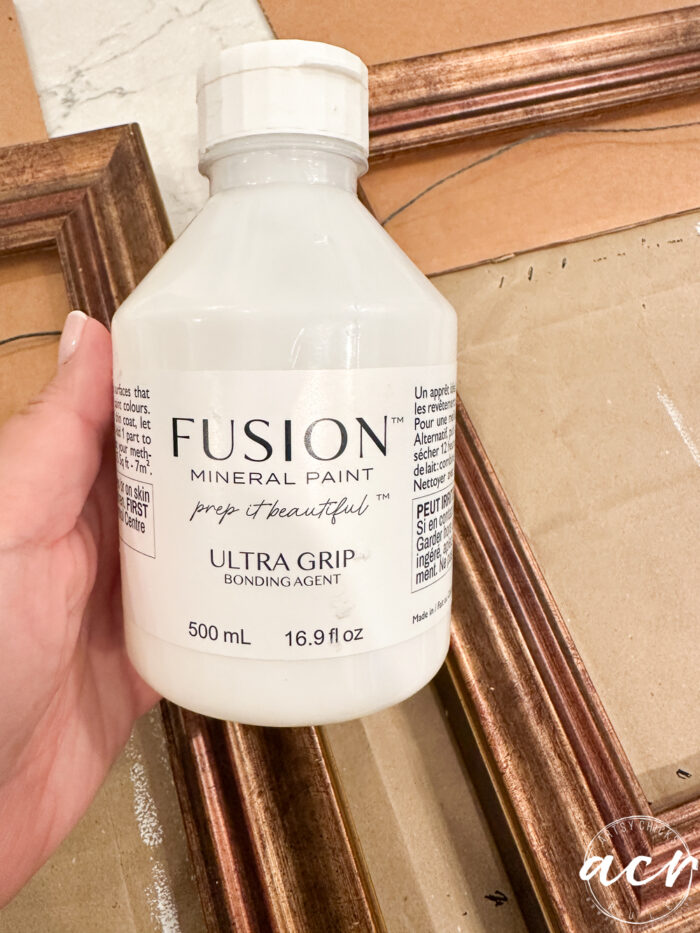
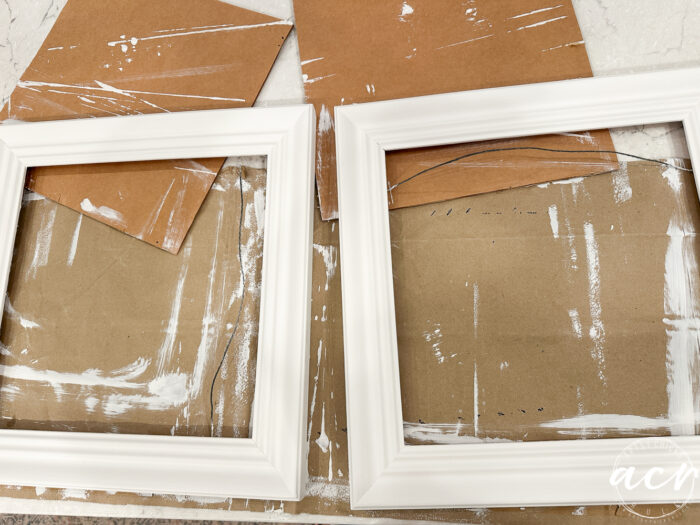
The frames were sort of slick, and I didn’t want to sand the finish off (I want the dark to show through later), so I used Ultra Grip before painting.
Next, I painted the frames with the same color as the inserts, Victorian Lace.

Once they were dry to the touch, I sanded them on all of the edges to distress them and bring out the detail.
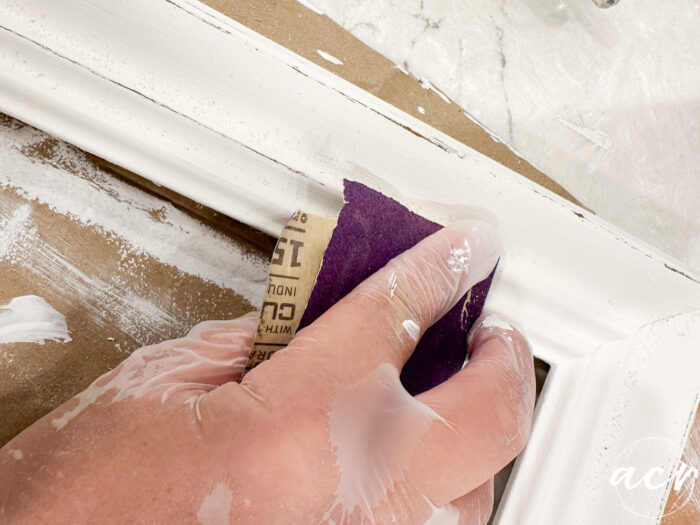
Love how it adds so much interest and detail.
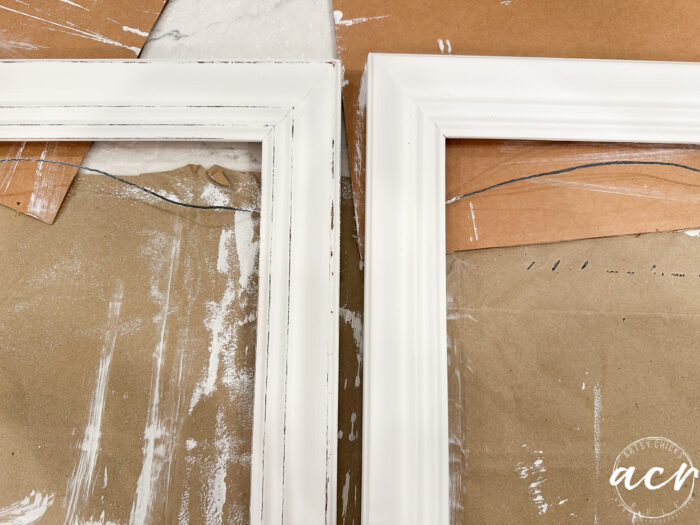
Which I think is perfect for the design going into them.
REASSEMBLE THE ARTWORK
Time to put everything back together.
I tried to staple these back in on the sides, but I was afraid I might break the glass, so I gave up really quickly.
Instead, I used heavy-duty tape to cover and hold the new artwork in place.
And done!
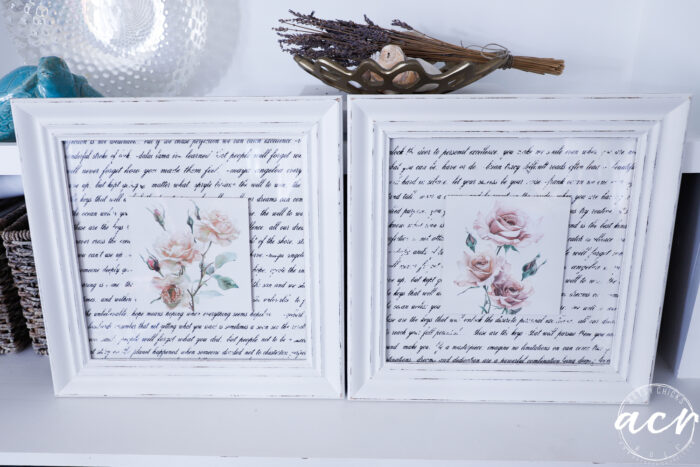
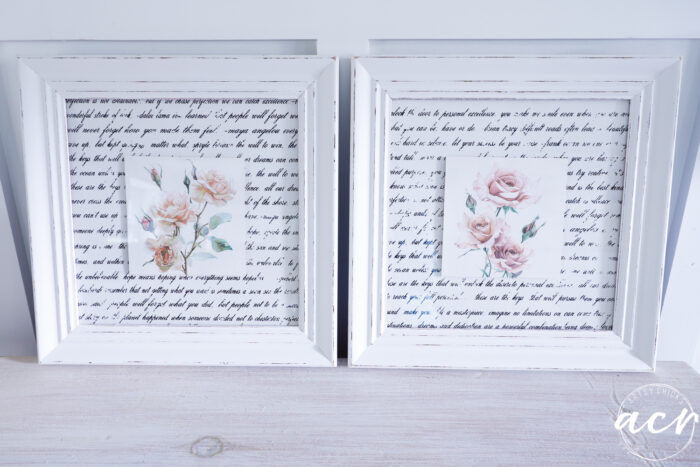
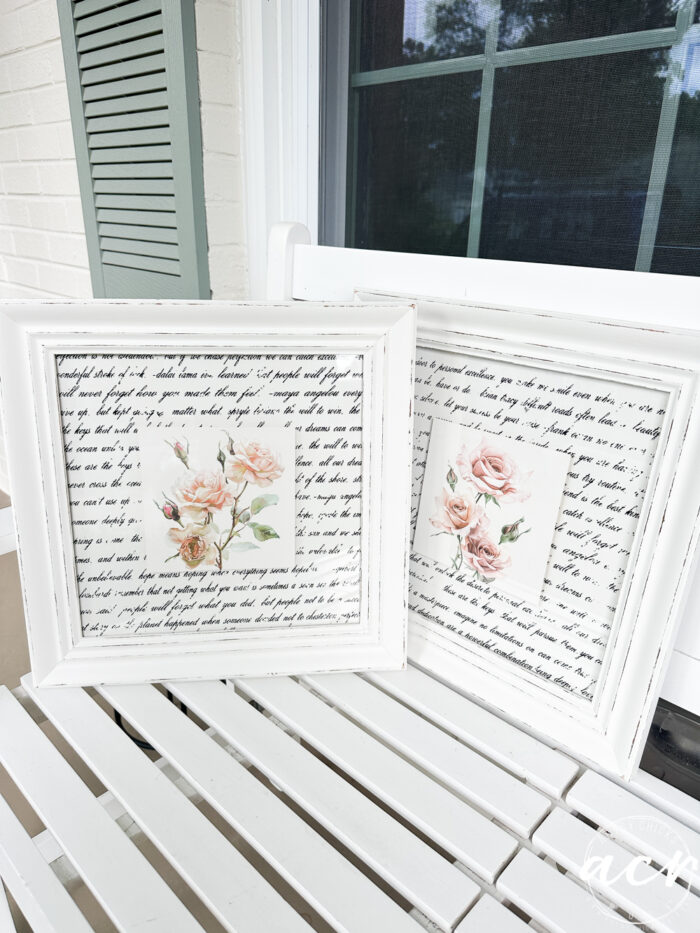
REVEAL
Side by side, I’m a bit bothered by the script at the top being different. Not sure anyone would notice, but it bugs me. lol
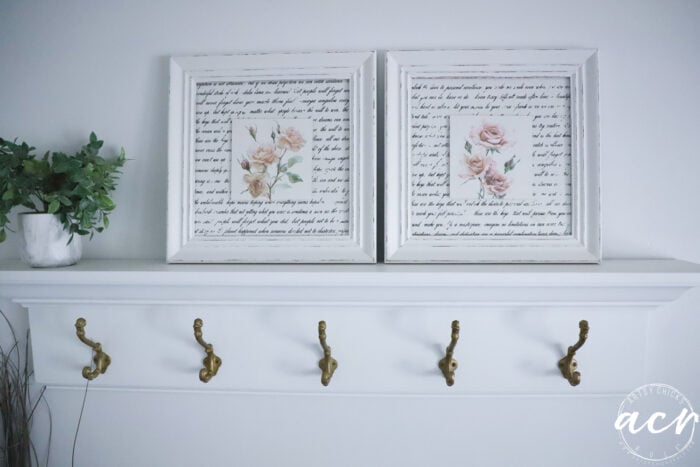
The DIY tutorial for our wall-mounted coat rack in the photo above can be found here.
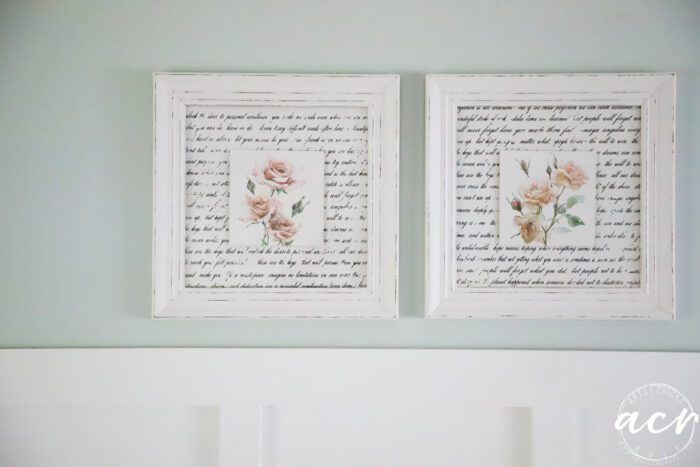
I’m guessing that if they are spaced further apart, it would be better and less noticeable.
If they are hung this way, it’s not as noticeable at all.
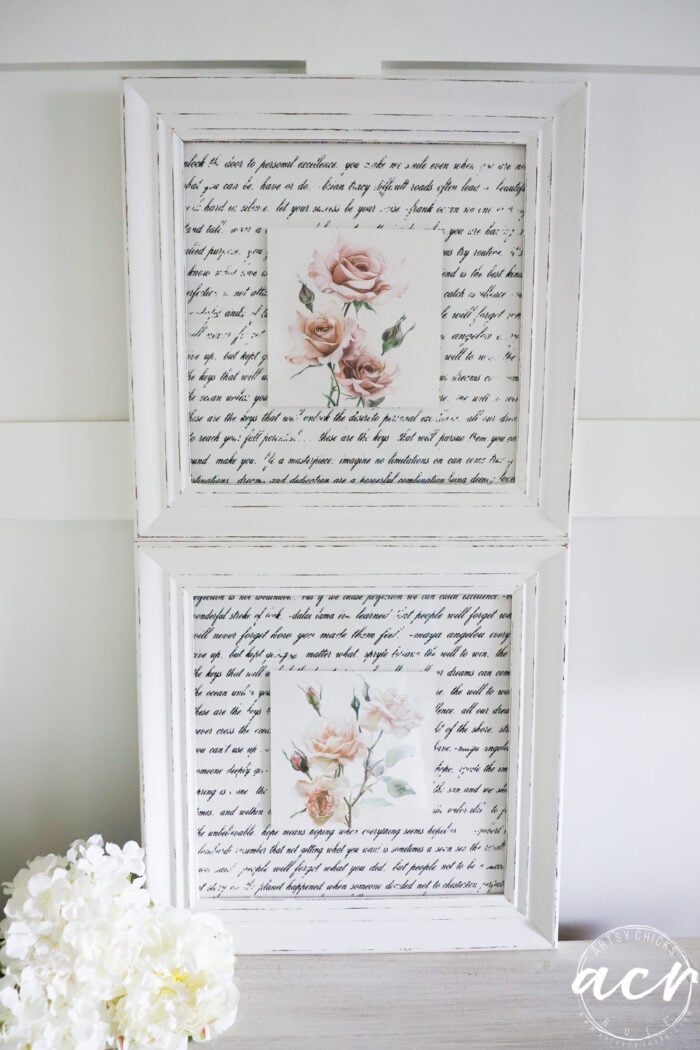
But I love the raised floral look with the script in the background!
And really happy with how these thrifted old artwork frames/prints turned out!
PIN it to save it!
Don’t go yet! Check out what my friends, Denise and Christy, are sharing this month, too!
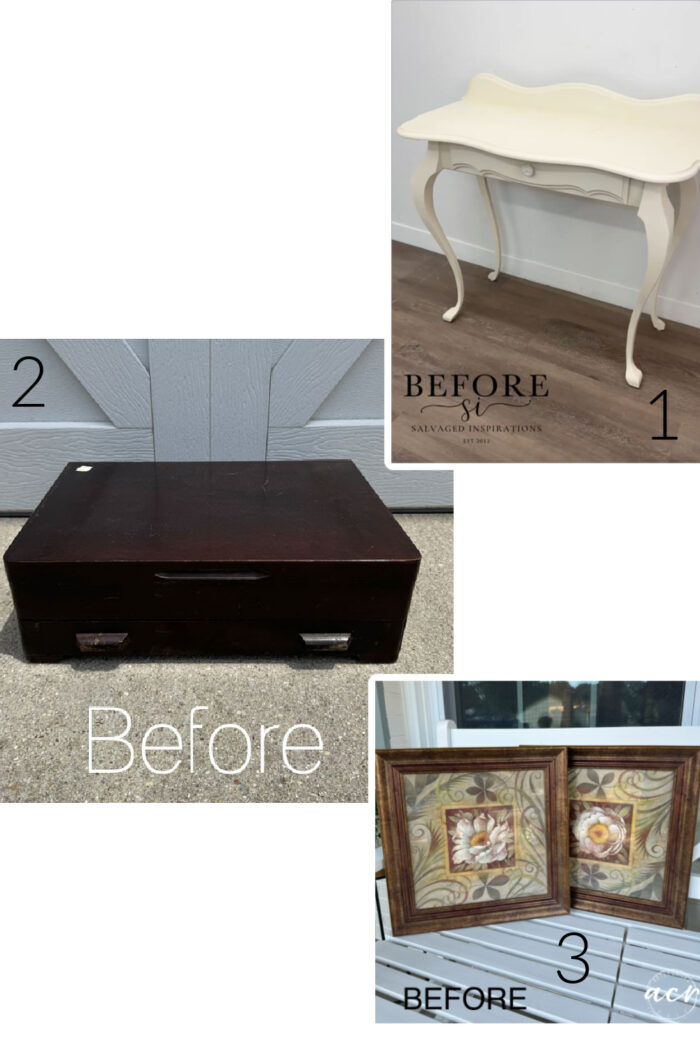
- Salvaged Inspirations
- Confessions of a Serial DIYer
- You are here!
I hope you have a fantastic weekend, friends! Don’t forget about the big sale going on at my ETSY shop and my ACR shop!
xoxo


")


")


These are fabulous!! You are so creative and always share great ideas. Thanks!
This is the best artwork update ever! I LOVE how you layered the flowers over the text, and yes, it’s just you that is bothered by that line of text at the top ha ha. They look fabulous! XOXO
I’ll admit I was confused when you were painting the manila folder, lol but this is soooo good!!! And I like that they are ‘sisters’ and not twins! Pinned! Have a super week Nancy! XOXO
Reuse, recycle and make it perfect. That’s what you did, girl! I love how you came up with unique and very purposeful solutions to abate your needs. They look great, Nancy. Good job!
Yes! Thank you, Caye!Have a great weekend! xoxo
Great job! I had to laugh about the script because I was thinking “hang one over the other” and then you did! This gives me a great idea for some stuff I have hanging around.
Thanks, Ellen!! And that’s funny, yes!! :) xo
Your update is so gorgeous. It gave me the idea to use some old piano sheet music for a background/mat to update my own artwork. Love that you adapted with supplies you had on hand.
Thank you, Monica!! That’s a great idea! xo
Nancy that is a fabulous makeover, wow! Those pieces are absolutely gorgeous. What a fabulous way to bring that stuff to another pretty life! Well done!!!!
Thanks, Michele!! Yes!! Have a great weekend, friend! xoxo
How wonderful
Thanks, Willie!!
Hi Nancy! I love these. I bet I have had Never Ending Story in my inventory for at least 4 years. I have used some here and there but it is a great background transfer and i love the story! Thank you for sharing this!
Yes, I love that one, Cheryl! I’ve used it several times now. I think it is the perfect background for so many things! xo