How To Build A DIY Coat Rack (wall mounted)
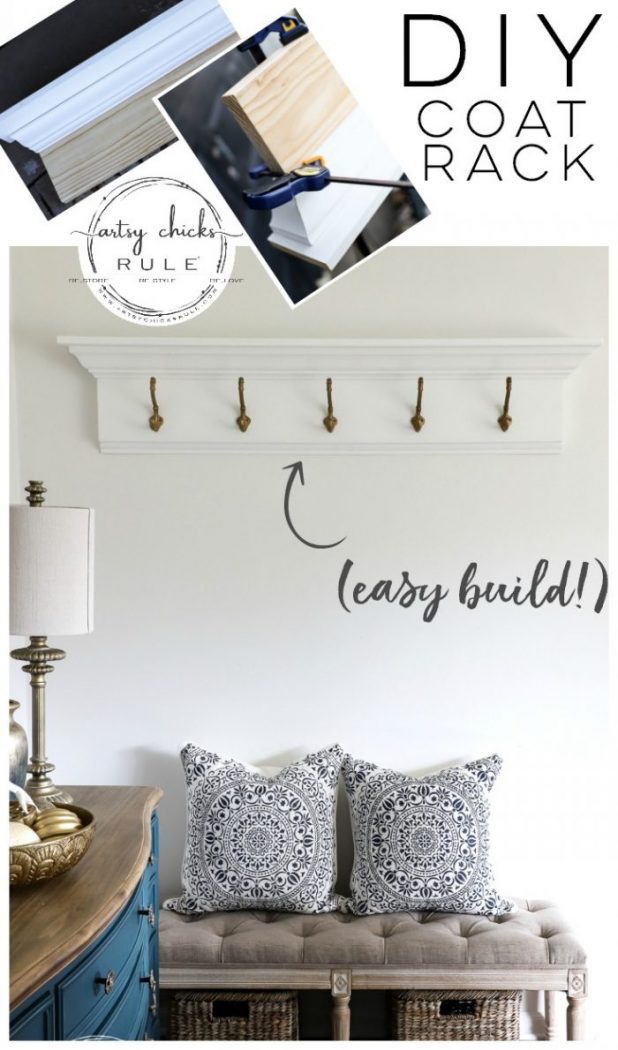
This wall-mounted DIY coat rack is great on any wall and perfect when you are short on space!
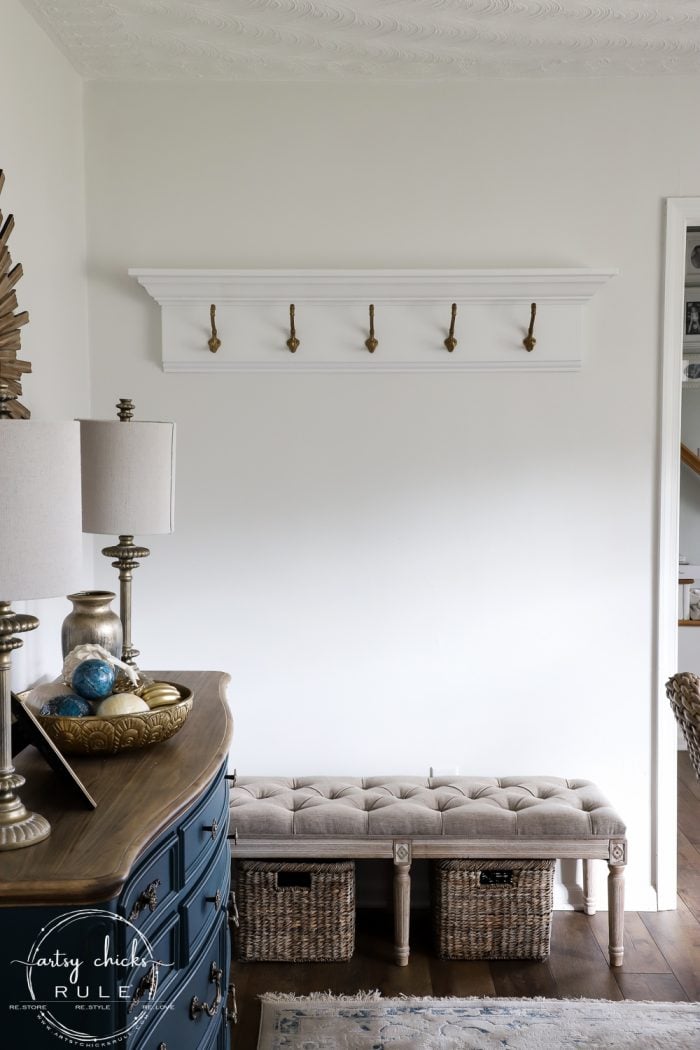
Create this DIY wall-mounted coat rack (or buy one at the store) and create a “mudroom” space for your home as I did below.
I simply borrowed a little space from an adjacent room to our foyer.
Hey friends! I’m finally sharing this DIY coat rack I’ve mentioned a few times and given a sneak peek, or 5 heh heh, of over on my Instagram stories over the last few weeks.
I really wanted to have a perfectly laid out “step by step” for this one but we were literally finishing and hanging this on Christmas Eve.
I was scrambling to get so much done since we were hosting our family on Christmas for dinner. We were racing the clock and beat, so stopping to pull out the camera was at the bottom of the list!
I did get some photos though. And I promise it was a really simple and basic build.
DIY Coat Rack
Here’s what I used:
- 2 x 10
- 1 x 6
- 3″ crown molding
- small trim piece
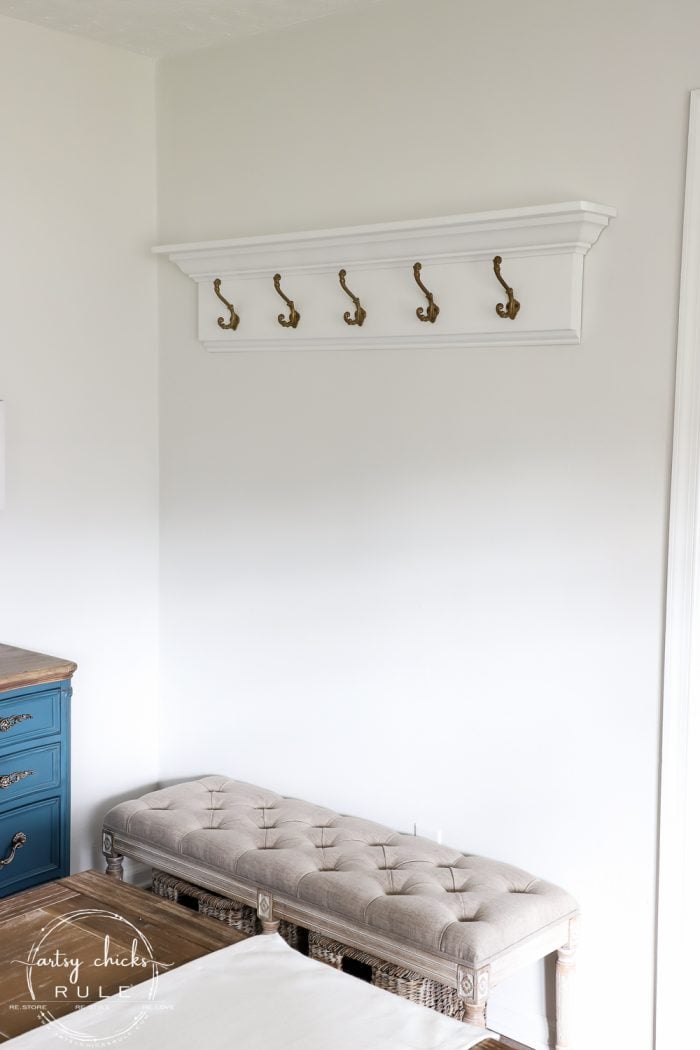
We made ours 4-1/2 feet long because of our wall space.
Keep in mind that your sizes will vary depending on what length you are going for.
I knew I wanted something heavy and secure looking and I think we achieved it with this one!
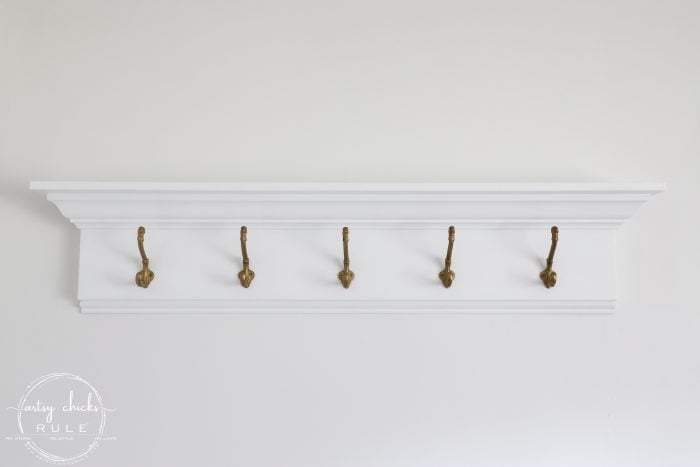
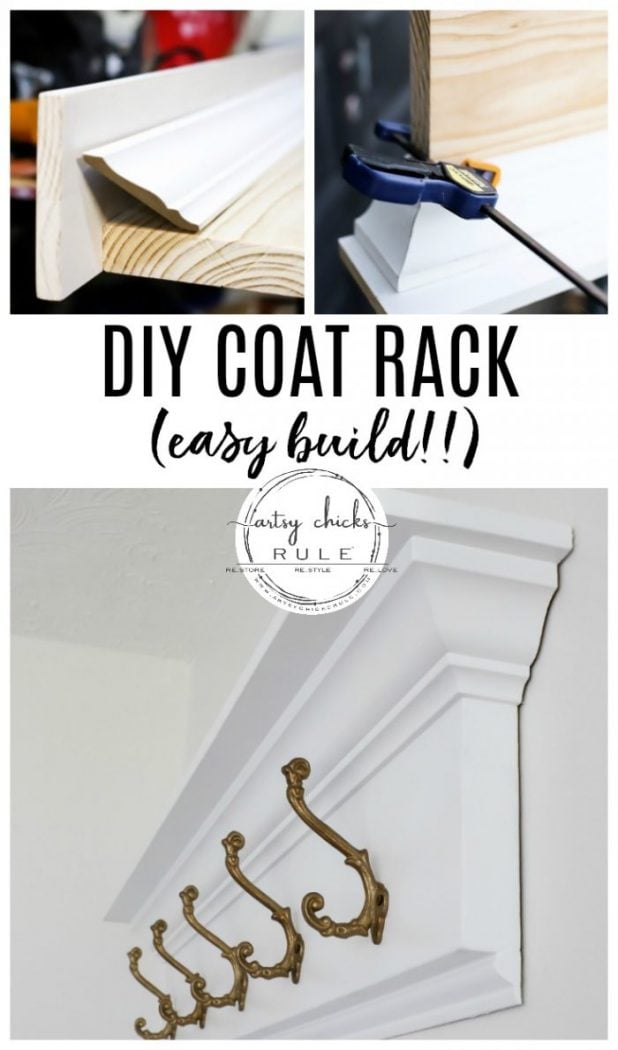
We started by attaching the top 1 x 6 to the 2 x 10 board.
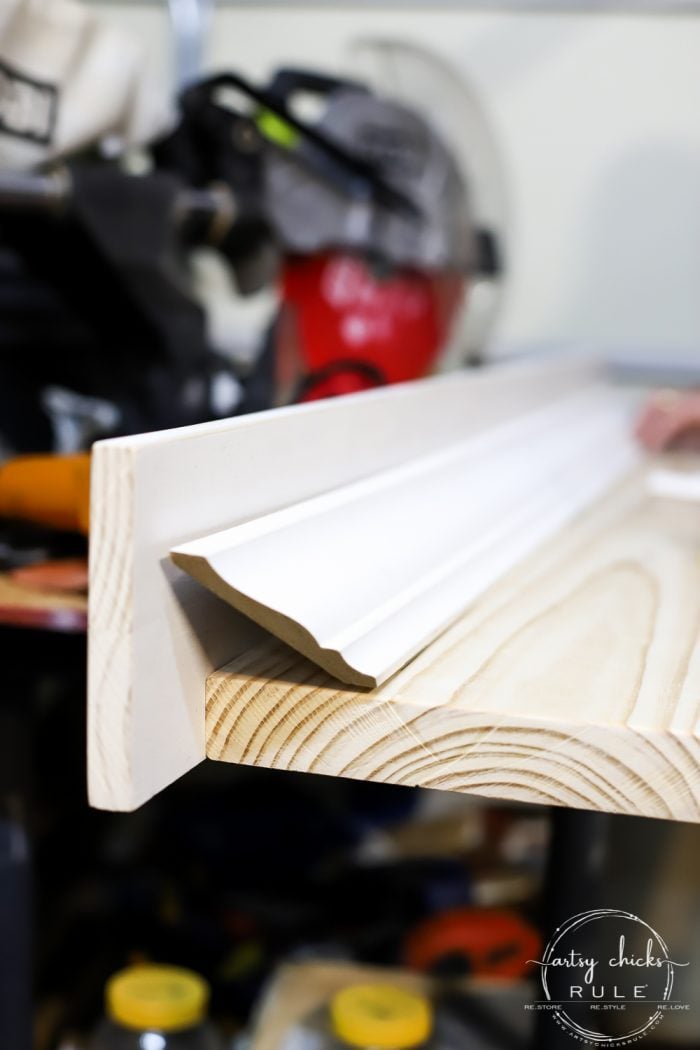
We left an overhang on each side to account for the crown molding piece that we put under the 1 x 6.
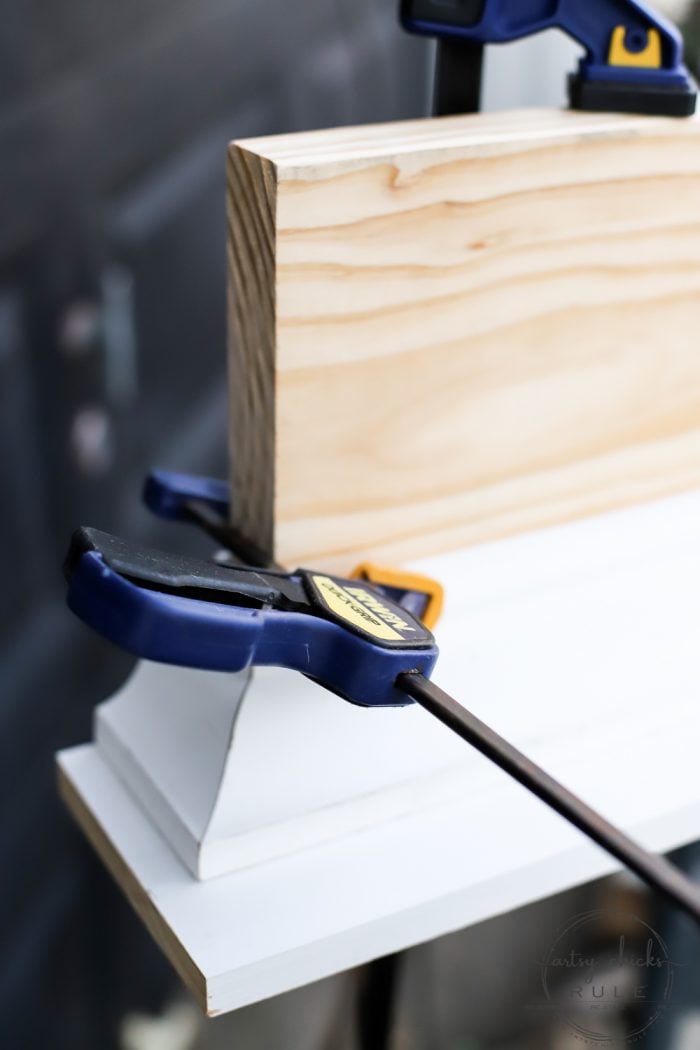
We used wood glue and a nail gun to attach the crown mold.
You can see how it looks right way up here…
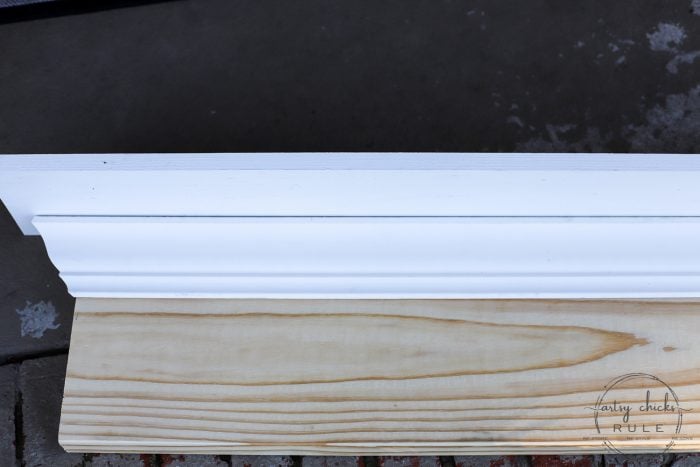
We were going to leave it like this but then decided to add a small trim piece at the bottom. (you can see it at the bottom of this photo)
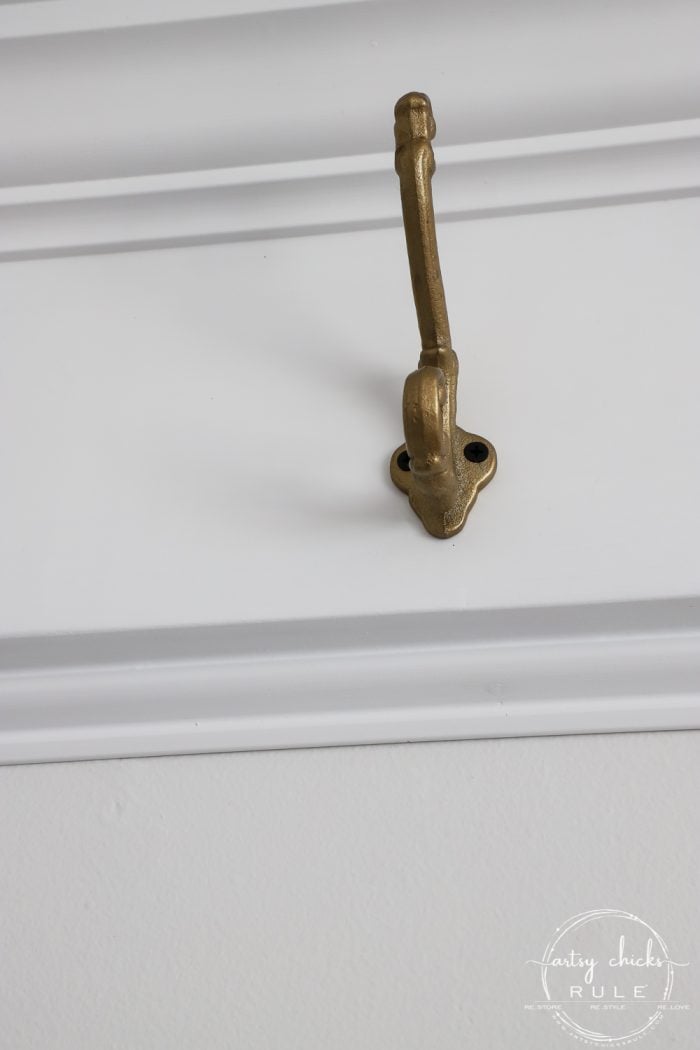
Before I painted it, I sanded all of the sharp edges to soften the look.
Plus, CAULK.
I caulked it everywhere to make it look seamless.
I just love how caulk makes everything look perfect and new.
And look at how the bottom trim we added mimics the lower section of the crown mold above.
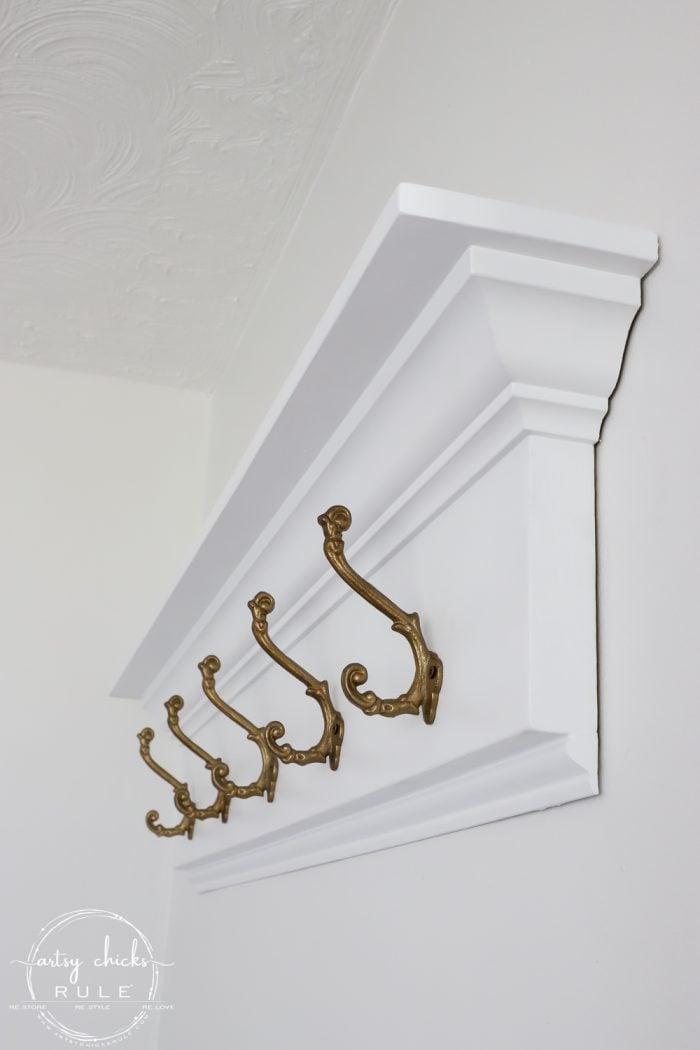
And see? Seamless. Love that!
We actually attached it directly to the wall from the front.
We drilled holes and sunk the screws in where there would be a hook/hanger attached.
If we didn’t have a stud, we used anchors.
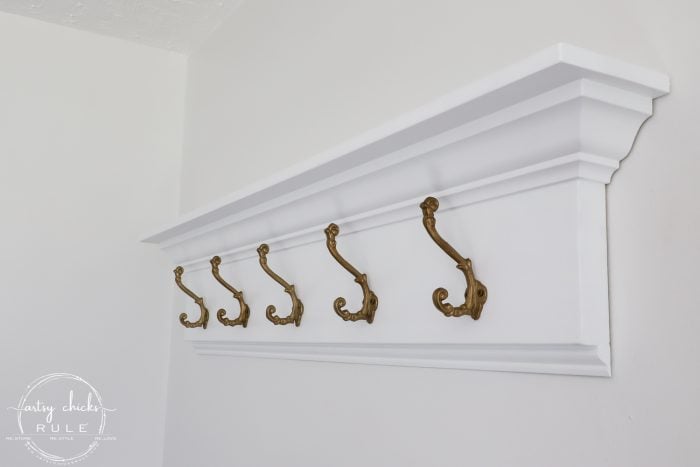
I painted one coat of this primer (but in white) and then 2 coats of Sherwin Williams Extra White in an eggshell finish. (which is the same color and finish I used on our trim)
I found these at TJ Maxx.
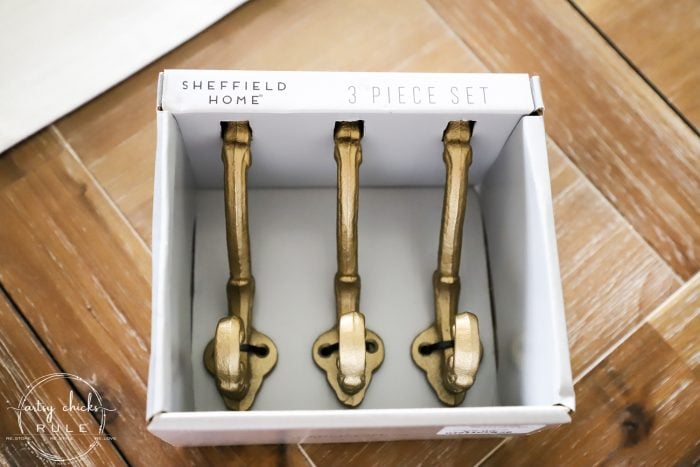
The screws that came with them were not really secure enough so we used our own…. which were black.
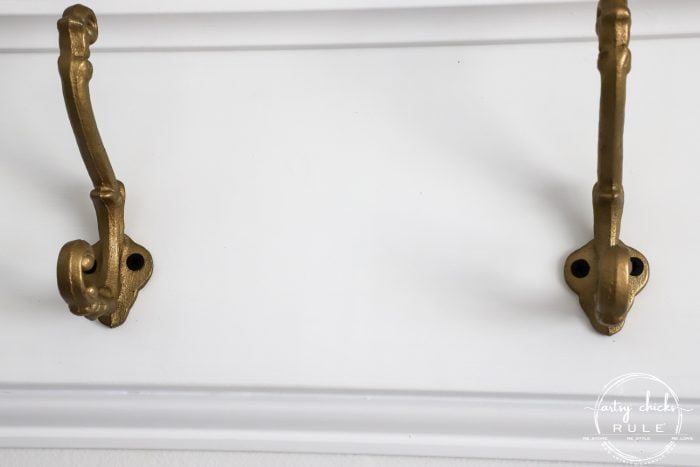
But no worries! I used my fave product, Gilder’s Paste Wax, to color them to match.
And wow, did it ever match perfectly!
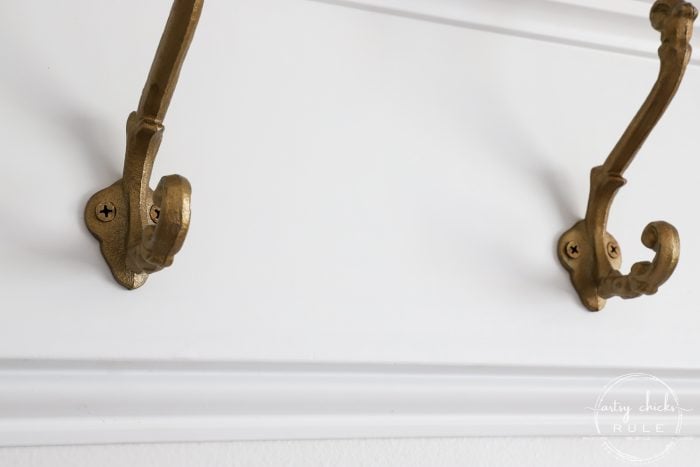
So thrilled…and so easy to use this stuff.
Here’s a shot of it before and after.
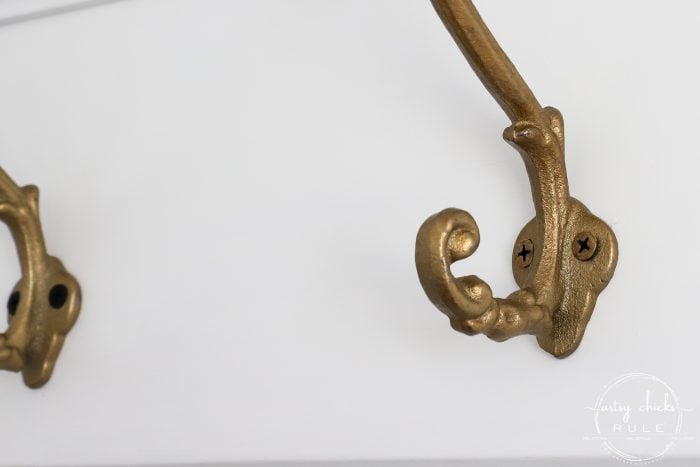
I used the color Gold and it was just right.
Here’s where we previously had a hall tree to the right of the opening in this very same room.
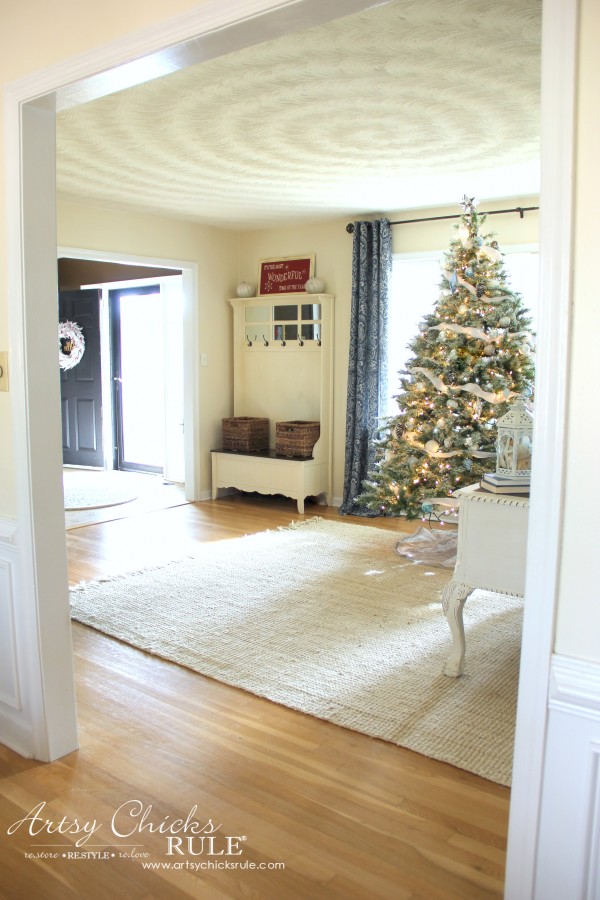
But since we’ve redesigned this room, that one got sold and my pretty secretary desk now resides in that space. (and gosh how different do this house and room look with the >>> new paint and >>> new flooring??? Very! And painting the ceiling a nice bright, ceiling white was also a game changer.)
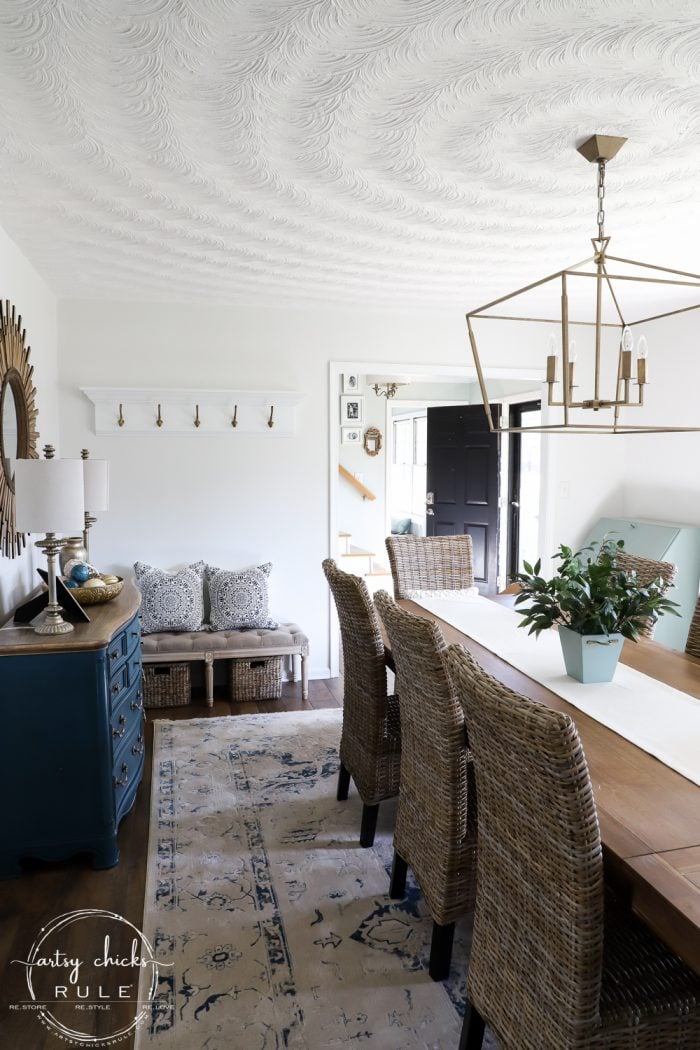
But we most definitely need a “hanging spot” for my small purses, scarves, our coats, etc.
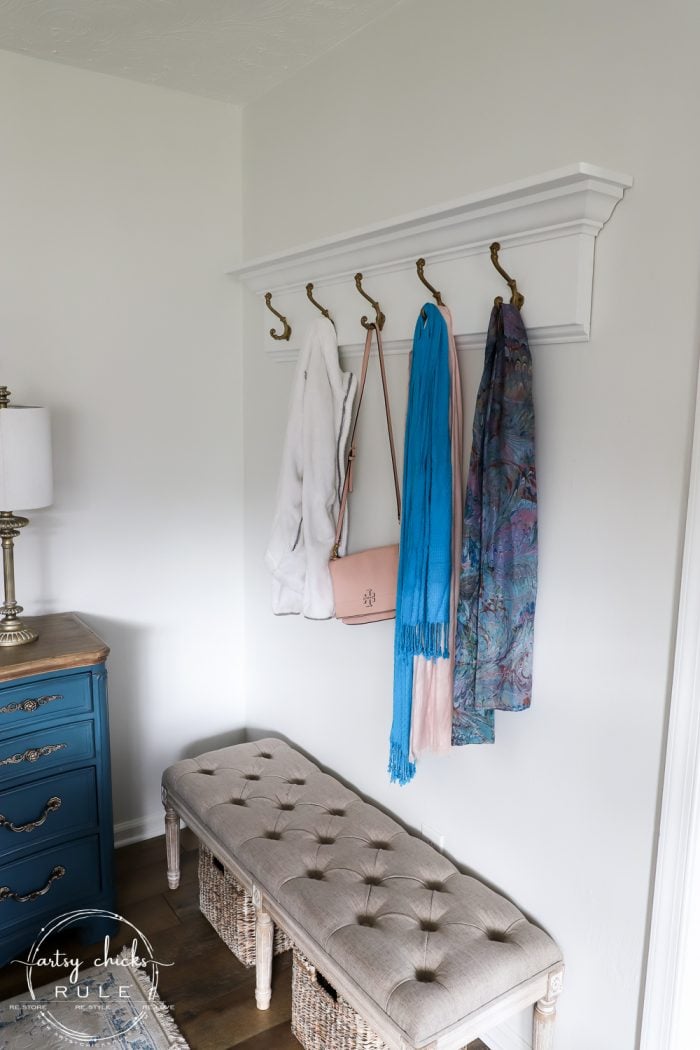
And right inside the front door and on this empty wall in the dining room was the perfect spot for it.
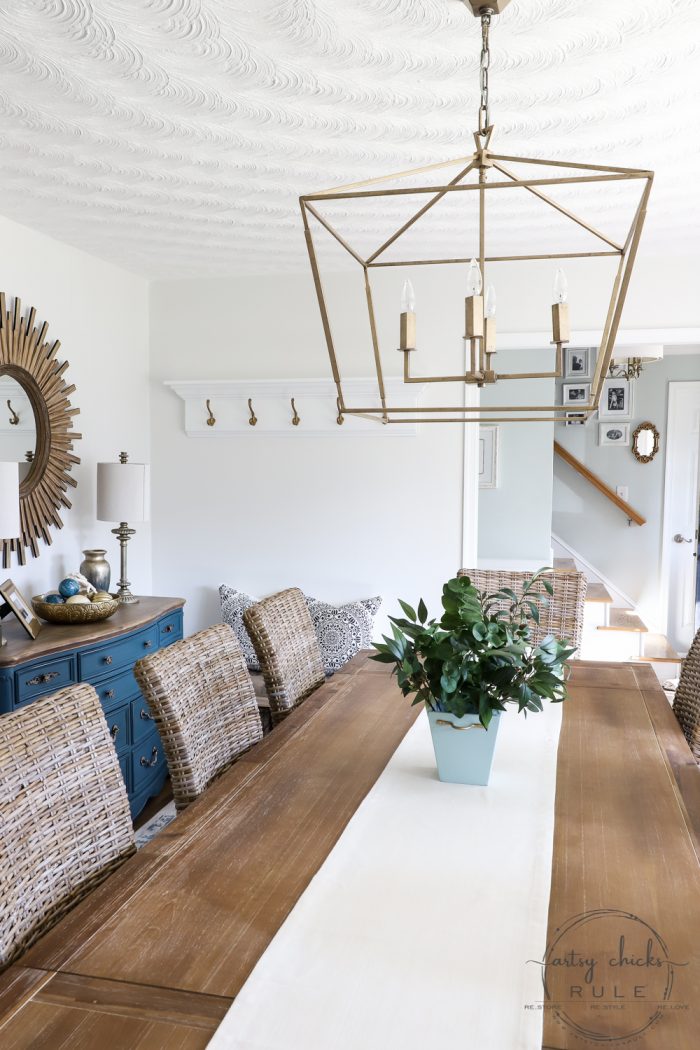
And oh…I created a simple little arrangement with some greenery I had on hand for the centerpiece in there.
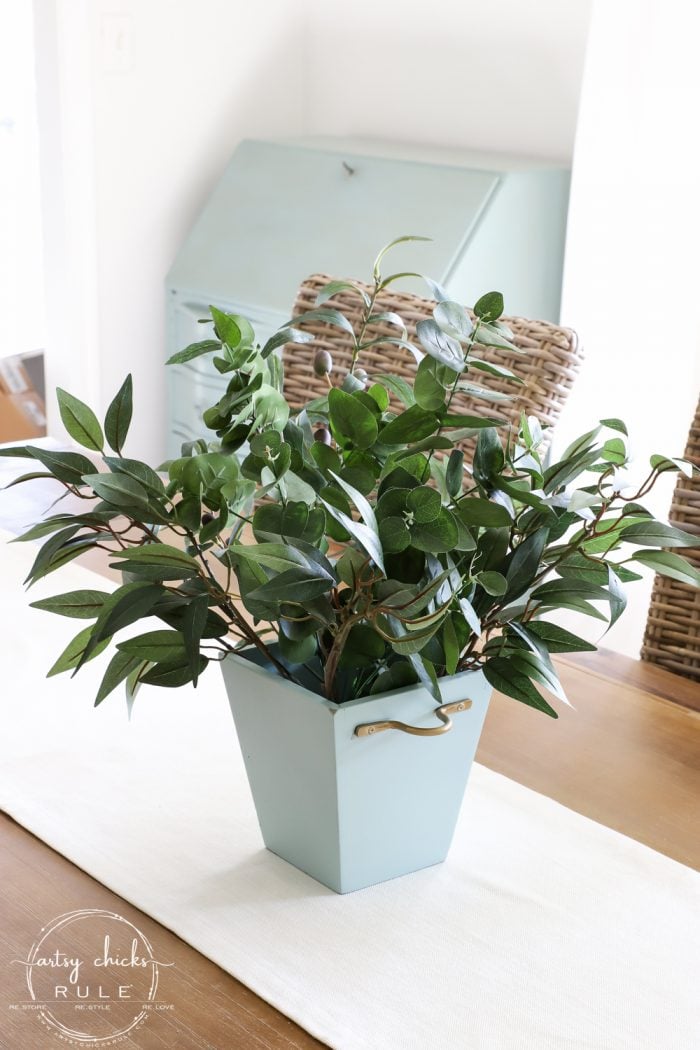
I thought this worked nicely for the winter months.
I used the thrifty makeover container I had hydrangeas in at Christmas….perfect!
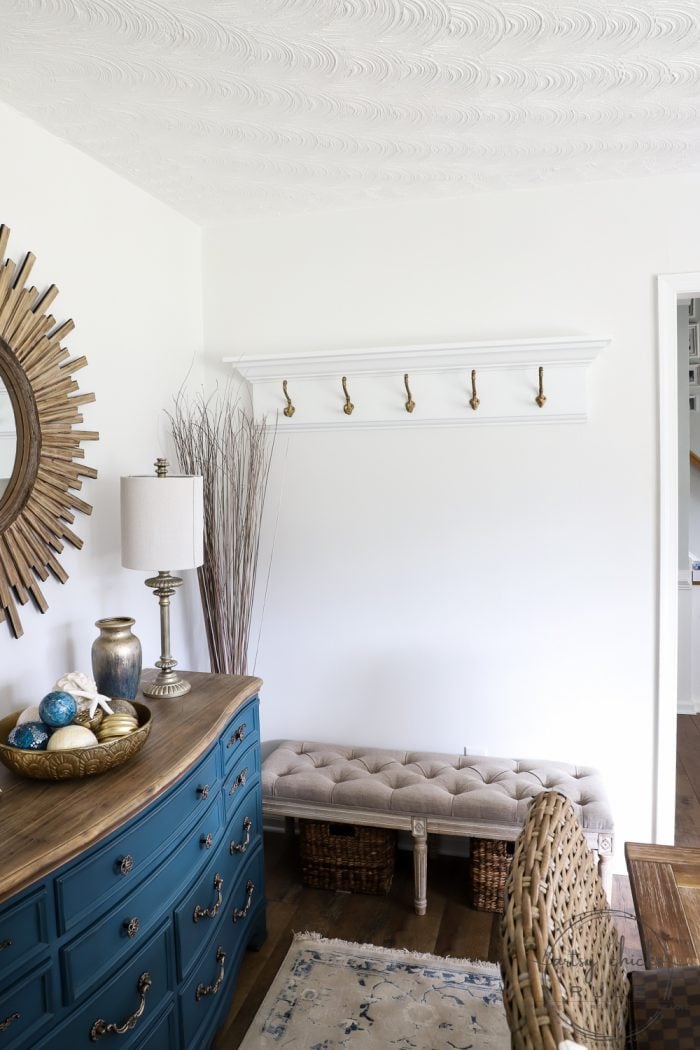
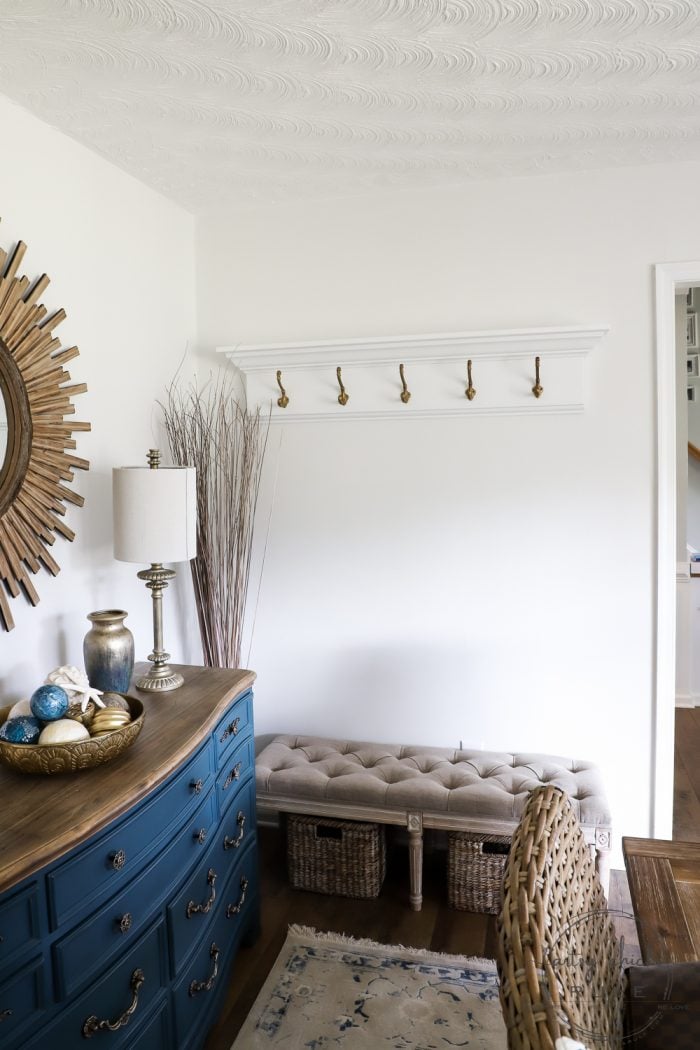
I’m really thrilled with how this turned out.
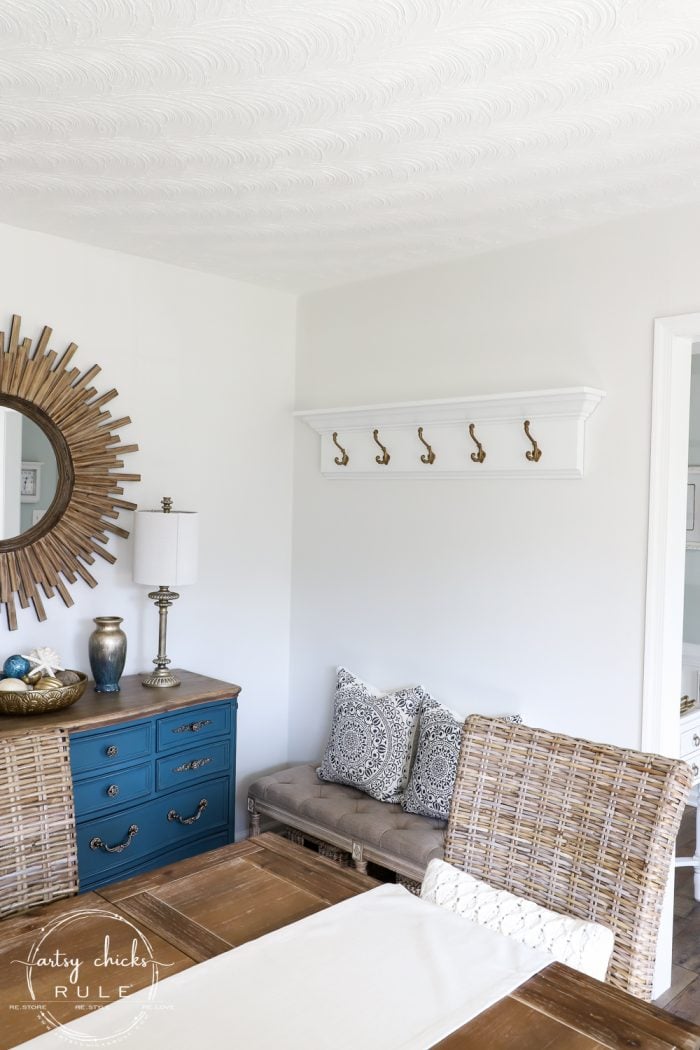
With pillows…
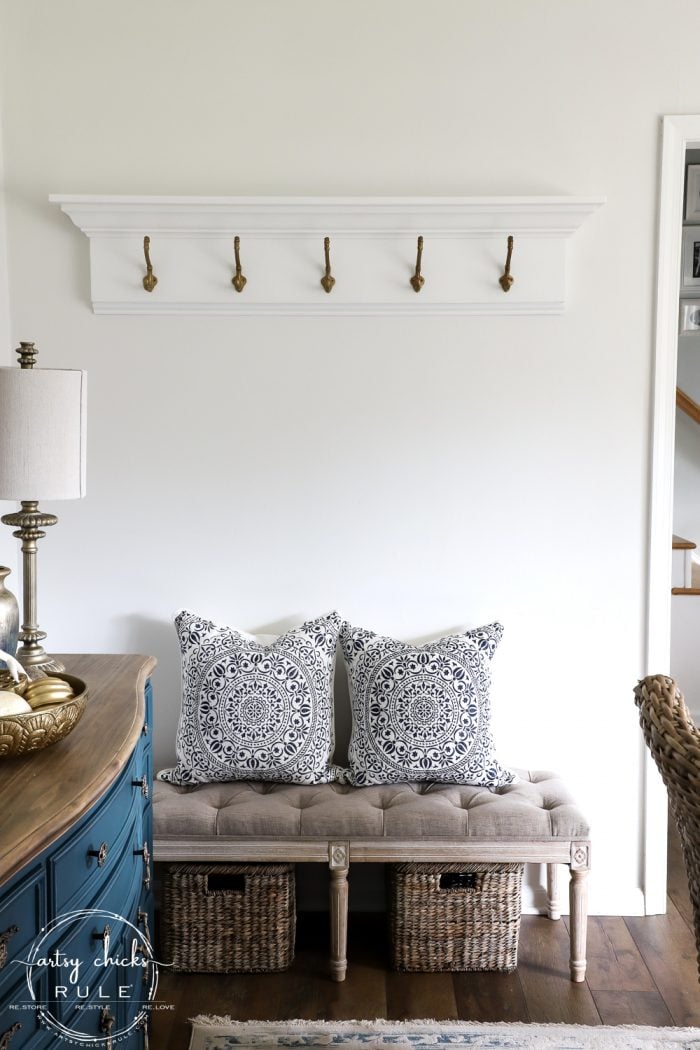
Without…
And I must tell you about this little bench I got.
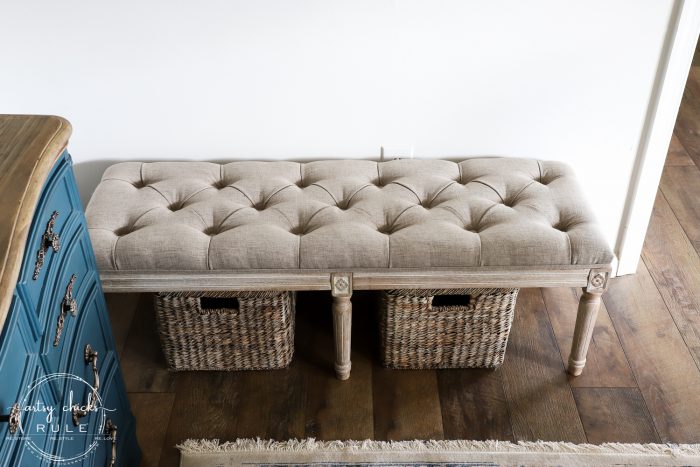
I originally ordered a smaller one but decided I wanted something that was more of the scale of the DIY coat rack above.
So I ordered the larger one. (I got them both on sale)
I decided to keep the smaller one and am using it in front of the window in our family room for more seating.
I not only wanted something like this DIY coat rack to hang our things, and guests’ things, but I also wanted a place to sit down and put on shoes, etc.
Or a place for guests to place purses, hats, etc.
This bench works perfectly!
It would also be lovely at the end of the bed in a master, also.
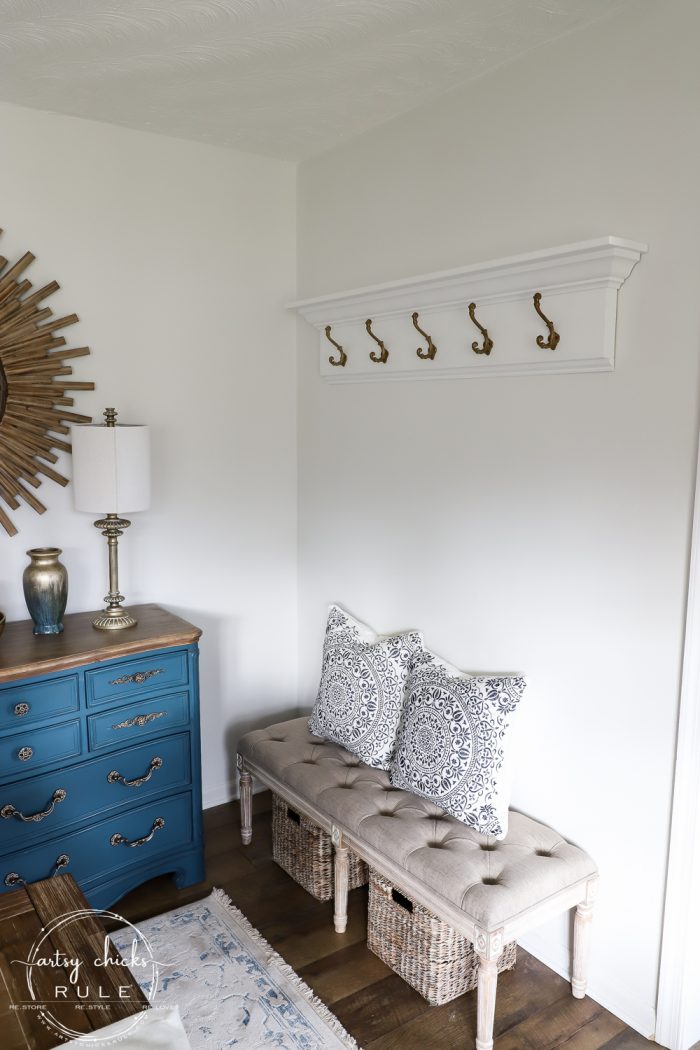
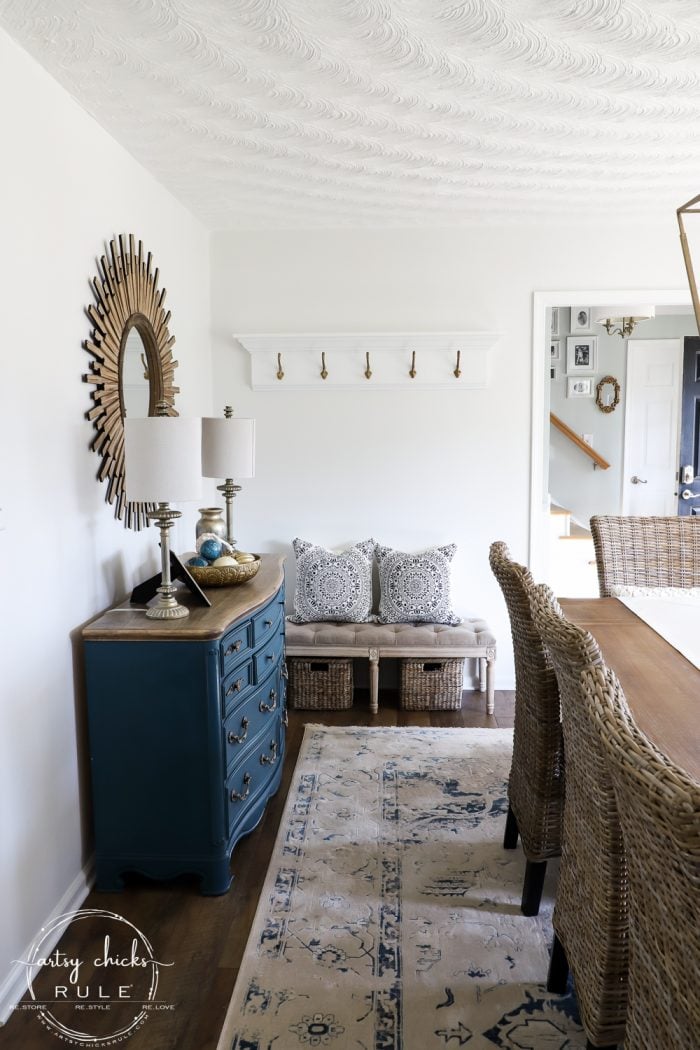
The baskets also got a makeover. These are the same ones I used to use on our old hall tree in the photo I posted further up above.
But just as I painted with a little “dry brush” the other ones in this room.
I also gave these a little makeover so they’d match better in here.
You can see the other baskets and what exactly I did to them, here.
And the new look…
So much better and I just love how this simple paint effect looks SO natural.
See that jar on the blue dresser??
That’s another one I found at the thrift store and gave a hint of paint to, to make it look completely different. (see the other one I did, here)
I’ll have to share it soon! I just love this one.

You can find some of the items in this room here…..
PIN it to save it!
More home DIY tutorials we have shared here:
- DIY Faux Shiplap (get the look, without the expense!)
- DIY Faux Board & Batten (simple and quick!)
- How To Make a DIY Wood Countertop
- Build Your Own Kitchen Island With Big Box Store Cabinets
- How To Install Laminate Flooring (tips and tricks)
- DIY Crown Mold (easy way to get that wide custom look!)
- Build Your Own Built In Bookcase – Tutorial
- Chalk Painted Kitchen Cabinets
- How To Use Gel Stain On Your Stairs
- How To Paint Light Fixtures Without Removing Them
- How To Build a Permanently Attached Wall Coat Rack (you are here)
- DIY Floating Shelves Tutorial
- How To DIY a Tile Backsplash
- How To Build a Custom Closet
- Remove Popcorn Ceilings The Easy Way
- How To Remove Peeling Paint
- DIY Wood Mantel
- How To Paint a Tile Floor (it works!)
- How To Hang Peel and Stick Wallpaper
Do you have a wall coat rack too? Where do you hang your items? We have a small closet right in our foyer but it is pretty full of winter coats, etc.
So the DIY coat rack is perfect for us.
Let me know if you decide to make one, too! :)
Check out this post next week! All about finishes. You won’t want to miss it!
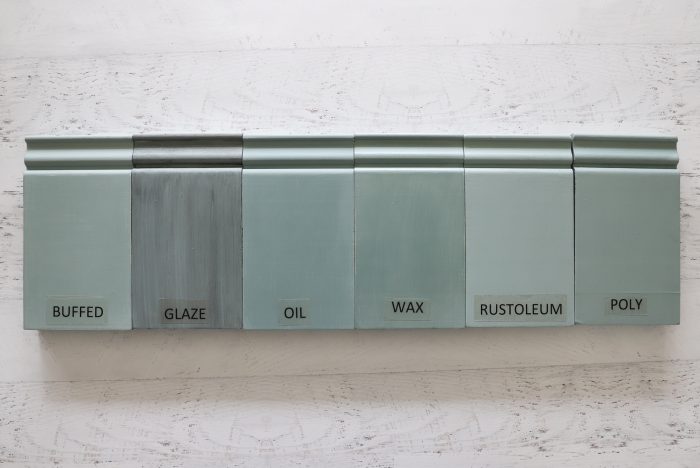
UPDATE!! See it now here!
xoxo







Nancy this is super cute! Thanks for all the details. The bit of trim on the bottom was brilliant. :) Love the bright white.
Have a great week!
Thanks Christina! :) Hope you have a wonderful weekend! xo
Hi! I’m trying to make this, but I can’t get the side angles for the crown moulding right. Do you remember at which angles
You cut them? Thanks!
Erica
Hi Erica! I’m sorry, I don’t. There are angles set on the miter saw but it just depends. I think there are videos on YouTube you can watch that may help you with that!
Oh my gosh,
Love the coat rack but I was mesmerized by your ceiling! I am strictly a smooth-ceiling person but this really takes my breath away. It adds so much to the ambiance of the room…beautiful!
Thanks so much Sandra! :) I am the same as you and have a few other rooms with stamped decorative ceilings (that aren’t my favorite) but I do love this swirled ceiling. :) xo
I enjoy your DIY projects because you are so detailed in the instructions. I really like this coat rack and the directions can be applied to many other ideas. I needed a good tutorial for putting crown molding together. Do you have any special tips for mitering the corners of the wider molding? Thanks!
Your coat rack is fabulous! I really like the idea that you can create your own in any size. This will definitely be pinned for later. I adore the bench, as well. It has a Gustavian style to it which is my favorite look. I recently found a very similar smaller one at Homegoods. It isn’t tufted and the cushion is dark grey, but I love it. It’s right by my front door, too! Thanks!
Thanks, Lizzy!! :) The bench was such a great find! So happy with how it looks in here. How lucky you found one at HomeGoods! That and TJ Maxx is where I usually find the good stuff! ;) xoxo
Very nice job. I love how it fits seemlessly in your new defined space. I would have never thought of putting a coat rack in the dining room, but it works! Keep up the great job :D
Thank you Kimberly! And yes, exactly!! lol But when this was the ‘study’, we had that hall tree in here since it was adjacent to the foyer. (and our foyer is quite small, so no room there) And it was the perfect spot! Now that it was a dining room, that presented a bit of a problem because I don’t think you usually see a coat rack or hall tree IN the dining room. I was concerned it would be weird but I needed something so decided to use the small space of wall there. I considered doing a larger built in, in that spot, but I’m glad I went with this simple, unobtrusive one instead. :) xoxo
I love your ceiling! Did you do that?
Hi Sharon, no, I sure didn’t! That was original to the home when it was built. :) xo
Dear Nancy,
The coat rack is brilliant and very classy. I love the new look of your home, it has grown up and is classy and sophisticated! Beachy vibes are not my thing but I love your home.
Kind regards Heather
Aw thanks so much Heather! I can see what you mean about it growing up! I agree. So glad you like it. :) Thank you again! xoxo
in answer to your question – yes, we do have a coat rack at the front door, but ours is an antique oak one. i have oodles of salvaged, vintage door jams that look just like this. i have to add a piece at the top to make them deeper for a shelf, or leave them without and add hooks for coat racks. yours looks great!
please! do tell us about that ceiling!!! i know others have asked, it’s so unique and gorgeous!
Oh how neat, Gwen!! What a great idea and use for those! And no, I didn’t do the ceiling, it was original to the home. You don’t see that often anymore these days. (our home was built in the late 70’s) :) xo
Hi Nancy,
Newbie here, so this is probably a foolish question, but did you cut the crown molding then put a piece on each end? Are the joins (like there,) where you would use the caulk?
I have always been artsy, but never also buildery (new word, feel free to use :) with my art/crafts/upcycle though I have long admired those who do.. well, 2019 is my year of trying, so I’m excited to follow along and learn all the wonderful buildery things!
Andrea
Hi Andrea! Yes, we capped the ends with pieces we cut to fit. I used caulk all over! lol Every little seam gets caulk so it looks seamless as possible.
Oh yay, getting your buildery on in 2019!! Love it! :) xo
I love this. I’m getting ready to make one for my kids’ backpacks. I love the simple elegance of it.
What shape of trim did you use for the bottom? I love how it dresses it up just the right amount.
Hi Liz!
I’m pretty sure it is this one.
Thank you!
It looks perfect, Nancy!!! Well done, ma’am!
Thanks so much, sweet friend! Happy Friday to you! xoxo