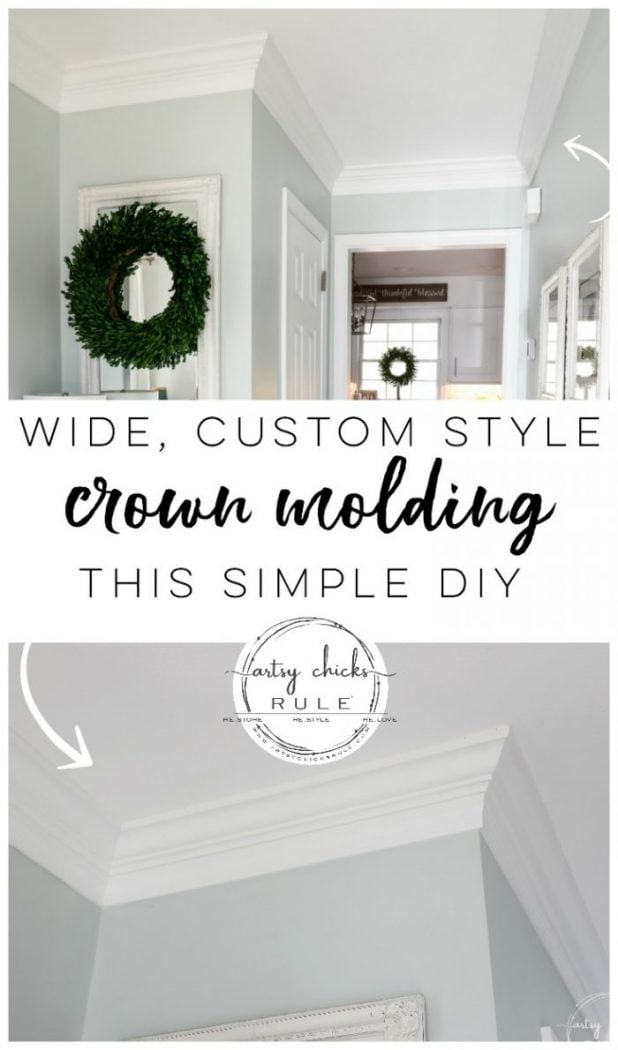
DIY Crown Molding (easy way to do wide, custom look molding!)
My husband and I created this DIY crown molding to give the look of wide, custom style woodwork. Simply done!
Hey friends! I’m finally sharing the crown molding my husband and I installed in our foyer recently.
Well, we recently finished it anyway. haha
It was just one more thing on the list of makeovers/remodels around here!
So, yep, it got started, then stalled, then finally finished.
It wasn’t a big job, we just had about 5 (or 50) other ones going at the same time.
DIY Crown Molding
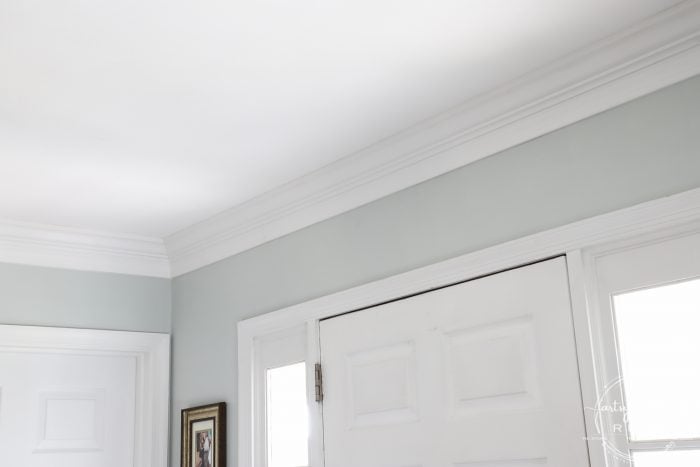
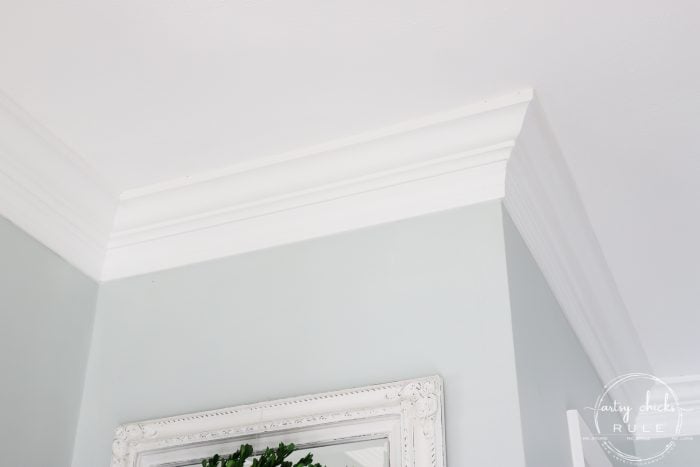
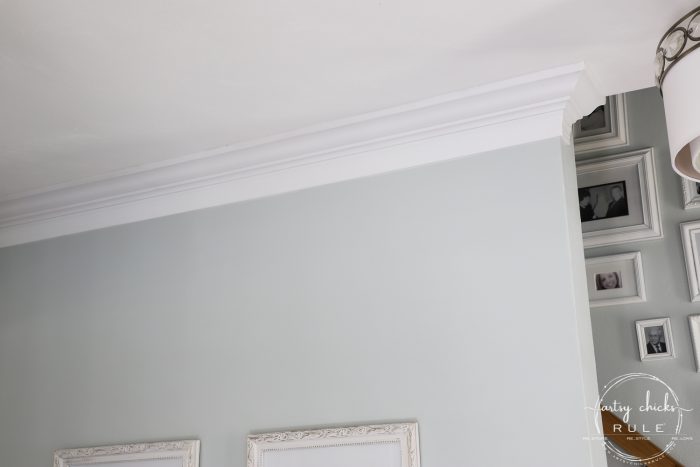
I’m really happy with how this turned out.
I adore the wide, deep look as it makes it look a little more custom.
This room previously did not have crown in it.
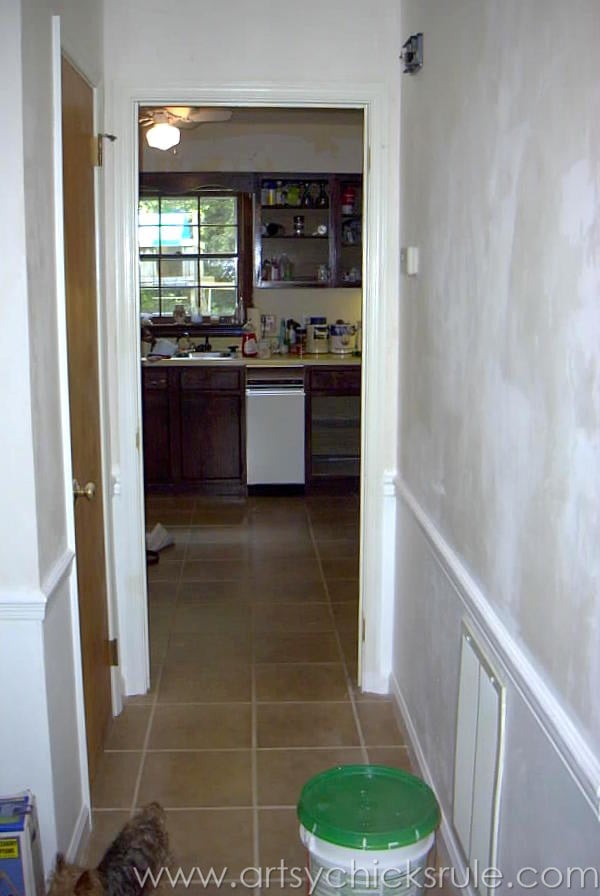
Move in day…
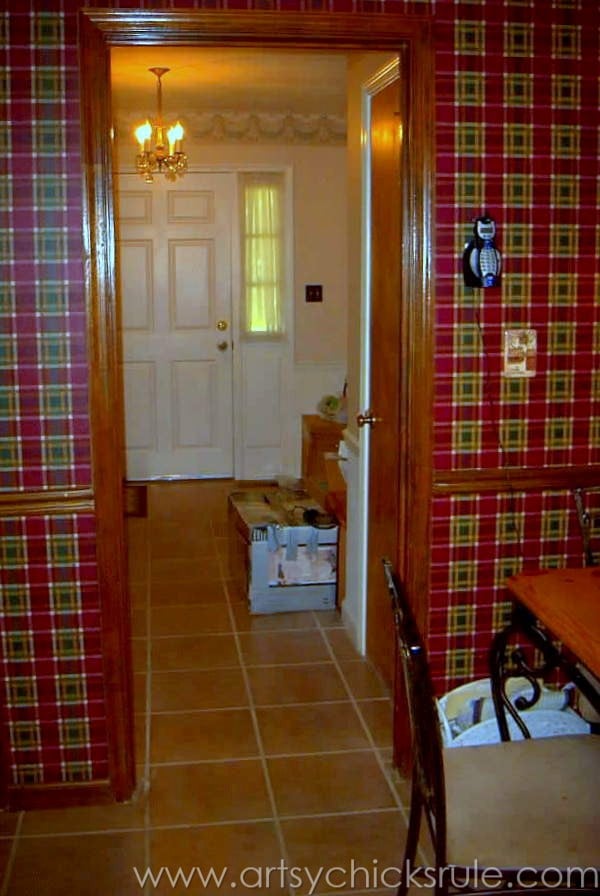
But it did have wallpaper and a border around the top!
That’s the old tile floor that we removed and replaced with vinyl tiles….which we have since replaced with beautiful wood-look laminate flooring. (by the way, we originally removed the ceramic tile because there were tons of cracked pieces when we moved in)
Can you believe there was also a door in that small opening there??
We took that sucker off the day we moved in! lol
Here it is after I removed all the wallpaper and border. Ugh, that was a job!
This house had wallpaper in every room, just about.
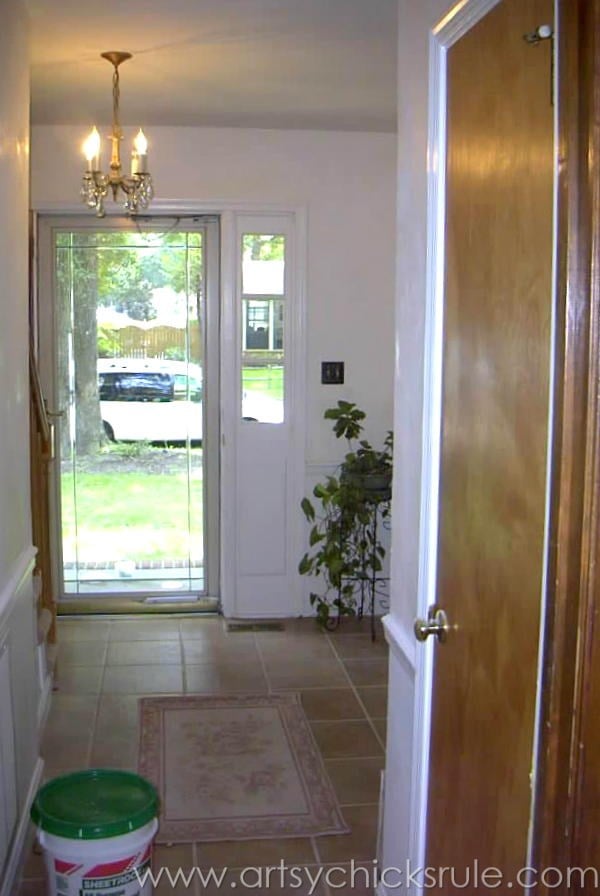
We hadn’t replaced any of the interior doors/knobs yet, though.
(Aw, sorry, I can’t help myself….memories!! My old “mommy” van, from when my babies were actually babies, is parked out front!)
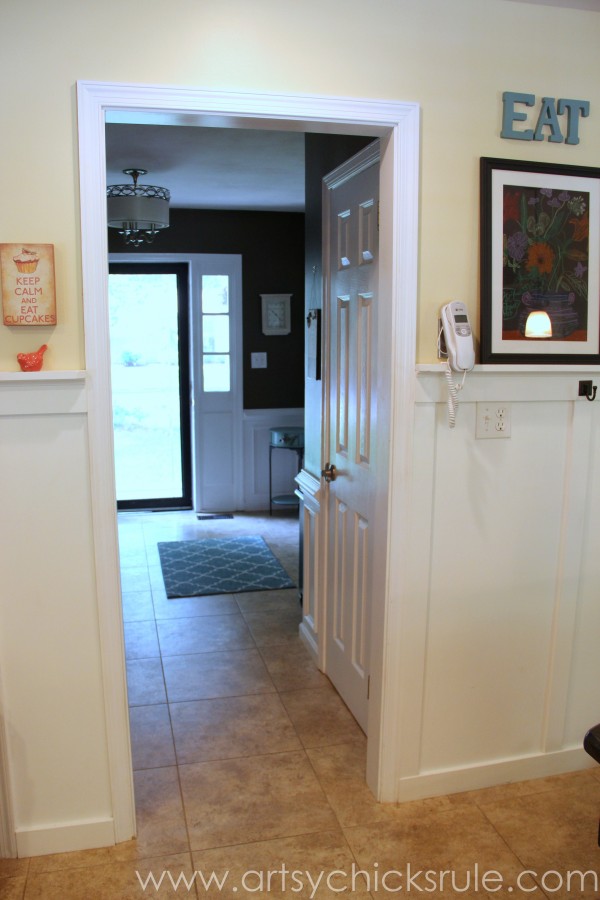
How about this view??
Yikes!! Haha!!
It sure looks different now, huh? (aww, more memories, there’s my little buddy in the bottom left corner of the photo!)
And how it looked at one point after…
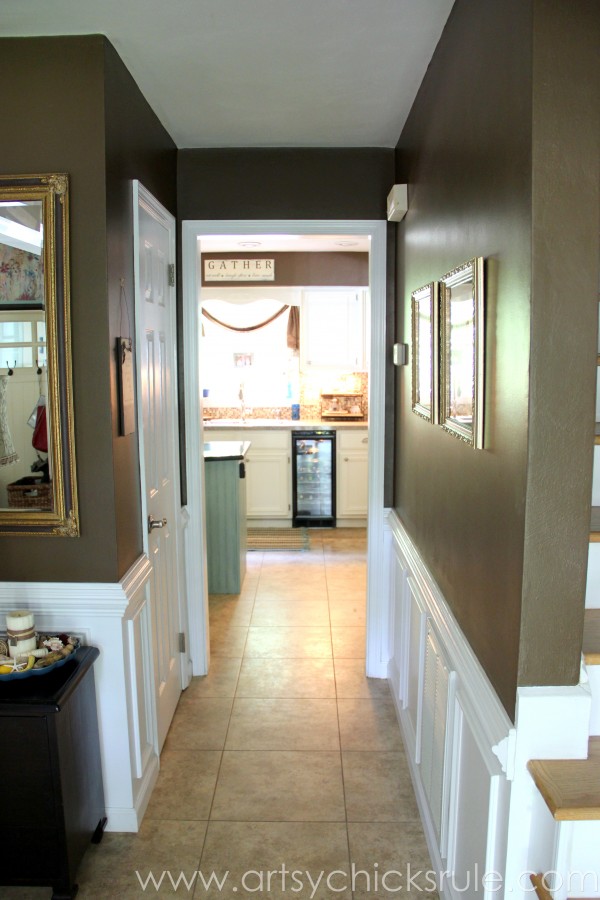
So, we installed new doors, new floors, new paint, new light fixture, and wainscoting…but we never got to the crown molding in that room, until now.
Here’s what we used:
- 4-inch crown
- door casing
- re-used the old crown we took down from the dining room/morning room (we put up new, wider trim and reworked the corners in there)
- paint (I used Sherwin Williams Extra White on all trim, doors, etc, in Eggshell finish)
- 15 gauge finish nailer (for nailing the old crown mold to the ceiling)
- brad nailer (for nailing the new pieces)
- wood filler
- caulk
This may not be the regular way to do this but this is the system my hubby came up with to do it.
And it seemed to work out perfectly!
Especially nice, we re-used the old crown we took down from the dining room. (it got used for the “behind the scenes” portion)
It’s pretty basic, actually.
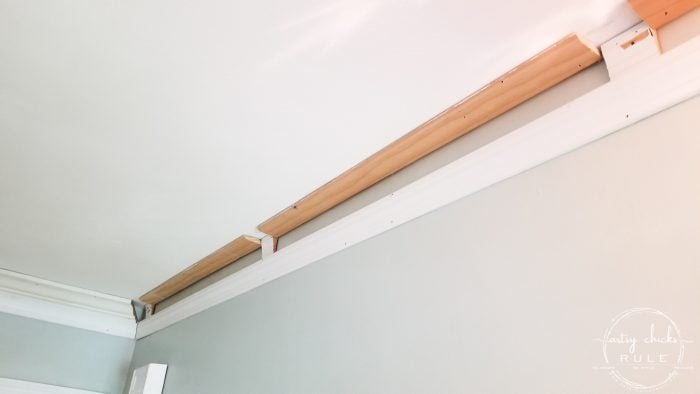
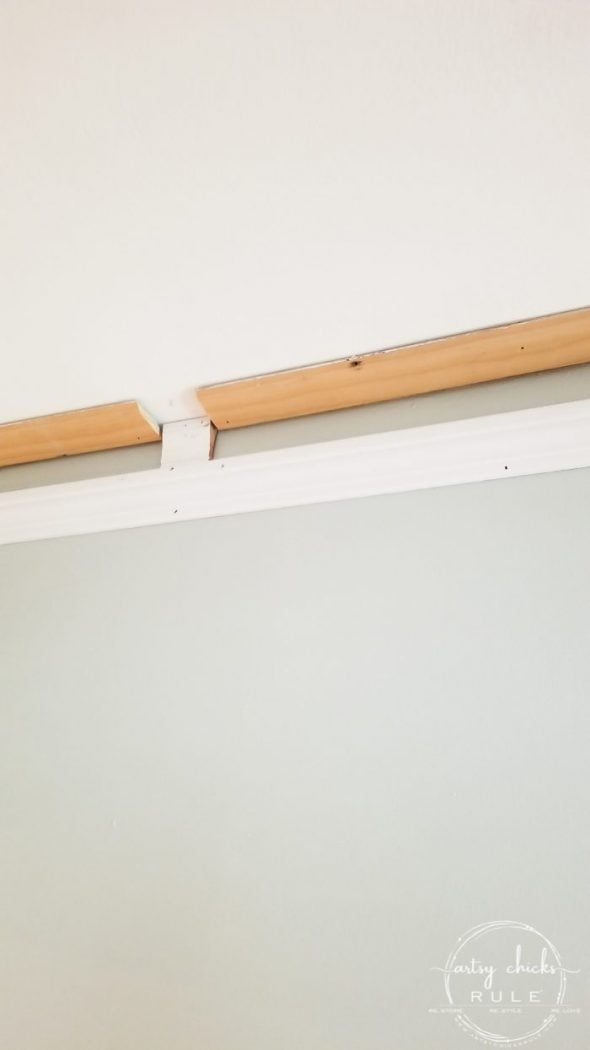
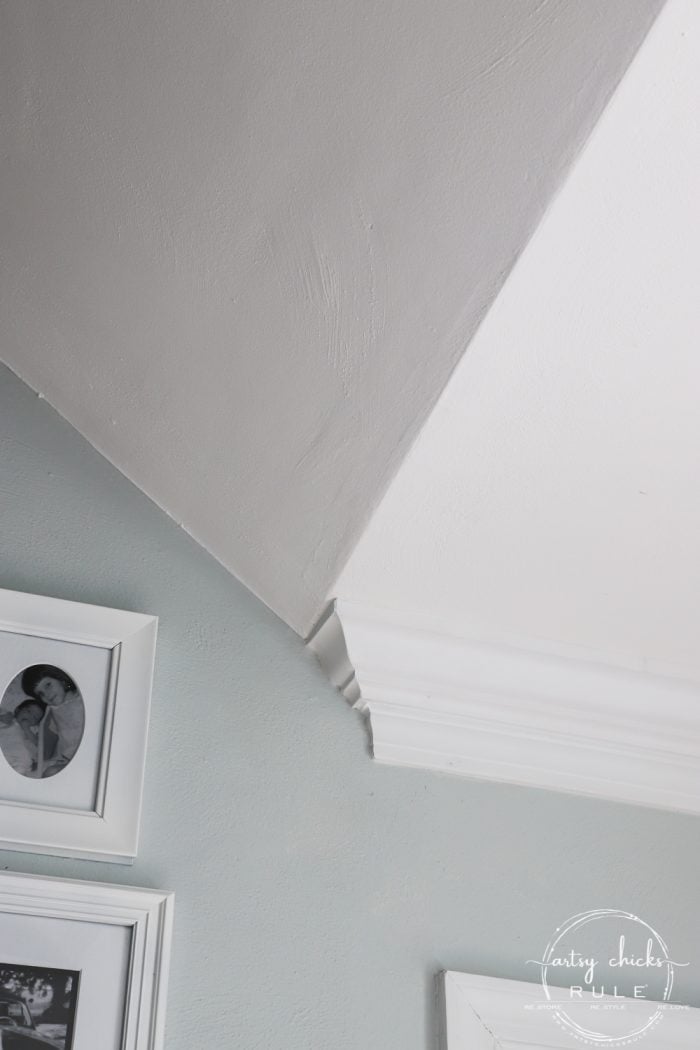
He nailed the old crown mold pieces to the ceiling, upside down, so the angle (that is naturally found on crown molding) was at the front.
The new piece of crown mold has an angle as well. When turned upside down like that, the two fit directly together. Sort of yin and yang.
He then nailed the new crown mold to the old one, which is held secure by being attached to the ceiling.
The small cuts of door casing in between were basically there as spacers.
So…the new piece of crown mold was nailed at the top, into the re-used crown that was attached to the ceiling.
It was also positioned, and then nailed, about 1/4 – 1/2 inch over the top of the door casing that was attached to the wall at the bottom.
I know that might be confusing so I created a detailed photograph to explain everything.
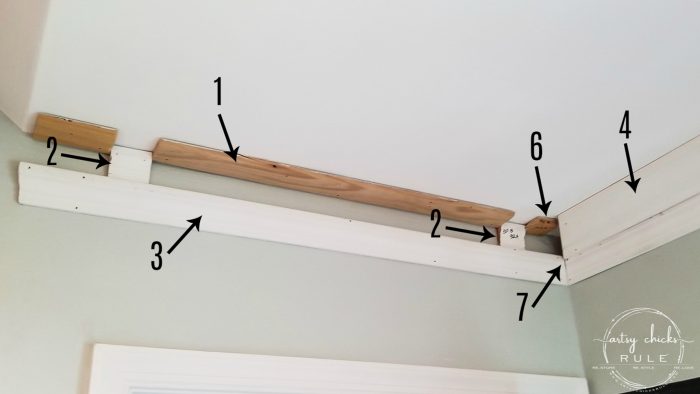
- old, re-used crown molding, attached to the ceiling upside down so that the slanted edge is on the front.
- door casing cut into 2-3 inch spacers
- 2-1/4 inch door casing
- 4-inch crown molding
- I just realized there is no 5!! haha, oops
- is showing where you nail and attach the new, 4-inch crown to the old one that’s attached to the ceiling. (remember, the angles of each “meet” up)
- is showing how you overlap the bottom of the 4-inch crown onto the door casing and nail it into place there.
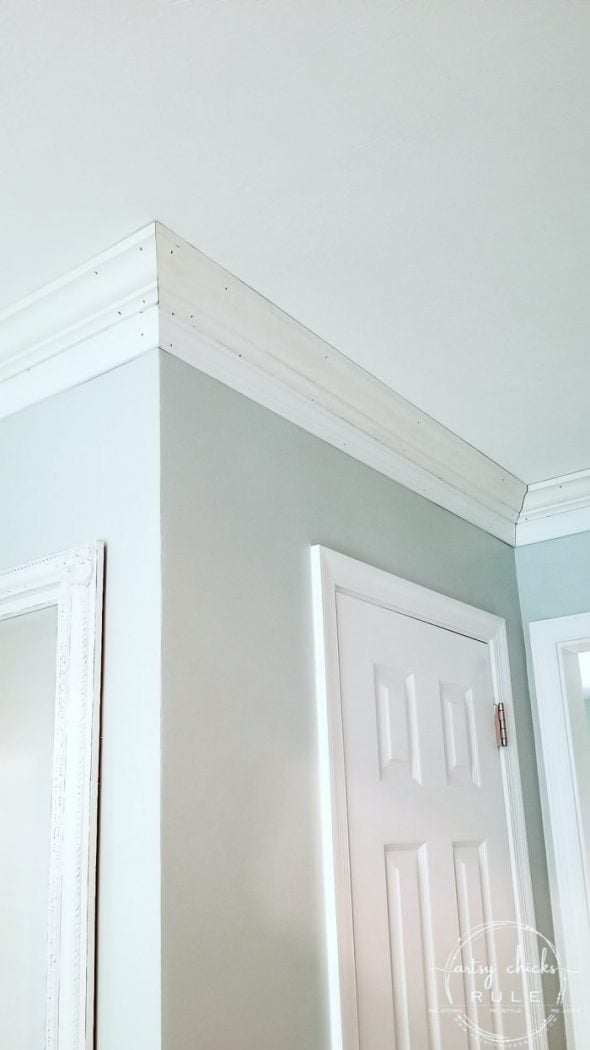
All nailed and ready for filler, caulk, and paint! (caulk is my bff ;) caulk makes everything beautiful! )
I’m sorry I didn’t get to take more photos of the actual “doing” of this DIY crown molding project, but as I said, we were living in total chaos at the time.
A full kitchen remodel is underway as well as replacing the flooring in the entire downstairs. And repainting walls, ceilings, and every single door and piece of trim, and wall treatment in the downstairs.
Yep, all at the same time.
So, we were just whizzing through, trying to get it all done and keep our sanity!! lol
But there’s really not much to this project. It’s a pretty basic one.
Just follow the photo above and you’ve got it.
Seriously, caulk, y’all…..caulk… finishes everything up so nicely. Don’t skip that step!
Seal every single seam, for a seamless look.
Here’s how we finished off the ends on each side of the stairs…
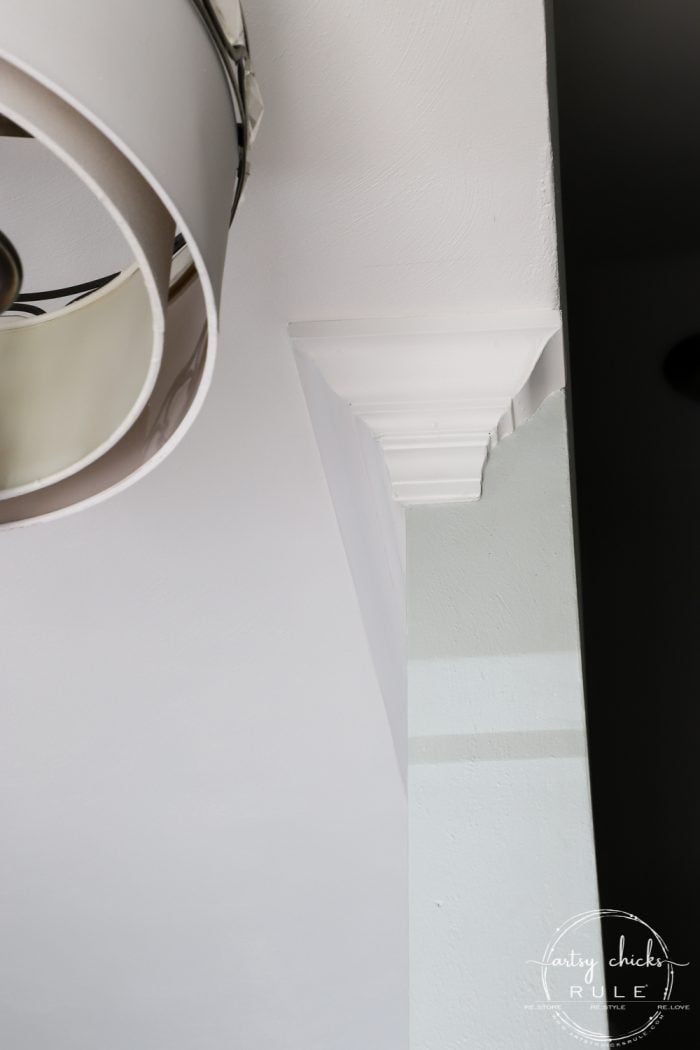
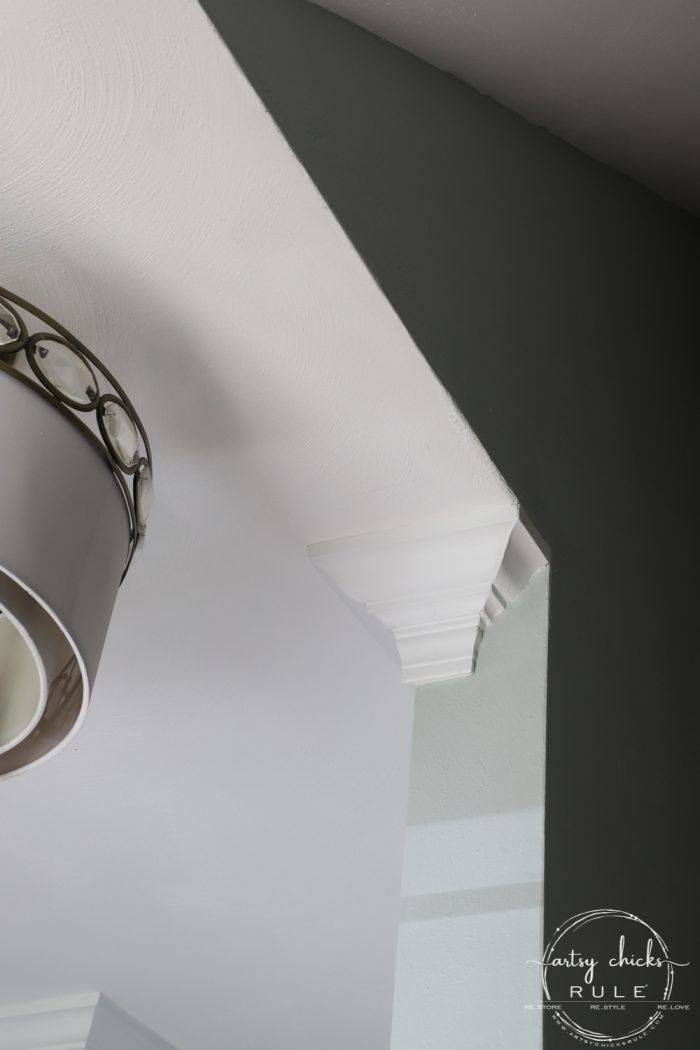
And on the other side of the wall going up the stairs.
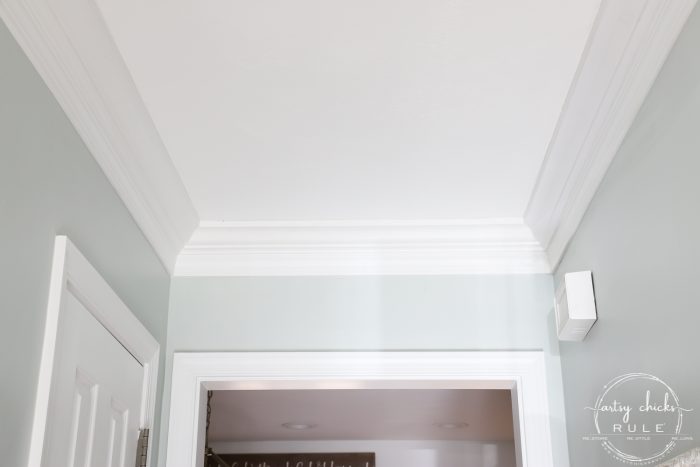
And a full shot of the foyer finished…
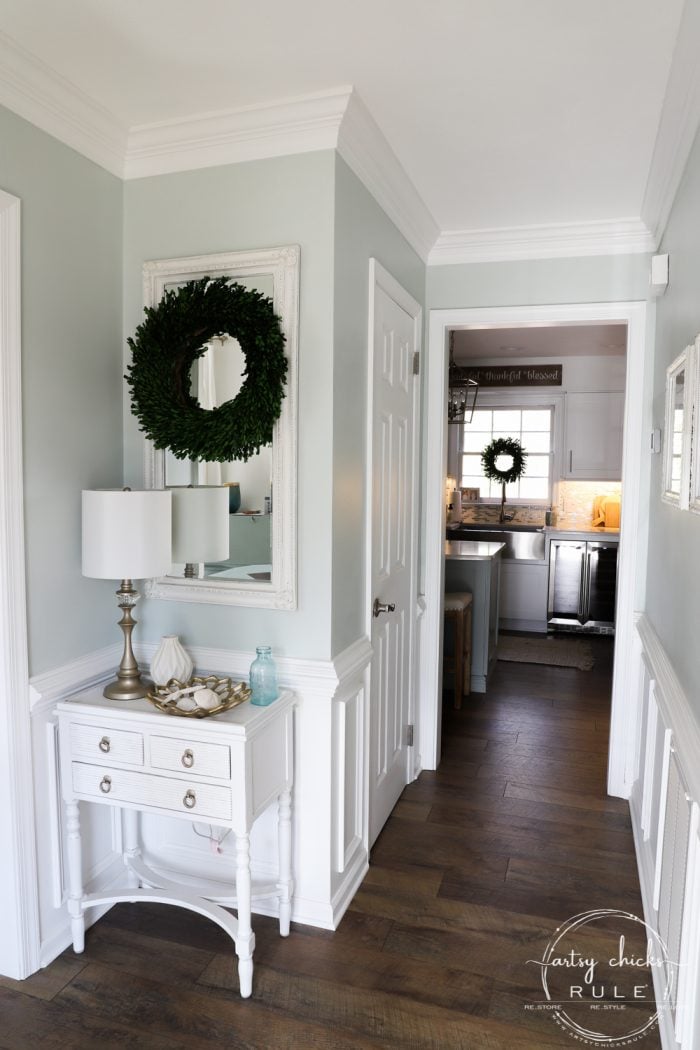
I just love what it adds to this space. Doesn’t it look so much different?
It looks so much nicer and finished with the new DIY crown molding done.
Another project I’m so, so happy to mark off the list! Yippee!!
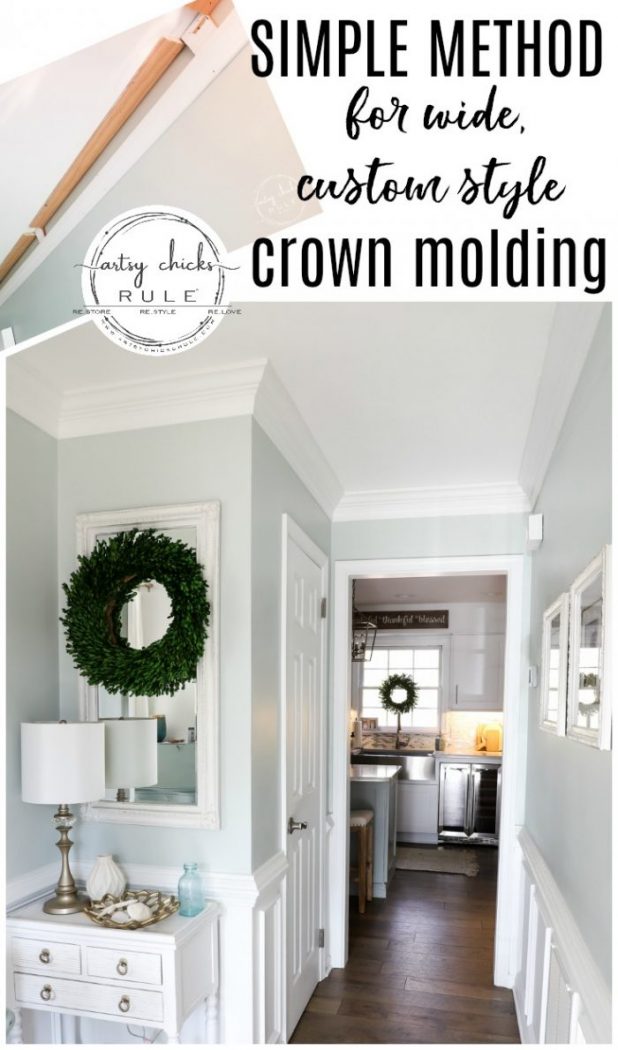
PIN it to save it!
More home DIY tutorials we have shared here:
- DIY Faux Shiplap (get the look, without the expense!)
- DIY Faux Board & Batten (simple and quick!)
- How To Make a DIY Wood Countertop
- Build Your Own Kitchen Island With Big Box Store Cabinets
- How To Install Laminate Flooring (tips and tricks)
- DIY Crown Mold (easy way to get that wide custom look!) (you are here)
- Build Your Own Built In Bookcase – Tutorial
- Chalk Painted Kitchen Cabinets
- How To Use Gel Stain On Your Stairs
- How To Paint Light Fixtures Without Removing Them
- How To Build a Permanently Attached Wall Coat Rack
- DIY Floating Shelves Tutorial
- How To DIY a Tile Backsplash
- How To Build a Custom Closet
- Remove Popcorn Ceilings The Easy Way
- How To Remove Peeling Paint
- DIY Wood Mantel
- How To Paint a Tile Floor (it works!)
- How To Hang Peel and Stick Wallpaper
UPDATE! I’ve since painted the ceiling in the foyer. Want to see it now (and how great the crown molding pops with it?)? Hop on over >>> here!
Hope you have a wonderful weekend, my friends!
xoxo


")
")


W O W ! ! What a transformation! And the detailed cuts involved. Thanks for the detail photo of steps. :) Someone put baseboard molding along the ceiling here as their version of crown molding. It will make a great base if I want to do crown with your great instructions!! Thanks Nancy!!
Thanks so much Christina! :) Crown is definitely not one of my hubby’s favorite DIYs to do, haha, but it looks so nice once done! xoxo
What light mint wall color is that?
The color is Sea Salt by Sherwin Williams!
I’d live to know your wall color. It’s beautiful. Great job.
Hi Lisa!! Thank you!! :) It’s Sea Salt by Sherwin Williams. xo
Love this transformation. Crown molding does so much for a room. We added really thick crown molding in our old house we had really high ceilings. In this new house we added pretty thick it really makes the ceilings look higher. Ya’ll have done an amazing job with your house. Oh and happy birthday.
Thank you, Sherry! :) It really does, I so agree! I love high ceilings too! I wish this house had at least 9 foot. That’s the only thing we don’t love…and can’t change. xo (oh and thanks for the birthday wishes!!)
Nancy,
You are amazing! So impressed with all your projects. Inspiring and intimidating at the same time!
Happy Birthday!
Penny
Aw, thanks Penny! :) xoxo
Your crown molding looks terrific! What an upscale look to add interest and quality to your home. Thanks for sharing this technique!
Thank you, Barbara! :) xoxo
HappyHappy B Day to You !!!!
Beautiful job w the crown molding ! It looks incredible.
p
Thank you so much! :) xoxo
Very pretty ! You were a visionary to see potential beyond that kitchen wallpaper ! Whew ! And you are correct ! It is a pain to remove but so worth it !!! Busy , busy wallpaper !!!!! Your house is lovely . Lots of hard work but what a great result . I love the light colors . Good job !
Thank you, Wendy! :) And right??? Haha! The whole house was the same! I remember my sister walking through saying, wow, I’m glad you have the vision, I just can’t see it!! lol Thanks again! xoxo
Absolutely beautiful–Great job.
Thank you Virginia! :) xo
Hi Nancy,
Did you keep the drum light in your final project? I love your style and have a couple of Tiffany lamps hanging in my hall which I would like to replace and was interested in lighting ideas for the space.
Thank you, ~Faith
Hi Faith! Yep, we sure did. It came from Lowe’s but I painted the lampshades on it last year. (I have a post here on the blog about it). :) xo
awesome look & instructions look like even i could follow them. thanks!
Yes!! You really can. This is a simple one as far as that goes, for sure! :) Thank you!! xo
Beautiful! Your walls in the hall look so nice with the island! You better hang on tight to that hubby!! Many of these women in blog land would love to have a handy-dandy like him! You make a great team!
Thank you Cecilia! :) OH yes! They are from the same paint card, Oyster Bay and Sea Salt. And haha, I am gonna tell him that! He’ll love that! ;) He’s a keeper for sure and a wonderful husband and father too. xoxo
Paint colors, walls and crown?
Sea Salt, Sherwin Williams and Extra White, also Sherwin Williams. It’s mentioned in several other posts of mine so I sometimes forget to include it in newer posts! :)
What a difference!! Everything looks so fresh and bright and Wally killed it on the crown molding! Looks SO good!! XOXO
Thanks, Christy! :) Yes, I’m so loving that crown! I’ve been wanting crown in there for years! xoxo
Gorgeous. Looks so prettu. I love it. Happy birthday to you.
Thank you, Judy and for the birthday wishes too! :) xo
Beautiful transformation! I love how light and inviting the foyer looks now.
Thank you for sharing.
Thank you Colette! :) Yes, I went dark and dramatic on the first (well, actually that was the second makeover, I don’t have photos of the first but it was a pale beige/tan) makeover and light and bright this go round. I agree, much more inviting now! xoxo
I love this idea. I am pinning it to see if my husband will do this DIY crown molding for our entryway. Thanks for the inspiration!
Great!! Hope it works out for you! We love ours! :) xo
Awesome post!!! I think I’m ready to tackle this project. Any suggestions on how to cut/ measure angles to get them to line up ? Also, I don’t have any old molding to use. What do you suggest I use in its place ? Thank you for the inspiration!!!
Thanks! As far as the old molding, you can use anything there that is along the same size as long as it’s uniform. (maybe check out the ReStore for old molding) The crown piece just needs to overlap that piece somewhat.
The angles really just depend on how big your crown piece ends up being, the angle you are cutting(inside, outside, etc) We had some trial and error there but once you pin it down you are good to go. I would suggest watching some videos specific to cutting crown molding for more on that. (also, look into a “angle measuring tool or digital protractor” for crown molding) Hope that helps!!
Beautiful job! Thank you for sharing!
Thank you so much! :) xo
Ok, you mentioned that you removed lots of wall paper in this post. Please, please, I need all the pointers I can get on wallpaper removal!!
Oh haha! I did…and it’s no fun. But years ago so who knows what I did. I do remember trying several things (spraying with a mix of fabric softener and water, using one of those score-ers that prick the wall so the solution can get behind the paper for easier removal) What I do remember is, none of them worked all that well. lol It was just persistance in the end! ;)