Shelves are a great way to add small, familiar touches such as photographs, mementos, etc to make your home feel like “home”. DIY floating shelves give you that space without being too obtrusive or taking away from your special pieces.
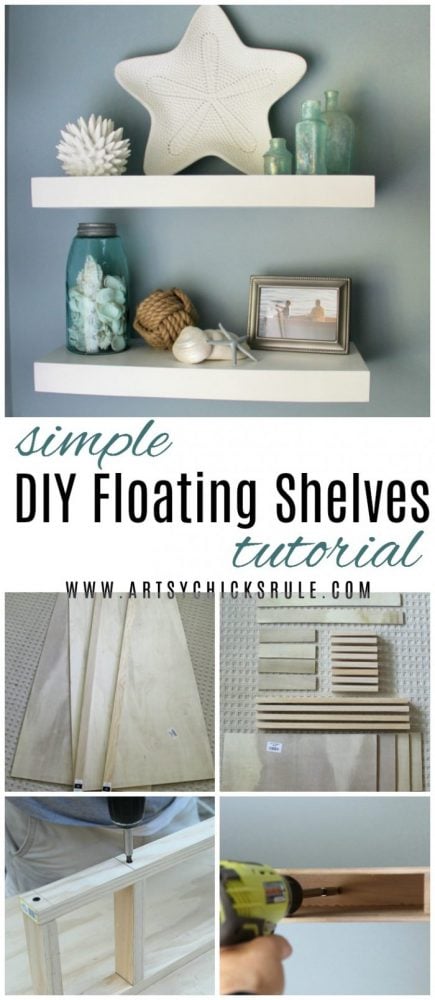
These DIY floating shelves are simple to make and will add a nice personal touch to your home.
We added these shelves to our hall bath (kid’s bath upstairs) several years ago.
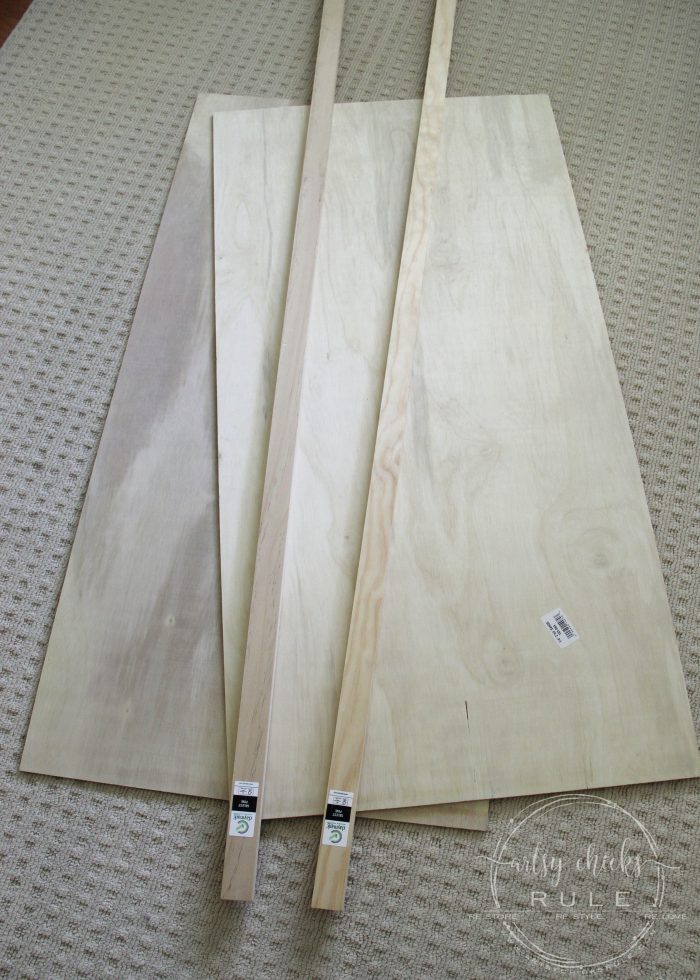
Here are the supplies needed to complete the DIY floating shelves project:
2 – 1/4 in x 2 ft x 4 ft Sanded Plywood Project Panel
Here’s the wood supplies for the DIY Floating Shelves:
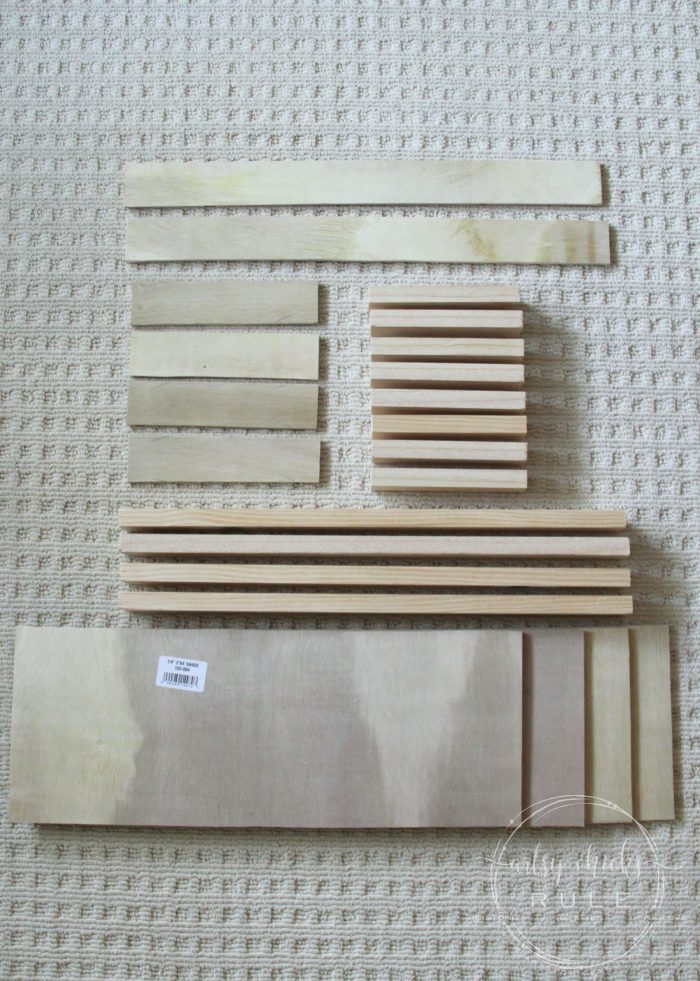
Step 1: Cut these pieces into the following dimensions:
4 – 1 in x 2 in x 21 in
8 – 1 in x 2 in x 6.5 in
4 – 1/4 in x 8 in x 21 in
4 – 1/4 in x 2 in x 8 in
2 – 1/4 in x 2 in x 21 3/8 in
You can also have these cut for you.
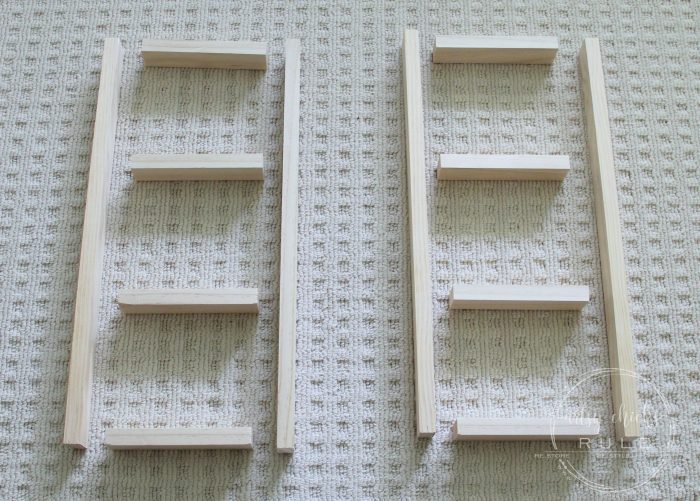
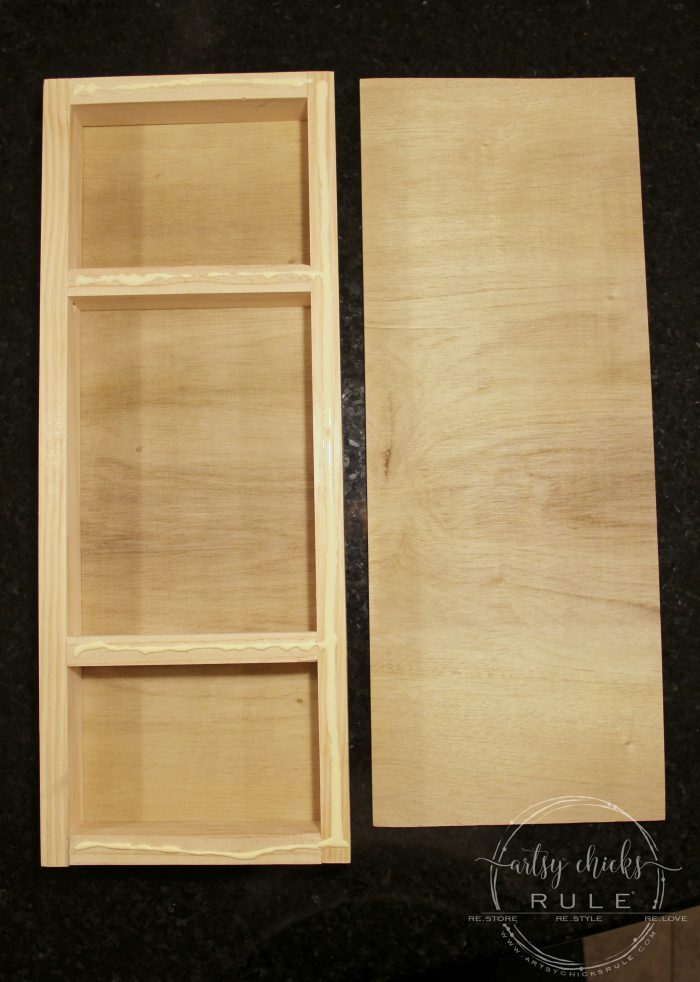
We decided to build a frame inside to make them extra sturdy.
Here is the layout to follow for building the frame.
Step 2: Screw these together as shown to make your frame….
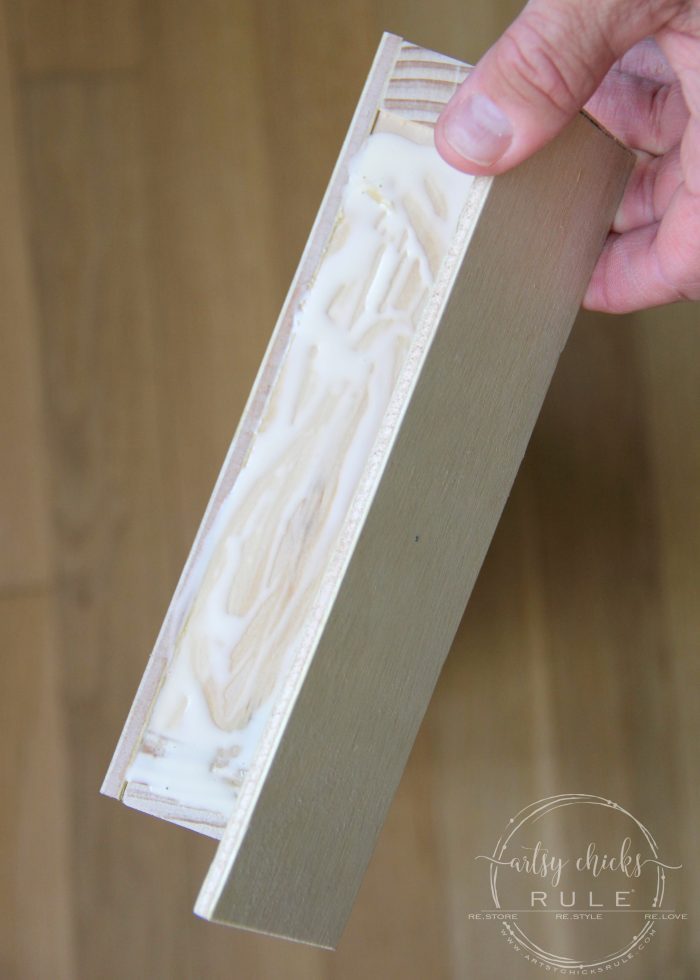
Step 3: Glue (and clamp and/or nail) the sanded panels to the frame.
Everything except the front 1 x 2 as you can see below (with out glue on it)….
Again, no glue on the front 1 x 2 board. (as shown above)
It is attached for alignment purposes only while gluing and then removed so it can be attached to the wall.
Glue the side finish pieces to the frame being careful not to get glue on that end 1 x 2 front piece as shown in the photo below….
You can also wait and do this step when you apply the front finish piece. (once it’s attached to the wall)
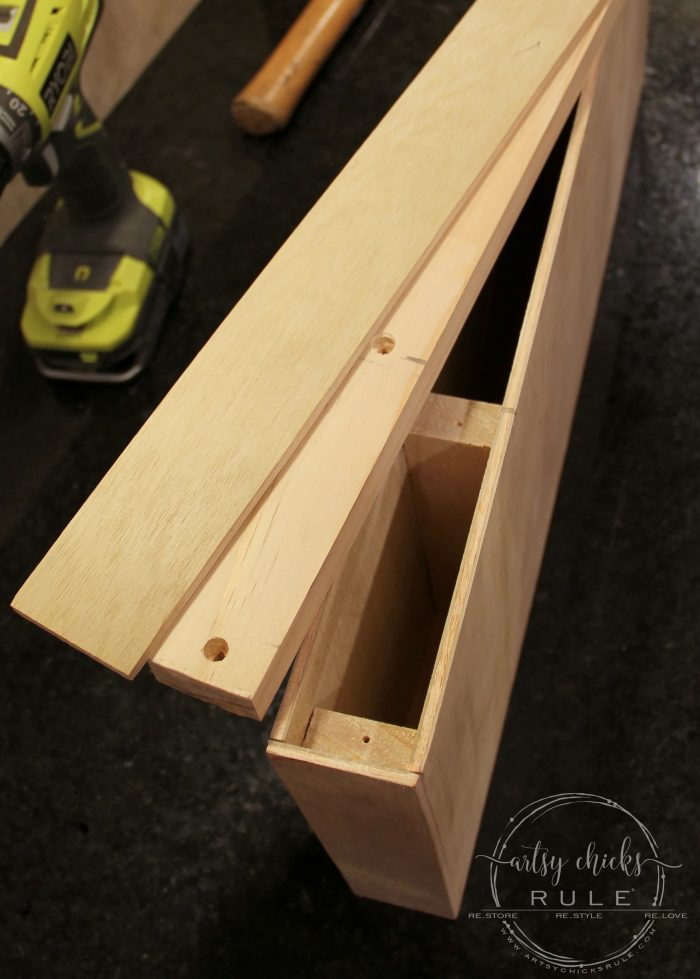
Step 4: Once glued, go ahead and remove the 1 x 2 that was there for alignment purposes.
(this photo shows the loose 1 x 2 and the finish piece that will cover it once it’s on the wall)
You can see those finish end pieces here that were glued to everything except the 1 x 2.
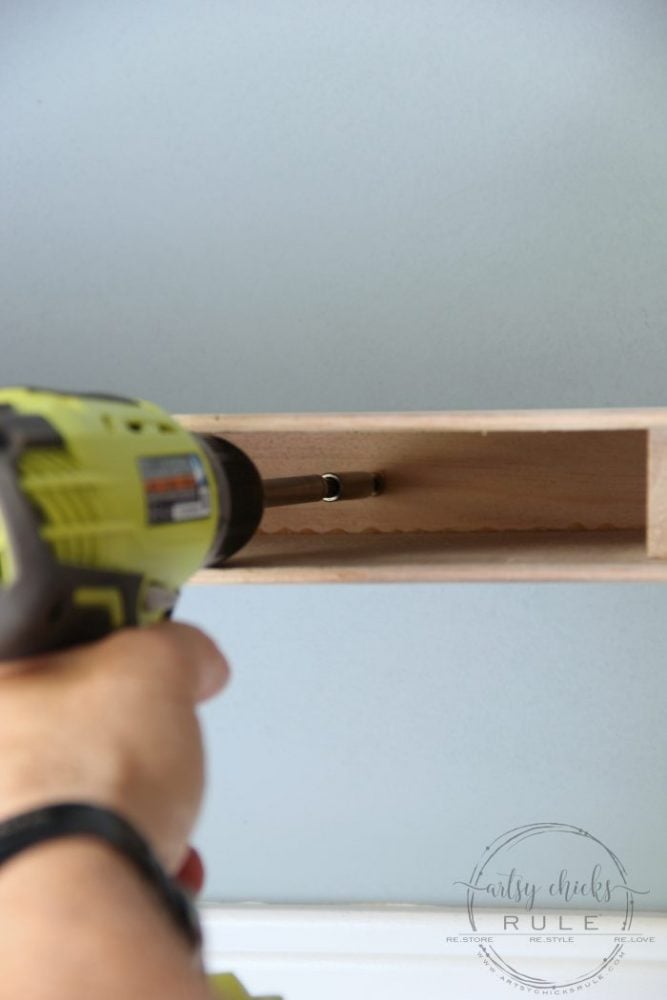
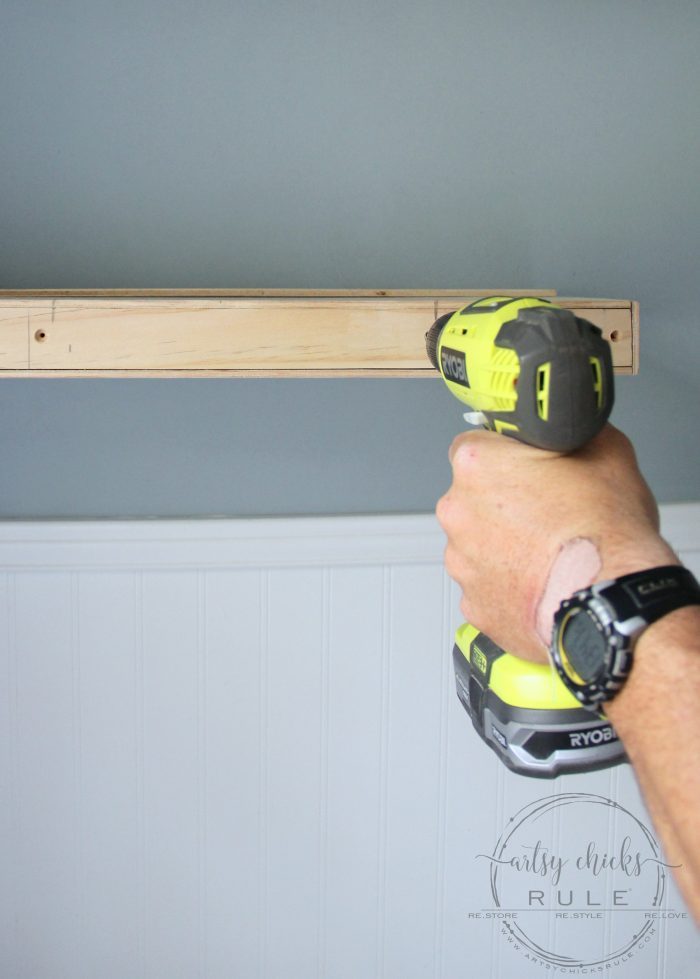
Step 5: Attach it to the wall from the inside with a screwdriver. (be sure to use a stud finder and screw into at least one stud for stability)
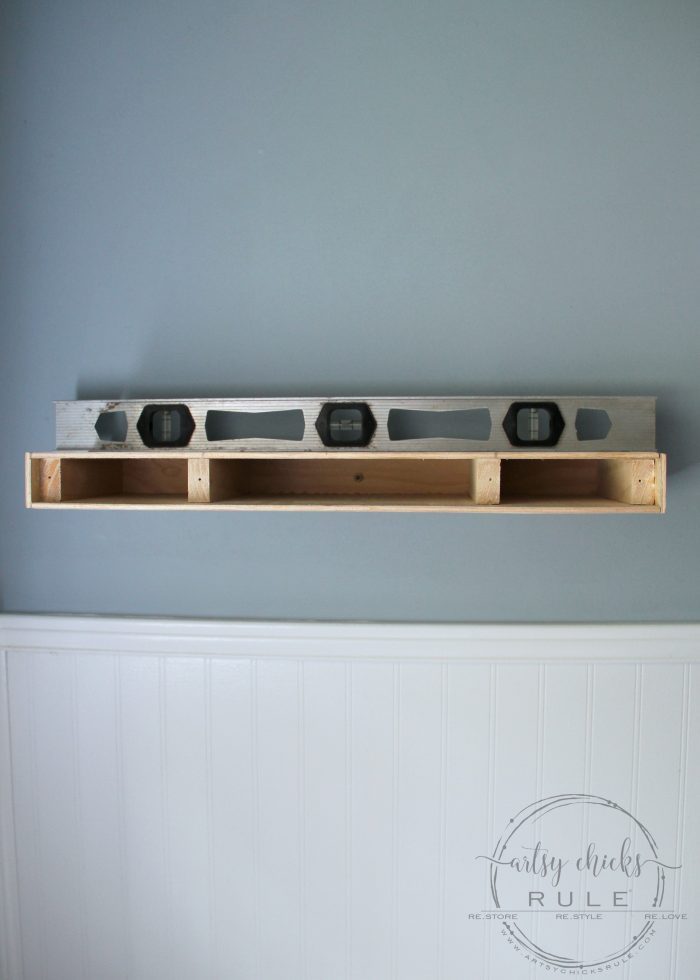
Step 6: Make sure it is level before adding the remaining screws.
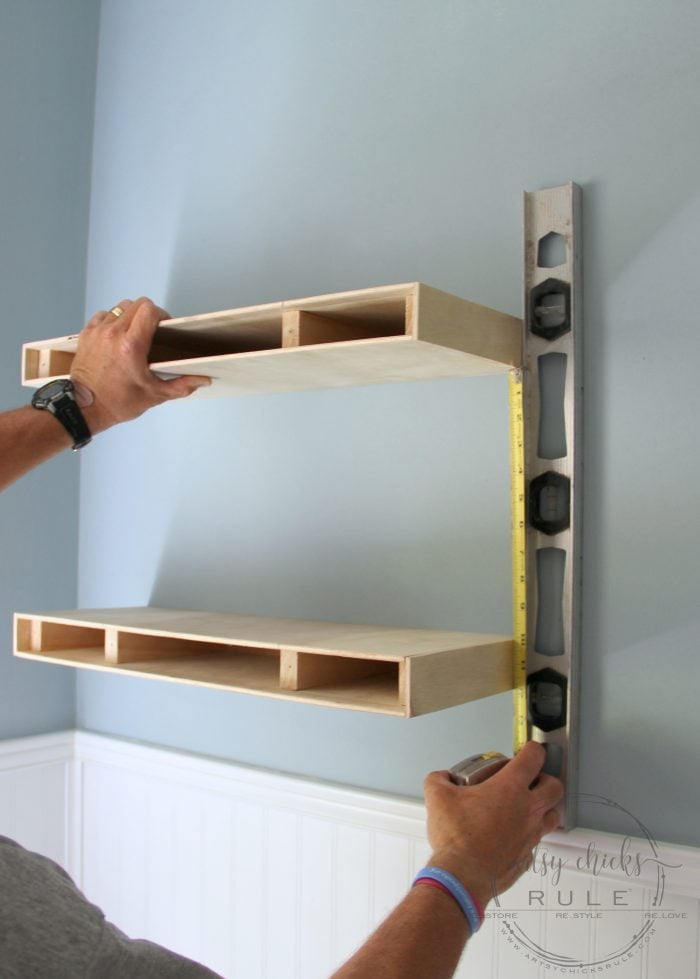
Step 7: Attach the second shelf the same way making sure of measurements and keeping things level.
Step 8: Re-attach the 1 x 2 boards to the fronts of each.
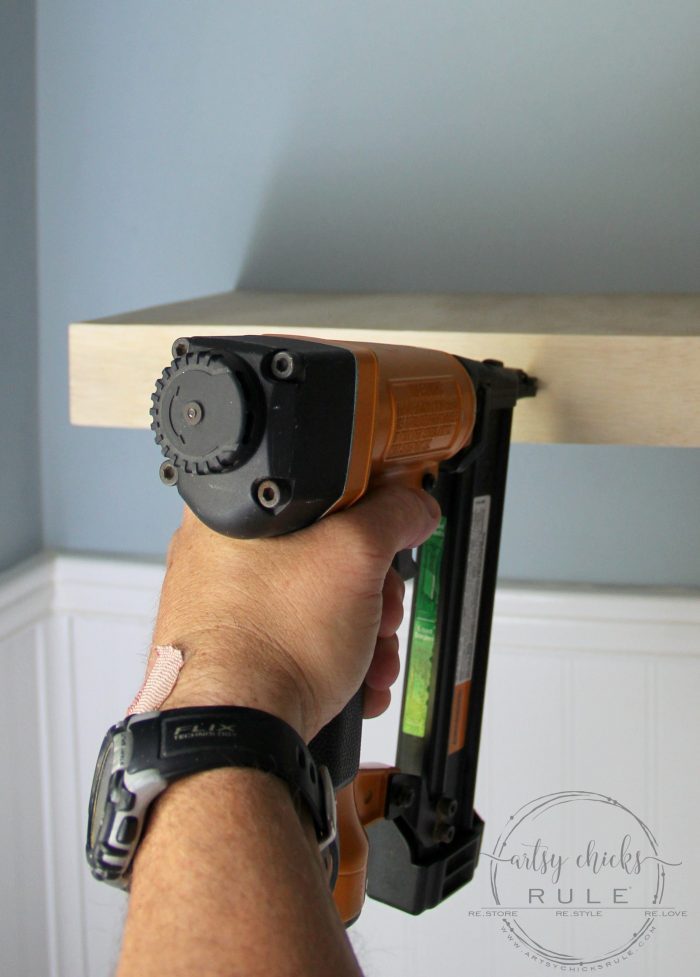
Step 9: Glue the remaining 1/4 in finish boards to the front and use a brad nailer (or finish nails) to hold in place.
Wipe away any glue that may leak from the seam with a paper towel.
While that’s drying, tape off the shelves to get them ready for painting.
Step 10: Once the glue is dry, apply 2 coats of paint (drying in between).
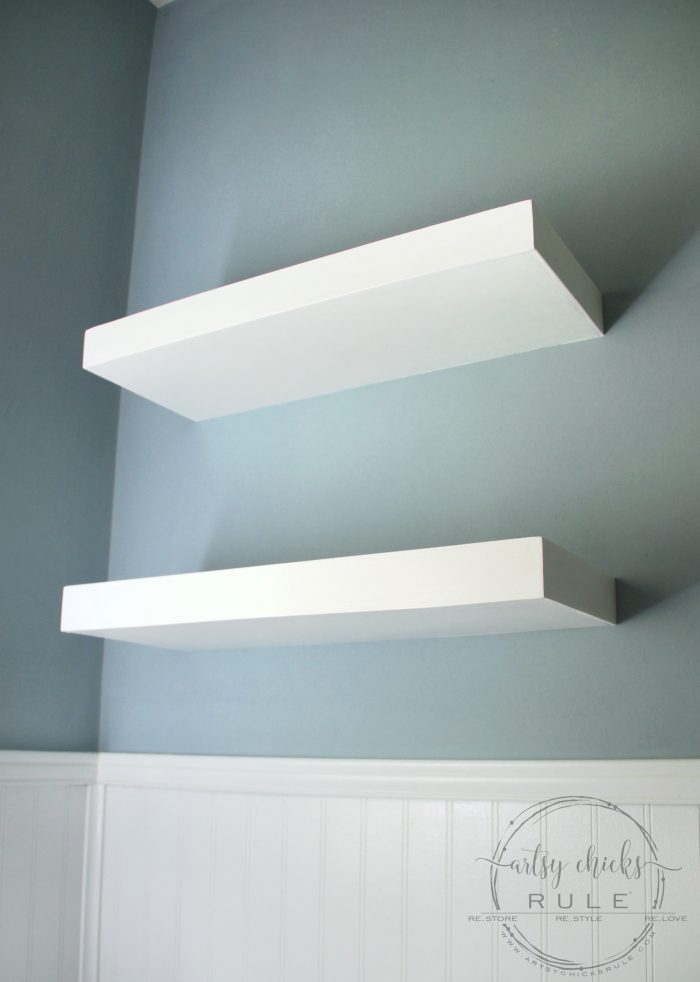
Seamless, smooth ends and edges everywhere.
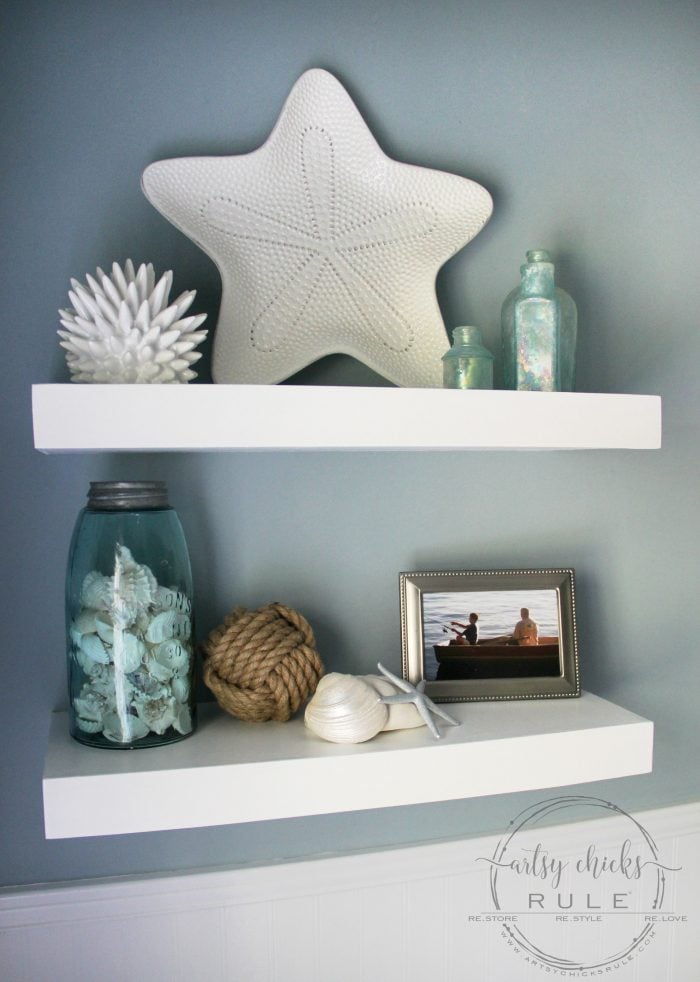
And your new DIY floating shelves are DONE!
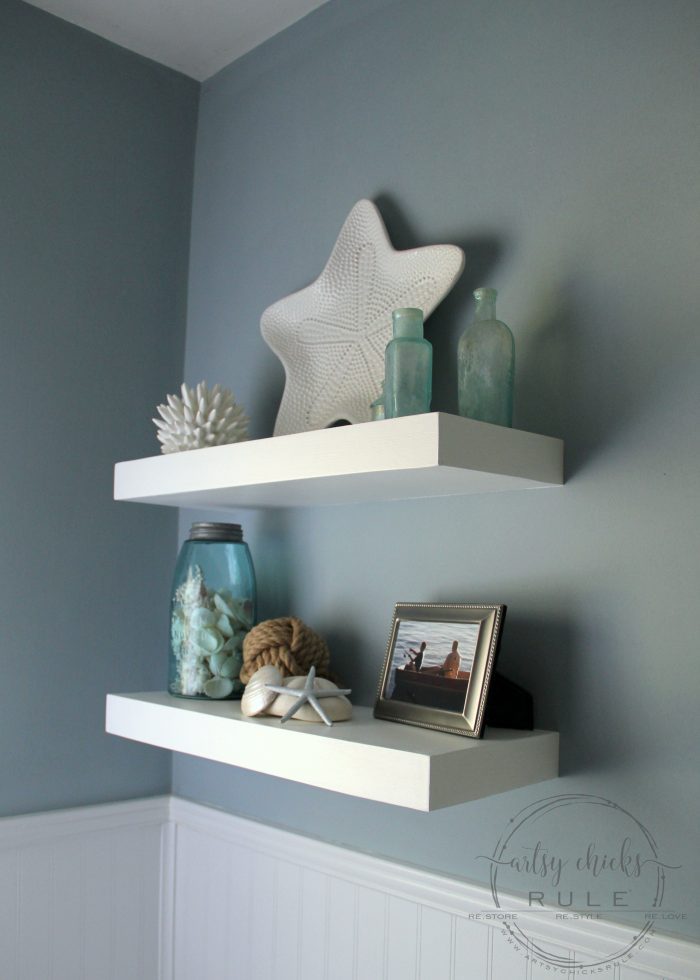
Now you can decorate your sturdy new shelves with mementos and anything that is special to you.
Since I live right by the coast, anything with a coastal feel feels like home to me.
The picture of my husband and son fishing is a special one for me as well.
I’m loving these shelves and the special things we’ve added to them.
Do you like the look of DIY floating shelves? Is it something you think you might try?
Hi Christy!
Thanks! :) The blue color is one I actually mixed up. It was leftover from my daughter’s room and was pretty bold. I added a few colors to lighten and change the hue so I could use it in the bathroom. (it’s been years so I don’t even remember what the starting color was at this point) So unfortunately I have no idea but it is similar to what I have downstairs. (Sea Salt by Sherwin Williams) A little more on the blue side though but pretty close.(I adore Sea Salt, by the way!) :)
Want to be inspired, learn new skills, discover all the tricks to furniture makeovers, creating new out of the old and more? You'll also receive my FREE ebook "Creating Fabulous Finishes" PLUS access to my private Printables Resource Library, too!
Sign up to get the Weekly Newsletter! Our emails include an unsubscribe link and you may opt-out at any time. Your information will *never* be shared or sold to a 3rd party.


")
")
")

Thank you for the info for the floating shelf
You are very welcome Norma! Not a difficult project at all! :) xo
Hi!
Love this! I have a question: What is the color (blue) name/maker you have in your bath?
Thanks!
Christy
Hi Christy!
Thanks! :) The blue color is one I actually mixed up. It was leftover from my daughter’s room and was pretty bold. I added a few colors to lighten and change the hue so I could use it in the bathroom. (it’s been years so I don’t even remember what the starting color was at this point) So unfortunately I have no idea but it is similar to what I have downstairs. (Sea Salt by Sherwin Williams) A little more on the blue side though but pretty close.(I adore Sea Salt, by the way!) :)