Board and batten adds a nice touch to any room. Creating faux board and batten does too, it’s just easier to install!
Originally posted March/2015 – Updated August/2023
Hello sweet friends!
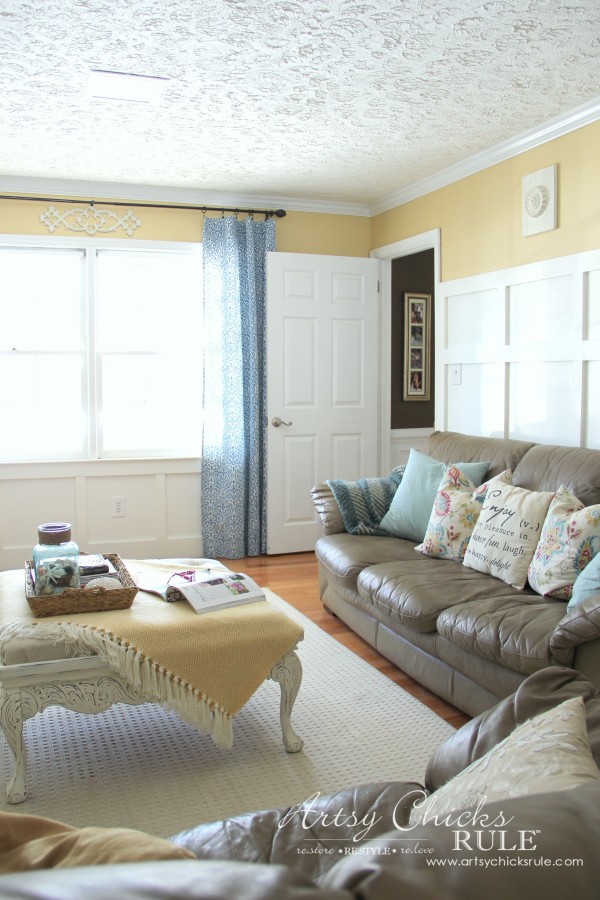
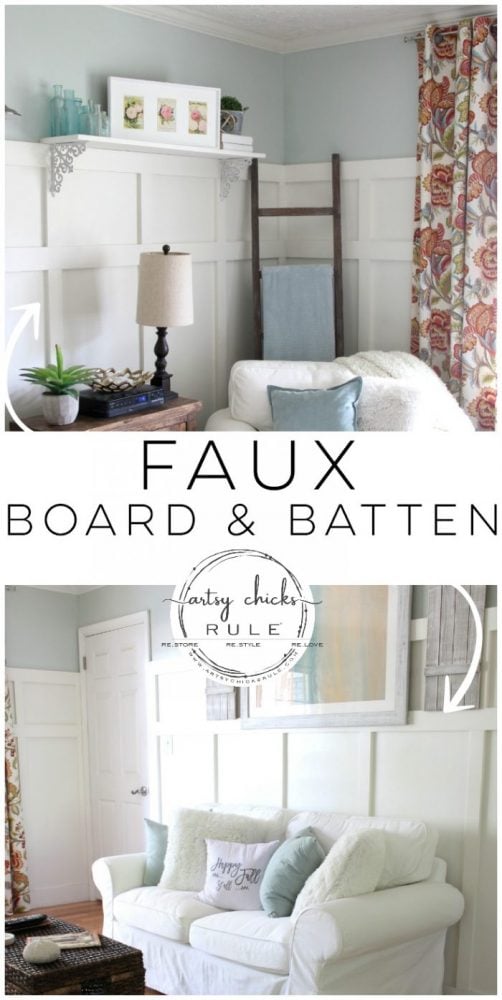
I’m back today to talk about this faux board and batten we put up in our living room…gosh, 10 years ago now.
And it’s “faux” because it’s really only batten.
And yes, I know I’m slow to post about it. But it was one of those … “let’s do this….now” and not a “let’s do this and document every step for the blog” kind of projects. lol
I did take photos as we went but it was hit or miss! Oops! I wasn’t as good about documenting back then as I am now.
So this will be a basic tutorial of sorts.
I did have my husband help out with some of the details I’d forgotten though.
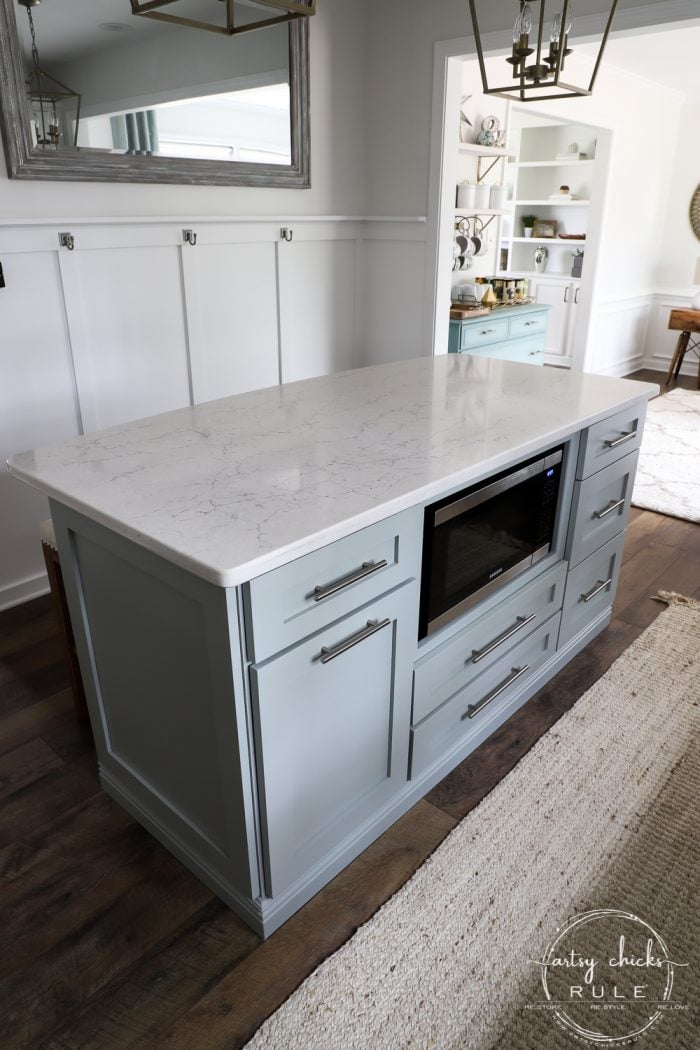
I’m also showing our very first board and batten project…the wall in my kitchen. It actually IS board and batten.
We did that one before I started blogging and it was a good “practice run” before tackling the larger living room.
Here is our first board and batten project…
Here it is more recently…
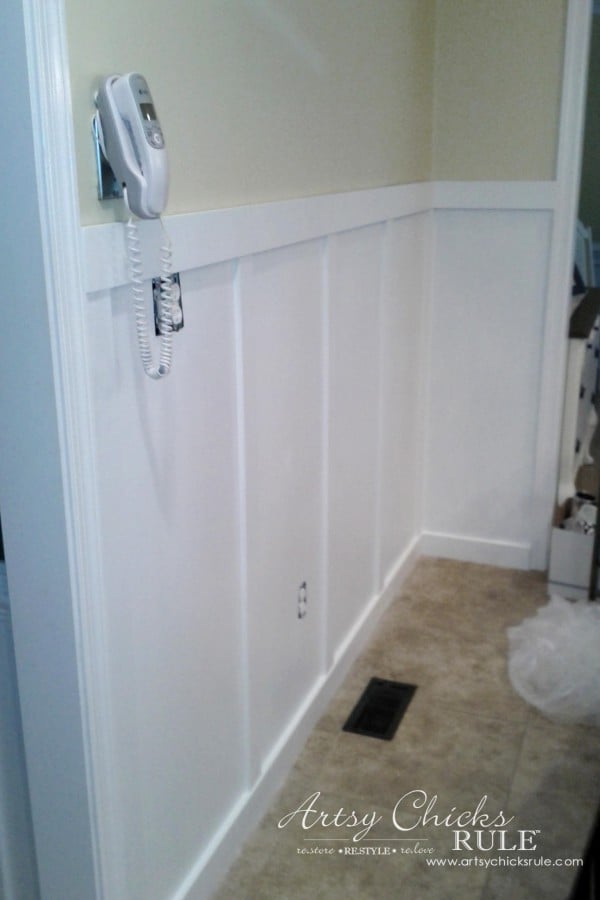
You don’t have to remove the baseboard. There are several ways around that to sort of match it up.
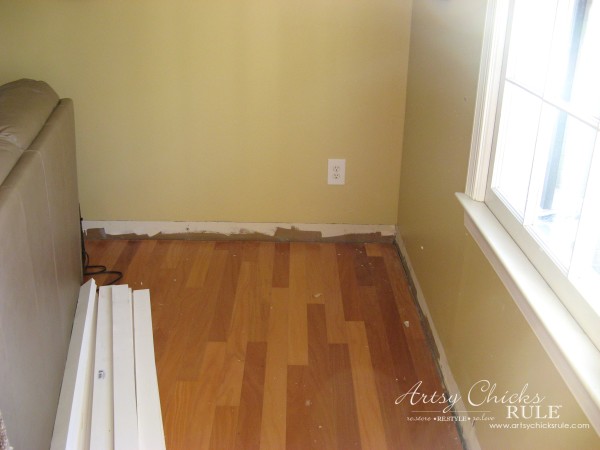
BUT my husband and I both weren’t thrilled with the way that looked. So yes, we did remove the baseboard in the kitchen and in the living room.
In the kitchen, we used smooth hardboard as the backing and added the battens and a new matching baseboard.
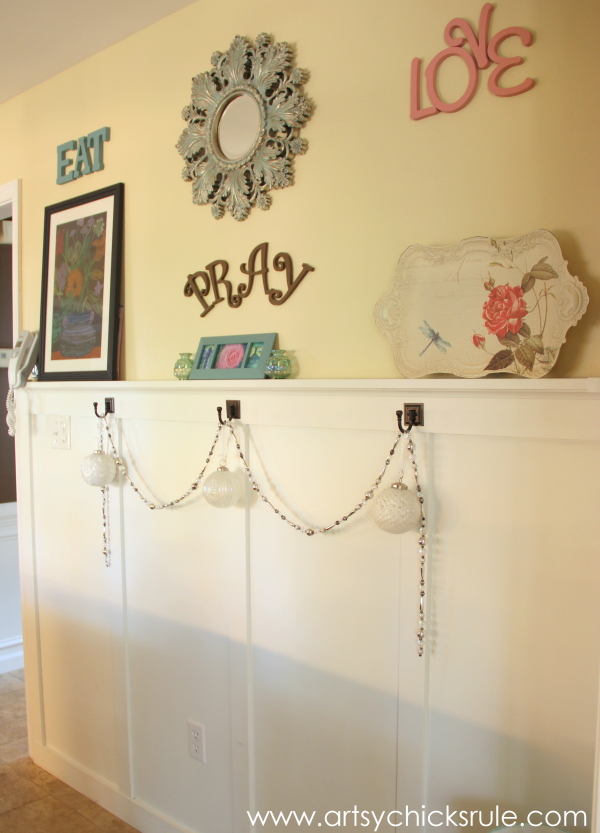
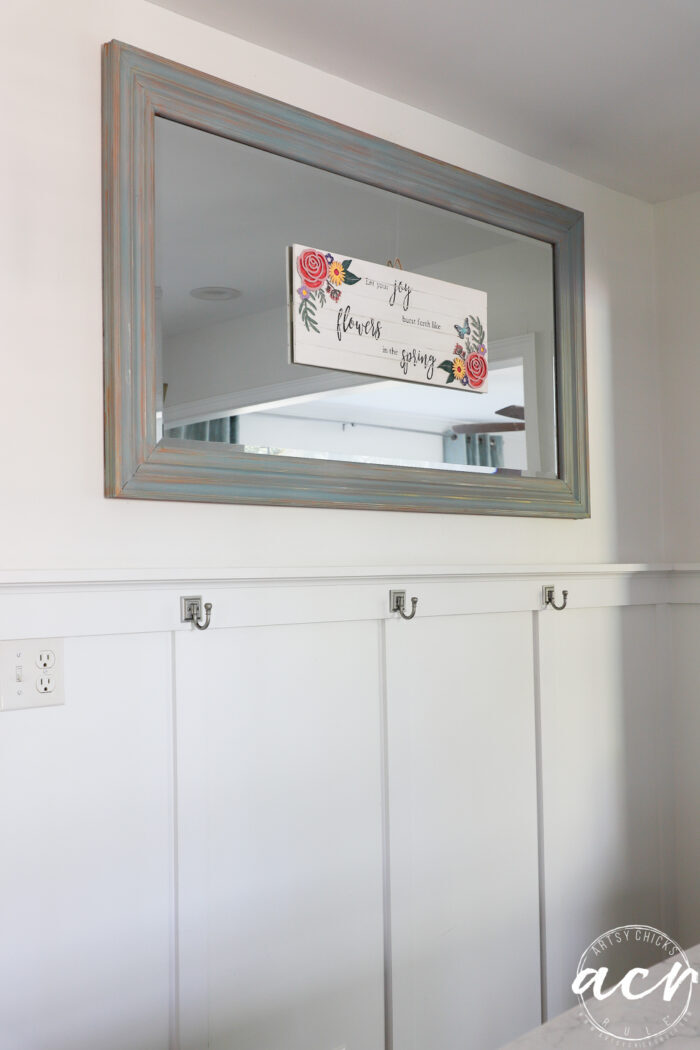
Then we added a ledge up top. I wanted to be able to set things on this one.
I also added those hooks.
They were a nickel finish originally, then I sprayed them bronze…and then I sprayed them brushed nickel again years later.
I don’t necessarily hang too much from the hooks but I liked the way they look. It’s nice to hang keys, my purse, a hat, etc.
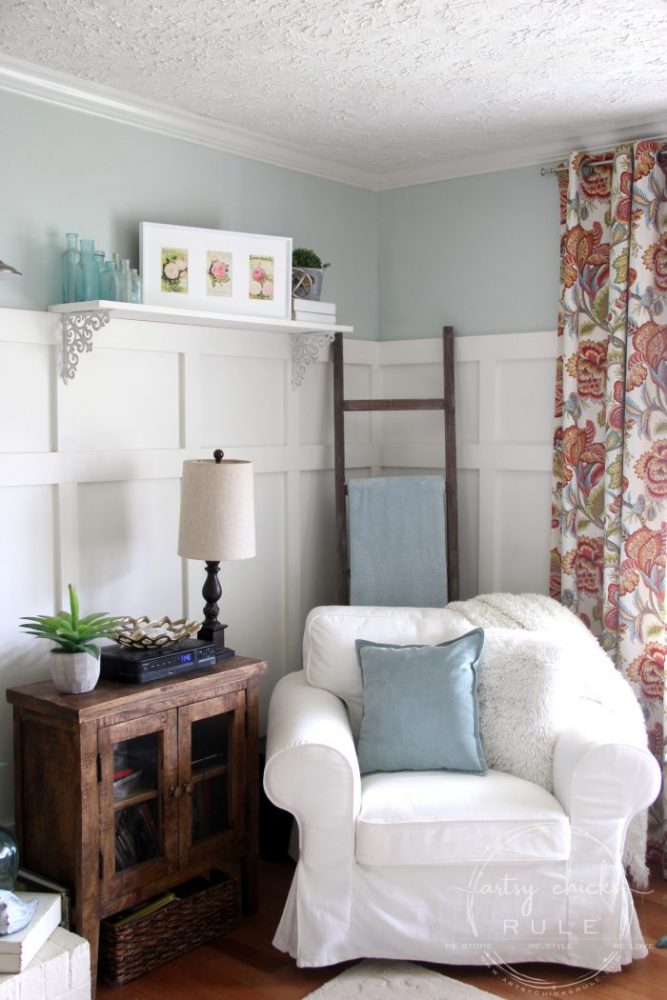
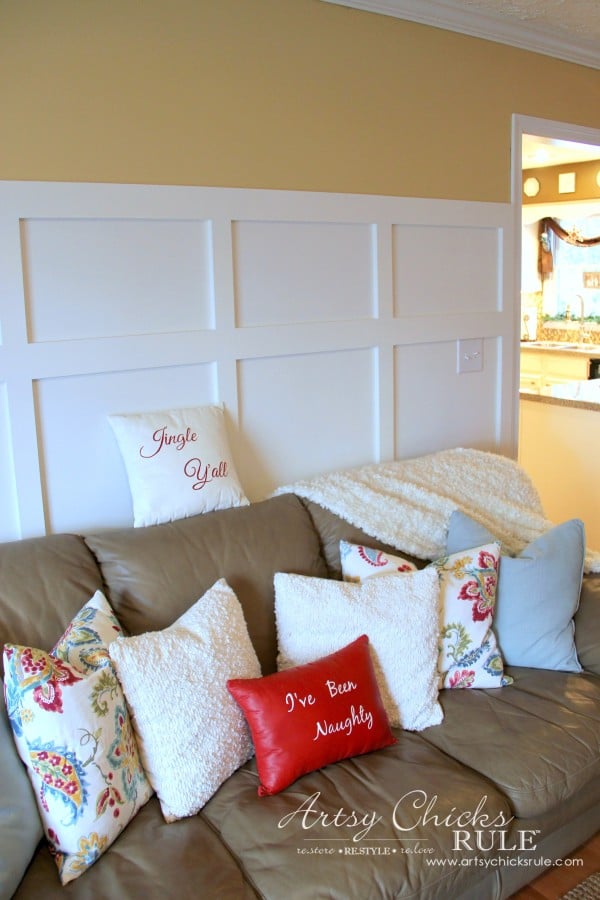
For the living/family room, I decided I wanted a double box look ….and no ledge.
I wanted it to have more of a clean look.
We also realized that we didn’t need that smooth hard board. So this go around we just added the wood boards and saved money!
If your walls have a lot of texture I would still recommend using the hardboard, however, for a smooth, seamless look.
MATERIALS LIST
1 x 4 x (10 or 12) and 1 x 3 x (10 or 12) (we used pre-primed board from Home Depot)
So, the first tip for this faux board and batten I will give you is this…
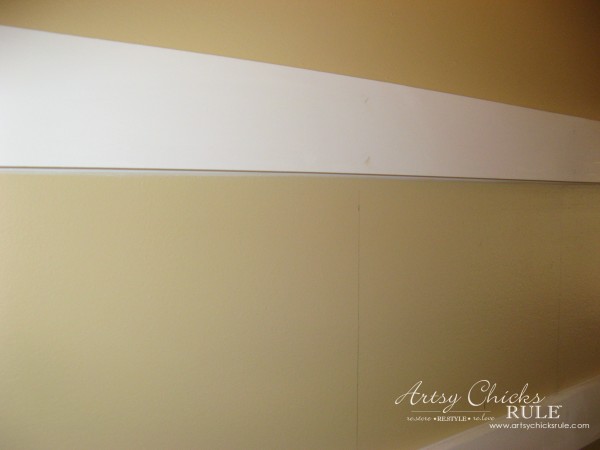
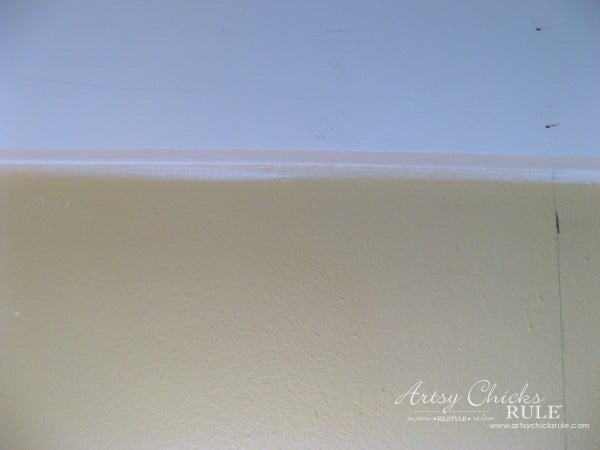
Paint your walls ….FIRST.
I was in a hurry to get this job going and didn’t. It would have made my job so much easier if I had. Ugh!
So take it from me, paint first. You will be happy you did!
Since we decided to remove the baseboard, we got that part out of the way first.
For the wood, we used:
Vertical: 1 X 3 Horizontal: 1 X 4 Base: 1 X 6
Here are a few notes from my husband:
Concerning the wood used, buying longer lengths is a better value as long as the lengths work out to your advantage. This of course depends on the dimensions of your room. Always overestimate what you need. 10% – 20% is usually safe and in most cases you can return what you haven’t used. We used pre-primed boards to reduce the time involved with painting and finishing.
It’s best to draw your plan out on paper to visualize the look as well as pre-determine your lengths and then buy accordingly.
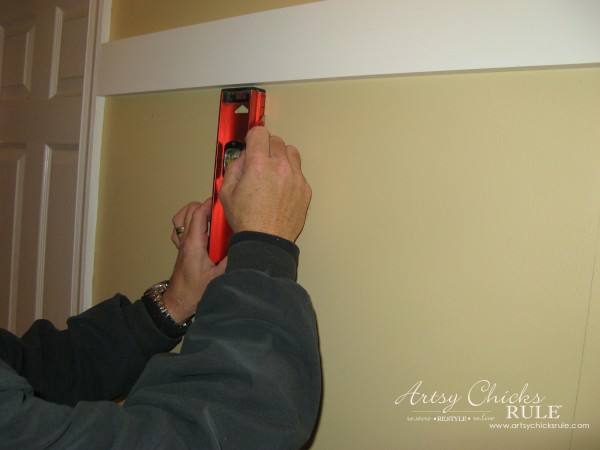
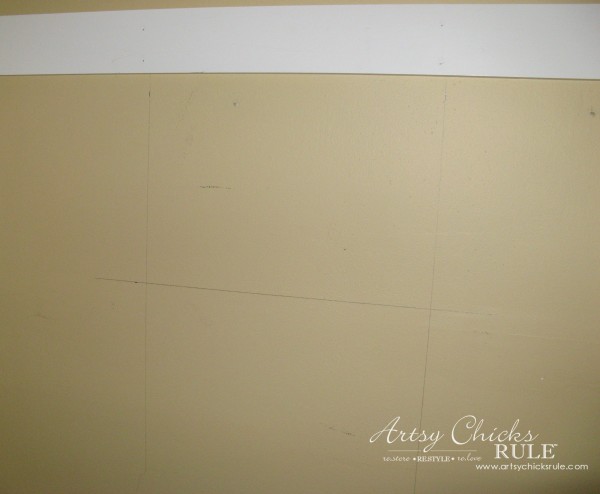
Mark out your plan on your walls, measuring top down all the way around the room. Double-check your measurements and confirm that every mark will be level throughout the room. If you have a laser sight level, even better.
Carpenter’s Rule: Measure twice and cut once.
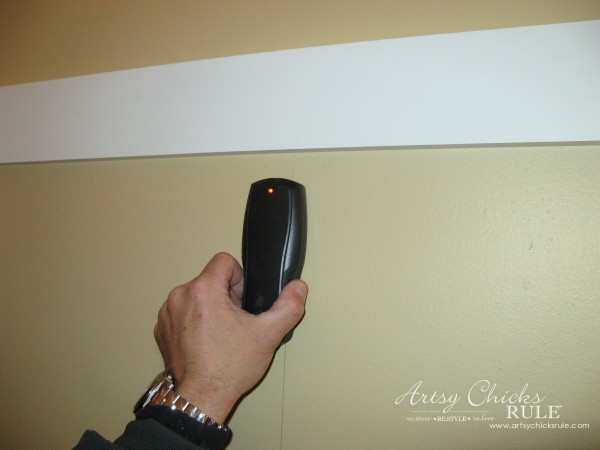
Additionally, while laying out the room, it’s best to mark on the walls where your studs are located. (using the Stud Finder I linked above) Also, be mindful of where all your light switches and electrical wall plates land within your design. It’s a far cleaner look to your finished project if you don’t have to cut out for light switches and wall plates.
Installation:
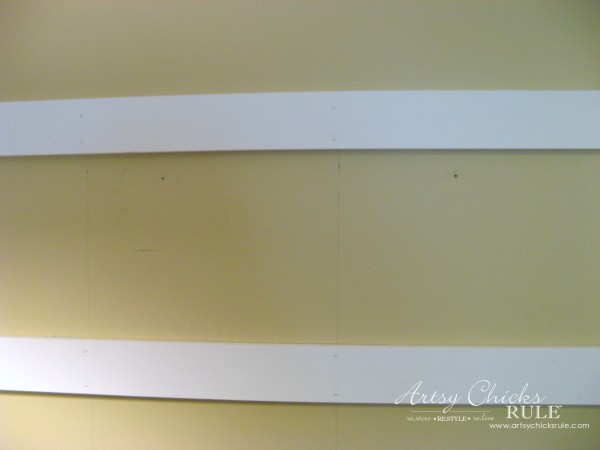
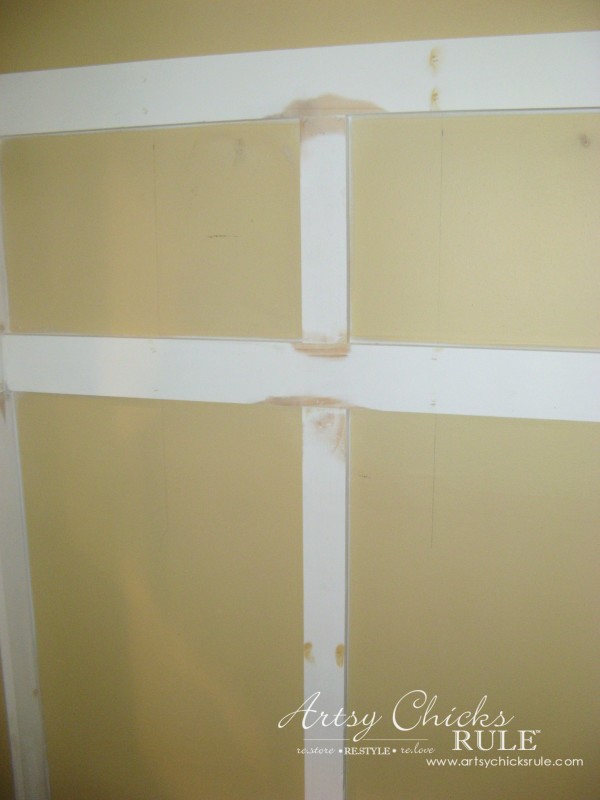
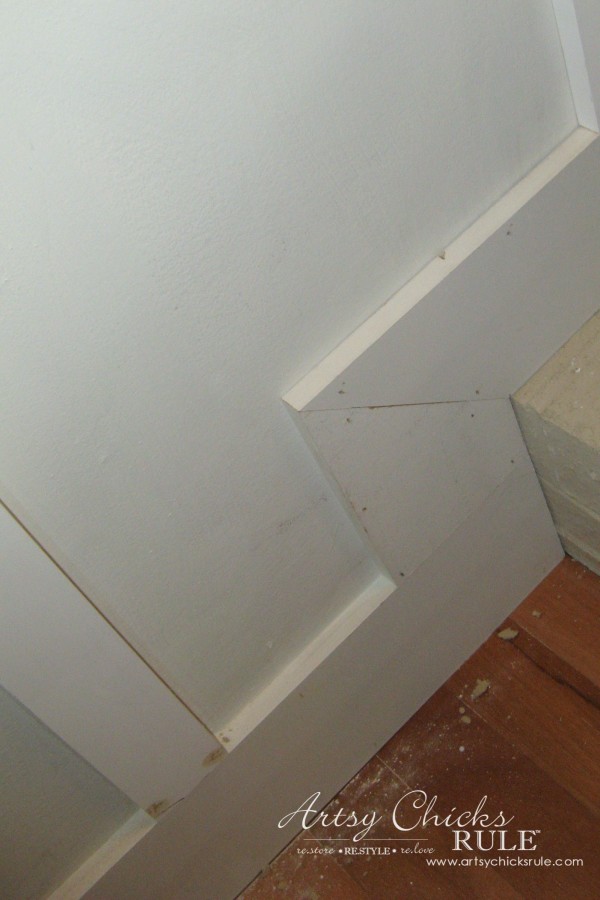
Cut and install the top boards and baseboards first. Nail these boards into the studs that you previously marked along the walls, confirming that the boards are level as you move around the room. I used a pneumatic nail gun to keep these boards level and in place. I then came back and finish nailed them for a permanent application. You can also apply ‘liquid nail’ glue, to the backs of these boards for additional strength down the road. Once complete, move to the vertical boards, cutting to length piece by piece to ensure a tight fit. Check that these boards are plumb before nailing them to the wall.
Plumb: Plumb is defined as true to a vertical plane.
Level: Level is defined as true to a horizontal plane.
……………………………………………………………
Find studs…
The top horizontal piece goes first, then the base.
Make and mark measurements…
Measurements made, nails in studs to begin.
The second horizontal piece is applied next.
All horizontal pieces are attached to the wall at this point.
Next will be the vertical pieces.
Our walls are not perfectly straight. I don’t think anyone’s are but ours were a bit more of a problem since they weren’t originally meant as “finish” walls. You can see our living room with the paneling and how we prepared the walls in this post here –> Family Room Makeover …it’s a doozy, I’ve said that a million times at this point but I have no better word to describe it! )
I used spackle and putty to fill holes, etc. I then used my electric sander to smooth all seams very well.
See why painting first would have been easier…and smarter? So much easier to paint one big, smooth space.
Instead, I had to paint inside each square with a brush and roller, etc.
I caulked each and every seam. That was a job! But absolutely necessary.
I love a seamless look, don’t you?!
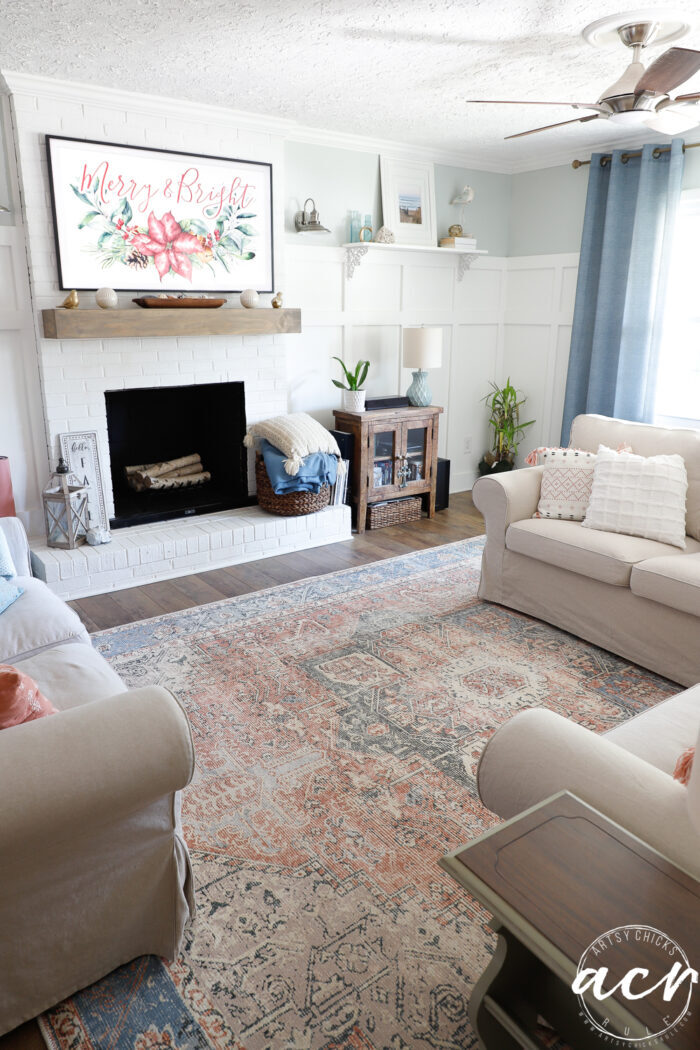
This is how we finished around the fireplace.
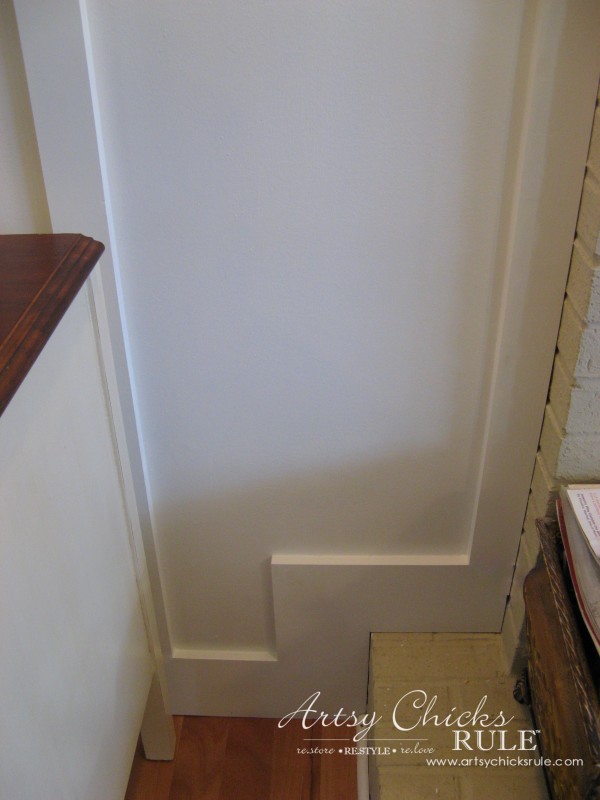
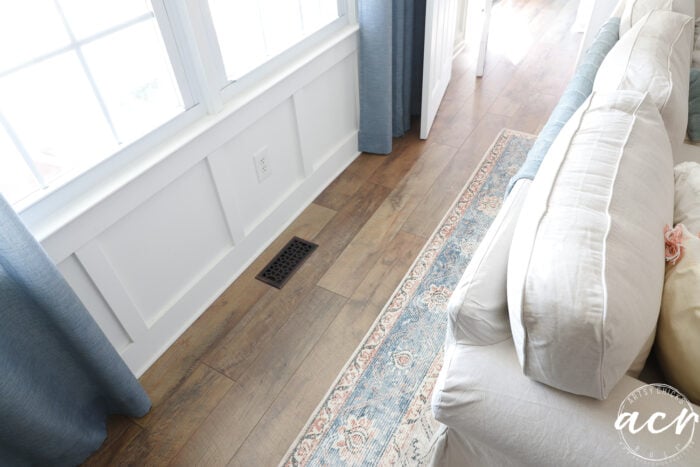
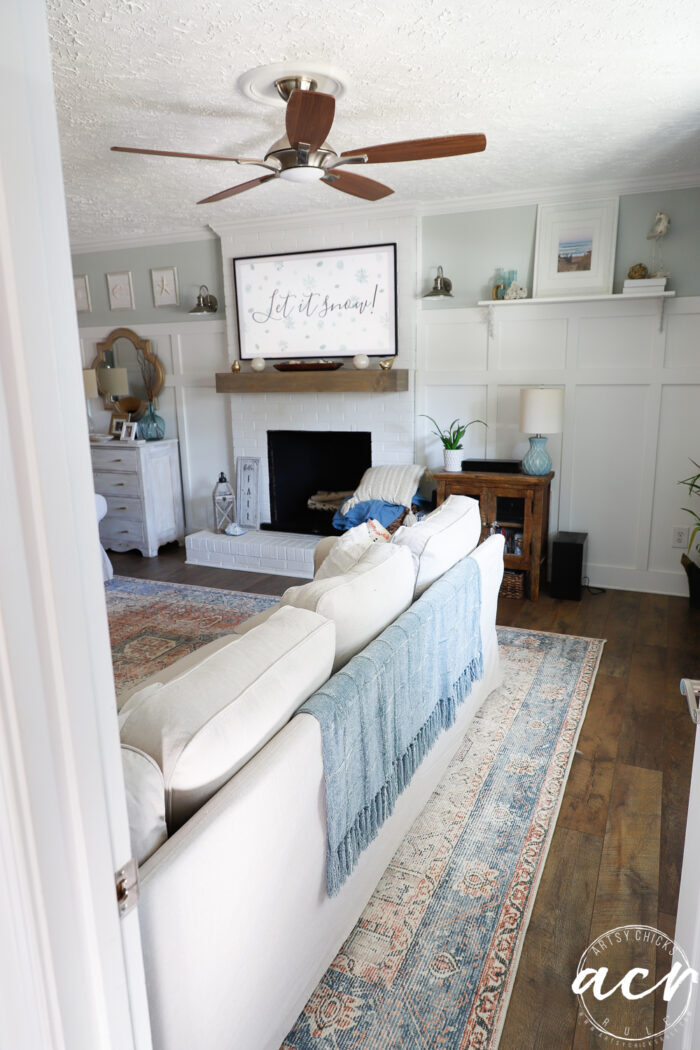
And how it looks completely done…
DIY Board and Batten…done!
And a few updated photos all these years later.
I didn’t want a ledge on this board and batten, like in the kitchen, but we did add this little shelf later.
You can read about that here… “Family Room Updates“.
PIN it to save it!
And remember, the best tip of the day…paint the wall first! ;)
Oh and measure…and then measure again.
I hope this helps you with your project if you decide to board and batten your walls too!
Nancy you have no idea how timely this post is! This weekend on our To Do List is adding a board and batten feature in our dining room. Just as I was reading your post Mr. Frugalista came home from work and he and I read your post together. Your husband’s tutorial came in very handy because we weren’t sure exactly what size lumber to buy. Thanks to you guys I feel totally confident starting this project!
Oh how neat Marie!! :) I can’t wait to see yours!! You will love it! It’s amazing how much it really changes a room.
Hope you have a great weekend!!!
xo
Nancy
Yes, you did and thank you again!! :) And nope, it was like that when we moved in! The study (aka formal living room) has a pretty swirled ceiling! I love that one. I will hopefully be sharing that room soon. We’ve been building (oh..for over a year now ;) ) a built in bookcase/cabinet on the far back wall. But we are seeing the light at the end of the DIY tunnel finally! ;)
Have a great weekend Chris!!
xo
Nancy
It’s absolutely perfect. I love that look and would love my little sis to do that in her lake house.
We did the picture frame woodwork moulding in my transitional home – but boy do I love that B and B look. Great tutorial and I pinned it. Thanks, Nancy. Well done, missy. : – )
Want to be inspired, learn new skills, discover all the tricks to furniture makeovers, creating new out of the old and more? You'll also receive my FREE ebook "Creating Fabulous Finishes" PLUS access to my private Printables Resource Library, too!
Sign up to get the Weekly Newsletter! Our emails include an unsubscribe link and you may opt-out at any time. Your information will *never* be shared or sold to a 3rd party.


")
")
")

I have always loved this look. You and the hubs did a great job!
Thank you Sheila! :) It really brightened up our room even more!
Nancy
Nancy you have no idea how timely this post is! This weekend on our To Do List is adding a board and batten feature in our dining room. Just as I was reading your post Mr. Frugalista came home from work and he and I read your post together. Your husband’s tutorial came in very handy because we weren’t sure exactly what size lumber to buy. Thanks to you guys I feel totally confident starting this project!
Oh how neat Marie!! :) I can’t wait to see yours!! You will love it! It’s amazing how much it really changes a room.
Hope you have a great weekend!!!
xo
Nancy
i already told you how much i love this room, for the first time my eyes went to the ceiling wow did you do that too love it xx
Yes, you did and thank you again!! :) And nope, it was like that when we moved in! The study (aka formal living room) has a pretty swirled ceiling! I love that one. I will hopefully be sharing that room soon. We’ve been building (oh..for over a year now ;) ) a built in bookcase/cabinet on the far back wall. But we are seeing the light at the end of the DIY tunnel finally! ;)
Have a great weekend Chris!!
xo
Nancy
So bright and fresh! I really wish it was easy to do this in my home. Having knock-down textured walls – not so much. :(
I love how you have transformed and brightened up your living room. It is night and day in the before and after pictures. :)
Hi Julie!!
Thanks so much! :)
Nancy
I love this look and it WILL happen somewhere in my house…I just haven’t figured out where yet. :P
-andi
Yay! We love it! It’s amazing to us how different it made this room look. And I am sure you will find the perfect spot for it! :)
xo
Nancy
It’s absolutely perfect. I love that look and would love my little sis to do that in her lake house.
We did the picture frame woodwork moulding in my transitional home – but boy do I love that B and B look. Great tutorial and I pinned it. Thanks, Nancy. Well done, missy. : – )
Thanks so much, Michele! This would look so good in a lake house, yes! :) xoxo