How to Create a DIY Galvanized Finish (the easy way!!)
Hey Friends!
I hope you are having a wonderful week so far. :)
Time is a flying by, I tell ya! I’m SO excited to be changing the clocks in the next 2 weeks.
I just LOVE long, warm, sunny days. Ahhh, can’t get here soon enough for me.
BUT I can totally live with the weather we’ve been having, 60’s, 70’s and I even saw 80 on the forecast!
Crazy! But not complaining. ;)
Today I’m sharing this tiny little ole tutorial with y’all…. >>> “DIY Galvanized Finish“.
I say “tiny” because it really couldn’t get any easier.
Do you love the farmhouse style? Or maybe a relaxed, country or even coastal look?
Well, you might know that galvanized metals are pretty popular right now.
Some of it can be pricey, it just depends on what you are after.
But pricey or not, you may just have something in your stash/decor already that you wish had a galvanized look.
Well, I’m here to help you with that today!
(I’ll include affiliate links to the products I used below. You can see my disclosure here)
Did I mention how EASY it was? It IS!
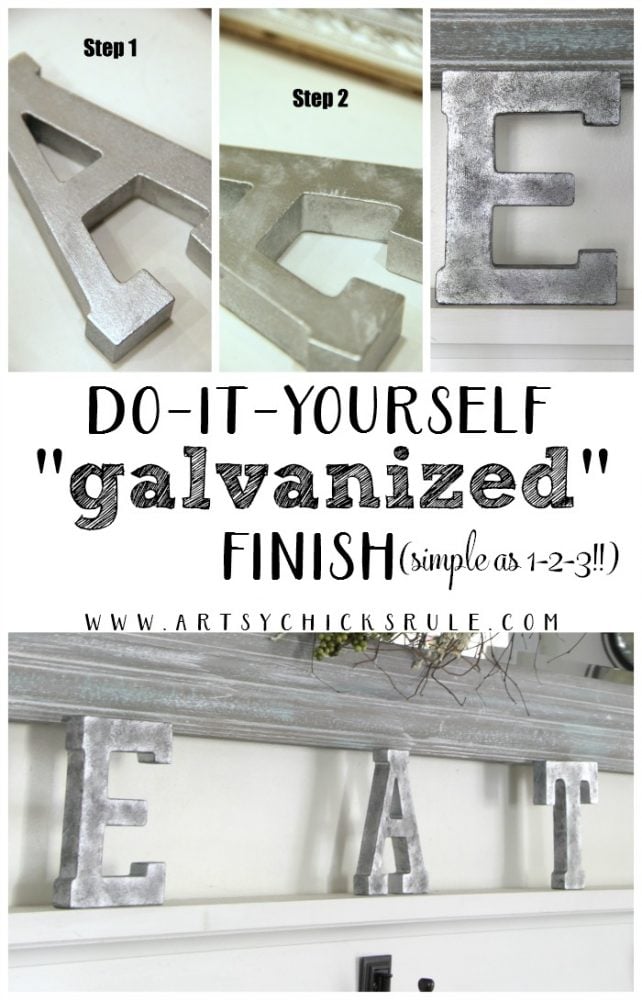
Just follow along for a tiny little tutorial on How to Create a DIY Galvanized Finish in 3 steps below…
Step 1

Spray the item with any kind of shiny, silver metal spray.
This is the kind I used >>> Metallic Silver.
You could probably used the “hammered” type too just make sure it has some “shine” to it.
Step 2
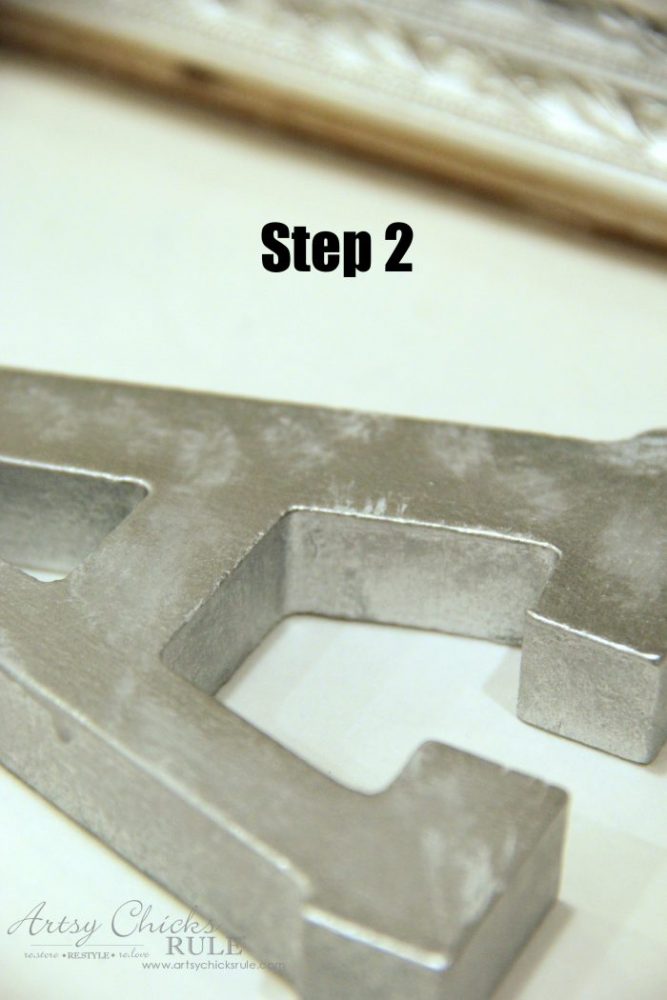
Once they are dry, get a small paint brush, like the medium sized one here >>> Paint Brushes.
Dip the ends of the bristles in some white paint and wipe away most of the paint on a paper plate.
Then just dab, dab, dab, squishing the bristles down onto the letters.
Do that randomly all over, on the sides, etc. You can’t really mess this part up….unless you use too much paint. ;)
If you do, just wipe it away and start again!
I used white Chalk Paint because it really looks best if the this paint has a “flat” finish.
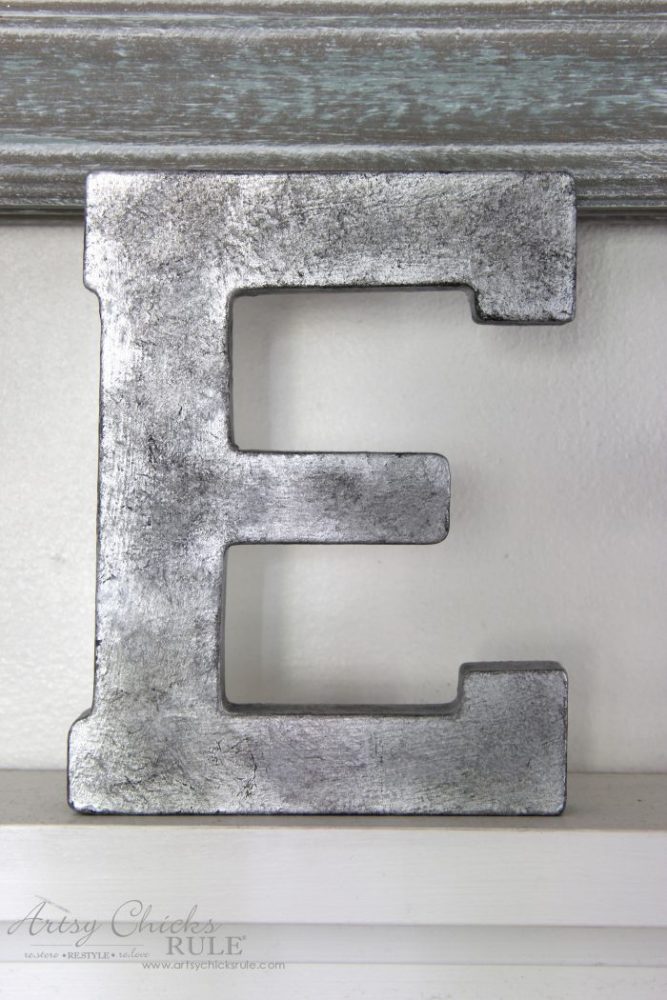
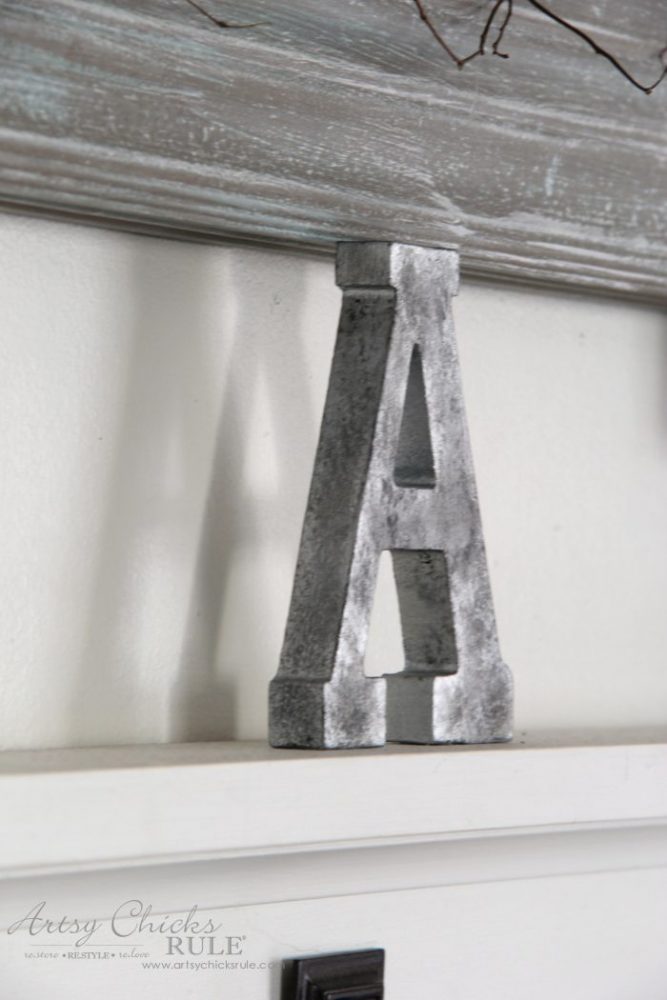
Step 3
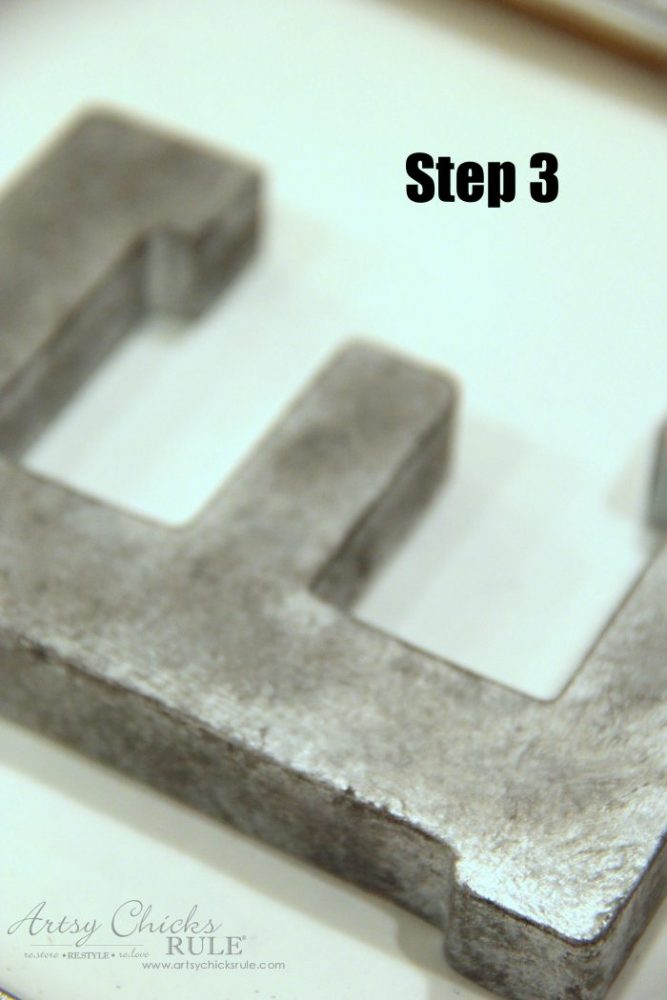
Once the white paint is dry, now it’s time for black or gray paint.
I again used Chalk Paint in the color Graphite. (which is the perfect shade for this…sort of a very dark gray but not as harsh as straight black)
With the same technique, I dabbed over the letters randomly.
Then to finish off the look, I took what was left on the brush and wiped at the edges to leave that dark edge look you see above.
The edges would be one of the places that would naturally be worn/aged so it makes it look even more realistic.
So, as you maybe can tell already, using a shiny paint underneath and then adding paints over top that are matte/flat, really give it a true galvanized look.
I didn’t seal it because I wasn’t too worried about them getting messed up.
You could, however, seal them with something like this >>> Poly Sealer OR this Matte Spray.
Keep in mind, if you do seal it, you will lose a bit of the effect. BUT, the silver will still look “shinier” than the rest no matter which way you go.
And, if you are “galvanizing” something that will be handled and/or used, you will want to seal it.
Did I mention this was actually a project I had planned for this post >>> Old Prints Repurposed
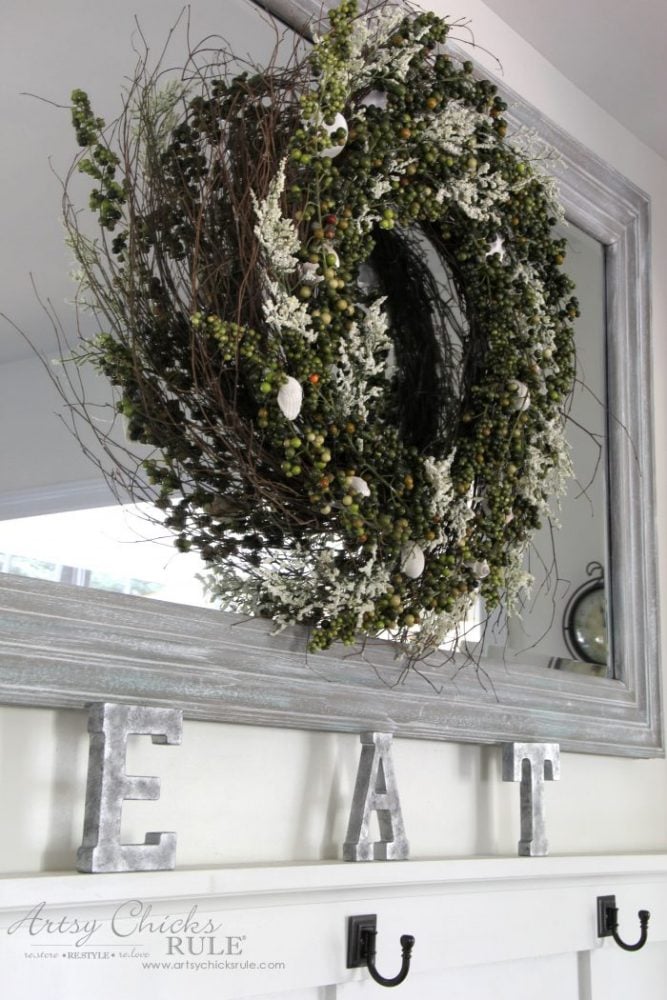
Yep, I was originally going to create framed letters that read “E A T” for my kitchen.
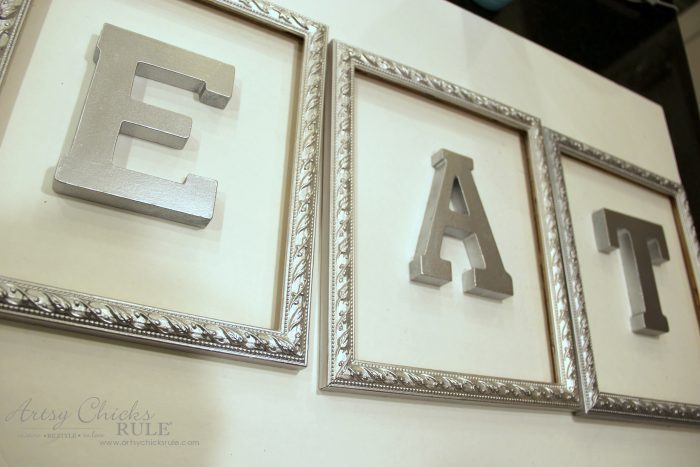
But then decided to create the coastal wall art instead.
And that’s when I decided to make these “galvanized”. :)
Isn’t this the coolest?
So neat.
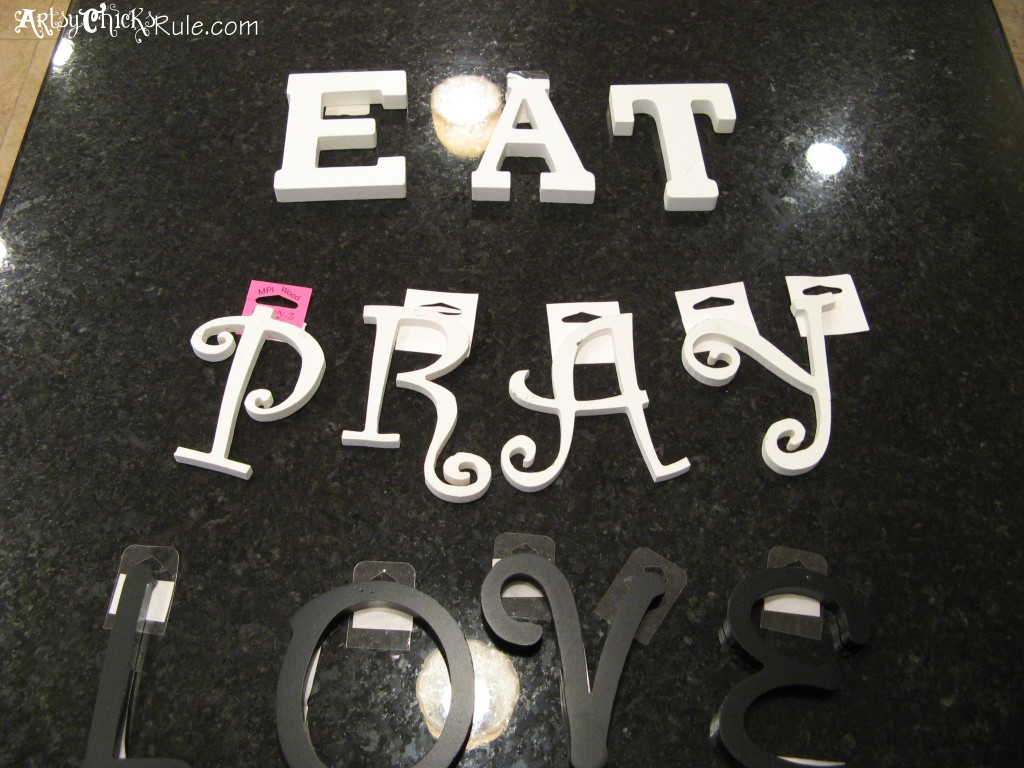
By the way, the letters were something I already had. I save everything, remember?? ;)
Here’s were they used to be…..
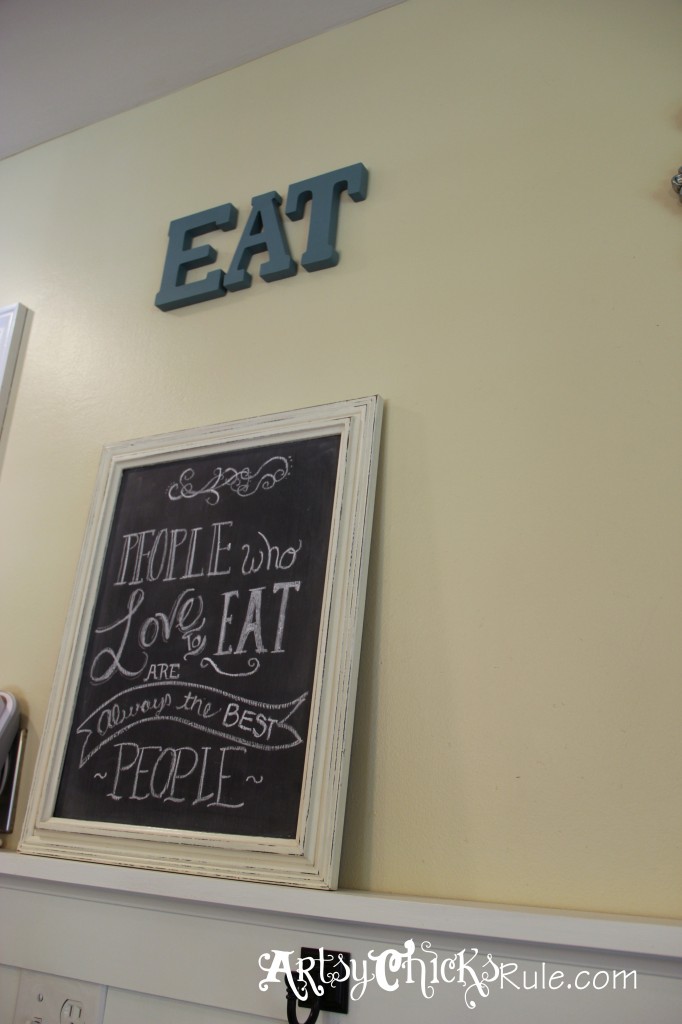
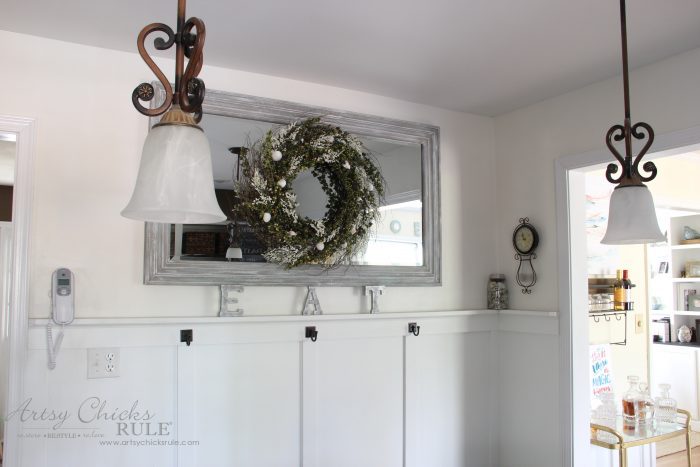
If you are new around here, this is the same wall they are on now, only I had different paint color and decor.
You can see the rest of this wall here >>> “Kitchen Gallery Wall”
I’ve changed things quite a bit around here. ;)
Here’s how they started….
And now they look like this…recycled again….
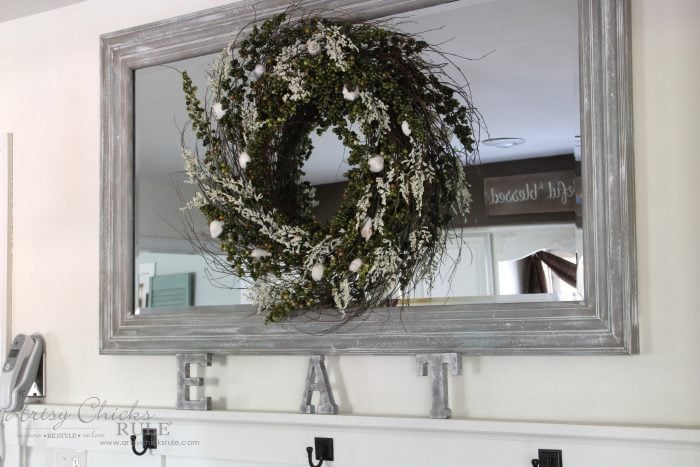
And there’s a little peek at where my “Grateful, Thankful, Blessed” sign is living. (reflection in the mirror)
Up on the wall space above the sink/window.
I don’t love the wood with the brown paint….but the brown paint is going away soon! :)
I’ll be painting that Sea Salt just like in this room >>> Family Room
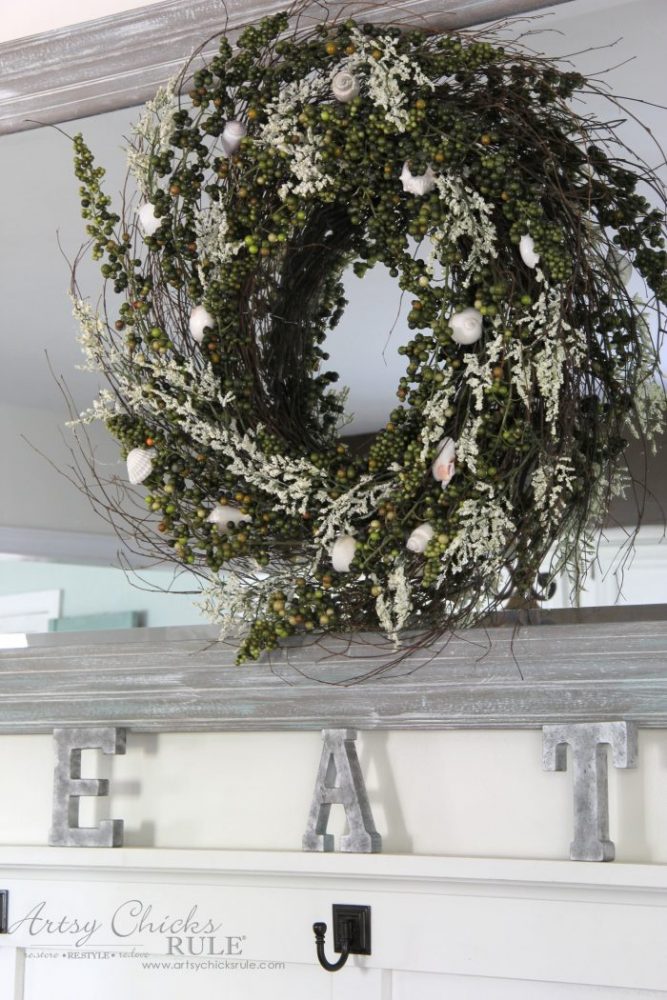
You can find the simple tutorial on the wreath here >>> “Green Berry Wreath”
And you can see how I faux “weathered” this mirror from (it used to be gold-ish) here >>> “Weathered Wood Look With Paint”
I hadn’t planned for them to stay here. I thought I may put them on the wall space above the kitchen opening.
But I sat them up here, without anything holding them there in place….and there they remain! :)
Oh! And remember when I said I changed the globes on my dining light? I mentioned it and showed you in this post here >>> “Gather Sign”
Well, I also changed the ones in here.
They match SO much better!
So happy to not have to change out the entire light fixtures …on any of them.
Much cheaper to just replace the globes.
Here’s what was up there in case you don’t remember…..

And so, now you can go and create your very own DIY Galvanized Finish on just about anything!
I have been searching my stash to see if there was something else I could give the fun galvanized finish to. ;)
I’m sure you’ll see more of it around here soon! Maybe something larger next time.
PIN this for later so you can create a DIY Galvanized Finish too :)
See you next week with more fun makeovers and tutorials. :)
Happy creating and happy weekend to you!
xoxo


")

")
")


Thanks for the tutorial. Love it!
Thanks Randi! :) xo
They have “kits” for this know…like 5$…for cement, rust, and green mold? Anyway…if you dont have YOUR paint on hand…got mine at Hobby Lobby in the craft paint section.
OH my, they do? I haven’t seen them. :) Good to know!
This really is so easy and they look totally authentic! Good thing you hung onto those letters! XOXO
Thanks and yep! I hang on to everything!Hah (too much)!:)