Eat, Drink, and BE Merry Chalk Art (and a FREE printable!)
Eat, drink, and be merry! Such is the saying during the holidays. So why not say it with this whimsical chalk art I’m sharing below.
This post was updated Dec/2020
Gosh, this month is flying by so fast.
Can you believe it’s almost the middle of the month already?
Just two weeks until Christmas. Are you done shopping yet?
I still have a bit to do but I’m almost ready.
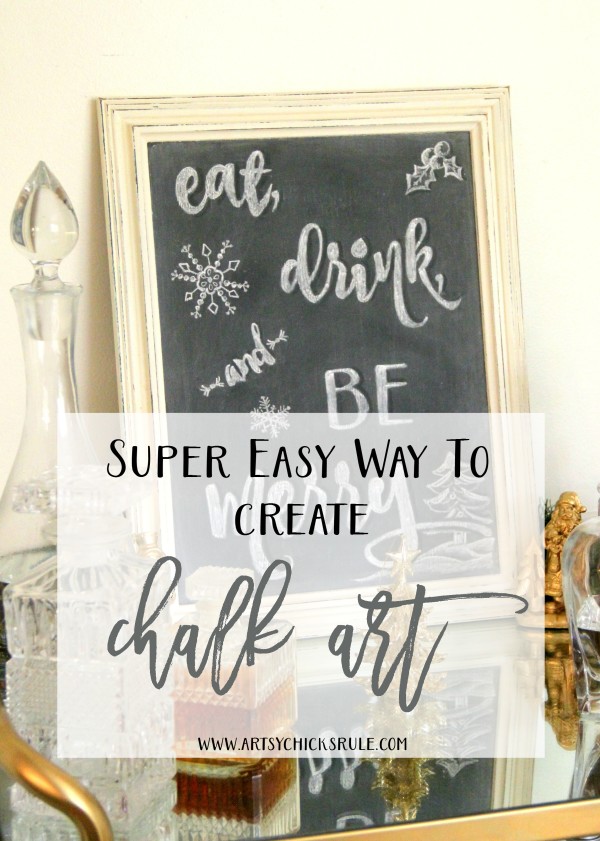
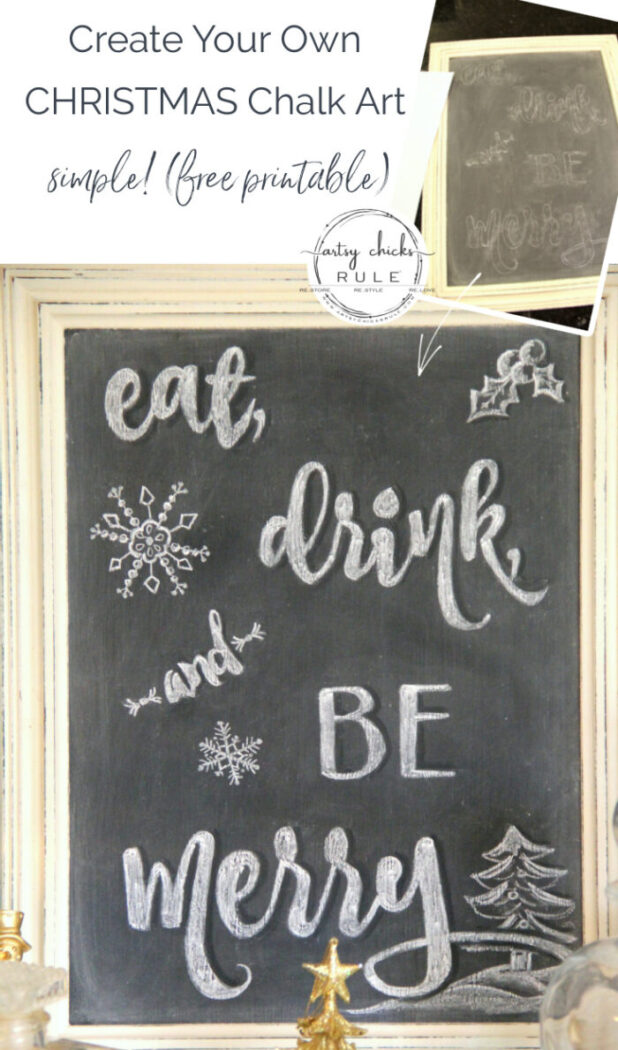
Today I’m sharing with y’all this super fun (and easy) eat, drink, and be merry chalkboard art I created.
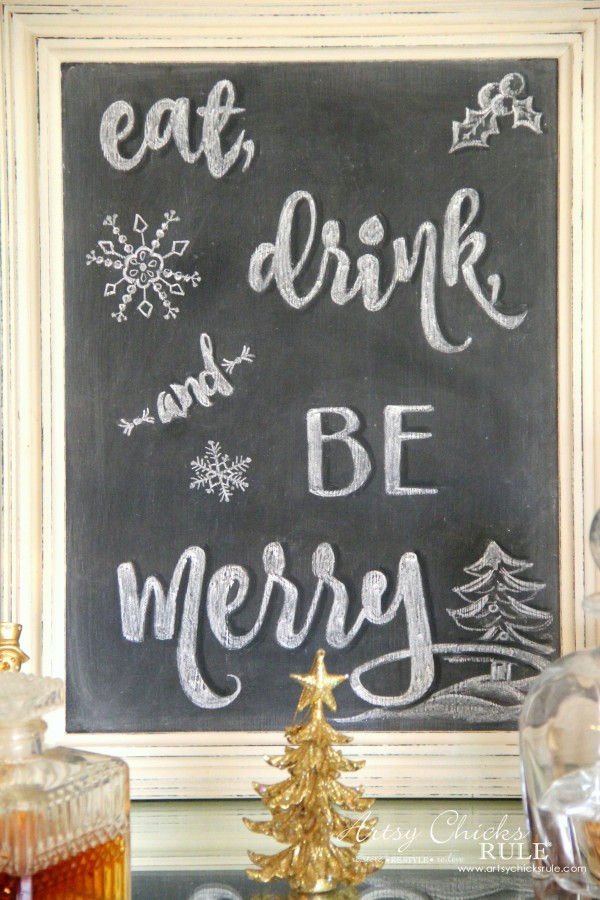
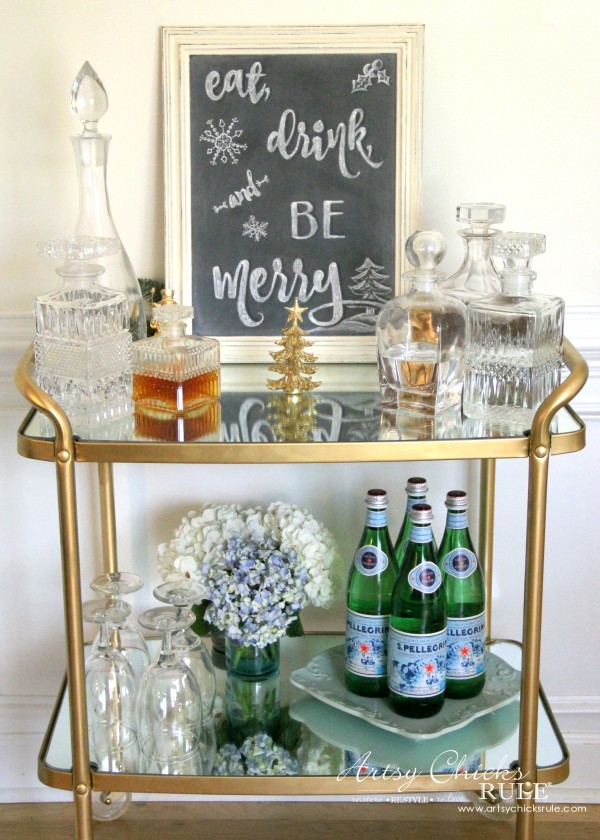
I’ve got the chalkboard up on my beverage/bar cart I gave a makeover to (estate sale find for $15).
Perfect spot for it and that cute saying.
The chalkboard was an old print from the thrift store.
I bought it (and made it into a chalkboard) about 3+ years ago now.
I used Graphite (Chalk Paint by Annie Sloan) and painted right over the glass to create the chalkboard.
That’s my favorite for chalkboards. It works surprisingly well for that. (even though, technically, it’s not a “chalkboard” paint)
Here’s where it used to be…
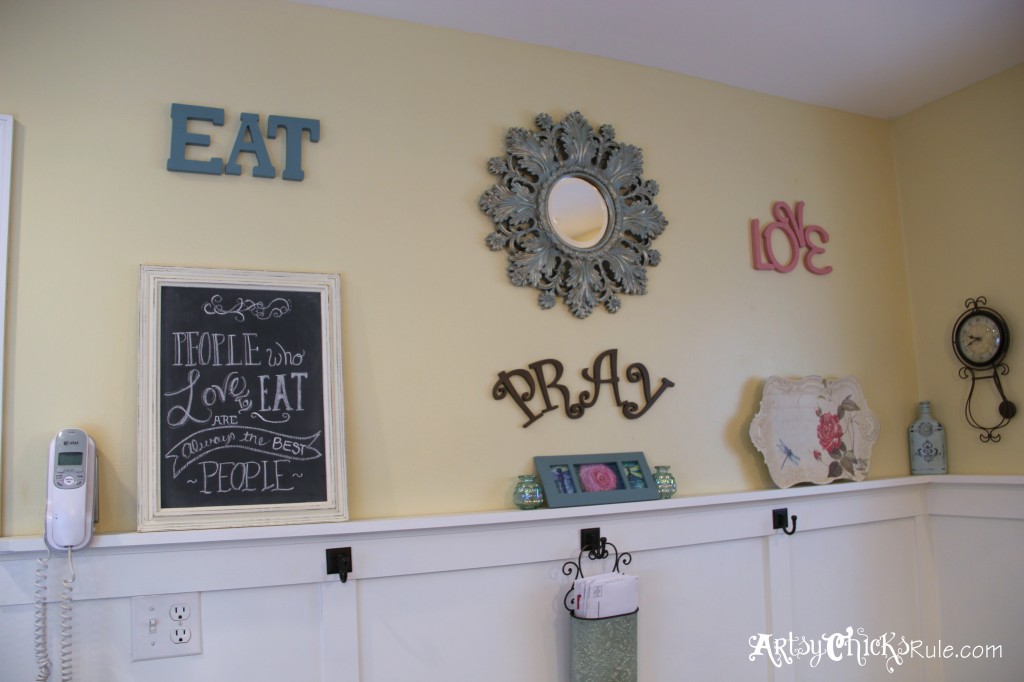
I’ve since painted this wall and have something else in here.
(this mirror I gave a brand new finish to … you can see it, here)
I thought it was time to change that chalk art. It’s been on there for a few years now!
I created this graphic (which you can also download and use)
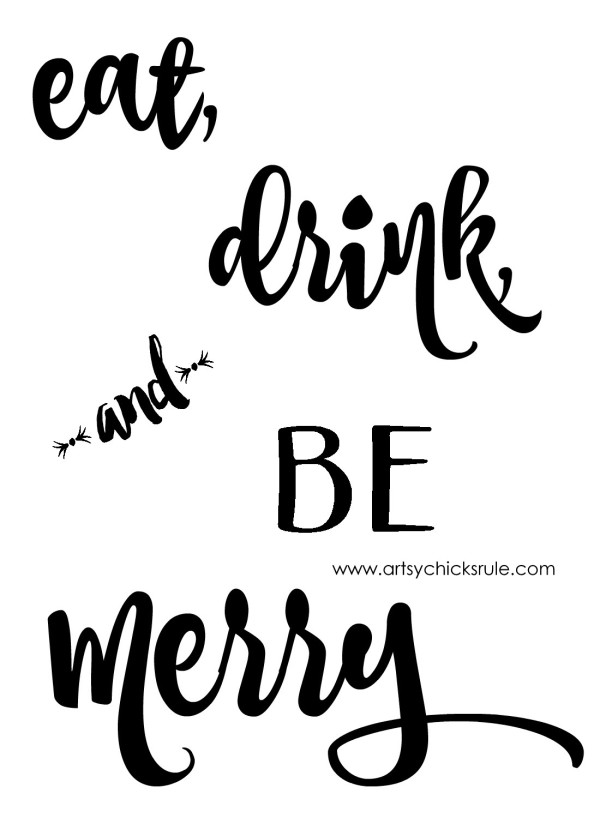
You can download the FREE printable here.
The watermark will not be on the downloadable graphic.
If you are already a subscriber, you can click here, enter your password (it can be found near the top of all my emails to you), and download this or any other graphic I’ve created over the years. (over 100!)
If you aren’t yet a subscriber, you can click here or the pink box below to become one to gain access.
I printed it out using blockposters. (com). (I use that for most larger things)
Shade the back with a piece of white chalk.
Lightly tap the paper to remove excess chalk dust then arrange it over your chalkboard.
(Want to see more transfer methods I use? Check out this post, here)
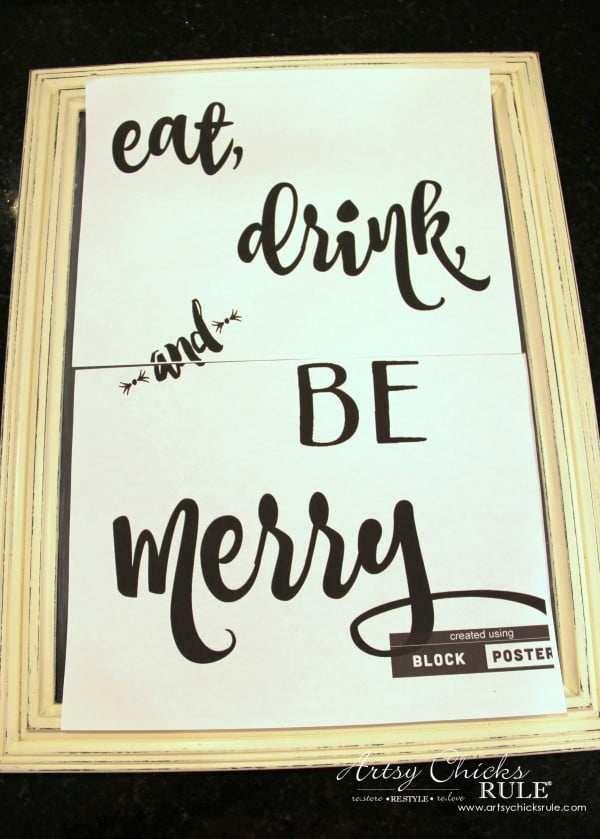
Now just take a pencil and trace the outlines of the letters.
(tape it down if you are afraid it may move)
You will have this, once done.
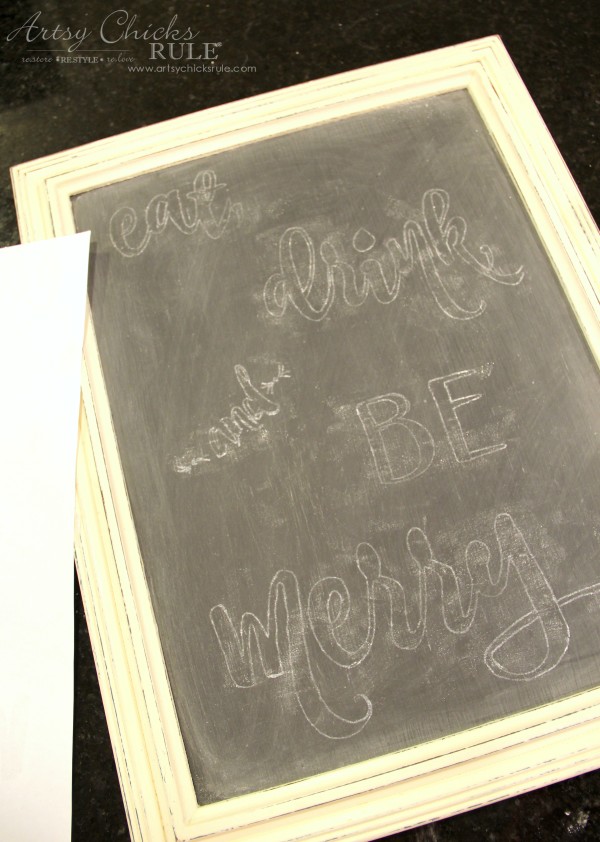
Which looks like quite a mess with all the chalk dust from transferring.
But a cotton swab fixes that.
Just grab a clean one and wipe carefully around all of the letters to remove the excess dust.
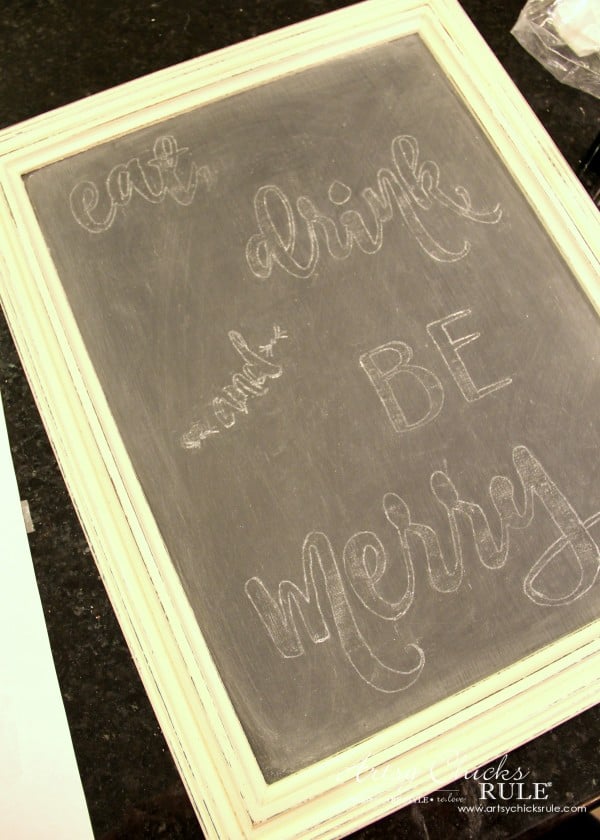
See the difference??
Then just “color in” the letters with chalk.
Be sure to keep a pencil sharpener around to sharpen the chalk.
You can also use a Chalk Ink Pen too.
I decided to add a bit of artwork to mine as you can see below…
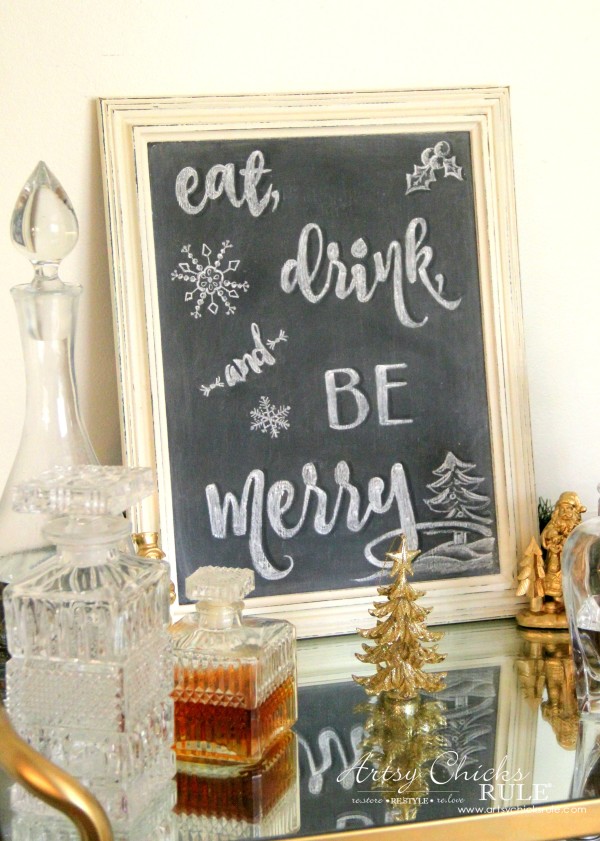
I don’t have those on the printable because I free-handed those.
I went by this book (The Complete Book of Chalk Lettering: Create and Develop Your Own Style) to create them.
I also love her tip of using a damp cotton swab to create shadows on the letters.
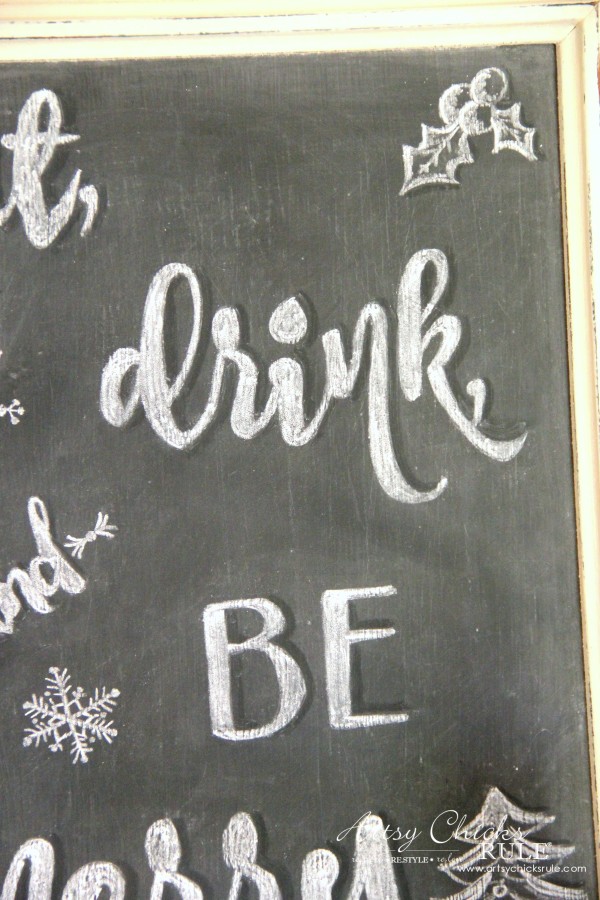
It really makes them pop!
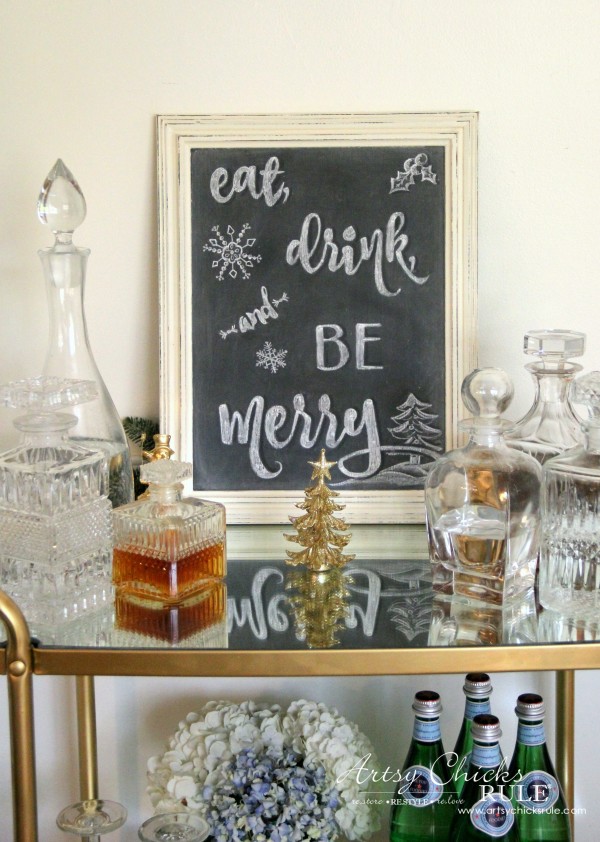
Eat, drink, and be merry! Yes!
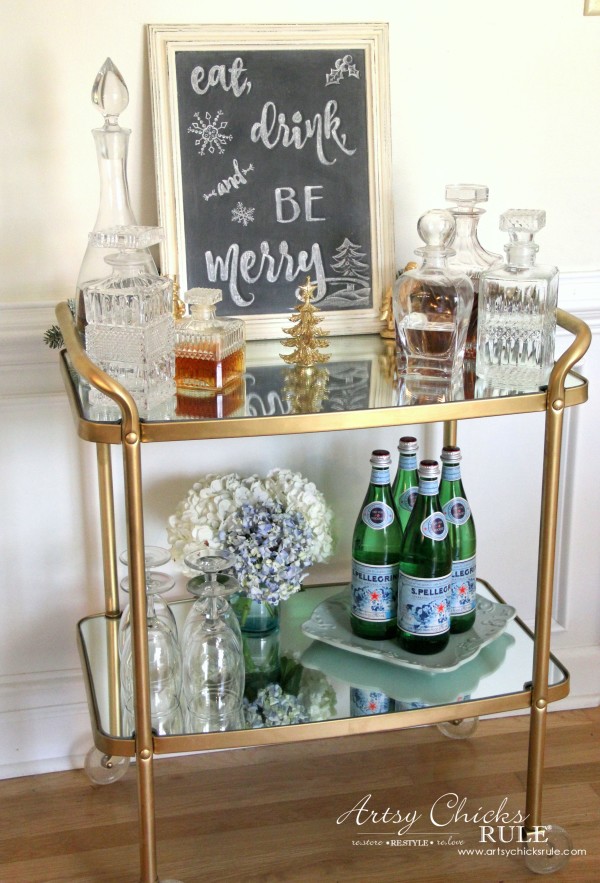
I just love how it turned out. (those hydrangeas were still going strong)
I think the added artwork (tree, holly, and snowflakes) really added a nice touch.
You can do that too. Or something completely different.
Or even just leave it with the letters.
You can also print out the graphic and use it in a frame if you like. Easy, easy.
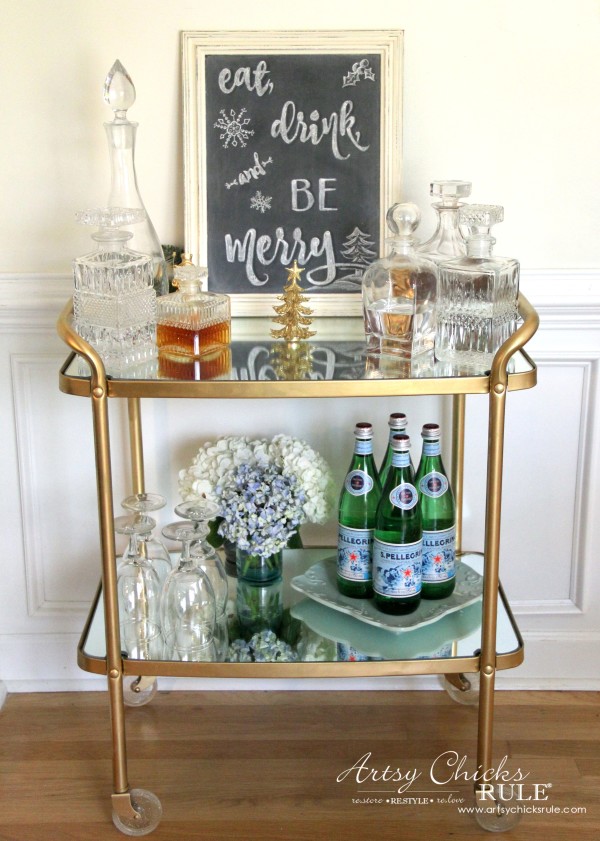
I hope you’ll enjoy it if you decide to use the printable.
Pin it to save it!
And here’s my full home tour, Christmas Home Tour-2015, if you’d like to hop over and take a look.
Hope you all have a great weekend!
See even more holiday ideas here >>> Holiday Project Gallery
xo

You may also like this project:
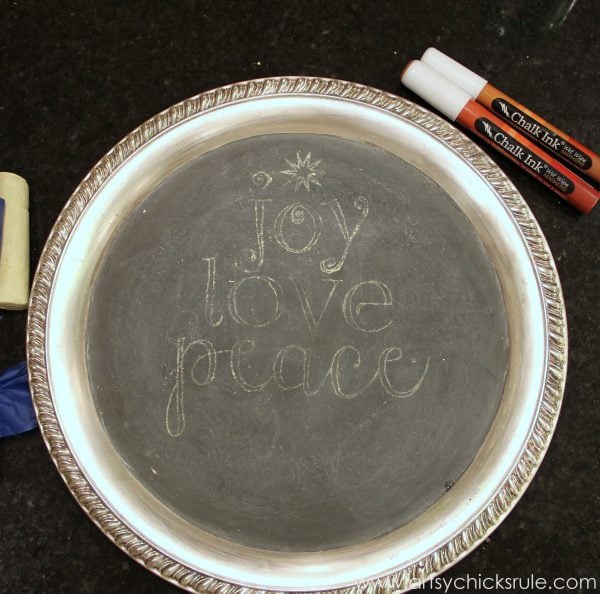
See both “Chalk Art” Signs here >>> Easy Holiday Chalk Art


