Snowflake Jewels Mould Christmas Box
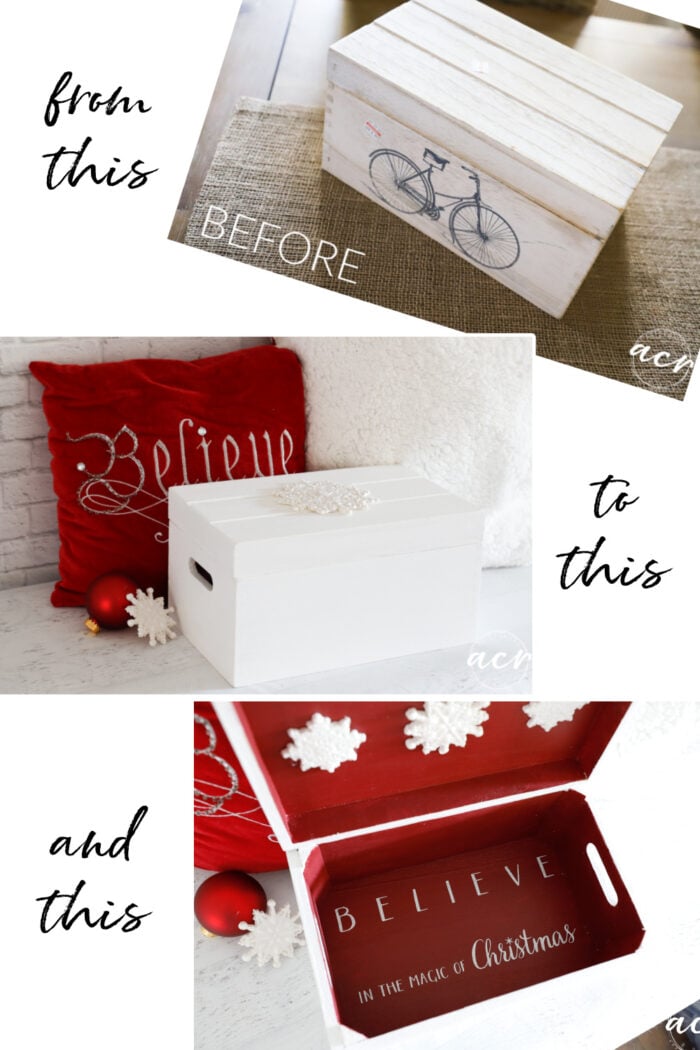
This beautiful Snowflake Jewels Mould created the sweetest Christmas box! Red and White and ready for Santa!
Hello friends!
Happy Trash to Treasure Transformation Tuesday! Say that fast 3 times…haha!
I’m so glad you are here! If you are new here, a few friends and I get together every second Tuesday of the month to share our latest “trash to treasures”. This month I’m sharing something for the holidays. Can you believe we are halfway through November already???
But before we get to that, I want to remind y’all that my 11-year blogiversary GIVEAWAY is still going on! Yippee! There’s still time to get in on it if you haven’t entered yet. I’m giving away $500 (5 lucky $100 winners!) so go enter if you haven’t. Also, you can enter every day for more chances to win!
Go here to enter the giveaway >>> $500 Blogiversary Giveaway – 11 Years!
And in other news in case you missed the giveaway post last week … I have a brand new Etsy store! I’m so excited!
You can hop over and see it right here >>> ArtsyChicksRule Shop
I still have my ACR Shop but now you can order from either place!
Snowflake Jewels Mould Christmas Box
Okay, let’s take a look at this crafty little makeover I did this month.
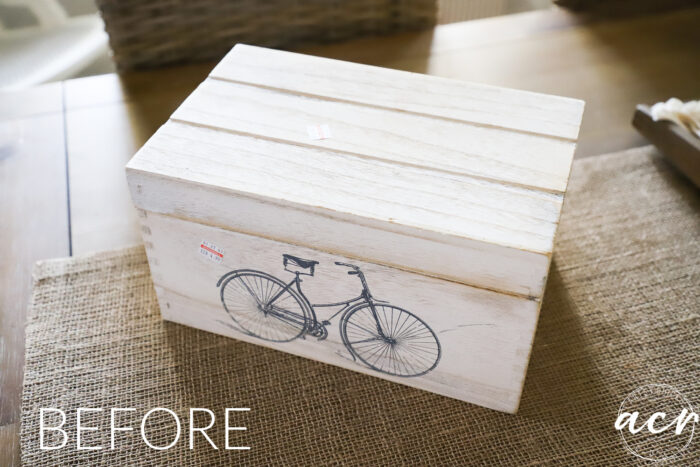
Here is what it looked like when I found it. A simple little “bike” box.
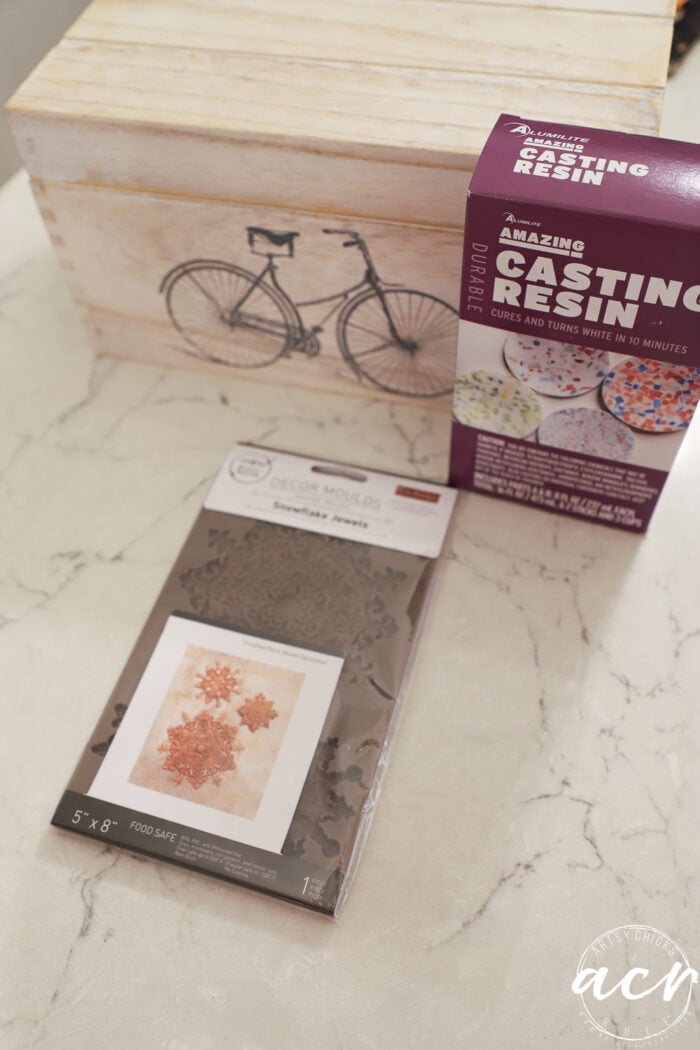
MATERIALS LIST – SNOWFLAKE JEWELS MOULD CHRISTMAS BOX
- Picket Fence Paint
- Highlands Paint
- Casting Resin
- Snowflake Jewels Mould
- Pearl Metallic Paint
- Glitter
- Glue Gun
Prefer to shop on Etsy? I have an Etsy shop also, here!
Paint The Box
Okay, and so if you haven’t guessed yet, I’m using the “Snowflake Jewels” mould for this project.
(you can find it and all the other projects I used linked in the pink box above)
Make The Snowflakes
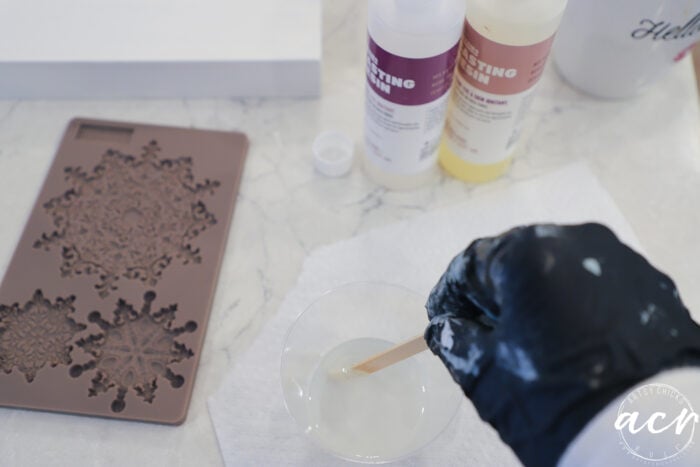
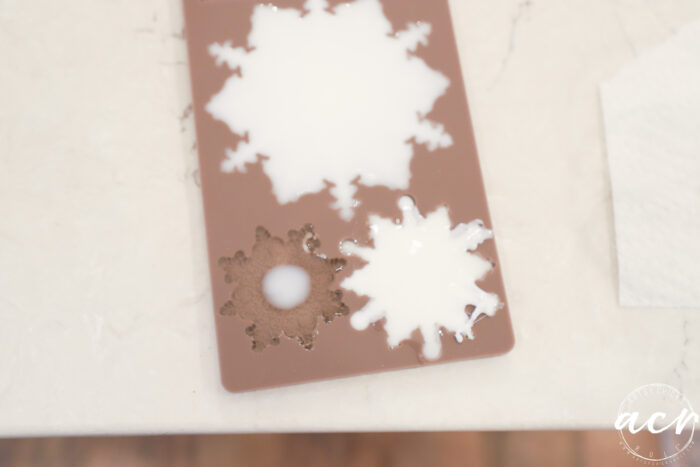
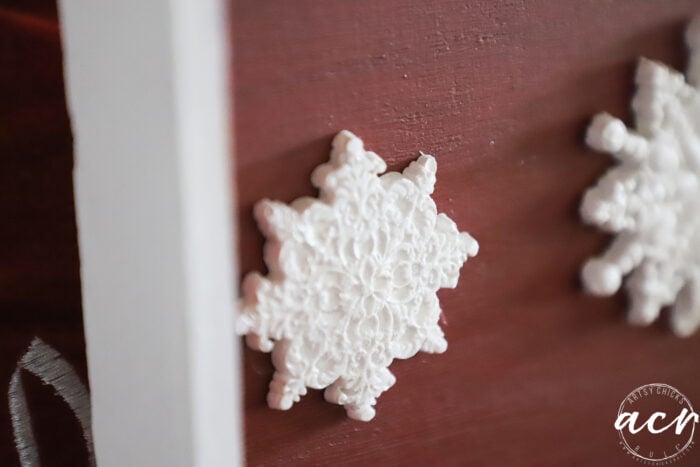
I used our Casting Resin with the mould to make the snowflakes for this project.
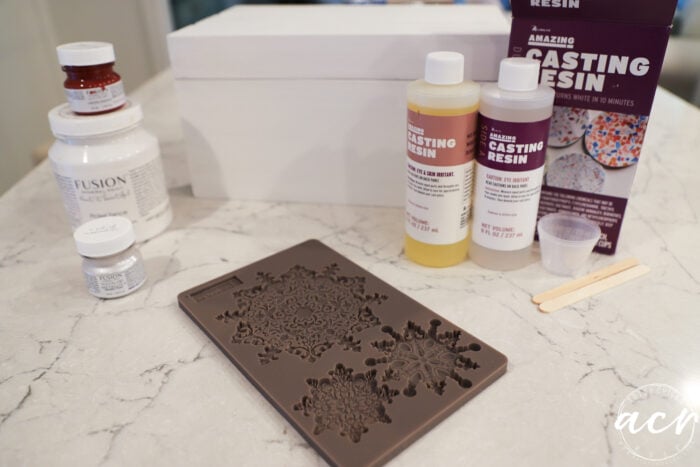
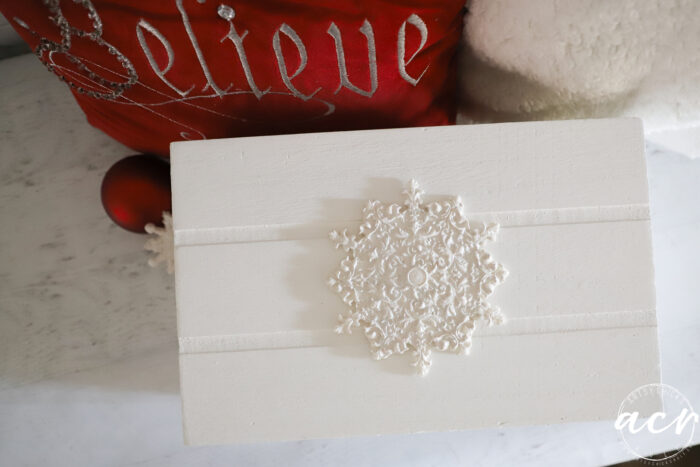
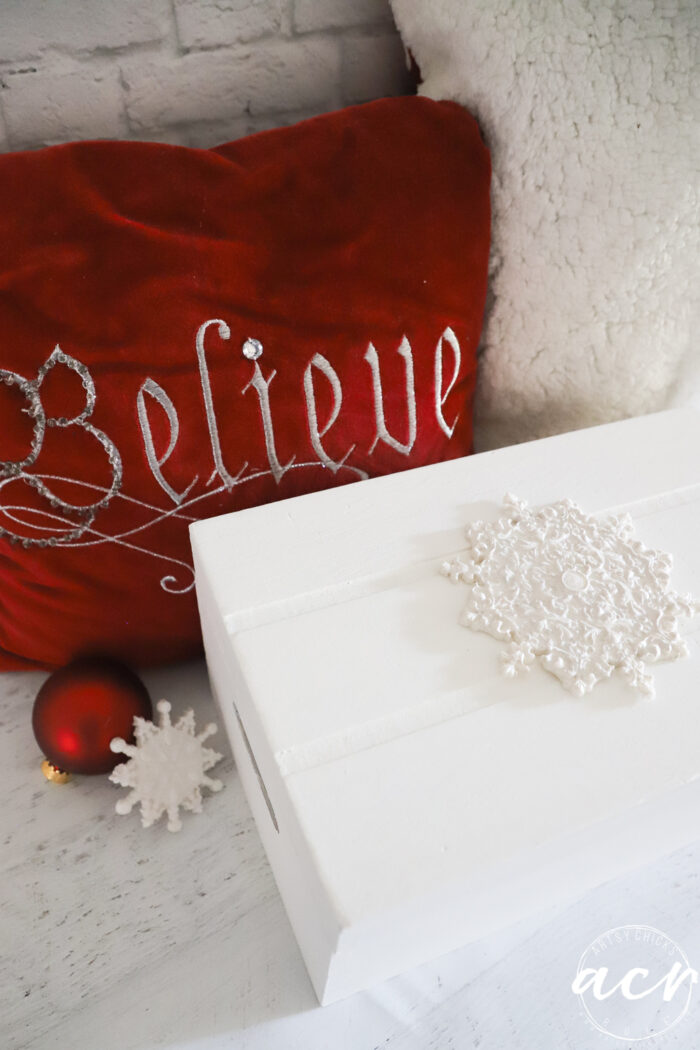
As you can see below, I’ve already painted the box white on the outside and red on the inside.
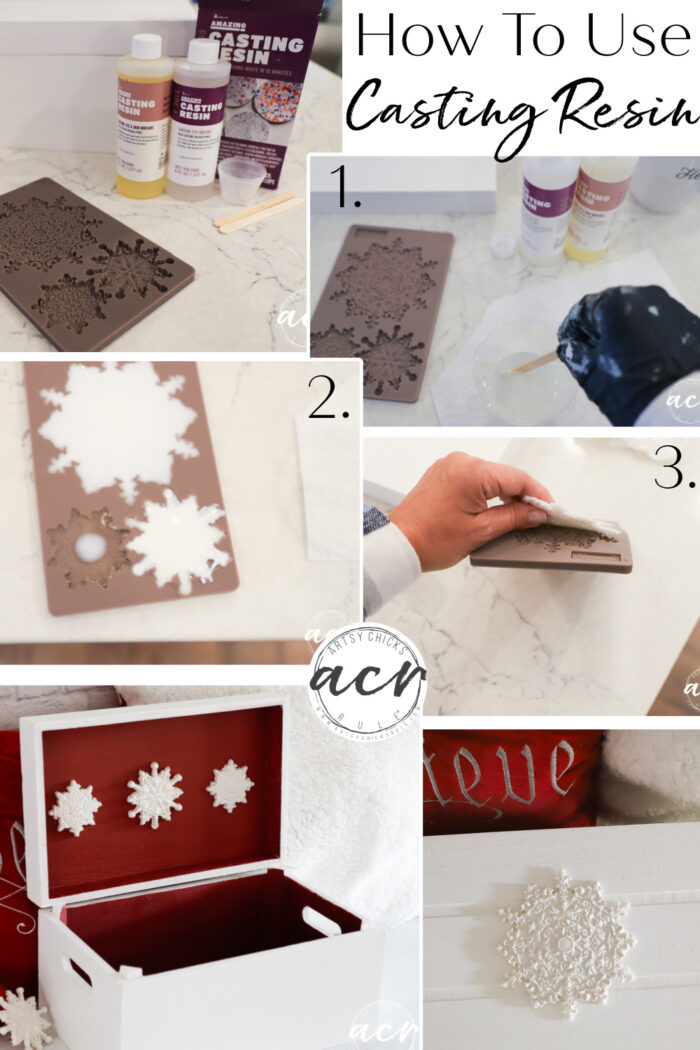
Simply measure out the two parts and mix them together. (make sure you have exactly equal parts)
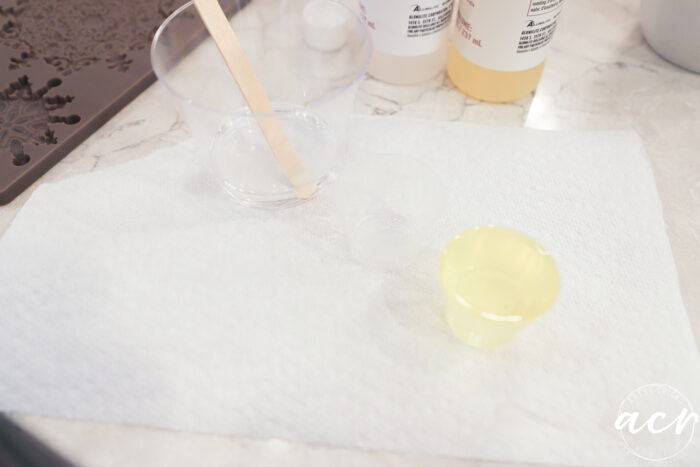
Then stir for 30 seconds.
Pour into the molds and wait 5-10 minutes.
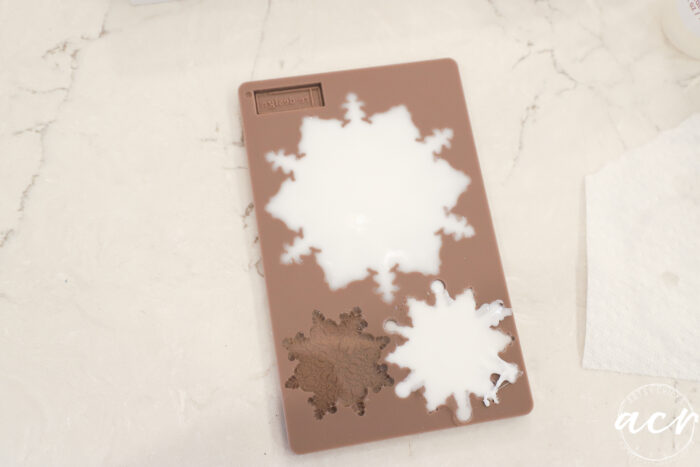
You can see the bottom left I just poured in. (and the bottom right where it was setting up as I was pouring it…oops!)
Kind of fun to watch it change.
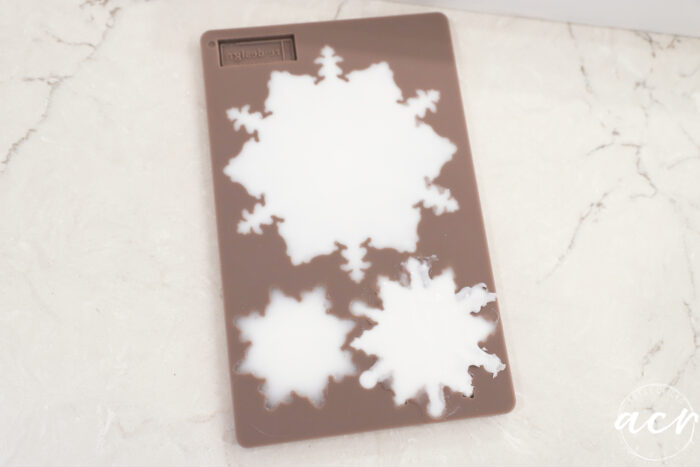
Isn’t that neat??
Peel it right on out of the mold and done!
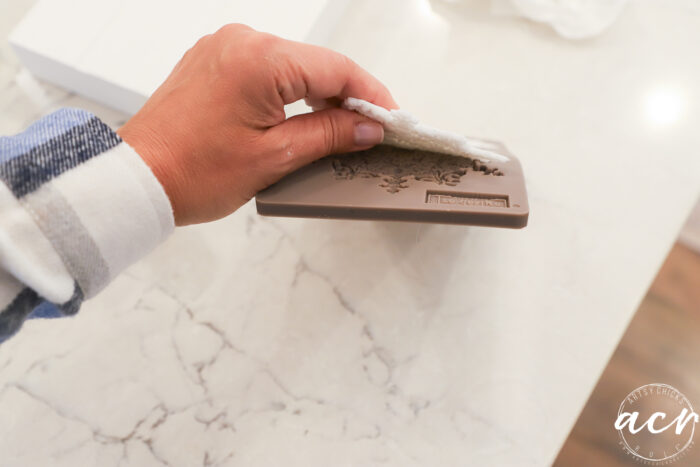
Now, the cool thing about these is they are somewhat flexible when you first get them out. So you can shape them to your project.
Say, for example, you want to attach it to a round bottle. You can shape it to the bottle before it fully hardens.
I didn’t need to do that because I needed them flat for my purposes.
You can see this one has some excess. It’s actually very easy to just break off since it’s so thin in those areas.
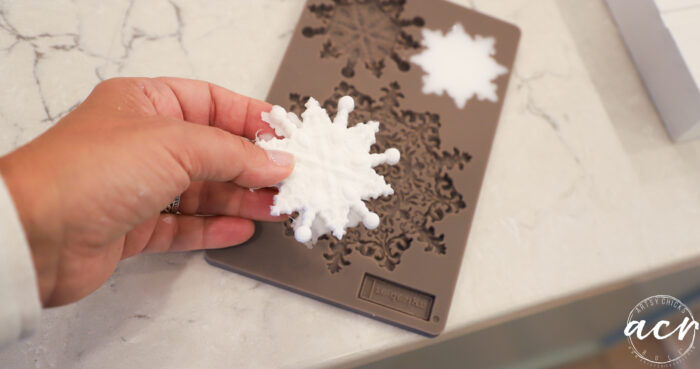
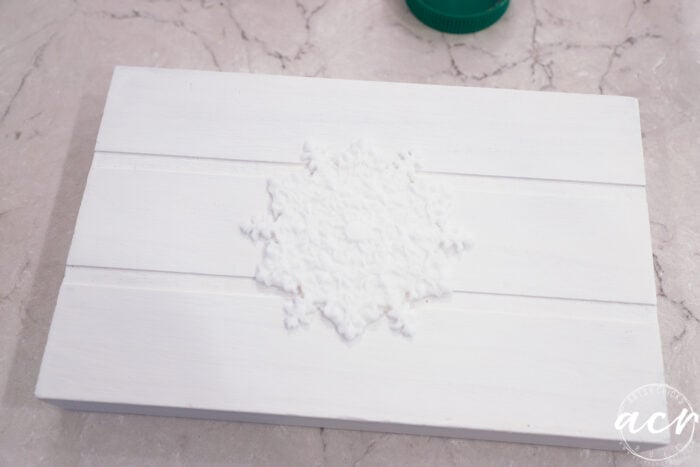
Here’s the big white one lying on the box.
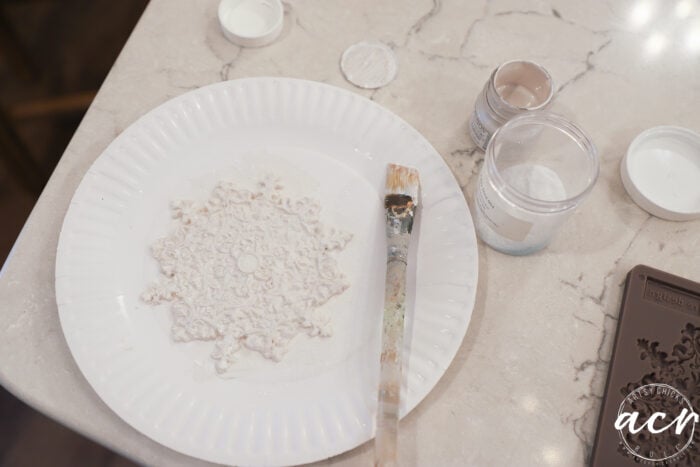
Paint And Glitter The Snowflakes
I painted them using the metallic paint (linked above!) and sprinkled some very fine shimmer glitter on them before they dried.

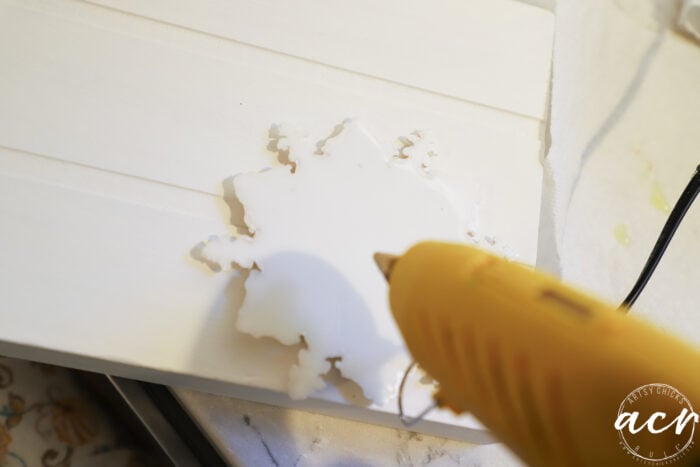
Attach Snowflakes With Glue Gun
Once they were dry, I simply hot-glued them onto the box using my glue gun.
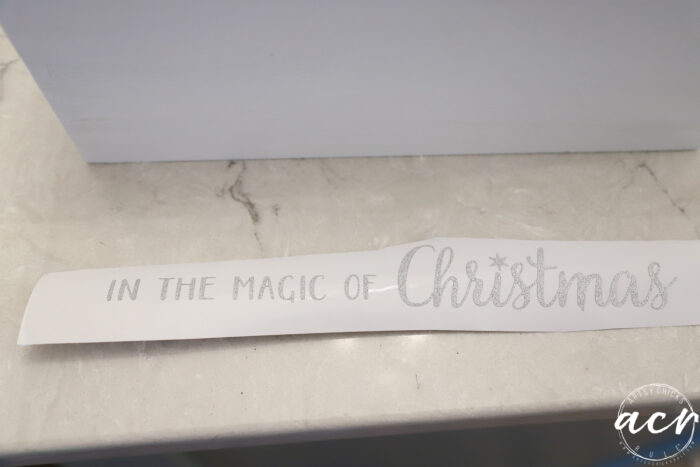
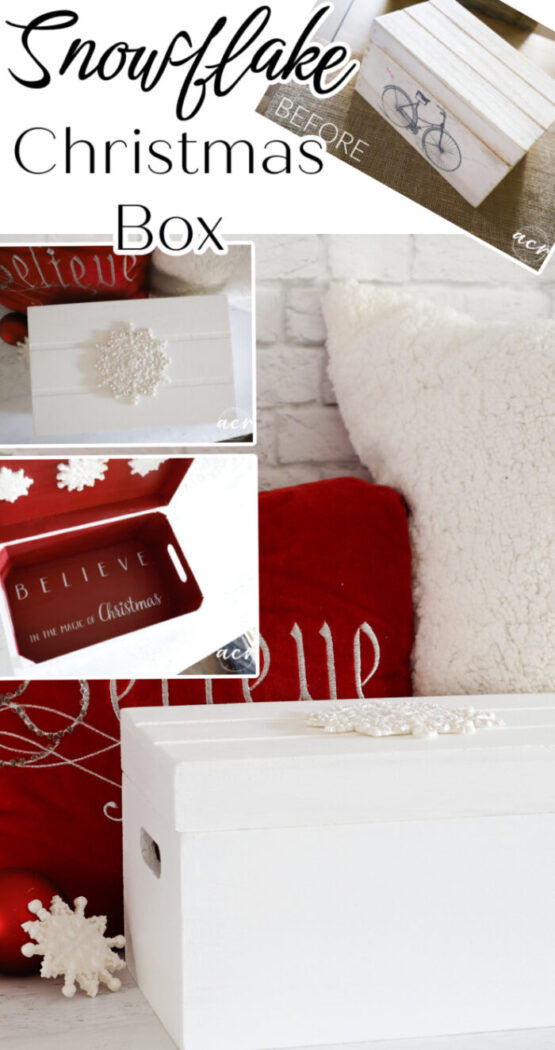
Apply Vinyl Graphic To The Inside
Oh but wait, there is a surprise when you open the box!

I had a little sparkly silver vinyl so cut this out on my Silhouette to put in the inside of the box.
Want this free graphic/printable?
All of my graphics are free to my subscribers. Not a subscriber yet? No worries, you can become one right here. >> Welcome!
Then hop on over here to download! >> Download printables
Along with the little graphic surprise, I also decided to put a few snowflakes inside the lid too.
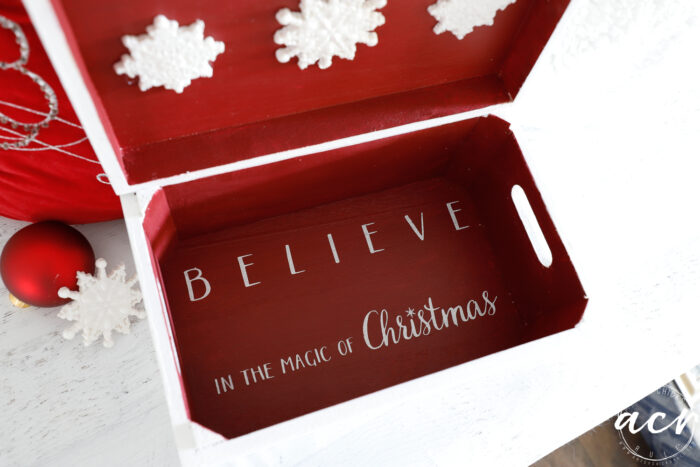
Aren’t they so pretty? I wish you could see the sparkles better!
I love how it turned out. The snowflakes are so pretty.
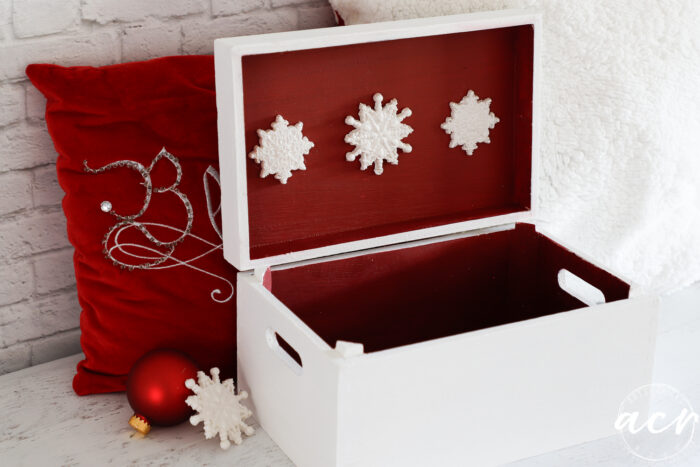

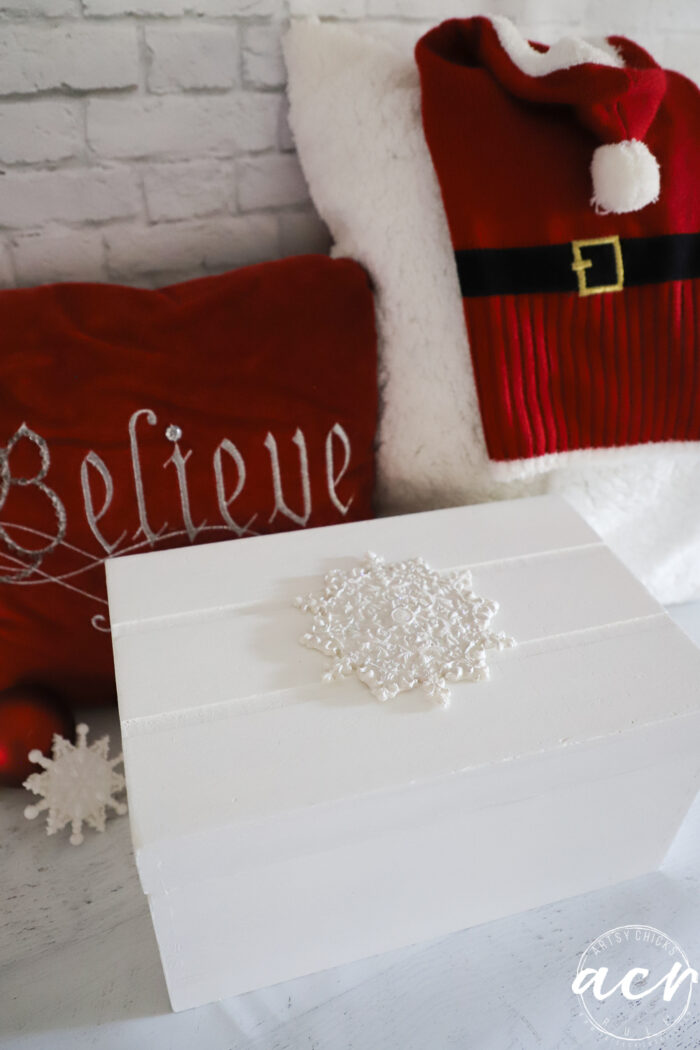
It’s a great little box to put a gift inside or even just use it in your decor. A box for Christmas cards is a great idea too!
And here’s a shot with a Santa sweater I got for Piper girl. Hee hee, isn’t that the cutest thing ever?
I’ll have to share a photo with her in it soon!
Have you used these Decor Moulds before? Or the Casting Resin?? I just love them and how super simple it was!
PIN it to save it!
Don’t forget to visit my friends and see all of their makeovers below!
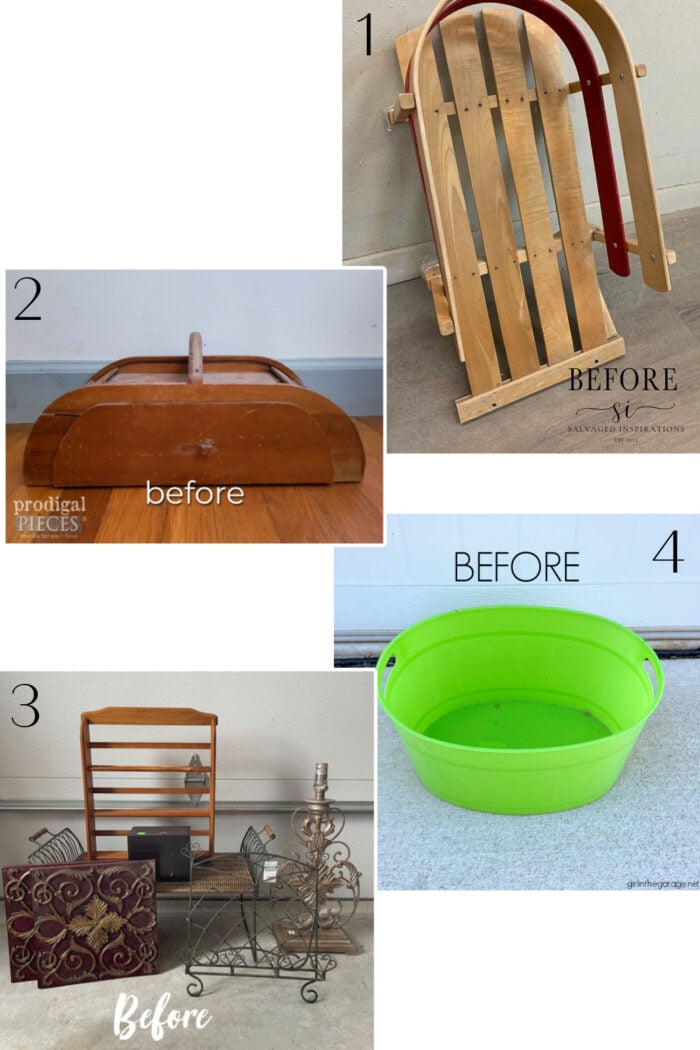
Want to see more Trash To Treasure makeovers?? Go here.
Have a wonderful week! Don’t forget to hop over and enter my giveaway, here!
xoxo


")


I love using resin! This is a fun makeover, Nancy.
Yes!!! So fun!! Thanks, Larissa!!xo
I love the snowflakes! That’s a neat process and not too time consuming.
Thanks, Carla, me too!! And I love that is was so easy! xo
Nancy this is so precious!
I just love those glittery snowflakes. Very creative way to use them!
How was the smell of the resin? I have asthma so curious if it would aggravate that?
Thank you!
Thank you, Wendy!
They turned out so pretty,I want to make more! 🥰
And there was no smell that I could tell at all. (And I’m super sensitive to smells) It does say to avoid inhalation of the fumes but there were none. Could be a typical safety statement etc.
Thank you!!!!
I like your idea of using for cards, Nancy. You could add to it every year and look back over them. Or just hide a chocolate stash 😄
Yes! Great idea but I Lola your other idea even better! Unsuspecting chocolate stash for the win!! 👏😁
What a fun idea! And a box for cards is always a good thing to have around! :-)
I really can’t even believe it is that time of year already. Where did summer go??????????
I know, right?! Can’t believe it’s almost Christmas!
This would make a GORGEOUS gift box Nancy! Beautiful 💙
Thank you, Denise! xo
So cute! I thought at first…did she paint in all those letters at the bottom of the box?? Ha ha Vinyl to the rescue! Perfect for Christmas cards! XOXO
Haha!! No way!! Vinyl for the win for sure! xoxo
So cute. I’ve wanted to try casting resin for some time. This might have been the push I needed lol. Love the snowflakes.
Thanks, Debra! Yes, it’s so much fun to use. I can’t wait to make more and use more of our moulds. The snowflakes are really pretty though! :)