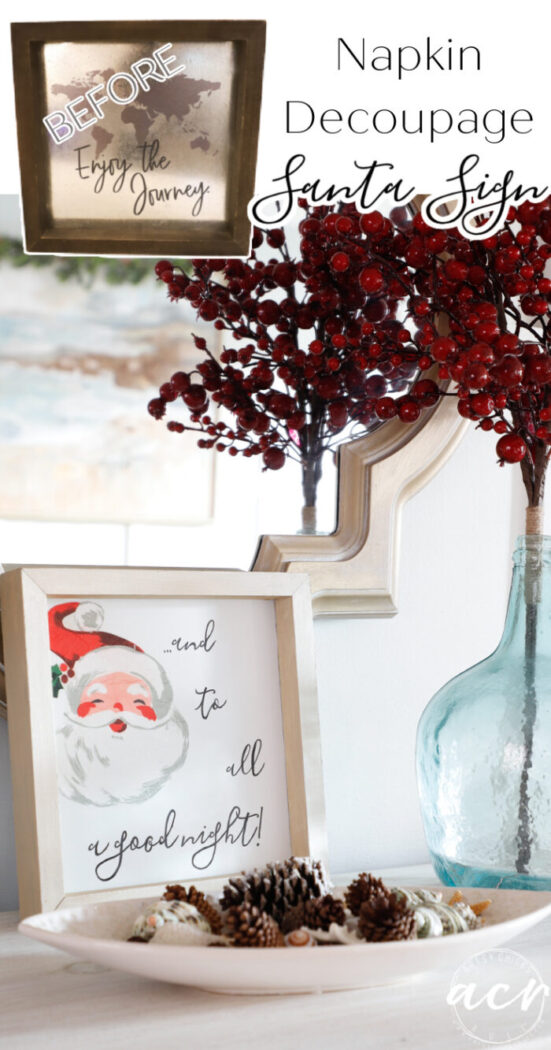
And To All A Good Night Sign
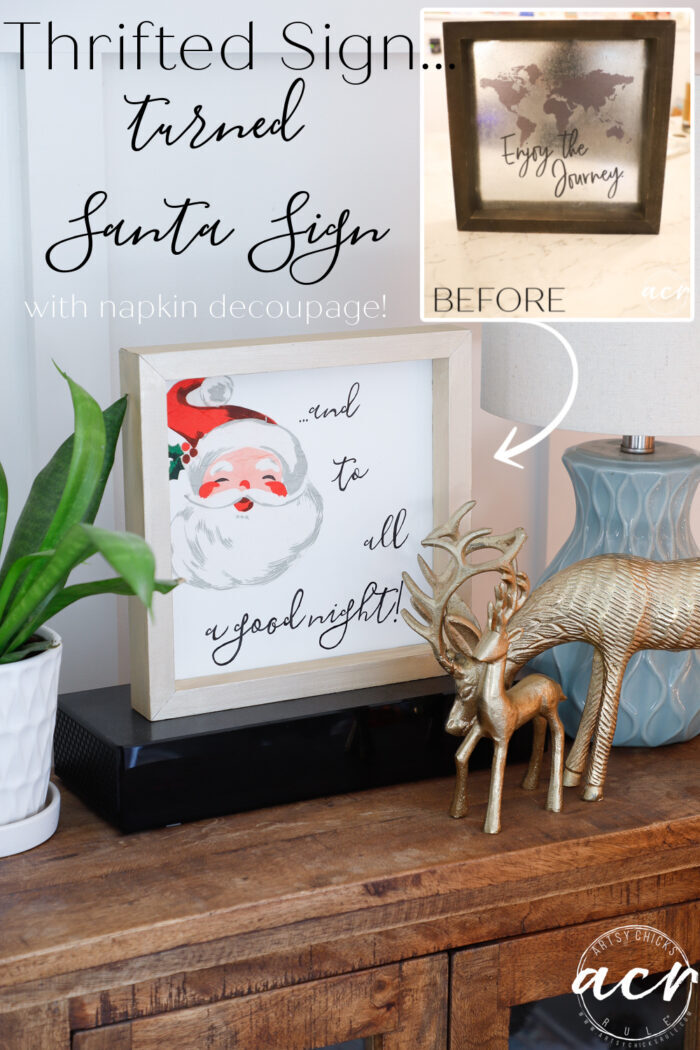
And to all a good night sign…simple and quick to do with napkin decoupage, thrifted items, and simple print and paint!!
Hello friends and happy Trash to Treasure Transformation Tuesday!! Say that 3 times fast!! haha!
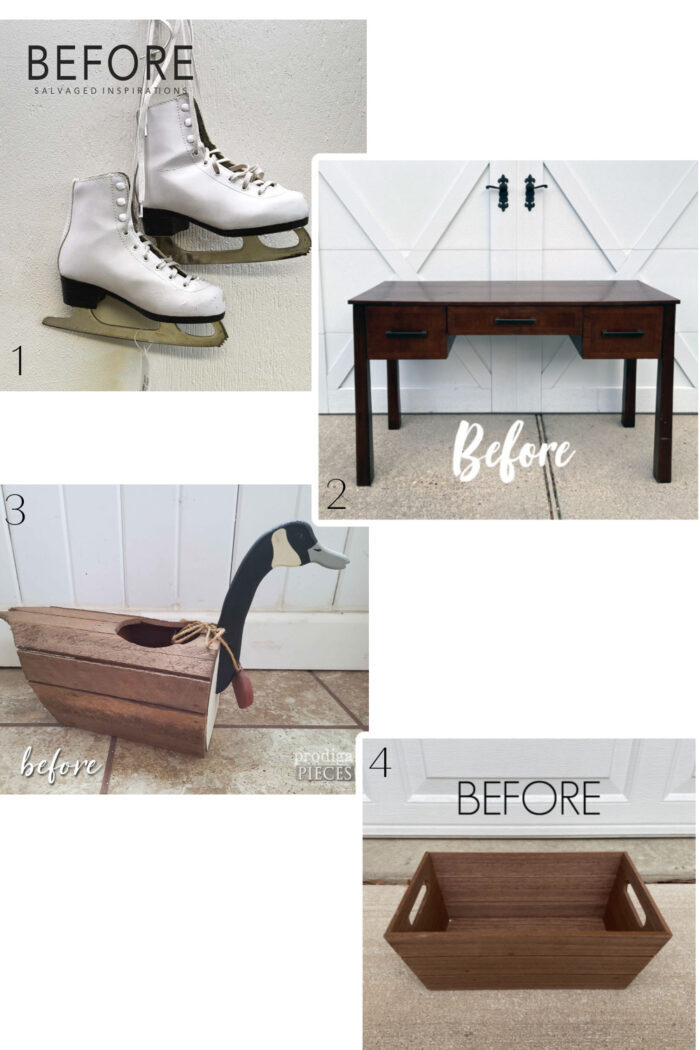
New around here? My friends and I get together every month, on the second Tuesday and share our most recent find (trash) and give it a makeover. (turn it into the treasure it deserves to be)
So, don’t rush off once you are reading all about my makeover today, be sure to scroll all the way down and see what my friends’ did with their “trash” this month!
And To All A Good Night Sign
THE PROJECT
Here’s mine…
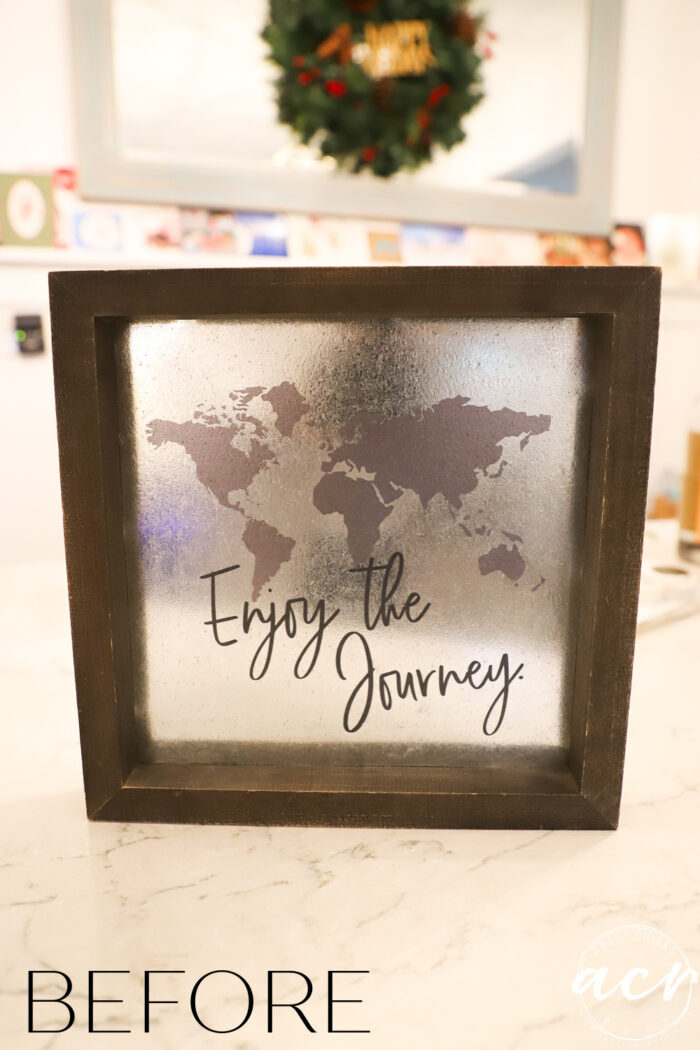
I found this metal and wood sign last week at the thrift store for a few bucks. (too much if you ask me but gosh prices have gone up all over)
Still cheaper than what you’d pay retail, so here we are.
Since it’s the month of December, I decided to do a holiday-themed makeover.
AND, I found these super adorable Santa napkins weeks ago with the idea to make at least one holiday project with them.
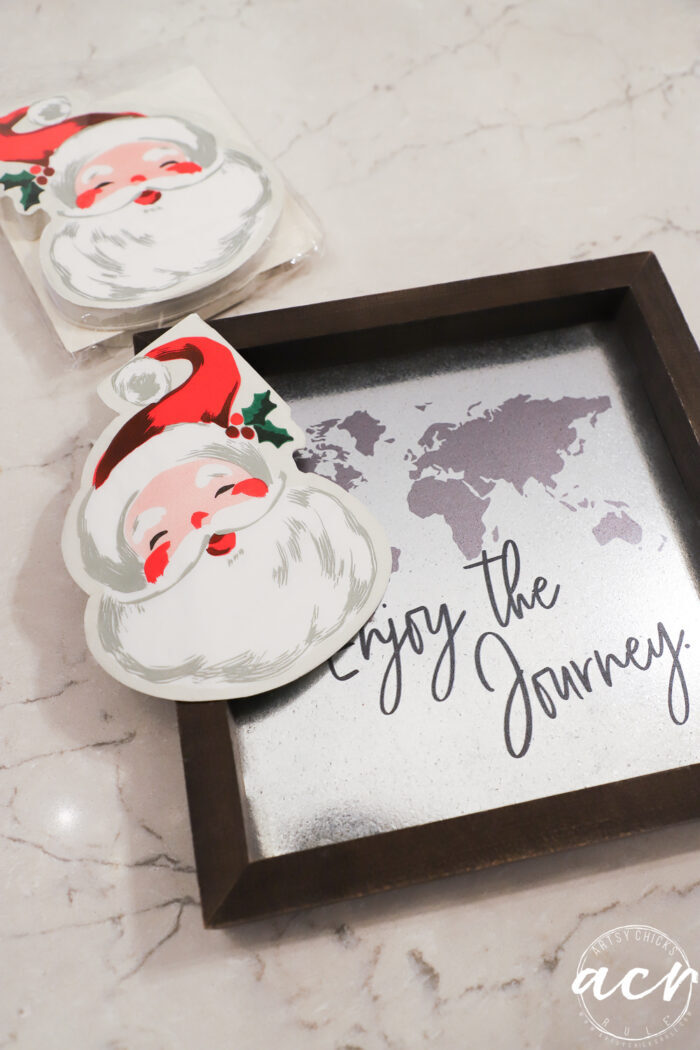
Aren’t they cute?? I mean, look at that sweet and oh so jolly look on Santa’s face. Love it!!
MATERIALS USED
- Zinsser Primer
- White Satin Behr Spray Paint
- Santa Napkins (not the same, but so cute too)
- Decoupage & Transfer Gel
- Artist’s Brush
- Script Pen and here’s another nice set Script Pen set
- Champagne Gold Metallic Paint
FIRST STEP
Since the inside was tin/metal I decided to lightly sand it so it wouldn’t be slick before painting.
I used a primer first then white satin spray paint, drying in between.
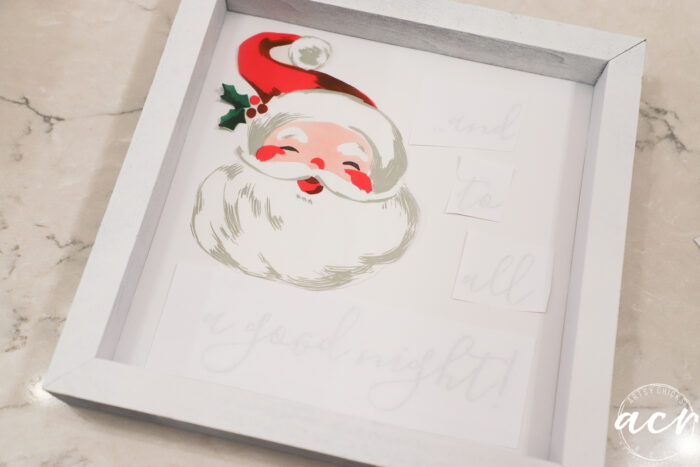
Then I printed out the words I wanted to use (in reverse) so that I could transfer the ink to the project as you see below. (I was laying everything out to see how I wanted to do it)
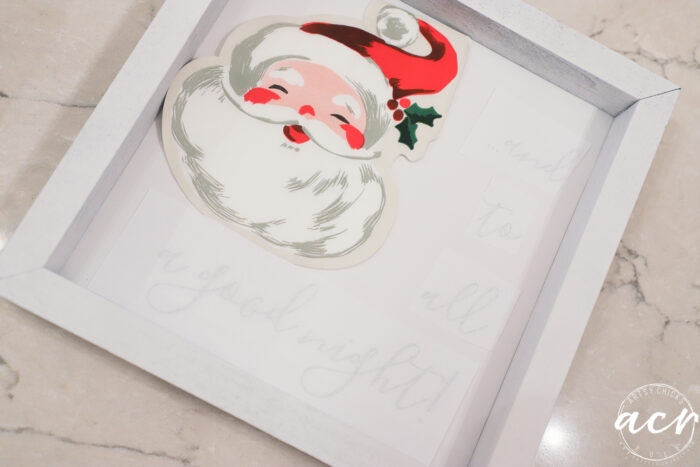
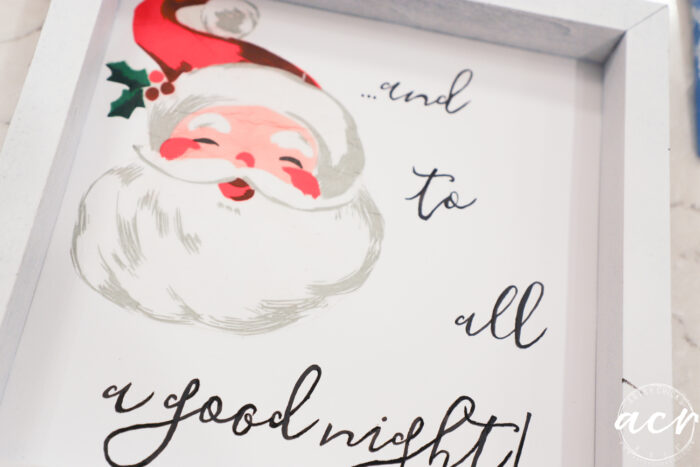
I decided to cut a little tighter around Santa to remove the beige-colored “frame” surrounding him.
See below?? I think he looks much better. And I decided to stagger the words a bit as you can see below.
That’s just a personal choice, not any design reason. Now that it’s done, I’m kind of wishing I’d done it like I had it above!! lol
Doesn’t it figure??
Oh well, it is what it is now! And that’s just part of the creative process.
DECOUPAGE THE NAPKIN
I used the Transfer & Decoupage Gel to attach the Santa napkin.
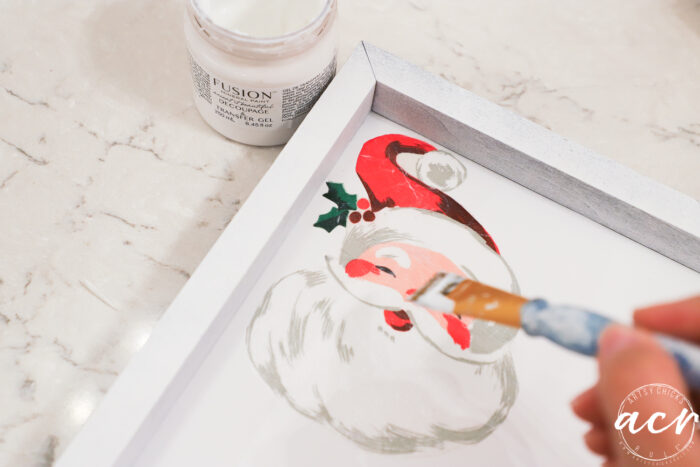
I applied it underneath and then on top.
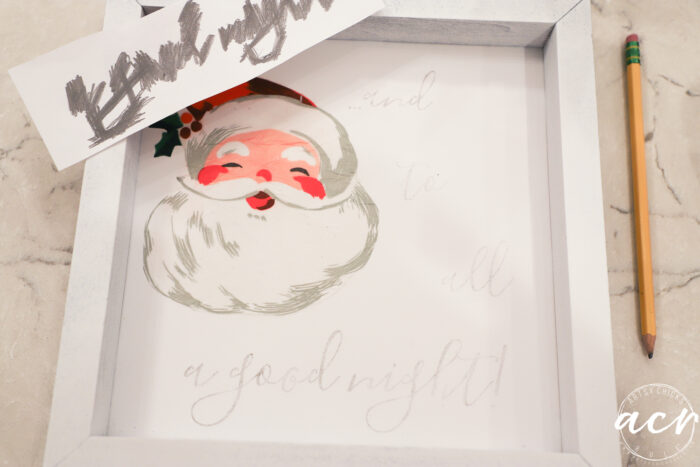
TRANSFER THE PRINTED LETTERING
Next, I transferred the lettering. I simply printed it in reverse, then rubbed it with a pencil to transfer the ink. (see below)
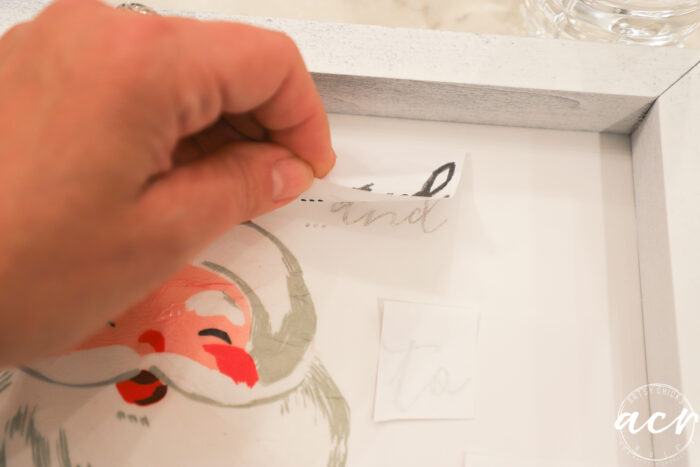
Isn’t that cool??
Here are all the methods I use for transferring graphics and making signs >>> How To Transfer Graphics
HAND PAINT THE LETTERING IN
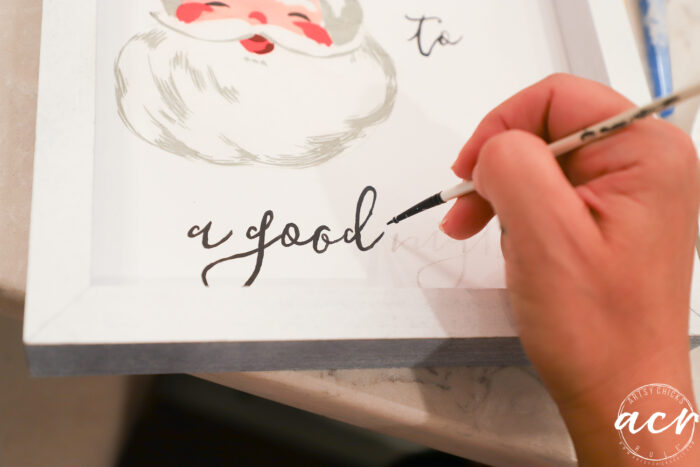
I need some new script liner brushes. I ended up having to use this tiny one pictured which was not ideal…and my lines got a little bumpy. Boo.
So once it was dry, I went back over it with a calligraphy pen I had on hand. And dang, I think I will do that more often…instead of painting. (I’ve got some listed above up in the “Materials Used” section)
Not perfect, but better.
I’m going to use only the pens on my next sign project. I’ll post about it when I do!
PAINT THE FRAME
I originally wanted to paint the frame the same red that’s in the napkin. BUT I could not recreate it well enough. (I tried!) SO…I switched gears and went for gold instead. And oh my gosh, gold is so much better! I’m so glad I didn’t get the red right because I love the gold frame instead. Love how that works out sometimes.
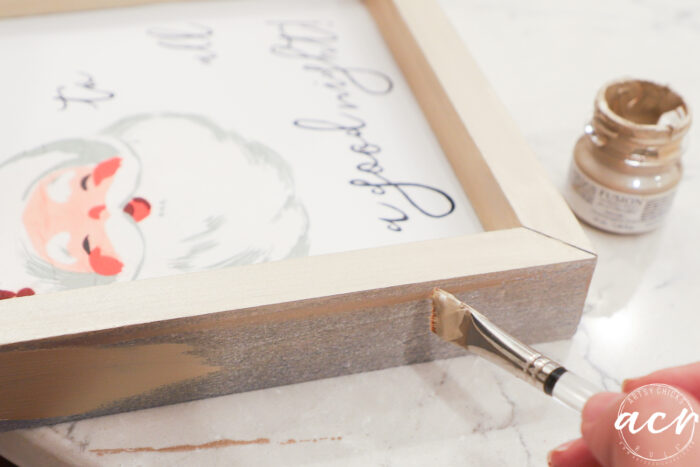
Love this gold color and the coverage is better than any other gold paint I’ve used.
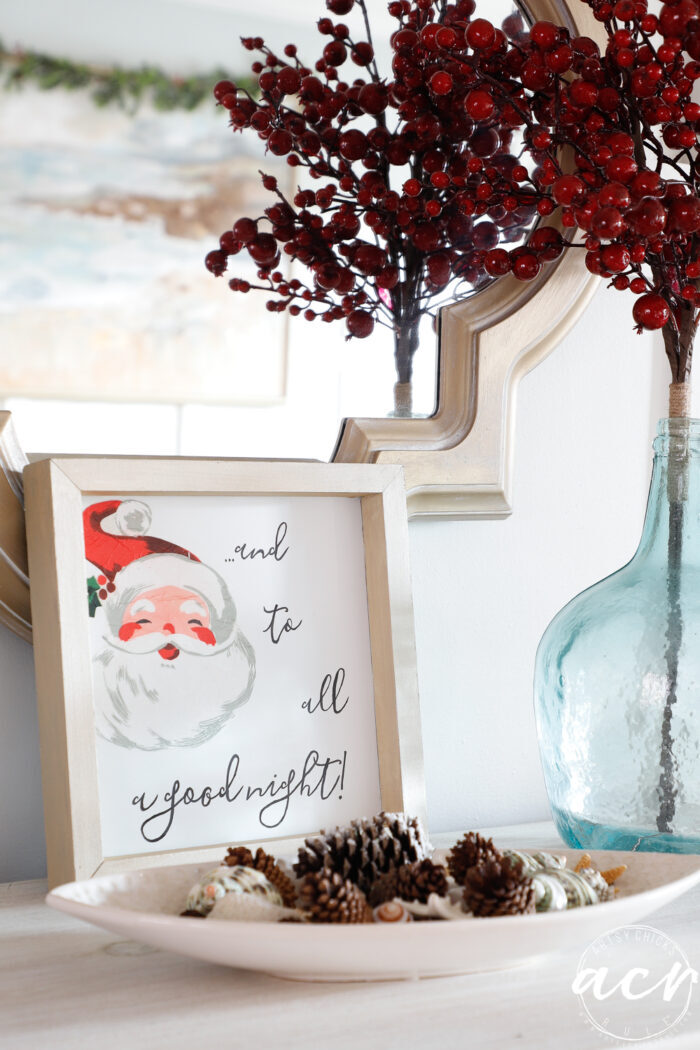
And that’s it! One coat of gold is all it took. This Santa (and to all a good night) project is done!
Pretty simple actually. Certainly, a fun project to do with kids or any age!
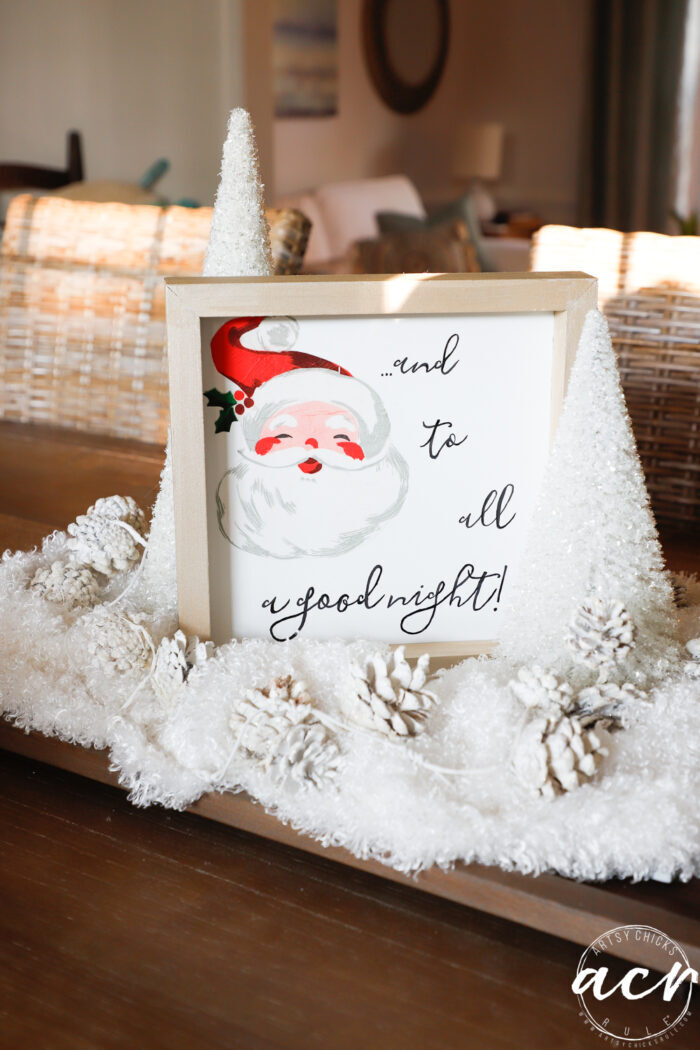
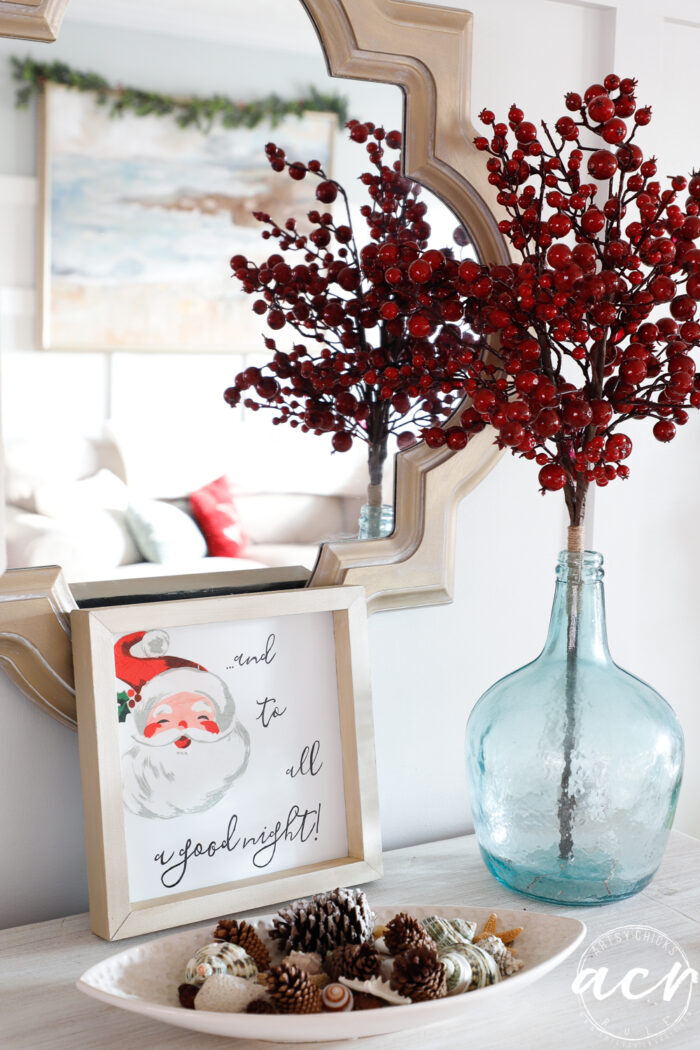
I put it in several different locations around my house.
It looked sweet here on the centerpiece I made for our dining room table.
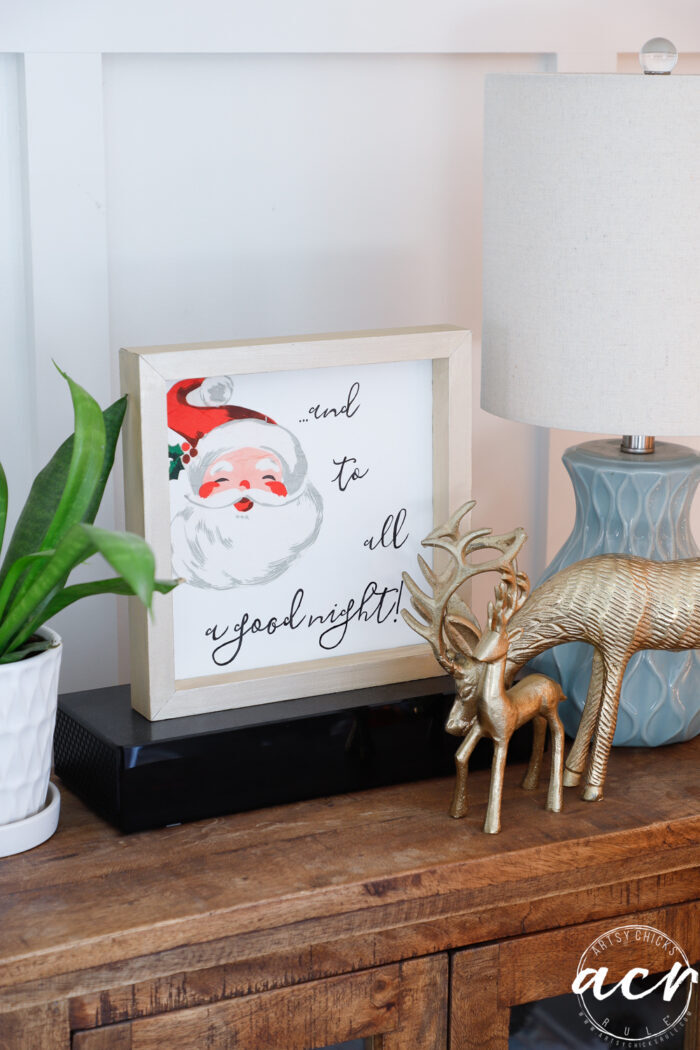
And here on our whitewashed dresser in the living room.
And even here it looked cute with my gold reindeer.
Or how about right here in the bathroom. ha!
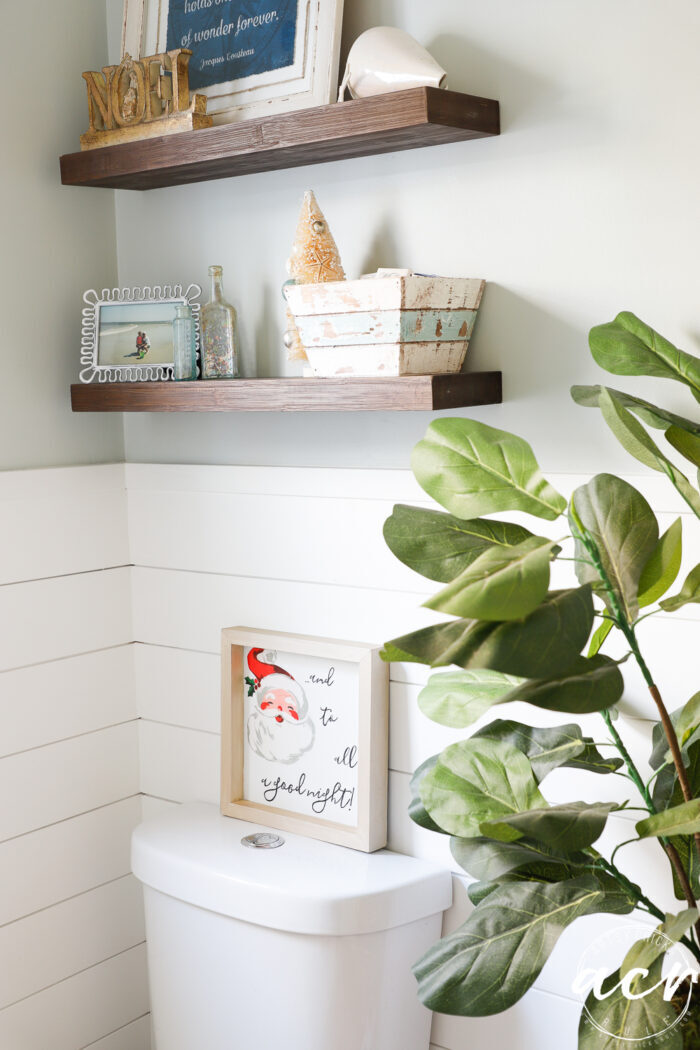
Lots of places you could use a cute sign like that.
PIN it to save it!
Wait! Hop on over and visit my friends and their pretty new treasures below:
Have a wonderful week! I’ll be back later this week with the first of our Christmas decor. See you then!
xoxo


")

What a cute and budget-friendly makeover! ❤️
Thanks, Larissa! And yes, to that! xo
Turned out nice love this.
Thanks, Christina! :) xo
What a cute Santa napkin! I love how this turned out and the gold was perfect!
Isn’t it the cutest, love his expression! Thanks so much, Vicki! xo
This is adorable Nancy! 🤗
Thank you, Denise!:)
This turned out so cute, Nancy! I loved seeing it all over the house lol! XOXO
Yes, haha!!! Thanks, Christy! xo
This is so cute!
Thank you, Debra! And it was simple too, best part! ::) xo
The placement in the bathroom?
……..good thing his eyes are closed, 🤭.
Yes, he is a cutie.
Looks vintage.
Haha!! Guess where he still is…lol! Thank you, Ashlyn!! xo
Oh, Nancy! Isn’t that just adorable???? You did a great job envisioning that transformation.
Nicely done, ma’am!
Aw, thanks, Michele!! These are the fun ones to do! xo
Ahhh this is so adorable, Nancy! Love it!
Thanks, Jen! :)