Another Way To Use Furniture Transfers
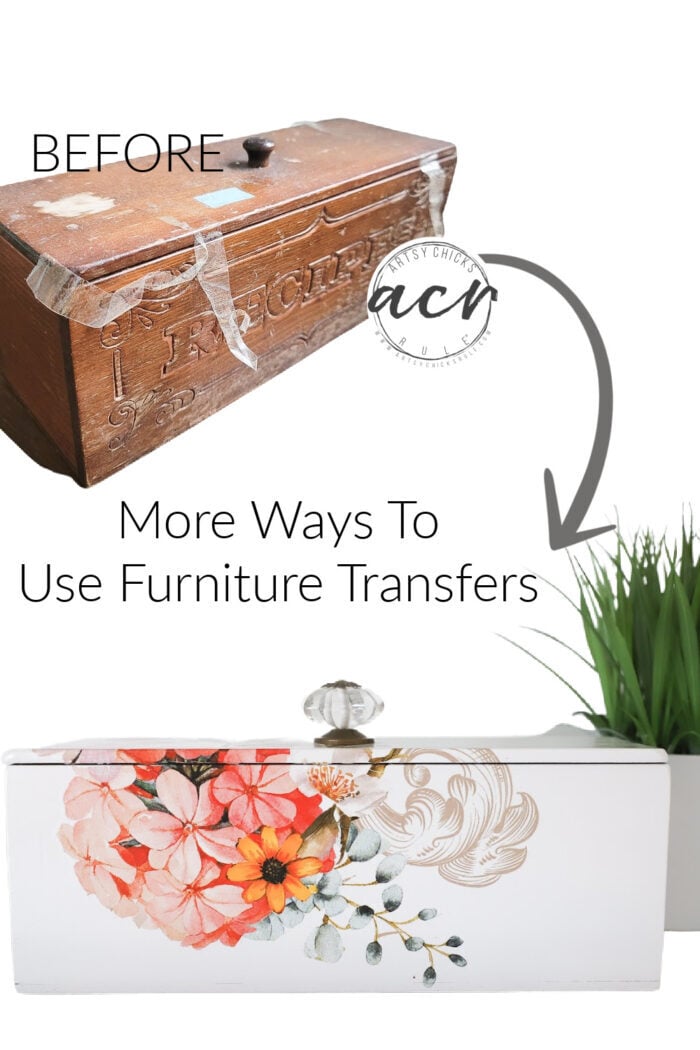
Turn that old dated recipe box into a treasure with a furniture transfer AND learn how to use furniture transfers all up!
Hello beautiful friends!
Yippee for Trash to Treasure Tuesday! My friends and I are sharing our latest “treasures”. I found this old recipe box and turned it around. And shared how to use furniture transfers another way. Well, how to use them up, I should say. I will sometimes split apart my big transfers and use them on smaller pieces which leave lots of odds and ends. Well, waste not, want not! I never let them go to waste. Today I’m using the last bit of one of my bigger transfers on this sweet project.
Be sure to scroll all the way to the bottom to see my friends’ makeovers too.
Oh, and if you are new around here, be sure to pop over to my shop to see all kinds of goodies I have over there. You can visit it right here.
AND as I have done every month for the whole year of 2021, I am hosting my last giveaway for this year on Thursday. Be sure to stop by to enter to win … it’s a “gifty” one, you don’t want to miss it!
Want to be notified so you don’t forget? Become a subscriber right here and I’ll let you know!
Another Way To Use Furniture Transfers (and use them up!)
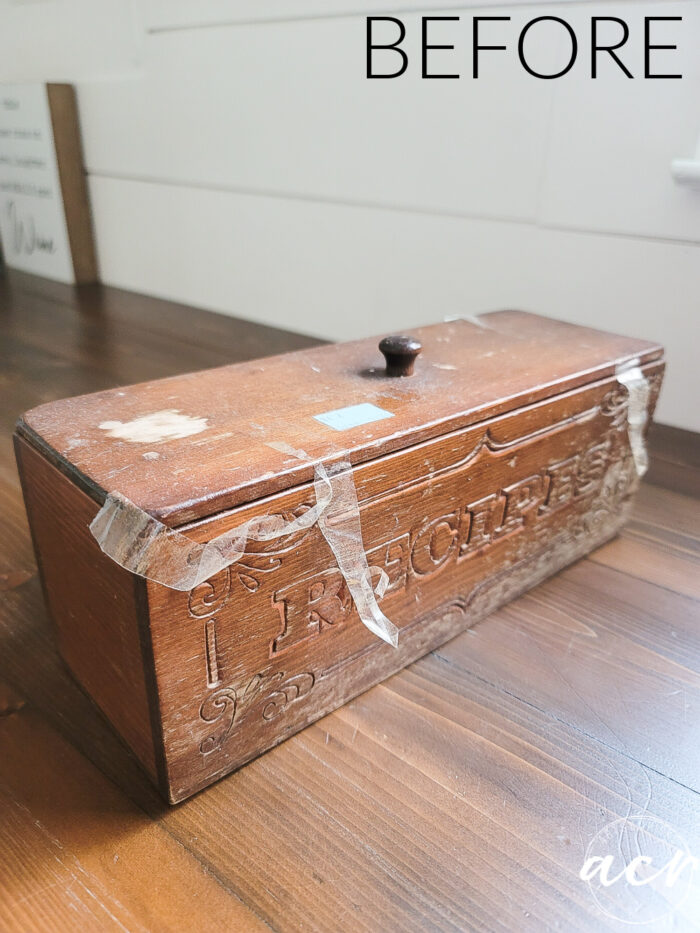
Recipe boxes…I almost always see one or two around the thrift stores when I go. They were very popular back in the day!
Nowadays, not as much. With Google, phones, computers, etc., no one really needs them anymore.
So, I decided to fill in the etched “recipes” design and give this box a whole new life. (which could, by the way, still be a recipe box if it really wanted to ;) )
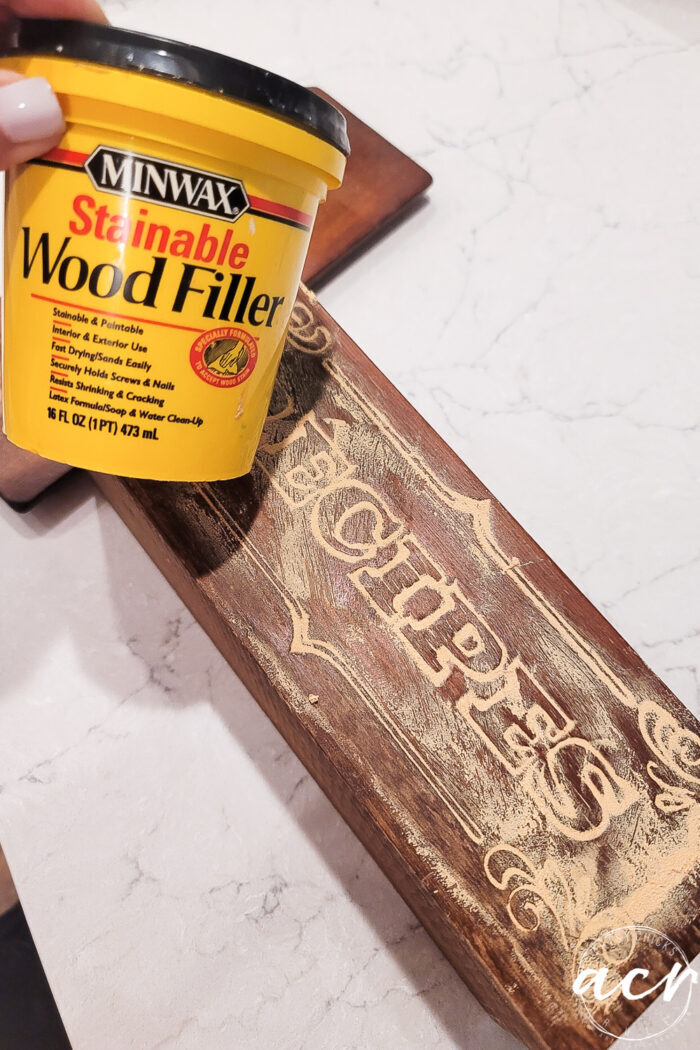
I used >>>this wood filler to fill it in.
Once it was dry, I lightly sanded and filled again. Lightly sanded again and all smooth, ready to go.
I spray painted it with white spray paint and let it dry. (it took 2 coats to fully cover)
Then I pulled out these last scraps from this transfer. (I have similar transfers in my store, >>>here)
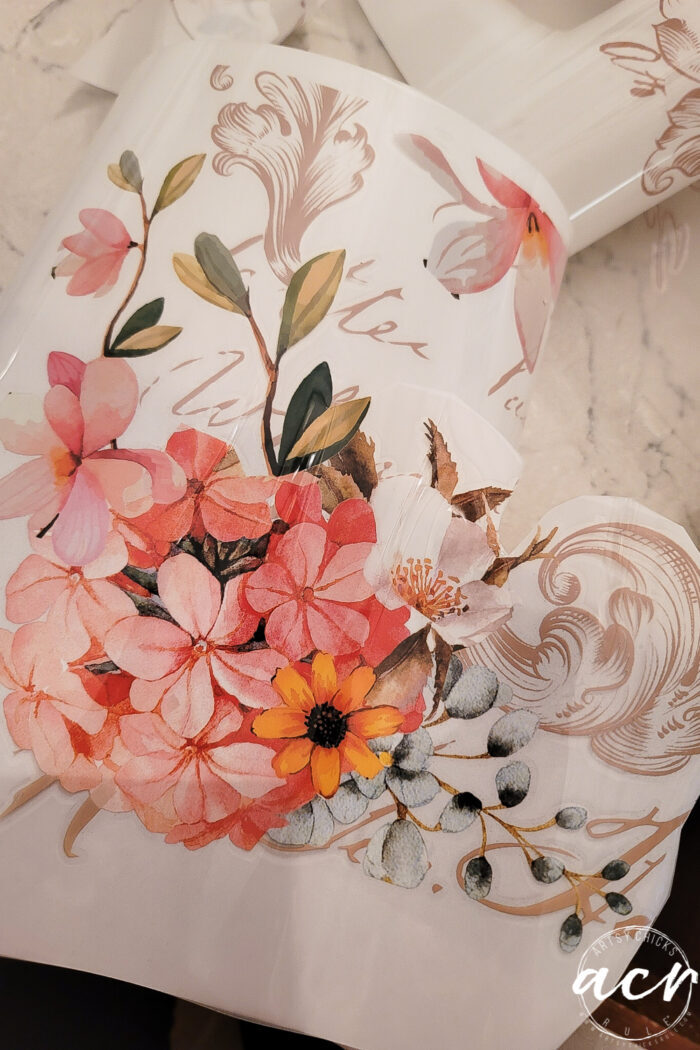
This is the transfer I used on my headboard/footboard project recently. Remember it?
If you missed it, you can see it here >>> Twin Headboard & Footboard Makeover
I cut a few pieces from some of the other smaller scraps to add to this one above.
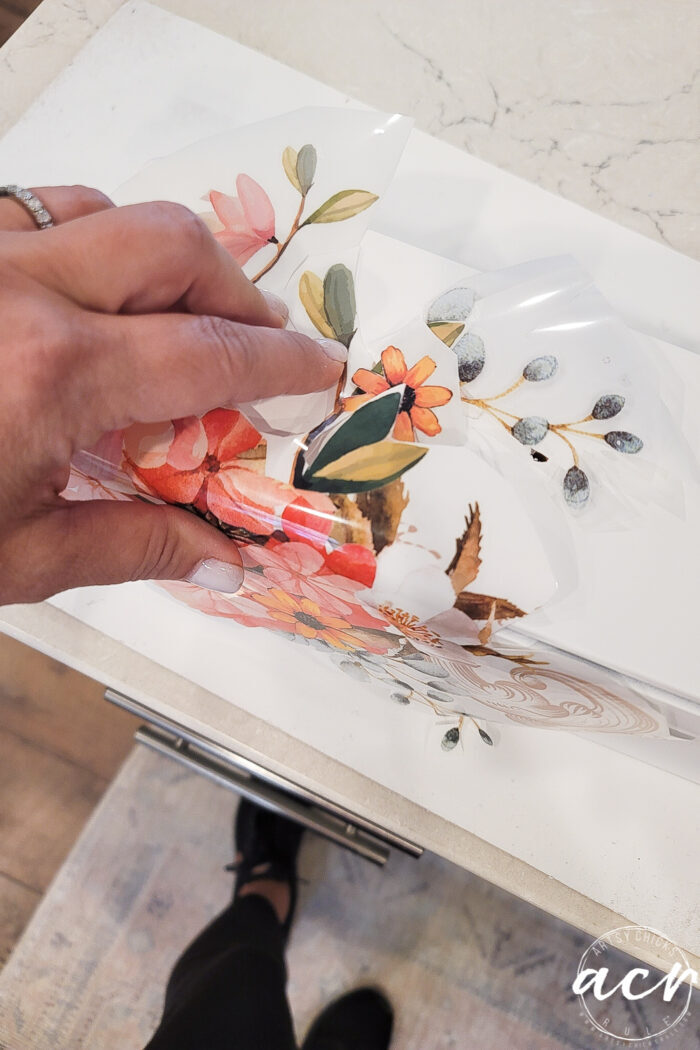
Then decided how I wanted it to flow onto my box.
Rubbed the transfer onto the box and…
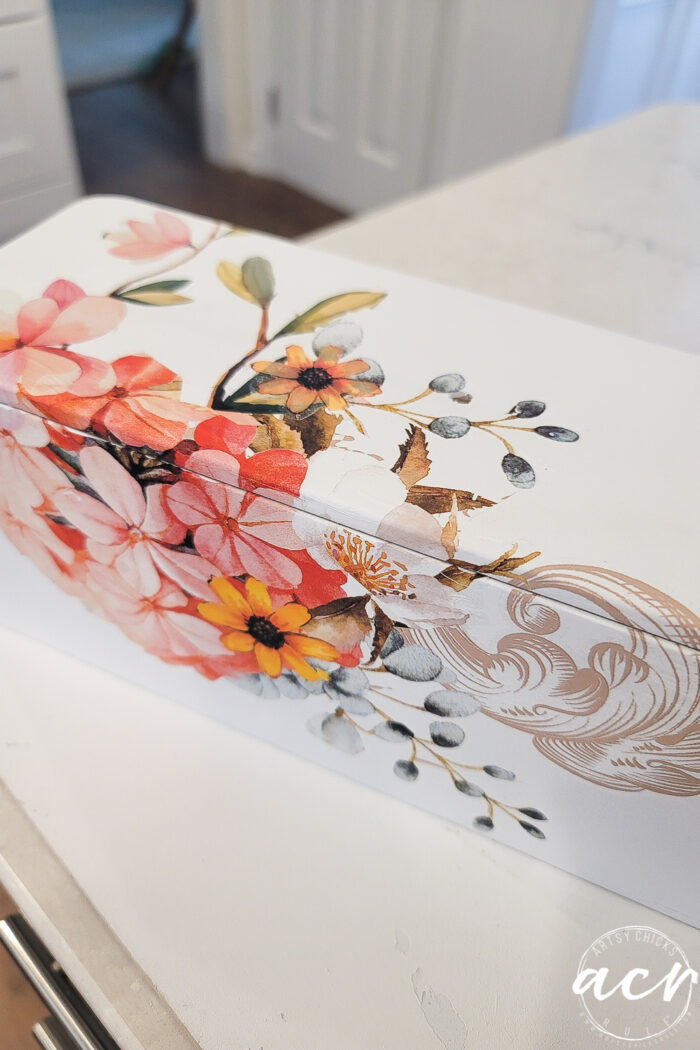
…done!
Well, nope, I did seal it after this. This is the glossy sealer I used.
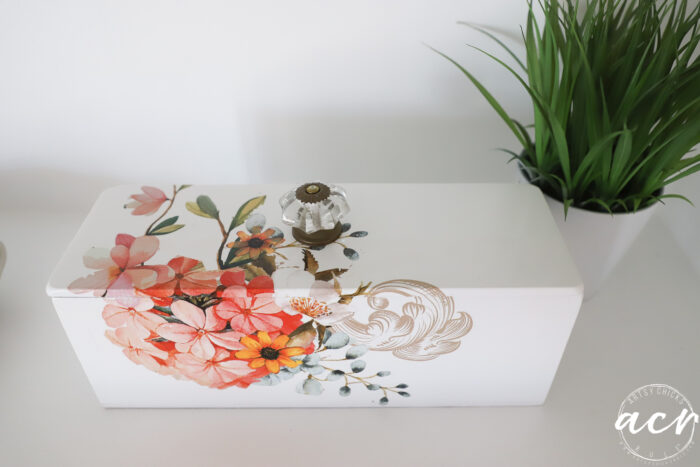
OH! And I replaced the small wood knob with this pretty glass and antique metal one. I thought the aged color of the metalwork was perfect for this transfer and box.
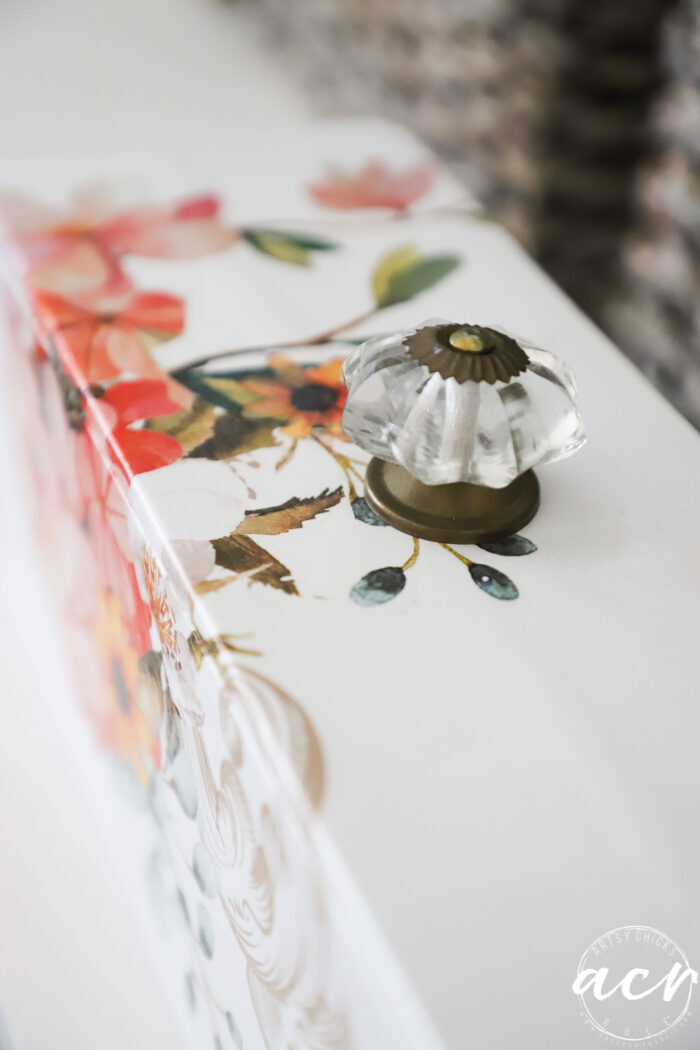
Isn’t it so pretty? I just love furniture transfers.
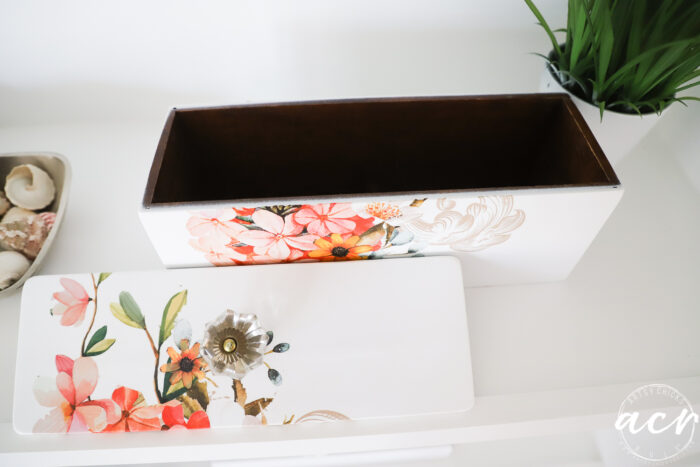
And how to use furniture transfers all up is key! No wasting over here.
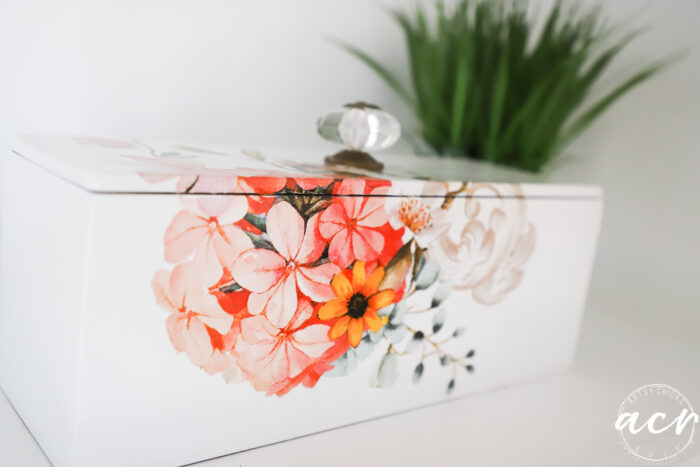
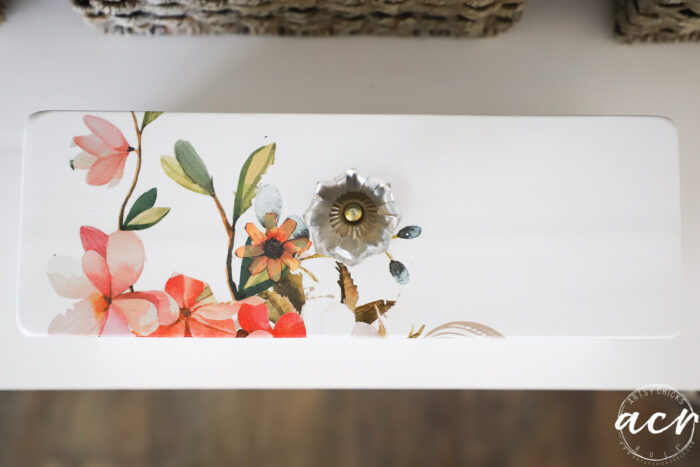
Flowing over to the back.
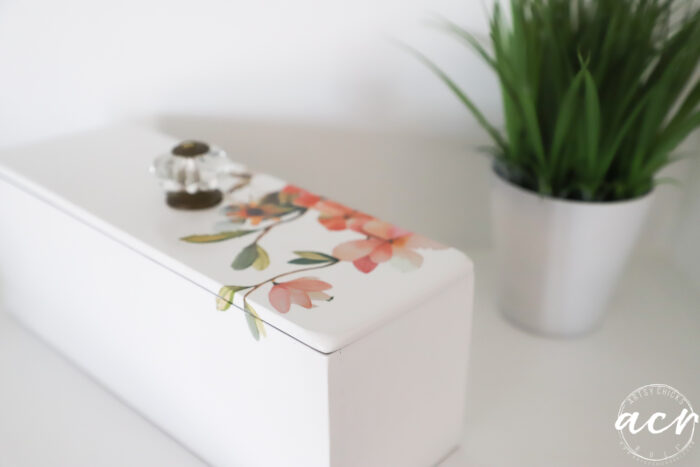
No more “recipe” on the sides.
Inside was perfect so I left it alone. You can pretty much use this pretty box for anything you desire.
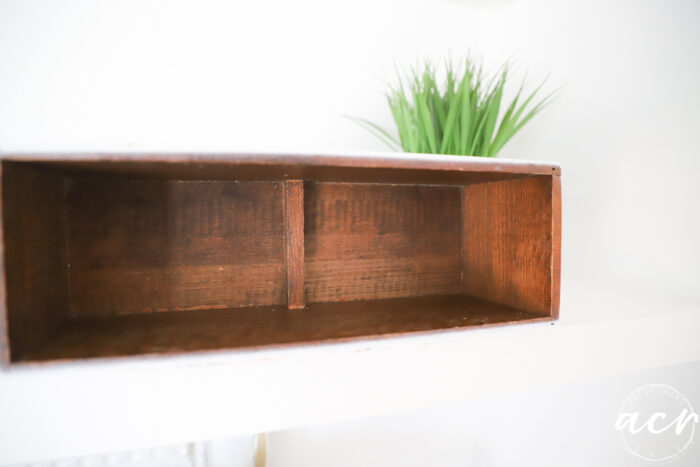
Might be a great little box to put essential oil bottles in beside your diffuser. (hint hint hint…come see me on Thursday ;) )
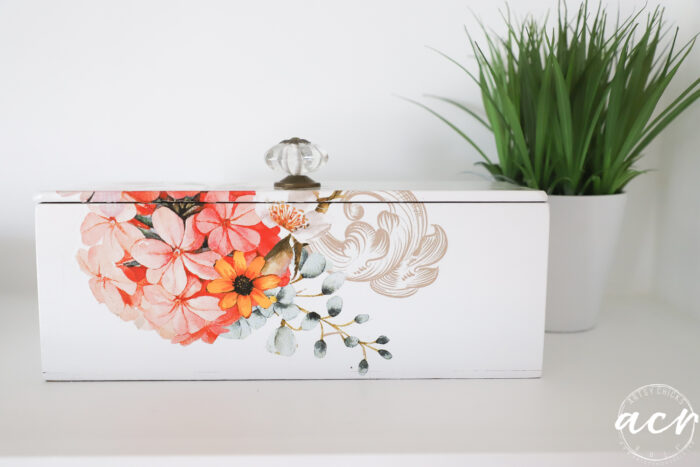
I’m very happy with how it turned out. So sweet.
Have you tried furniture transfers yet?
PIN it to save it!
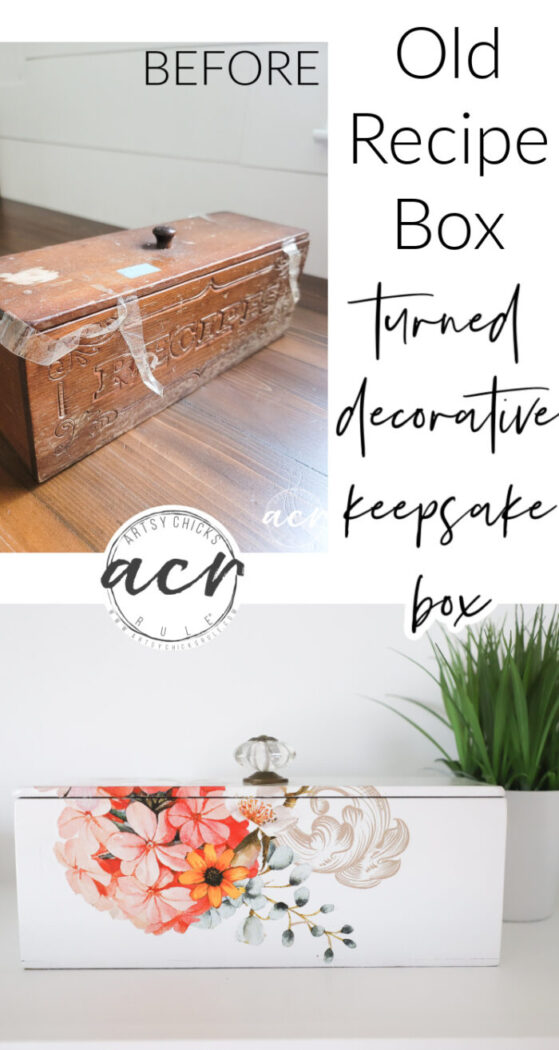
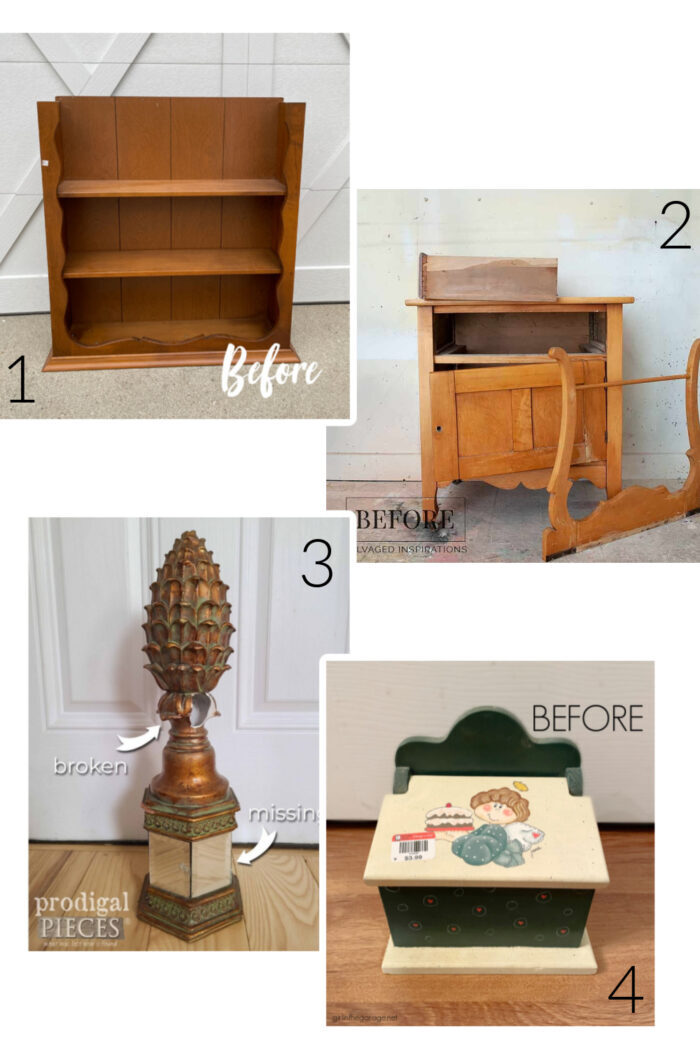
Don’t go yet! Click the link to my friends’ posts/projects below to see how theirs turned out.
…………………………………………………………………………..
See you later this week with this!
UPDATE!! See it now here!
xo






Perfect save and makeover, Nancy. I love how simple DIY can be.
Thank you, Larissa! xo
An absolute stunner!
Thanks so much, Leanne! xo
Oh how wonderful Nancy!! This would be a great gift box for another gift! Sweet!!
Aw, thanks, yes, yes, it sure would!! :) xo
Hi Nancy! This is so pretty. I love e when an old ugly pie e is saved from the dump. Rose Celebration is one of my favorite transfers.
Thank you, Cheryl!! Yes, it is so pretty!! xoxo
One of my favorite transfers and I love how you didn’t waste a bit! Beautiful makeover Nancy! 🤗
Thank you, Denise!! xo
I don’t know how you saw anything worth redeeming in that icky box, Nancy. I’d have walked right past it. But redeem you did, and now it’s hard to believe that was the same box! I love how paint and transfers (and a little wood filler, too 😉) can totally transform a piece.
It was pretty icky!! lol But glad I didn’t! :)
Gorgeous! Awesome job!
Thanks so much, Rebecca! xo
This is gorgeous now!! Great idea to fill in the “recipe” part! XOXO
Thanks so much, Christy! xoxo
Cute! I like the idea of transfers. This now has so many uses.
Yes, it sure does!! Thanks, Rose! xo
Great makeover…..I love this little box re-do!!!
Thank you, Karolyn!! xo
I love how we both did similar makeovers on recipe boxes this month, haha! Yours turned out gorgeous Nancy! xo
Oh fun!!lol Thanks, Jen! xo
Love the box but I really liked seeing how you filled in the carved out letters and curly stuff. Looking forward to seeing what you’re giving away Thursday!
Yes, it’s like magic!! lol
WOW- Christy!!!! I can/t even believe it is the same box. Whoa.
That is one perfect stash box. Well done – I love how the transfer spills onto the back a little too-
you are so clever.
Never knew there was stainable wood filler, either. Huh. Good to know.
OK It is 4:42 in the morning and I have been up all night and I just called you Christy. Please forgive me. I am exhausted. Still love the box, just now way more embarrassed at myself. Oops.
At least you two are good chums and can chuckle at this crazy mindless twit now.
Haha!! No worries at all! You are not the first one for sure!! ;)
Thank you, Michele!! Transfers are so fun!!
I think this is just the sweetest box now! Filling in the etched letters with wood filler was a genius idea.
Aw, thanks!! Yes, gotta get rid of that!! ;)
Fan-ta-bu-lous…..
Thank you!! :)
This turned out so beautiful! I have got to try transfers! Thanks for sharing! Happy holidays to you!
Thank you, Yes, you should! Happy holidays to you! xo