Thrifty Print Turned Tiled Coastal Tray (Trash to Treasure Tuesday)
Turn an old print into a tiled coastal tray! It’s easy…and fun!!
Hey Guys!!
It’s Trash to Treasure Tuesday! I just love this day of the month because it’s one of my favorite things to do…..
…turn someone else’s “trash” into a treasure!
I’d say 90% of my home is just that.
I also love to share with you how to look past what you see at the thrift store or garage sale and envision what things can be instead.
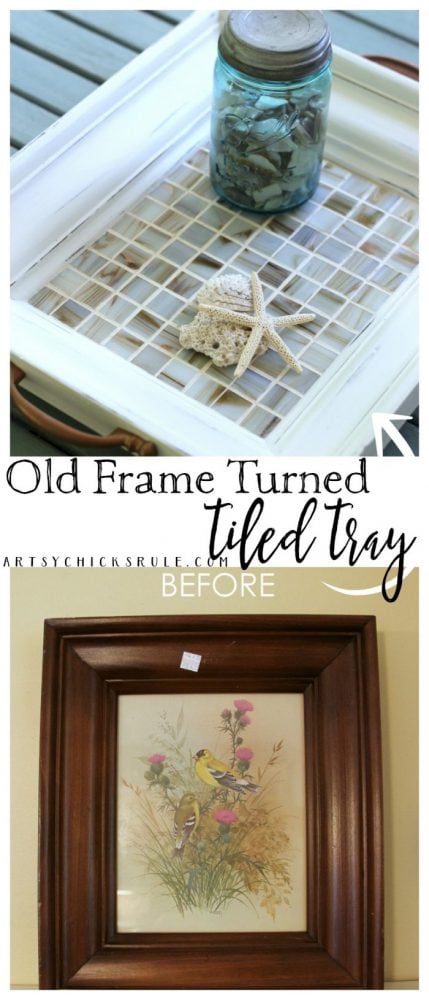
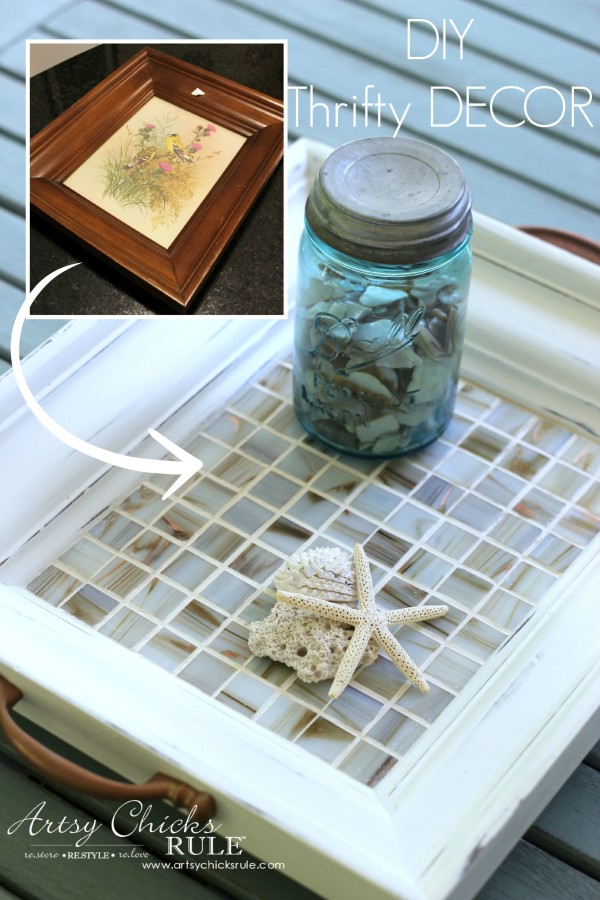
Like this lovely…..
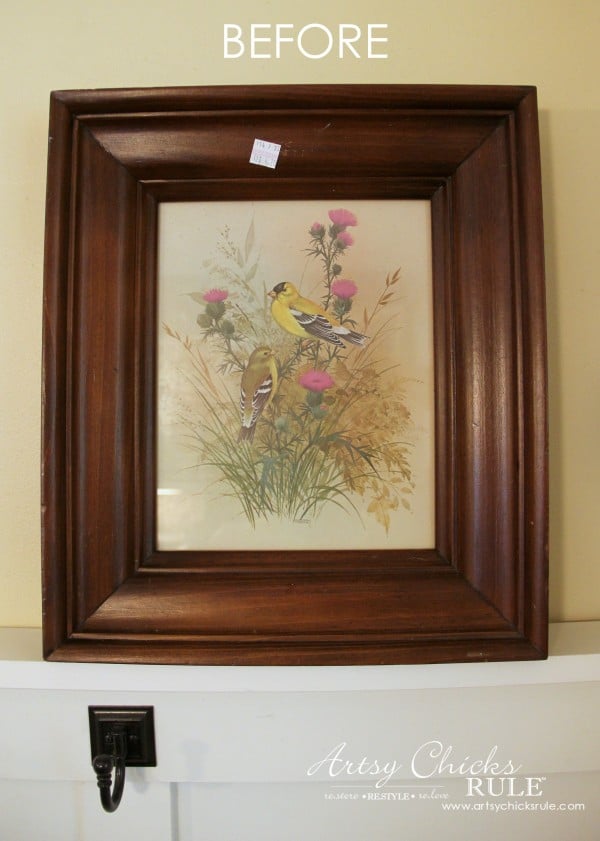
Just an old print and frame, right?
But wow, what a fabulous, well made heavy wood frame it is!
It even had the original sales tag on the back….
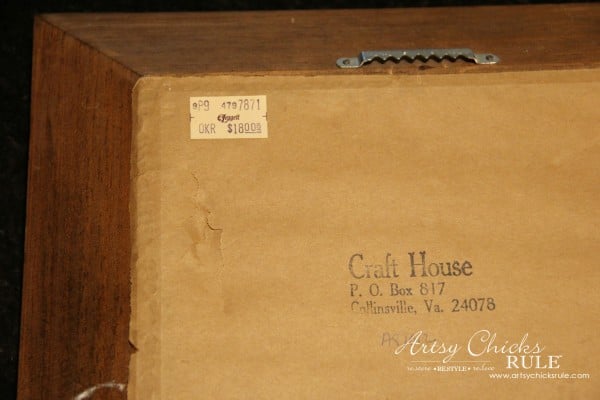
Neat.
So I picked it up and bought it without even knowing what it would be….but knowing that it could be something great.
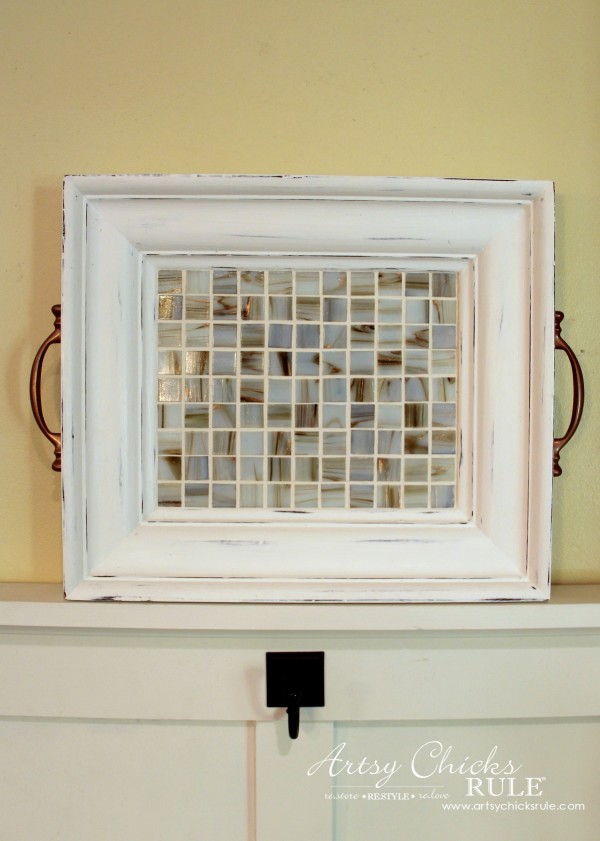
Maybe something like this?
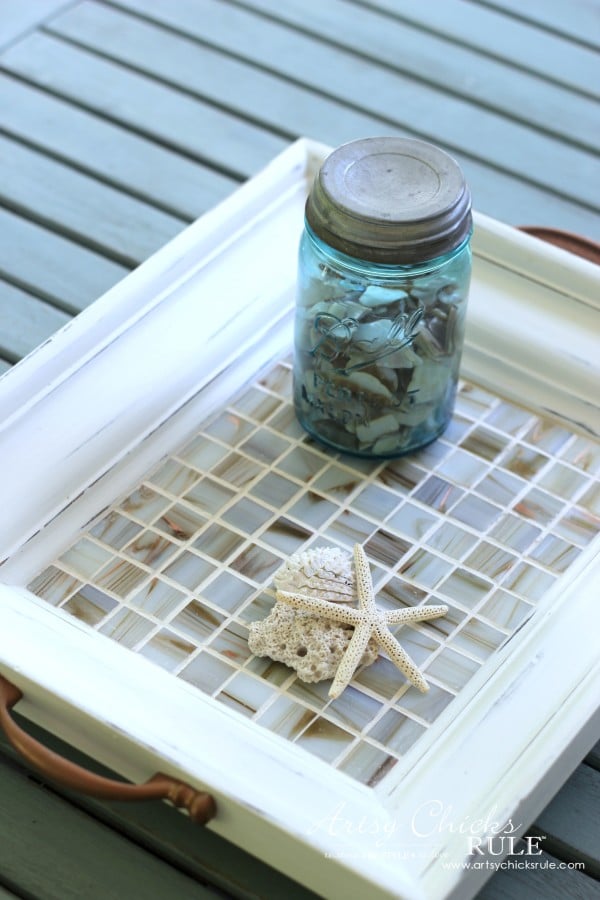
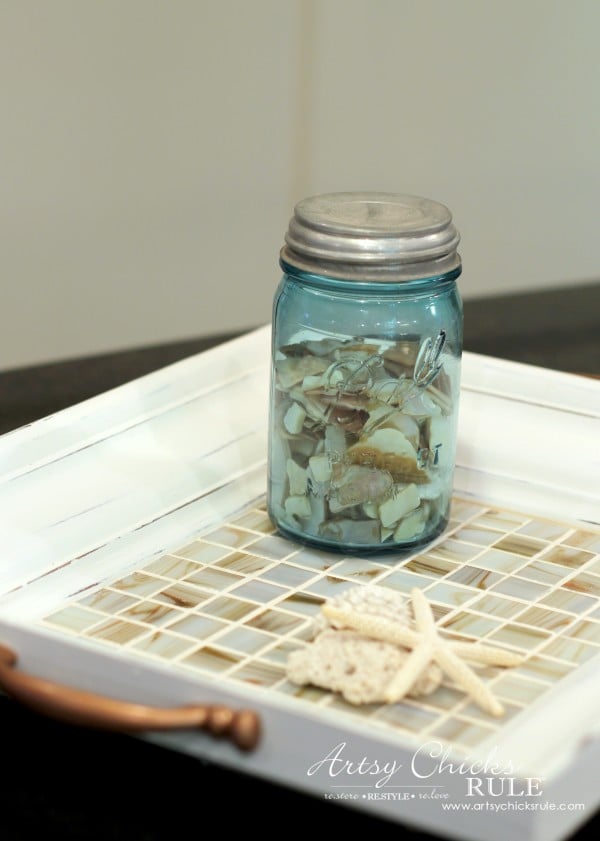
A tiled coastal tray.
Who would’ve thought that? But yep, it was perfect for this.
I gave it two coats of Pure White (Chalk Paint® by Annie Sloan)
Then I glued the tile pieces right onto the glass (no worries, that print is still underneath) using (*affiliate link) E6000® Craft Adhesive .
That stuff means business. It’s super powerful in strength …and smell.
I use it outside.
Then I went down in the garage to see if I had some ready made grout.
(It’s almost a store in there so I figured I had some (that’s not necessarily always good thing–>too much stuff!)…and I did! ;) )
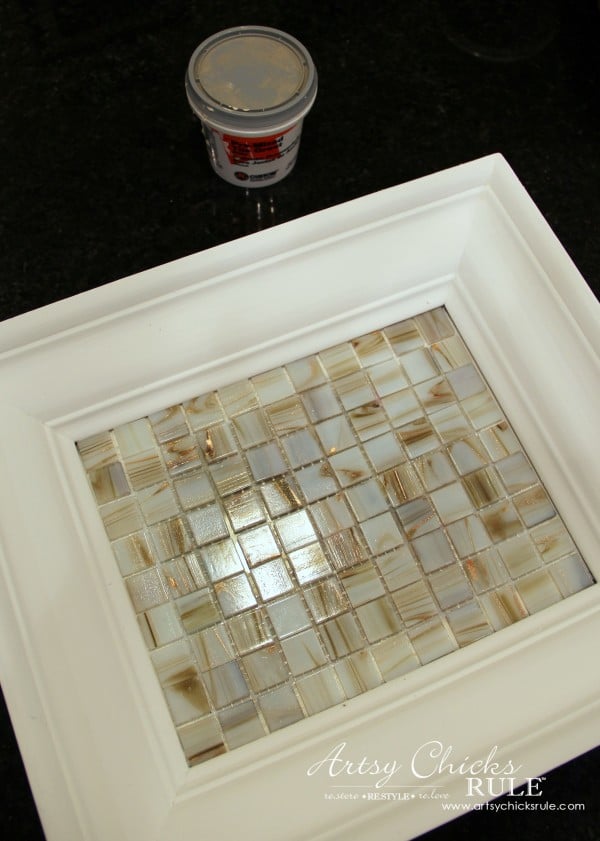
By they way, I squished the tiles in so they’d fit. I was not about to CUT tiles to fit this frame.
Thankfully it worked out perfectly.
So after the E6000 set overnight, I got to grouting.
Pretty simple really.
I didn’t even pull out my “grouting supplies”. I just used a putty knife to work it into the grout lines.
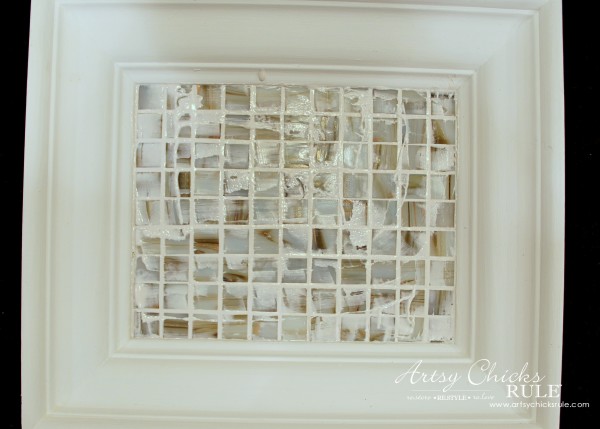
Then I carefully wiped away the excess with a damp paper towel.
After that dried for about 30 minutes, I came back and wiped again with another, clean damp paper towel to remove any residue on the tiles.
Then I let it sit and dry overnight.
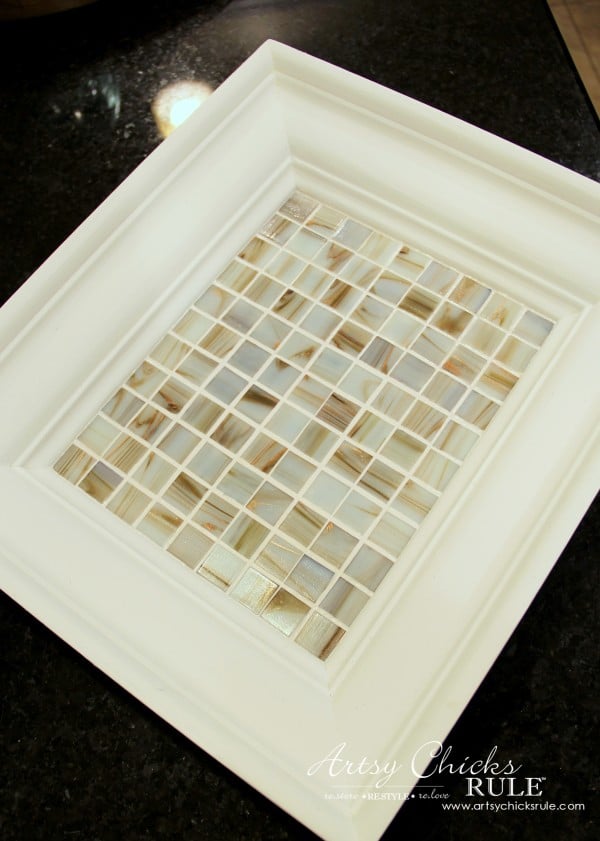
I had old brushed nickel handles from our kitchen that I decided to re-use for this tray.
I sprayed them with (*affiliate link) Rust-Oleum Hammered Copper Spray Paint to match the copper color in the tiles.
(the tiles, by the way, were bought a few years ago for another project I never got around to….imagine that!! ;) )
After that was set, I applied one coat of Clear Wax on the painted wood and lightly sanded it to distress.
Then I glued the handles to the sides. (with the same E6000 glue)
Done!
So easy. (really!)
And what a fun tray to display my pretties on…..
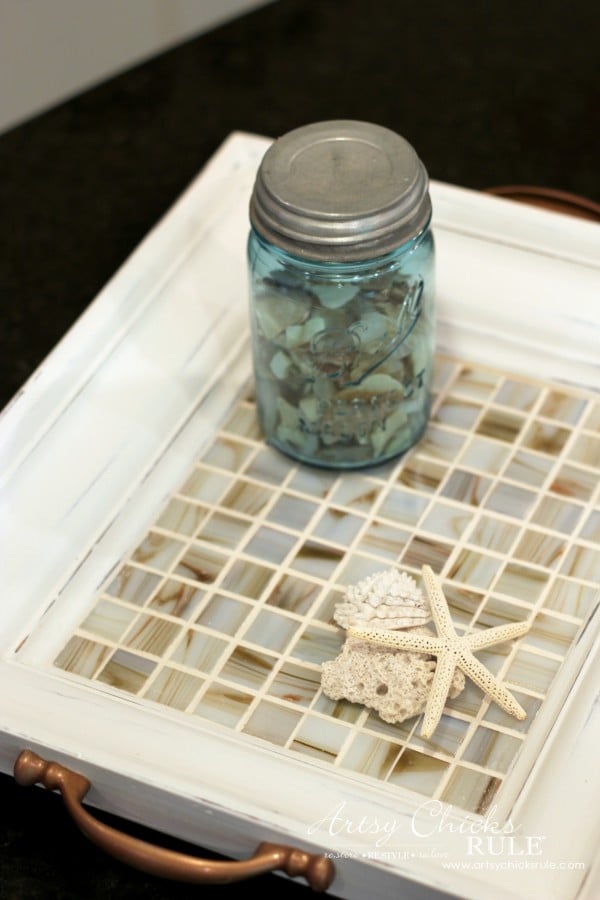
I love how the tile mimics the shells I have in this blue Ball Mason jar…..
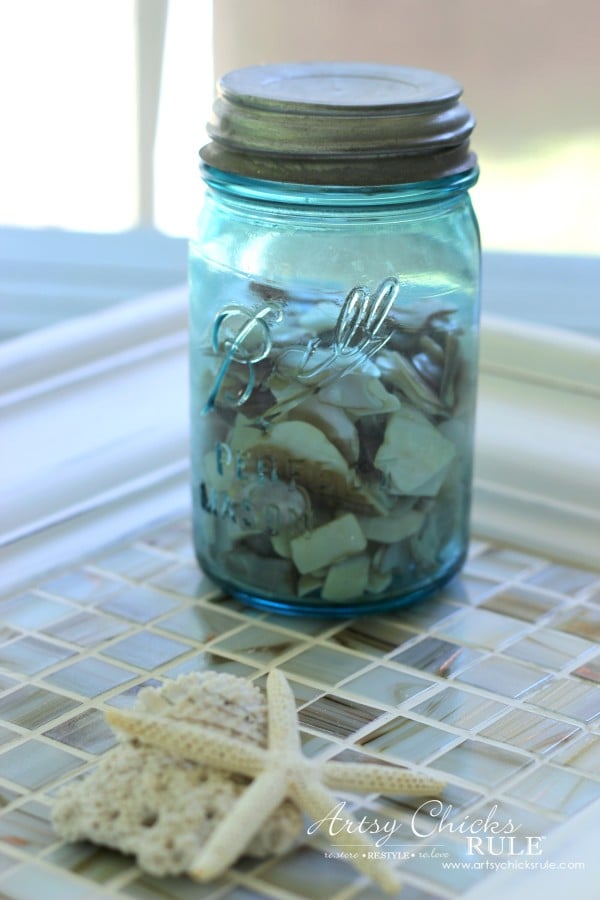
Look at those colors…..
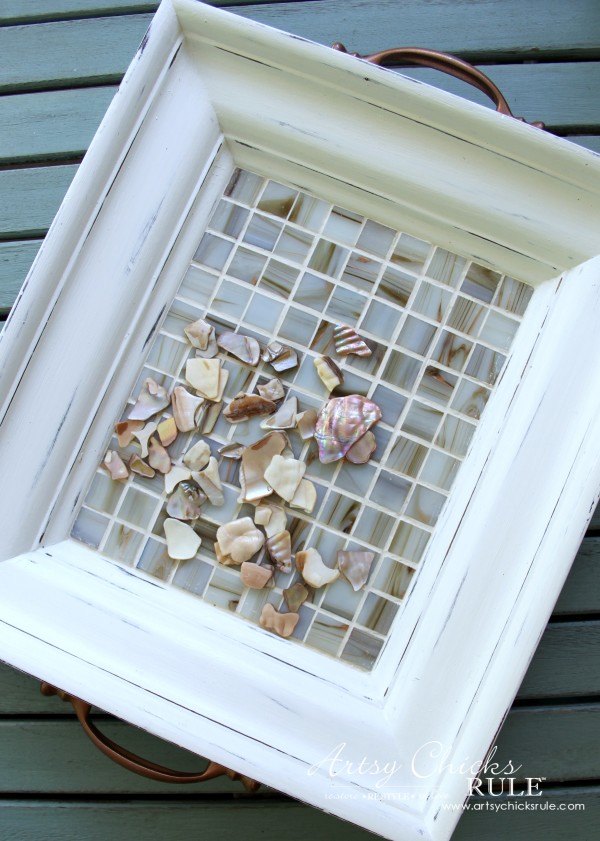
So pretty…
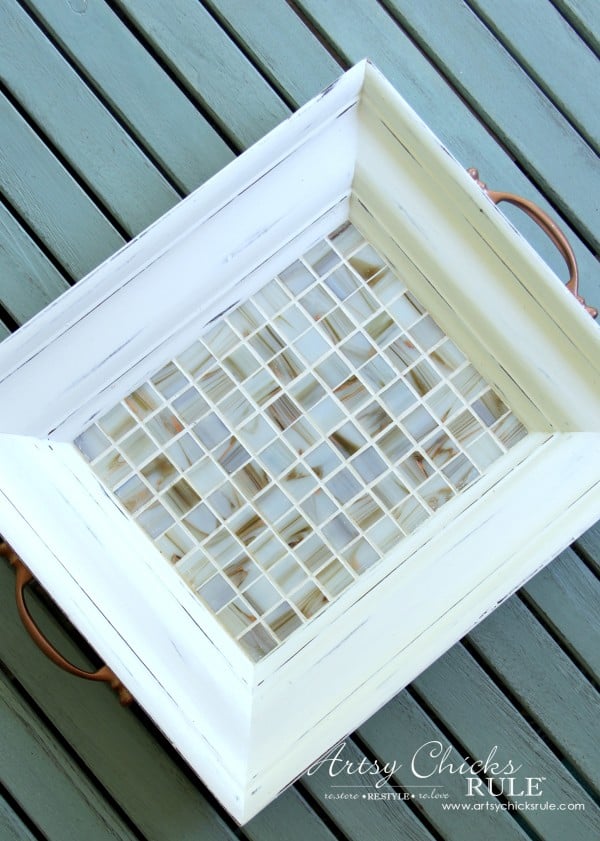
And such a simple makeover.
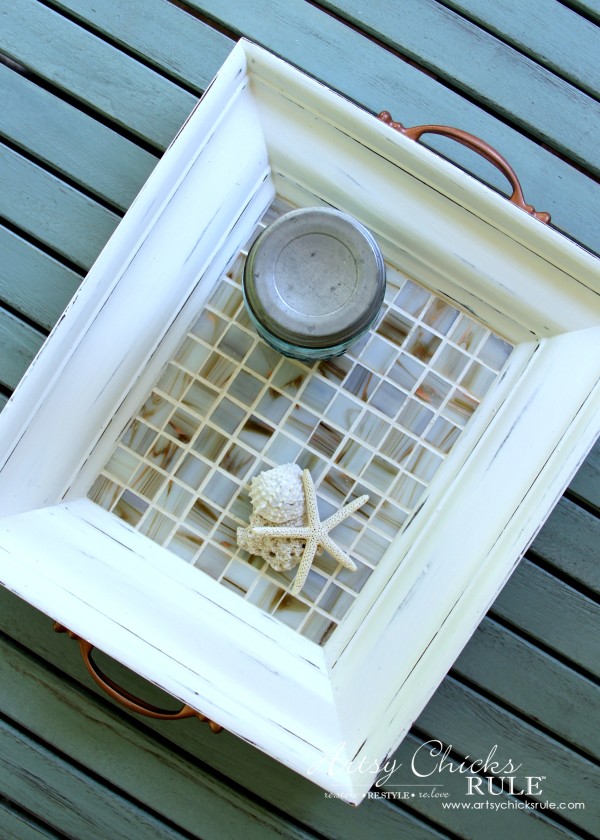
It would make a perfect gift for someone.
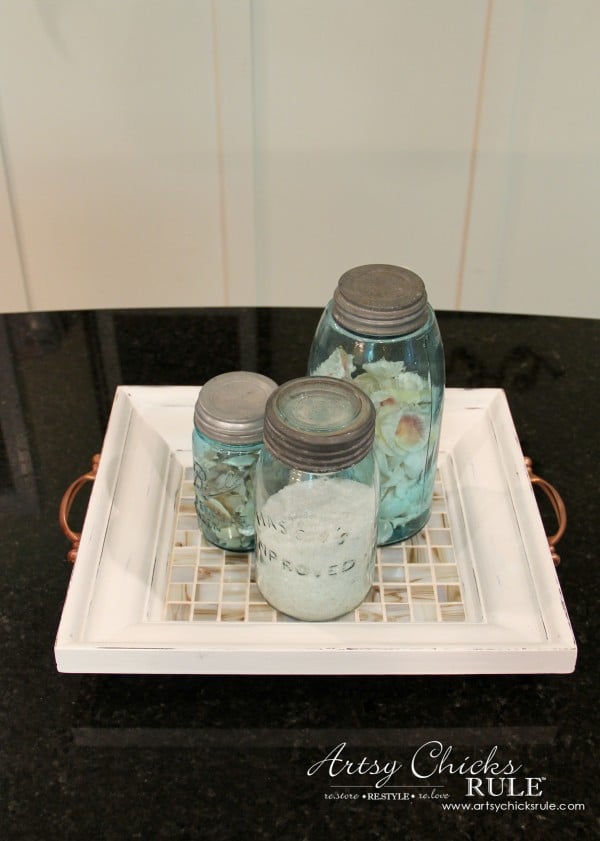
I think I’ll keep it here on my kitchen island for a bit.
I’m LOVING that copper color on the handles.
I think I may have to paint something else with that color very soon. :)
PIN this tiled coastal tray for later!
A little sneaky peek back there of my “coastal styled shelves” coming up on Thursday!
That’s for our shelf/bookcase styling challenge. Are y’all joining in too?
Check out the Facebook group .. here .. for more details!
We’d love to have you!
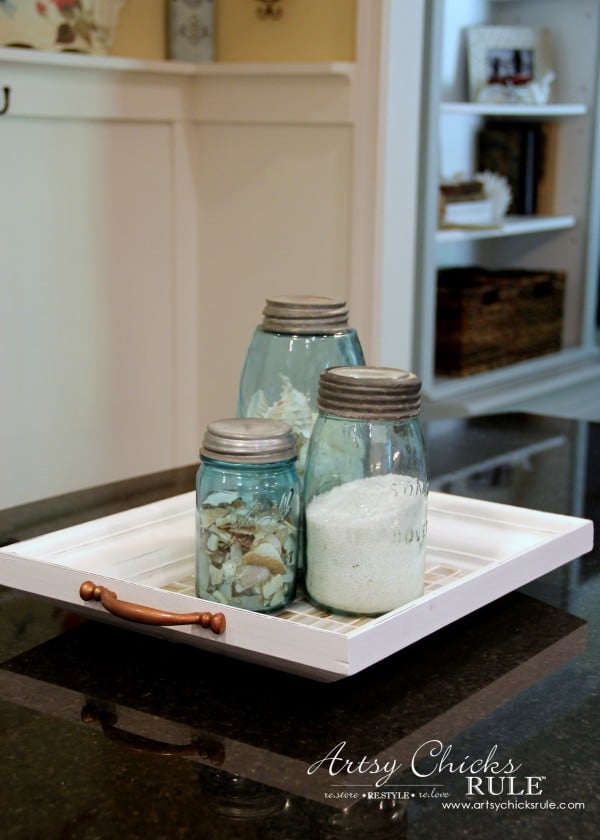
So that is my “Trash to Treasure” makeover for this month!
I’d love to hear about (or see, send me a photo!) what you’ve made over recently!
**Here’s another tiled tray I’ve done recently…. >>> “Old Framed Turned Tiled Tray”
Be sure to check out the goodies my friends’ made over below. :)
See you on Thursday with my coastal styled bookcase!

Confessions of a Serial Do It Yourselfer
Follow along! –> Instagram ~ Facebook ~ Pinterest ~ Bloglovin
*This post contains affiliate links. See here for full disclosure.
Sharing with: Confessions of a Serial Do It Yourselfer






What a fantastic idea, Nancy! You’ve given me some hope for my scrap pile of tiles – thank you. :)
Yep, have fun Larissa! :)
Nancy
Hi Nancy~
Such a beautiful tray.
In your last pictures I could see bath salts, foot scrub & a glass of wine on this tray.
I have been wanting to try grouting and this would be the perfect start.
Thanks for sharing.
Rose
Oh yes, I can so see that too! What a lovely idea! :)
I have it on my kitchen island now but I may have to move it to the bathroom!
It would be pretty in there too.
xo
Nancy
Yes that would make a perfect gift…for me…my birthday is next week lol! I love that! How lucky that the tiles fit just right?! XOXO
Haha! Okay!! ;) Yes, it was lucky, because I was not about to cut any! I wanted “easy” for this one.
xo
Nancy
as usual you take the most mundane things and make them gorgeous and this week’s ttt was full of awesomeness xx
Thanks Chris! I LOVE reinventing old things…but it sometimes does take a bit of time with that thinking cap on! ;)
xoxo
Nancy
What a cute little tray, Nancy! I think even I could make one of those. The Goodwill by me, though, never has any frames anymore. I used to get a bunch there for like a dollar or two. I’ve been wanting to track down some of the other thrift stores in my town, so I guess this gives me a good excuse! :)
Nice job! xo
Thank you Karen!
Oh no…you have to find a new thrift store (or stores!! fun!)! Those things are in abundance at just about every store around here! All shapes and sizes. :)
xo
Nancy
I love it! I am gonna have to try it myself!
Thanks Rose!! Oh yes, do!! It was so easy and makes such a pretty little addition to the decor!
xo
Nancy
Love this idea, Nancy – so pretty! Loved your photos as much as the tray – fabulous photography girl.
Aw thank you so much Marie!! Good lighting for this one!! (unlike my upcoming shelves one! ;) ) It’s all about the lighting!
xo
Nancy
Beautiful!!! You truly transformed it!! Love it :)
Thank you Crystal! :)
It was fun to do! I might have to make more…I’m thinking bigger this time!
xo
Nancy
This turned out so pretty! I’m amazed that you can turn any boring thing into something beachy/coastal and it ends up looking fabulous! Also you make tiling sound so easy… it has always intimidated me.
Thanks Jen! :) Tiling is easy! Especially the way I did this one!
xo
Nancy
Nancy,
What is the size of your tray (inside the frame where you can actually set stuff.) Sometimes I have good frames but think it’s not big enough for a tray. However, for one on my dresser, I wouldn’t actually need anything larger than 9×12!
I love the white frame and the tile. And, I am also a big fan of E6000 glue!
Barbara!
I’m so sorry, I saw this several times and needed to go measure. Then I got sidetracked… every single time. (not hard for me! ;) )
But I have the measurements for you. The inside area is approx 7 1/2 x 9 1/2 and outside is 13 x 15.
I think pretty much any size is good. You’ll want to (ideally) use something in a size that does that require you to cut tiles though! I had another frame I wanted to do but I couldn’t get the tile layout right without cutting tiles. I do have a much larger frame that I’m planning on tiling though and am excited to get started on it! Have fun!
Nancy
This is beautiful and such a great idea – who would have thought :) You have made a beautiful job :)
Thank you Denise! :)
Nancy
yikes!! I really really love this project and I really really need to do this….like right now….like leave work and do it lol! Amazingly enough, I have almost all the same materials available…bought for *some day*project when the items were on clearance. Thanks for such an inspiring blog and project/tuts etc.
Oh yes, you do!! ;) This was a really fun project and I’m hoping to do another one soon (with a larger frame and different tiles)
Would make a great gift for someone too. It’s definitely fun to decorate with!
xo
Nancy
I have been looking for a tray to set my toaster on to catch the crumbs before they spread everywhere. I think I will make one of these from my leftover glass tiles from the back splash! Great idea. Curious, did you have the tiles on hand or did you have to purchase them?
DAH! As I re-read your instructions, I see where you did have the tiles on hand.
Yay! :) Will be perfect for that! I have another I want to make, but larger .. and with different tiles!
xo
Nancy
I absolutely love this tray, it looks so high end xoxox
Thank you! So much fun to make too. I’m getting ready to make another for my family room. :)
xo
Nancy
I have a bunch of great frames and was making chalkboards out of them. ( They would sell like hot cakes) but this is a fabulous idea also. I
The best thing is I believe I have all the supplies. Thanks for the insperations. I just love it
Oh yes, this was fun to make too!! I plan on making a few more! ;)
Nancy