Hidden Book Storage Makeover
Let’s make over this thrifty find because who doesn’t need hidden book storage?!!
I hope you had a wonderful weekend. It was my birthday last week and we did several things to celebrate. One of them was an “afternoon tea” in Williamsburg at the Williamsburg Inn. It was SO much fun!! I can’t wait to go again. My husband was not too excited (haha!) but enjoyed it as well.
And today, Valentine’s day, we will probably do nothing. Both of our birthdays are in February so by the time Valentine’s comes, we are partied out. lol But that’s okay, I don’t mind! Happy Valentine’s to all of you!
Today is Trash To Treasure Transformation Tuesday. That’s a mouthful but one of my favorite days of the month. My friends and I get together to share our finds all made over. So, you know, our “trash” turned into “treasure”. We are missing Jen & Denise this month but hope they will be back next month. Be sure to scroll all the way down to the bottom to see Christy and Larissa’s makeovers too.
I’ve got a brand new haul I’ve managed to piece together over the last few weeks of thrifting here and there. I’ve got a couple of fun pieces and some I’ve already begun work on.
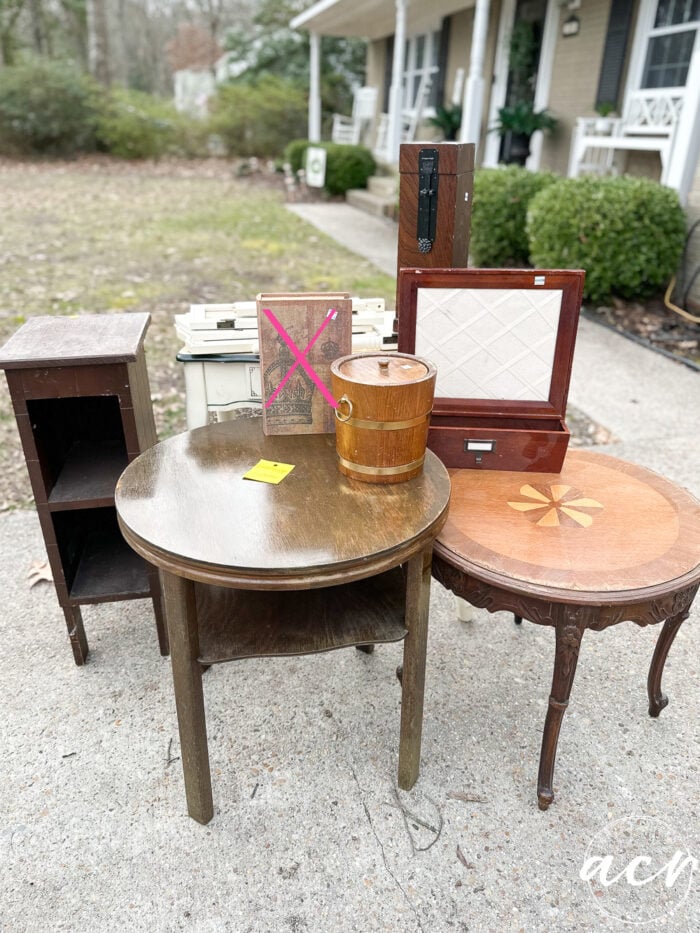
Lots of fun stuff! Today I’m sharing the “book”.
Before we get to the project, I want to remind you to go enter my birthday giveaway in case you haven’t! You can visit the post and enter it here.
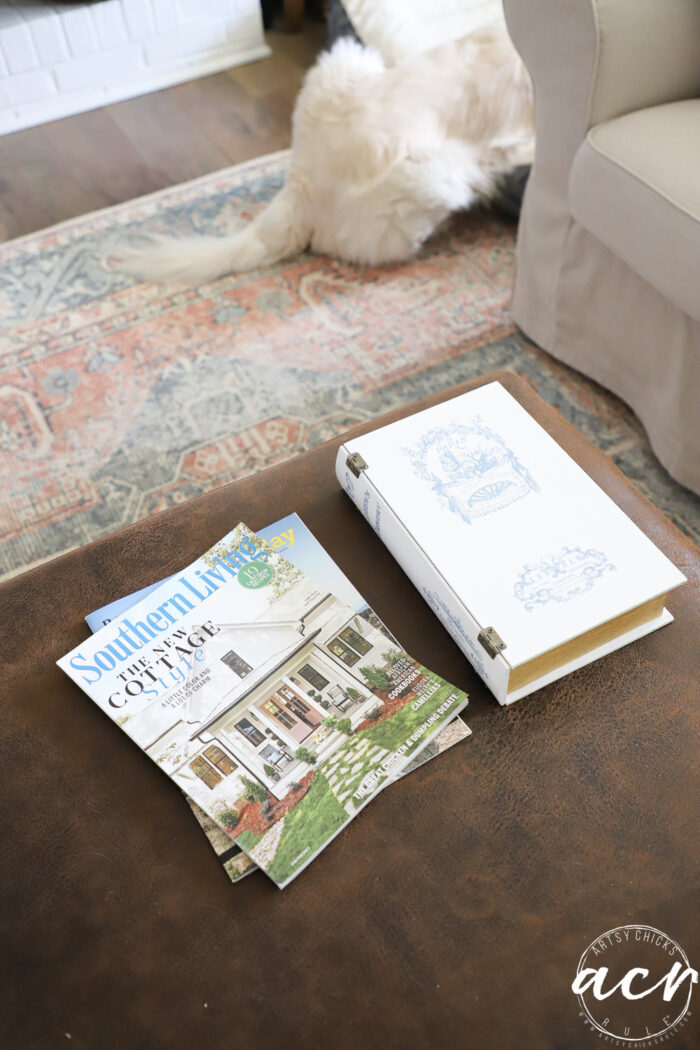
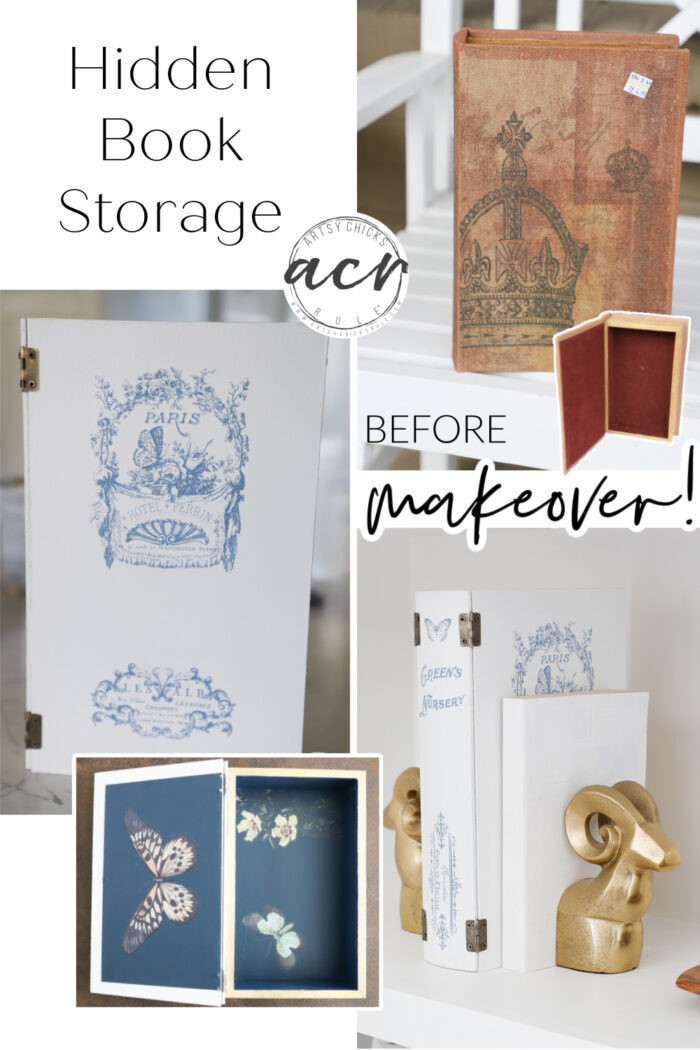
Hidden Book Storage Makeover
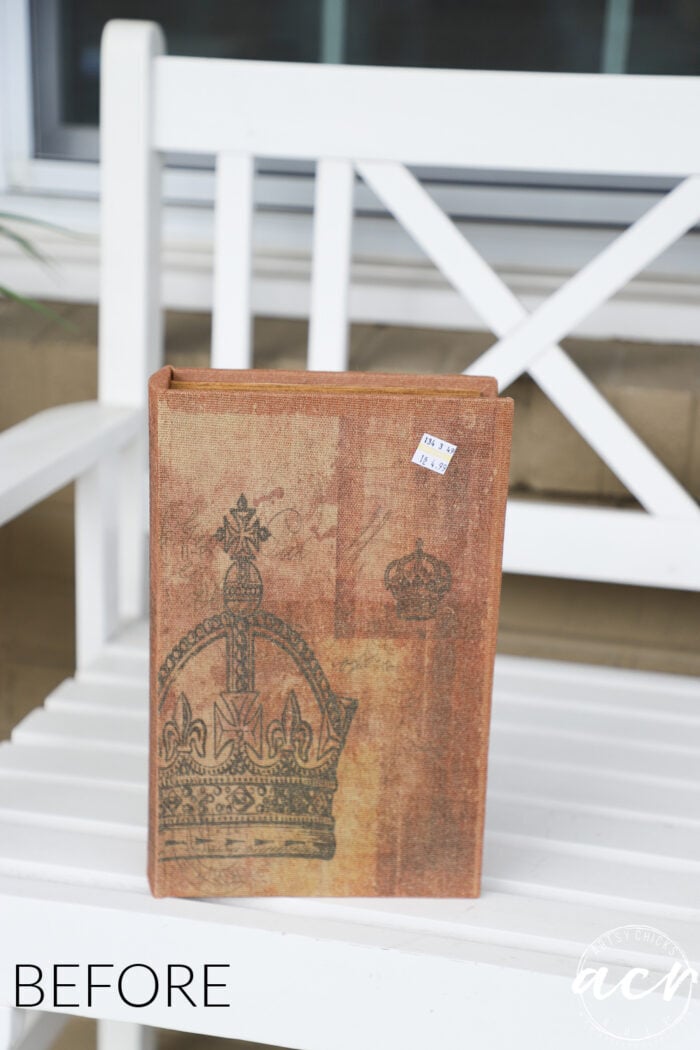
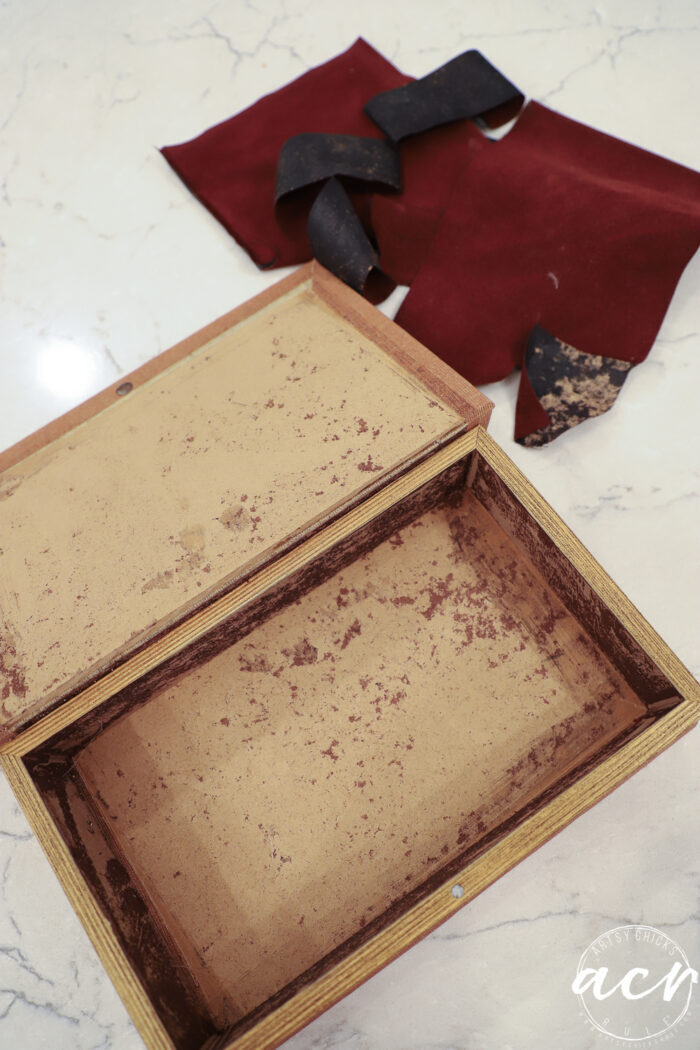
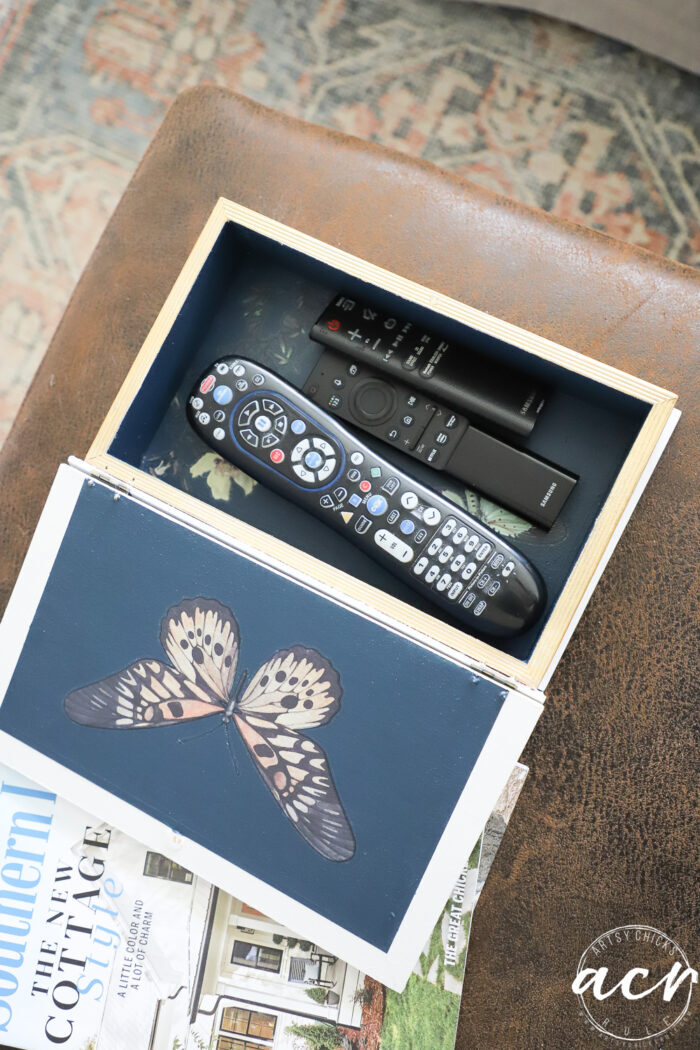
And the inside…
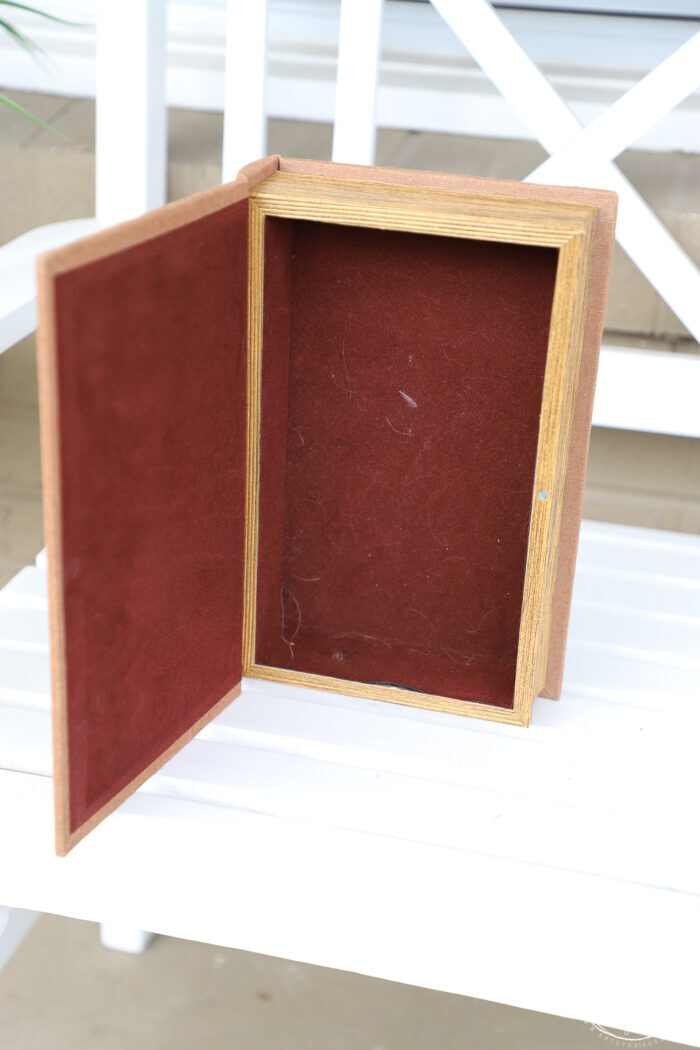
Pretty cool, huh? Hidden book storage, who doesn’t need that?? haha!
Really, though, I thought “this will be a fun one to make over” when I found it.
I had great plans for it.
So I pulled out the interior fabric first.
Then on to the outside.
Whomp, whomp, whomp… I wanted to put transfers on it and the outside was rough/fabric. So I first thought I’d sand it smooth and paint over it.
NOPE! Didn’t work for obvious reasons…fabric.
So I thought, no worries, I’ll just go ahead and remove the fabric and then paint, etc.
And realized that the fabric is what held the book together. Bummer!
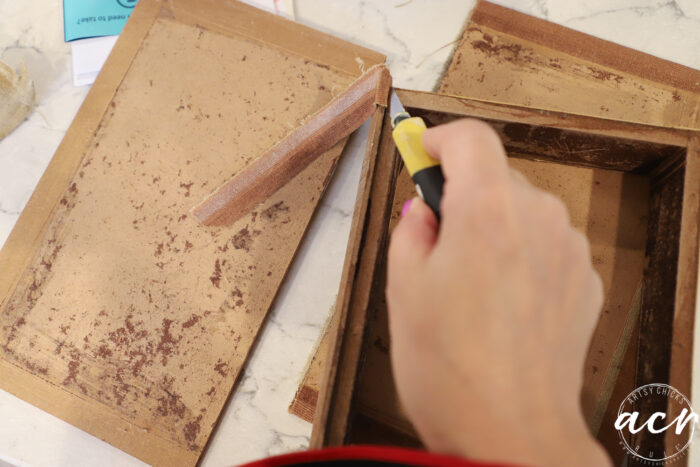
So I just continued on and cut what didn’t come off easily with the x-acto knife.
No, that’s not true, I actually stopped and didn’t touch it for a week or two thinking well that one is done!! lol (meaning it’s not going to get made over)
But then I had an idea…hinges!
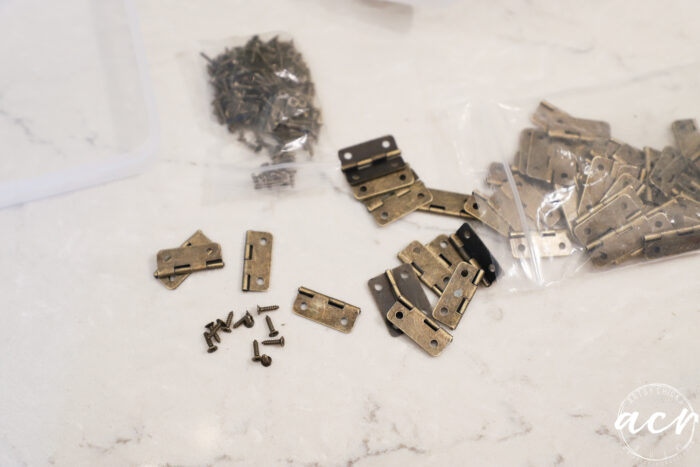
I’d hinge that sucker back together instead. So I ordered these little hinges from Amazon and got back to giving my little book a makeover.
MATERIALS SOURCE LIST
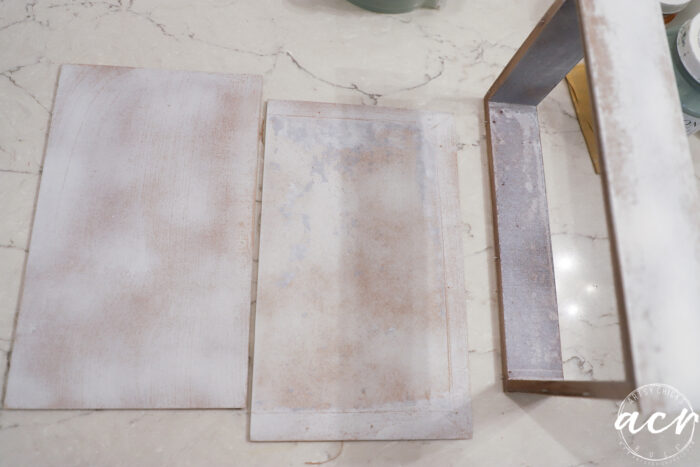
I took ALL the fabric off, inside and out. Then I sanded it to try to smooth it out a bit.
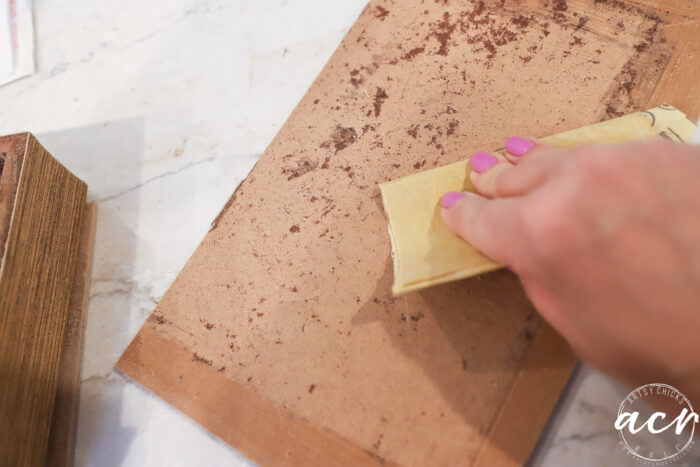
Next, I gave it a coat of primer (spray) to hopefully seal it before I paint it. (it was cardboard-ish so I didn’t want the paint to sink in etc)
I let that sit a day or two and then painted with Casement. (2 coats)
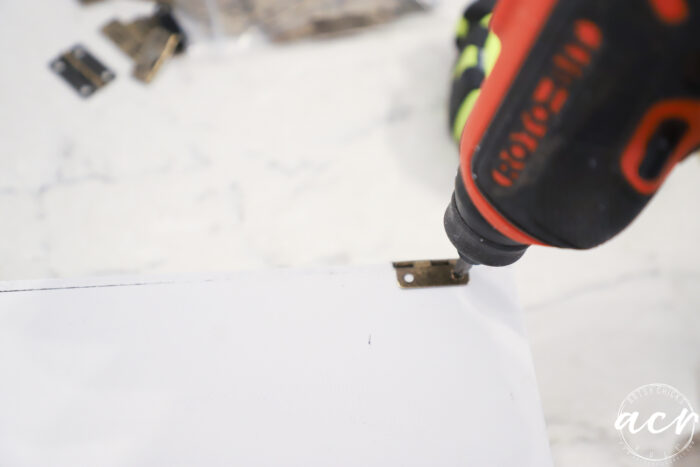
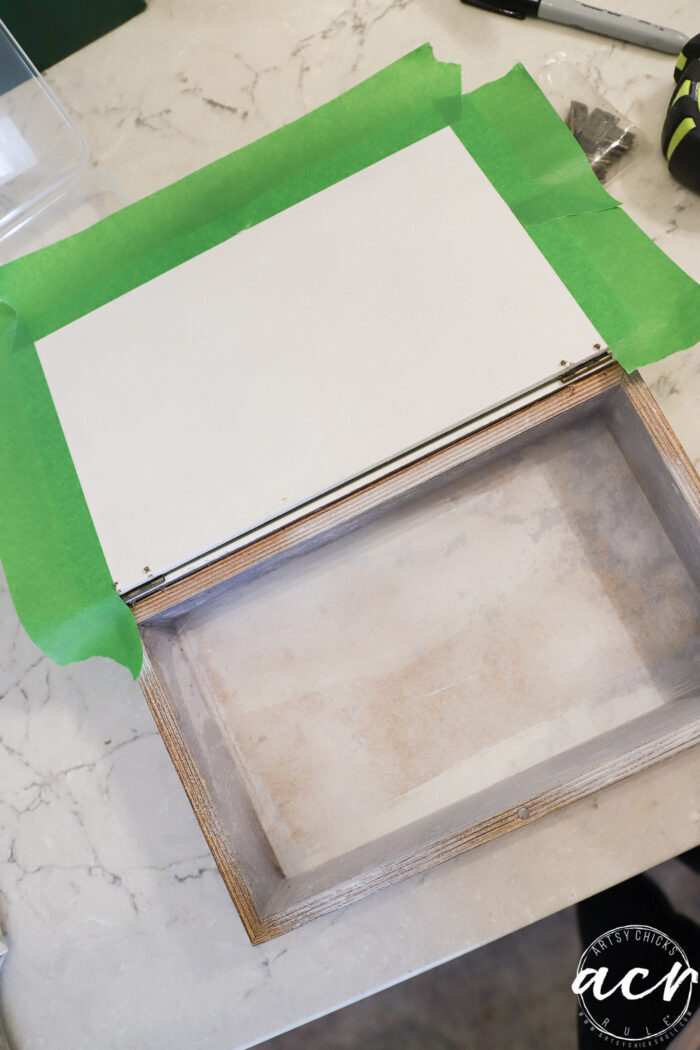
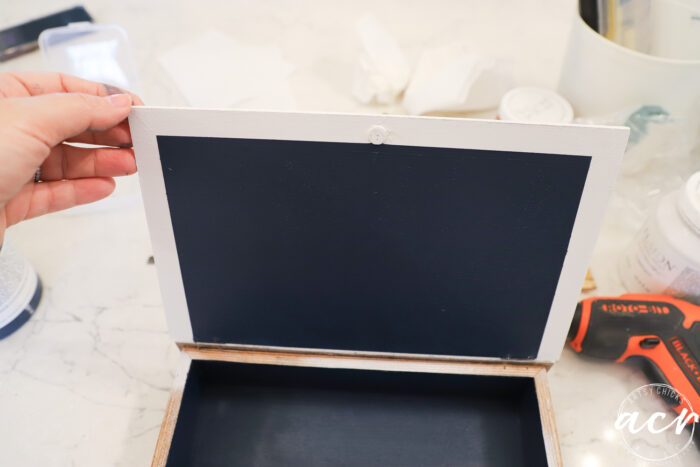
Once it was dry, I attached the hinges.
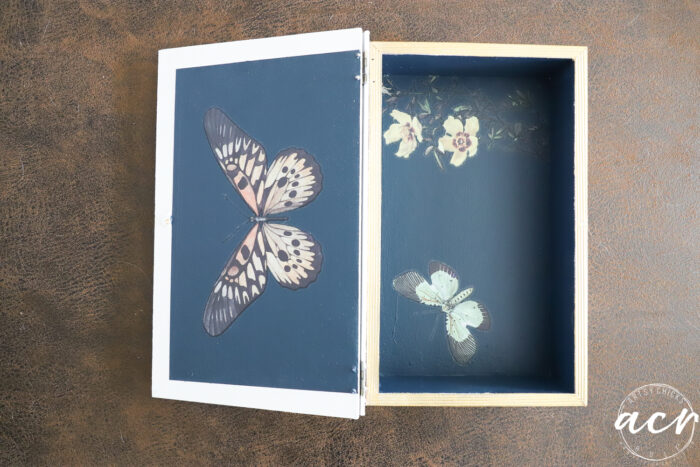
Then I taped off where the old fabric was on the lid and painted the Willowbank inside. (I adore this color…it’s part my of birthday giveaway I linked above!)
Also, to note, my tiny screws did come through a little on the other side…boo. But I decided to just let it roll. I mean, I almost tossed this whole thing so I’m still calling it a win! ;) I’m not bothered by it but I could place two pieces of felt or something similar to cover them. OR try to find shorter teeny tiny screws which is probably not as likely.
Perfect, love FrogTape the best!
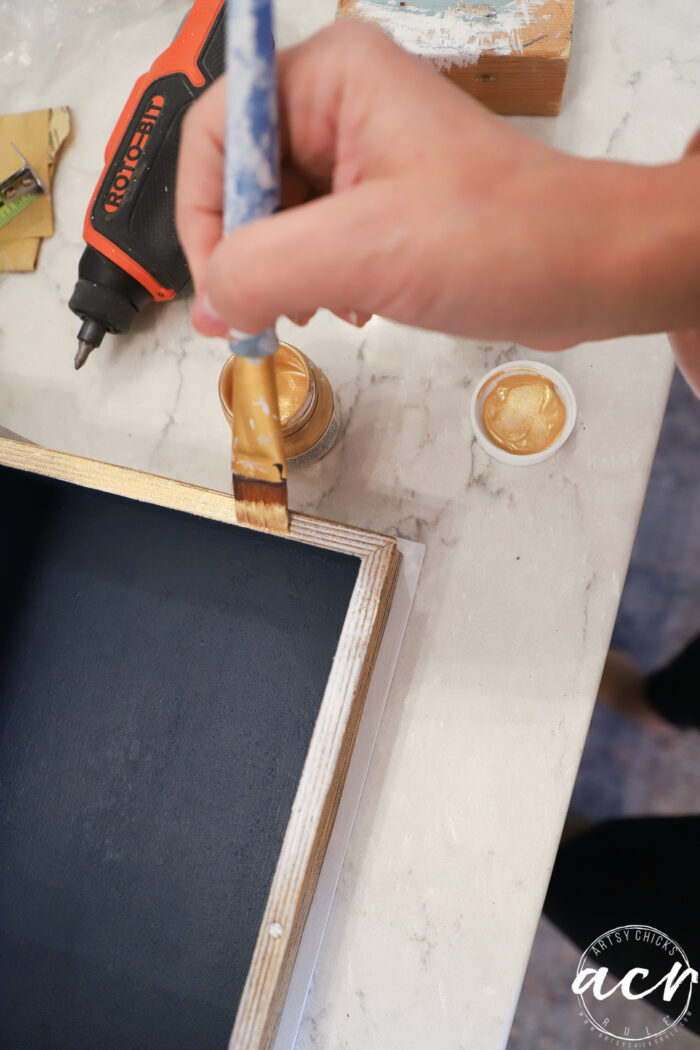
Then I got to “edge gilding”, painting the “book pages” gold.
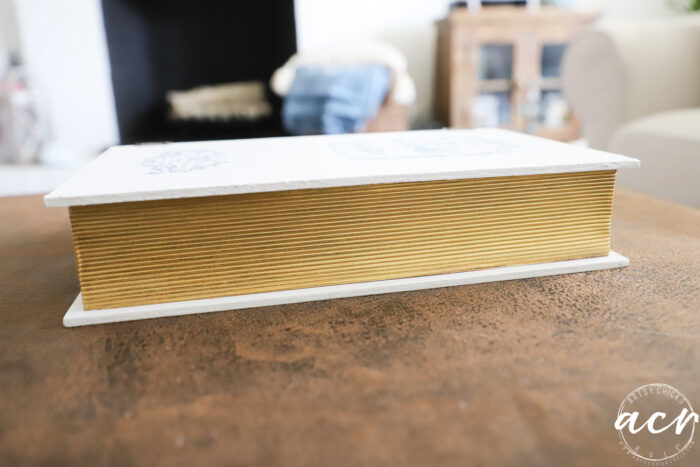
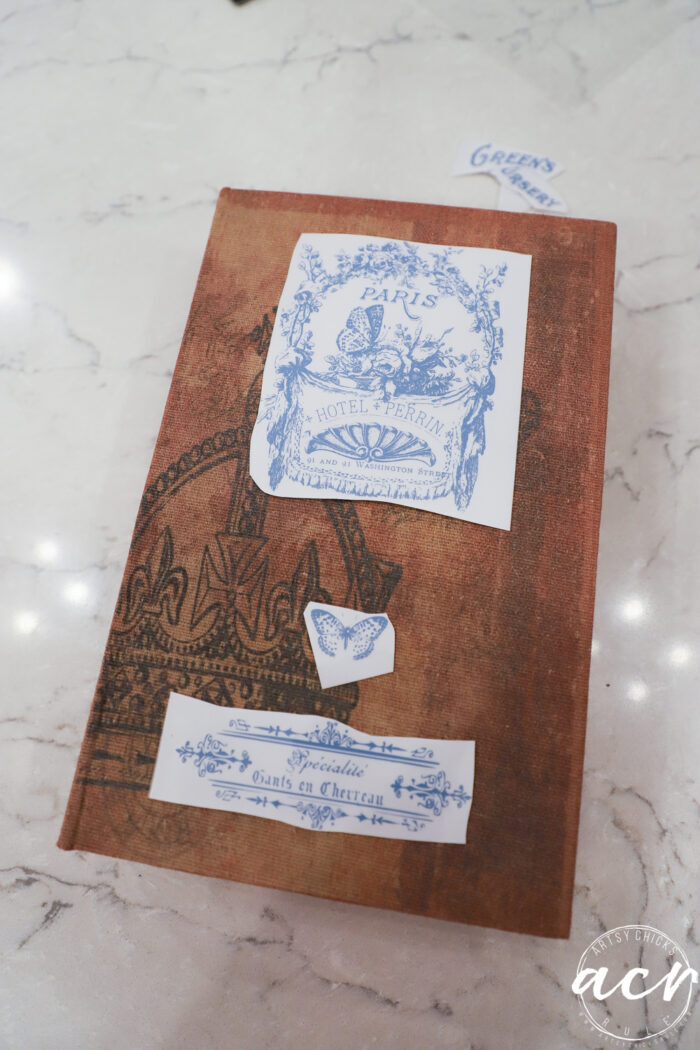
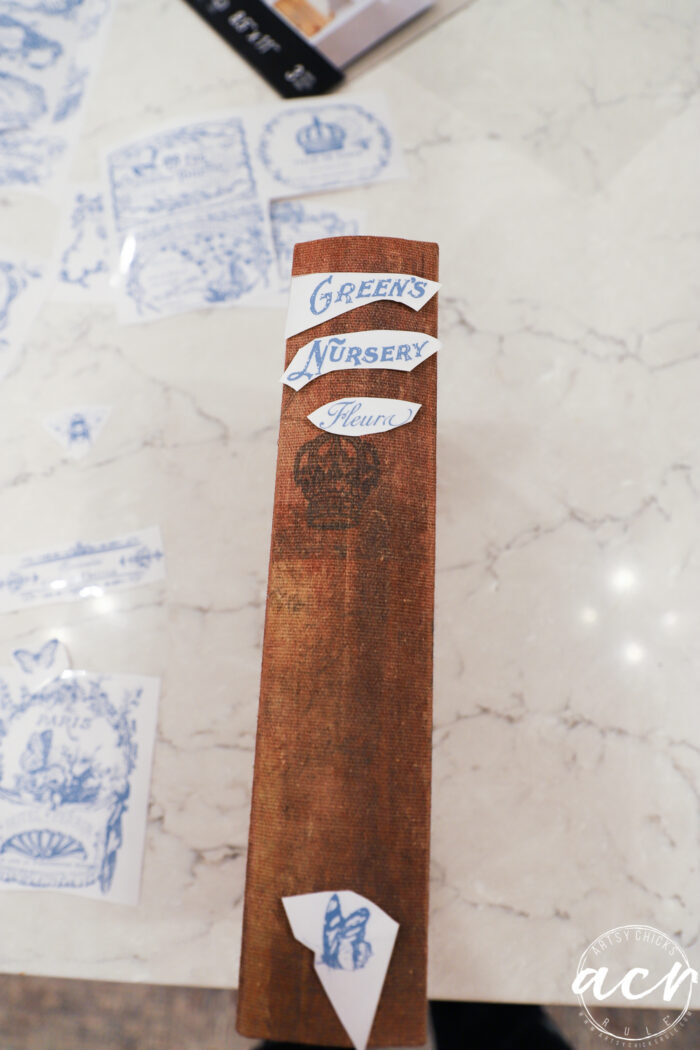
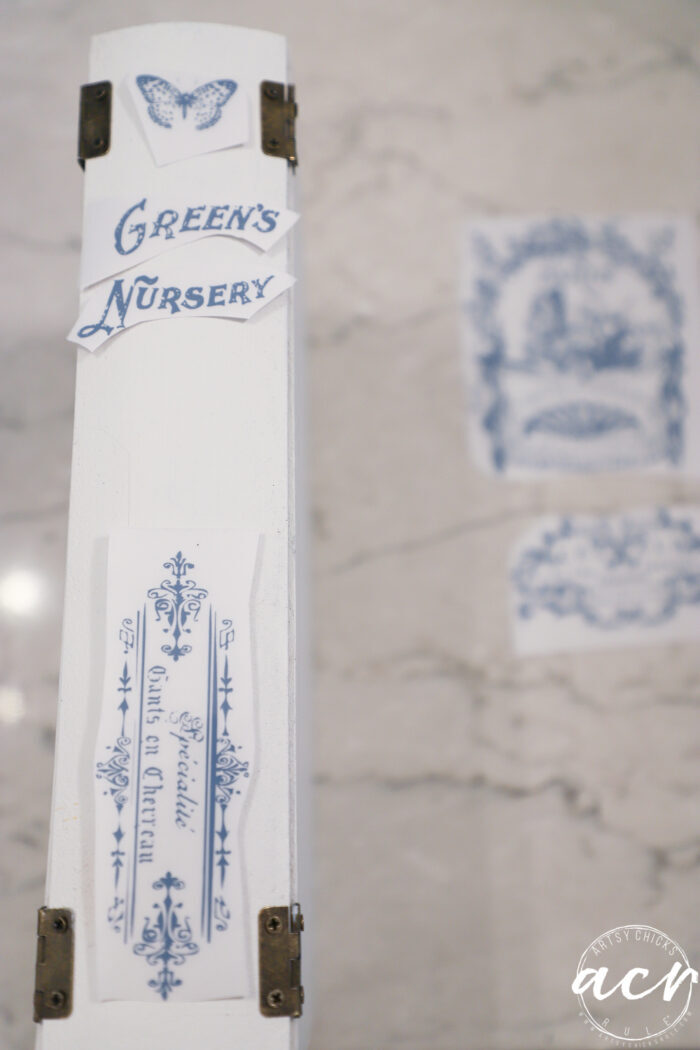
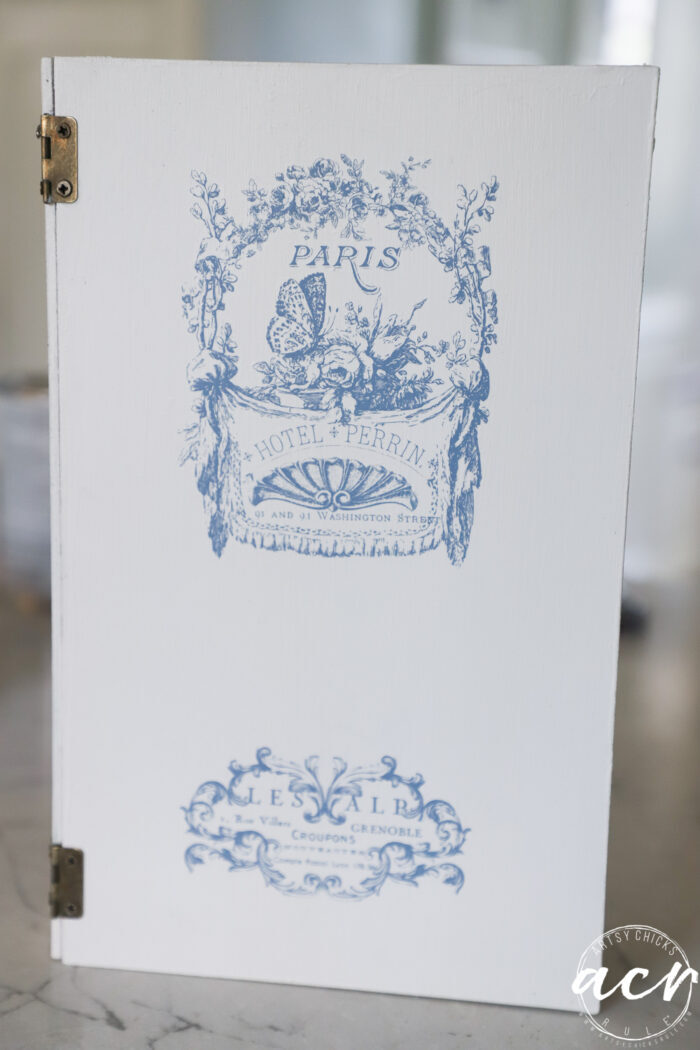
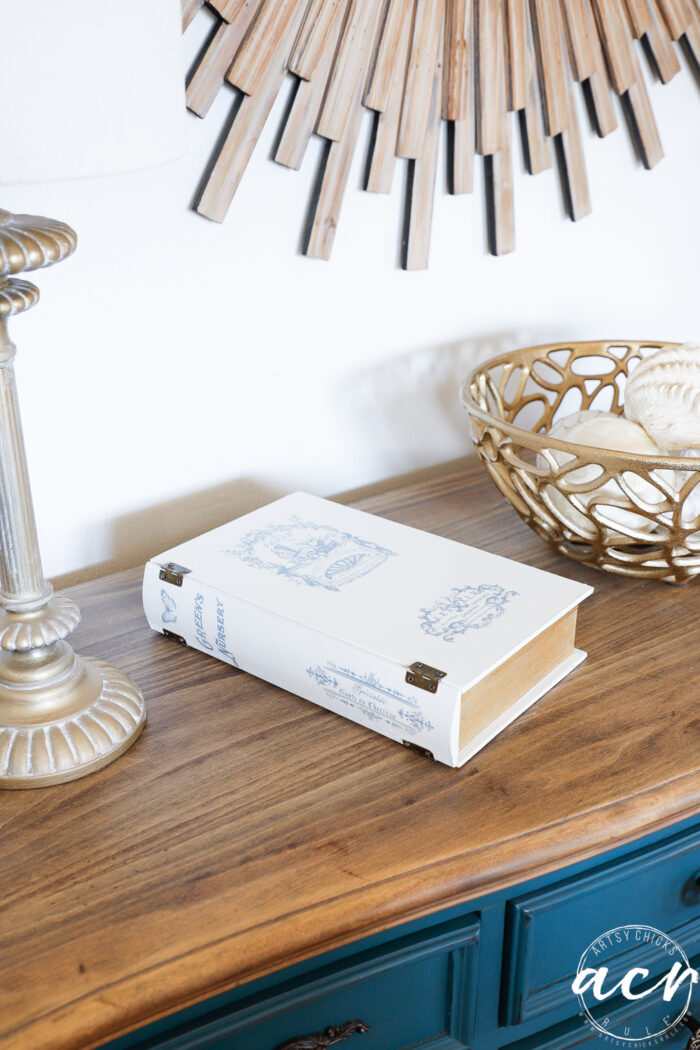
For the outside, I decided to use one of my new transfers.
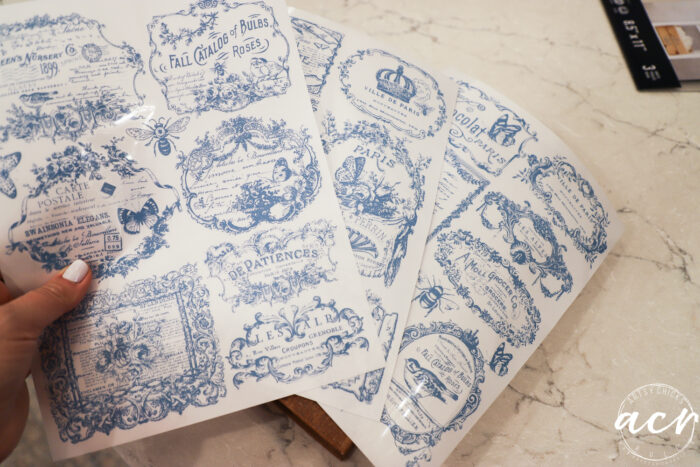
And then decided to do a “surprise” transfer inside too.

I thought about painting the hinges white…or gold but decided to leave them as-is.
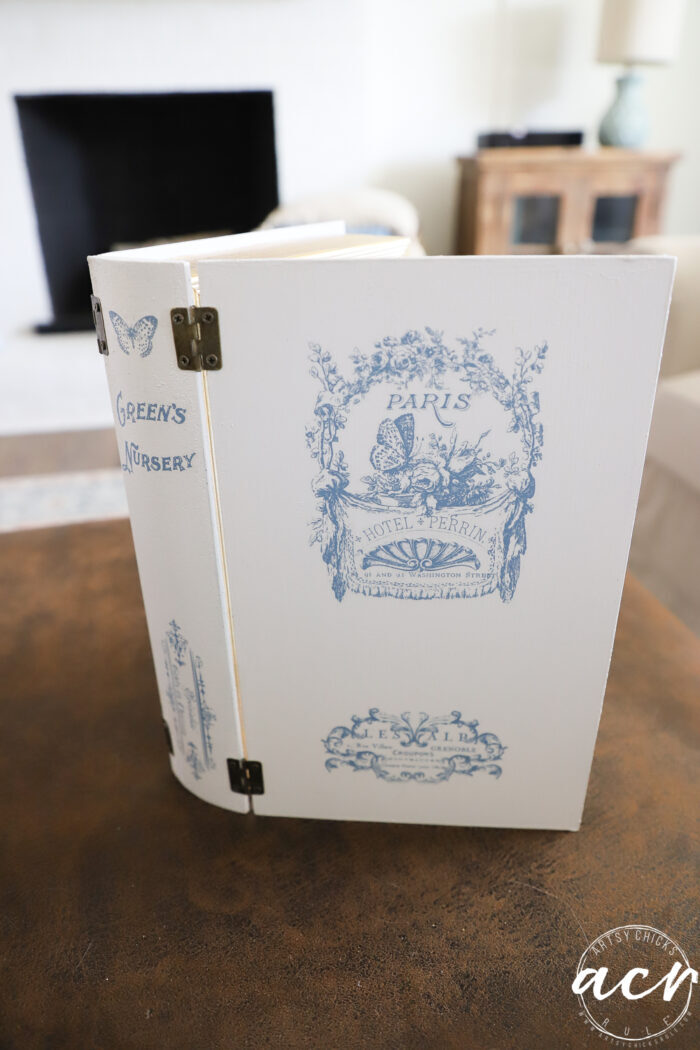
So for a project that went south very quickly, I’m happy I was able to turn it around!
So, hidden storage…could be a “coffee table book” to hide remote controls in.
See that cute butt over there?? He was too busy chewing on his bone to be bothered by me. lol
Here are a few shots of it on our bookshelf…hidden in with other books.
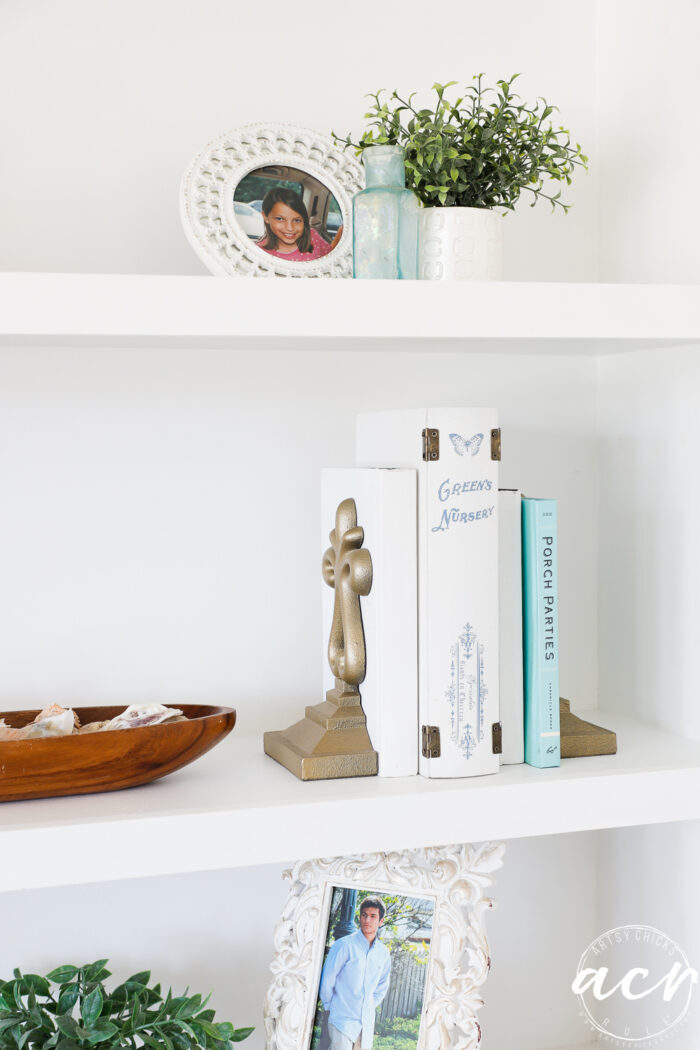
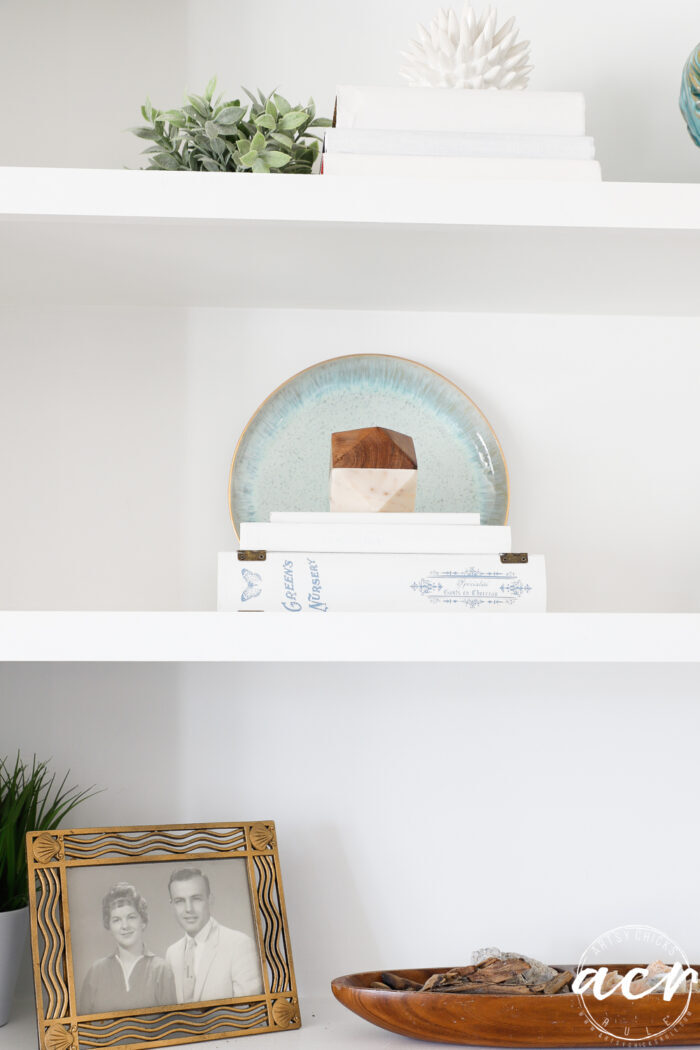
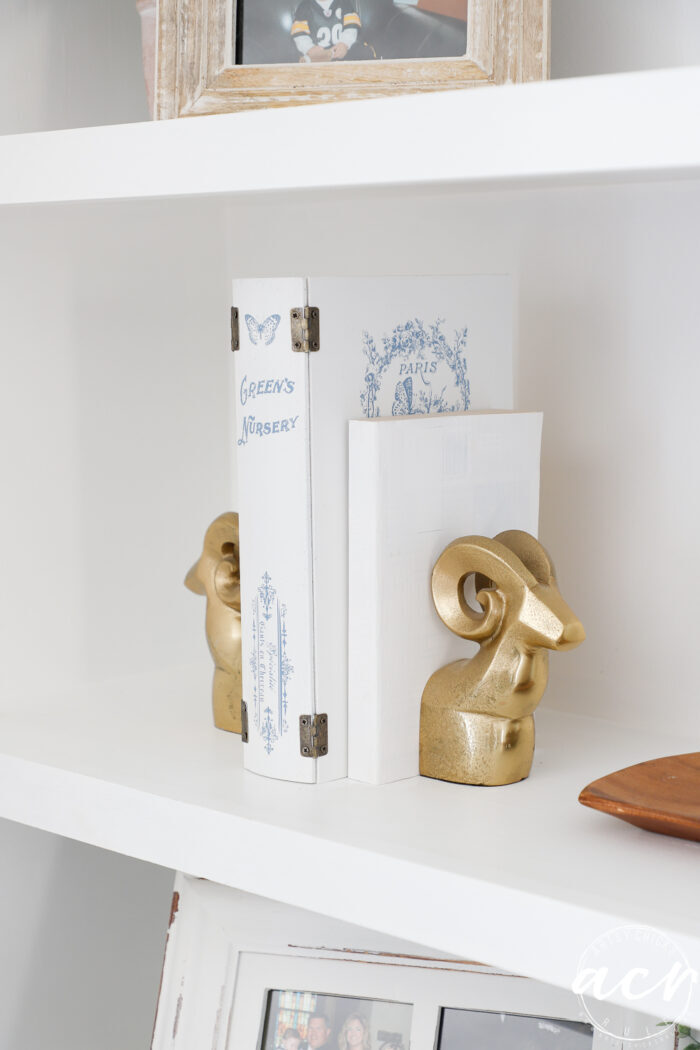
I guess the hinges kinda give it away. But that’s okay, bet ya won’t find another like it!
So what do you think?? Should I paint the hinges gold or white?? Or leave them as-is??
PIN it to save it!
Don’t forget to check my friends’ makeovers today too!
Don’t forget to hop over to my birthday giveaway and enter to win the goodies! Birthday Giveaway
Have a wonderful week! We are having (and have been having, yay!!) warm temps around here. Loving it! Spring feels close, I hope so!
xoxo


")


Myślę ,że jest dobrze. Gdyby były złote ,chyba za bardzo rzucałyby się w oczy. Gdybym sama robiła podobny projekt ( myślałam ,żeby sobie kupić takie pudełko – chyba taniej by wyszło :))) , może zaryzykowałabym odrobinę “suchego pędzla”. Jednak ilu by się za podobne pudełko nie zabrało , tyle byłoby projektów. Życzę Ci miłych Walentynek.
Yes, I think gold might not be good either!! Maybe I should’ve painted them white?? I don’t know! But thank you and happy Valentine’s day to you as well! :)
You rocked it! What a pain to deal with, but you obviously won in the end. Yay!
Thanks, Larissa! :)
Lovely…and a big improvement. I would paint the hinges so they blend in more-but that’s just the look I prefer.
Yes, I’m thinking that might be the best, especially for the “hidden book” feature. I was just kind of liking the contrast but maybe not the best for this one! ;) xo
Well, that certainly didn’t go according to plan, did it? But you made it work, Nancy, and it looks so good now! I’m a big fan of those fake book boxes, so I’m glad you didn’t give up on it. I like the idea of painting the hinges to match the book, although you could go gold for contrast. Let us know what you end up doing.
No!! haha!! I was like, uh-oh, that’s not going to work. ;) But thankfully hinges came to mind!! I am thinking I will paint them white…although, I really do like the contrast so maybe gold to match the rest! xo
Great re-purposed transformation. I decorate old hard-cover books for the different holidays. February: our wedding anniversary, my husband’s birthday (same day) and our son’s birthday and of course, Valentines’ Day. Have a great month!
Oh, that’s so neat, love that, Joanne!! Thanks so much! xo
Yes, Nancy, I would paint the hinges white to blend in with the rest of your makeover. Any thought as to filing down the ends of the screws that popped through?
I really enjoy your posts and thanks for sharing your ideas and inspiration.
Yes, that is a good idea, I will probably do that or something similar to those screws. If nothing else, cover them in felt or something similar. Thanks so much, Debra, so glad you enjoy! xo
I love book boxes and have inadvertently started a collection. Good save on this one, but I think the hinges are a bit jarring. Maybe paint them the same color blue as the spine and cover transfers?
Oh how neat!! And blue…I hadn’t considered that. Love that idea! xo
Love the blue and white together. Smaller hinges and painted white.
You did a great job.
Me too!! It’s one of my favorites. :) Unfortunately, I did try smaller, less obtrusive hinges first, but they didn’t reach so had to go bigger. Painted white might be the best thing! Thank you, by the way! :) xo
It’s really cute and such a good idea!
Btw, I love your gold ram bookends. Are you an Aries? (I am.)
Thanks, Lizzy!! And thanks…no, I am not, I just loved them!! :) xo
Very nice
I vote for white.
Thanks, Vicky! xo
That’s so cute now, Nancy! I have one of those book things a friend gave me stashed somewhere. Never thought of painting it- now I may have to! it’s the perfect size stash box.
Yes, you should!! Paint it up and add it to your decor and stash something good in there! ;) xo
Love the hidden book storage, super cute! And happy belated bday my friend! Sounds like you had a beautiful day!f XOXO
Thanks, Denise! xoxo
Love the book storage. great idea!
Thanks, Barbara! xo
The only obvious give away are the hinges….wouldn’t pass muster as a book…
Yep, that’s true!!
Super cute! I LOVE those transfers! Glad you and Wally had a fun birthday celebration or two…or three? ha ha! XOXO
Thanks, Christy! It’s that blue and white, I’m such a sucker for those two together! Know you are too! ;) And yes, 2 or 4 or 10!! Haha!! xoxo
I love the finish book! I have several to do myself and this will get my creative juices going.
Thanks, Andrea! Yes, have fun with yours! xo
Hi Nancy!! I have had a box that was connected by the felt but I tossed mine. You kept going and it turned out amazing.
Hi Cheryl! Yes!! I don’t know why I didn’t expect that, but I didn’t! I was like, what?! Aw dang, I’m done!! haha! But I left it and came back to it and glad I did. :) Thanks so much, friend! xoxo