Antique Box Makeover
This antique box makeover got a new “old” look instead!
Hello sweet friends!
I had planned to share the hall bath remodel this week but as I got in there to do the fun part (decorate and finish up) I hit a snag. Ha! A design snag.
The rug I found for in there just didn’t work for me once I got it all together so I’m on the hunt for a 2ish x 5 foot rug. That is a very hard size to find.
Plus, I need to run to IKEA for a few things and I just haven’t made it over there yet. I still hope to share the reveal sometime this week though!
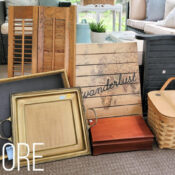
But in the meantime, I thought I’d share another one from my latest thrifty haul.
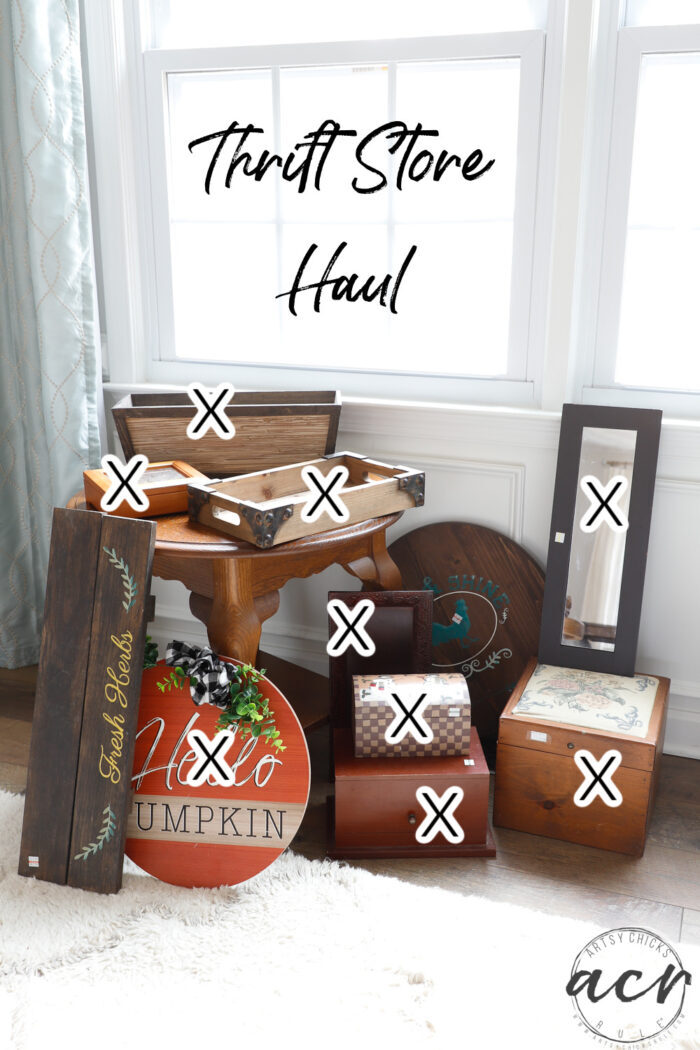
Almost done with this one! Just have 3 more things to make over, the end table, the wood sign and the round, wood lazy susan.
Want to see this haul up close? Check it out here >>> Thrift Store Finds & More
Missed any of the makeovers? You can see them right here:
- Wood and Metal Tray Makeover (napkin decoupage)
- Floral Paper Napkin Decoupage Box
- Hello Spring Door Hanger
- Makeover Using Transfers
- Scrapbook Paper Decoupage Tray Makeover
- Decoupage with Scrapbook Paper (round 2)
- Pineapple Paper Keepsake Box
- On Island Time Sign (this one is not pictured but part of the haul)
- Butterfly Card Box
Antique Box Makeover
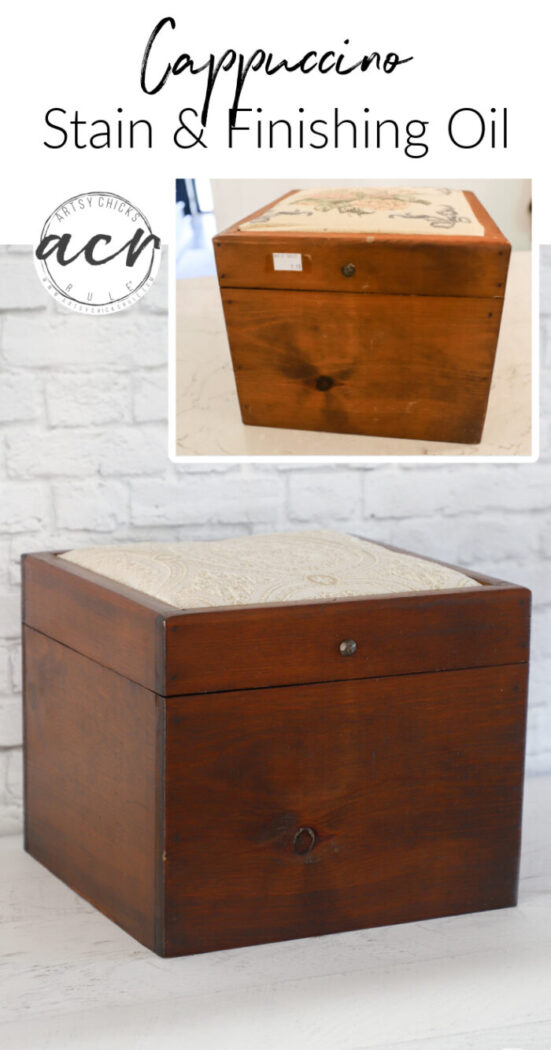
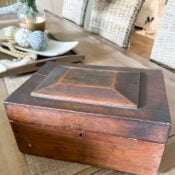
Here is how this one started out…
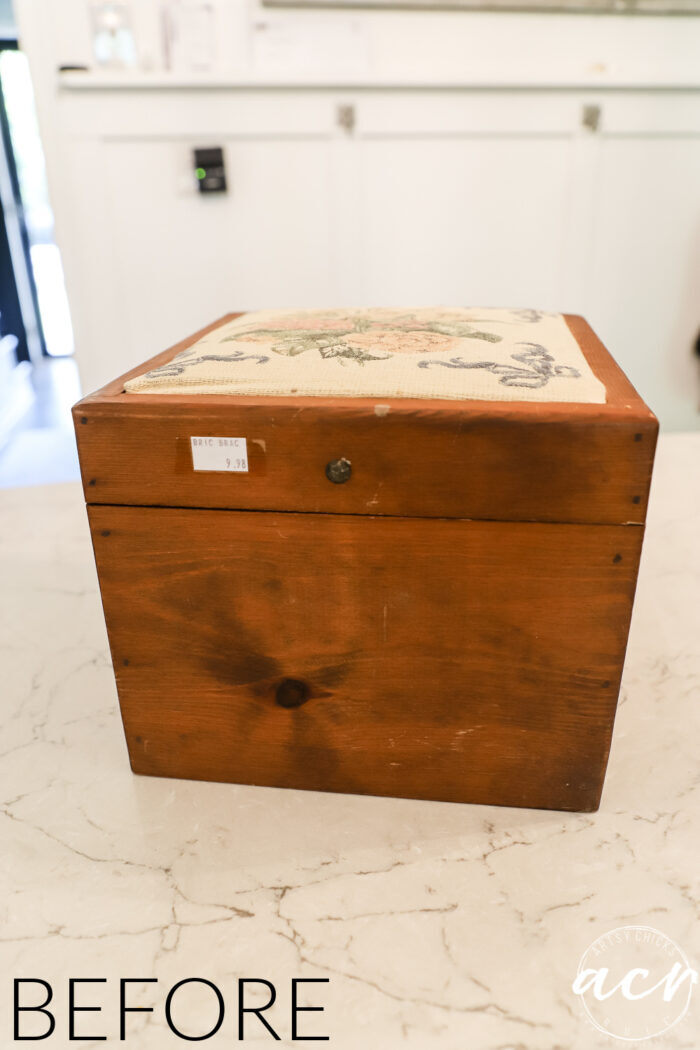
A very nice, solid wood box. Not sure at all what is was meant to be but it’s a great spot to store all kinds of things.
And definitely worthy of a makeover.
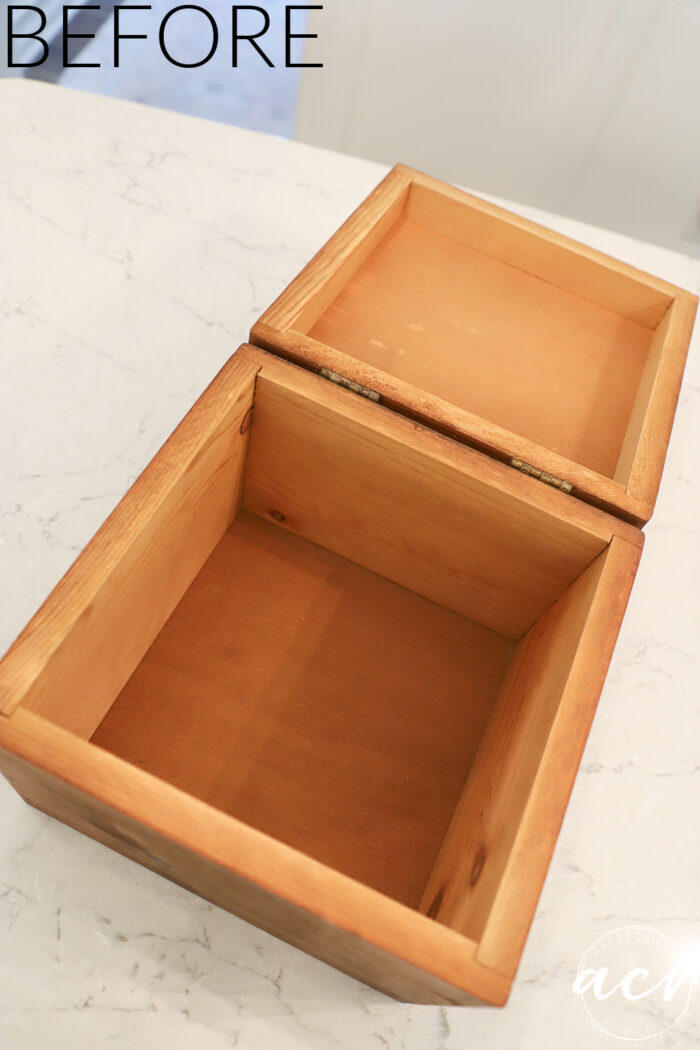
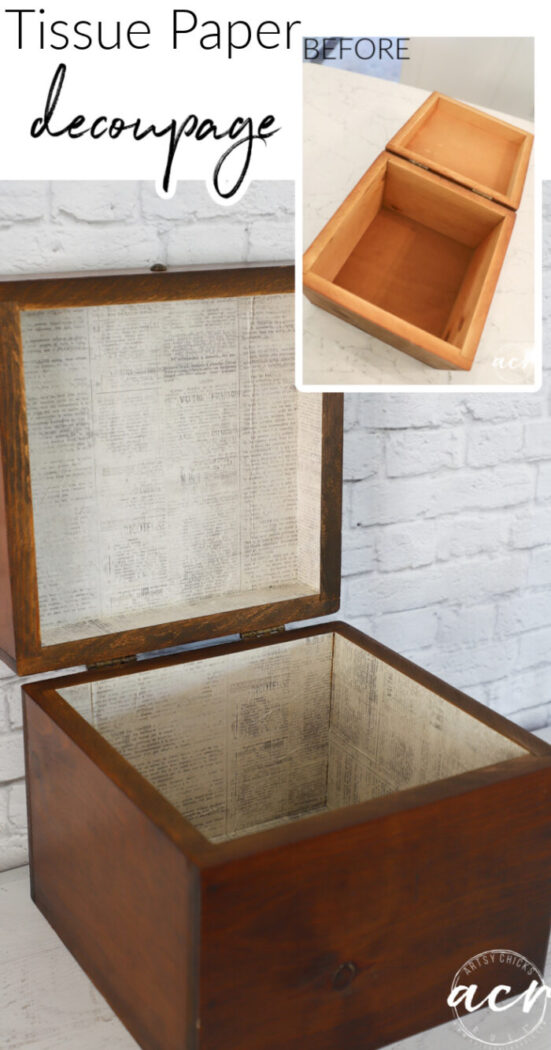
Here’s the inside “before”…
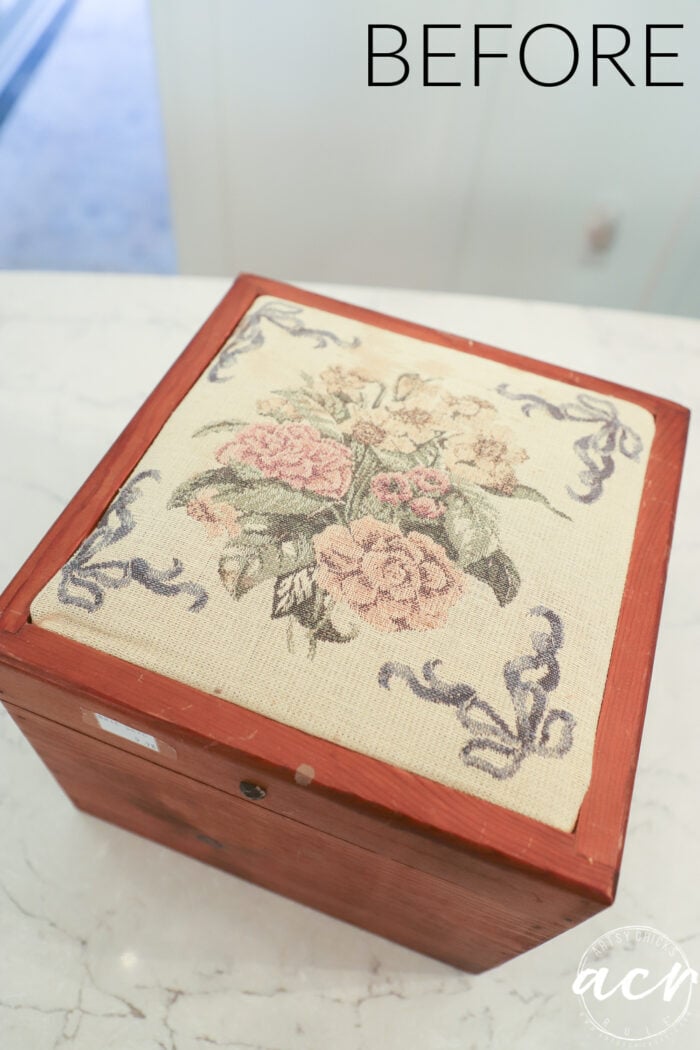
And of course the top…
I had several ideas but decided to keep it sort of “antique-ish” but with a new look.
MATERIALS LIST
- Decoupage and Transfer Gel
- Cappuccino Stain and Finishing Oil
- Chip Brush
- Fabric of your choice
- Staple Gun
- Glue Gun
- Lint free cloth
- Tissue Paper (closest I could find)
- Cutting Mat
For the inside, I decided to line it with tissue paper that looks like old news print.
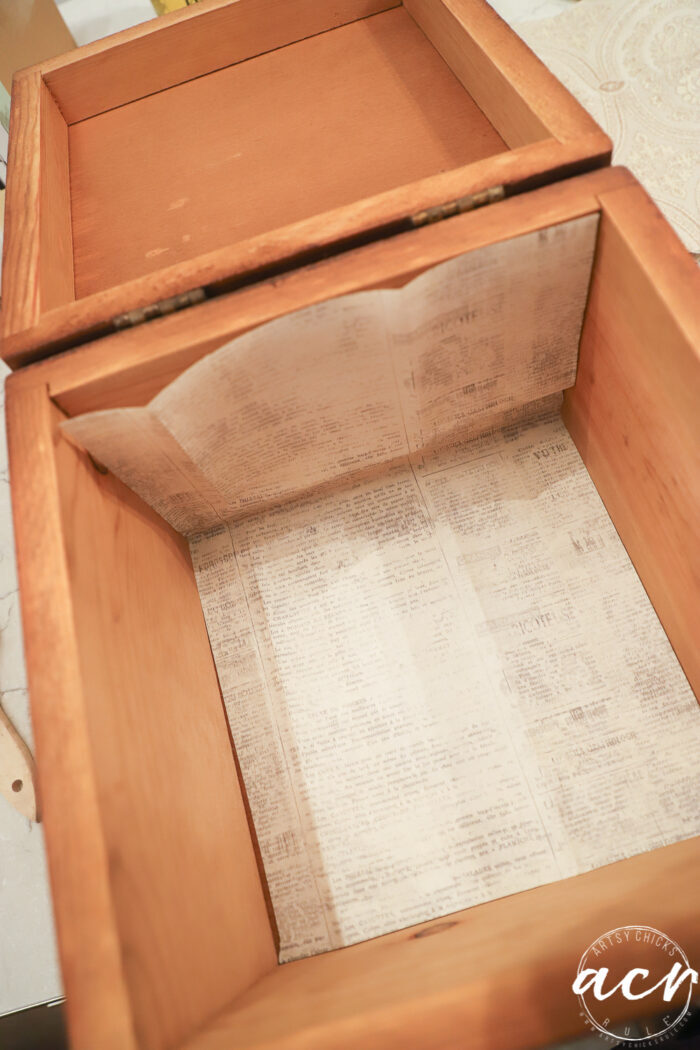
I used my favorite cutting mat to make the paper the exact size.
Then I used my Decoupage Gel with a chip brush to attach it.
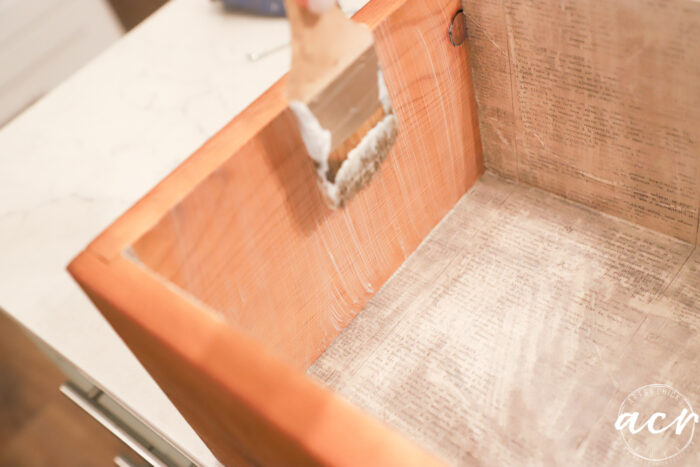
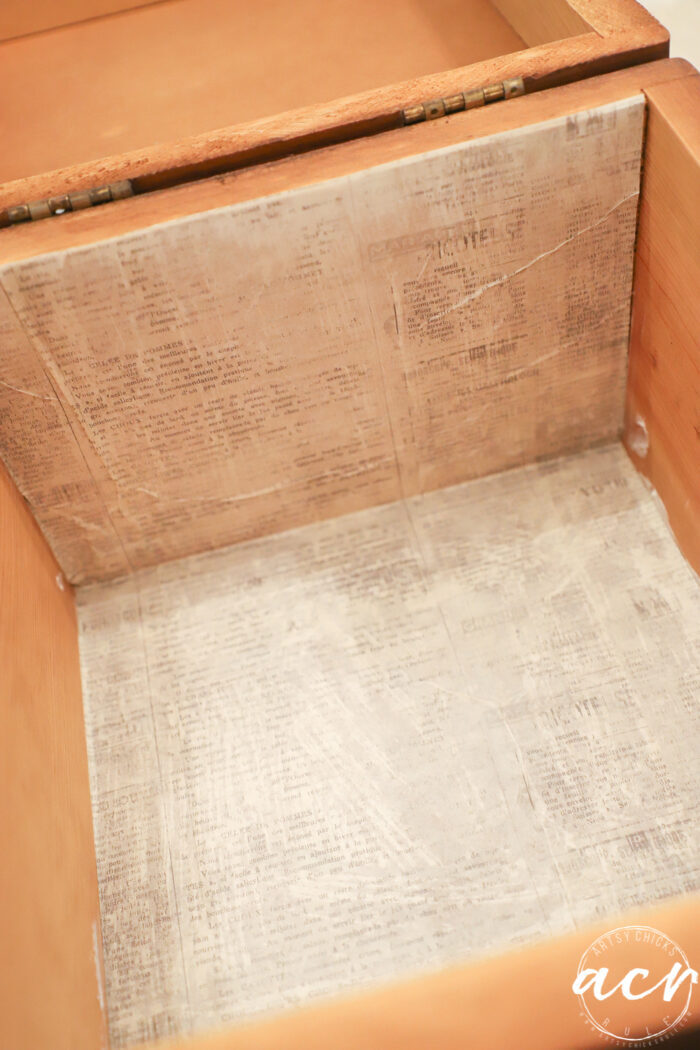
I didn’t worry much about the wrinkles in the paper. That is going to happen with tissue paper.
Plus, I think it goes well with the “antique” character of this box.
If any of the edges overlap, and they sometimes do, I simply use some fine sandpaper after it has dried to sand away any extra.
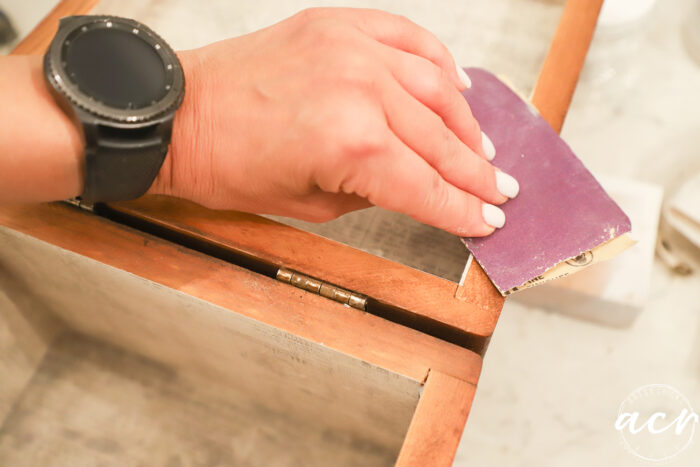
This leaves a perfectly smooth edge which I just love! You can also do this with fabric decoupage too.
Look at those crisp finishedges…
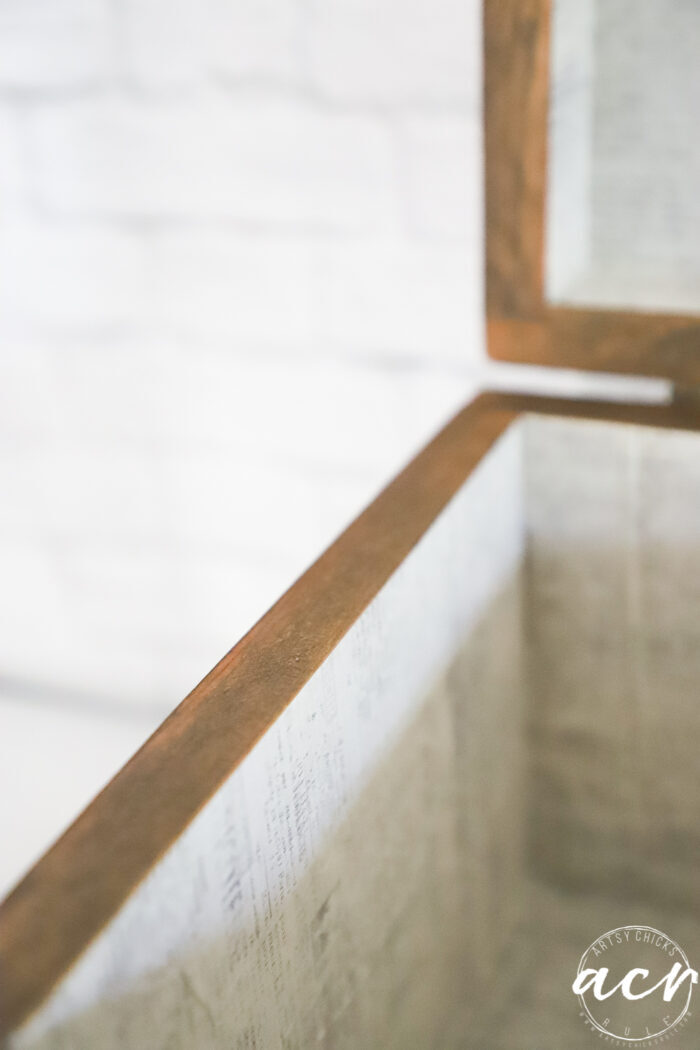
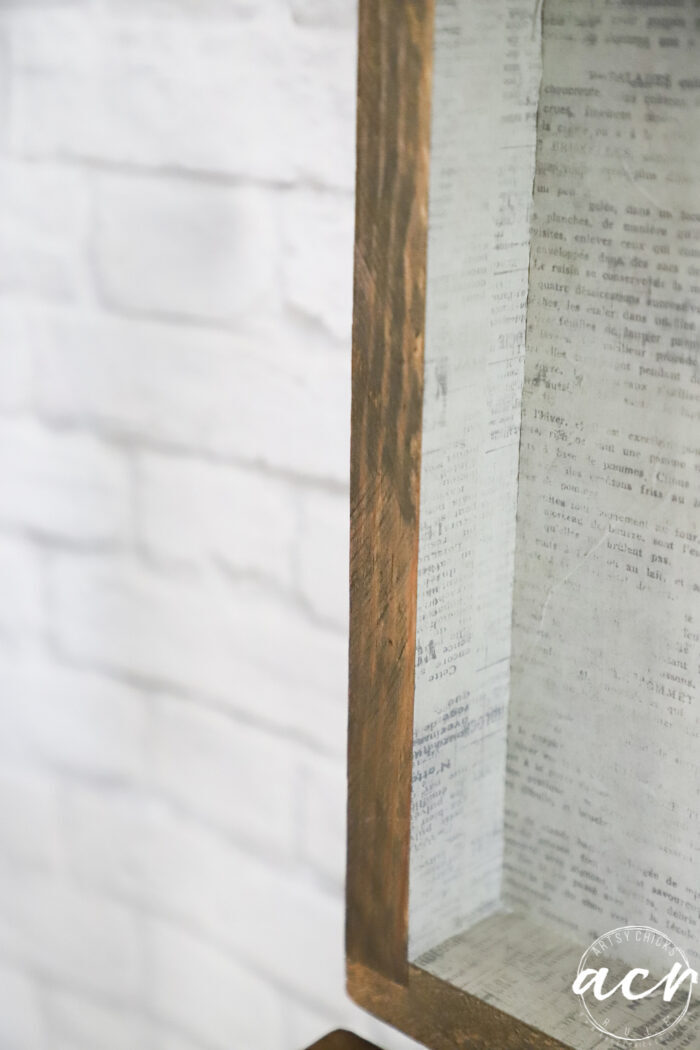
So good!
For the top piece, it simple popped out for me (yay!). I thought I’d just add fabric right over the old piece…but darn, it wouldn’t fit back in the top so I had to start again.
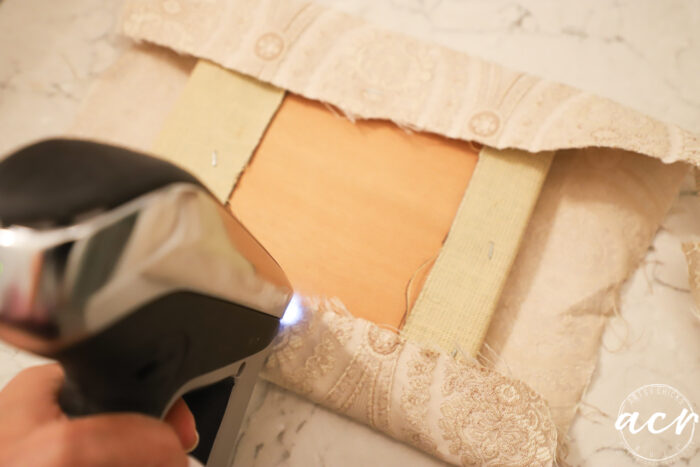
I removed it and then removed the orginial fabric and restapled it back to the board.
I just love when I do work twice! Not!! haha
But not too big of a deal.
Before hot gluing it to the top, I applied one coat (after cleaning the wood well) of the Cappuccino Stain and Finishing oil to the box using a lint free cloth.
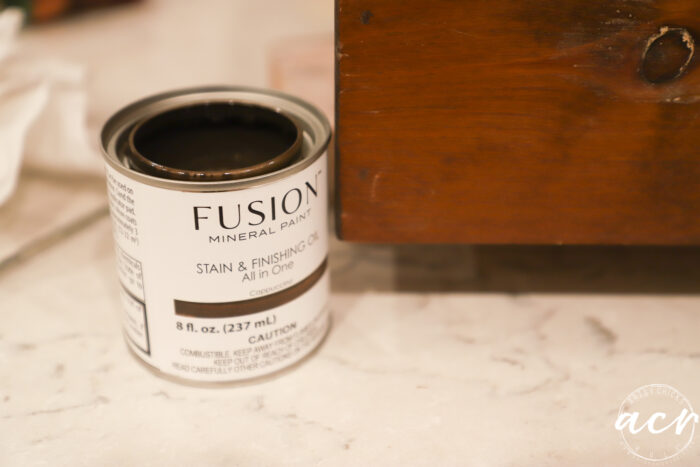
I love how easy it is to use and to change up the color of my wood project.
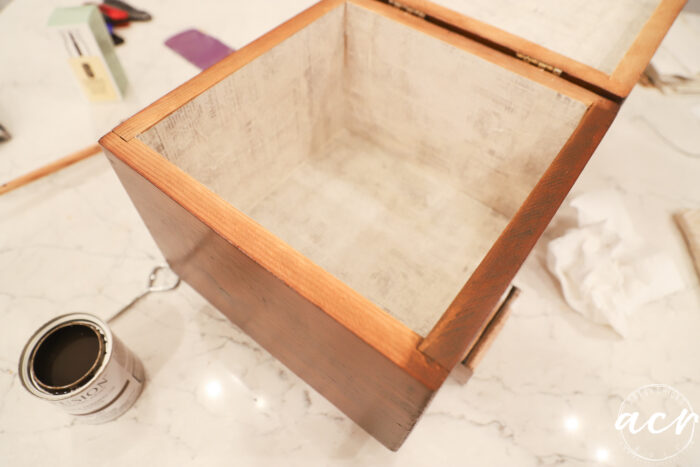
I usually use the Driftwood color, so this was my first time using the Cappuccino.
It’s a great color!
I hot glued the new fabric piece (and board it is attached to) to the top…and done!
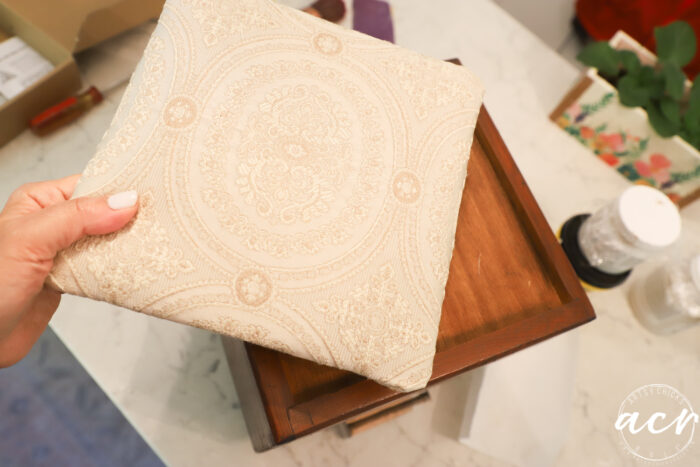
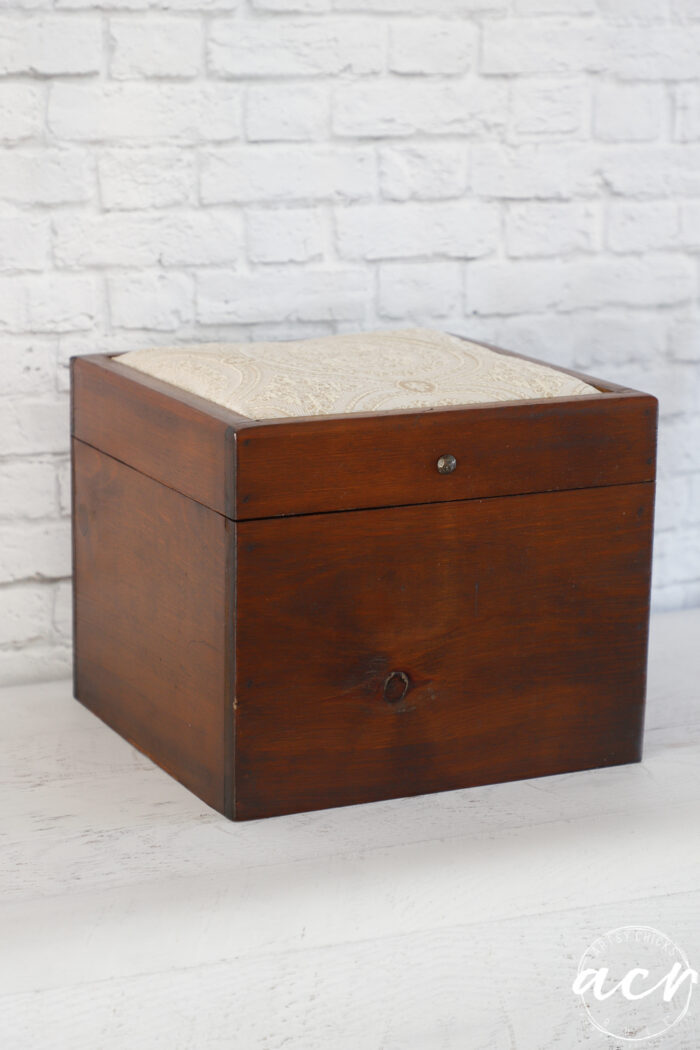
Love the new, darker look.
Goes so well with that light colored fabric.
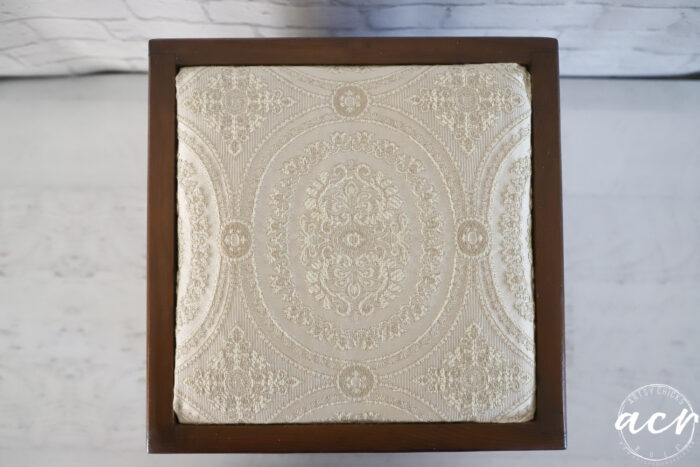
As a matter of fact, I used this combo on another project…
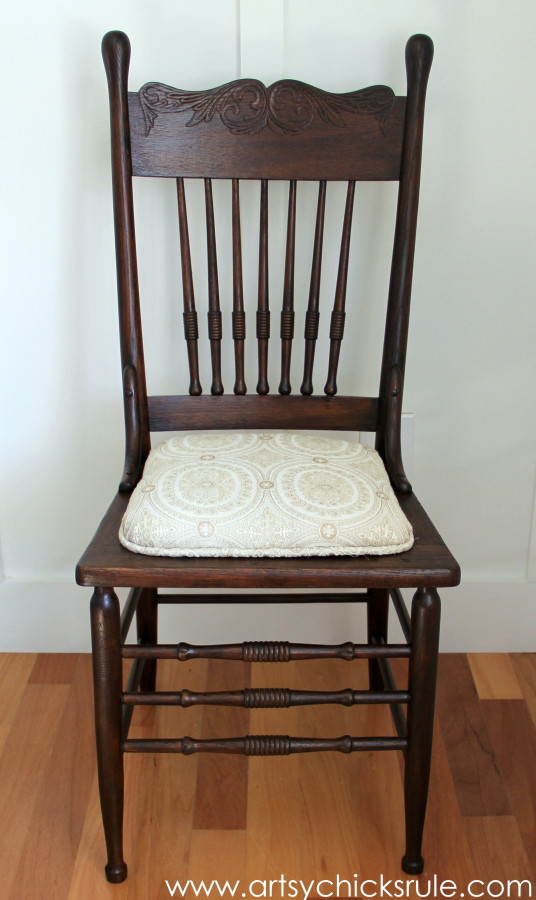
Remember this old chair??
Big difference from how it began! Click over to see the “before” of this one >>> here.
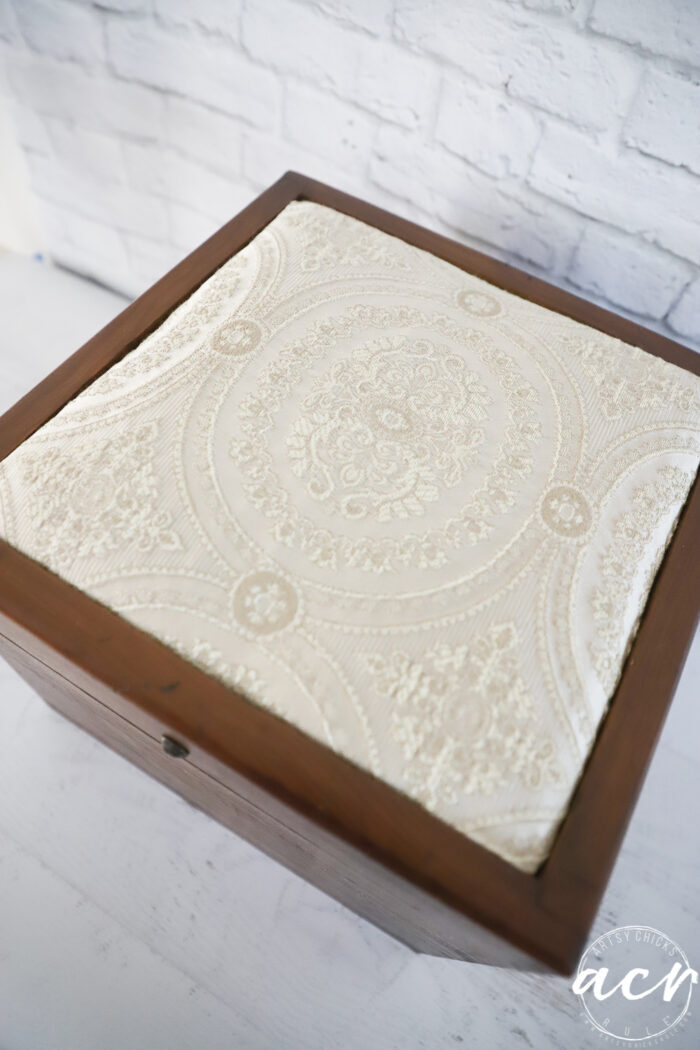
Here’s the full tissue paper decoupaged inside…
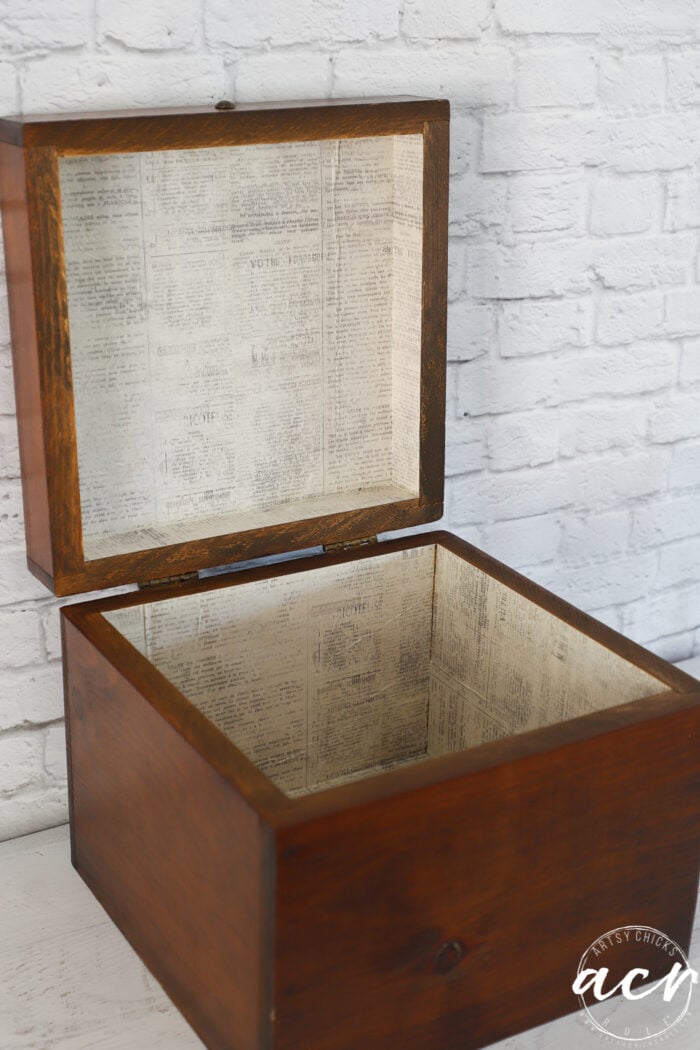
I think the “old newsprint” paper was the perfect touch for this “old” antique box, don’t you?
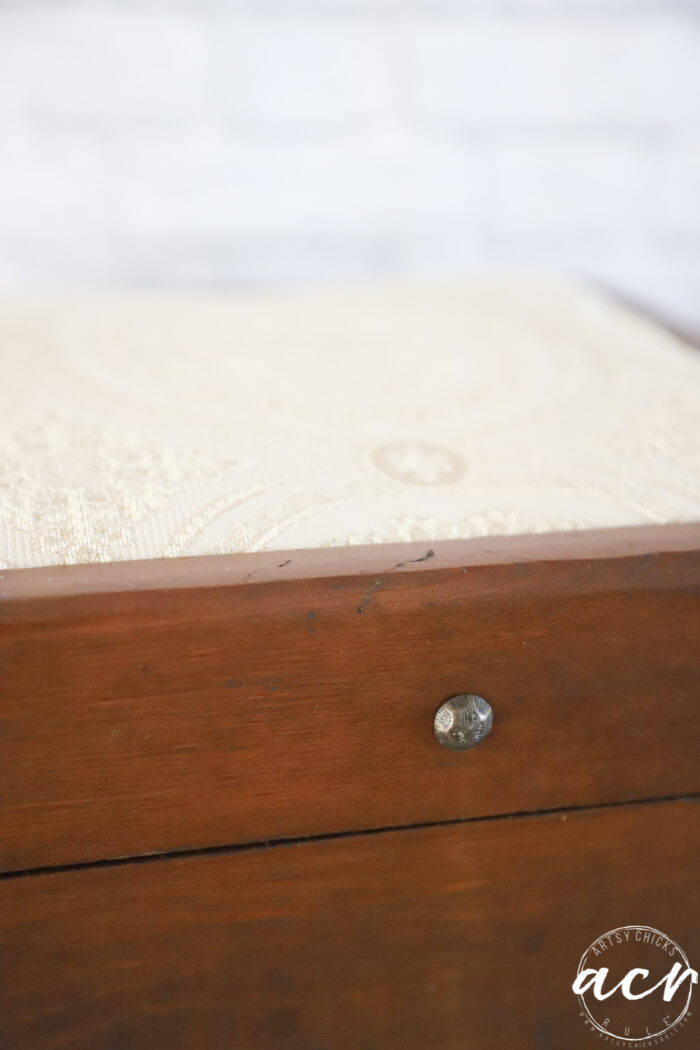
I kept the same tack here too, which also adds to the “old” look.
As I mentioned, I had a couple ideas for this one, here’s the other idea…
How about painting the outside white, lining with colorful and fun paper inside, maybe floral.
Then removing the fabric completely and tiling inside the top area with a pretty white tile. (or maybe even something with color)
The design options for that are endless! But wouldn’t that have been a fun makeover too??
PIN it to save it!
I’ll be doing something fun with this one next!
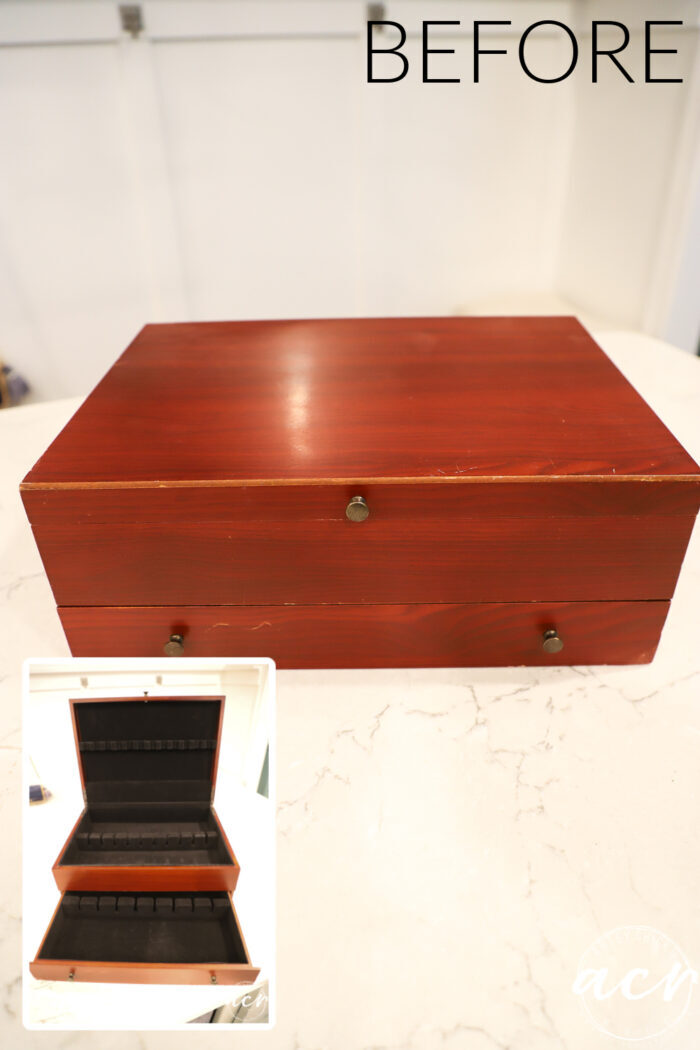
UPDATE!! See it now, here!
xoxo





I do like this new look so much! Love it on the chair as well! The antique newsprint look on the inside is wonderful! Way to go Nancy!!
I trust your bathroom will come together beautifully.
Thanks so much, Christina! I hope so!! IKEA is in my plans for today! ;) xo
Hi Nan y! I’m so glad you went with this plan. It looks so good and true to the age. I love it.
Thanks, Cheryl!! xo
Beautiful……love the darker brown against the off white turned out nice.
Thank you, Christina! I love that combo too! :) xoxo
I really love this project. I never thought of using tissue paper on the inside of a box like that. It looks great!
Thanks, Jen! Tissue paper is so fun to use in different ways! xo
Love that combination, Nancy! But paint and tile? That sounds fabulous, too 😁
I know, wouldn’t it?! :) Thanks, Marcie! Happy weekend to you! xoxo
Nancy, I like the contrast between the light fabric you used and the darker wood. And the newsprint tissue is just the right touch. I love boxes–just about any type, but especially old wooden ones. I can just about never resist buying one when I see it, although I have enough of them to last forever and some of them don’t even have anything in them!
Thanks for sharing this little make-over.
Me too, Naomi! :) Happy weekend to you! xo
Cute makeover. Love the paper on the inside. Do you think the stain would work on kitchen cabinets? I’m looking for a way to update my oak cabinets without sanding them down to the bare wood. Thanks.
Oh yes, absolutely!
Depending on the dimensions and age of the box, it looks like what used to be called a band box. It was used for a man’s collars in the later Victorian days to keep them clean and pressed. The collars weren’t sewn onto shirts back then.
I like the results of your makeover. Altho, I’m partial to florals, I like the fabric you chose. I liked the chair when you first posted it. I have a chair just like it and I thought I’d try to fill the seat as you did since I don’t do caning.
I love your blog and all your ideas.
Oh wow, maybe so! Thank you so much, May! xo
Would it make sense to stain the box first before adding the tissue liner? Knowing me, I’d end up with stain bleeding onto the lovely tissue.
You absolutely could do it in that order, if you prefer. :)