Two Trays, Two Ways (Thrift Shop Shakedown #7)
Today, it’s two trays, two ways, and a brand-new Thrift Shop Shakedown thrifting video!!
Hello sweet friends!
I’ve got a special project for you all today!! I know you are going to love it! Well, the projects are fun, but I know you are going to love this post. lol It’s been a long time coming, or a long time coming back, I should say.
Christy and I finally got together and did a video for you! Woohoo!! We have gotten together for lunch, but have not done a video since before the world shutdown. Not since 2020, or most likely 2019, what?? Gosh, time has absolutely flown since then, hasn’t it?? Or is it just me??
If you are new around here, Christy is my blogging bestie who blogs over at Confessions of a Serial DIYer. We met in 2014 through our blogging groups and realized we lived close by. We have worked on many collaborations over the years, and I think we started doing the thrifting videos together around 2015. And well, the rest is history, as they say!
Here’s Christy and me when we met for lunch one day! Goofing around and trying to get a good selfie. One out of multiple tries. haha

It’s been 6 years since we did a video, and I’m so excited to share this with you today!
Two Trays, Two Ways – Thrift Shop Shakedown #7
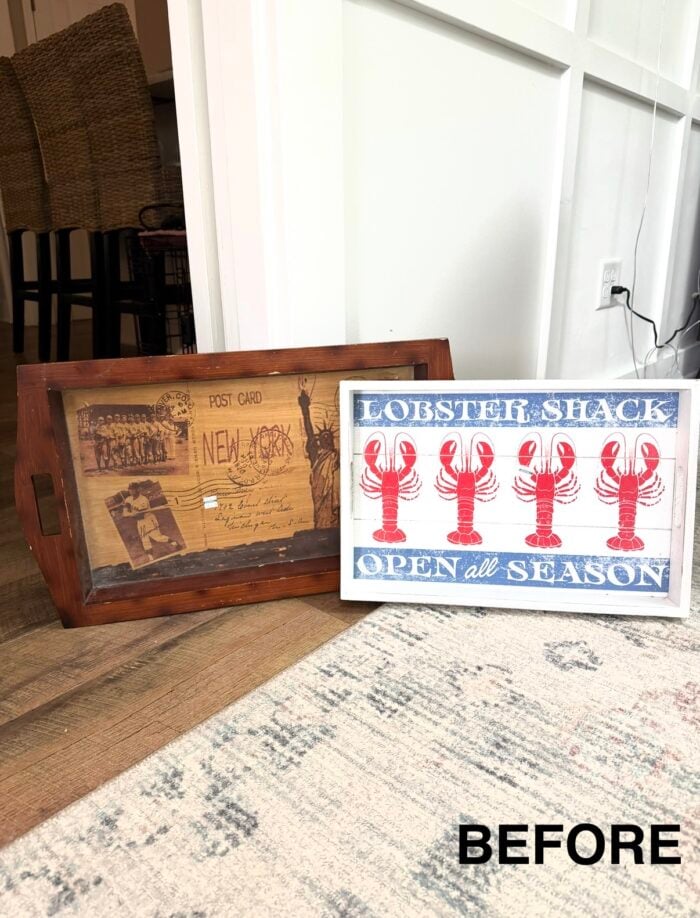
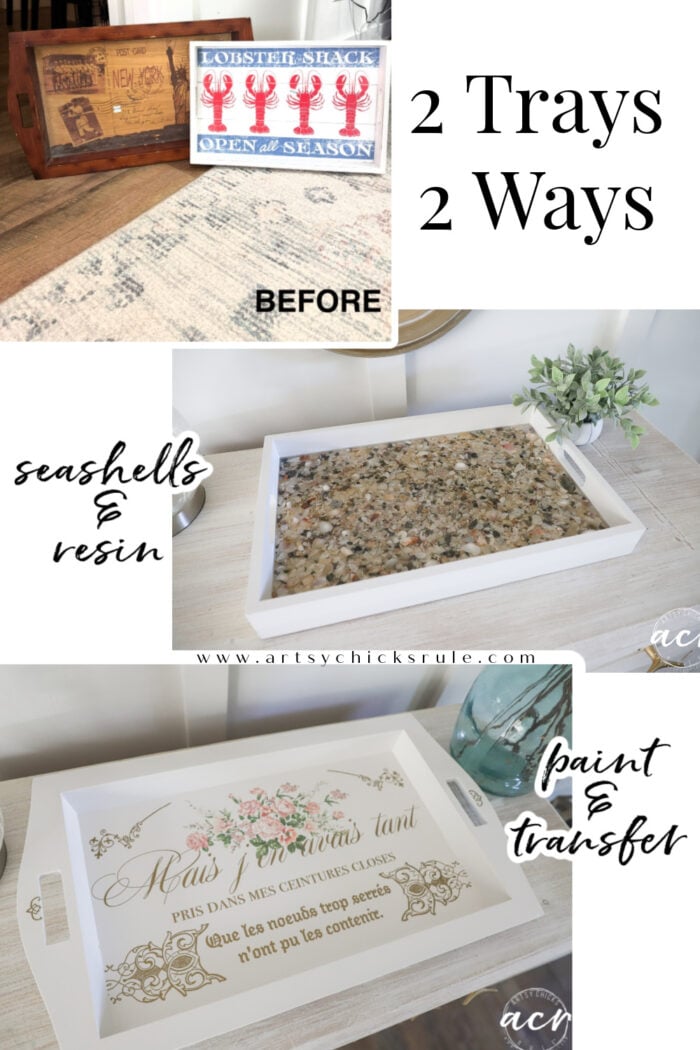
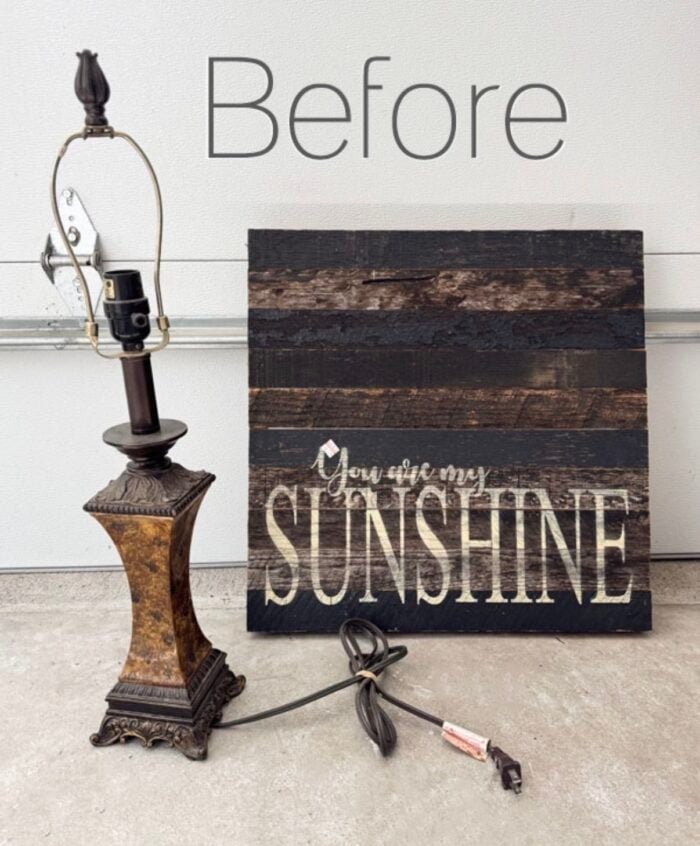
Here’s what I found on our thrifting trip to make over today:
I actually found a cool table too. I don’t have a photo of it, but you’ll see it in the video. I’ll be making that one over soon, too.
Be sure to scroll all the way down to the bottom to click over to see what she did for today’s makeover, too.
But first, come shopping with us below! Then see what I did with those two trays. They are completely different!
If you have trouble viewing the video, you can watch it on YouTube here.
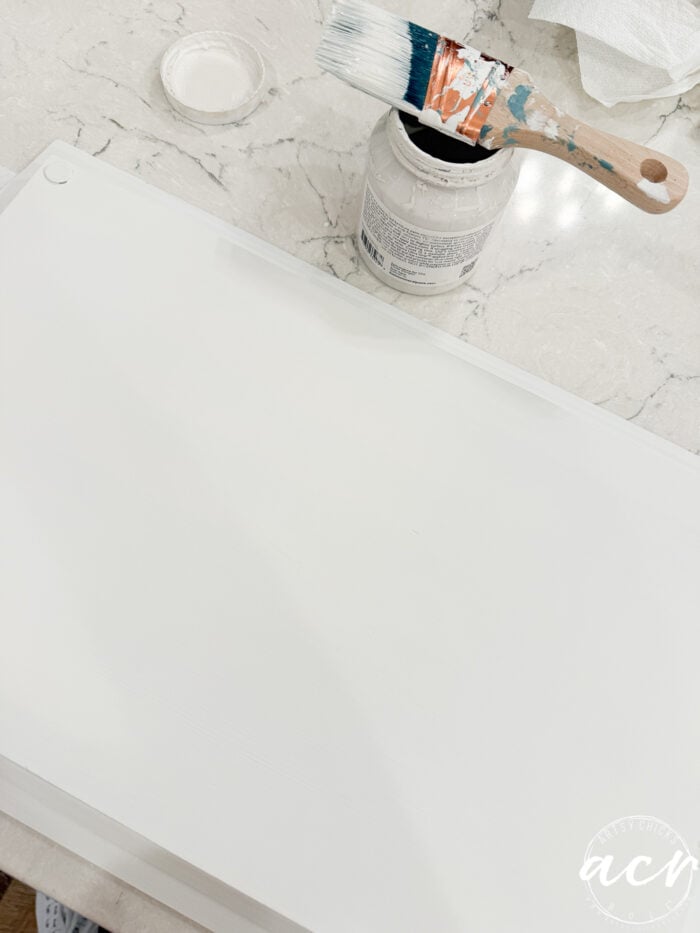
I cleaned them up and lightly sanded this one.
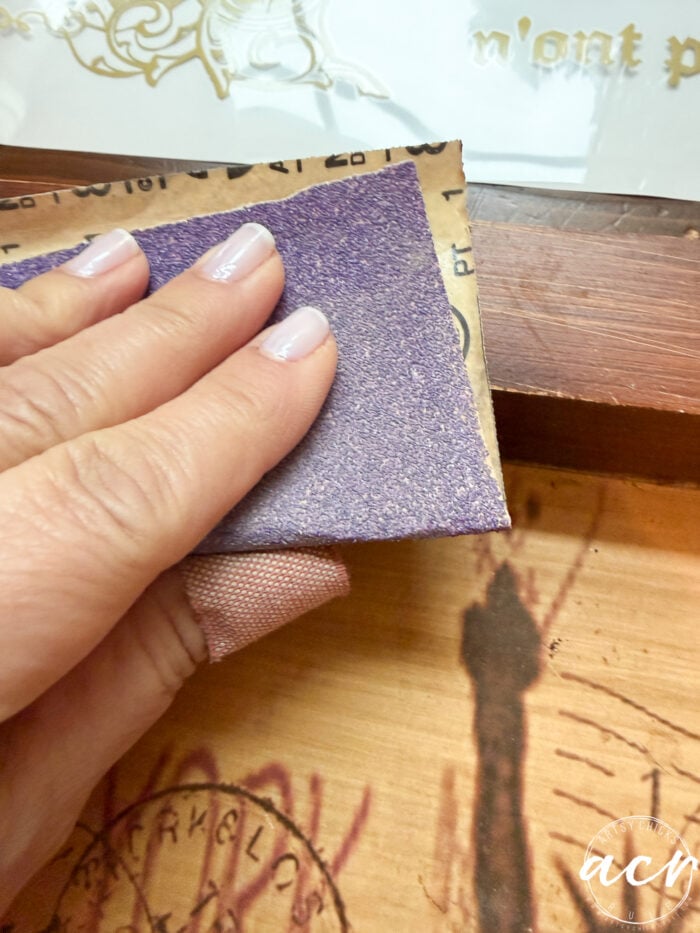
It had a sort of “fake” wood finish that was a bit slick. After cleaning the dust off, I sprayed both with white primer.
I figured out pretty quickly what I wanted to do with that one above. But the “lobster” one, well, I was undecided.
This is what I was thinking. Fabric…or shells.
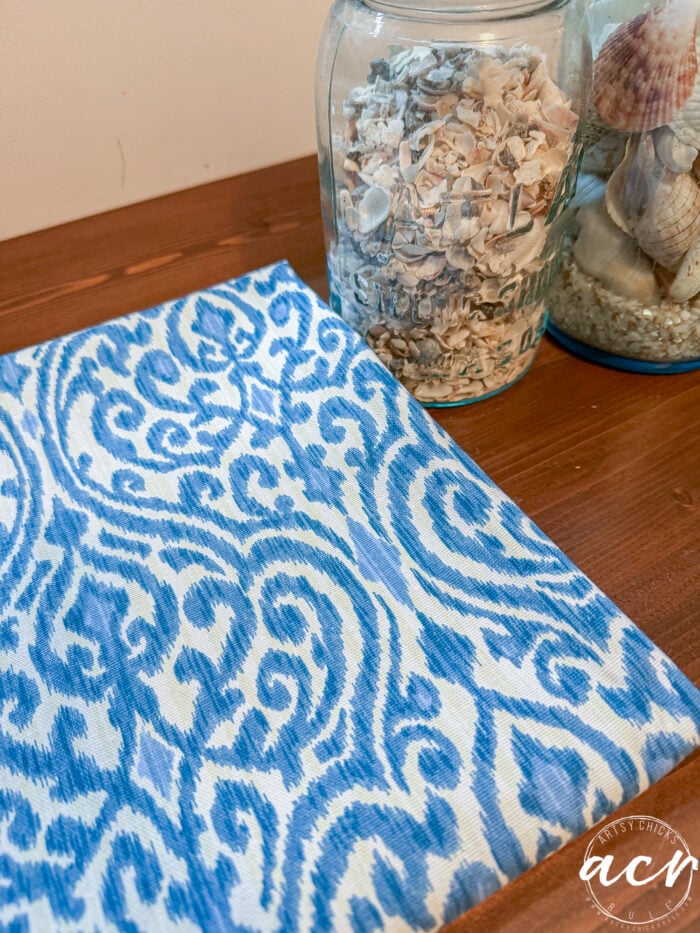
Isn’t that fabric so pretty? It’s what I have leftover from these curtains I made years ago. <— click that link to pop back over to that old post just for fun, lol, 2013!
The plan was to lay fabric on the bottom and pour clear resin over the top. Which led me to another idea. Those shells.
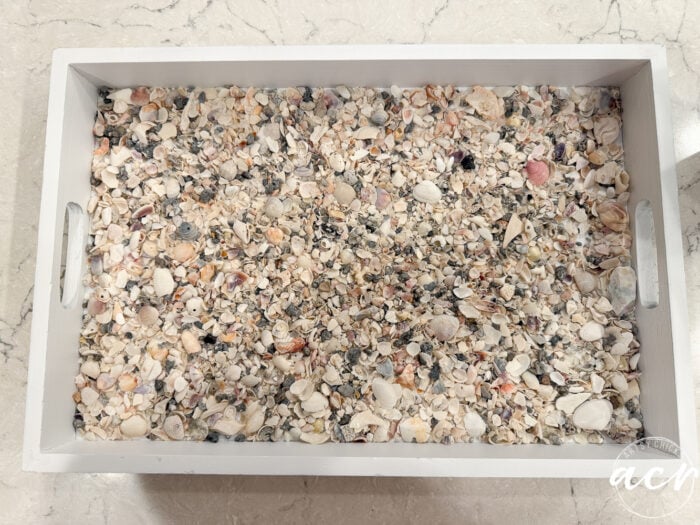
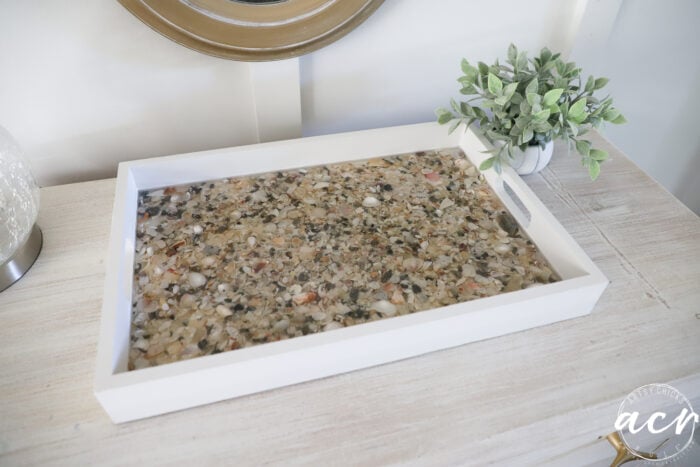
I thought, how cool would that be?? Lay the crushed pieces (and lots of whole but tiny pieces) and pour resin over them to create the base.
Well, shells won.
Surprised, huh?? Not, lol.
MATERIALS SOURCE LIST
- Victorian Lace
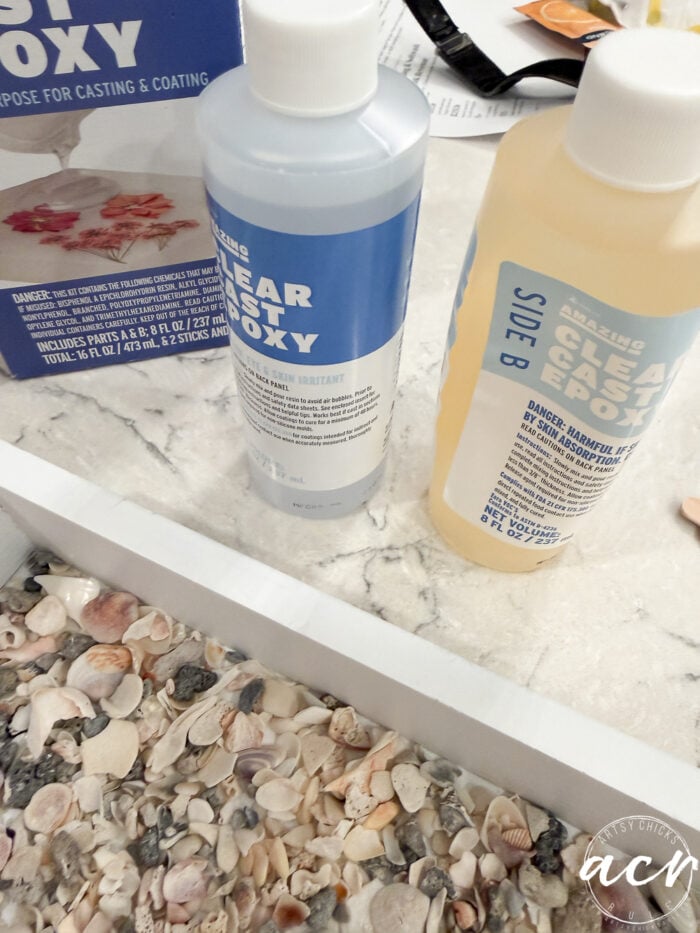
- Clear Cast Epoxy Resin
- Tiny Seashells
- Abalone Shell Pieces (these would be SO pretty!!)
- Les Roses Transfer
- Topcoat
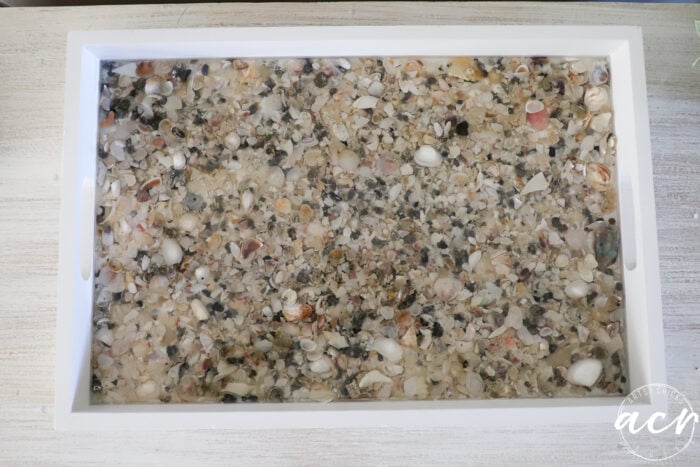
I poured them out and moved them around until I liked how they were “arranged”.
RESIN
I mixed up some resin I had and got to it.
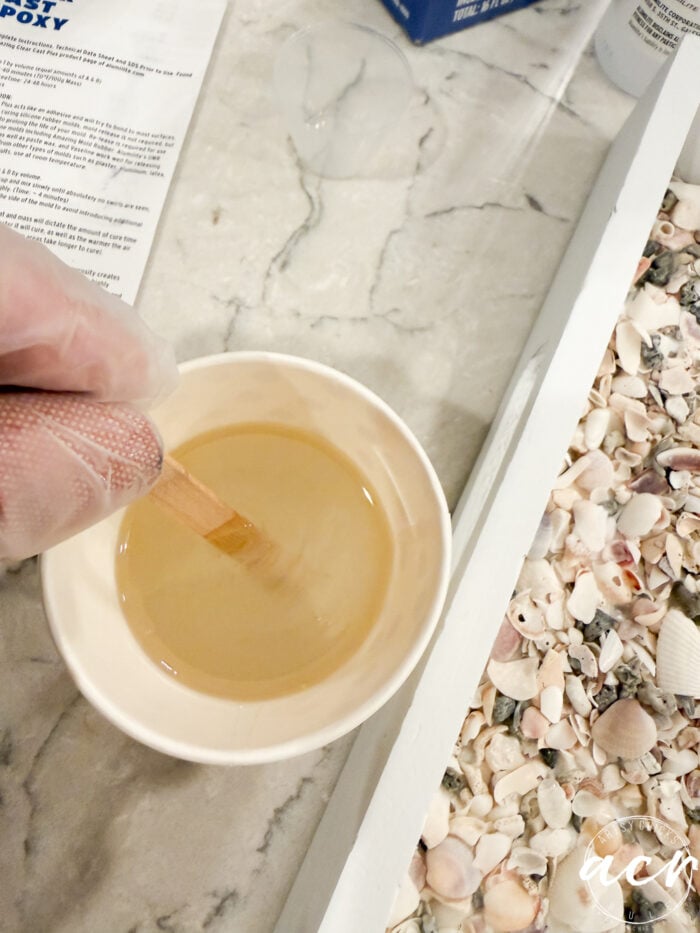
Then I poured it over the top. I ended up taking it to the garage because it smelled a bit. I ended up not taking any photos of that because my gloves got all sticky, and so that’s how it goes sometimes! ha! But, super simple, just POUR, and it kind of levels out on its own.
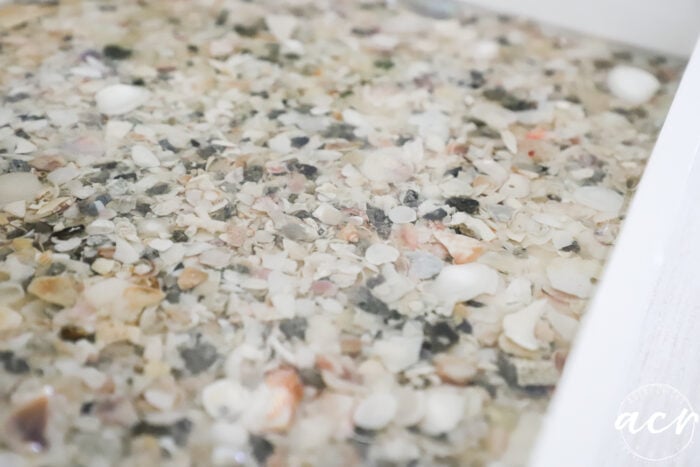
I ended up using the entire kit, and it wasn’t quite enough, so I let that cure overnight. Then I ran to Michael’s the next day, bought a larger kit, and poured another layer over the top. Probably the best way to do a deeper pour, actually, is in layers. The first layer was nice and dry. And now the second layer will dry fairly quickly over top of that. Unfortunately, that “next” day was today. haha!! So I wasn’t able to stage it as I’d like because it was still a little tacky, even after waiting a few hours to take photos.
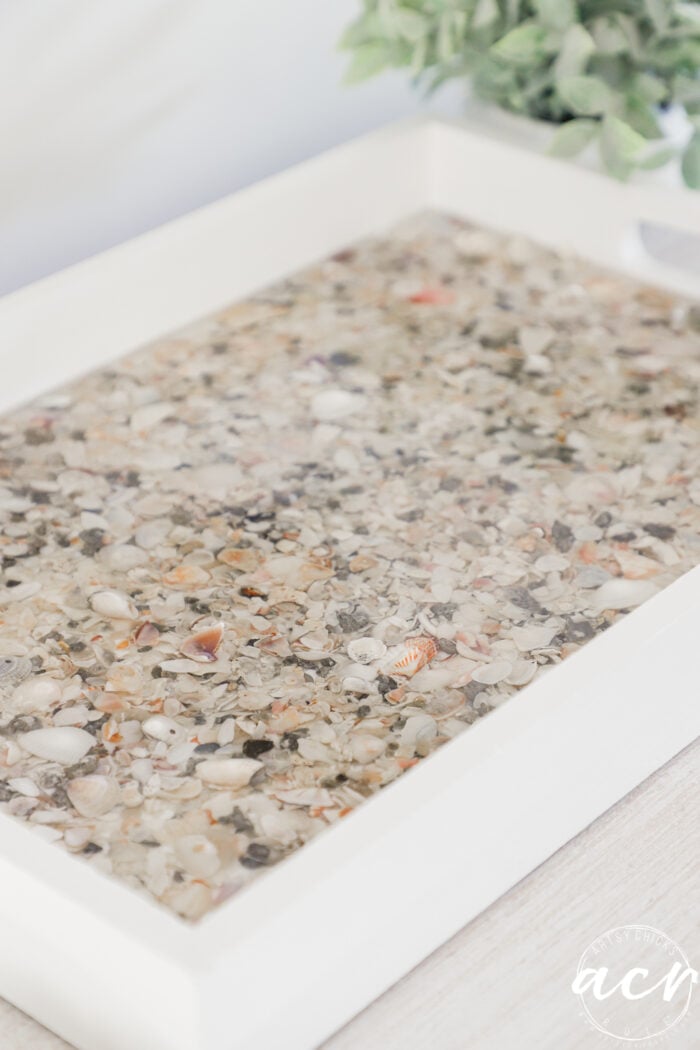
But it’s so cool, y’all! Resin is fun.
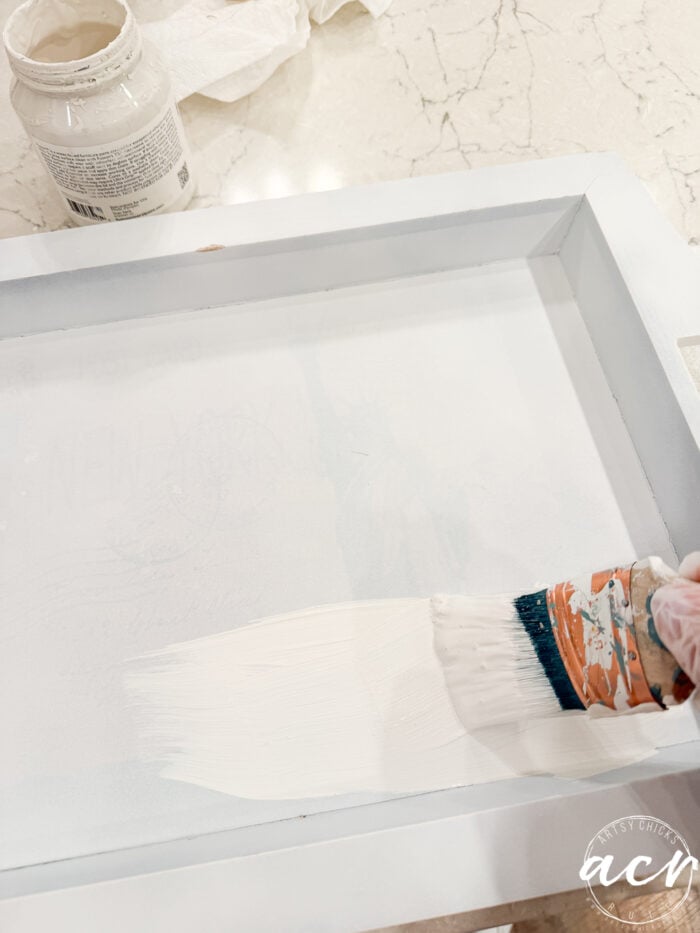
Oh, I also painted this in Victorian Lace over the primer. (The other tray is painted in this as well.)

Trying to get an angle to show you the shine…and the depth. Ugh, not happening.
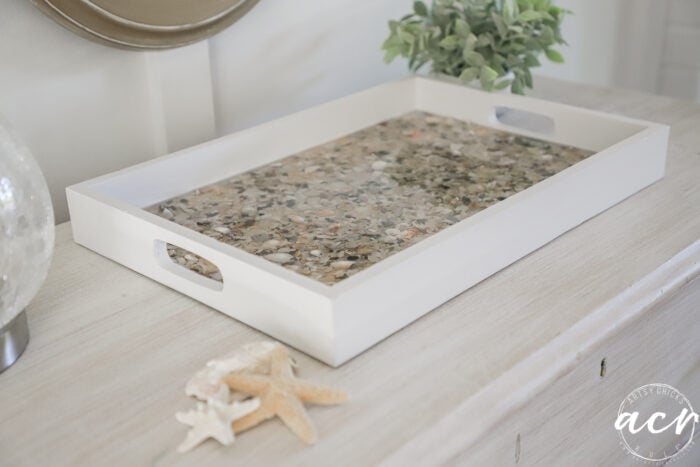
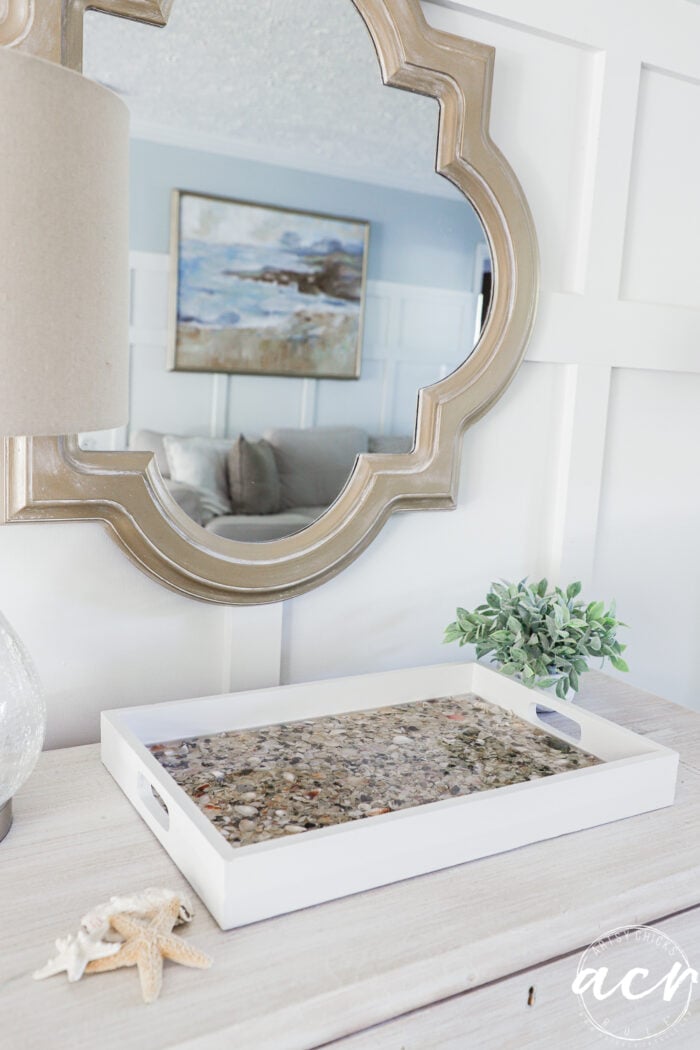
Still nautical in style, but so much better than the lobstahs!
Gosh, it’s hard to show the depth and shine in these photos.
Oh well, hopefully you can see it a bit.
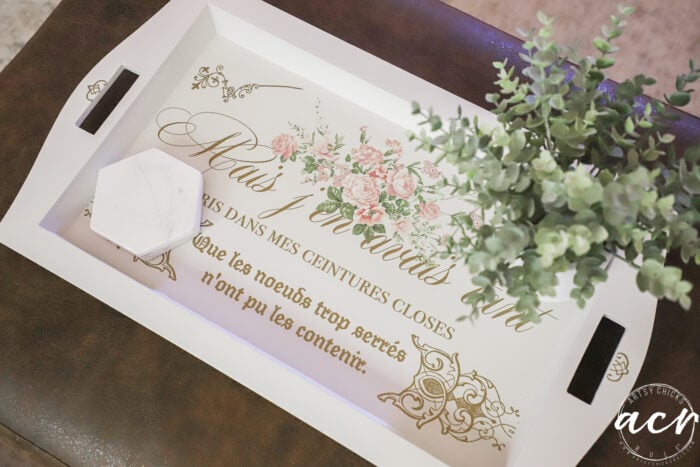
The second tray.
As I mentioned, I painted this one with Victorian Lace.
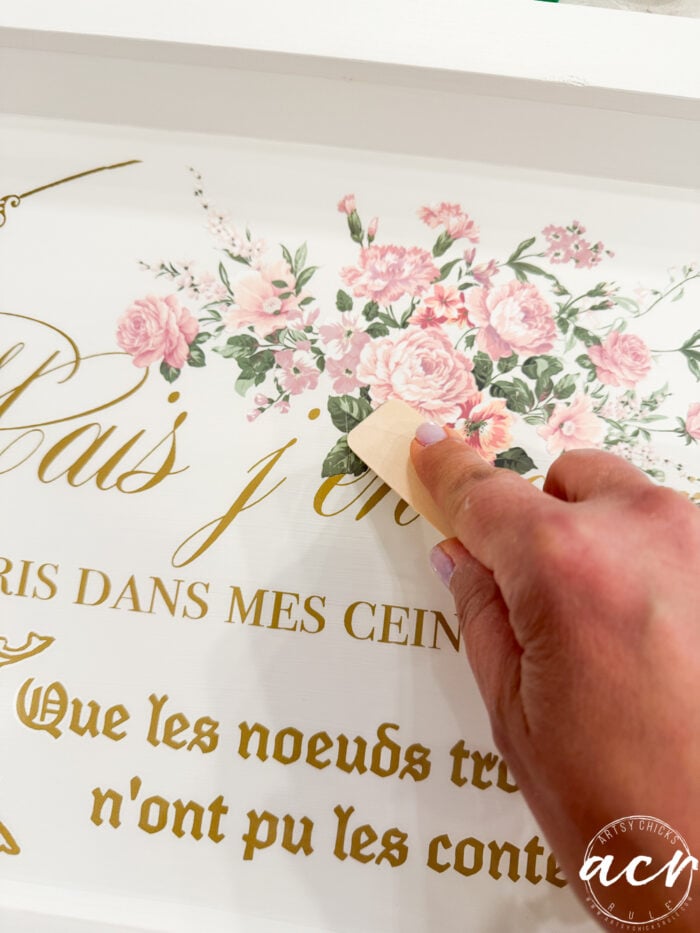
Then I pulled out this transfer I had in my stash. I used part of it on this project: French Country Style Table Makeover
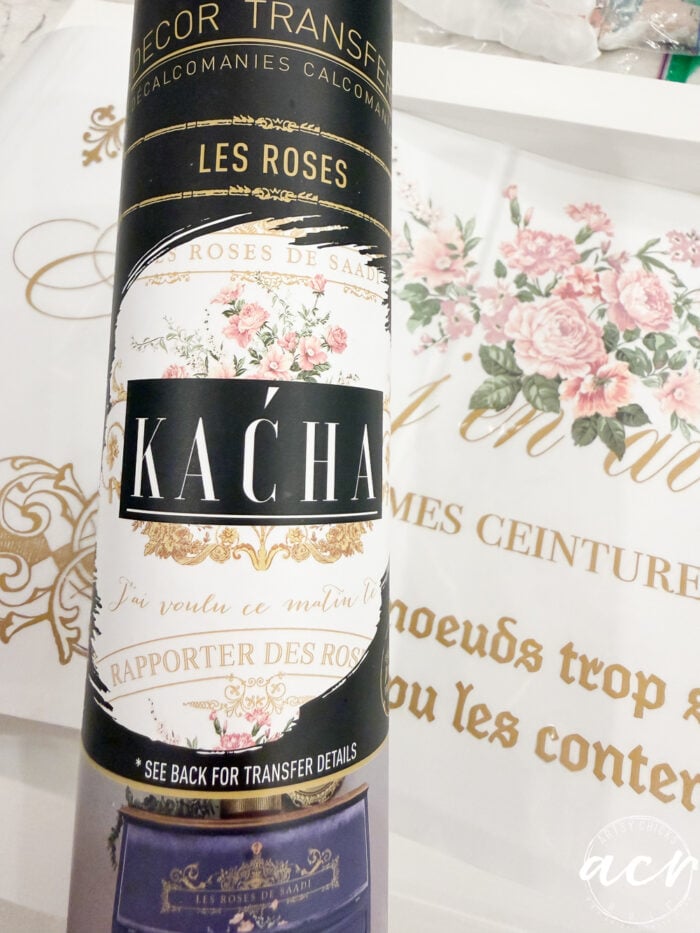
I had this part leftover.
To mark it to fit, I simply ran a pair of scissors along the edge to show where to cut.
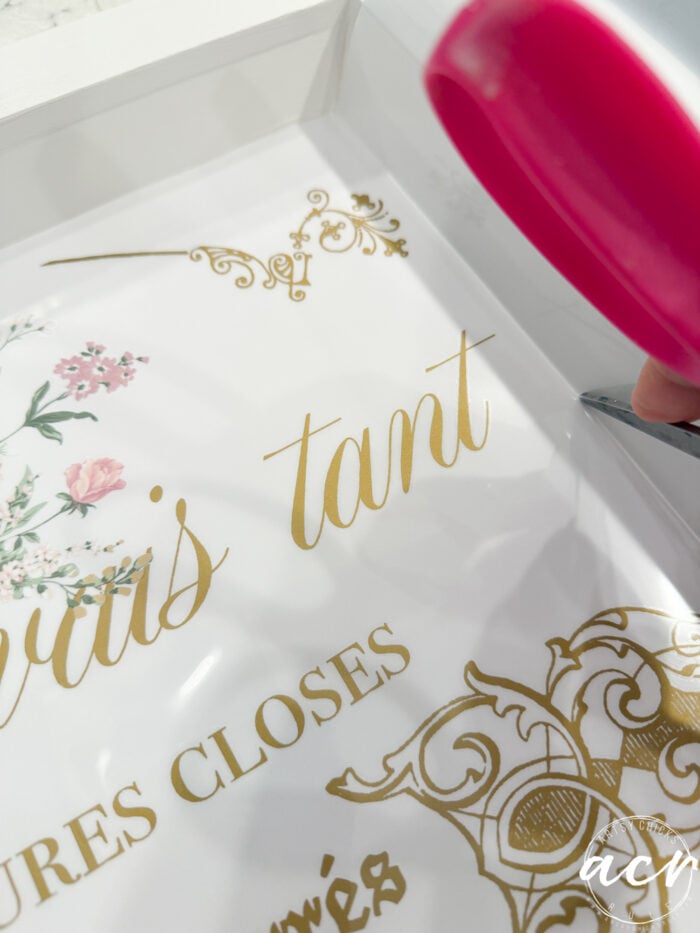
Rub to transfer the design onto the tray.
New to transfers?? I have a post for you! See it here: How To Use Rub On Decor Transfers
These ends needed to be cut off to fit inside the tray.
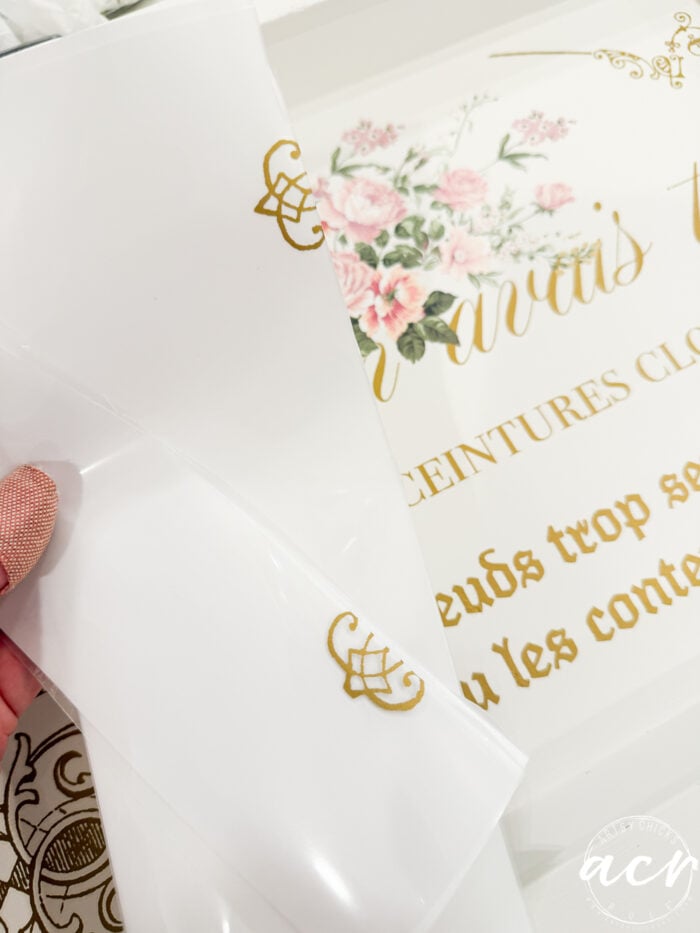
Waste not, want not! I used them here.
And… of course, my phone focused on the painted paper towel below instead. Ooops!
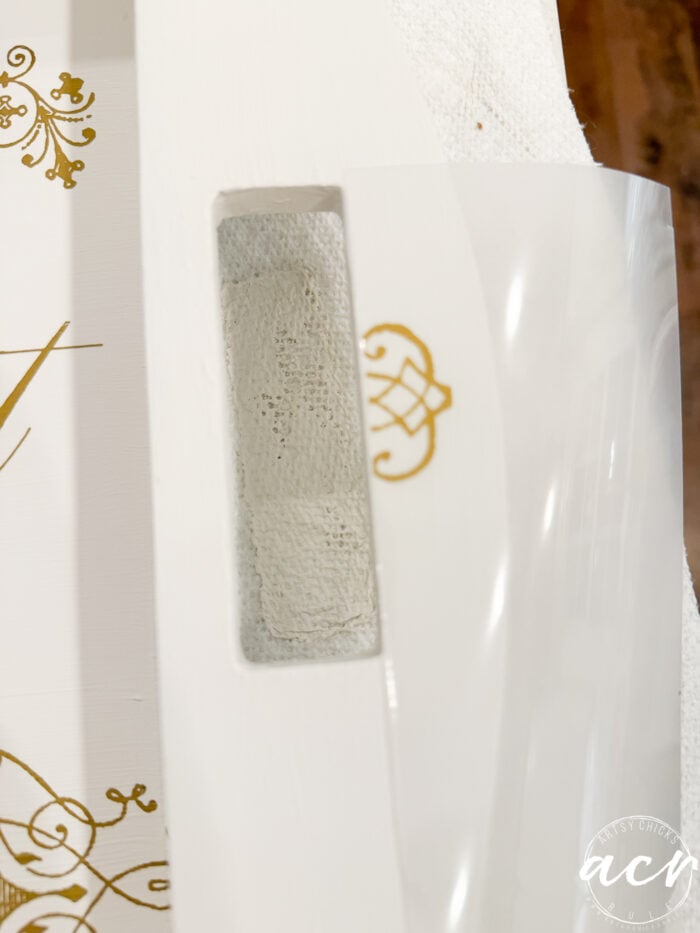
But you get the idea.
See?
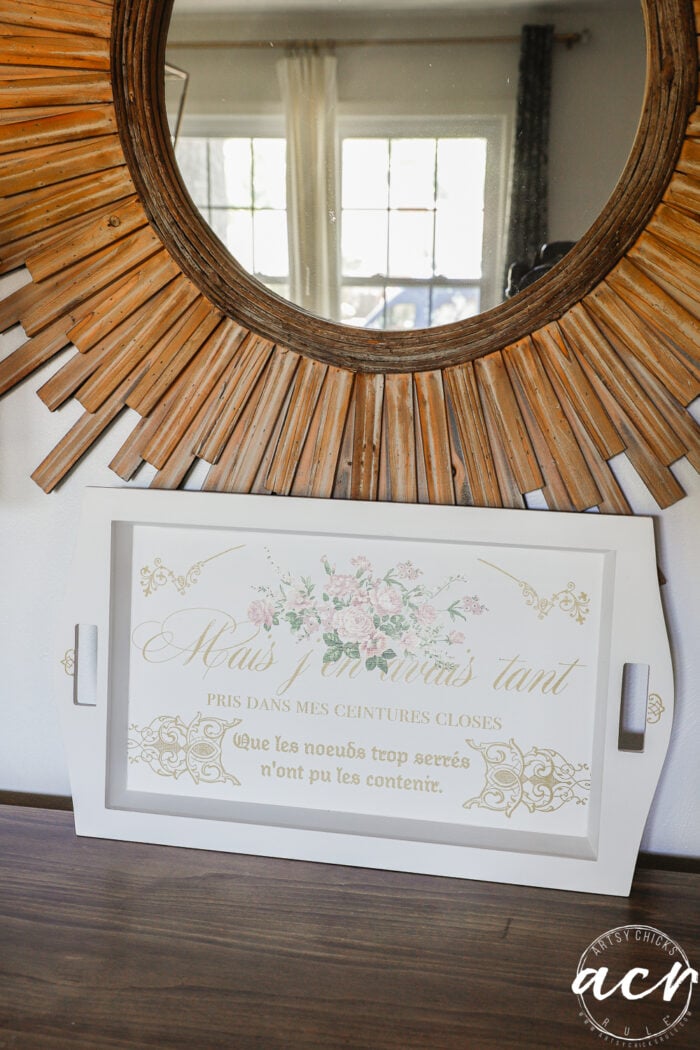
To protect the transfer, I applied one coat of Topcoat sealer.
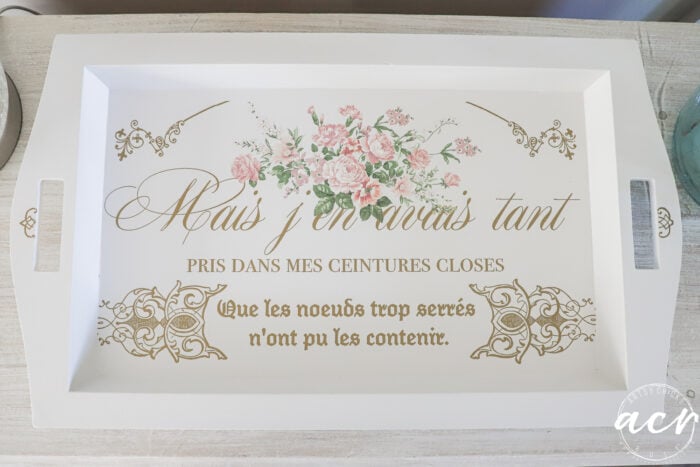
Such a pretty tray now!
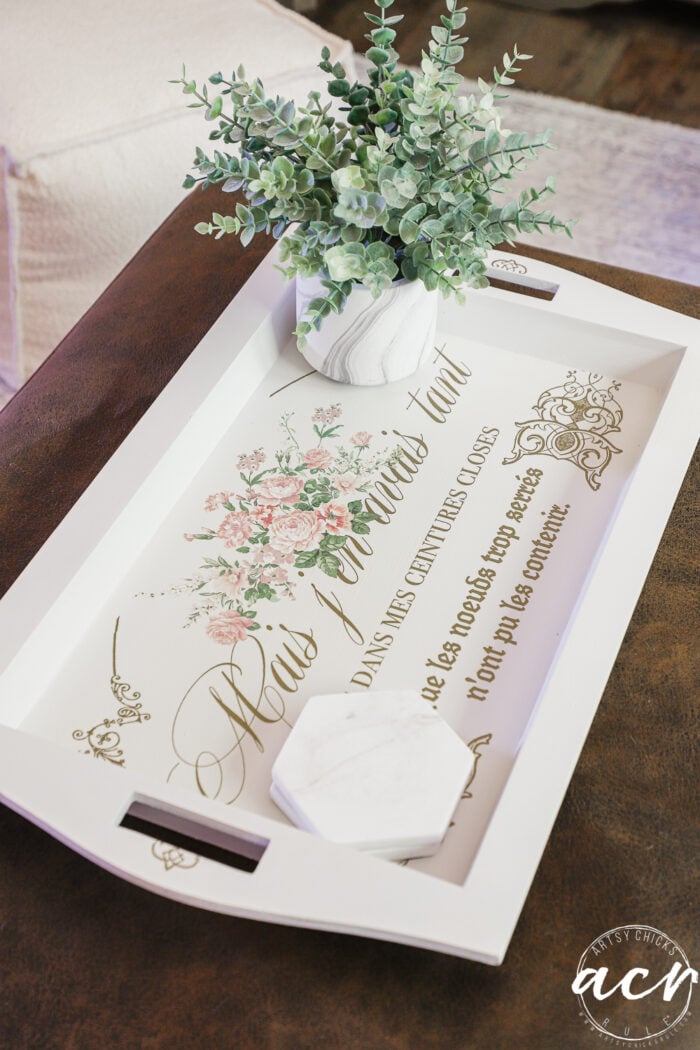
I love how perfectly this transfer fits and goes with this tray.
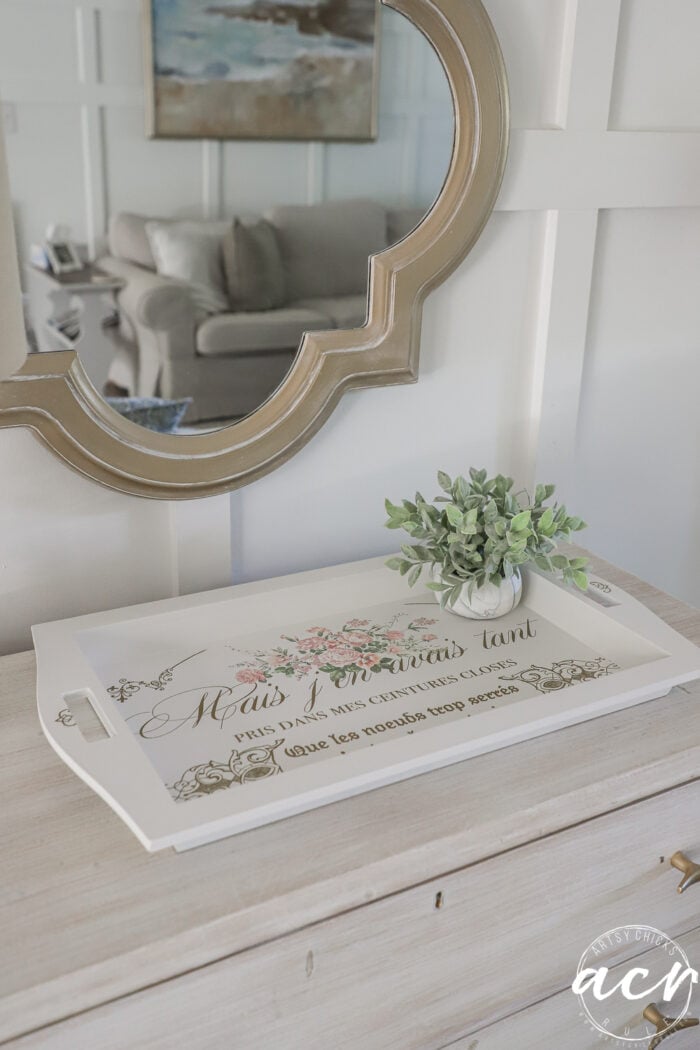
I think both are much better now. Ready to be reloved, right?
PIN it to save it!
Now, go check out Christy’s two finds at the link below the photo!
See her makeovers –> right here.
Want to see some of our other Thrift Shop Shakedown videos??
- Thrift Shop Shakedown #1 and a .99¢ Makeover
- Jewelry Box Repurposed Into Writing Box (Thrift Shop Shakedown #2)
- Breadbox Repurposed Into Charging Station (Thrift Shop Shakedown #3)
- DIY Stay Salty Sign (Thrift Shop Shakedown #4)
- Simple Makeover with Painted Tile (Thrift Shop Shakedown #5)
- Butterfly Tray Makeover (Thrift Shop Shakedown #6)
Have a great week, friends!
xoxo


")

")


")
")

Very pretty tray (with the transfer). The shell one is really fun and kinda funky. Someone will grab them up right away, I bet!
Happy Tuesday!
Was nice to see a video again…..love both the trays, gives me an idea for using the shells I have from living in Florida. Have a beautiful day!
Hi Julie! Yes, was fun to finally do another! Thank you, yes, it’s a great way to use them! Could probably do things like coasters too. xo
Coming over from Christy’s! How fun. Nothing like a buddy who enjoys doing the same things. Love how your two trays turned out. The shells were a cool idea and it looks great!
😊Cecilia
HI Cecilia!! Yes, I so agree and we always have such a great time!! Thank you, the shells were fun to play with. I just bought some of the abalone shell pieces (so colorful and pretty) to do something with next! xoxo
I love your work. I enjoy your projects, and Christy’s too. Thanks for the inspiration!
Thank you so much, Tracey!! I’m so happy to hear that! We love getting together, wish we could more often. Have a great rest of your week!! xoxo
Absolutely gorgeous, both of them!! I’m gonna come steal the shell one ha ha! SO fun to have to you to do this with!! XOXO
Thanks, Christy!! Haha!! Perfect for either of our homes, for sure. And yes, I so enjoy our times together!! Can’t believe we’ve been at this so long!! lol xoxo
I especially love the shell tray!
I’m looking for a chest or hutch that can be a coffee table bar in my kitchen! The coffe bar hutches I see on Wayfair look cheap. Do you have any ideas?
Thanks Nancy!
Hi Karen!! Thanks!! Yes, a lot of them online are. I am using an old chest of drawers that we modified a little (you can see how in this post) and I painted. Here is how I’m using it as a coffee bar in our new room. I think old chests are great as a coffee bar with shelves above. Check the ReStores, there is one in Williamsburg, Yorktown and Newport News. I’d bet you’d find something perfect for it at one or all of them! xo
Wow, they are both so pretty! I love love the shell one as I’ve been obsessed with shells since I was a little thing lol. Love the other one also though. Will watch your new thrifting video. You both are so pretty. Heading over to Christy’s to see her new projects.
Thank you, Debra!! The shell one is SO fun and different. They just appear to be floating, it’s so neat. And thank you, you are so sweet!! We have a great together!! xoxo
Oh- those both look really great, Nancy.
Thanks, Michele!! xo
You are so creative. I really like the transfer and paint one.
Aw, thanks, friend!! xoxo