How To Paint Melamine (perfect every time!)
How To Paint Melamine! Create a successful project with the right products!
Hello friends! Today is Trashy Treasures Tuesday…and we are bringing you the trash! ha! No, just kidding, we are bringing you the treasures because we have all worked our magic on these finds today.
If you are new here, my friends and I get together on the second Tuesday of every month to share our latest finds, made over. Be sure to scroll all the way to the bottom of this post to see them all.

How To Paint Melamine
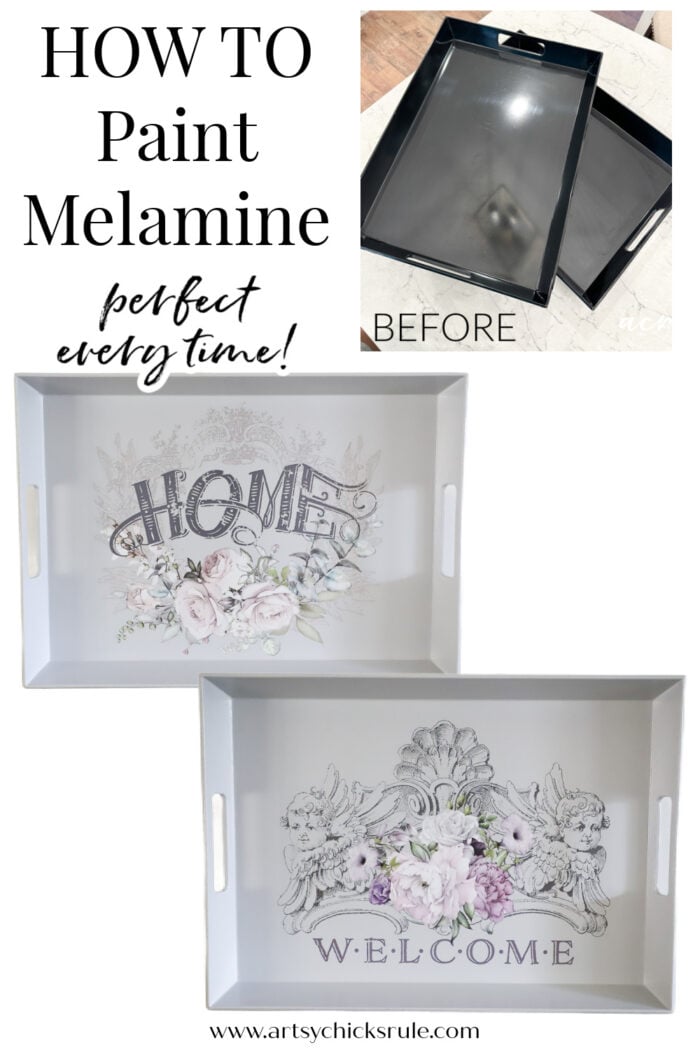
I’m sharing a tutorial that I hope will be helpful to you and making over these two trays that I found at my parents’ house when we were going through things. They originally came from Target (per the sticker tag on the back) and were in great shape.
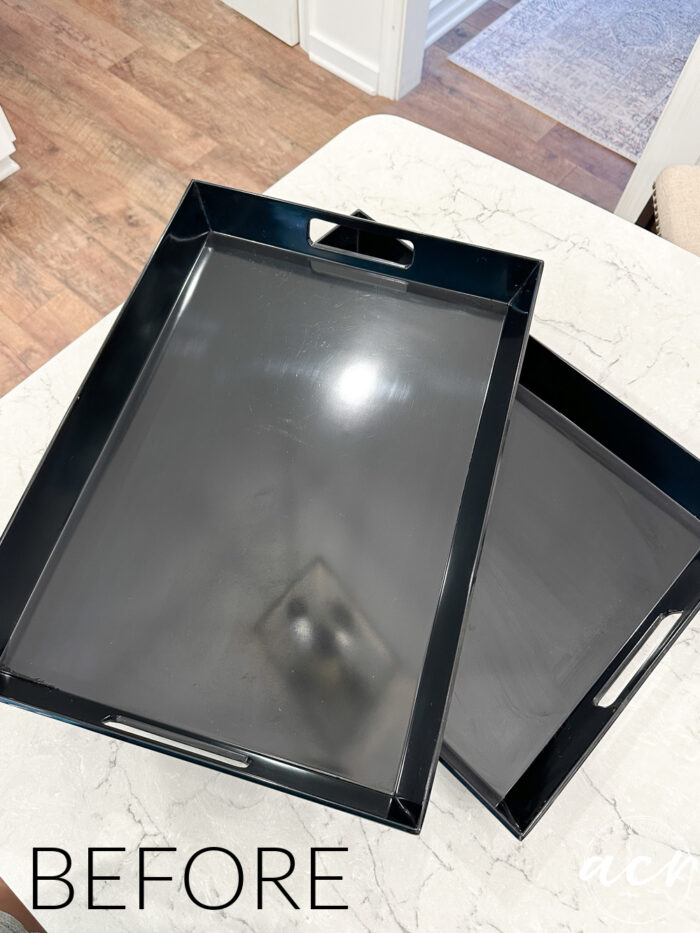
But how to paint these? They are slick.
I’m going to show you how!
It may not be necessary on all projects, especially when using our Ultra Grip, to sand the surface. But prep is always key! And I like a little extra insurance especially when it only takes a few minutes to do.
I’m not talking heavy-duty sanding here, just take a 120-150 grit sandpaper and go over the whole thing to remove the shine.
MATERIALS LIST
- Sandpaper
- TSP Alternative
- Ultra Grip
- Microfiber Roller
- Sterling Paint
- Floral Home Transfer
- Gloss Topcoat
Prefer to shop on Etsy? I have an Etsy shop also, here!
SCUFF SAND
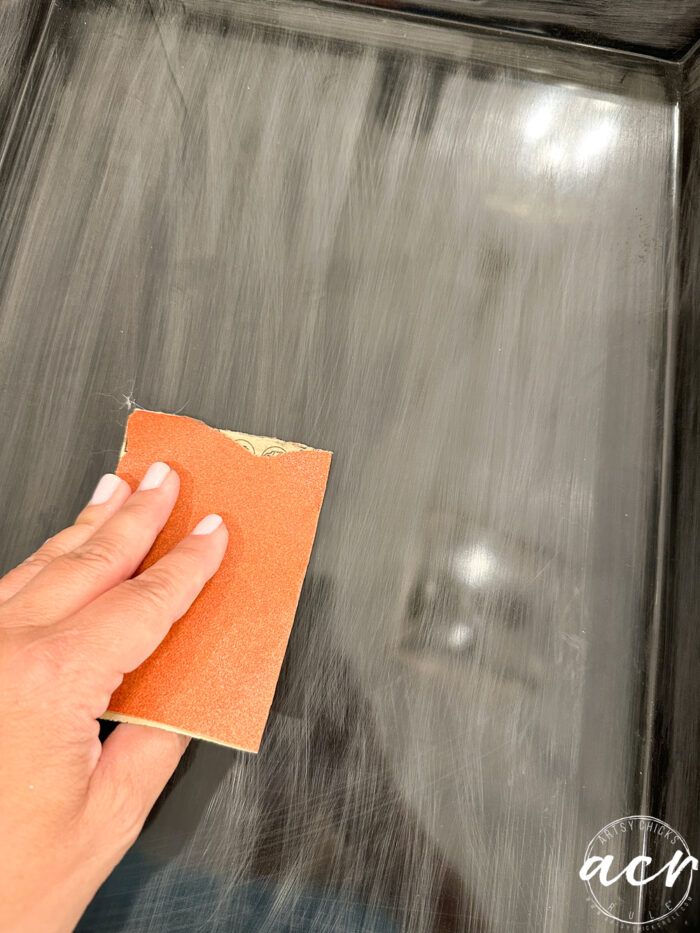
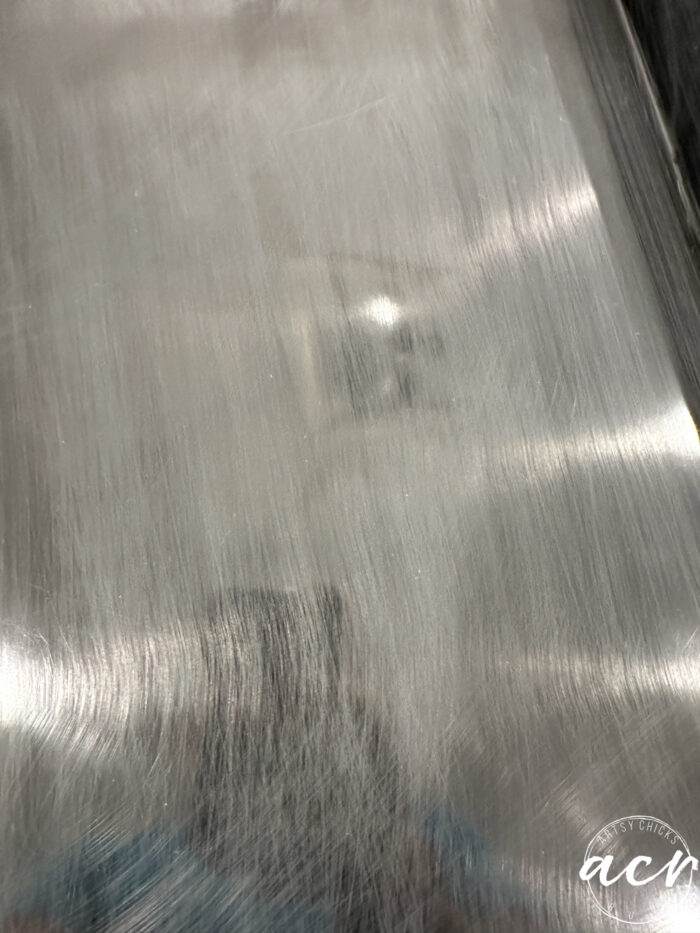
Be sure to wipe away the dust and any dirt with TSP Alternative after sanding.
PRIME/GRIP
Apply the Ultra Grip. This is the “glue” that is going to hold that paint onto the melamine.
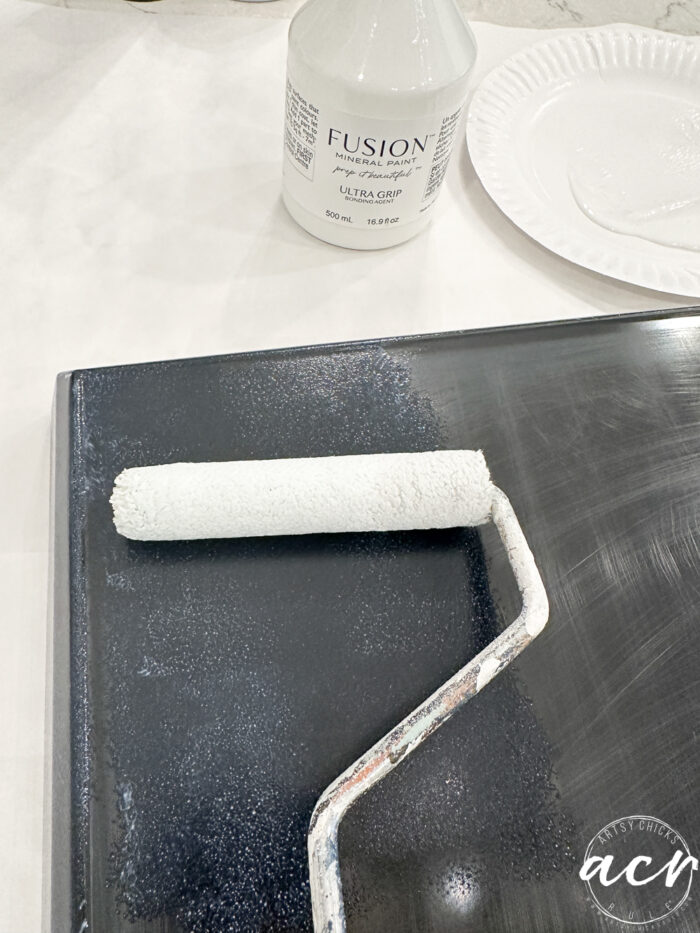
Or the magic as I call it.
I used a microfiber roller to apply in most spots and a brush where I couldn’t get the roller. Give it a good coat all over and let it dry overnight (or at least 12 hours) for best results.
Note: The Ultra Grip goes on “milky” looking but dries clear.
PAINT
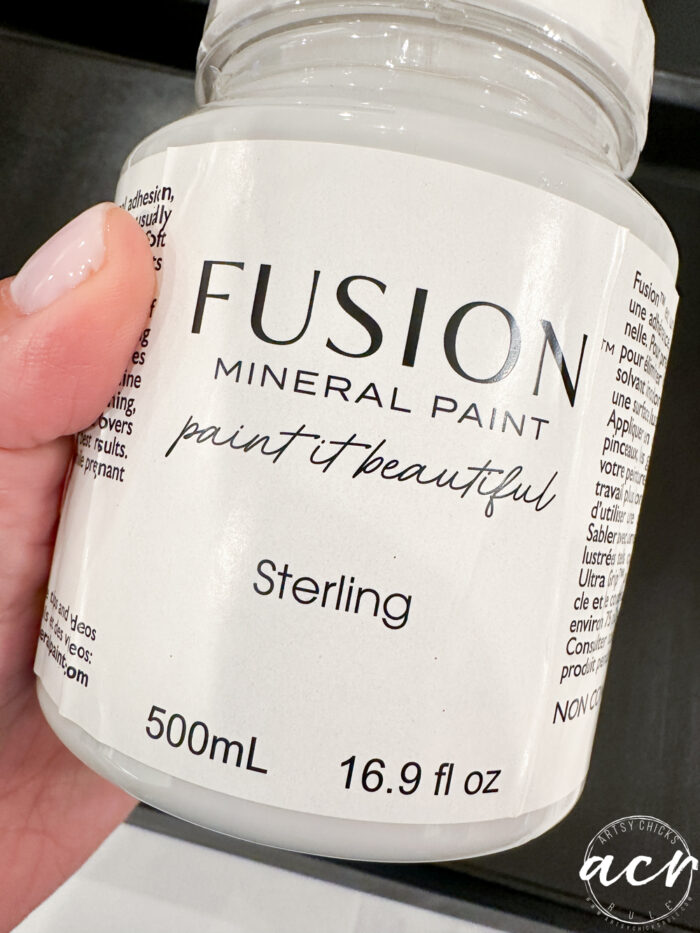
I decided to change the color of these from black (very dark) to Sterling, a soft, light gray.
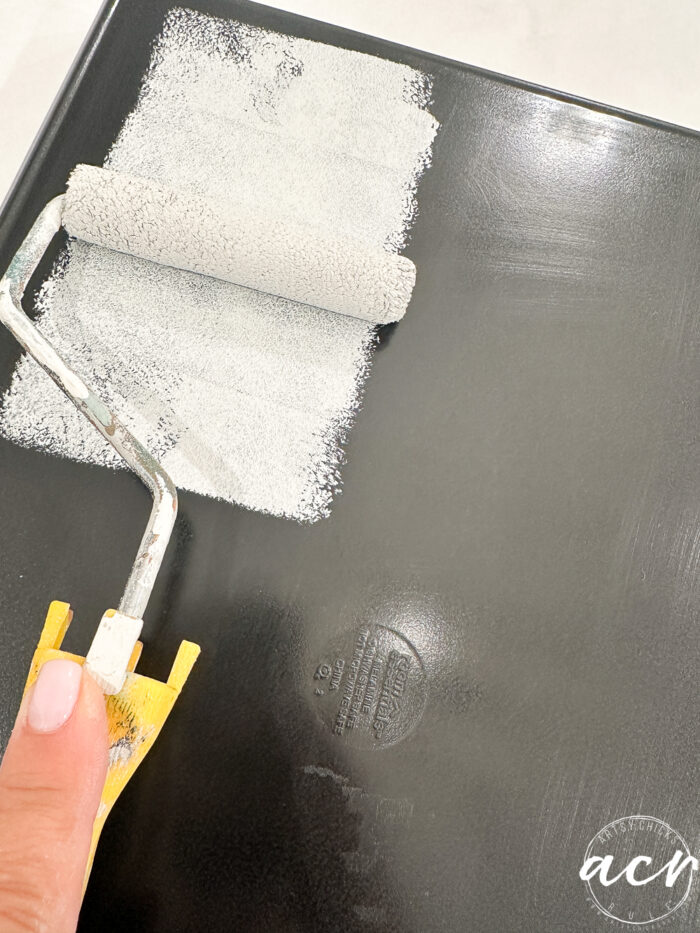
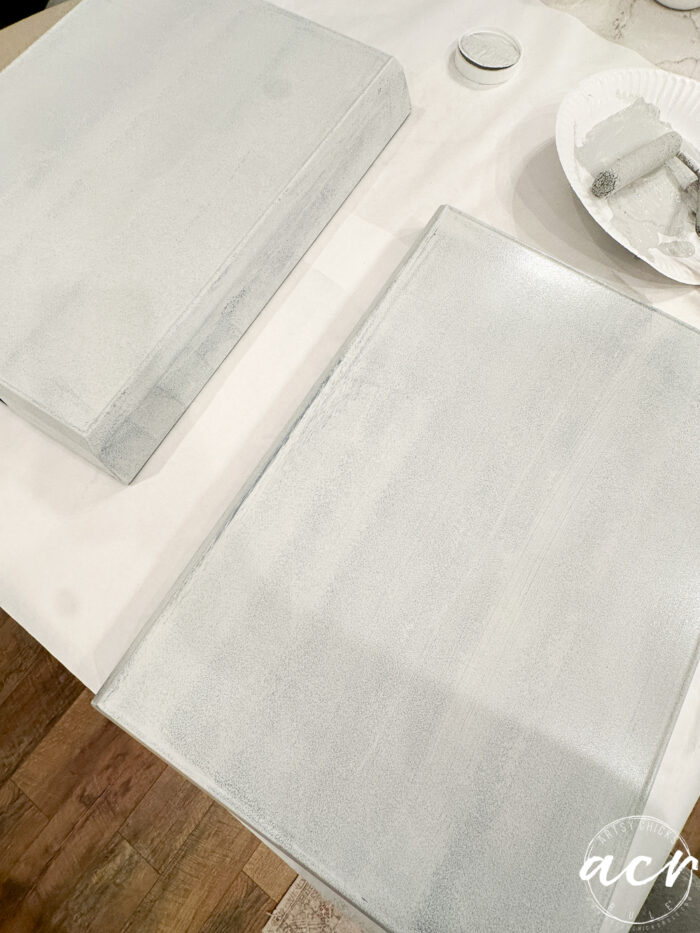
You never want to apply thick coats. (well, never, on any project really) But nice, even, thin coats are best when painting melamine making sure to allow them to dry well in between coats.
This is one coat on the left and two coats on the right.
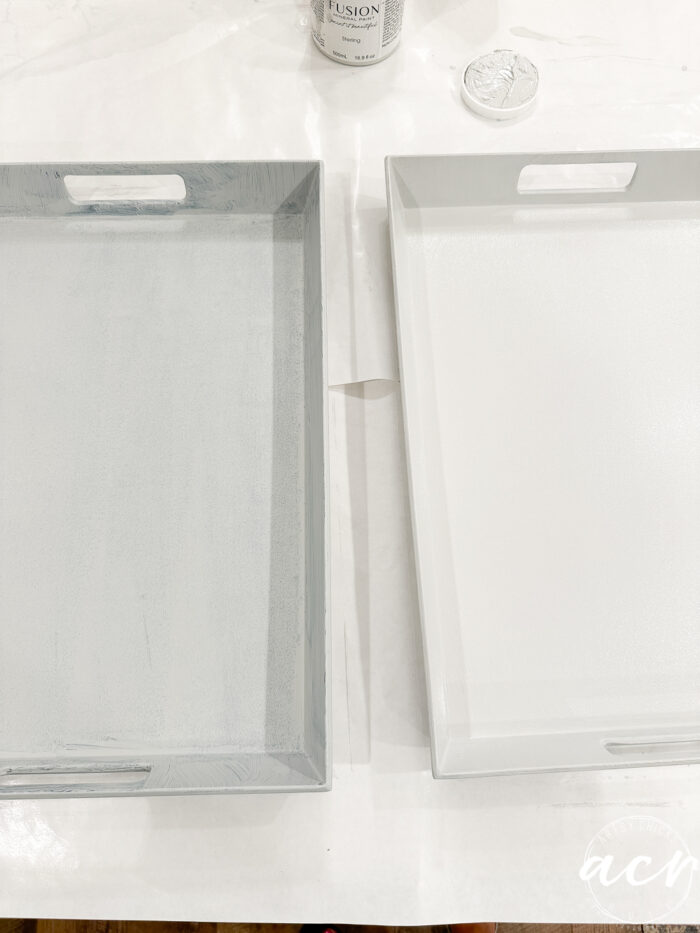
Two coats were all that was needed to cover fully.
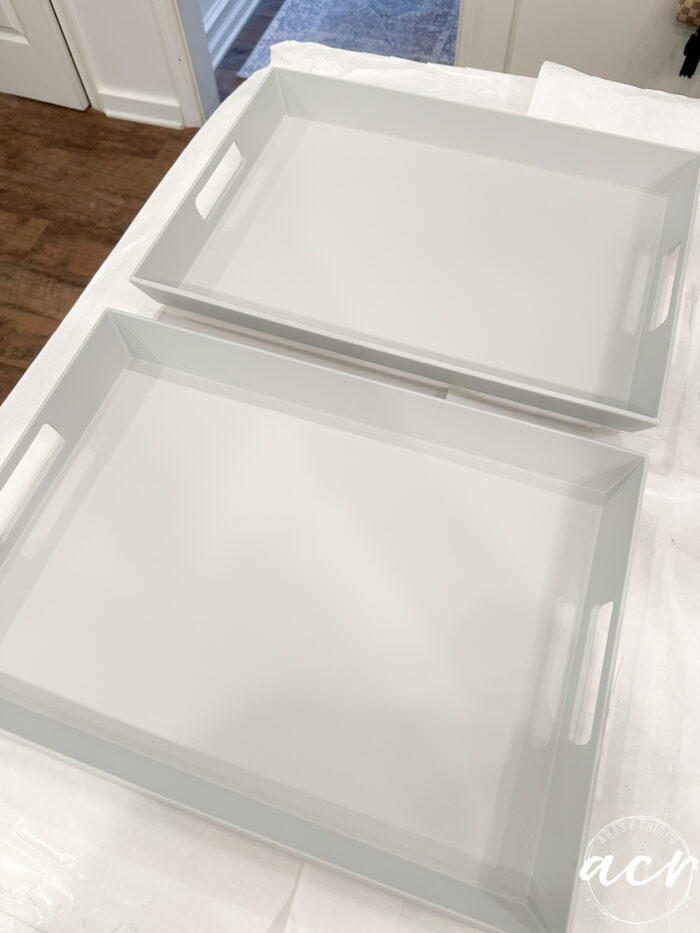
They don’t even look like the same trays!
But I wasn’t done yet. Let’s pretty them up, shall we?
ADD TRANSFERS
I love this one! It’s an oldie and I’ve used it on multiple projects before but that’s because it’s so versatile and so many pretty transfers in each set.
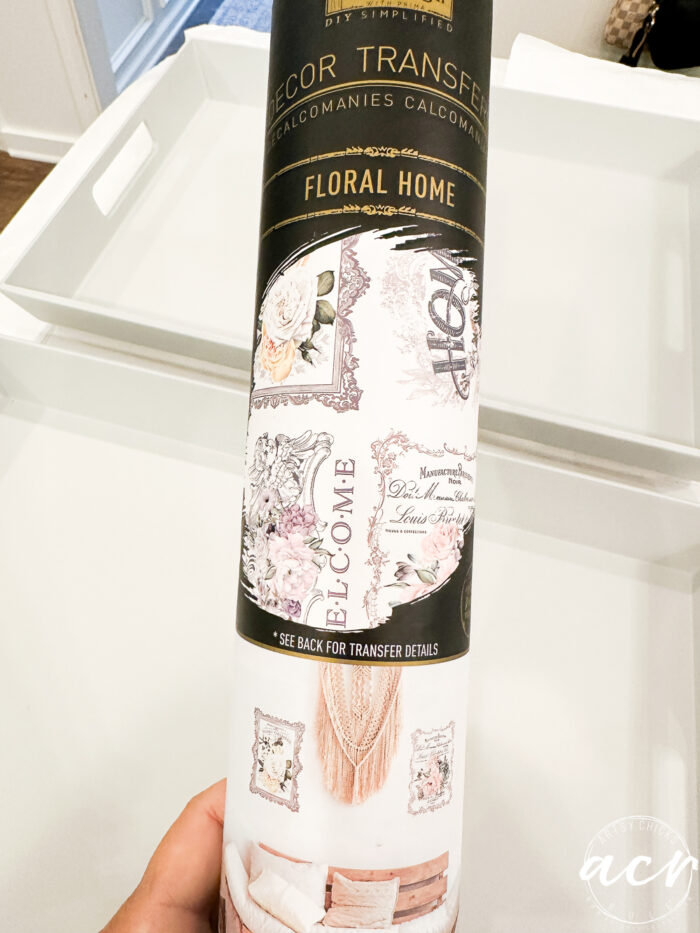
Here’s some of the past projects I’ve done using these transfers:
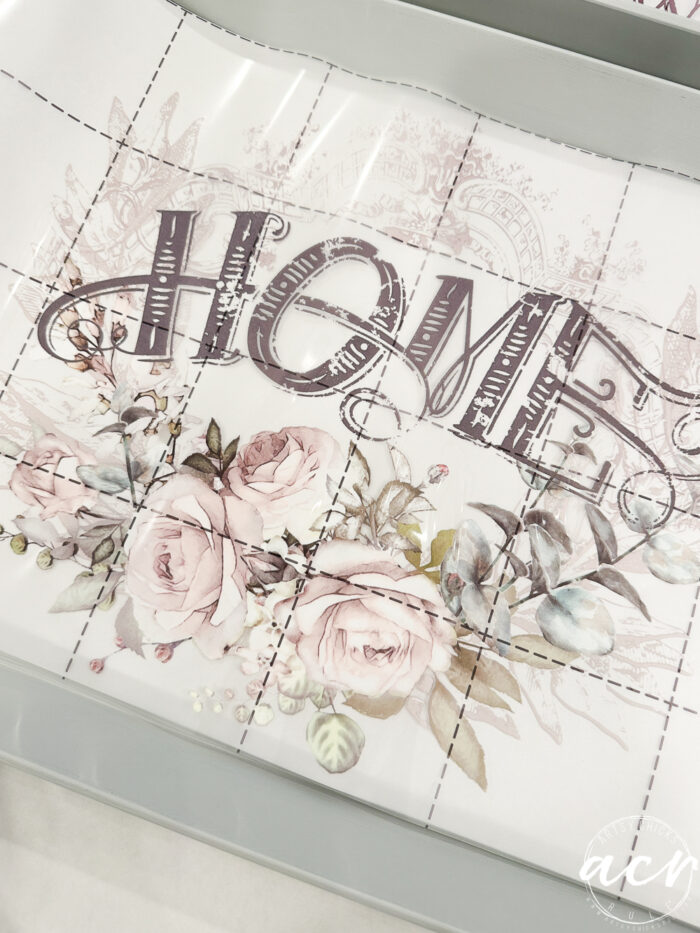
I decided to use the “Home” one …
…and the “Welcome” one…
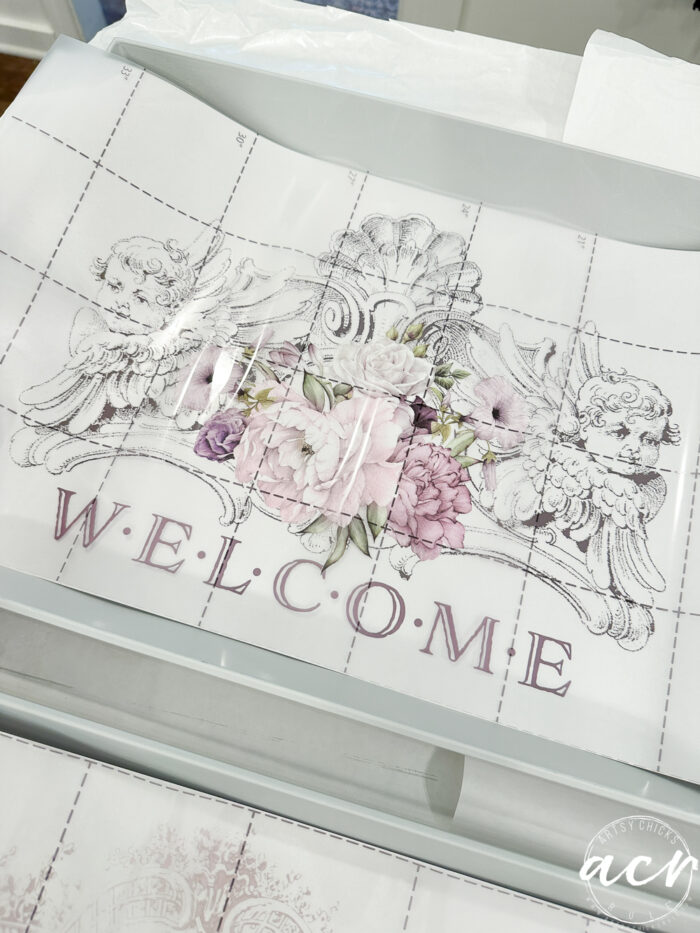
I considered these two but glad I went with the other ones for these trays.
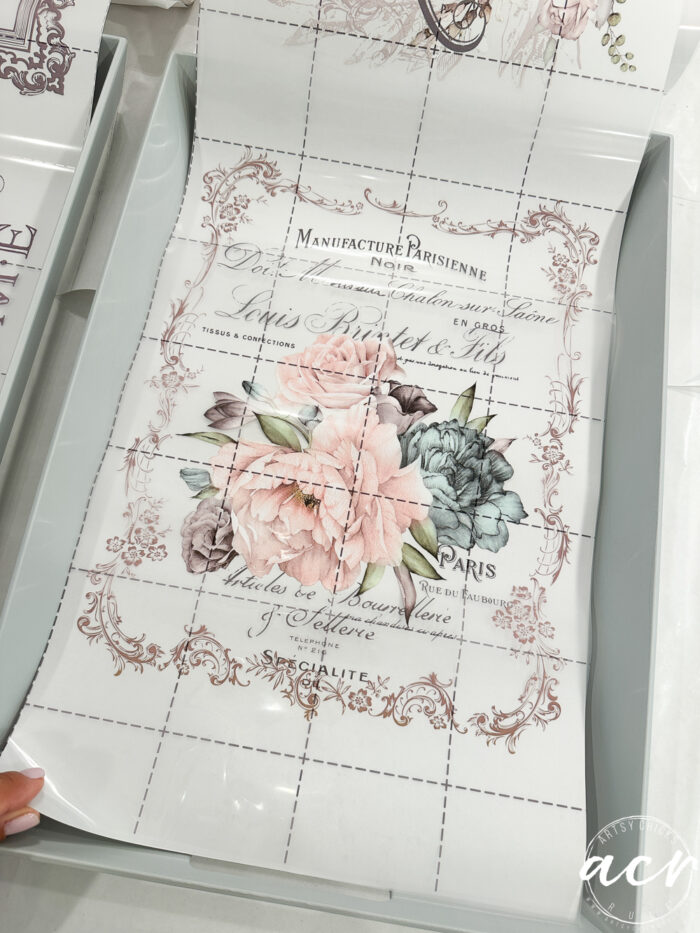
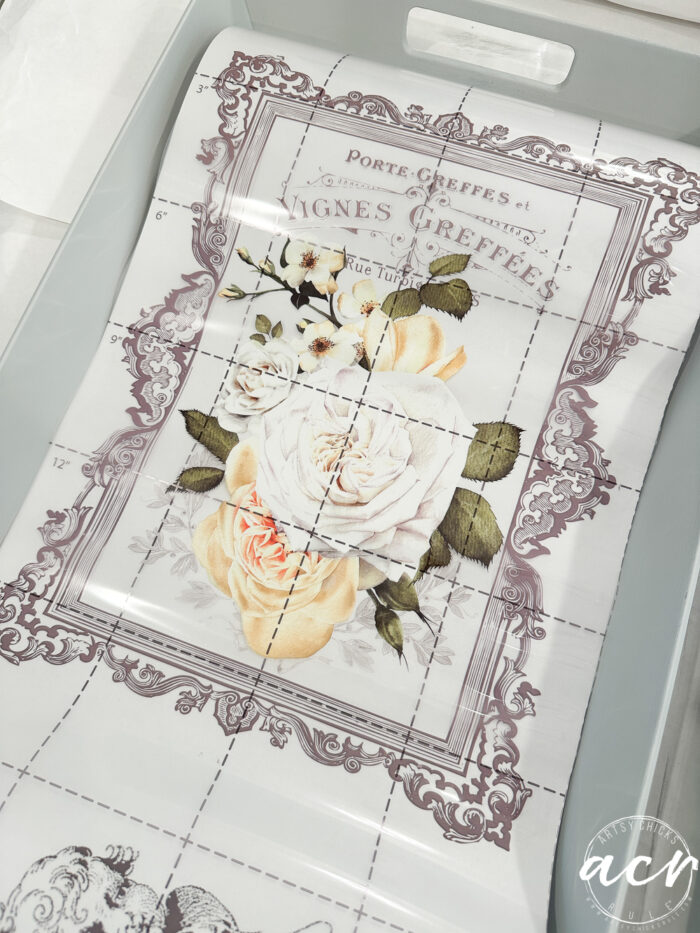
See my links above to see how I used these two on past projects.
I cut them to fit…
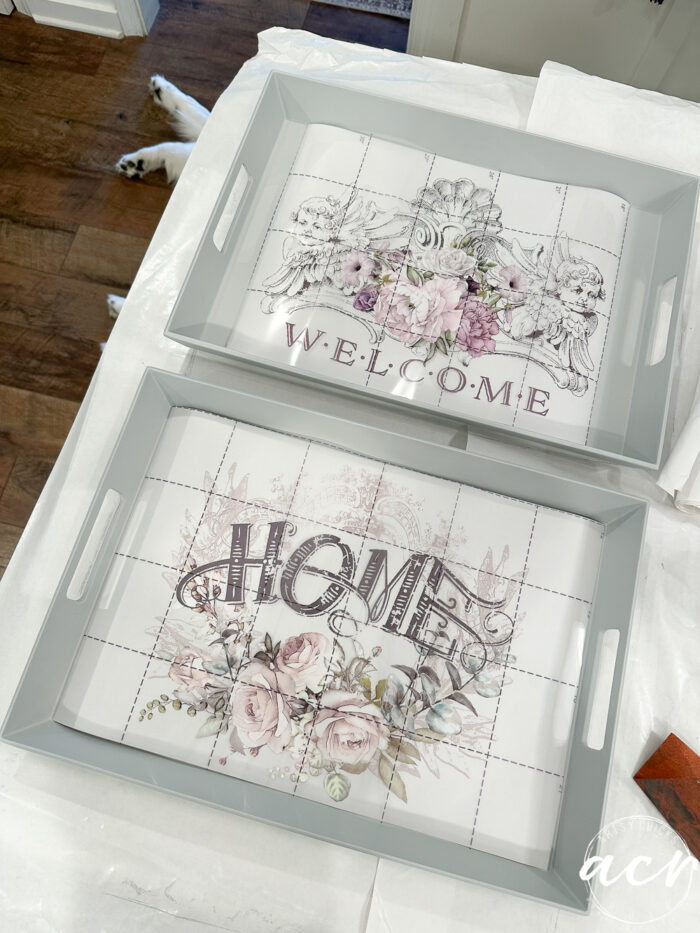
…and then applied them.
How ’bout those cute feet above?? Ryder boy hanging out with me. Here are a couple of shots of my two since I haven’t shared them in a while! I meant to share these on a post weeks ago but forgot.

Ryder and his ole fave, “baby bed”. That’s because that’s exactly what it is!! lol His very first bed that was in his tiny little crate when we first got him. He loves that thing so much!

Piper, our sweet new addition. (she’s a year old already, can you believe it?!)
Aren’t these so pretty now?! I just love the soft gray backdrop on these.
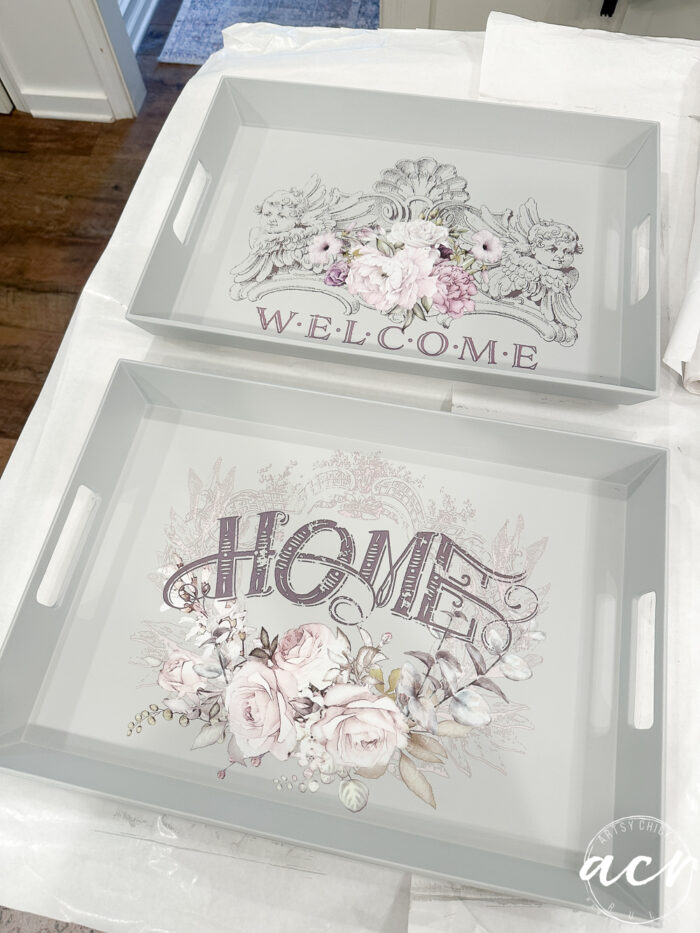
If you are new to decor/furniture transfers, check out this post here: How To Use Rub On Decor Transfers (Tips & More!)
TOPCOAT
It’s not necessary to seal the paint since our paint does not require it. However, the transfers do need some sort of protection. You can also add a coat or two of topcoat for added protection to your painted pieces if desired.
I decided to use GLOSS this time… I know, who even am I?!! Haha!!
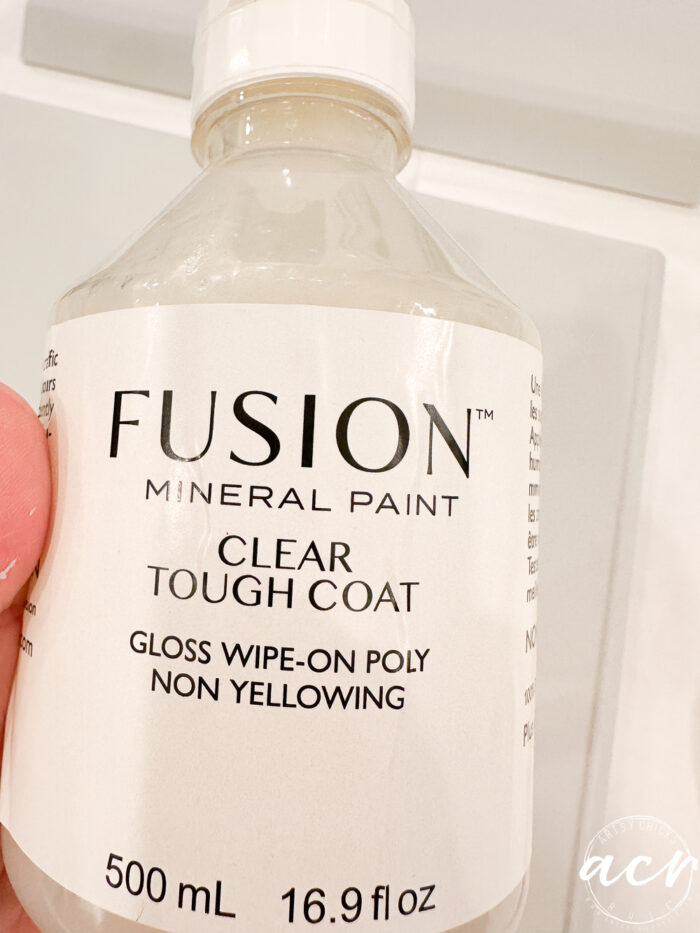
I am a flat or matte finish lover but hey, gloss has its place too!
And these trays were shiny to begin with and I think shiny is how they should stay.
I applied one coat to each tray.
And done!
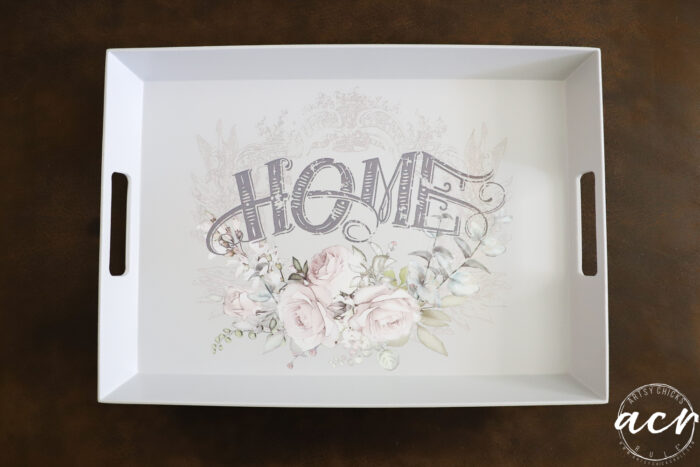
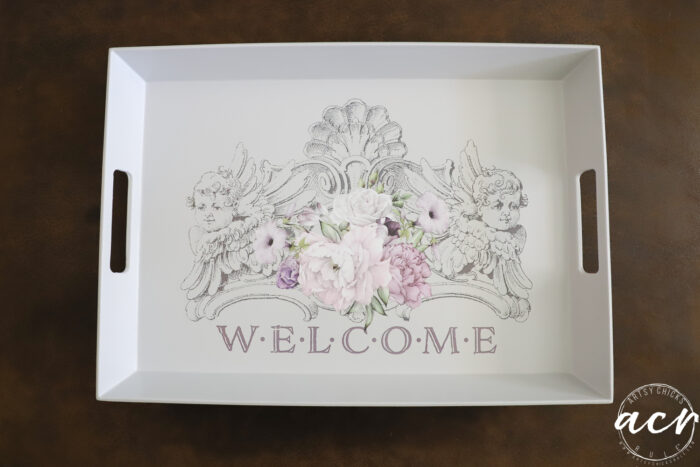
See that shine?
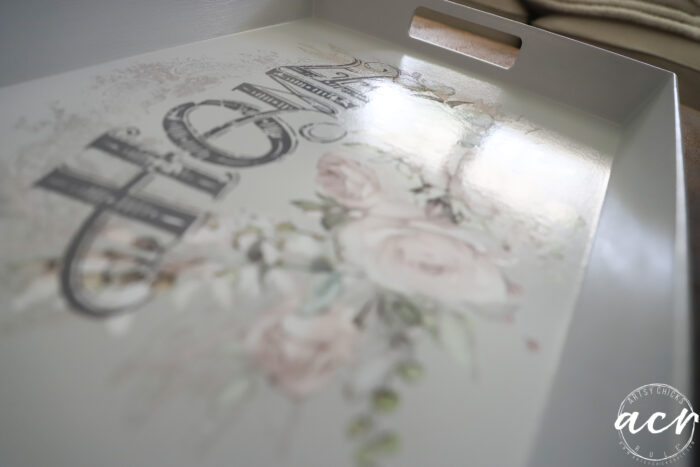
This painted melamine project passed every single “scratch test” I gave it.
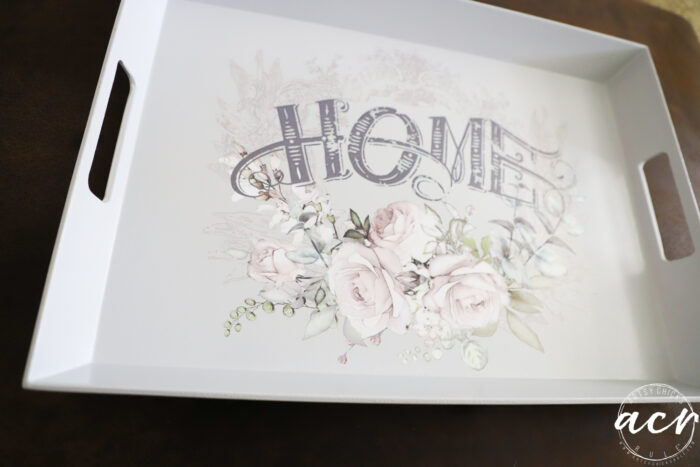
The paint does not budge! It’s solid.
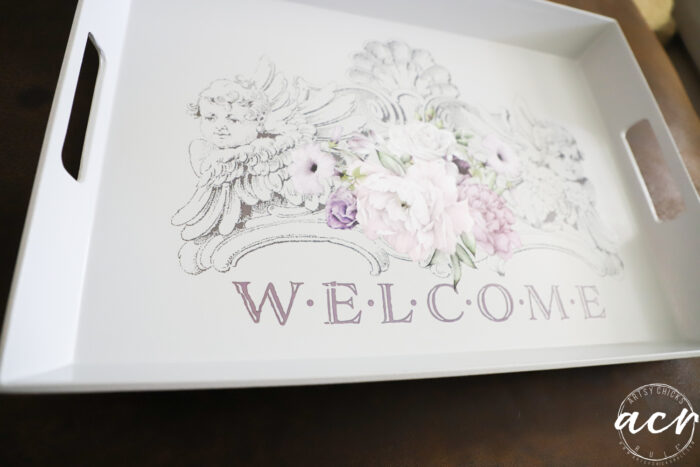
Wouldn’t this be pretty in the foyer of your home on an entry table to drop keys, letters, etc?
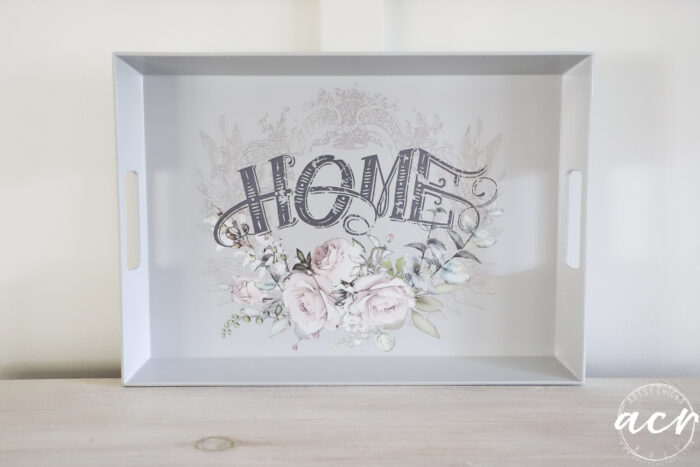
This one would be perfect for that too!
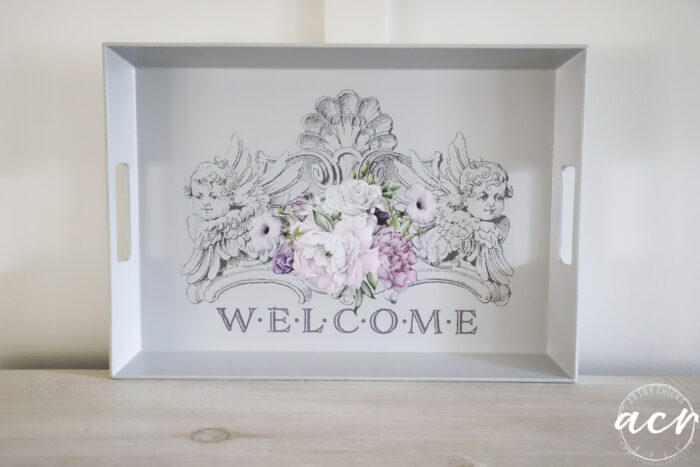
Or how about in a guest bedroom filled with toiletries or things for their stay??
Both would make great housewarming gifts!
Painting melamine seems like it would be a no-go. But with the right prep and right products you most definitely can!
PIN it to save it!
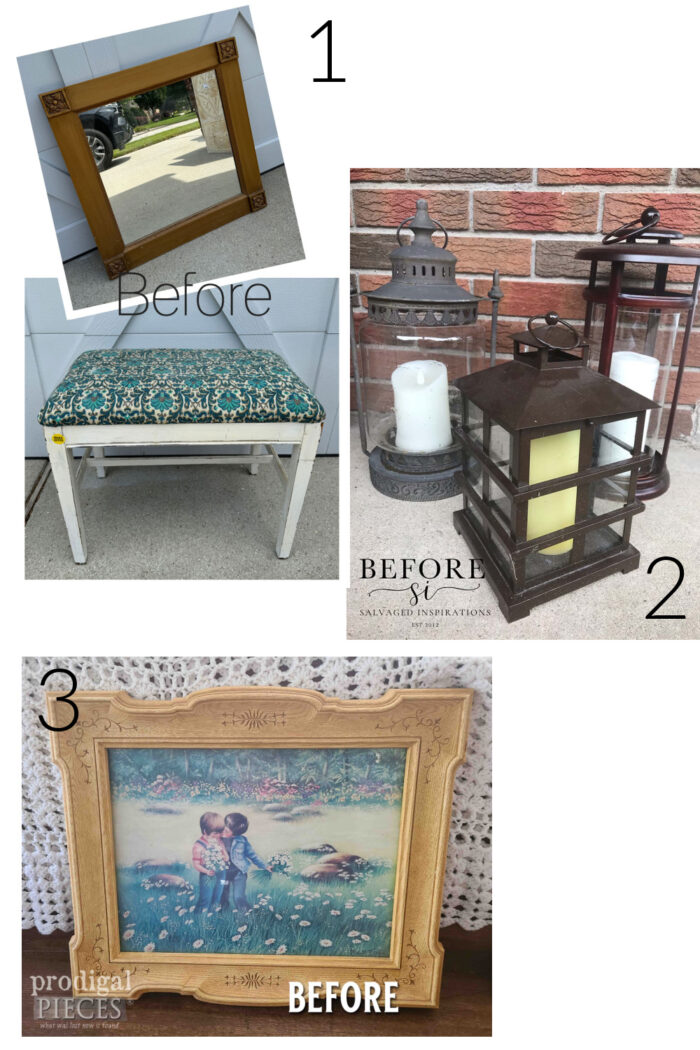
Don’t go yet! Hop over and visit my friends’ Trashy Treasures too!
Have a great week!!
xo





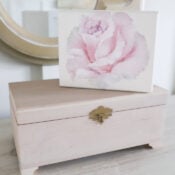


From dark and dated to light and bright. Beautiful job.
Yep!! Thanks, Larissa!! xo
Beautiful! Gloss topcoat was definitely the right choice. I see these trays at thrift all the time….maybe I will give it a try? Nice job!
Yes, you definitely should!! Thanks, Berni! :)
They look so much better, and those transfers were just perfect! XOXO
Thanks, Christy! xoxo
They’re beautiful, Nancy. The transfers are perfect for these trays, hard to believe they’re just plastic!
Thank you, Marcie! I know, it really is!! You’d truly never know! xo
These trays are beautiful Nancy… and I love the glossy sheen! Pinned! XOXO
Thank you, Denise! I’m loving that gloss too on these! xo
LOVE how they both turned out. GREAT tutorial, too, Nancy. Thank you! Perhaps I won’t overlook melamine next time if they can be made as beautiful as these two pieces are. You should give one back to your mom. lol ♥
Thank you, Michele! And yes, you can absolutely paint it and paint it successfully too! :) xoxo
Such helpful tips. Thanks !
So pretty now.
Thanks, p! :)