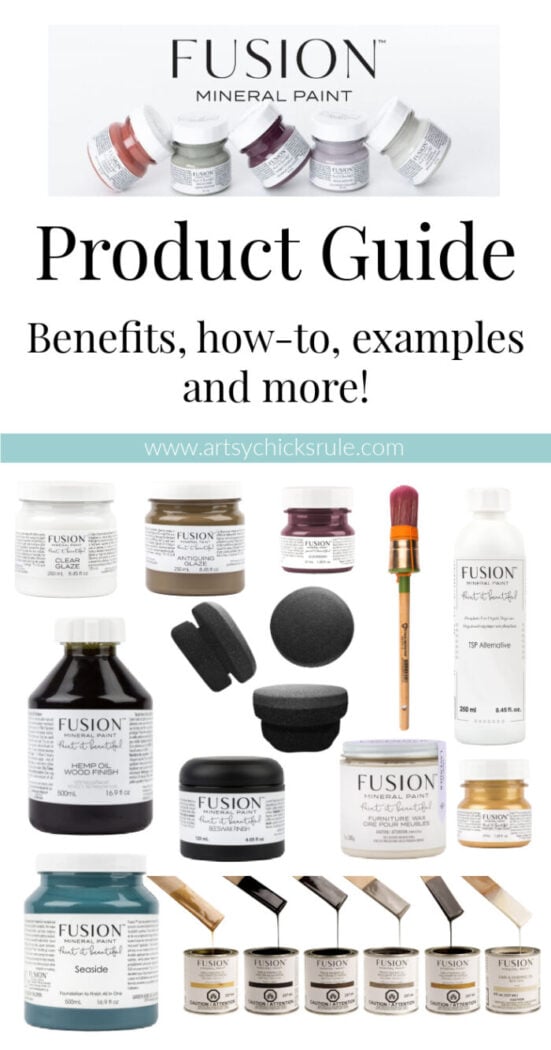
All things Fusion! Fusion Mineral Paint and general Fusion Product Guide detailing products, how-to, examples of usage, and more!
Hello friends!
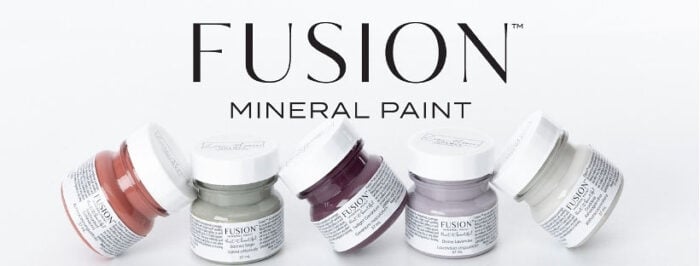
Since I sell and use (and LOVE!) Fusion products, I thought it was about time to create a product guide for information on and how to use each product. I share about the products as I use them here on the blog but I thought it’d be great to have this all in one place for easy reference.
You can find these products in my shop here:
OR if you prefer shopping at Etsy, here:
Fusion Product Guide
Hopefully, this will answer any questions you may have about the products but if you have any more, simply email me or ask in the comments below!
I’ll post links to projects that I’ve done with the products below as an example for your reference.
The Natural Series: Made of natural bristles and suitable for stains & waxes.
The Original Series: Blend of natural and synthetic bristles. Suited for applying paint. The synthetic bristles help hold humidity for excellent coverage and the natural bristles help smooth the paint.
The Pro-Hybrid Series: 100% synthetic for a smooth finish that’s suited for applying all kinds of paint.
The One by Staalmeester: Ultra-fine 100% synthetic fiber for a smooth finish for all types of paints and finishes.
Microfiber Rollers:
Smooth Finish: Designed to achieve a smooth finish when applying Fusion products.
Coverage: Offers exceptional coverage, often requiring fewer coats compared to other application methods.
Velour Rollers:
Smooth Finish: Designed to deliver a smooth finish when applying Fusion products.
Lint Removal: Before use, ensure rollers are free of lint by using tape to remove any loose fibers.
Choosing the right topcoat depends on several factors related to the project and the desired outcome.
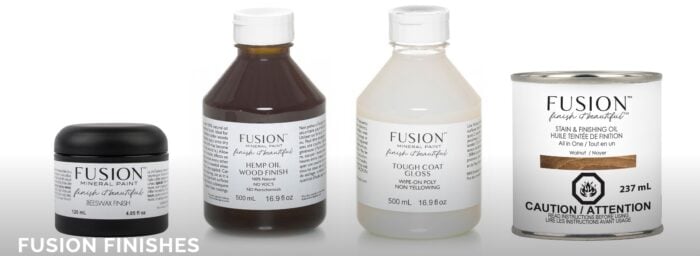
Tough Coat (Water-Based):
Types: Available in Matte or Glossy finishes.
Benefits: These topcoats are non-yellowing, specifically formulated to maintain the brightness of whites and lighter colors over time. (see tip below for using over darker shades)
Usage: Ideal for providing durable protection without altering the color underneath.
Furniture Waxes:
Application: Suitable for antiquing lighter paint colors, adding a subtle sheen, and enhancing the vintage or distressed look.
Benefits: Offers a soft, hand-rubbed appearance and can be buffed to desired shine.
**See these posts for how I used Beeswax Furniture Wax:
Tough Coat: This can also be used over dark colors, but it’s advised to apply a very thin layer to prevent any cloudiness.
A TIP for darker paint colors: Before applying, mix a small amount of the color you are using on your project piece with the Tough Coat Topcoat to reduce clouding.
Hemp Seed Oil
Natural and Food-Safe: Made from all-natural ingredients so safe for use on surfaces that come into contact with food, such as cutting boards, butcher’s blocks, and charcuterie boards.
Application: Easy to apply by pouring or brushing onto the wood surface and then wiping away the excess with a rag.
Benefits for Wood: Moisturizes and conditions bare wood surfaces, enhancing natural wood tones and providing a slight sheen. Multiple coats can be applied for a higher sheen, which can be buffed to achieve desired shine levels.
Protection and Revitalization: Revives and protects wood by penetrating deeply, helping to condition and maintain its integrity over time.
Effect on Wood Appearance: Darkens and enriches the natural color of the wood, with older wood typically absorbing more oil and becoming darker. Results can vary depending on the type of wood, so testing in a small area is recommended.
Environmentally Friendly: Produced locally with no additives, preservatives, solvents, or chemical driers. It dries naturally without leaving a surface film that could chip or scratch.
Odor and Drying Process: Has a pleasant smell reminiscent of crushed walnuts. The oil undergoes a specific drying process that prevents it from going rancid and allows it to dry naturally on the wood.
Sanding: Works well for “wet sanding” (smoothing) painted finishes.
**I’m going to be sharing a post soon on how to “smooth sand” using Hemp Oil.
Not Recommended for Lighter Colors:
Stain & Finishing Oil: This product is better over darker colors as use over whites may cause slight yellowing over time. It’s perfect for use over darker colors and great for high-traffic areas.
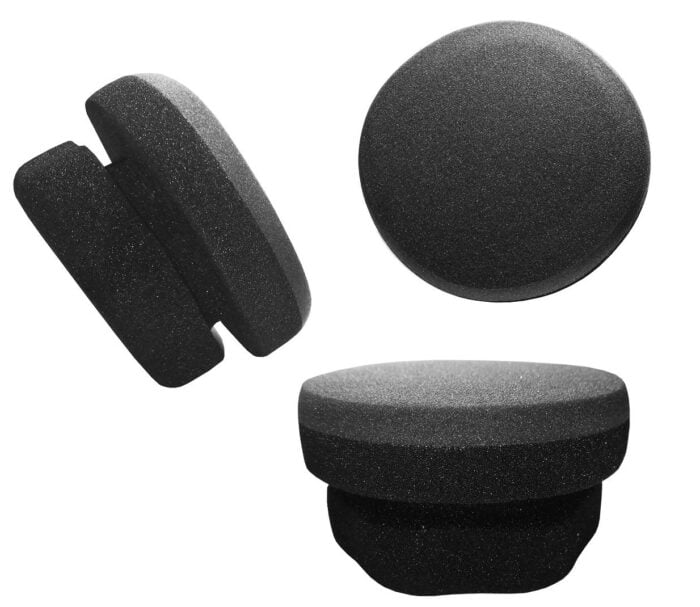
Purpose: Designed to simplify the application of Tough Coat Topcoats.
Preparation: Pour Tough Coat onto a disposable paper plate. Slightly dampen the sponge with water, then dip it evenly into the Tough Coat.
Application Technique: Start at one end of your project and apply Tough Coat with a solid swipe in one direction.*Do not wipe backward over the wet Tough Coat surface to prevent bubble formation.
Cleanup: After use, clean the sponge with Fusion Brush Soap and water to rinse out Tough Coat residue. Rinse thoroughly and allow the sponge to dry. Proper cleaning ensures longevity and reuse for future projects.
Reuse: Each sponge can be reused for approximately 3-5 applications, depending on the care taken during cleaning and storage.
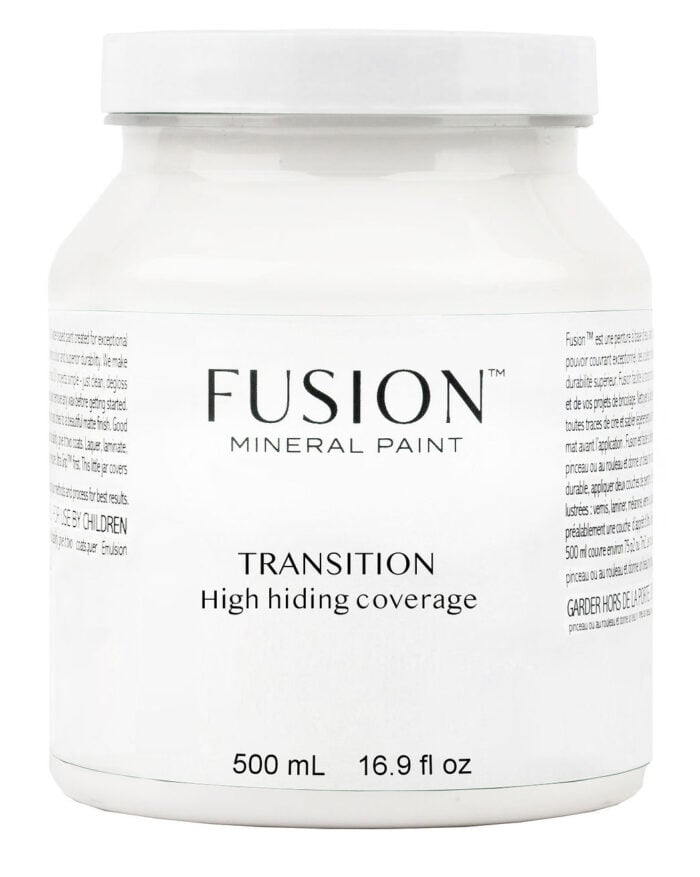
Purpose: Designed to provide extra hiding coverage when transitioning from a darker color to a lighter color using Fusion Mineral Paint. It allows achieving the desired light color in fewer coats, saving time and money.
Recycled Pigments: Made from recycled pigments, Transition offers economical pricing compared to regular Fusion Mineral Paint, approximately half the cost.
Properties and Limitations:
Adhesion and Durability: While Transition provides good coverage, it does not offer the same level of adhesion and durability as regular Fusion Mineral Paint.
Not a Primer: It is important to note that Transition is not a primer and does not seal or block against resin or tannin bleed-through.
Surface Preparation: Ensure surfaces are properly prepped and ready before applying Transition. For concerns related to resin or tannin bleed-through, use Zinsser BIN shellac-based primer as recommended.
Usage Recommendation: Sandwich Transition in between coats of regular Fusion Mineral Paint colors.
Ensure even coverage and allow the oil to penetrate the wood for up to 15 minutes.
After the penetration time, remove any excess oil with a clean rag.
For enhanced color depth or increased sheen, a second coat can be applied after the recommended re-coat time of 9 hours.
Benefits:
SFO is a blend of natural oils and resins designed to deeply penetrate the wood fibers, creating a durable and water-resistant finish.
Unlike traditional topcoats, SFO integrates into the wood rather than forming a surface film, which ensures long-lasting protection and enhances the wood’s natural beauty.
Stain & Finishing Oil (SFO) over Fusion Mineral Paint:
Application Tips:
SFO can be used over Fusion Mineral Paint to increase protection and add sheen.
Apply thin amounts of SFO over larger painted surfaces to avoid lines or streaks; buff in circular motions for table tops or other large areas.
Ensure excess SFO is removed to achieve a thin, even application for best results.
Enhancing Sheen and Durability:
Multiple coats of SFO can be applied to increase sheen further.
The color “Natural” in the SFO line is perfect for adding sheen and durability to darker shades of Fusion Mineral Paint.
Things to consider:
Yellowing Effect: All oil-based products, including SFO, may yellow over time. Using SFO over white or light-colored Fusion Mineral Paint may cause a slight yellowing effect. For lighter colors, it’s recommended to use Fusion’s Tough Coat to prevent yellowing.
Glaze Effect: When using SFO over Fusion Mineral Paint for a glaze effect or to increase sheen, remove excess oil immediately to avoid a sticky finish that takes longer to dry.
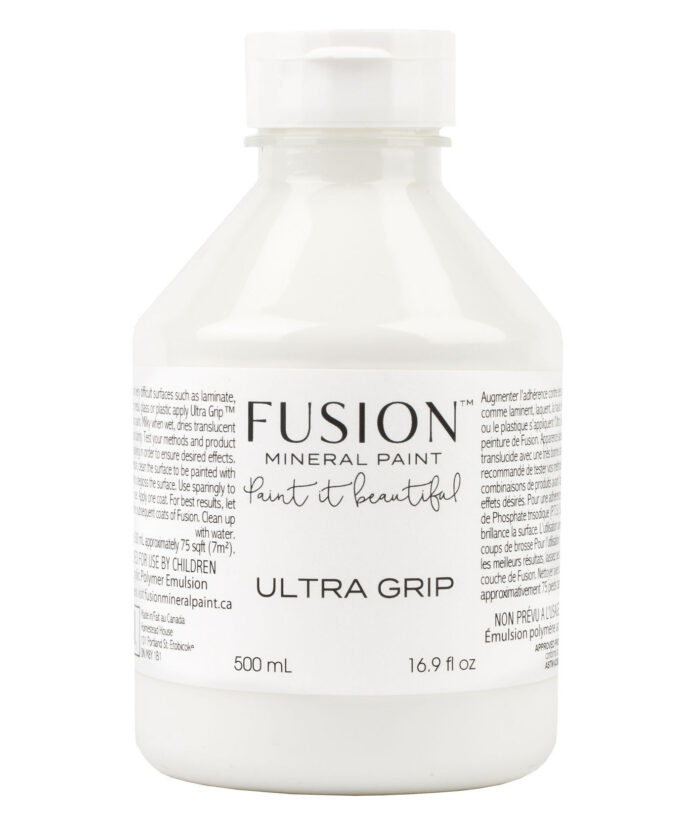
Purpose: Allows Fusion Mineral Paint to adhere to challenging surfaces that are typically not suitable for painting, such as lacquered surfaces, melamine, thermofoil, and laminate. (even floor tiles!)
Characteristics: Non-toxic and water-based, Ultra Grip acts as an ultra-adhesive primer that enhances the paint’s ability to stick to difficult surfaces.
Application: Apply Ultra Grip/Bonding Agent before painting to ensure proper adhesion and long-lasting results.
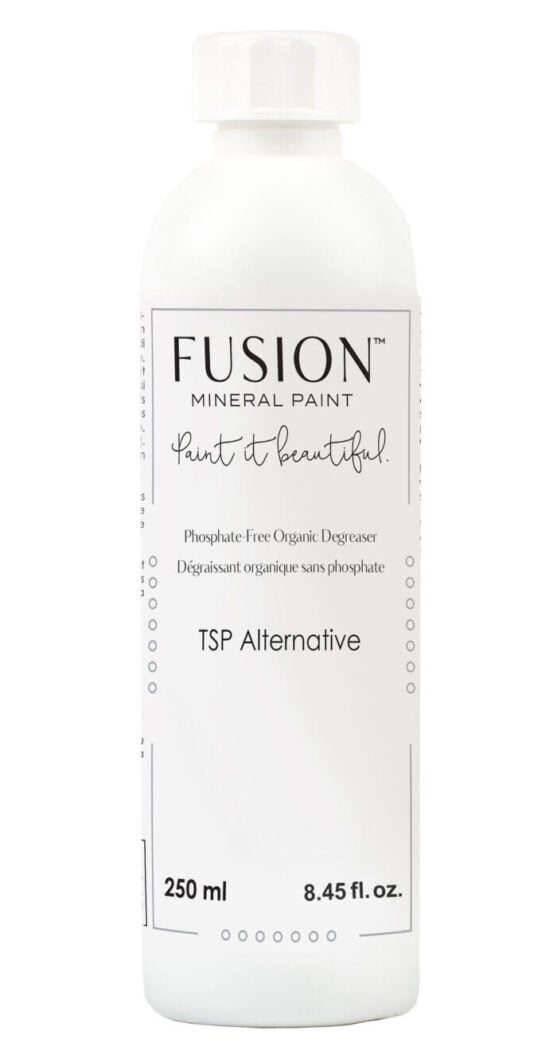
Purpose: A water-based degreaser specifically designed to clean surfaces thoroughly before painting.
Cleaning Ability: Removes oil, grease, fingerprints, stains, and other contaminants effectively, ensuring a clean surface that enhances paint adhesion and the final appearance.
Non-Rinse Formula: A convenient no-rinse formula simplifies the cleaning process, making it easier and quicker to prepare surfaces for painting.
Surface Compatibility: Safe to use on a wide range of surfaces including wood, paint, gypsum, melamine, plastics, metals, and glass.
Phosphate-Free: Contains no phosphates, making it environmentally friendly and safe for use.
Highly Concentrated: Due to its concentrated formula, a small amount of TSP Alternative goes a long way!
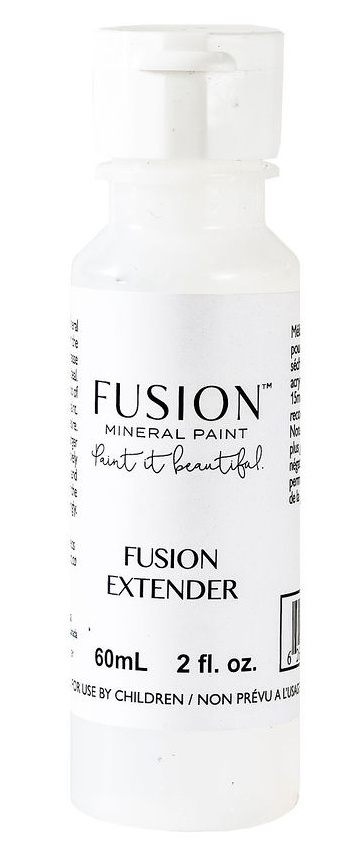
Purpose: Designed to extend the open time of Fusion Mineral Paint, allowing for smoother application and minimizing the appearance of brush strokes.
Application: Simply add the extender to the paint to increase the working time, giving you more flexibility to achieve the desired finish.
Recommended Ratio: The suggested ratio is 15 mL (about 1 tablespoon) per pint (500 mL) of paint. This ensures an effective extension of the drying time without compromising the paint’s performance.
Usage Caution: Using more than the recommended amount significantly increases both drying and curing times. It’s advised not to exceed adding 10% of the original paint volume with the extender to avoid excessive drying delays.
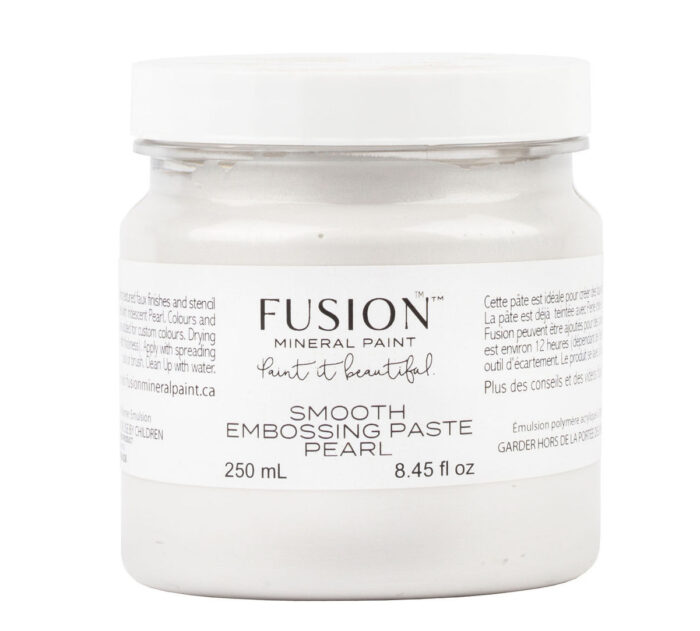
Purpose: Designed to create texture or raised patterns on surfaces through stencils or freehand application.
Finish: Dries to a translucent pearl finish, providing a subtle sheen that can be further enhanced with painting, glazing, or waxing.
Customization: Easily customizable by mixing with Fusion Mineral Paint to achieve desired colors or effects.
Application Techniques:
Stencil Application: Apply the paste through a stencil to create raised patterns. Use a palette knife or similar tool for precise application.
Brush Application for Frosted Look: Use a damp brush to apply the paste for a frosted appearance. This technique softens the texture slightly, giving a different visual effect.
Stippled Effect: Apply the paste with a brush in a stippled formation to create a textured finish. This method adds depth and dimension to surfaces.
Purpose: Designed for creating faux finishes with ease of application and a long open time, allowing for professional-quality results achievable by everyone.
Finish: Dries to a soft matte finish, adds depth and dimension to surfaces.
Types:
Glaze-Antiquing: Lightly tinted to a rich brown, ideal for achieving an antiquing effect.
Glaze-Clear: Can be custom-tinted using Fusion paint or metallics for personalized finishes.
Application Technique:
Preparation: Apply the glaze liberally with a brush of your choice onto the surface.
Wiping Back: Immediately wipe back excess glaze with a lint-free cloth to achieve the desired effect. Allow the glaze to settle into detailed crevices for enhanced visual appeal.
Detailed Areas: The glaze is particularly effective in highlighting detailed areas of furniture.
Top Coat Recommendation: For surfaces exposed to water or high traffic (e.g., kitchen cabinets, tabletops), allow the glaze to dry for 24-48 hours before applying a top coat like Fusion’s Tough Coat or SFO for added protection.
Customization: When tinting Glaze-Clear with paint or metallics, be sure to perform a test to ensure the desired color is achieved before application.
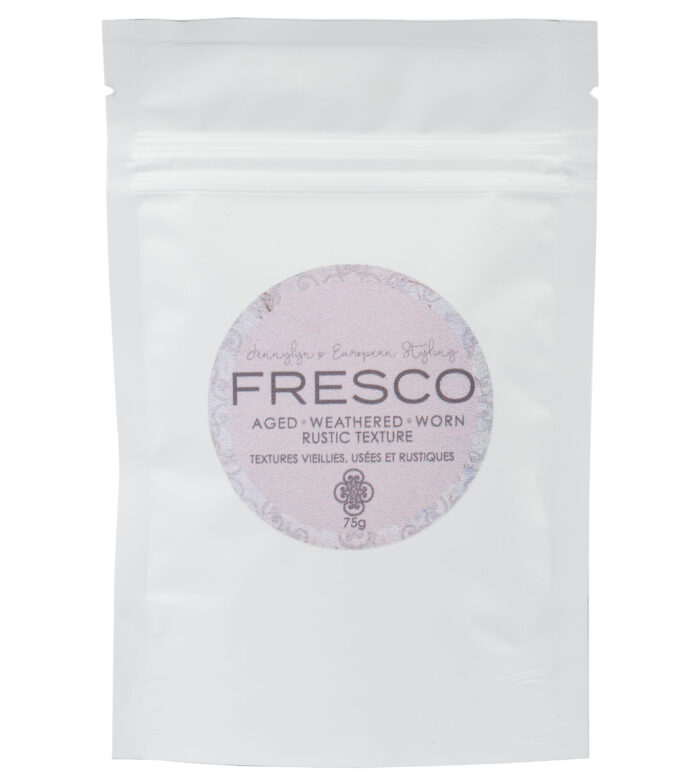
Purpose: Designed to create chalky, rustic, seaswept, or highly textured finishes when mixed with Fusion Mineral Paint.
Ease of Use: Simply mix Fresco™ into Fusion Mineral Paint and apply to achieve desired effects.
Texture Control: The amount of Fresco™ used determines the level of texture:
More Fresco™ creates a more pronounced texture.
Less Fresco™ results in a smoother, chalky finish.
Natural Composition: Made from 100% natural ingredients, ensuring an eco-friendly product.
Application Variability: Depending on the mixing ratio and application technique, users can achieve a range of decorative finishes from subtle chalky textures to more textured, seaswept looks.
Purpose: Designed to help create a smooth finish and easy color blending with Fusion Mineral Paint.
Water Usage: Use sparingly to avoid diluting the paint excessively, as Fusion paints use mineral pigments that can streak if too much water is added.
Enhanced Paint Flow: Mist can be used to lightly dampen brushes and rollers, enhancing paint flow for smoother application.
Multi-functional: Besides misting for paint application, it can also serve as a container for mixing TSP Alternative and water for surface preparation.(I have one for TSP and one for water…be sure to label!)
PIN it to save it!
Remember, you can find my ACR Shop here and ACR Etsy Shop here.
I love the way that you present everything, this one was particularly helpful because I’ve been curious about it and have no experience with the brand. I do have a question for you about appliqués. It’s too expensive to purchase them and very difficult to find pieces interesting enough to mold for resin. How do you supply your appliqués or do you have any suggestions?
So glad it’s helpful, Cassie!! I’m curious what you mean by it’s too expensive to purchase them? We have them in our shop on our Etsy shop (free shipping on orders over $35) and in our shop linked to the blog here (free shipping on orders over $50). Finding interesting pieces, well, it’s hit or miss at the thrift stores for sure! Just have to keep looking and you’ll find some! :)
Hi Lisa!
You can try this…running the lid under warm water (this usually does the trick for me), tapping the lid edges with something (like a hammer, etc) to loosen any dry paint. And/or using a jar opener (those flat, rubbery things). Once used, keep a piece of plastic wrap in between the lid and jar. Hope that helps!
Want to be inspired, learn new skills, discover all the tricks to furniture makeovers, creating new out of the old and more? You'll also receive my FREE ebook "Creating Fabulous Finishes" PLUS access to my private Printables Resource Library, too!
Sign up to get the Weekly Newsletter! Our emails include an unsubscribe link and you may opt-out at any time. Your information will *never* be shared or sold to a 3rd party.


")
")

")

")


Very informative post. Thank you. I’ve heard great things from others on Fusion products.
So glad it is helpful to you, Debra! I love them! :)
Thanks for all the info Nancy, I’ve used fusion products and was happy with the results but it’s good to have information all together.
That’s great, Celia!! And yes, I get emails with questions and I thought this would be a good way to get it all in one place for everyone! :)
I love the way that you present everything, this one was particularly helpful because I’ve been curious about it and have no experience with the brand. I do have a question for you about appliqués. It’s too expensive to purchase them and very difficult to find pieces interesting enough to mold for resin. How do you supply your appliqués or do you have any suggestions?
So glad it’s helpful, Cassie!! I’m curious what you mean by it’s too expensive to purchase them? We have them in our shop on our Etsy shop (free shipping on orders over $35) and in our shop linked to the blog here (free shipping on orders over $50). Finding interesting pieces, well, it’s hit or miss at the thrift stores for sure! Just have to keep looking and you’ll find some! :)
Is there a specific way to open the Fusion paint? I’m having a hard time.
Hi Lisa!
You can try this…running the lid under warm water (this usually does the trick for me), tapping the lid edges with something (like a hammer, etc) to loosen any dry paint. And/or using a jar opener (those flat, rubbery things). Once used, keep a piece of plastic wrap in between the lid and jar. Hope that helps!