Stained Tray Makeover
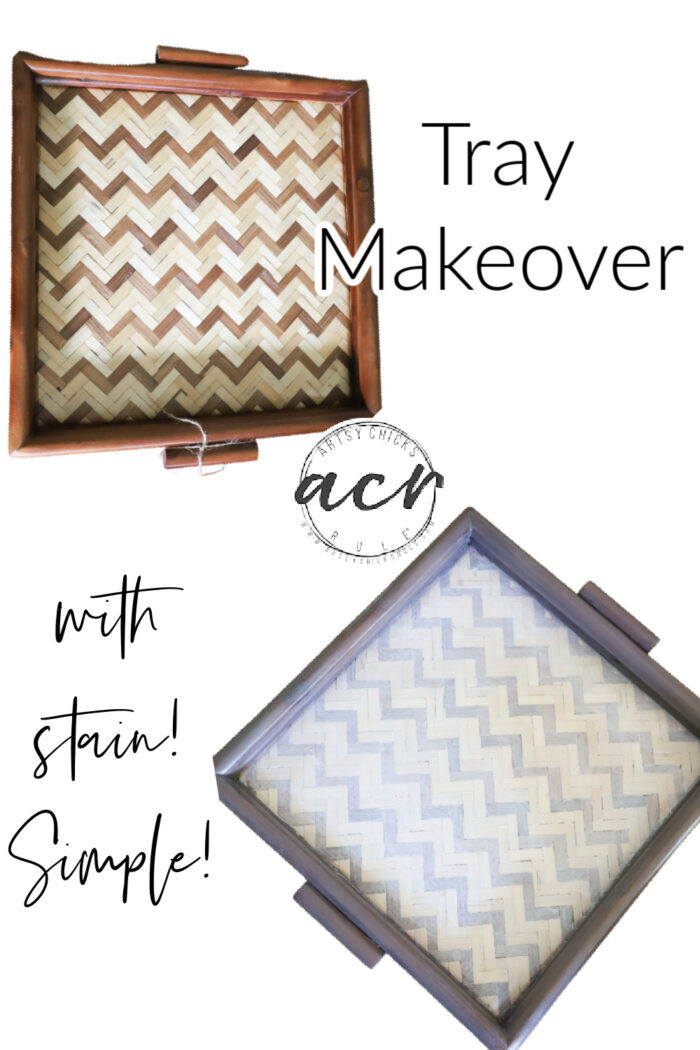
This stained tray makeover was simple to do…and quick for a brand new look!!
Hello wonderful friends!
I hope you are having an amazing fall so far. It’s going by so fast I tell ya. Christmas will be here before you know it.
Today is Trash To Treasure day and my friends and I are sharing some goodies with you! Lots of fun makeovers.
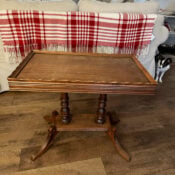
I’m sharing this I picked up at a garage sale this weekend…
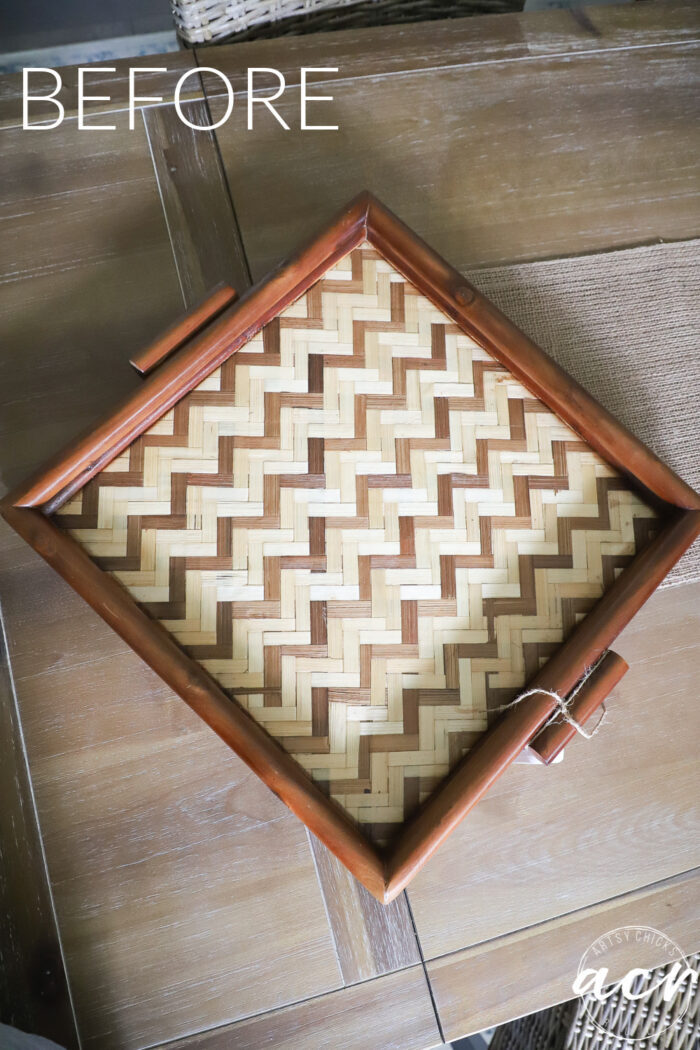
Stained Tray Makeover
I thought it would be a fun one to give a new look to. I love the chevron wood pattern too.
It didn’t take me long to figure out exactly what I wanted to do either.
I hopped over to my shop and pulled this one out…
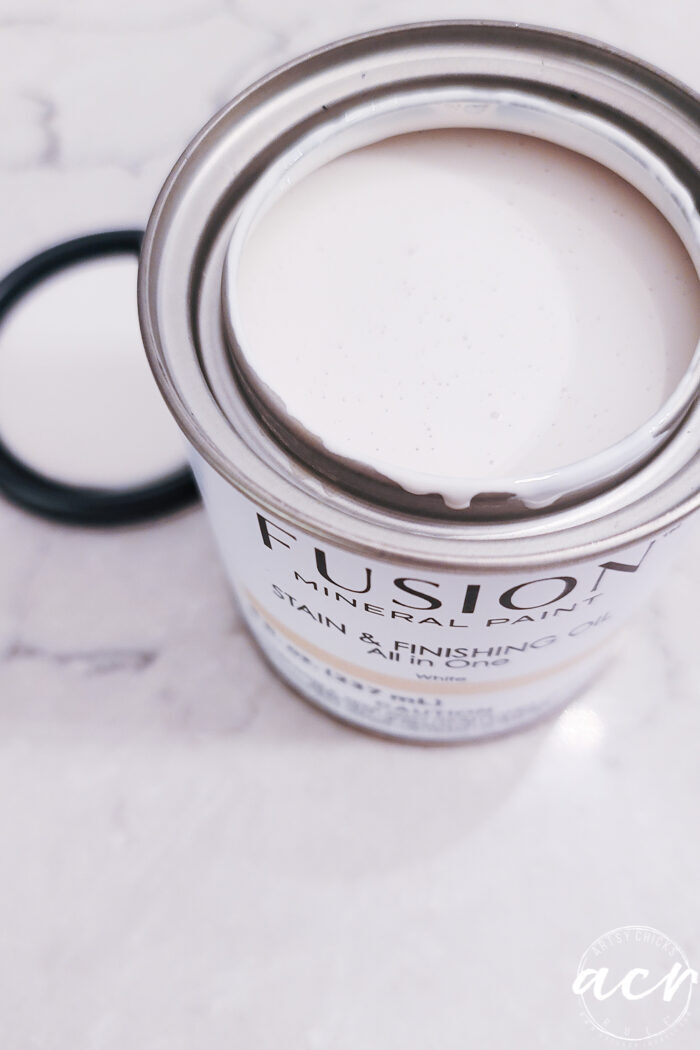
Stain in “white”.
Haven’t been to my shop yet? You can find it right here >>> Artsy Chicks Rule Shop
I pulled out a rag and simply wiped this white stain all over the bottom of the tray.
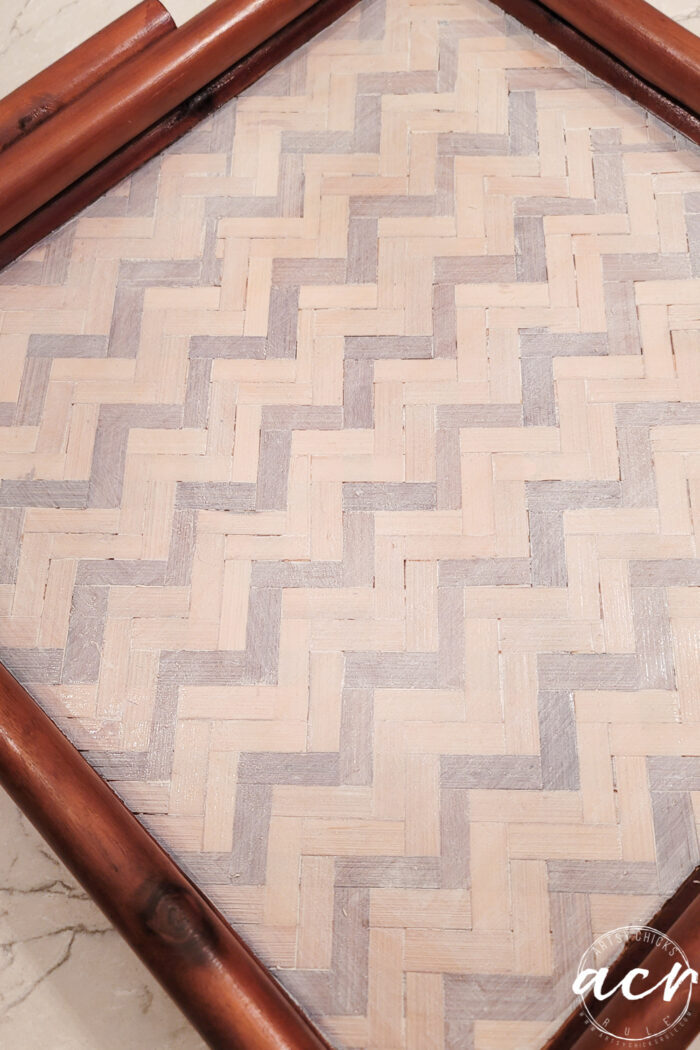
I love that it completely changed the shade of the wood color but kept the variations in color.
I had first considered painting the wood white but then thought my fave Driftwood Stain would be a better look. (see it there on the left?)
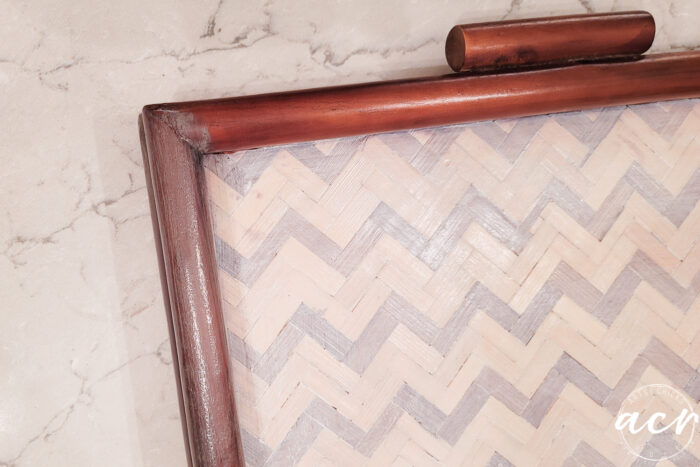
And done!
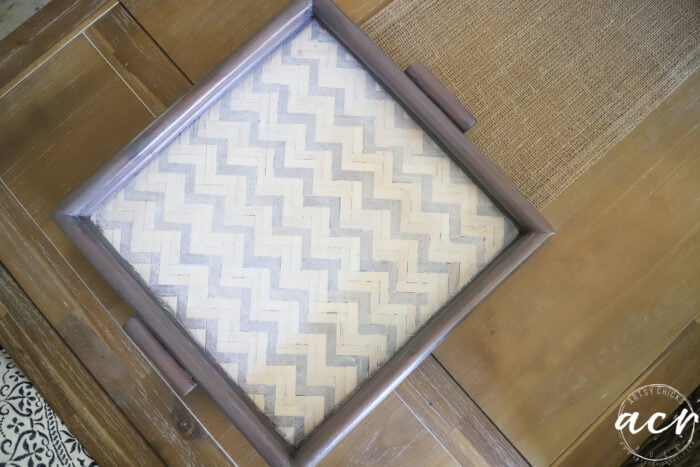
What a difference, huh?
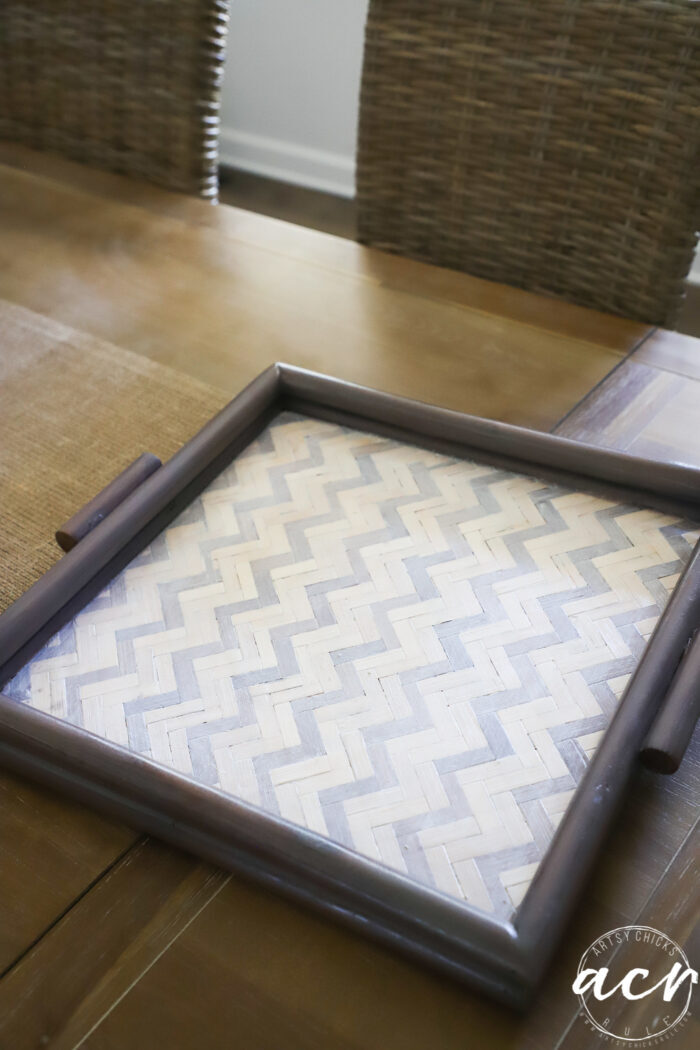
All it needed was a little stain…that took less than 10 minutes to do!
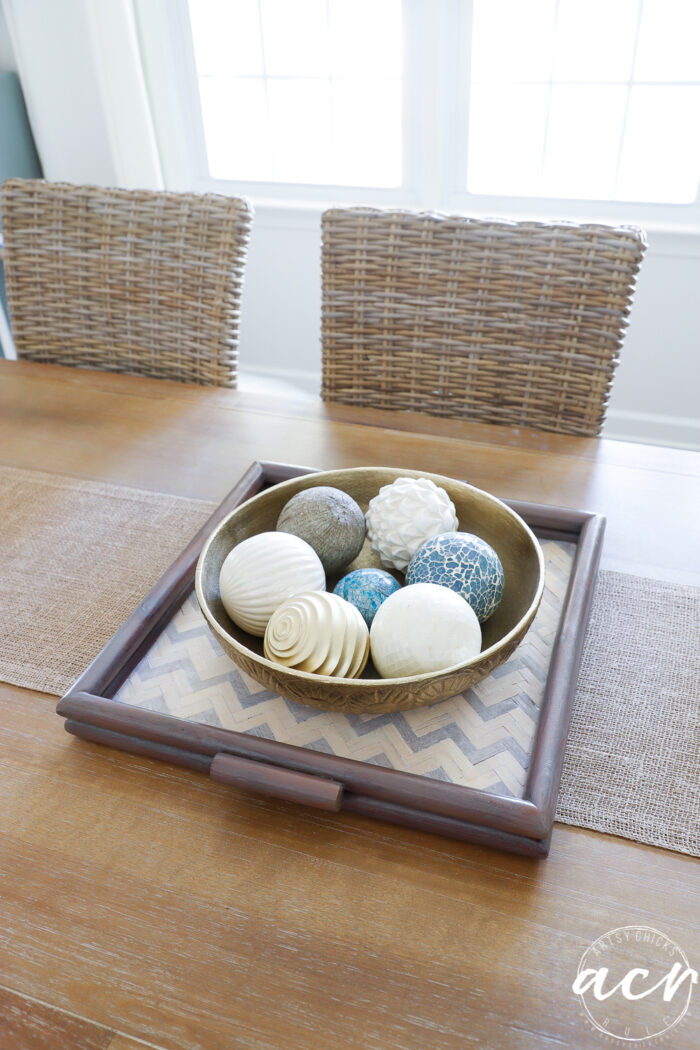
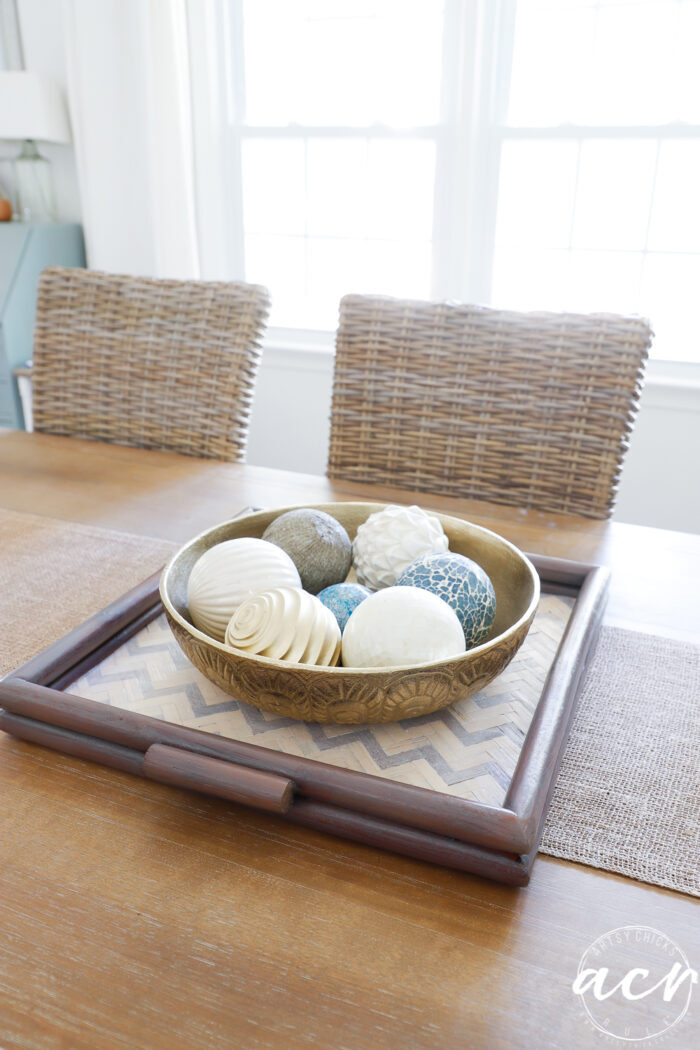
A few up-close shots…
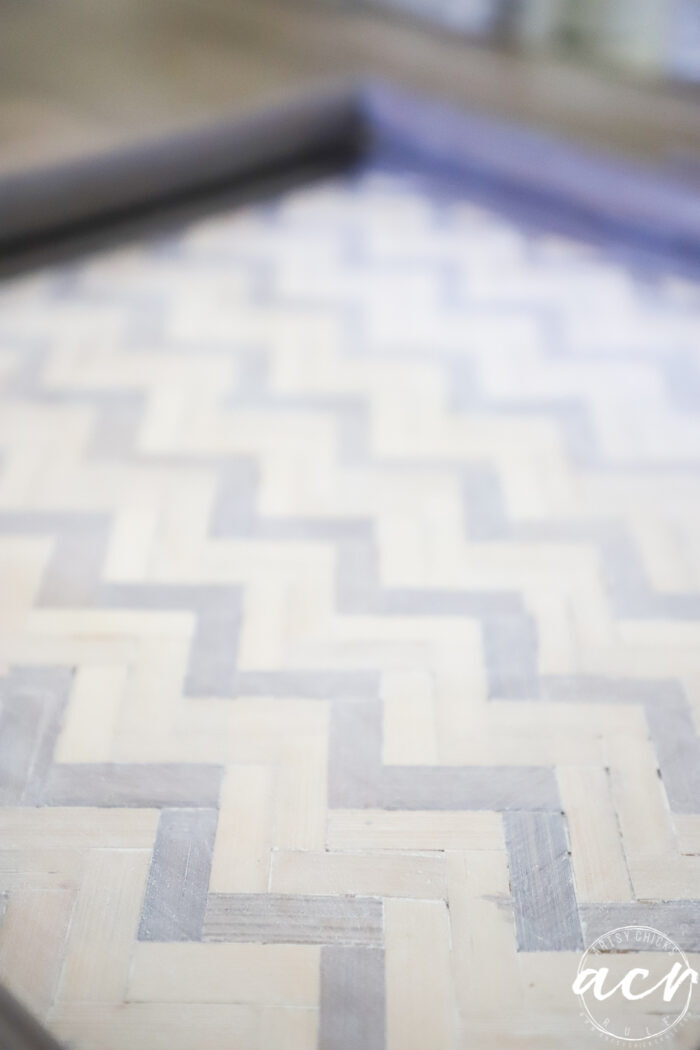
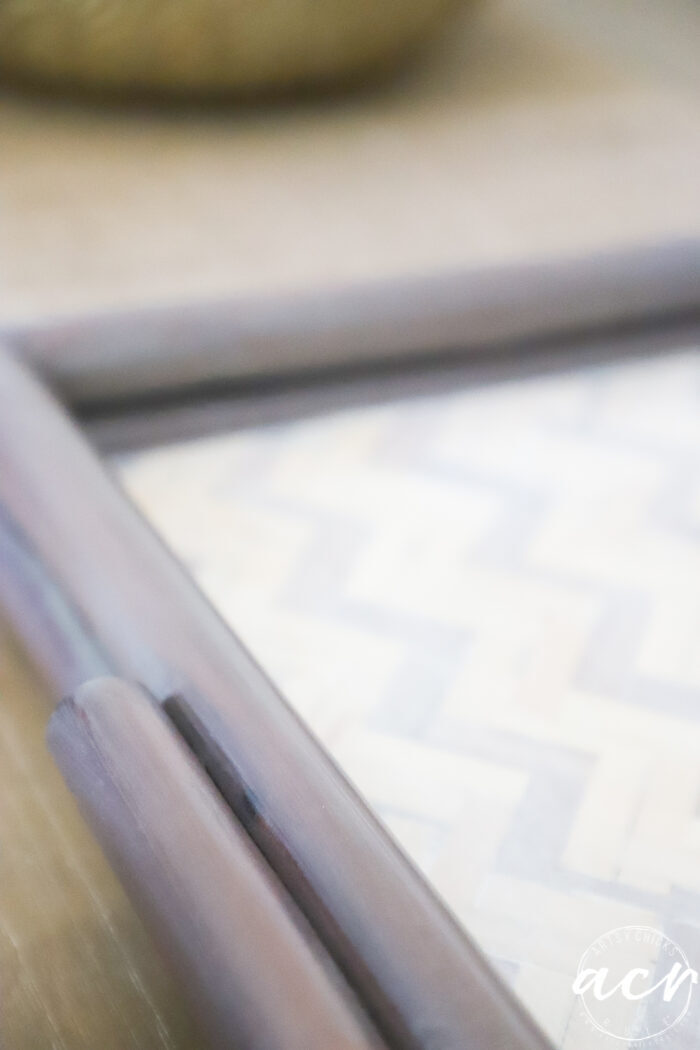
Might leave it right here…
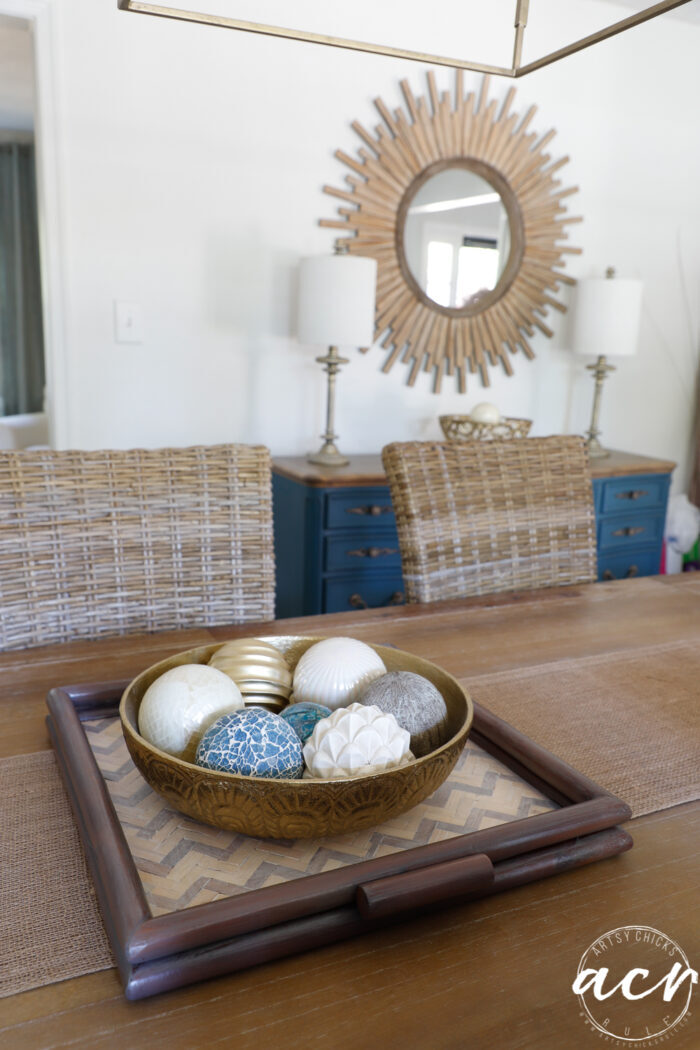
Quick and easy, just like I like em!
PIN it to save it!
Don’t forget to visit my friends to see their makeovers too!
I hope you enjoyed today’s fun projects!
Have a wonderful weekend, friends! I’ll see you next week with this!
UPDATE!! Don’t miss seeing how awesome this one turned out, see it now here!
xoxo








I’m all for the muted tones. It’s gorgeous now and not obnoxious. 😄
Yes, me too!
Hi Nancy! This tray looks so much more coastal and classy. It went from puberty to a grown up. Haha.
Yes, it sure did!! lol
Amazing what a little stain can do and I love me a 10min makeover as well! 🤗 Looks perfect on your table with it’s new coastal vibe! XOXO
Thank you, Denise! xo
Boom! Great makeover and it looks so coastal cozy!
Thank you, Christina!! :)
I love your coastal effects. All the different coastal finishes you’ve accomplished are fabulous. The personal preference thought I have about this one particular item, is that the zig zag pattern of the interior is not adding to the beauty. (Maybe it’s a disorder that I don’t embrace checkerboard or zig zag patterns🙄) But I would paint an art piece on a thin piece of Lexan or acrylic and turn it face down in the tray or put another thin acrylic piece over it. It’s what I’ve done on a lexan computer desk piece for a project. I hope this doesn’t hurt your feelings; it’s just a thought. You are wonderfully amazing; all great adventures to you🤗
Oh yes, I am with you on that! I have never really loved the chevron pattern but don’t mind it much on this one. Doesn’t hurt my feelings at all…I get it! :) xo
🤗😁🤗
I love how you lightened it up without covering it up. What a great find! xo
Thanks, Jen! xo
That was a fantastic find and the stain was a great option for it! XOXO
Love this tray! Much better than the first picture. Did you do any prep before applying the driftwood stain? I would love to do this to my chairs, but was concerned about the prep.
Thanks, Kay! No, I didn’t have to do anything on this one. I think it really depends on your piece. You could test it out in an inconspicuous area first to see. :)