Hexagon Accent Table Update
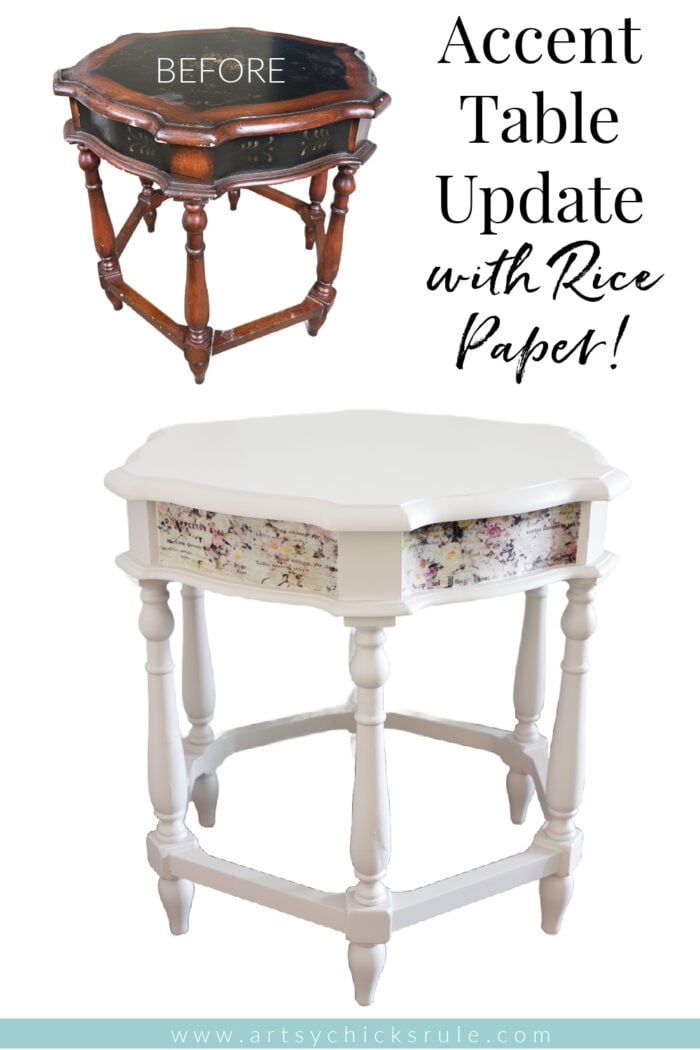
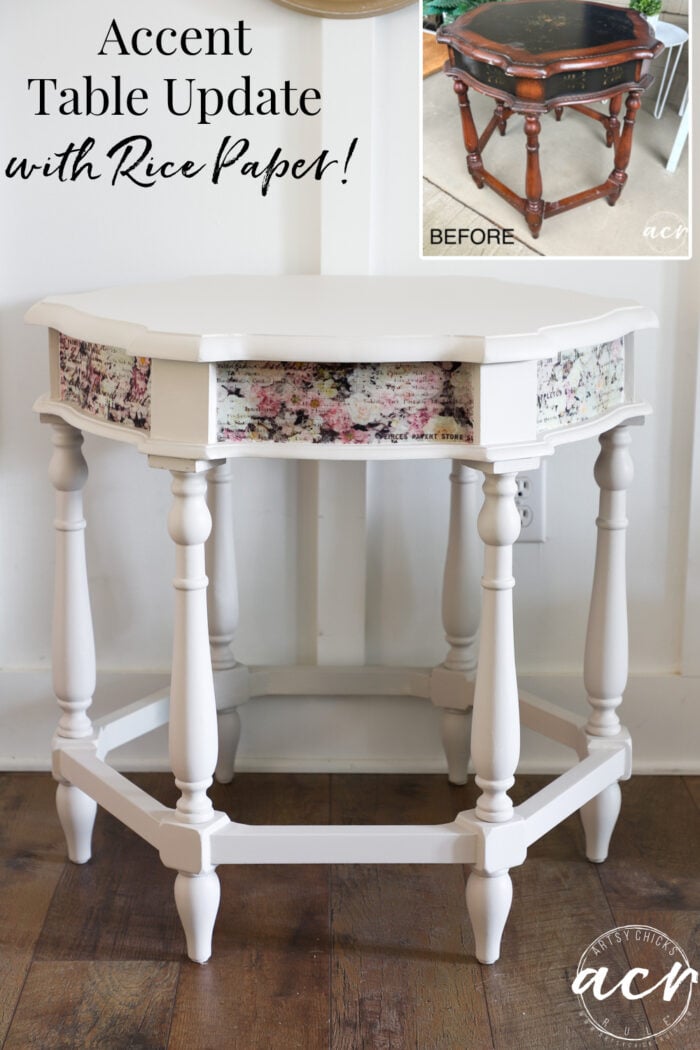
Elegant hexagon accent table update with rice paper and paint!
Hello beautiful friends!
I hope you had an amazing weekend! I was a busy little bee working at my parents’ house finishing up all the last details, cleaning, etc. It’s almost ready to go on the market but it’s bittersweet for sure. It will be nice to have a new family in there to love and enjoy it. But it is hard to imagine not being able to ever go in that house again. We moved there when I was around 8 so essentially the house I grew up in. So many memories there of growing up, then with all of the grandchildren, family get-togethers, and more. It’s all hard in so many ways but I’m trying to focus on and embrace this next phase of life without my parents.
Today is Trashy Treasure Tuesday and my friends and I are here to share our treasures with you!

I’m sharing a brand-new one I found recently.
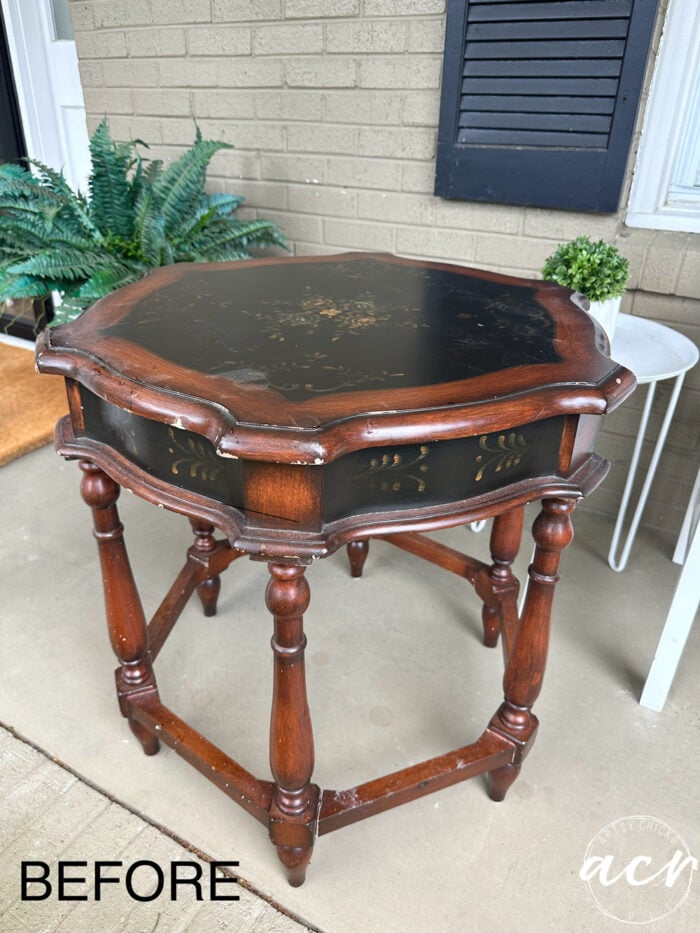
I love the design of the table but it’s quite beat up all over (chipped finish, etc) and just needs a little love. And a new look!
Hexagon Accent Table Update
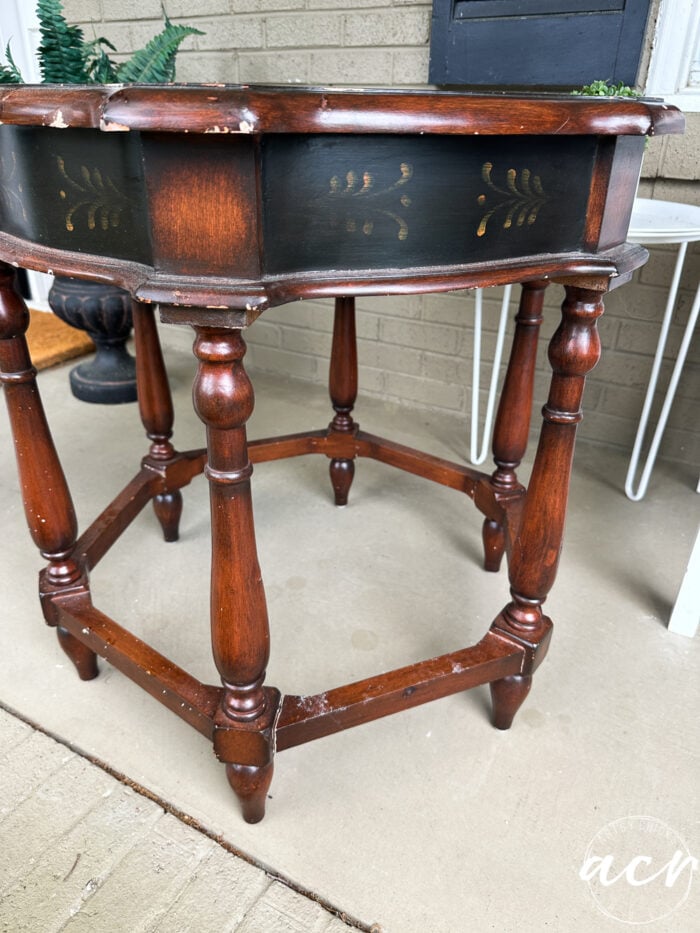
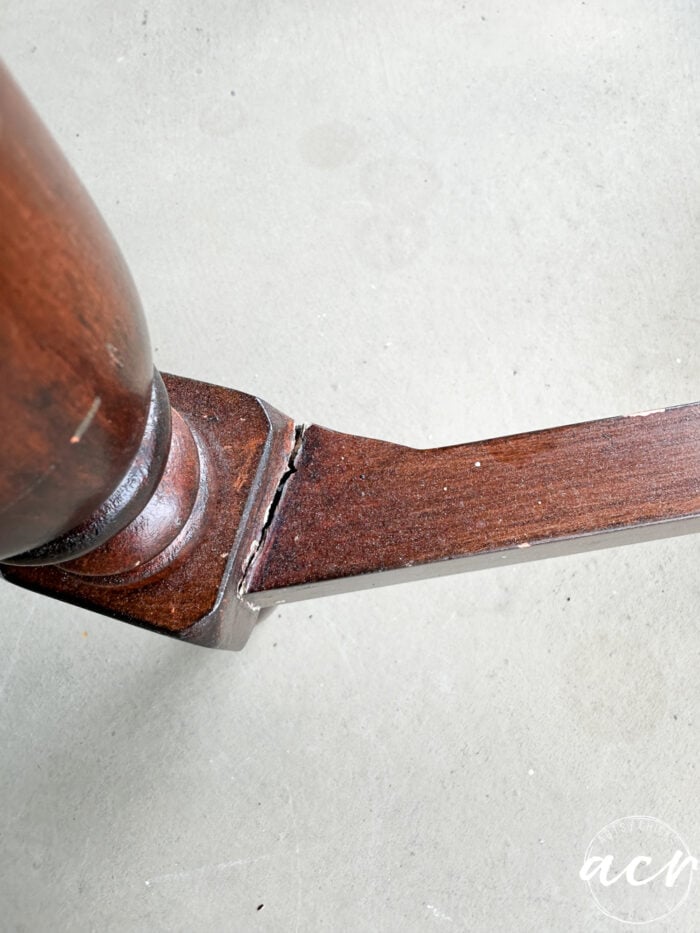
I’m going to fix her right up! Let’s get to it!
I started by sanding all over to remove some of the shine and even out some of the bumps and chips.
Then I cleaned it with TSP Alternative Cleaner.
Once that was dry, I decided to spray it with BIN Shellac-Based Primer to seal in the chipped areas as the finish had a bit of red in it. I wanted to keep it from “bleeding” through the lighter color paint I was planning to use.
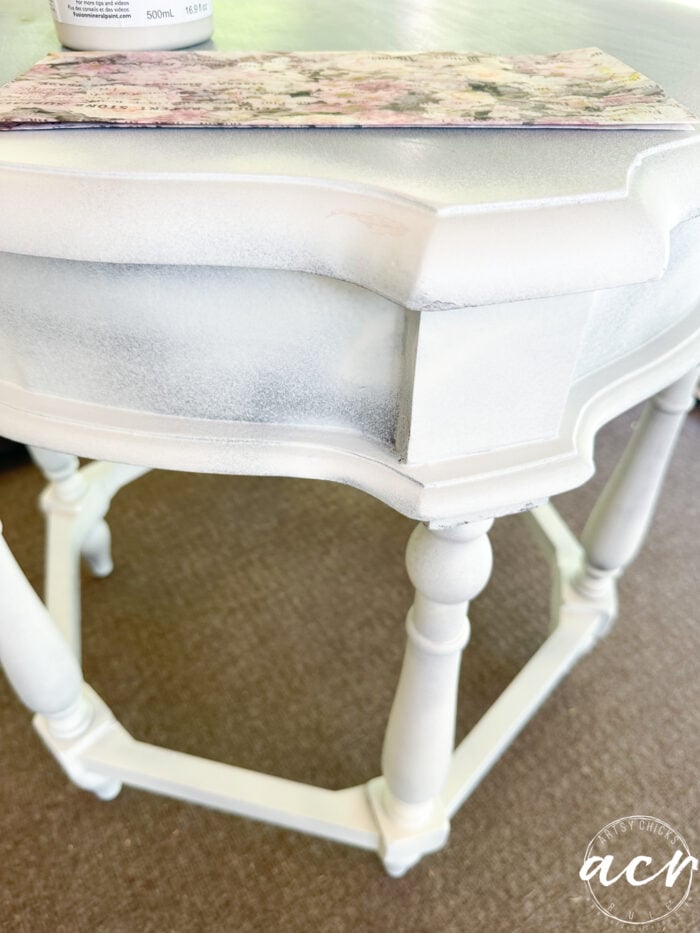
It actually made painting the table easier too since I now wouldn’t have to apply as many coats over that dark finish.
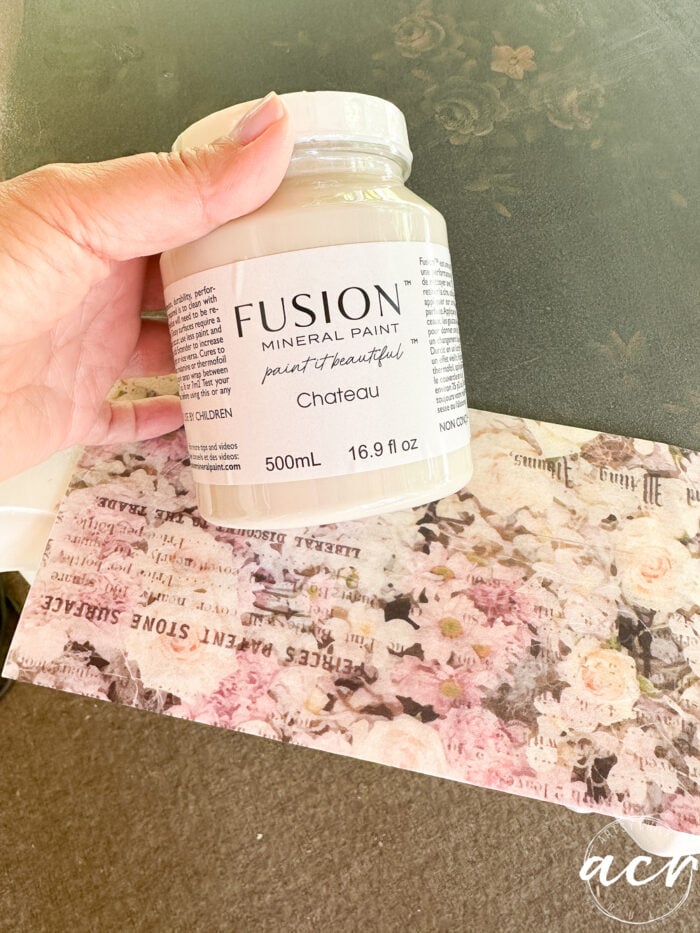
Here is the color I chose for the hexagon accent table. And the Rice Paper for the inset areas.
MATERIALS LIST (for the Hexagon Accent Table Update)
- Sandpaper
- TSP Alternative
- Continuous Mist Sprayer (I use this with my TSP Alt)
- BIN Primer
- Paintbrush
- Microfiber Roller
- Chateau Paint
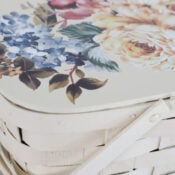
- Rice Paper – Floral Dreams
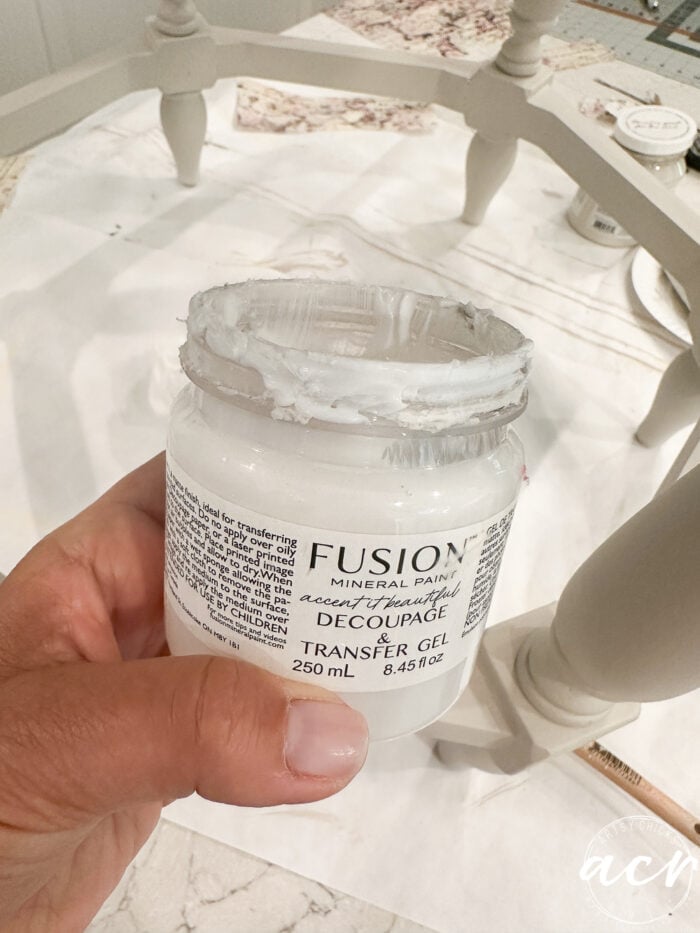
- Decoupage & Transfer Gel
Prefer to shop on Etsy? I have an Etsy shop also, here!
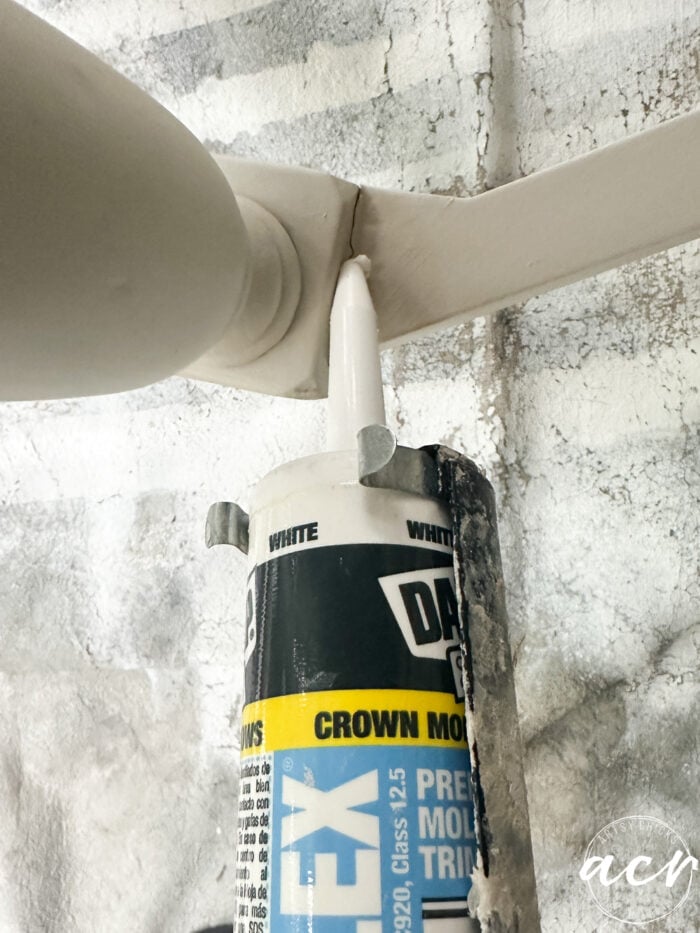
I applied one coat of paint with my favorite brush. Then realized I’d forgotten to caulk a few things! No worries, once dry, I went ahead with that.
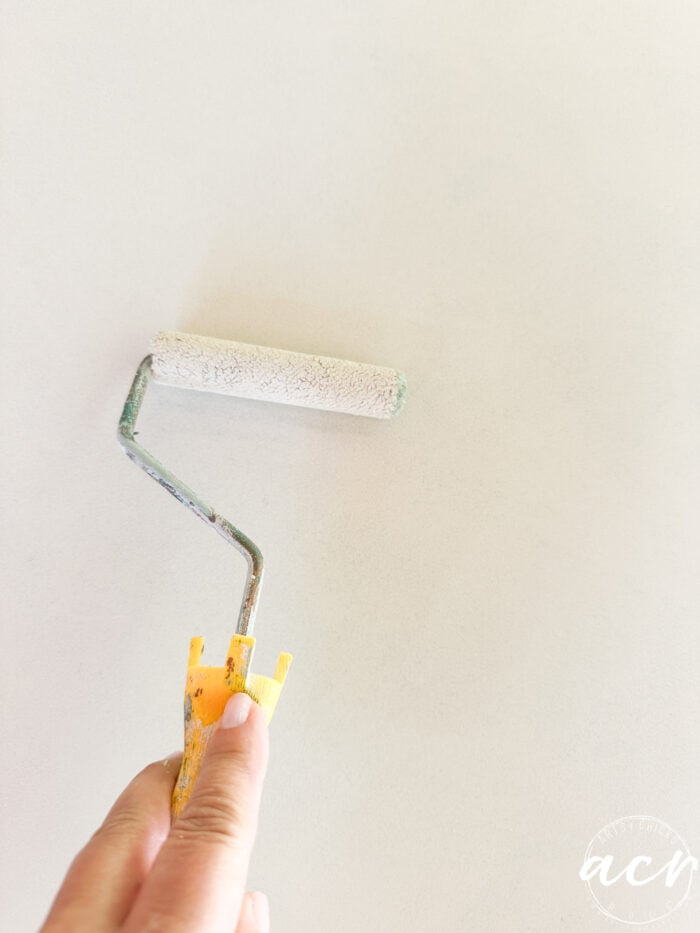
For the top, I used a microfiber roller instead of the brush for a nice, smooth finish.
Once dry, I gave both the base and the top another coat.
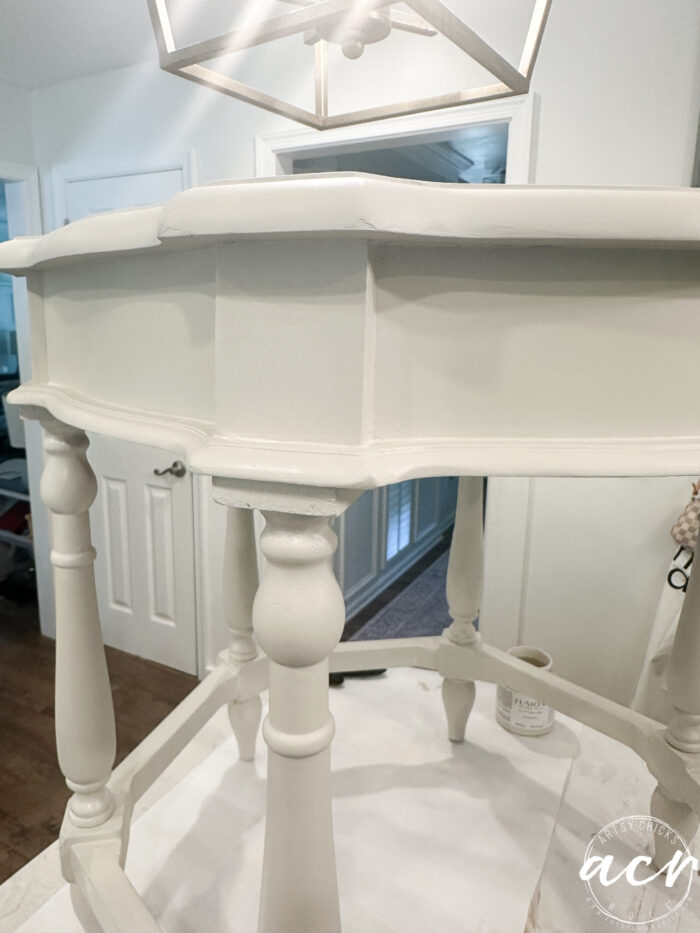
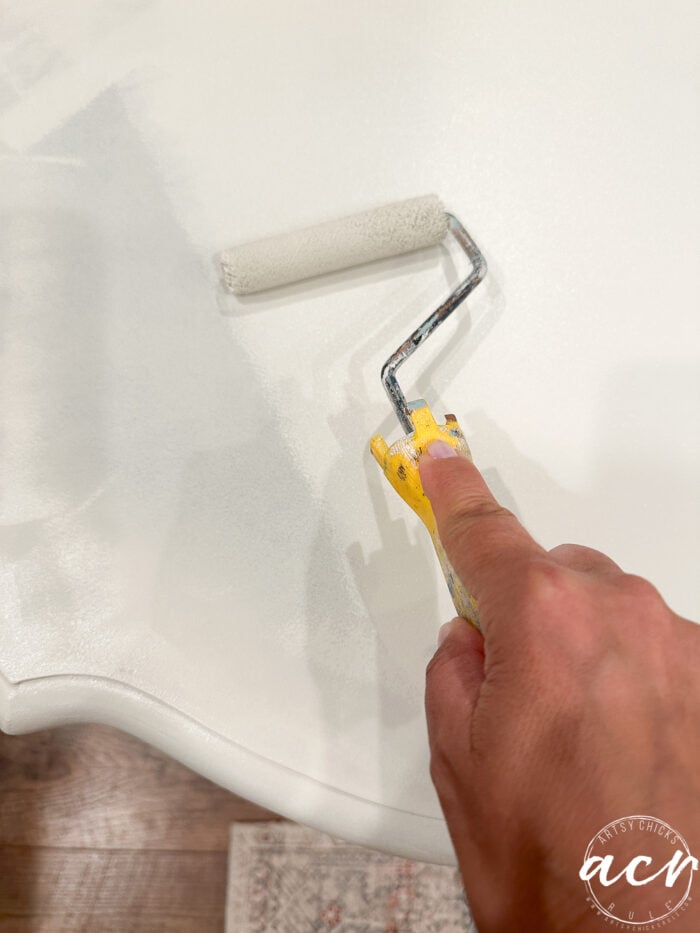
The top got a total of 3 coats for extra protection.
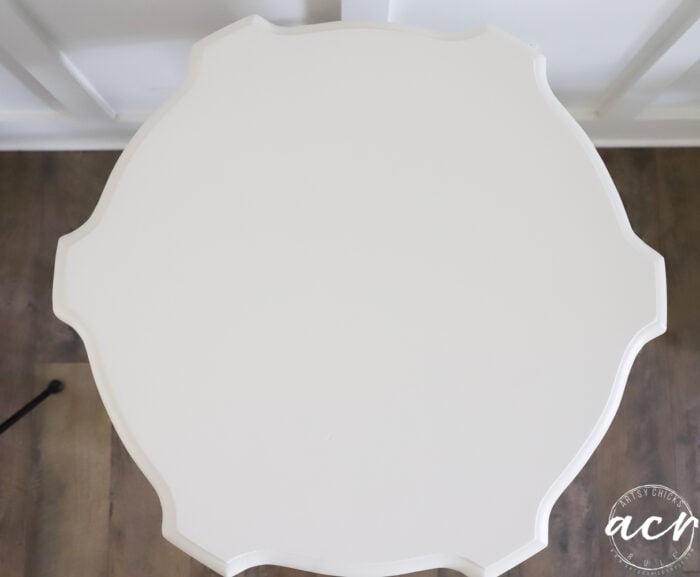
I chose this soft and pretty Rice Paper for the inset areas of the table.
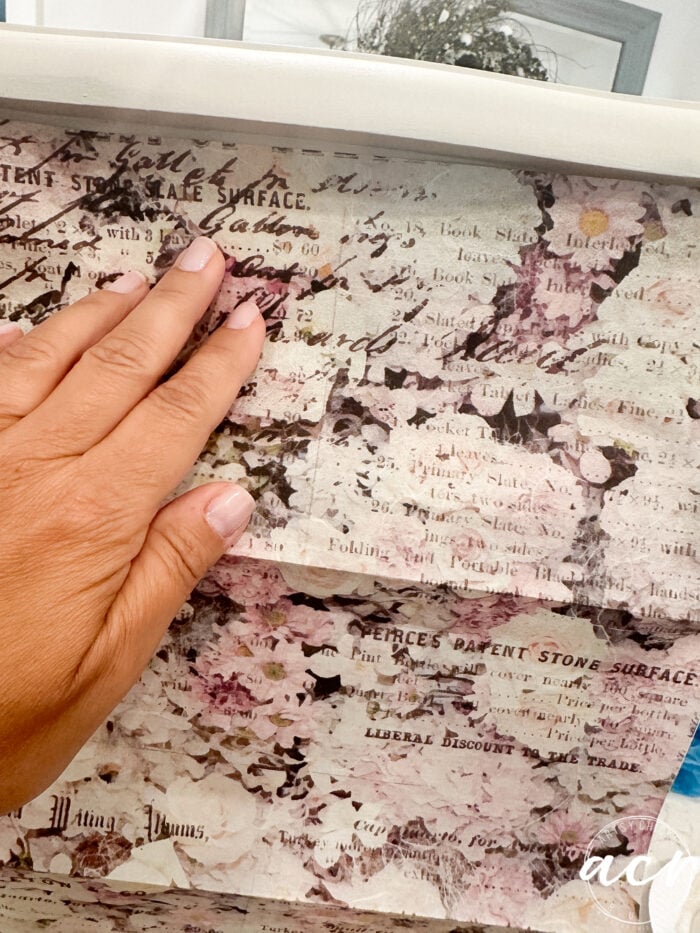
It was simple to measure and cut! Well, I didn’t measure and that’s why it was so simple!lol
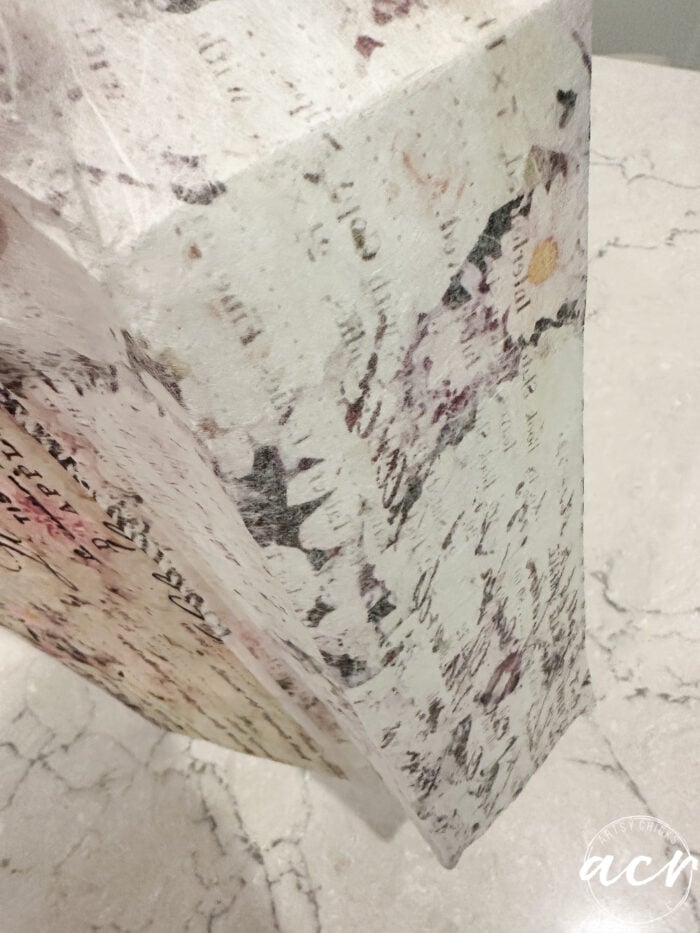
I did exactly what you see above. I lined up the paper like so…
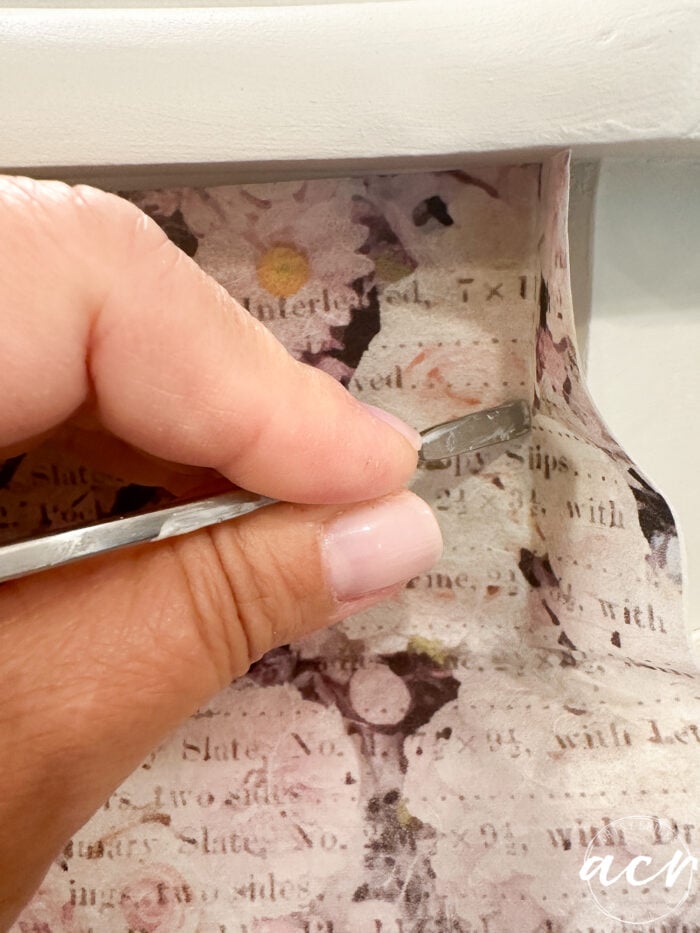
…then held it in place while I ran this metal piece around the edges to make creases.
 Elegant hexagon accent table update with rice paper and paint! artsychicksrule.com
That left a definite fold in the paper to show me where to cut.
I use my matte and an X-acto knife to cut it.
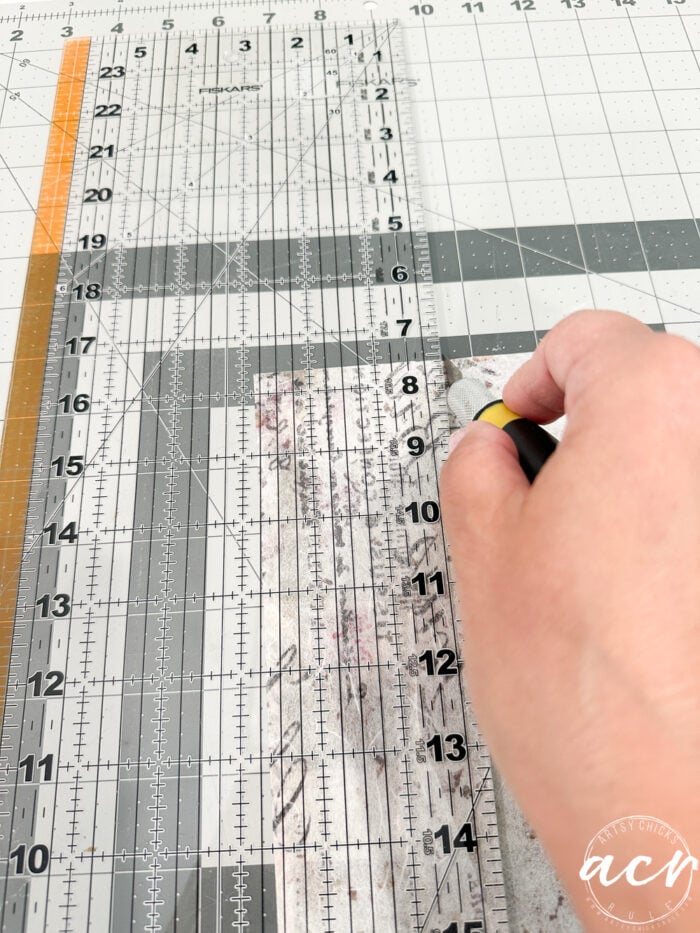
Makes it so easy to get a straight line.
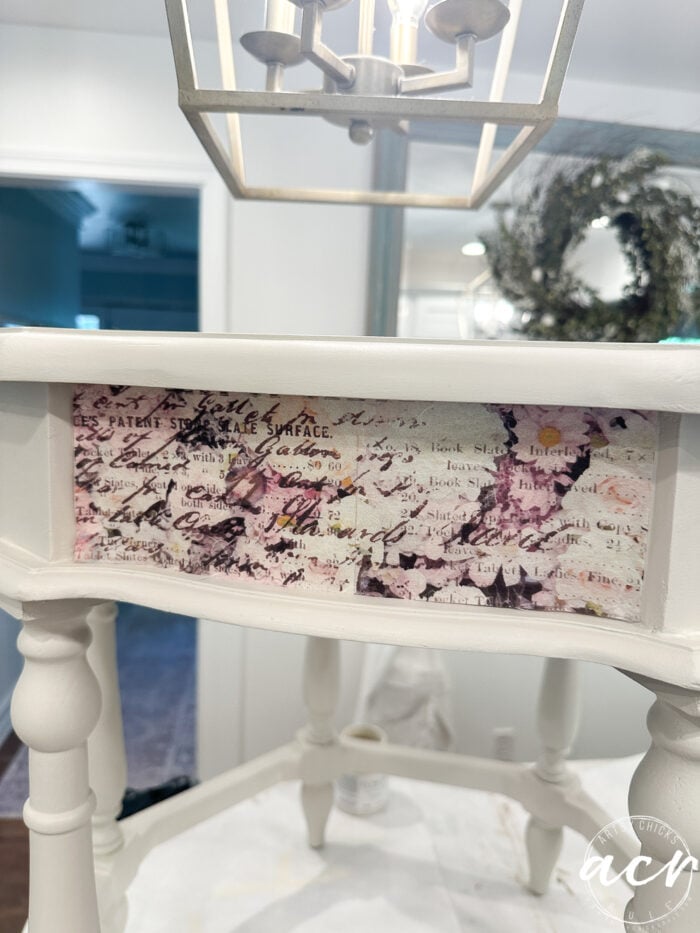
And a perfect fit!
I applied a coat of Decoupage & Transfer Gel…
… then attached the Rice Paper.
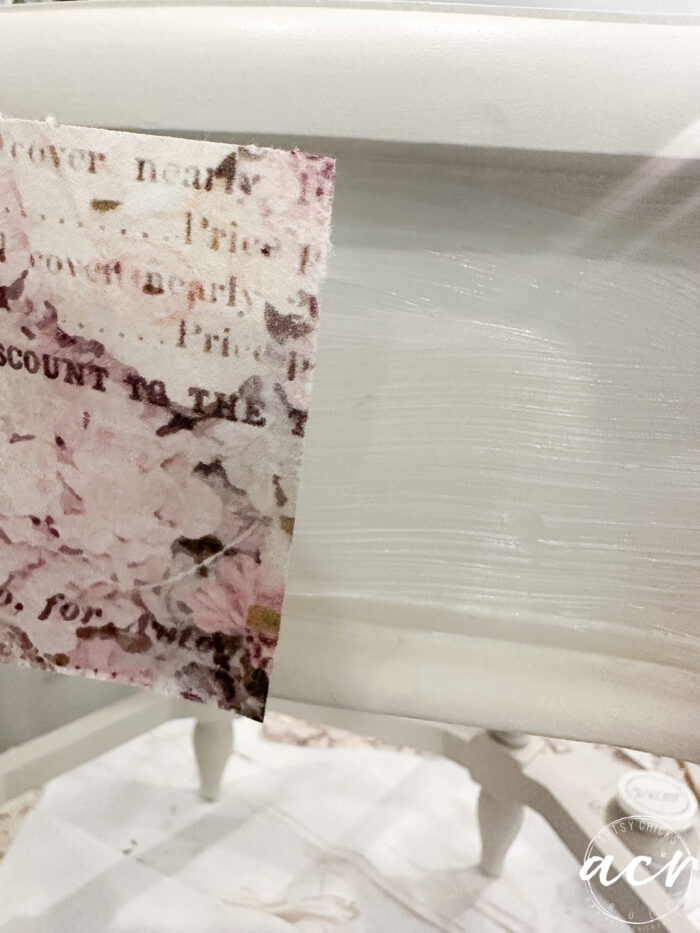
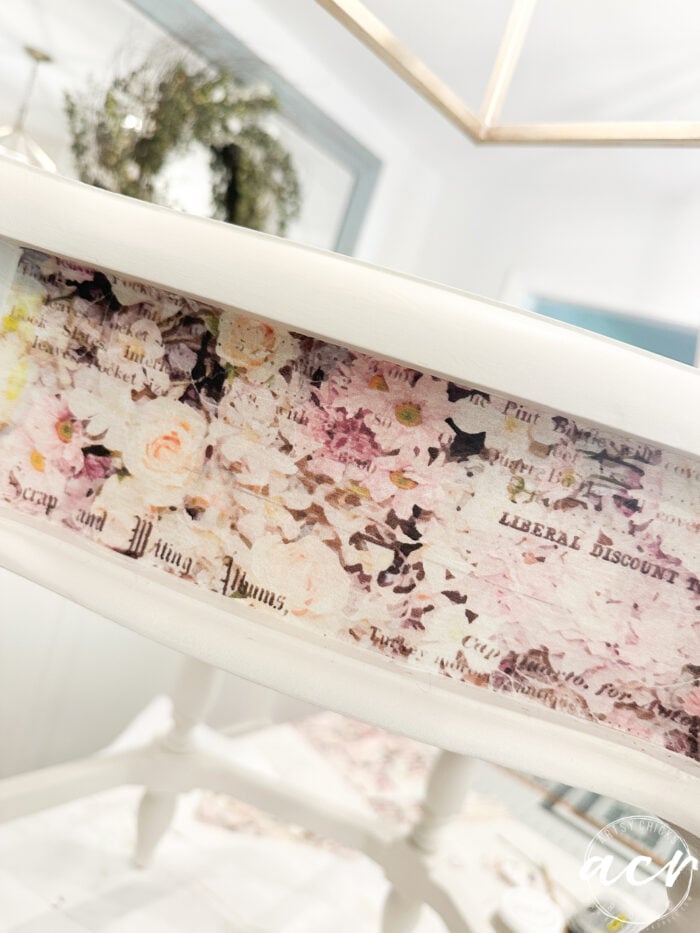
I did that 5 more times around the table and then applied one more coat of Decoupage & Transfer Gel over top.
And that’s it! The hexagon accent table is done!
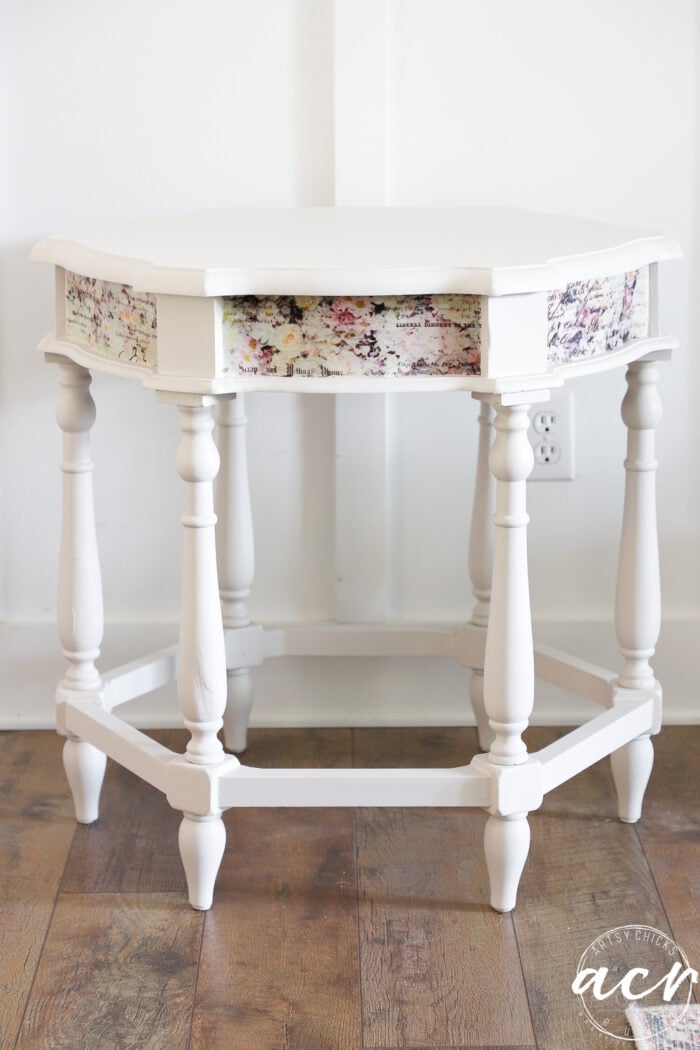
I love that every little inset is slightly different.
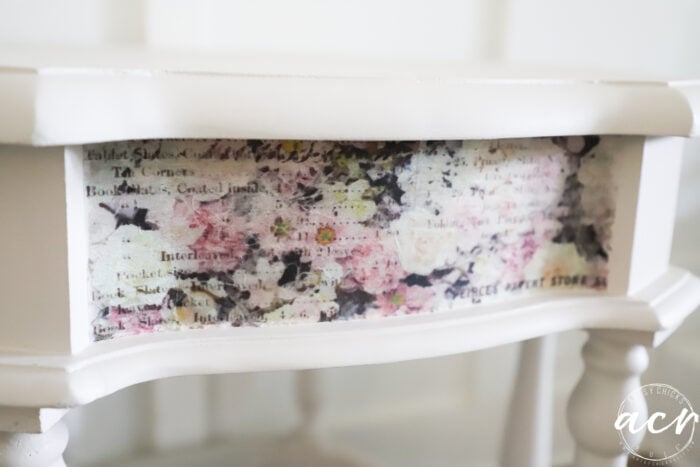
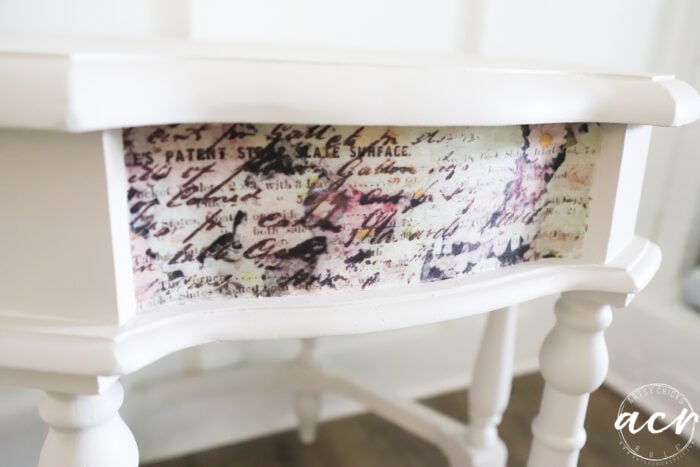
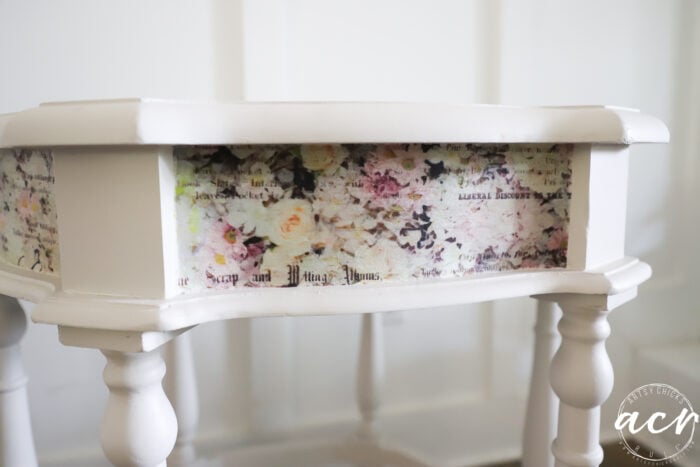
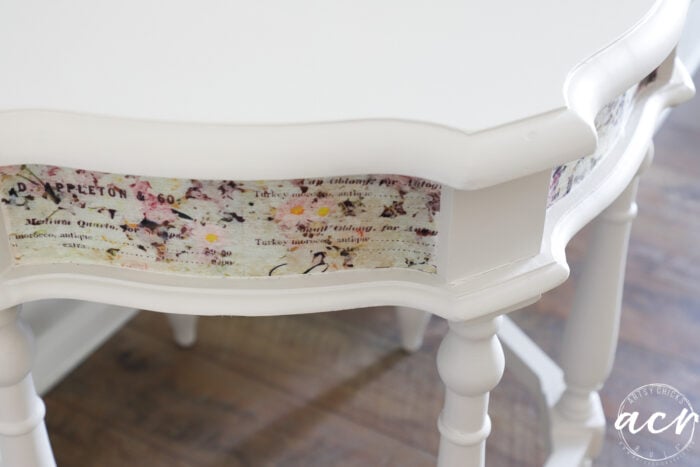
I think it is so elegant now.
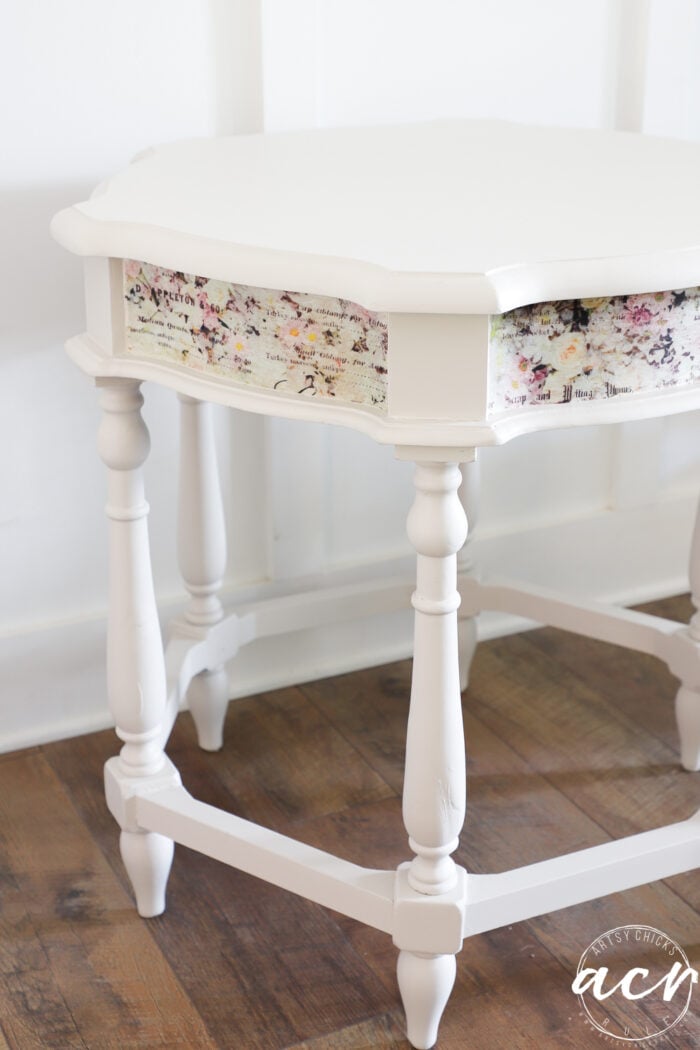
And styled up a bit.
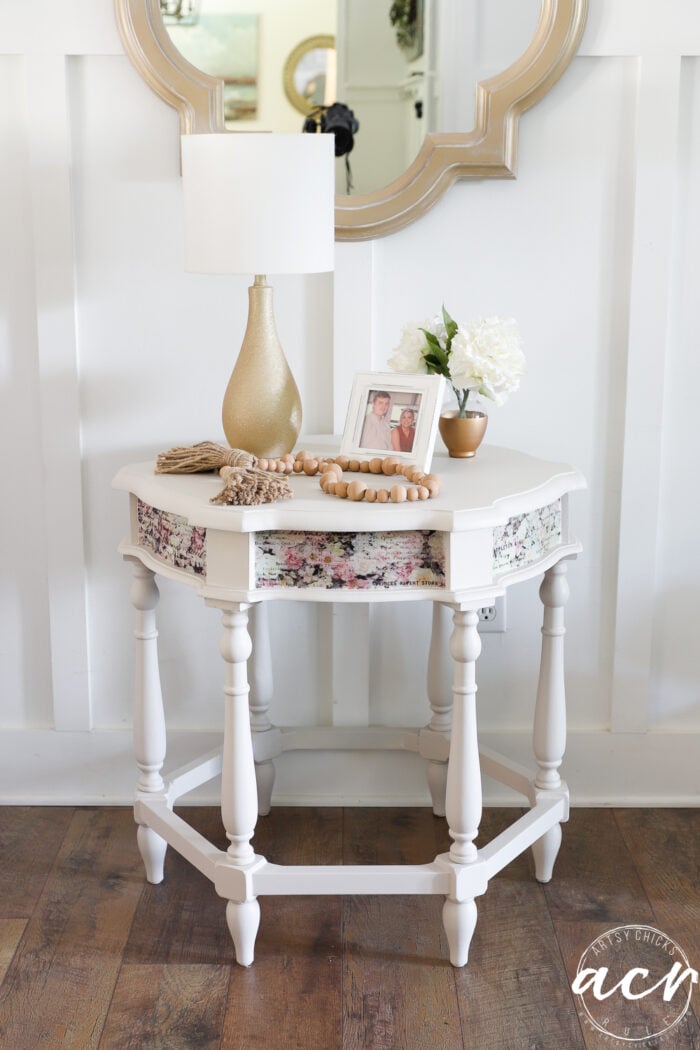
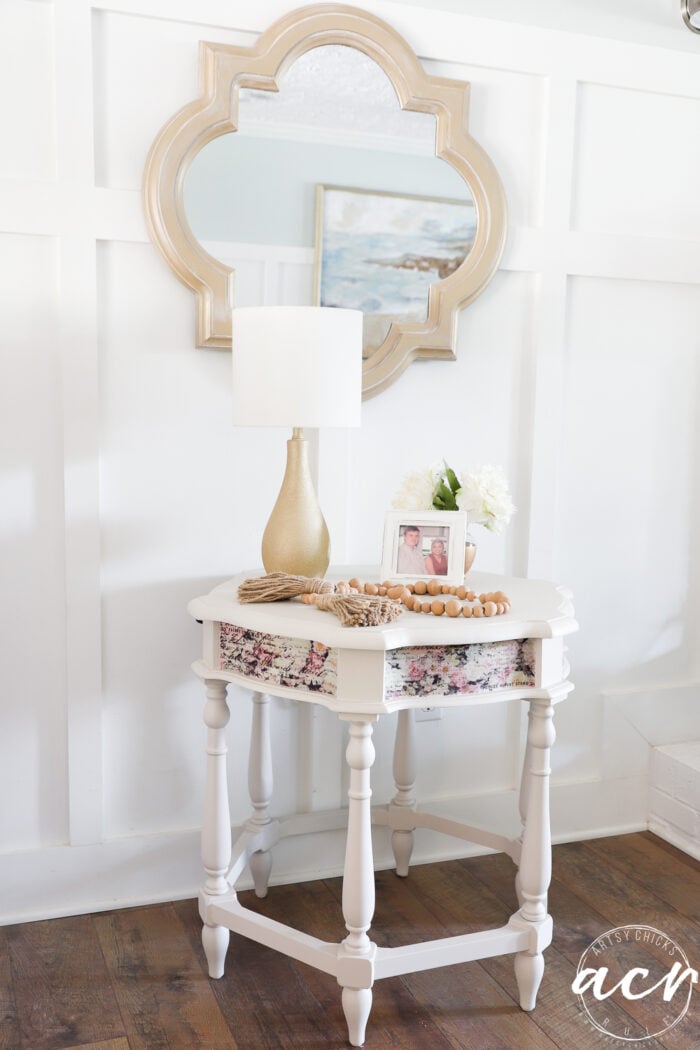
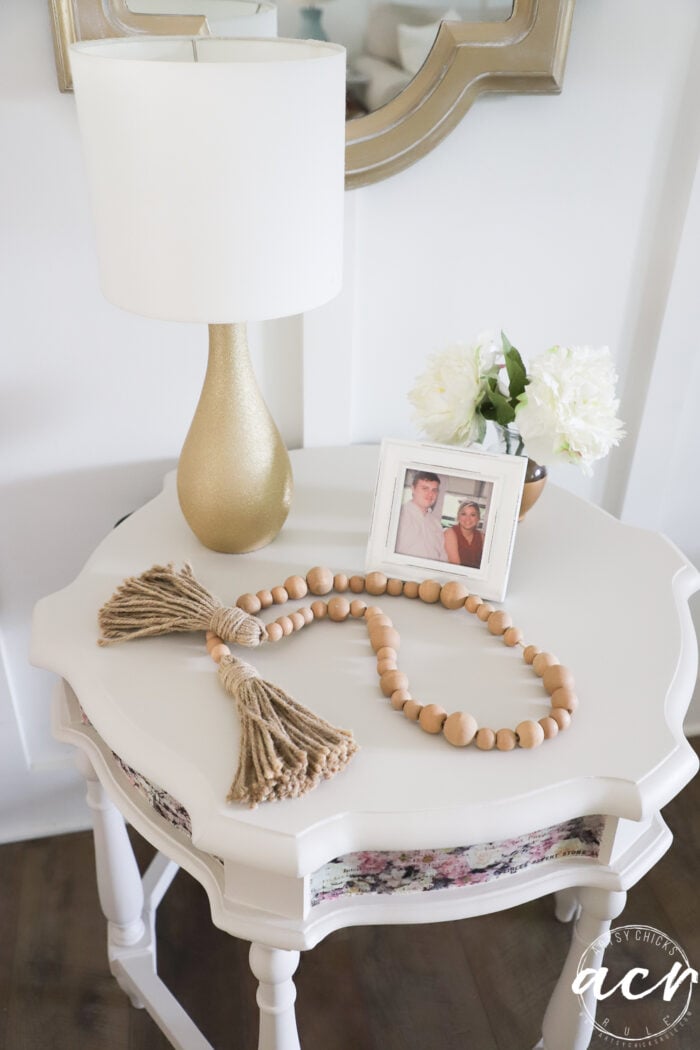
What do you think? Are you a fan of the original dark look or the new lighter makeover??
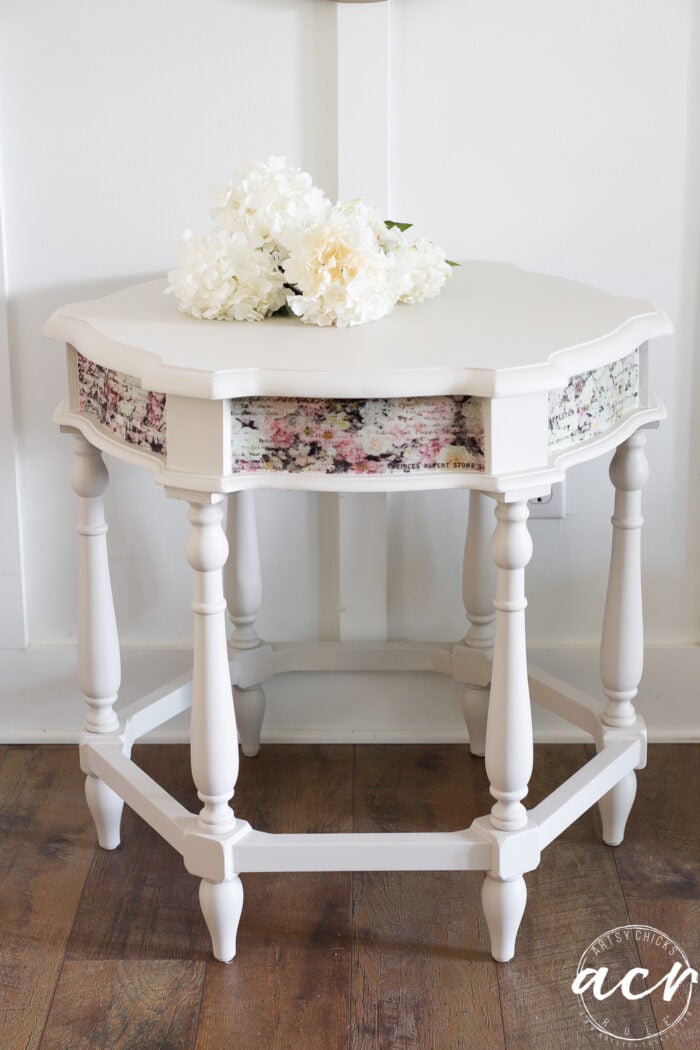
PIN it to save it!
Don’t forget to stop by my friends to see their treasures!
Have a blessed week!
xo






What a lovely update, Nancy. It’s gorgeous now.
Thank you, Larissa! xo
Oh, my gosh!!! The table started out so…well…ugly. I would have never bought it but you made it ABSOLUTELY GORGEOUS!! Thanks for sharing this now beautiful piece.
Kathy
Thanks so much, Kathy! Yes, nothing about the original look goes with our home! I light the lighter look now too! xoxo
What a difference! It’s so pretty now!
Thank you, Cyndi! xo
I was thinking the same thing.
Like minds! :)
I love the new airy floral look, Nancy. Beautiful! Pinned!! XOXO
Thanks, Denise!! Me too!! xoxo
It’s so pretty Nancy!
Thank you, Audra!! xoxo
Great job, it is a beautiful upgrade!!!
Thank you, Geri Ann!! xo
It’s so sweet & pretty. Great update!
Thank you, Lizzy! Yes, that paper I used really is sweet! xoxo
I love this table. You made it so beautiful
Thank you, Lori! xo
Absolutely gorgeous now, Nancy! I could see this in a guest bedroom as a bedside table! XOXO
Yes!! That would be a great use for it!! Thanks, Christy! xoxo
Just lovely Nancy! As always, You made it very special.
Your note about your parents’ home twinged at my heart. But you have graduated, flown free and are flying higher now. The only constant in life is change and you’ll do it beautifully. XXOO
Pinned
Thank you, Caye!! :) And thank you also for the kind message, I appreciate that and you are so right!! xoxo
Oh my word, isn’t she lovely now????? It’s unreal it is the same table!!!!
Absolutely beautiful, Nancy!
Thank you, Michele!! It really is unreal, so light and airy now and such a different look! xoxo
The table looked so hulky and heavy before. Now it looks bright, light and cheering.
I hope a lovely family buys your parents’ home and that they love living there as much as your family has.
Thank you, Cyndel!! I so very much hope for that too!! xoxo
That sad little table really is elegant now, Nancy. The finish is so smooth, just beautiful!
Thank you, Marcie! I hope you are having a wonderful week! xoxo
It’s so pretty now!
Thank you, Debra! xo
I love how you made this piece so unique and lovely. You put a lot of heart into the pieces you bring back to life!
Thanks so much, dear friend! xoxo