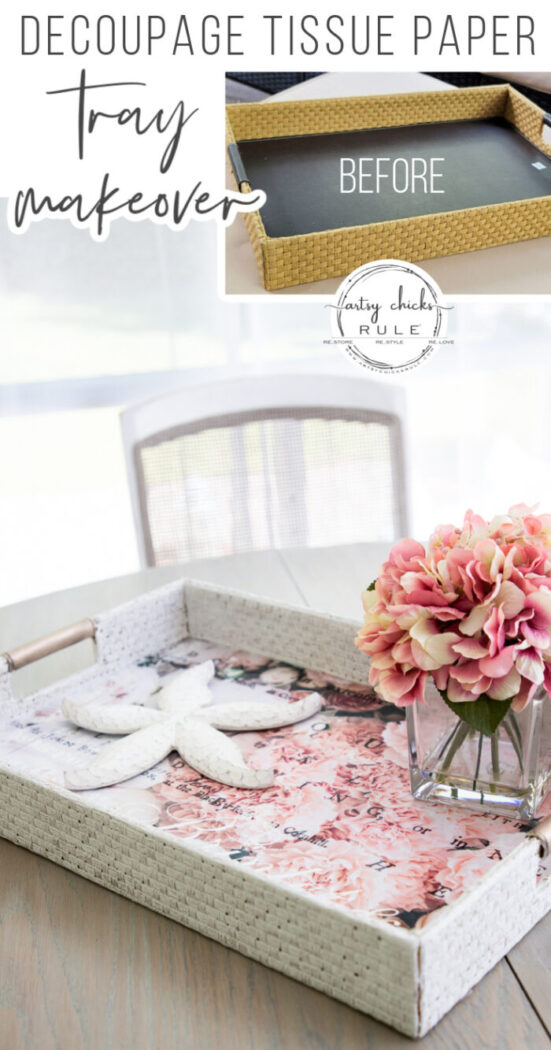
Decoupage Tissue Paper Tray
Pretty floral decoupage tissue paper, some gilder’s paste, and paint gave this tired old basket tray a brand new look!
Updated Aug/2023
Hello, beautiful friends!
This project is from a haul a couple of years ago. If you didn’t you can see it right here >>> Thrift Run May 2021
I’m sharing my first makeover from the bunch today.
I’m loving this new decoupage tissue paper!
It’s completely different than you would think…it almost feels like some sort of fabric but it’s paper. (I’ll link it further below)
But do you know what that means? It doesn’t wrinkle all up as regular tissue paper does.
It was a dream to work with!
Decoupage Tissue Paper Tray
Okay, let’s see this pretty…
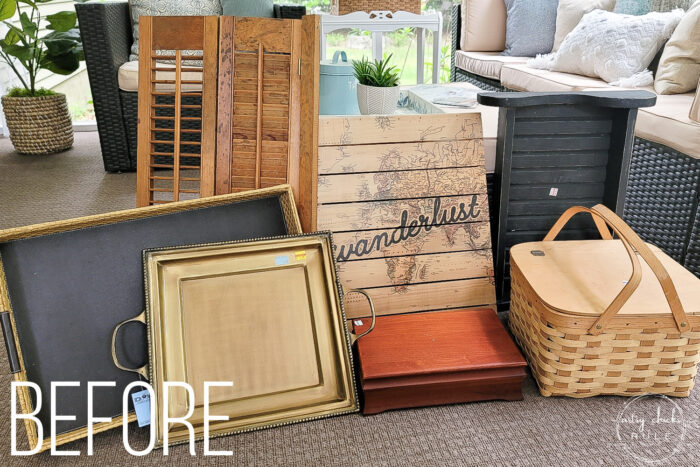
As a reminder, here is that haul from May/2021…
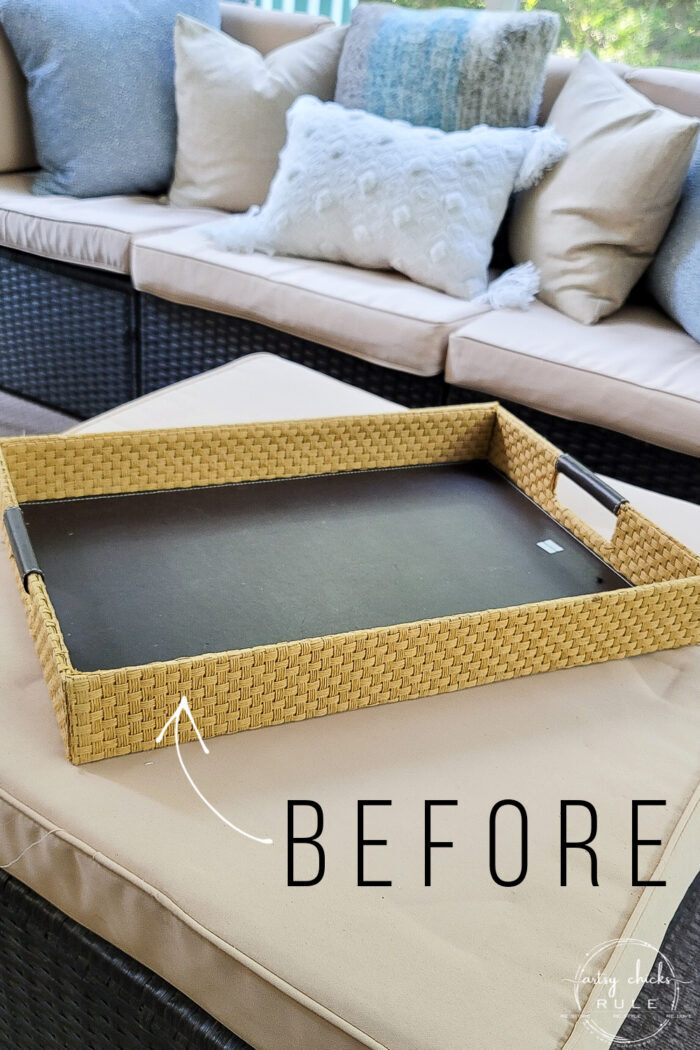
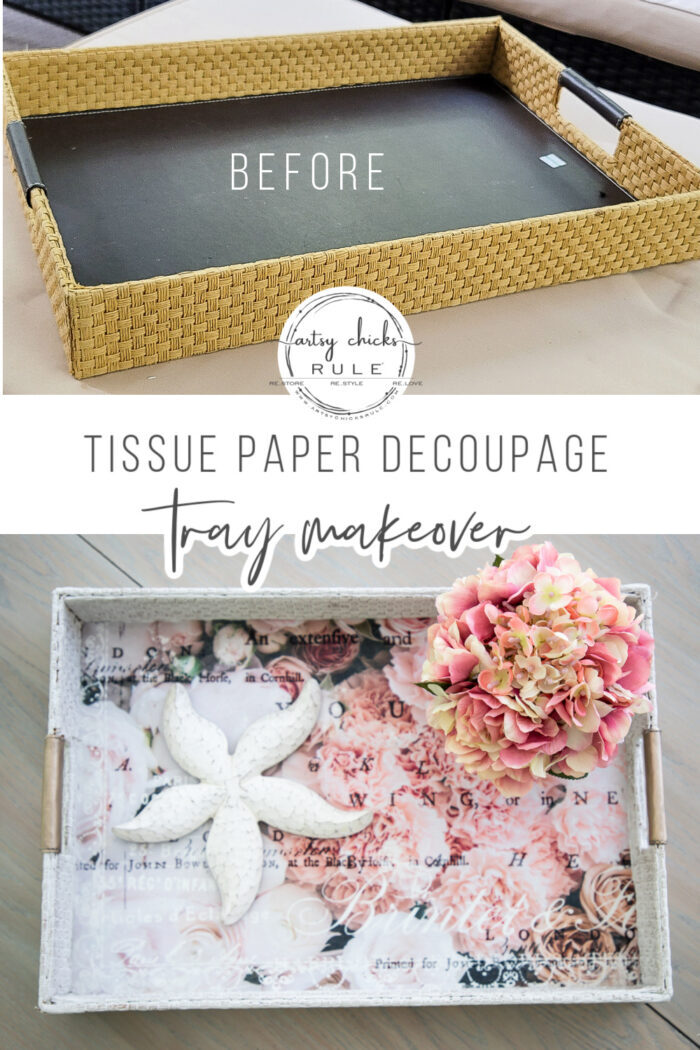
This basket tray is originally from Target (per the sticker on the underside).
MATERIALS SOURCE LIST
And although the basketweave looks like plastic, it is not. (which was good because the paint was able to sink in nicely)
The bottom was sort of like “pleather”… and I primed it with two coats before beginning so I’d have a nice white background for this pretty decoupage tissue paper.
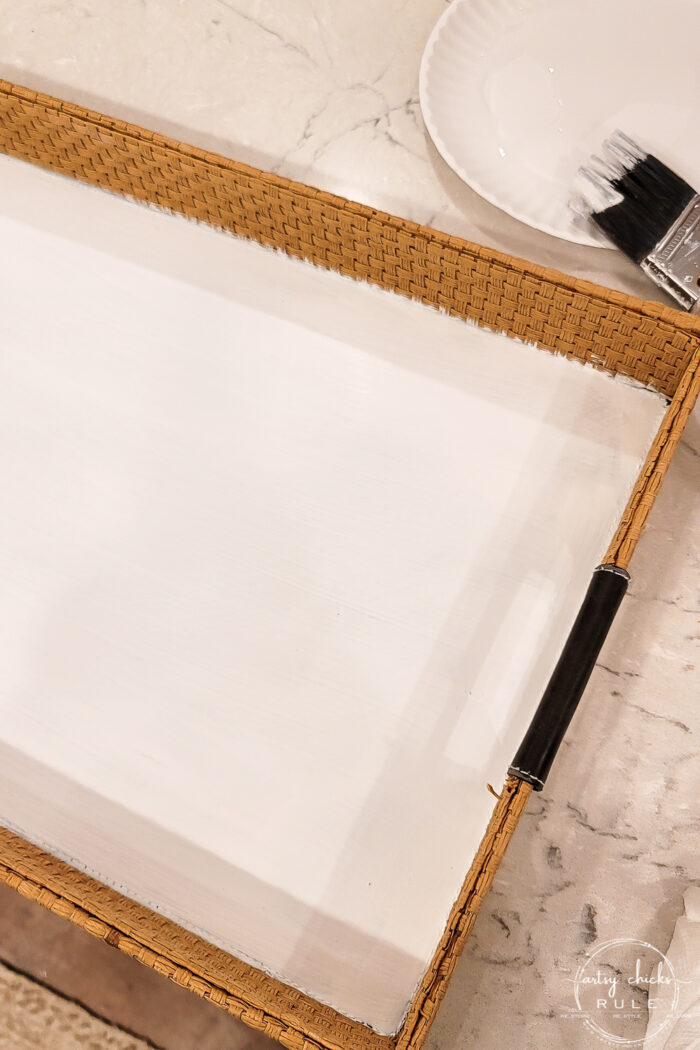
I did give it a light sanding before I painted on the primer. Not sure I needed but just in case.
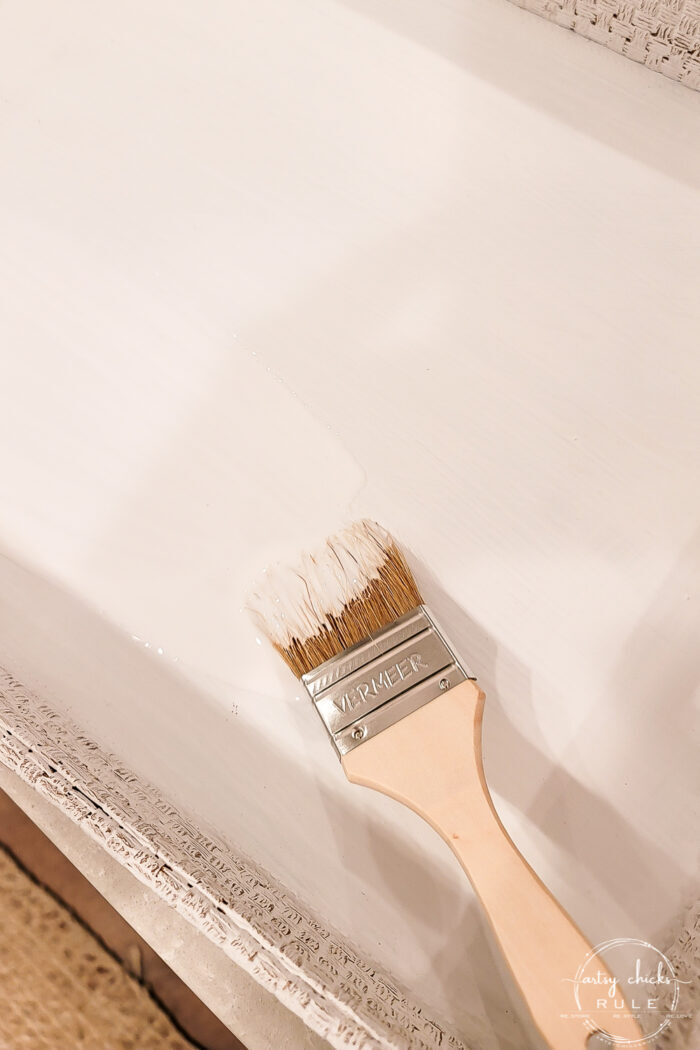
Once that was dry, I painted the sides with chalk-style paint.
I only needed one good coat to cover the weave.
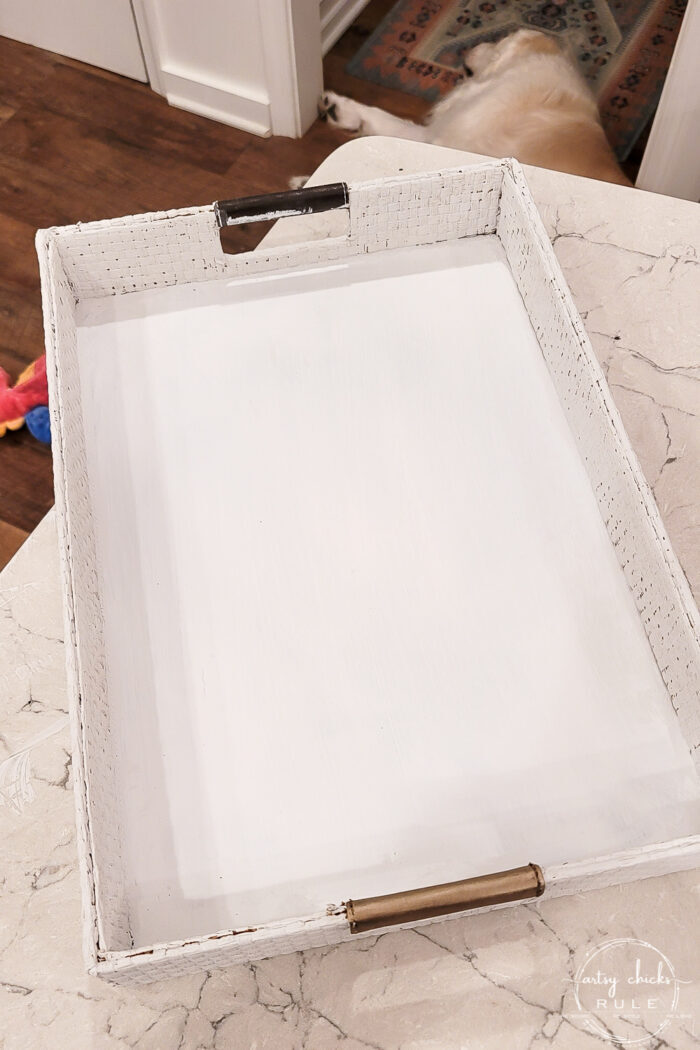
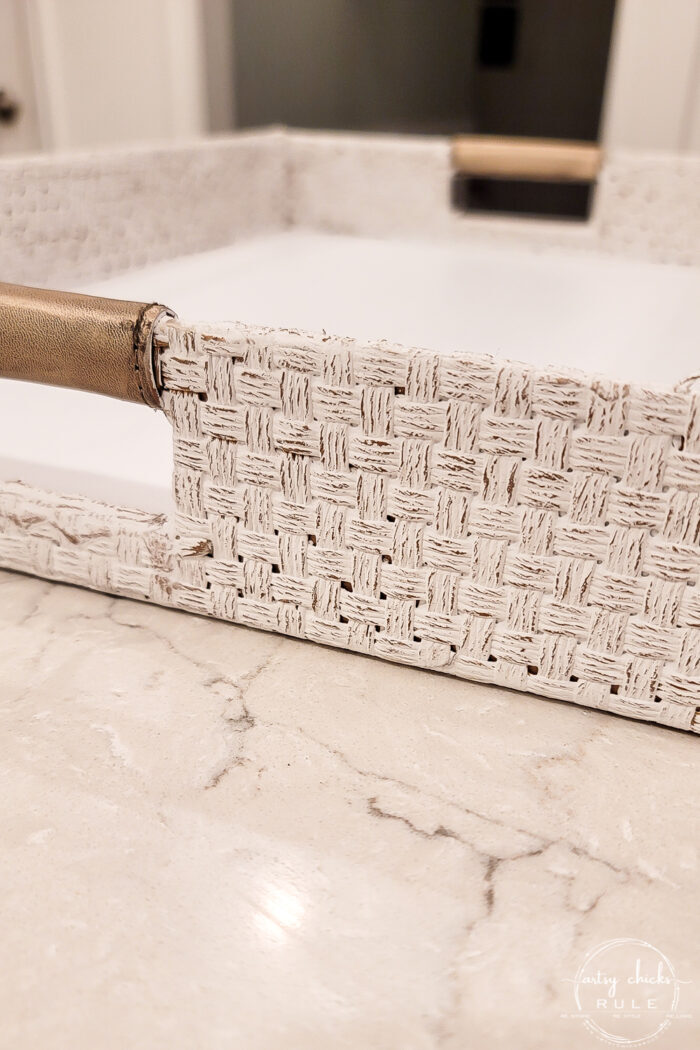
Then I used the German Silver Gilder’s Paste (linked above) on the “pleather” handles to make them look like they are gold hardware.
(See the one I’ve done above compared to the one I haven’t? Oh and Ryder snoozing over there too, lol!)
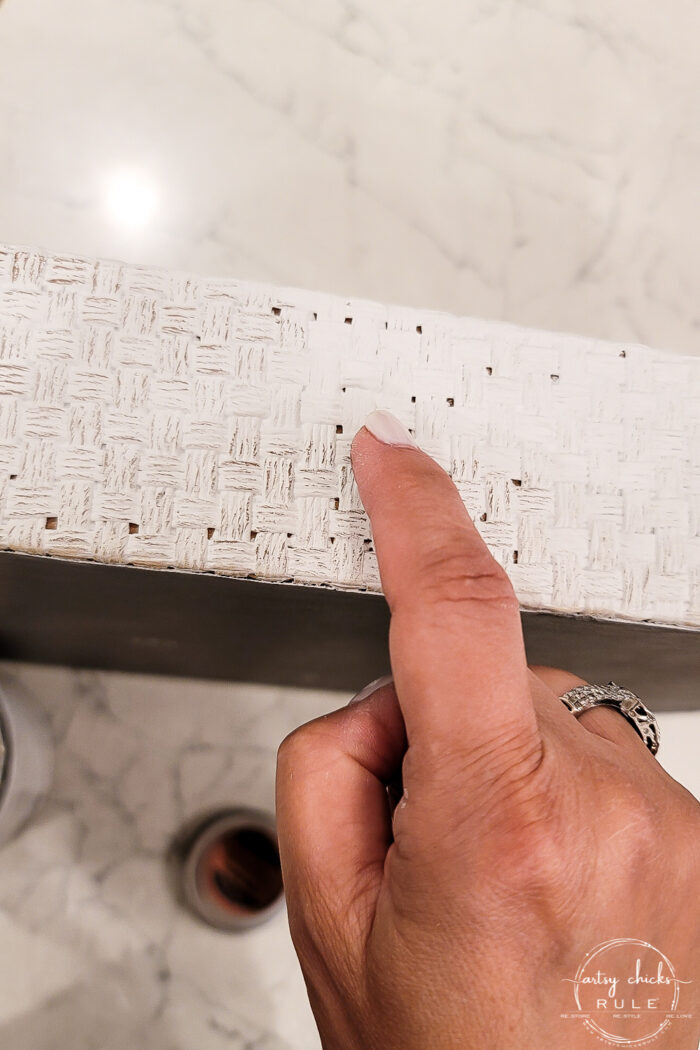
I tried sanding the basketweave to make it look distressed but the color was much too light.
So I pulled out the Bronze Gilder’s Paste and used that to give it the look instead.
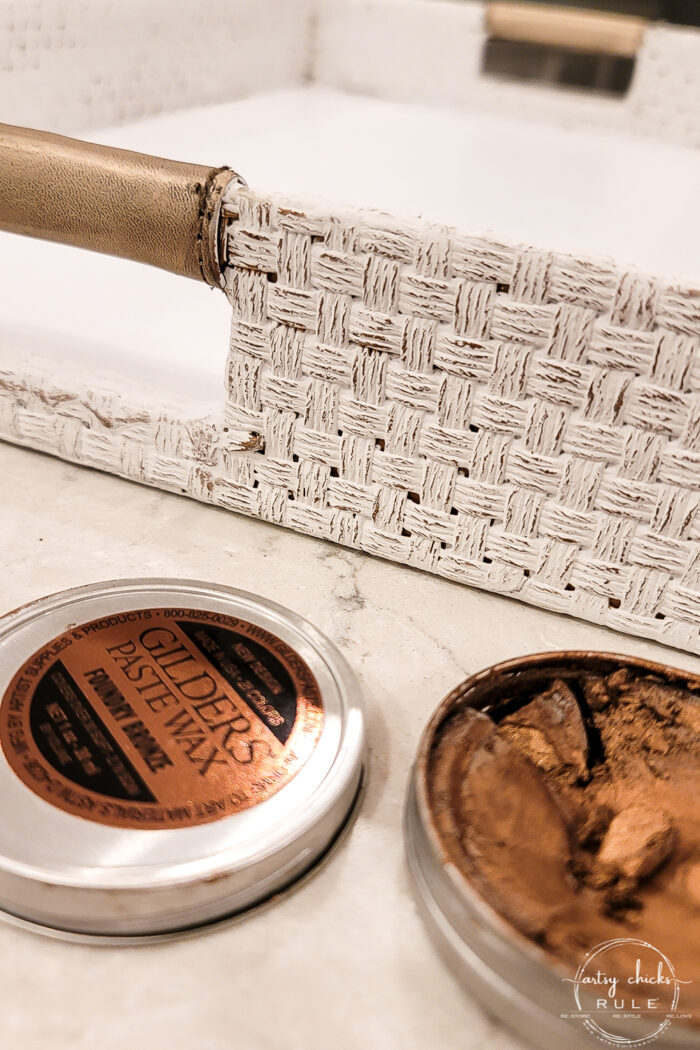
It looks like it’s the basket showing through when actually it is the bronze color rubbed on giving it all that nice texture.
Simple!
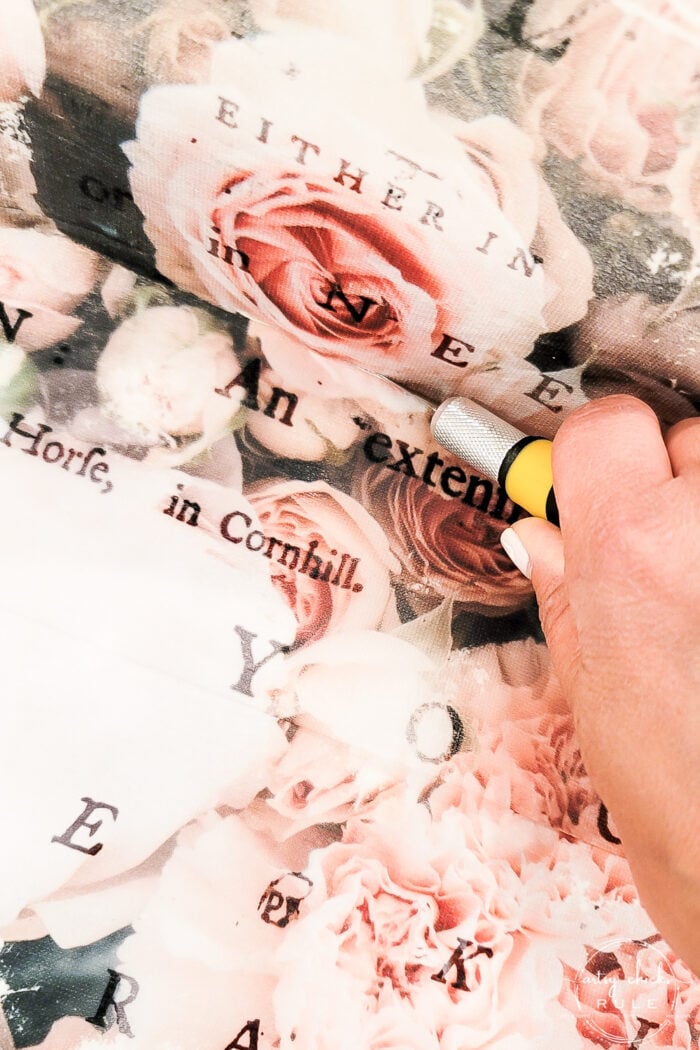
Next, I laid out the decoupage tissue paper to figure out where I needed to cut it.

I used an Exacto-type knife to do that job.
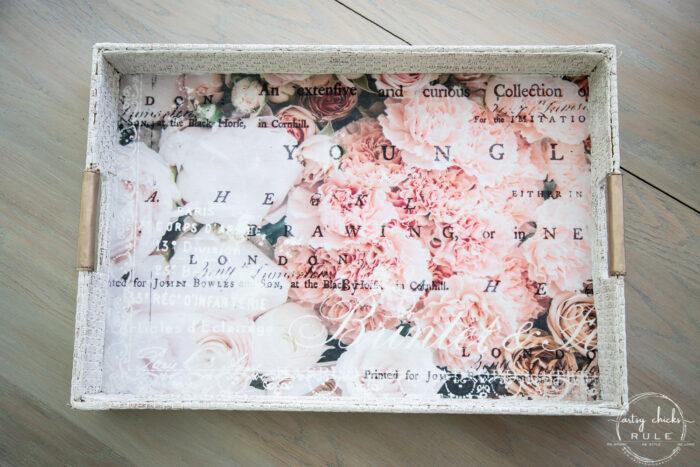
Then I used Decoupage and Transfer Gel underneath the paper…
I applied a good layer all over the bottom and then attached the paper.
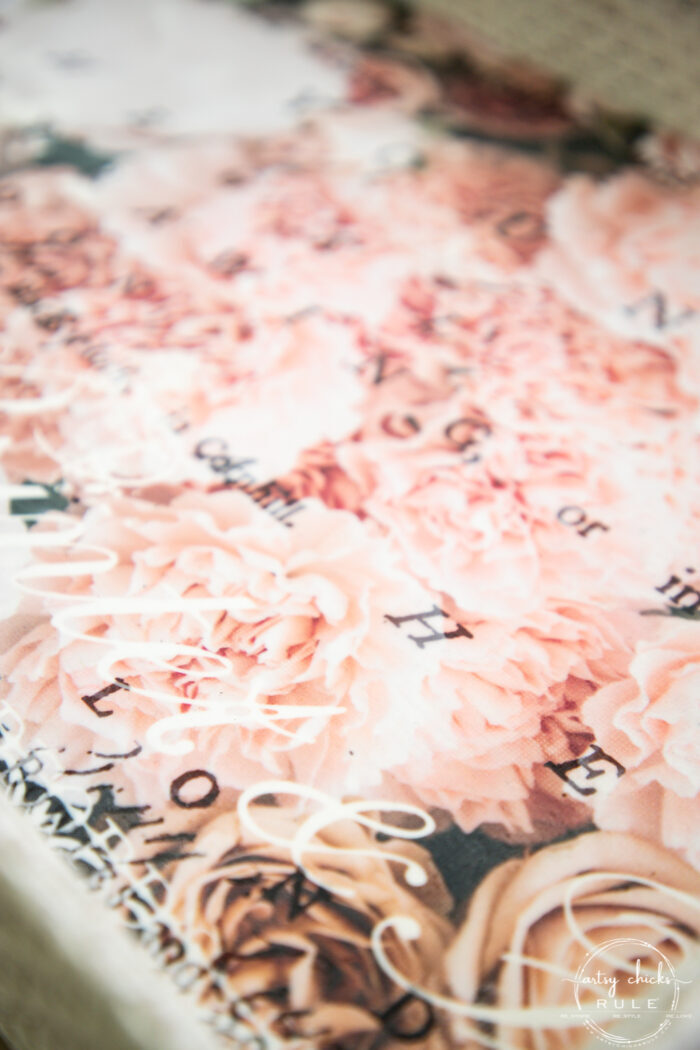
The Decoupage Gel literally came through the paper, it was the oddest thing! This paper is wild.
So I didn’t need to add another layer on the top, I just brushed what came through and that was it.
I let it dry overnight and then applied clear wax to the painted basket sides.
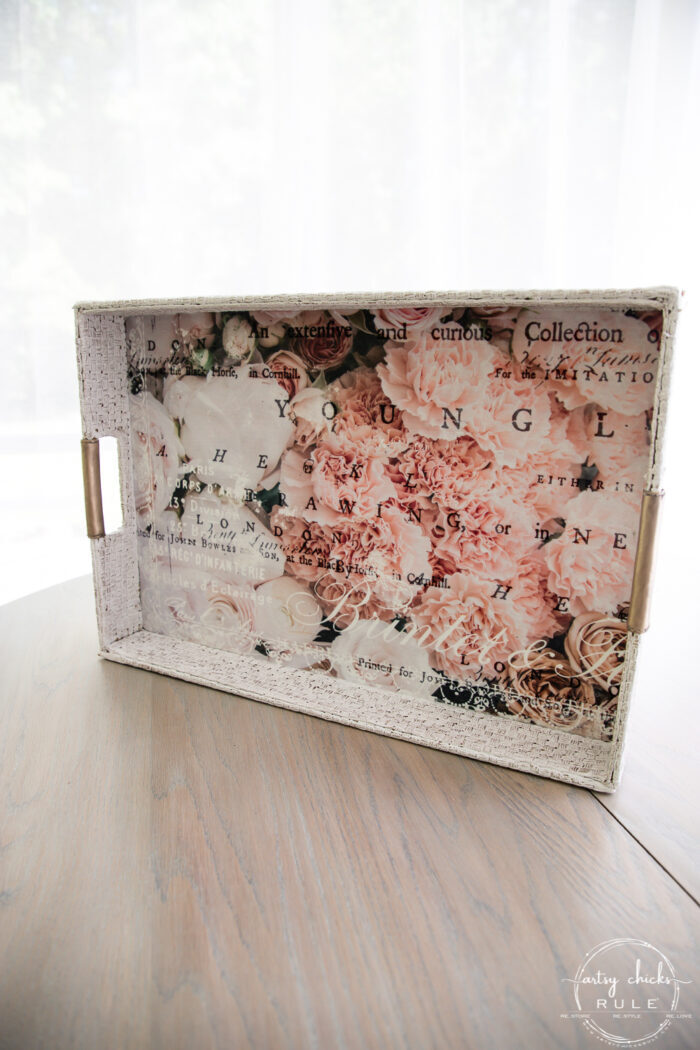
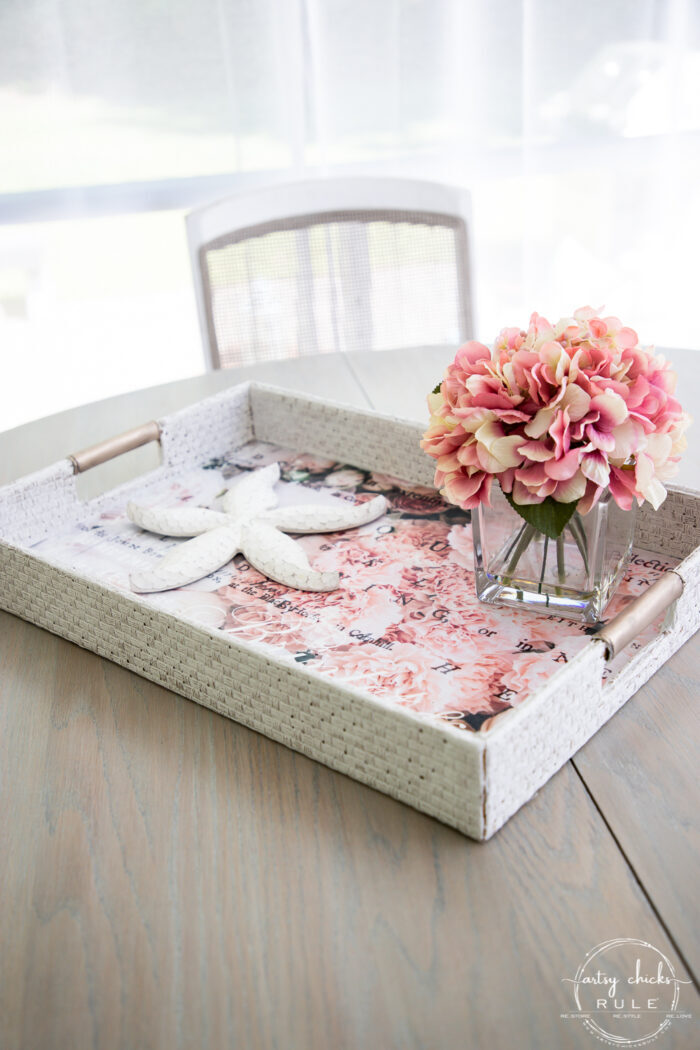
So pretty…
I mean, what a difference, right??
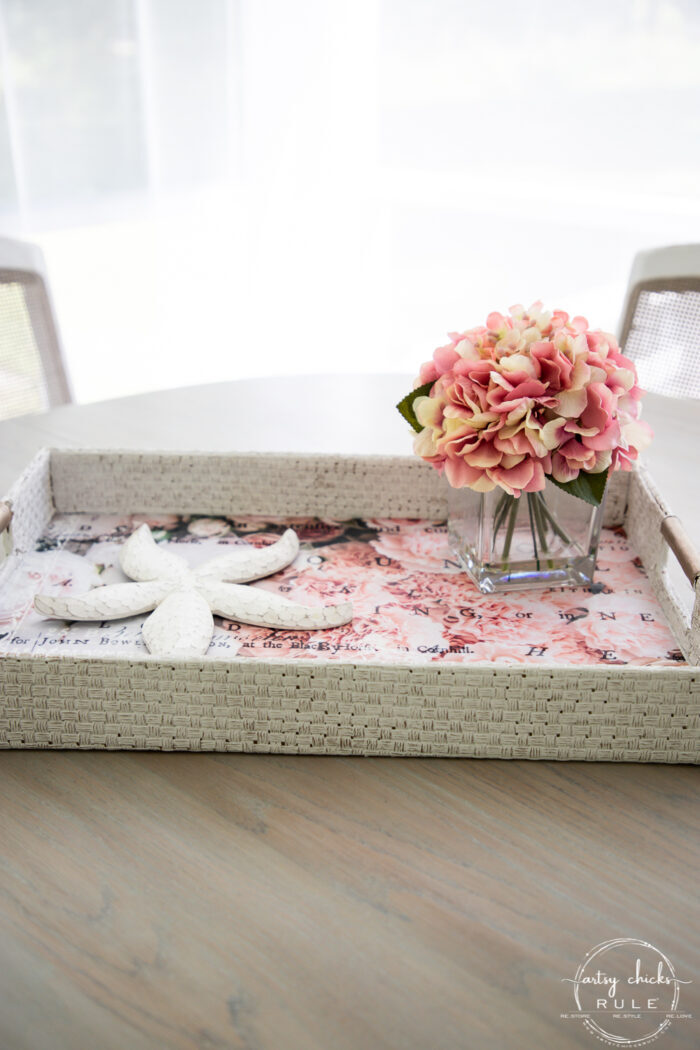
You’d never know it was the same basket tray.
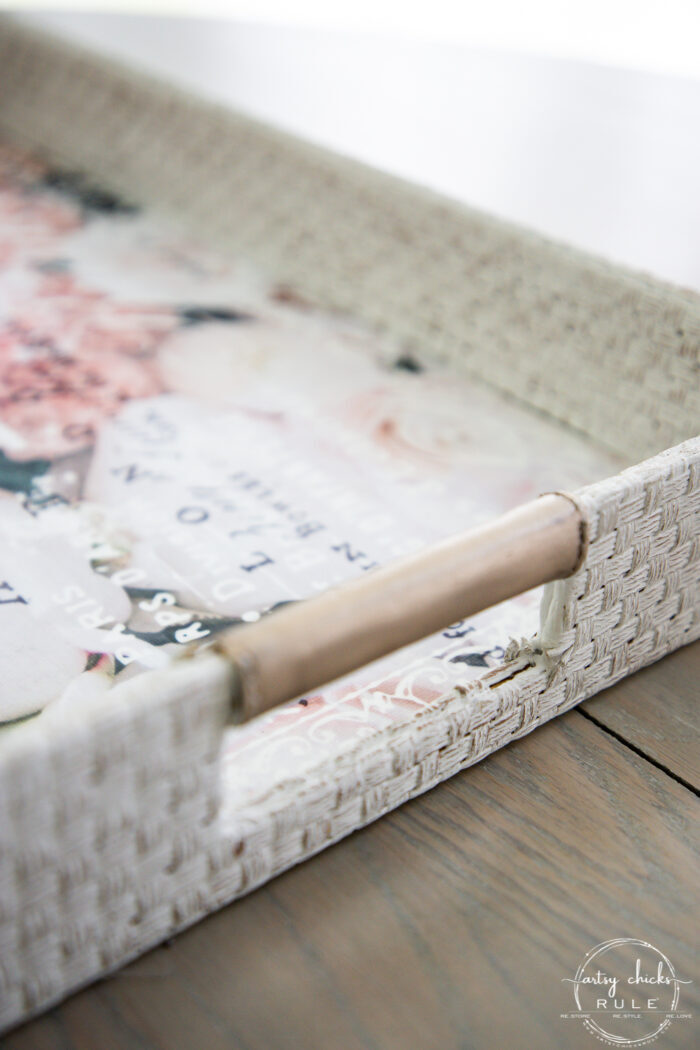
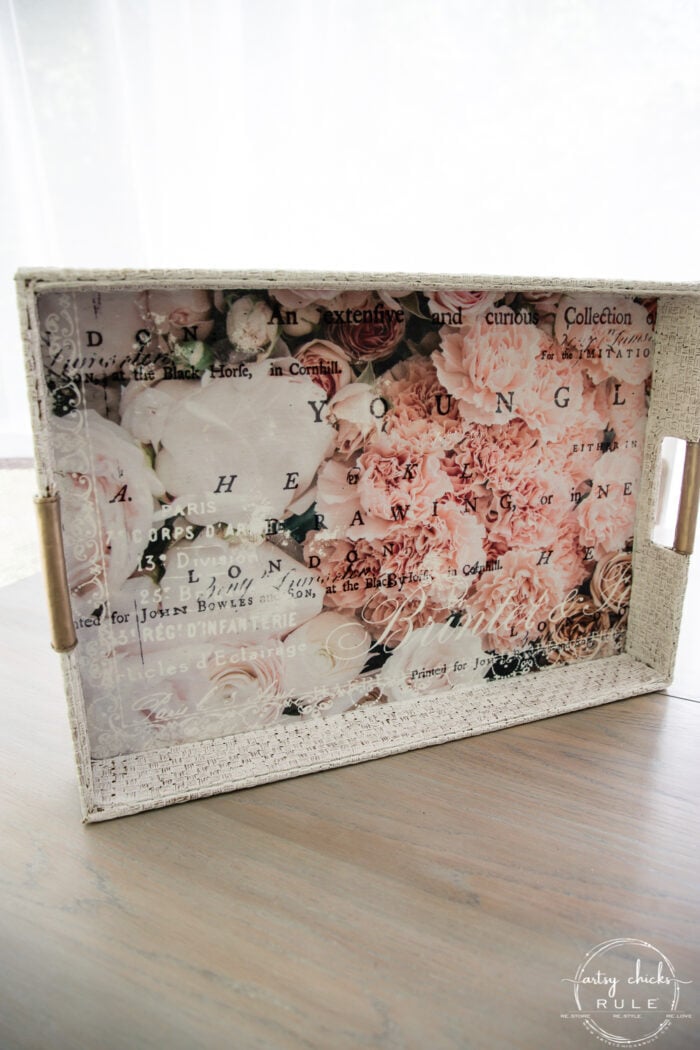
And I love the fancied-up “gold handles”.
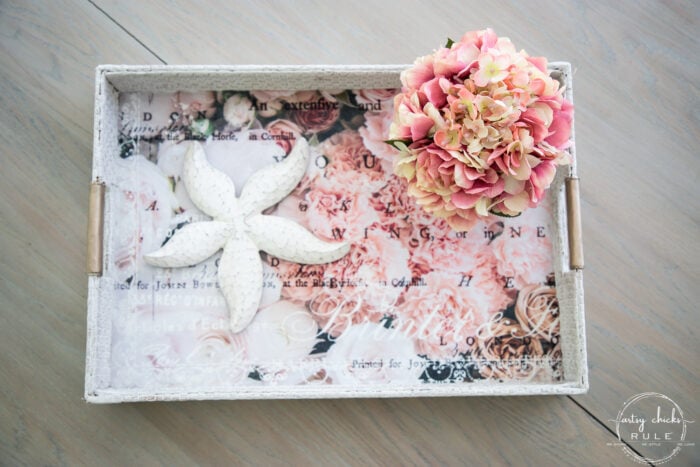
But that pretty pink floral decoupage tissue paper is the real star of the show.
I have a few more to share soon. Can’t wait to play with them too!
I really love this one.
PIN it to save it!
Think you might give this tissue paper a try?
It’s unique, for sure! Love the pretty pattern.
I hope you have a wonderful week! Enjoy the pretty sunshine and the last of the warm weather…before fall arrives!
Check this one out next!
UPDATE!! See it now here!
xoxo

")
")


Awesome.
Thanks! xo
I love these papers. They remind me of dryer sheets kind of. This turned out so pretty.
Yes!!! Exactly what they are like. Thank you, Cheryl! xo
What a beautiful makeover you gave this tray!
Thank you, Paula! xoxo
Nancy, it’s good to know Ryder is always there to help you. :) Such a handsome, sweet fur baby! :) As for the tray… wow! It is beautiful! The white paint, gilder’s wax and decoupage paper really are beautiful together. Another piece you really made sing!!
Have a great weekend and give Ryder some lovins for me!
Aw, yes, always! He’s the best. :) Thank you so much, Christina! I gave him extra! xoxo
Oh wow…night and day!! It looks amazing now!! We are way overdue for a thrifty day out! XOXO
Long past time for another thrifting video of you two!
Haha, yes, it really is!! :)
Thanks, Christy! Yes, we so are! xoxo
Love it!!
Thanks, Tracey! xo
Love it..so pretty..but then I love florals and that pink…simply beautiful.
I do too! Just something about them. Thank you, Lorri! xo
Beautiful! Can’t wait to try one.
Yes, do!! Thank you, Joy! xo
I like the basket before – except the fake leather – now I REALLY like it. The gilding on the basketweave is genius, Nancy! Seeing that texture instead of leaving it flat white makes all the difference. I have got to get some of that stuff. And using the decoupage paper to cover the bottom ups the chic factor.
Yes, I love how that gilder’s paste brought that weave to life! So easy too! Thanks, Marcie, it was fun working with something completely different! xo
Absolutely beautiful! I love the transfer and the bronze on the “wicker” really adds that natural look. The tray is so pretty and useful as well. It would be perfect on a coffee table, countertop, etc. Thanks for sharing the products you used and as well as the details. Naturally, my eye was drawn to Ryder sleeping nearby!!! Have a great week.
Thanks, Sue! Yes, it would be great on a coffee table! And aw, yes, I completely understand…mine would too! He’s a keeper! xoxo
So pretty is right! Love the gold handles and the how to used the gold on the basket weave!
Thank you so much, Gwen! The gold worked so well on those too! xoxo
This may be my favorite decoupage that you have done! I love it!!!!
Aw, really?! Thank you so much, Audra! xoxo
This is one of my favorites! I like that you used the wax to do the distressing. It really softened the look of the painted weave. Just love the paper. Great little tutorial, thank you.
Yes, it really did and it was so easy to do too!! Thank you so much, Sharon! xo
Beautiful! Need to look into this decoupage paper, I love a good mod podge project! I have a thrifted light wood tray that needs a makeover, and this is what I had in mind. Thanks for sharing!
Me too! This paper was different than anything I’ve used. Fun playing around with new things. Thanks, Vicki! Have fun making yours over! xoxo
Looks lovely! I used Mod Podge back in the late 1970s and water from things would cquse it to get cloudy and ruin item. Is it better now?
Thank you, Rose! Hmm, I haven’t had that trouble so maybe they changed it? I will most times still go over with poly though. I didn’t this time. Will have to see! :) xo
That is beautiful, Nancy! Your attention to detail always puts your projects over-the-top gorgeous. I love t! xo
Thank you, Karen! Aw, you are sweet (but I already knew that :) )! It was fun to play with this different paper. xoxo
An amazing change. Love it!
Thank you, Phyllis! :) xoxo
Nancy, I absolutely love the makeover! What a difference paint can make and with the decoupage, lovely!
I know, isn’t it crazy?? I love making things pretty! Thank you, Melva! xoxo
WOW Nancy, you really would never ever guess it is the same tray. Just amazing!
It is so perfect as a tea tray. I’d use it all the time for my teas! I love it!
It’s so fun to transform these blah blah pieces! Tea is my favorite…sounds like a great plan! :) xoxo
What a transformation. Love the gold on it. That paper is fabulous looking and seems easy to work with. What a cute tray. I can just see serving a little breakfast surprise on it. See you next week.
The paper was completely different than anything I’ve used before but fun to play with new stuff. It would be perfect for that! Thanks, Kathy! :) xoxo
I don’t see the link to the brand of decoupage paper you used. Can you let me know thanks
Hi Linda! The direct link is in the gray box that says “materials source list” or something like that in the post. It will take you directly to the paper. :) xo
Oh my, fantastic. I must say, I love both, the before and the after. However, your transformation is all so beautiful. Your creativity truly shining through. Thanks for sharing
Aw, thanks so very much, Ivory! xo
So so pretty!
Thank you, Debra! xo
You brought it back to life.
……so pretty!!!
I have a question, if you have time.
I got a pedestal, no sink, just pedestal.
Sprayed it with:
Rust-Oleum 2X
Paint & Primer
Let it dry, brought it in.
My fingernail nicked it and there was the original color….🤦🏼♀️
Took back outside, touched up the original color and waited till that dried. Then on purpose scraped over a small part and whata you know, there’s the original color again…🙄
Also want to leave outside just for summer.
Can you tell me what I did wrong and how to fix it?
Thank you so SO much!!!
Hi Kathy! Thank you so much! :)
So, it’s hard to say! But I have a couple of questions, did you sand first? Sanding would help with adhesion of the paint. Also, any paint will nick right at first. It needs time to fully cure after painting. So I would say to let it sit and fully dry/cure. Be very careful with it for the first 30 days or so. I hope that helps!! xo
Just want to say that pic of Piper walking Ryder is so cute. I’ll have to check out the video you mentioned on FB. I’m hoping all will go or has gone well with Ryder’s surgery! I am not ready for fall, nor am I ever ready for fall lol. I hate when summer ends lol. Heat and all.
Thanks, Debra! His surgery is coming up on the 20th!
And yes, I am not ready at all either!! I love summer. :) xo