Life Is Like The Ocean Sign
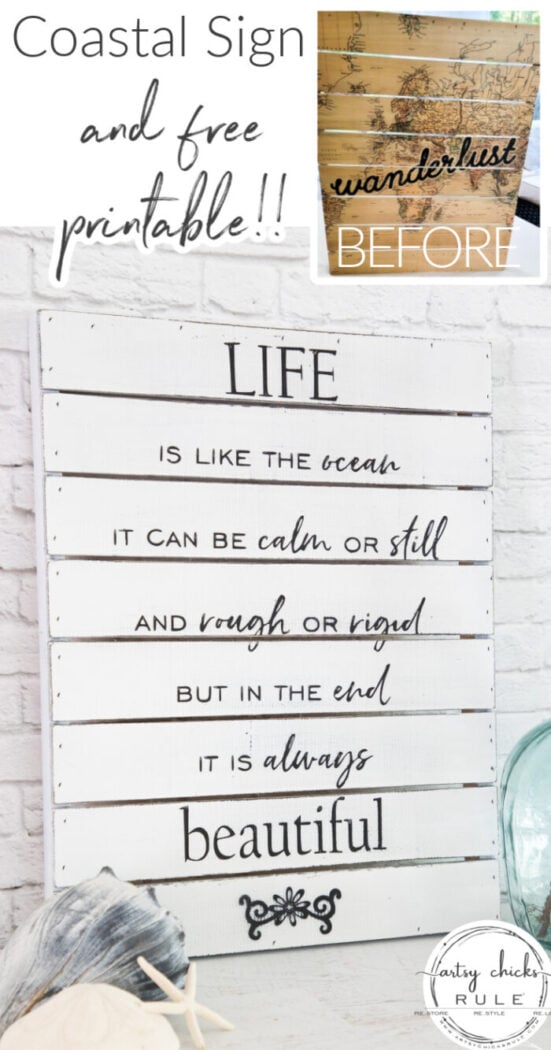
Life is like the ocean…what a beautiful and true saying! Love this one and it’s so simple to do especially with the free printable!
Hello beautiful friends!
I’m busy, busy making over my latest haul. If you missed it, I shared my newest haul last week and you can check it out right >>> here.
I also shared the first makeover of the bunch, this one >>> Decoupage Tissue Paper Tray
Life Is Like The Ocean Sign
And today, I’m sharing this one…
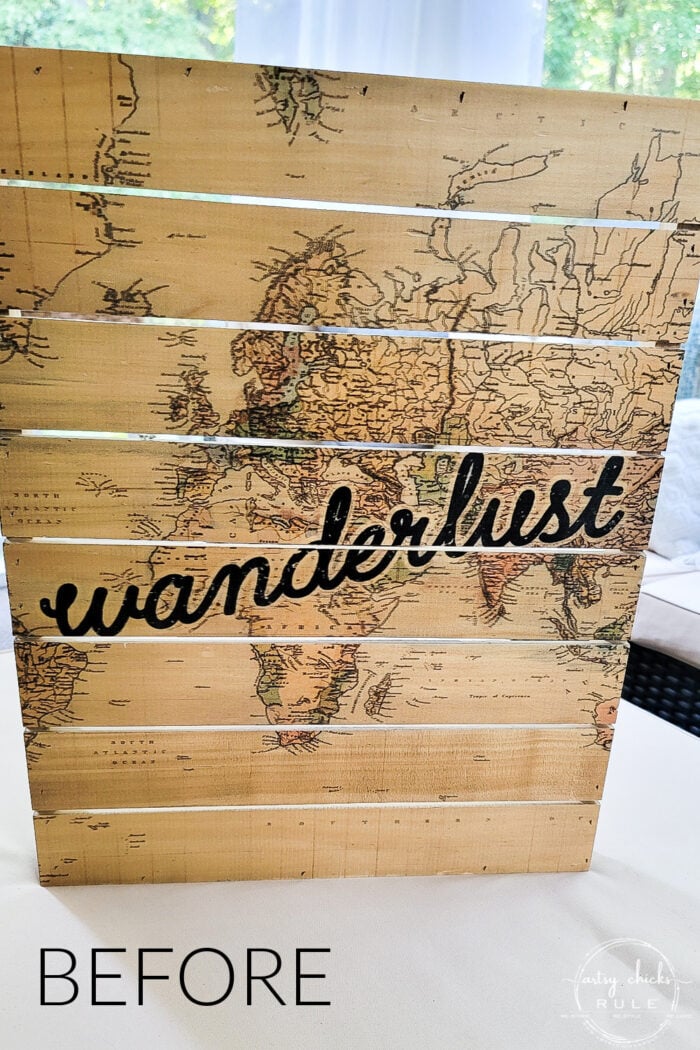
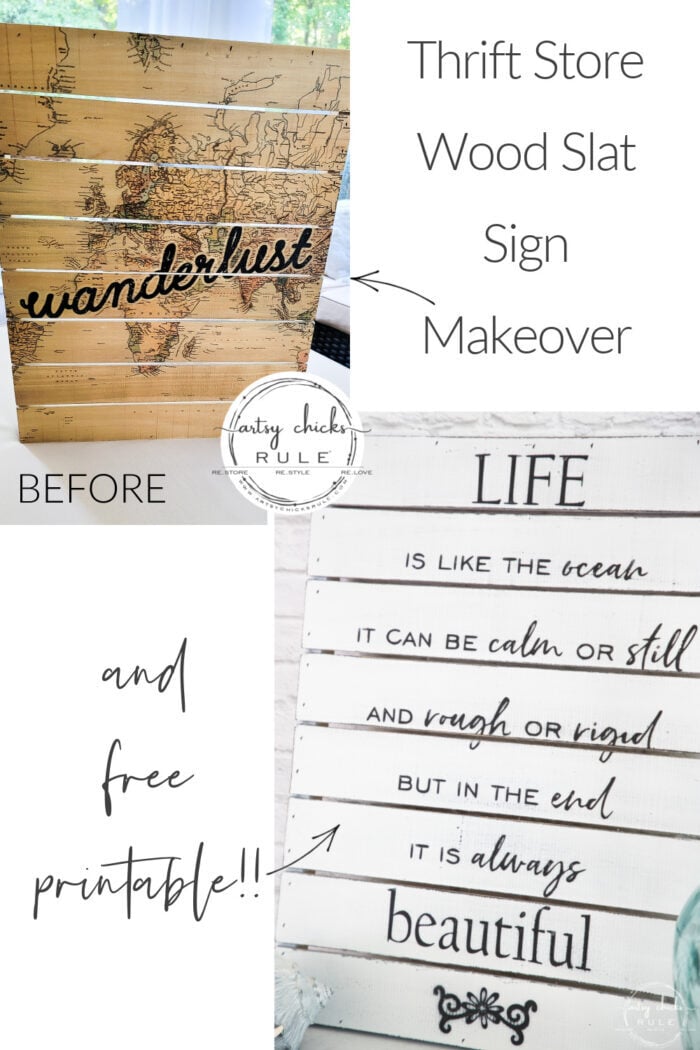
This was the wood slat sign that I got for $5.
It’s a cute sign as-is and someone might love it just like this. Which is a win-win!
But I thought it would look really neat as a coastal-style sign with those slats.
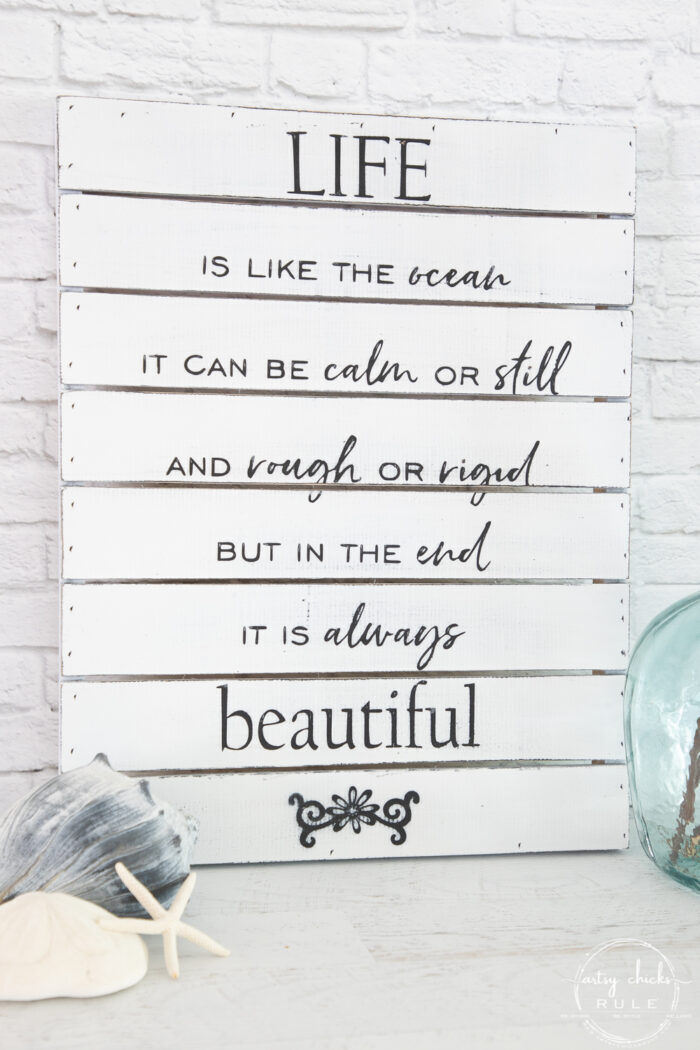
So I began by painting it black with flat black spray paint. (any kind will do)
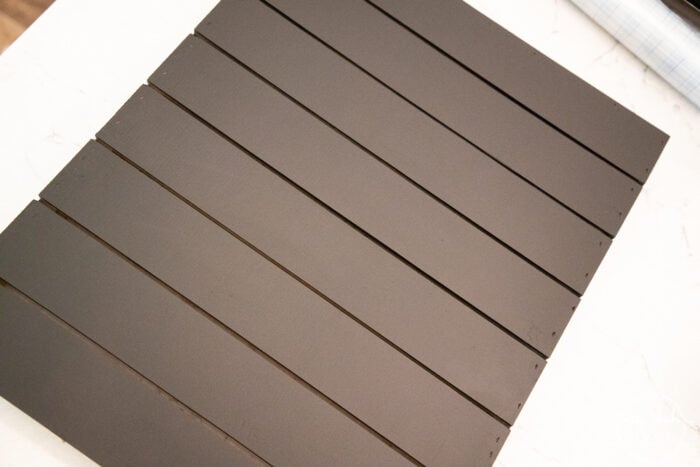
Then once that was dry, I used my Silhouette Cameo to cut out this design that I actually made a couple of years ago but never used yet.
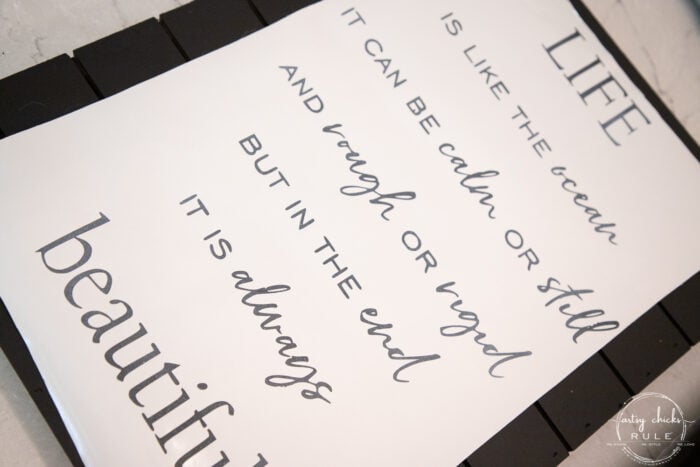
I cut it out on black vinyl so I gave it a light misting with white paint so it would show up on the black board. (otherwise I wouldn’t be able to see it well when placing it)
The photo above shows the letters the Silhouette cut after I had removed the rest of the vinyl around it.
Don’t own a Silhouette machine?? No worries! I’ve got you covered. Check out this post to see many other ways you can transfer this image to your project >>> Transfer Methods I Use
To transfer the letters you have to attach transfer tape (sticky-ish paper)…
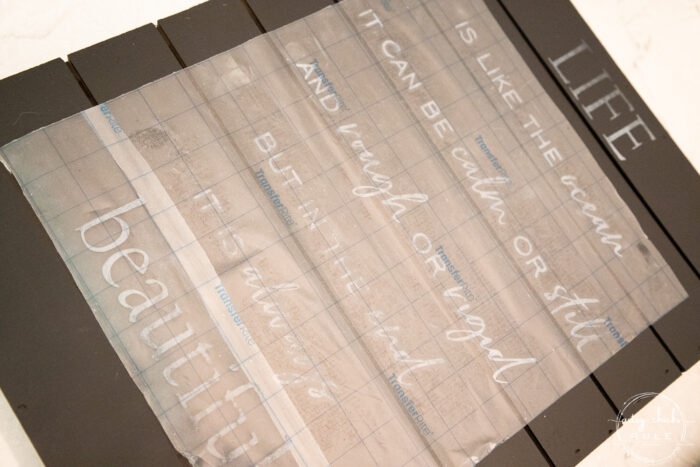
…then peel the white backing off and attach it to your board.
I ended up cutting the “life” and “beautiful” away from the rest so I could position the words mostly away from the slats.
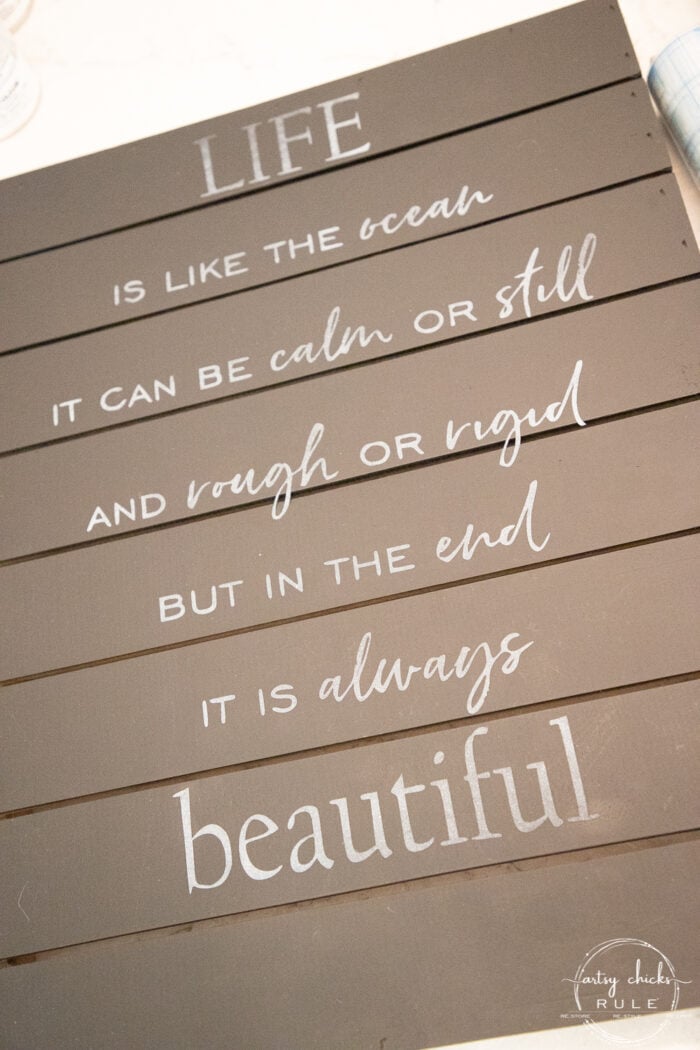
Rub it to transfer, peel off the transfer paper, and you are left with those letters above.
Now, you can just leave the vinyl on your project if you like but I was doing a sort of reverse stencil with mine.
But first, do you see that last plain slat??
That was the only way I could really position it well so decided to put some kind of flourish on the bottom.
I found these little thin wood cutouts that I’ve had forever and decided to use it.
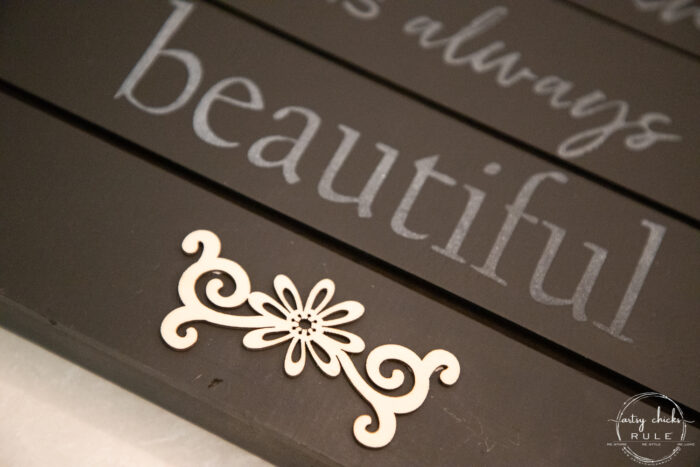
And the best part? It had two large stickers from the store still on the backside. So when I removed those they left a sticky residue on the back.
Perfect!!
I stuck it to the board and sprayed away.
I spray-painted the whole thing right over the vinyl letters (and wood cutout). I used this white paint.
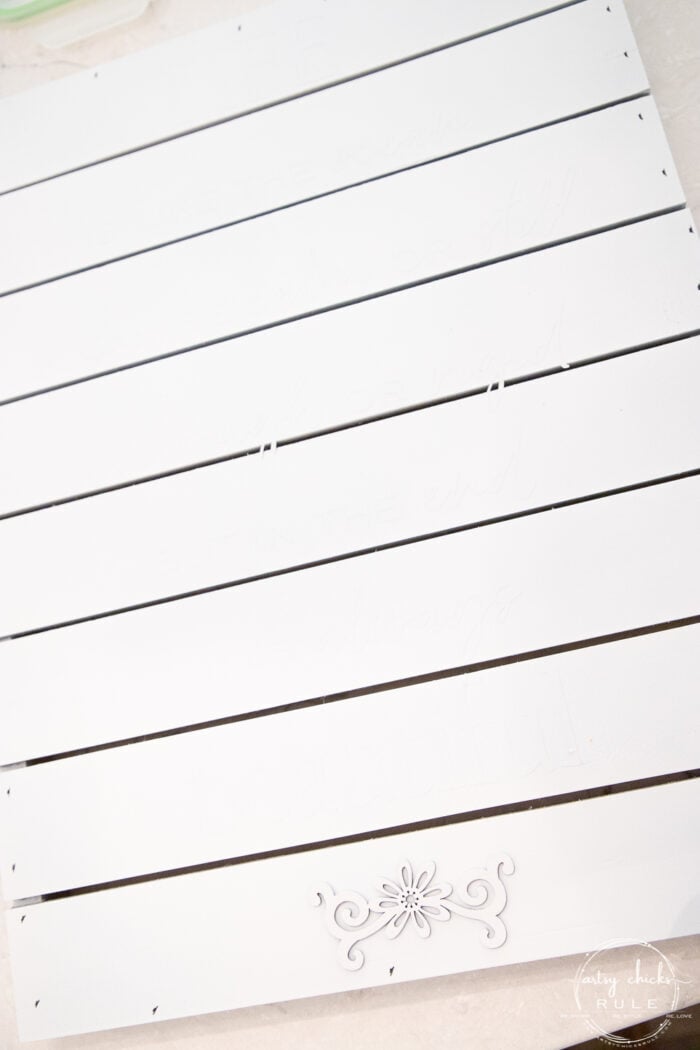
Once dry, I simply lifted the wood flourish and gently pulled the vinyl lettering off.
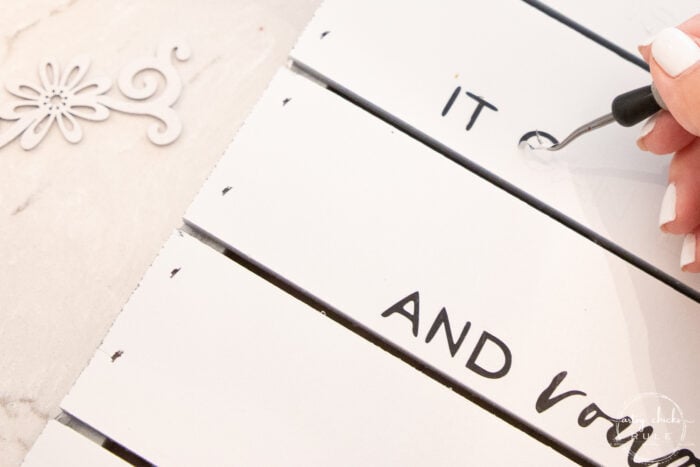
And ta-da!
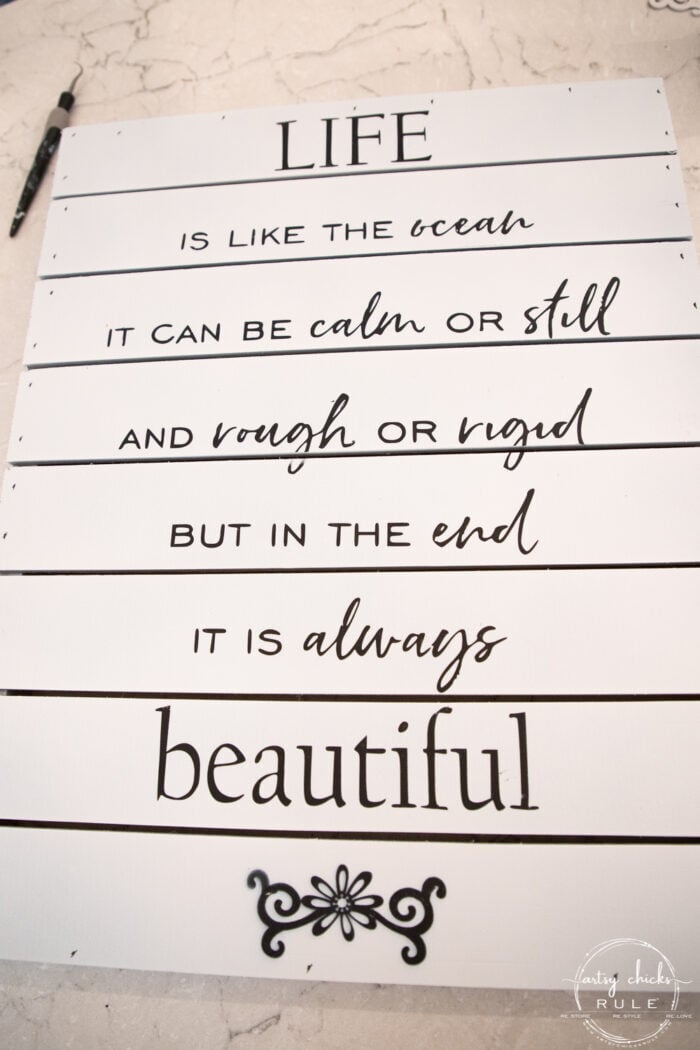
Revealing the nice black lettering underneath.
I gave the whole board a slight bit of distressing to soften the lettering and bring some of that black through on the edges.
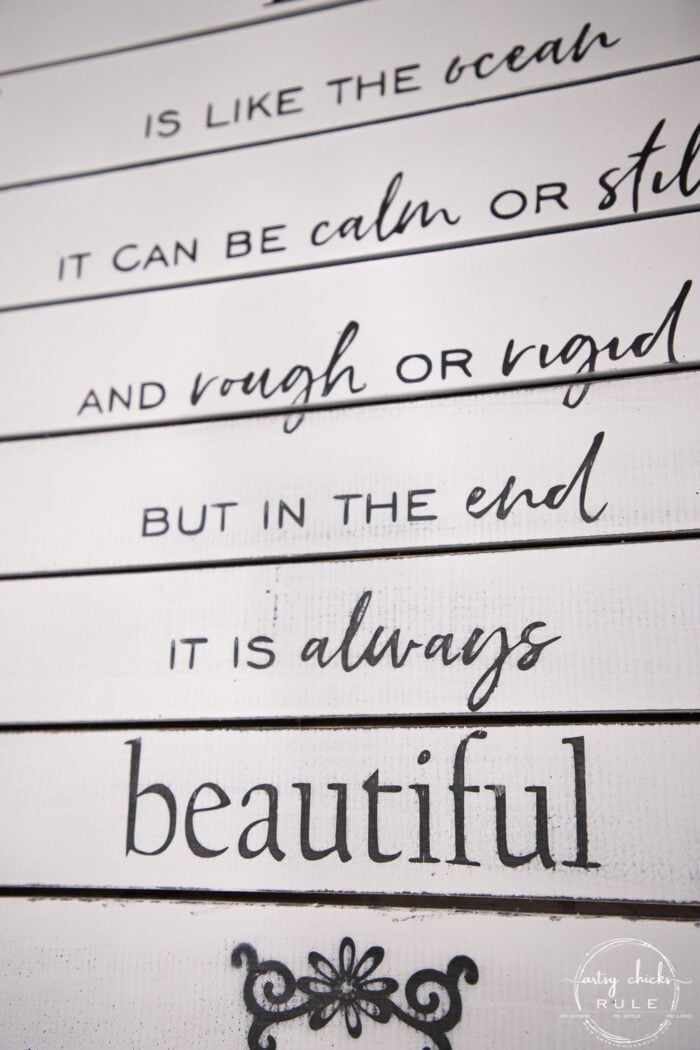
So easy!
Next best thing to having a stencil. :)
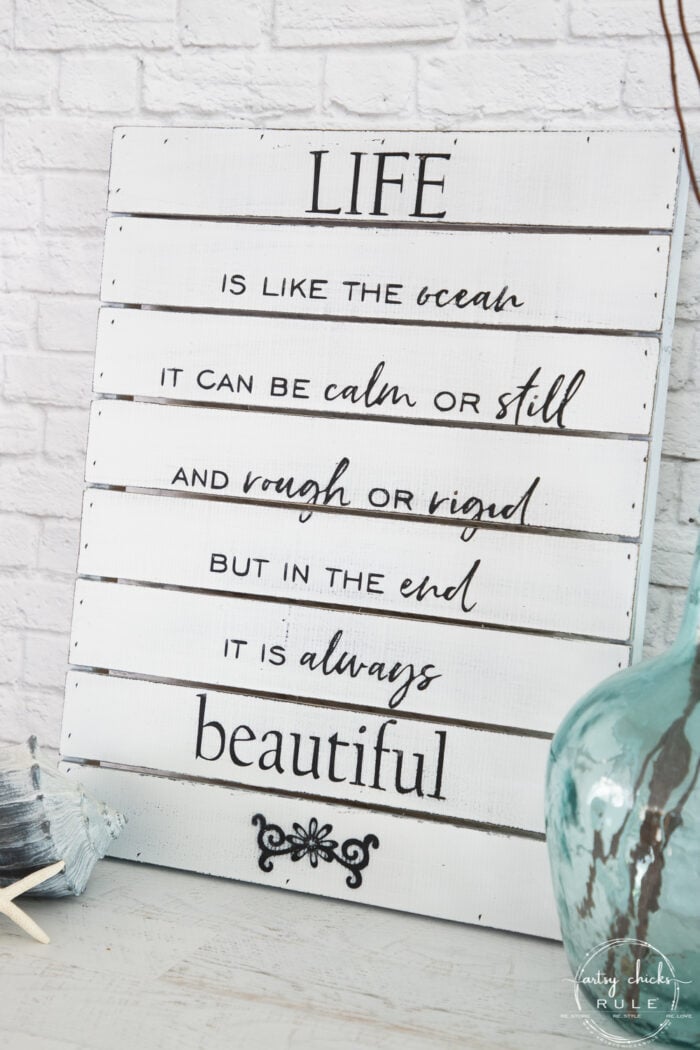
I love how it turned out.
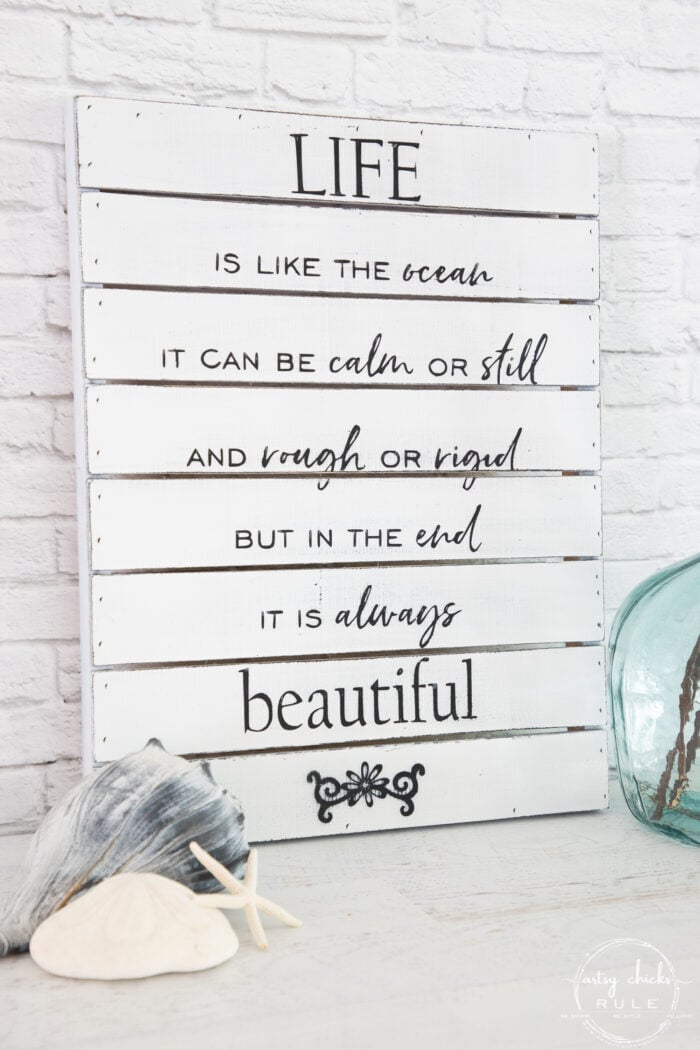
And what a beautiful saying, is it not?
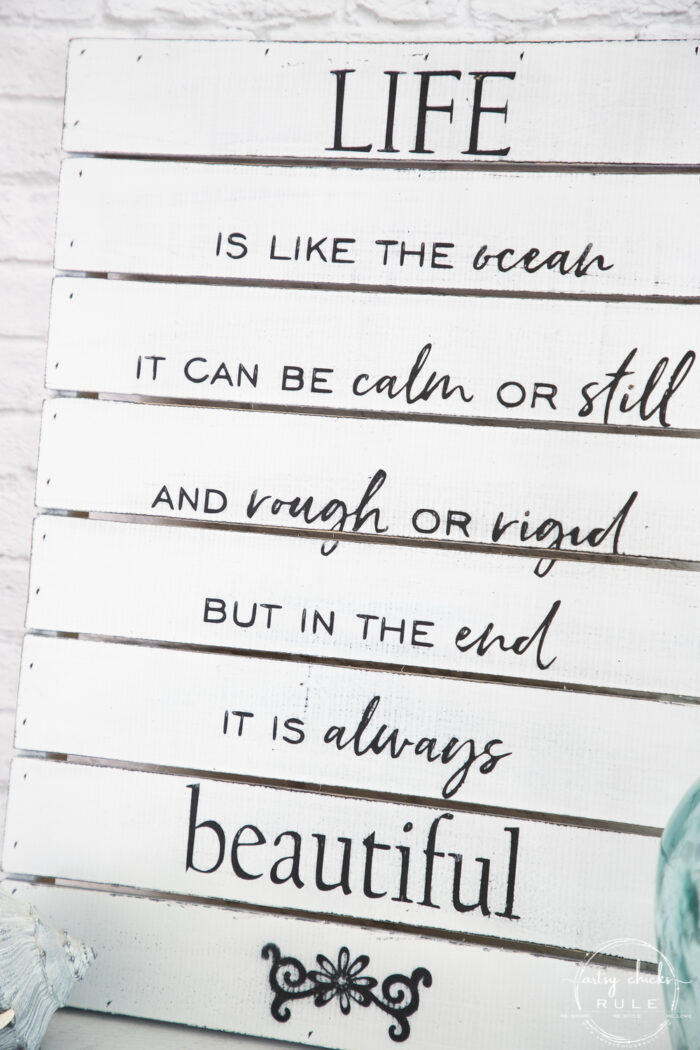
I’m going to use this one at the beach condo.
I think I’m going to hang it on the wall in the “bunk room” aka twin to king bed room. Haha
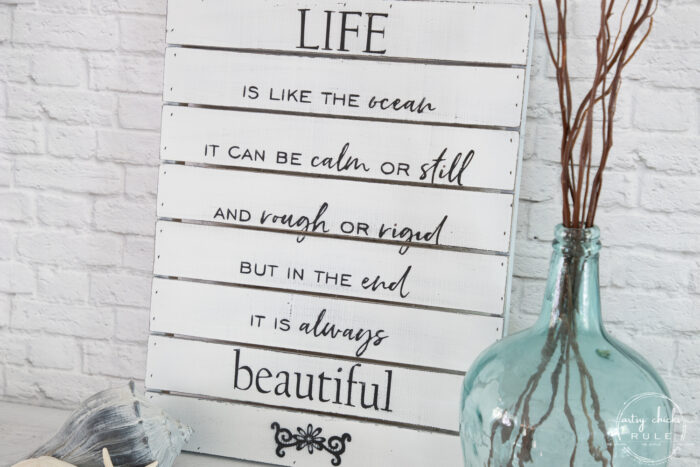
Want the free printable of this one?
If you are already a subscriber, you can click here, enter your password (it can be found near the top of all my emails to you), and download this or any other graphic I’ve created over the years. (over 100!)
If you aren’t yet a subscriber, you can click here or the pink box below to become one to gain access.
PIN it to save it!
Have you entered my latest giveaway yet? If not, you have just a couple of days left to do it! Hop on over >>> here.
I’ll see you later this week with another one. Have a wonderful week!
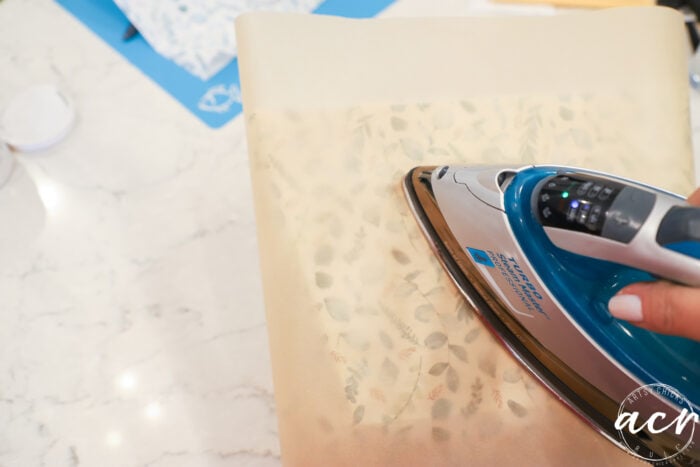
UPDATE!! This is a neat trick! See it now here!
xoxo





Oh Nancy, this is beautiful! I would have never thought of a reverse stencil but it makes so much sense! The results are marvelous! It will look great at the beach place! Such a great verse as well. Another one you rocked! Have a great rest of the week!!
Thank you, Christina! I can’t wait to hang it up! :) I hope you have a wonderful weekend!! xoxo
Nancy, I love the beach sign makeover. I am sure it took a lot of patience and work, but as always you managed to make something rather unappealing to me, a beautiful sign. Perfect for your beach condo or an home that has a coastal theme! Thanks for sharing all the details and for the printable. I am always amazed at your art work. Have a wonderful week.
Thanks, Sue! I can’t wait to hang it up at the condo! Have a wonderful weekend! xo
I love the saying! I’m downloading the printable and using it for a sign to give our hostess on our girls beach trip on St. George Island! She will love it! I am awful at stenciling so this reverse method might be my gig! See you Thursday! XOXO
Isn’t it a wonderful saying? Love it too. I think that is a great idea!!! See ya tomorrow! :) xo
I love this! You make it look easy, but I’m sure it is a lot of work.
It really wasn’t! The Silhouette makes it so easy. :) xoxo
You are marvelous! I really do like the reverse stencil idea – seems so much easier to me! Love the sign and it will look good in your beach condo. Thanks for the fun idea!
Aw, thanks!! Oh my gosh, it makes it SO easy! (and quick!) I can’t wait to hang it up! I think I know exactly where I’m going to put it! xo
Love the saying and so much better than the original! Great score on that sign! Let’s plan a thrifting trip soon! XOXO
Thanks!! Me too! And yes, soon, talk soon!! lol xoxo
Love it! I know so many quotes that would make great signs!
Yes!! So easy to do them this way. (and really quick too!) xo
Does it say “rough or rigid”? I haven’t come across a rigid sea yet(?) but you definitely made something pretty out of something ugly!
Haha!! Yes, it does but I am not the one who came up with the saying. I found it online…it’s been done a million times over! ;) And thank you! I am looking forward to hanging it up! xo
Perfect for you beach condo!!! Good job!!!!
Yes!! Thank you, Addie! xo
Absolutely unbelievable!!!!
It is so perfect for your beautiful beach home!
: – )
Aw, thanks my sweet friend!! :) xox
Love the sign and the technique.
Thank you, Phyllis! xo