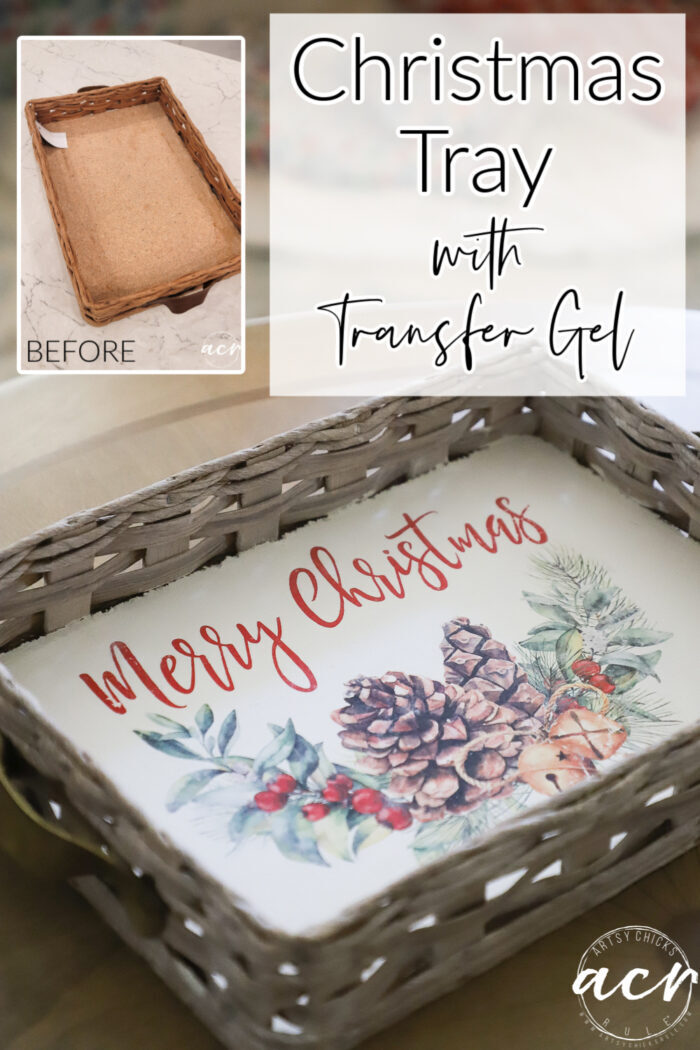
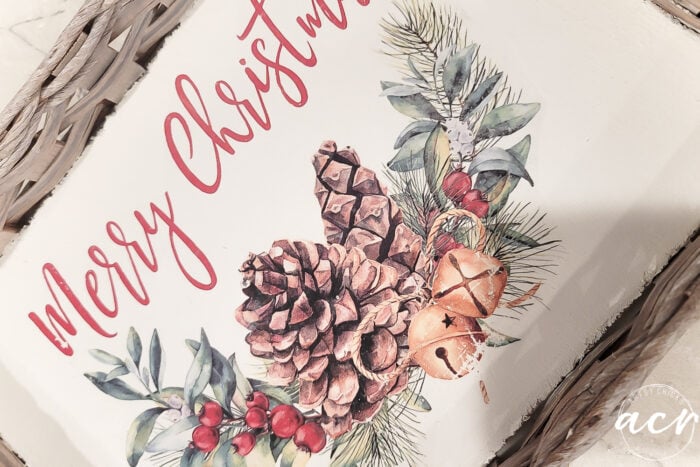
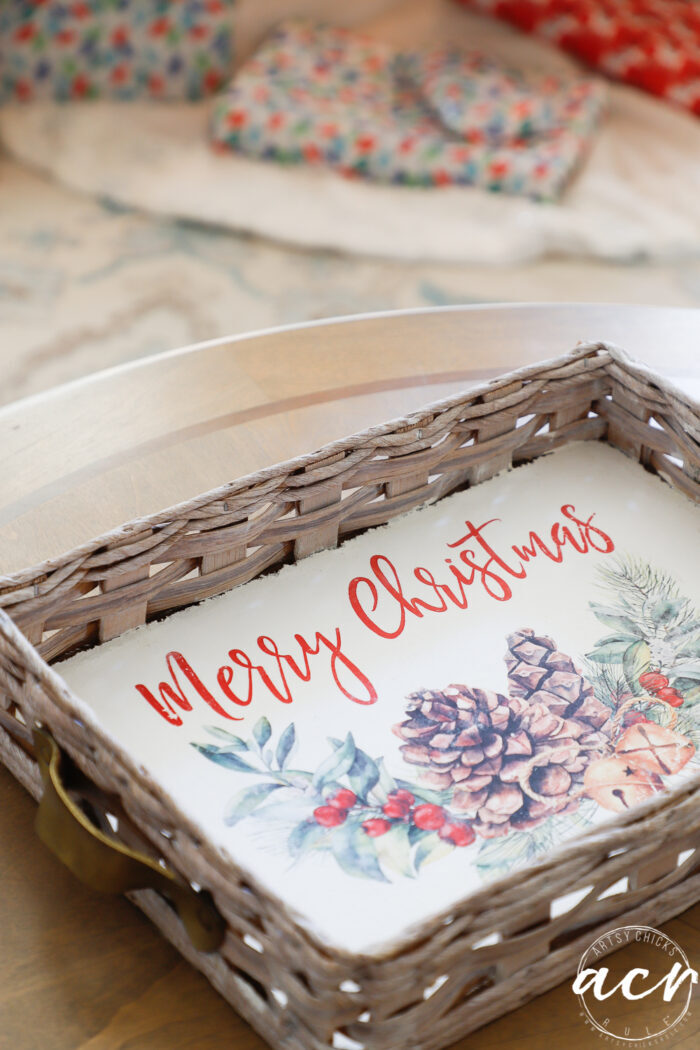
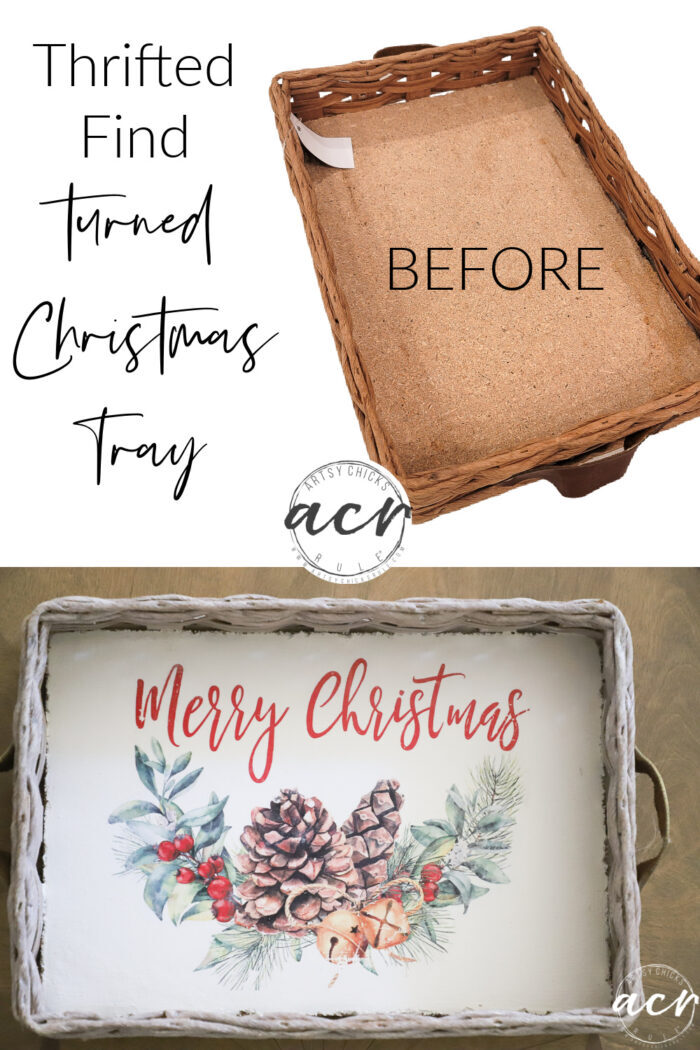
This sweet (and free!) Merry Christmas printable looks perfect in this old, thrifted tray. Easy to do too!
Hello friends!
Here we are into December already. And here I am with another Christmas project for ya!
I share a similar project using one of my recent printables a week or so ago, you can see it here >>> Christmas Verse Decor
Today, I’m sharing another from that bunch. AND a little bit different way to transfer.
Well, not really different but using a different printer type. You’ll see why below. ;)
Merry Christmas Printable Tray
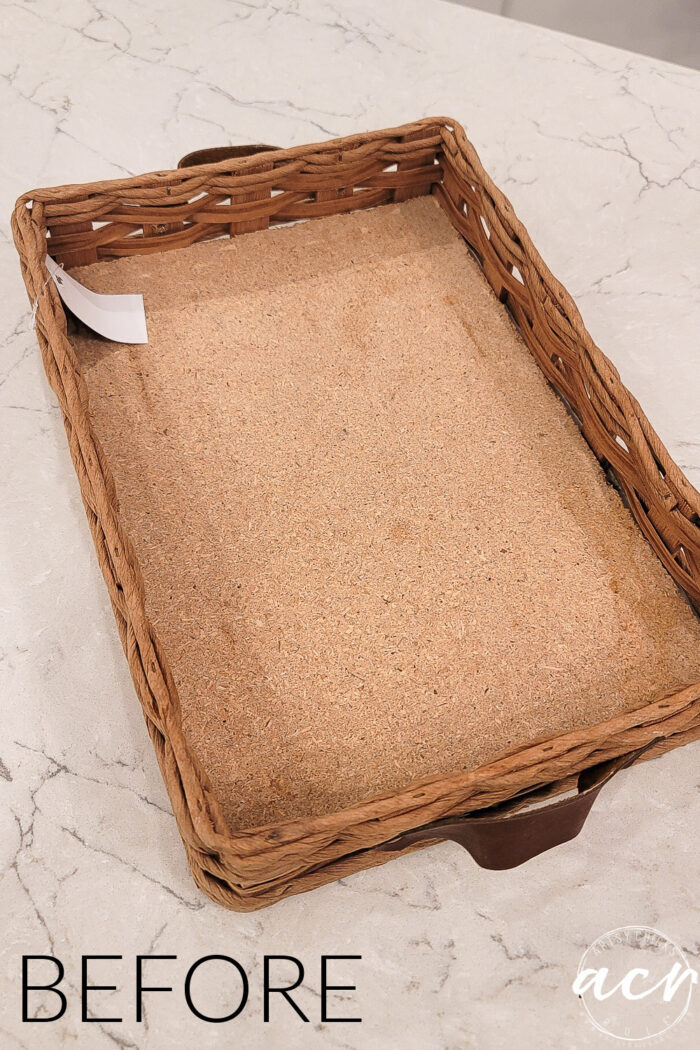
Here is the tray as I found it at the thrift store. Very basic!
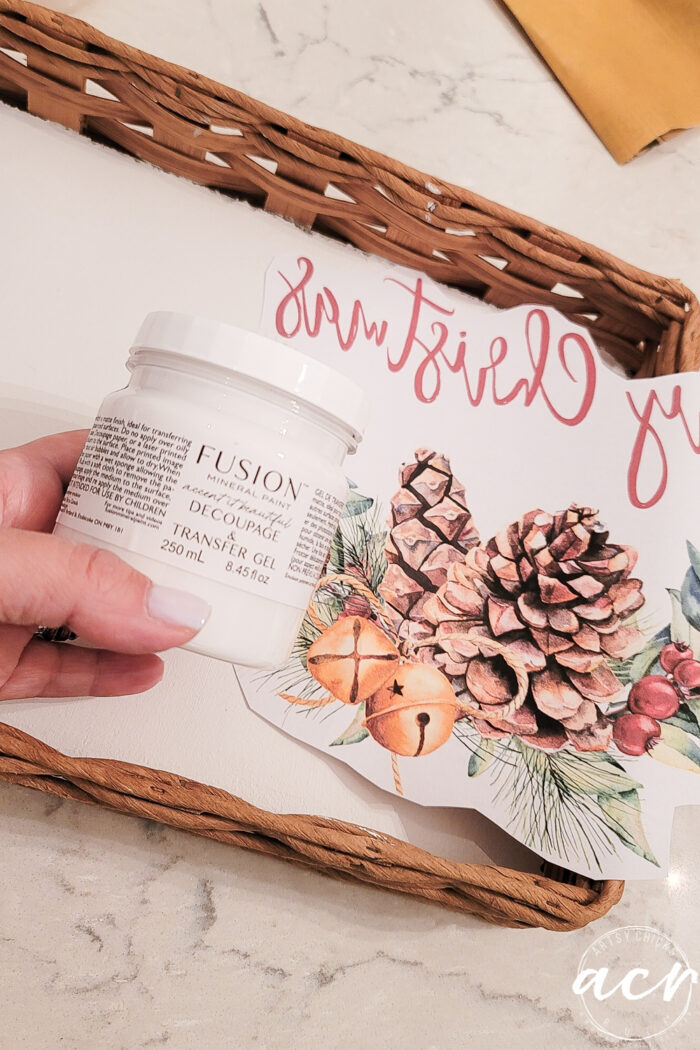
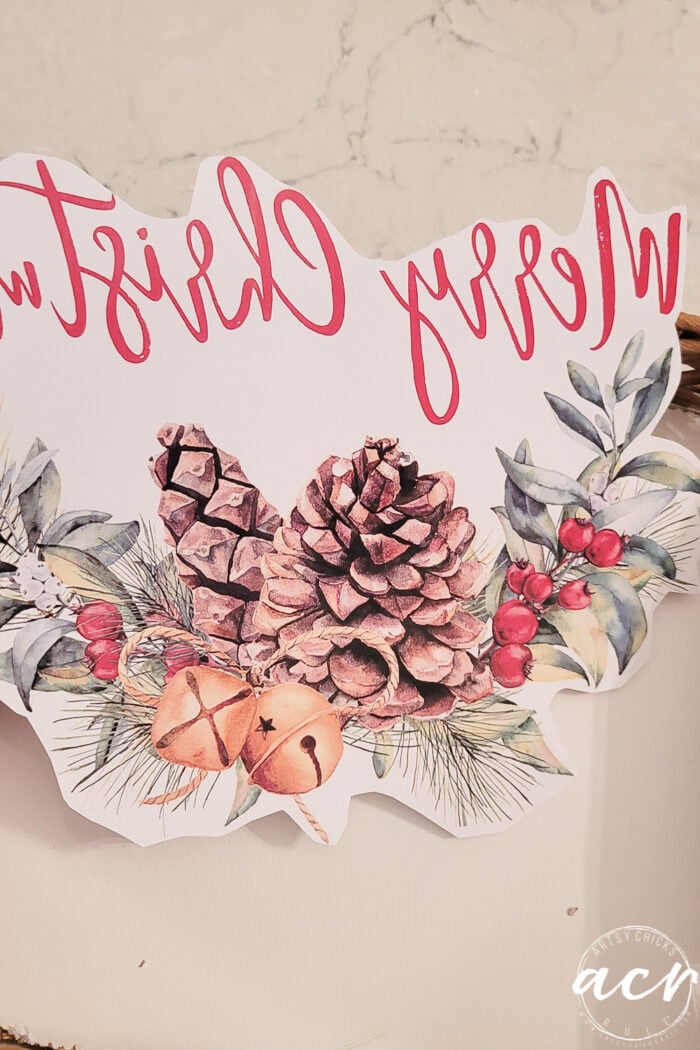
And then use my Transfer Gel (you can find it, here) to transfer this image…
I printed it on my inkjet like I did the last project I did.
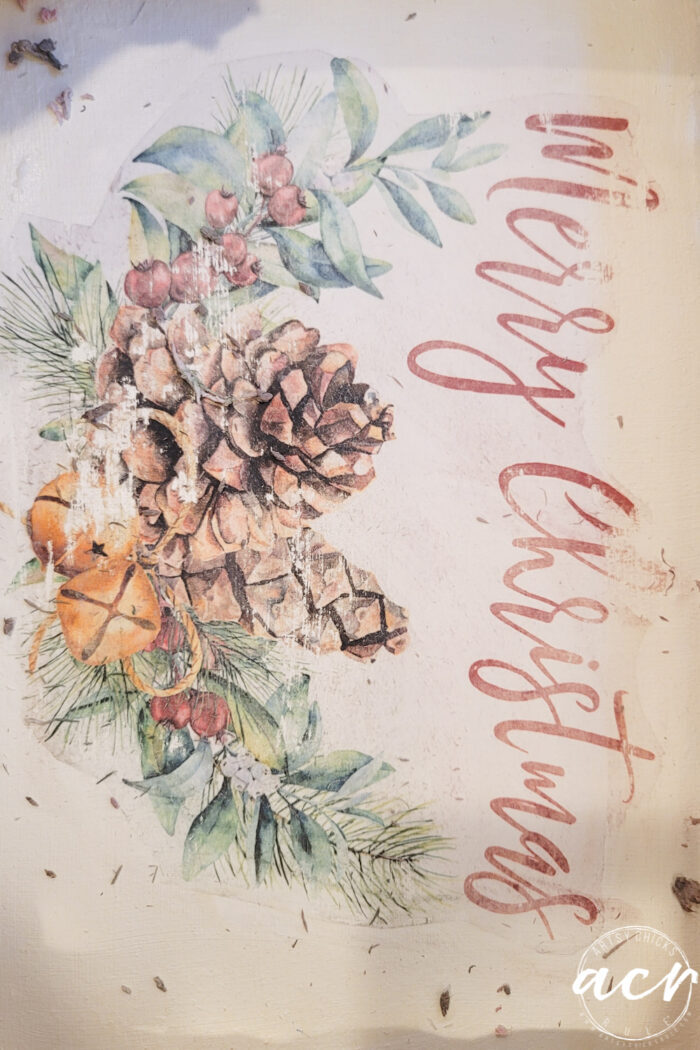
And began the process of removing the paper just like I did on the other project but…
…darn, the image was coming off too.
What the heck?
Well, apparently it’s better to use a laser printer for this.
But you can use an inkjet as is evidenced by my first project. Maybe with unpredictable results though?
I will say this one had a different (porous-rough pressboard) base unlike the other project so I wonder if that had something to do with it?
UPDATE:A reader below (thank you, Suzie!) in the comments mentioned letting the inkjet printed paper sit overnight or longer to dry well. That may make the difference with the two that I did. Also, I forgot to mention that I did another step on this one. I wanted to “seal” in that ink in my mind, so I applied the transfer gel to the ink side of the print and let it dry. Once it was dry, I applied the transfer gel to the board, as usual, attached the print, and finished as before. So that may have been a help too. I think I am going to try another inkjet printable (because that would be easier than having to run to the print shop every time), letting it sit overnight, and then applying the gel to it like I did this one. I will report back here when I do!
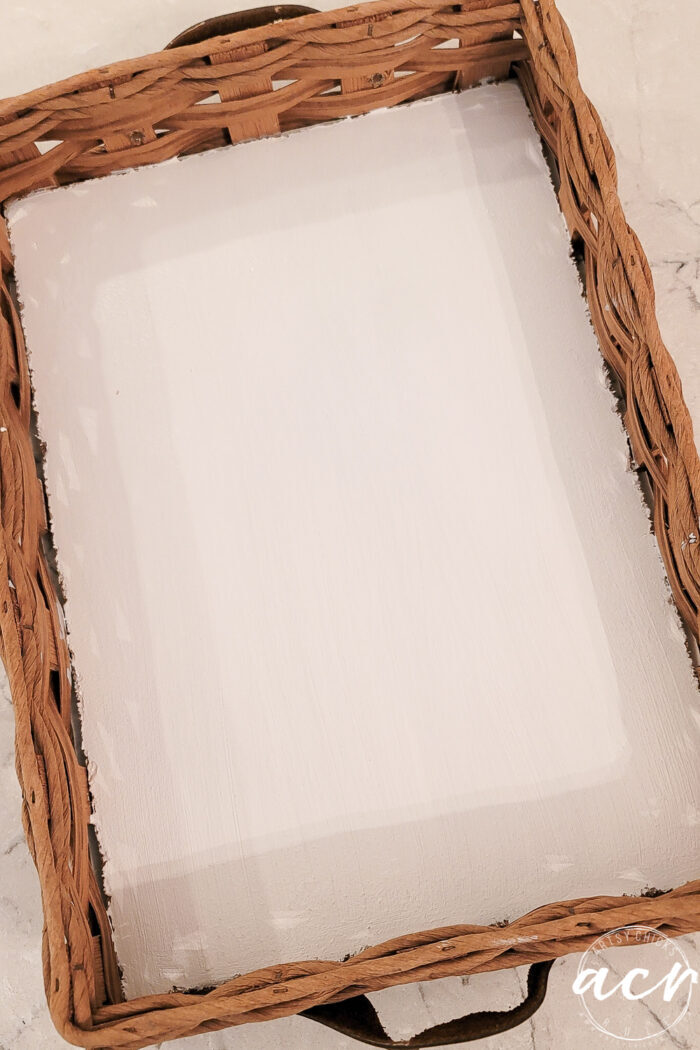
So I decided to sand it and begin again.
Repainted and ready to go again.
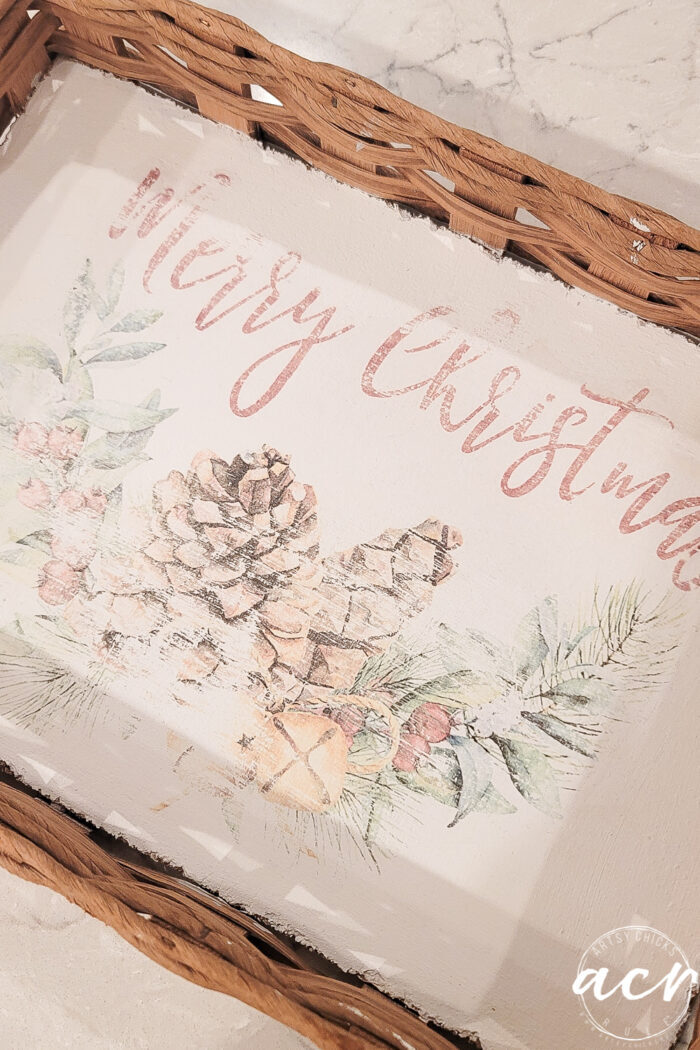
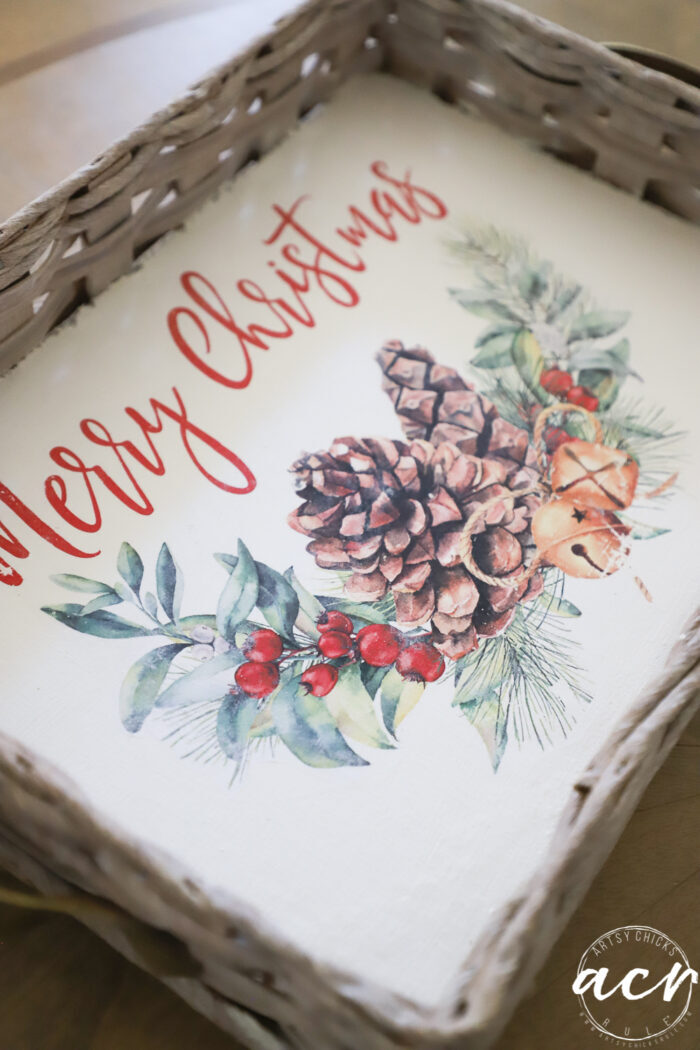
This time with a laser printed image. (I saved the image onto a thumb drive and ran it over to Office Max to print…simple and cheap!)
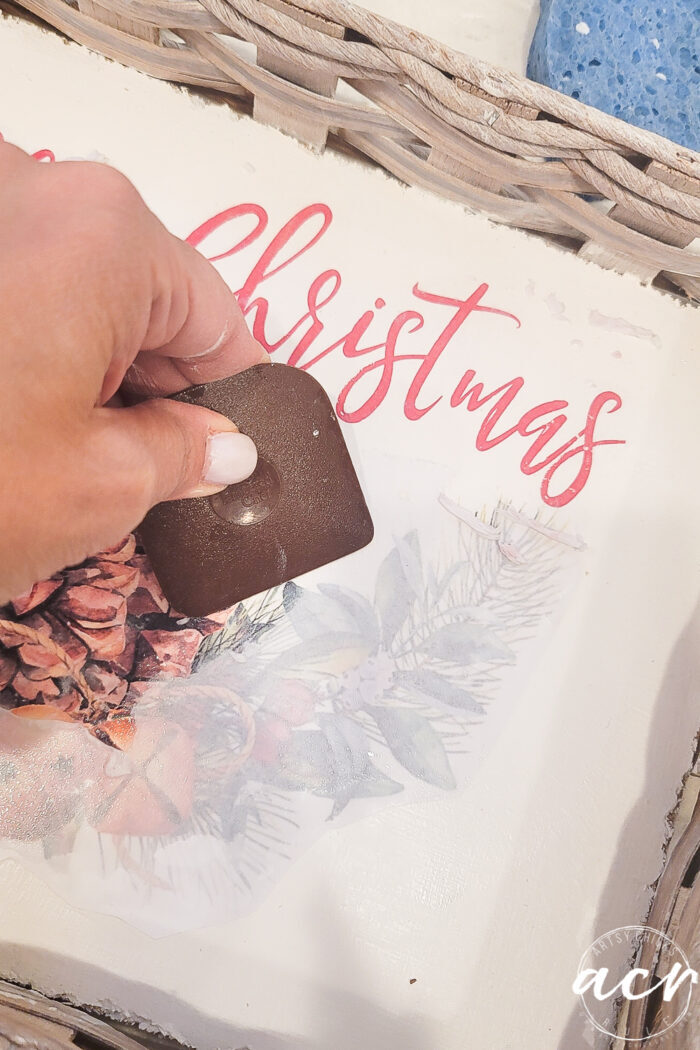
I used this scraper to help remove the paper. It worked well.
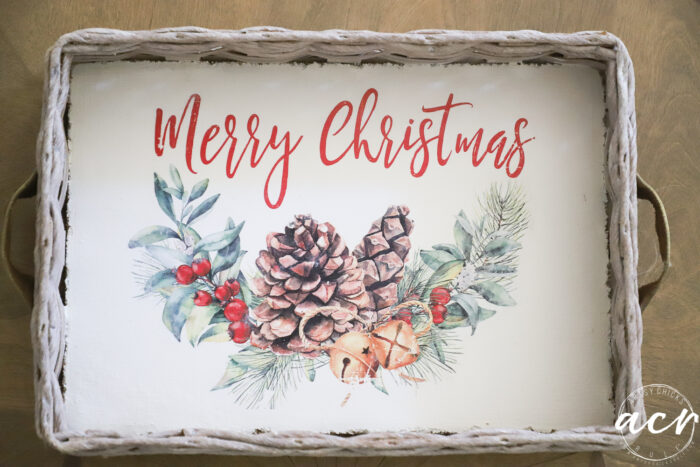
Ta-da!!
Yippee! That worked so much better.
So keep this in mind when doing this. Inkjet may work, but laser definitely works very well.
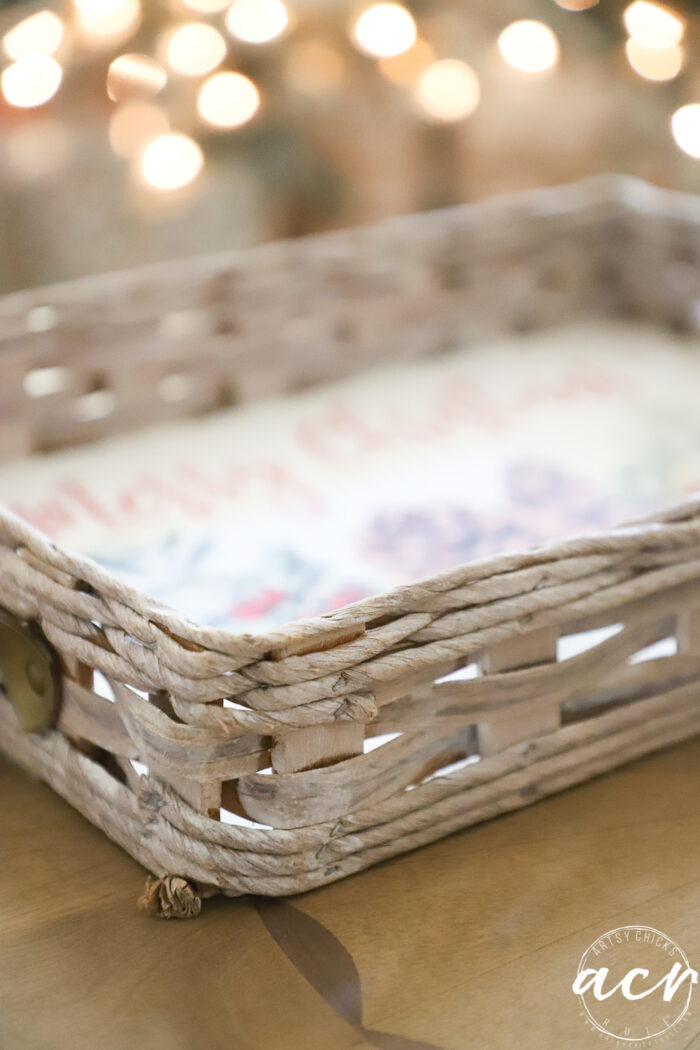
For the actual basket part, I decided to make it a soft white (winter-ish) with my White Stain & Finishing Oil.
You can find it, here.
Perfect.
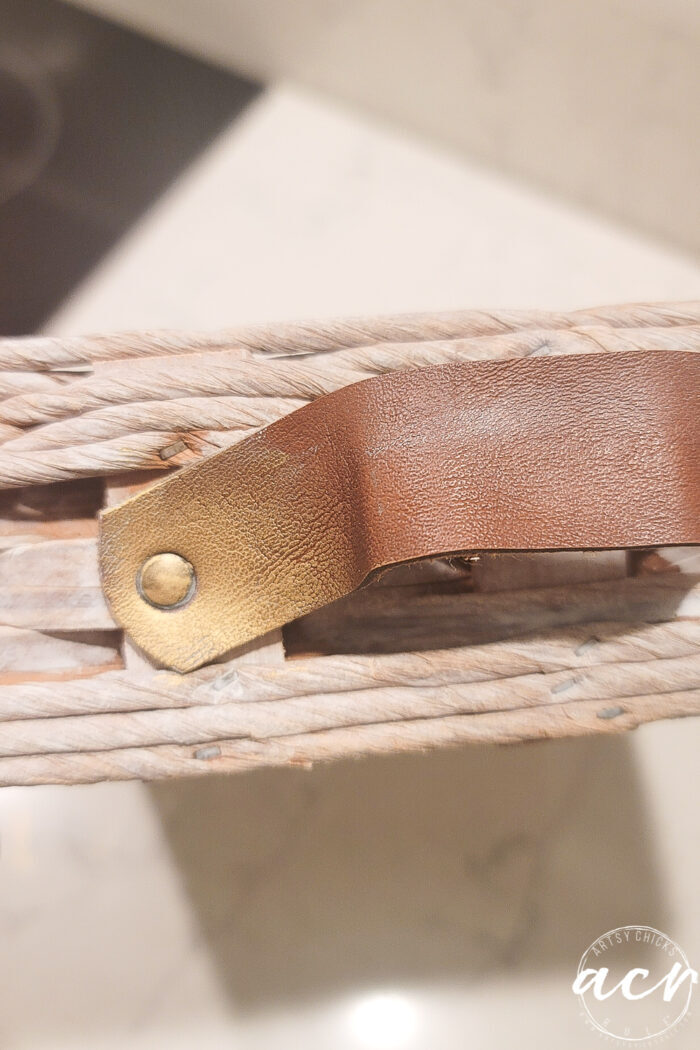
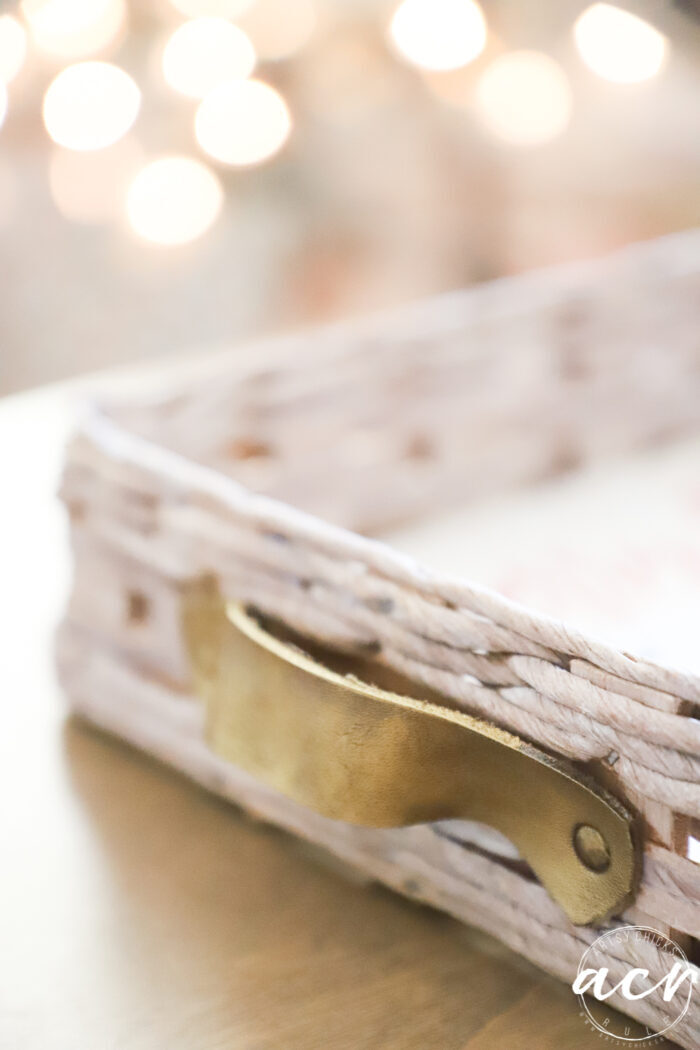
For the handles, I felt like they should be gold and festive.
So I used my fave Gilder’s Paste Wax in Gold.
You can find it, here.
And now this old, tired basket is a beautiful “Merry Christmas Printable Tray”.
Love how it turned out.
Looks like it was made for it.
Have you tried the Transfer Gel yet?
PIN it to save it!
I hope you enjoyed this simple and fun Christmas printable project.
It’s fun to create your own Christmas decor. So many ideas and possibilities!
We’ve been busy, busy over here working on the house again. (we just had a few things to finish up) I’ll be sharing more about that soon.
AND if you follow along with me over on Instagram, you might have seen that we finally got something I was wanting! :)
My husband had been wanting a bigger TV and I had been wanting The Frame TV by Samsung. So we compromised…he got the bigger TV and I got The Frame, yippee!
We love it so far. And we couldn’t pass up the great Black Friday/Cyber Monday sales on it. Here is my affiliate link if you are considering it or just want to take a look at what we got.
I’ll be sharing more about it soon since I also repainted the brick fireplace and we are building a new mantel. (something else I’ve wanted to do for a while)
Not only that, but if you already have a Frame TV, I am planning on sharing some photos I’ve taken (and use for the “artwork”) in my shop for you to be able to use too.
I hope you all have a wonderful and blessed weekend!! Get out and enjoy those fun festivities going on!
Hi Nancy – that’s a gorgeous image and I love how it looks in the tray. It works so beautifully. I might be trying this myself.
I was always being told that you can only use laser prints for this type of thing, then I found an article on The Navage Patch which explained that to use an inkjet print, it must be absolutely dry and cured, so leave it a least a day or two after printing before trying to use. I have tried it and it does work. Maybe the first time you tried an inkjet print it had been left to dry just a bit longer.
Thank you, Suzie! And oh, that is good to know. One other thing I did this time (that I forgot to add above) is I painted a layer of transfer gel onto the actual print and let it dry. Then applied it to the board and transferred like normal. I think that might’ve helped too. I’m going to update my post to mention that and what you said. Thank you! :) xo
I think so too! I am going to try this again. I will for sure update here in a post when I do. :) (I’ve updated the post now to reflect these things) Thanks again for the great tip! xo
I’m curious too so does office max always use a laser printer and about how much was the cost of it? I’m so intrigued by this process and would love to try it
Wow, Nancy, the tray turned out gorgeous! I hadn’t thought about the thumb drive and office supply store printing. I also like what Suzie shared about letting the inkjet print “cure” for a day or two. Interesting. Great television, congratulations.
Here’s to a great rest of the week and weekend!!
Oh yes, so easy! Yes, I’m going to add that to my post plus another thing I did that I forgot to add that might’ve helped. Thank you, happy weekend to you! xoxo
Wow; That is Beautiful! I’ve had so much trouble with transfers; maybe I switched methods too fast, before practicing enough with one approach.? But, now I use Slide Paper, which seems easier; idk but will give your approach another go.
Thank you for sharing; All blessings to you.
Love the transfer Nancy and the hint to take it somewhere to be Laser printed – I got rid of my color printer years ago but had been rethinking it with all your pretty FREE transfers! I’ll check out one of our small town shops to see if it’s possible. PINNED this one! Thanks, and Happy Holidays!
Soooooo….Office Max will print it backwards too?….that would solve that problem!!!!
Thank you for showing your miss-do’s too!!! Makes everything more relatable.
Have a great weekend!!!
Watching all your work it occurred to me that you could make various inserts to go into the basket tray for different occasions…..even leaving them stacked in there to store. Just a thought.LOL
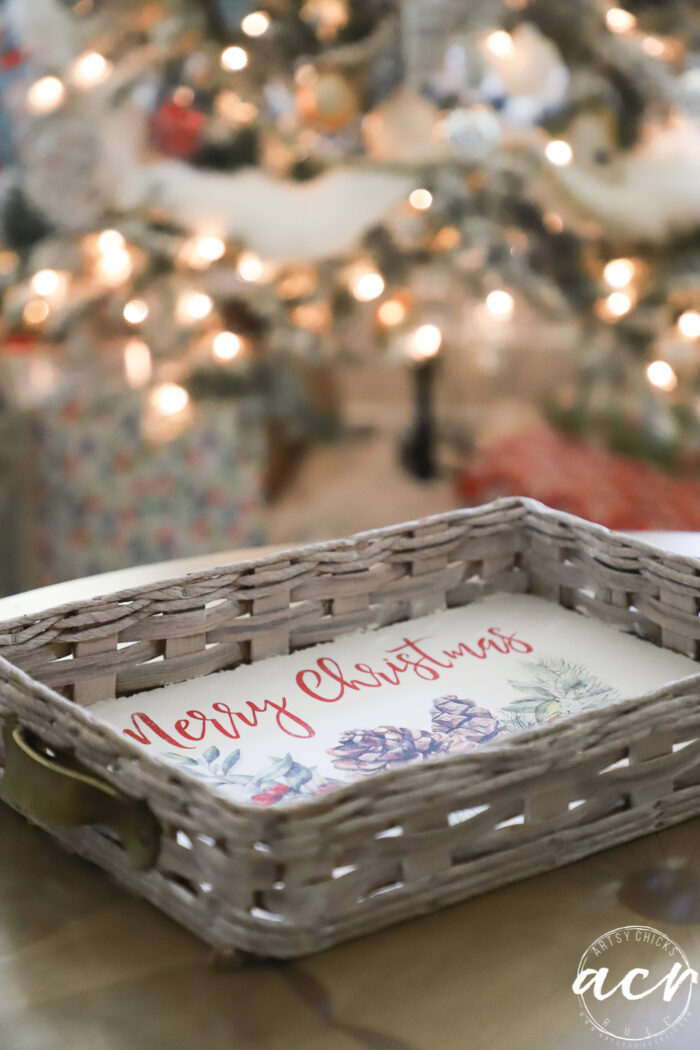
This turned out so pretty and it’s always good to learn something new, right?? Your photos look so festive with the lights of your tree in the background! I miss you, my friend! We need a play date! XOXO
Hi Nan y, this turned out so cute!! I remember the first one you did with this exact t same woven gray and I had the exact tray. Mine was a total fail and ended up taking it to good will. I think mine was just too old and out of shape.
Thank you so much for this project! It’s really great! As I look through the pictures, sometimes I think that our mistakes have real value as well. I personally like the distressed look of the picture with the basket a bit better. But, that’s just me. Love your blog… been following for years.
Yes, you are so right, Deborah!! And you know what, it’s funny you say that, because as I looked at my photos I thought, huh, that doesn’t look so bad!! lol It really did just look kind of distressed. But I had it in my mind to be clean and all that so it seemed ruined to me. It’s all in perspective, isn’t it?!
Thank you for the kind words, that makes me so happy to hear!! :) Hope you have a wonderful weekend, my friend! xoxo
Want to be inspired, learn new skills, discover all the tricks to furniture makeovers, creating new out of the old and more? You'll also receive my FREE ebook "Creating Fabulous Finishes" PLUS access to my private Printables Resource Library, too!
Sign up to get the Weekly Newsletter! Our emails include an unsubscribe link and you may opt-out at any time. Your information will *never* be shared or sold to a 3rd party.


")

")
")


")


Hi Nancy – that’s a gorgeous image and I love how it looks in the tray. It works so beautifully. I might be trying this myself.
I was always being told that you can only use laser prints for this type of thing, then I found an article on The Navage Patch which explained that to use an inkjet print, it must be absolutely dry and cured, so leave it a least a day or two after printing before trying to use. I have tried it and it does work. Maybe the first time you tried an inkjet print it had been left to dry just a bit longer.
Thank you, Suzie! And oh, that is good to know. One other thing I did this time (that I forgot to add above) is I painted a layer of transfer gel onto the actual print and let it dry. Then applied it to the board and transferred like normal. I think that might’ve helped too. I’m going to update my post to mention that and what you said. Thank you! :) xo
You are very welcome. Adding the transfer gel and letting it dry would have helped it too I think.
I think so too! I am going to try this again. I will for sure update here in a post when I do. :) (I’ve updated the post now to reflect these things) Thanks again for the great tip! xo
I’m curious too so does office max always use a laser printer and about how much was the cost of it? I’m so intrigued by this process and would love to try it
Hi Kimberly! I think they mostly only use laser. I think it was like $1.32 for 2 copies (I got an extra just in case) :)
So good to know geez that amount is certainly affordable!
Ty
Yes! :)
Wow, Nancy, the tray turned out gorgeous! I hadn’t thought about the thumb drive and office supply store printing. I also like what Suzie shared about letting the inkjet print “cure” for a day or two. Interesting. Great television, congratulations.
Here’s to a great rest of the week and weekend!!
Oh yes, so easy! Yes, I’m going to add that to my post plus another thing I did that I forgot to add that might’ve helped. Thank you, happy weekend to you! xoxo
Wow; That is Beautiful! I’ve had so much trouble with transfers; maybe I switched methods too fast, before practicing enough with one approach.? But, now I use Slide Paper, which seems easier; idk but will give your approach another go.
Thank you for sharing; All blessings to you.
Thank you, Willie! Oh yes, I’ve used the waterslide papers. I like this better! Maybe you can give it a go and see what you think? :)
Love the transfer Nancy and the hint to take it somewhere to be Laser printed – I got rid of my color printer years ago but had been rethinking it with all your pretty FREE transfers! I’ll check out one of our small town shops to see if it’s possible. PINNED this one! Thanks, and Happy Holidays!
Yes, no need as it’s really easy to get them printed there (and cheap). :) Happy weekend to you, Gwen! xo
I love these printable which are new and inspiring to me…. But the one step I am lost on is what kind of paper do you print on?
Just regular printer paper! :)
Super! Thx ☺️
Soooooo….Office Max will print it backwards too?….that would solve that problem!!!!
Thank you for showing your miss-do’s too!!! Makes everything more relatable.
Have a great weekend!!!
Where did you find the handy scrapper? Thanks
Oh, it’s for dishes!! Haha It came with Pampered Chef I bought years ago. I think you might be able to find them on Amazon. :)
Watching all your work it occurred to me that you could make various inserts to go into the basket tray for different occasions…..even leaving them stacked in there to store. Just a thought.LOL
Oh my gosh, yes! That is a wonderful idea, Cyndy! Love it! :) xo
This turned out so pretty and it’s always good to learn something new, right?? Your photos look so festive with the lights of your tree in the background! I miss you, my friend! We need a play date! XOXO
Thank you, Christy! And yes, absolutely, I do that all the time! ;) I miss you too! We have a lot of catching up to do soon!! xoxo
I love this! Great job, Nancy!
Thank you, Nancy! xo
So pretty. I should try printing a transfer. So much cheaper than buying them! I love this image used in this tray.
Thank you, Debra! Yes!! You really should! :) Hope you have a wonderful weekend, friend! xoxo
Hi Nan y, this turned out so cute!! I remember the first one you did with this exact t same woven gray and I had the exact tray. Mine was a total fail and ended up taking it to good will. I think mine was just too old and out of shape.
Thank you, Cheryl! OH yes!! Aw, that’s okay, I have a few of those too. It happens!! Have a wonderful weekend, friend! xo
Thank you so much for this project! It’s really great! As I look through the pictures, sometimes I think that our mistakes have real value as well. I personally like the distressed look of the picture with the basket a bit better. But, that’s just me. Love your blog… been following for years.
Yes, you are so right, Deborah!! And you know what, it’s funny you say that, because as I looked at my photos I thought, huh, that doesn’t look so bad!! lol It really did just look kind of distressed. But I had it in my mind to be clean and all that so it seemed ruined to me. It’s all in perspective, isn’t it?!
Thank you for the kind words, that makes me so happy to hear!! :) Hope you have a wonderful weekend, my friend! xoxo
This is ADORABLE.
Thank you!!