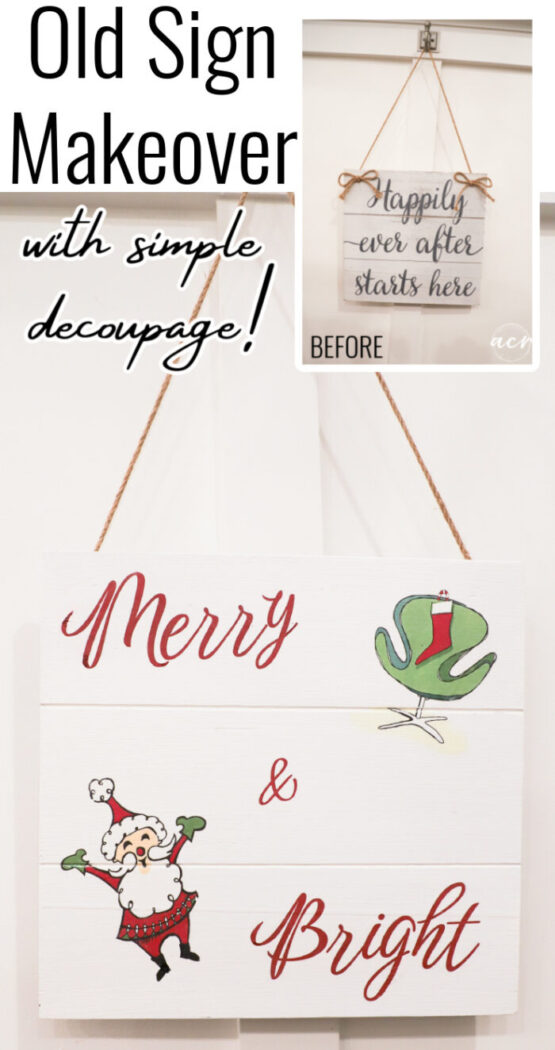
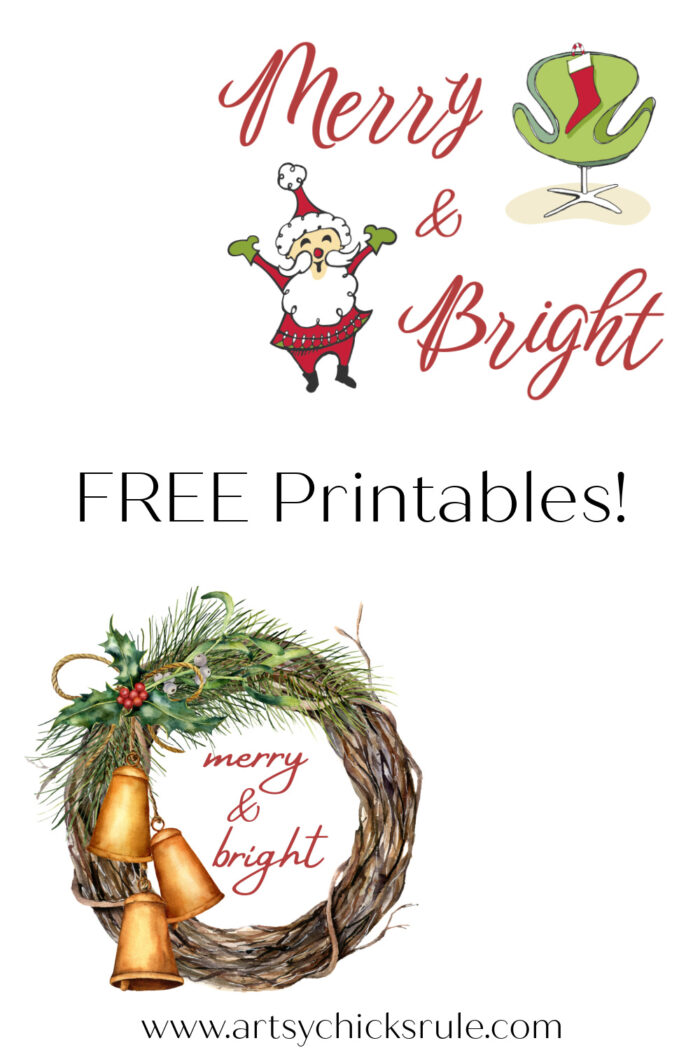
Merry & Bright FREE printables plus a sign easily made with them using a printer and transfer gel!
Hello sweet friends!
I’ve got a quick and easy holiday makeover for ya today! PLUS, 2 brand new free printables added to the library for you to use too.
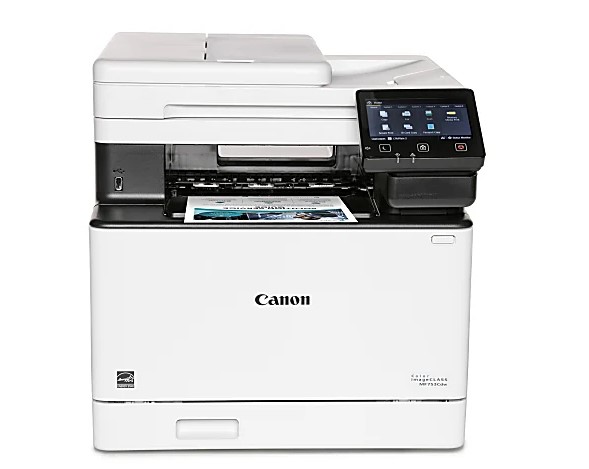
I also wanted to tell you about the new printer I got. I kept having trouble with my other one with the ink and it was just time for a new one.
I ended up getting a color laser jet this time because I think I can do more with it creatively. So far I love it!
Here is the one I got if you are interested.
It’s on sale right now. (it was on sale when I got it but it’s actually $50 less than what I paid)
You can find it here. There is also a lower-priced version that is also color, here.
I’m mentioning it because I used it in today’s project.
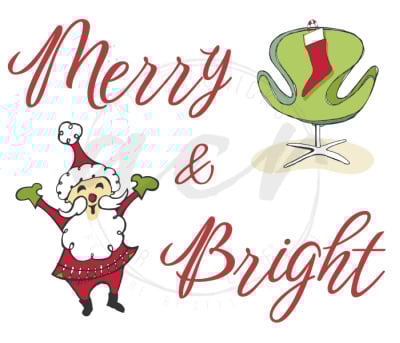
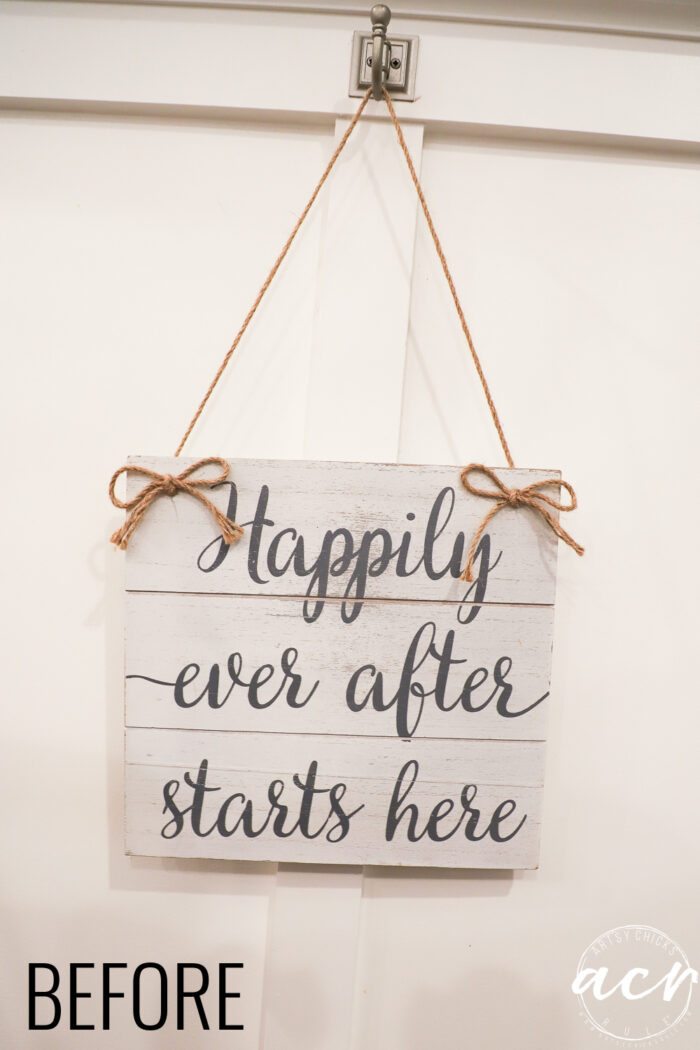
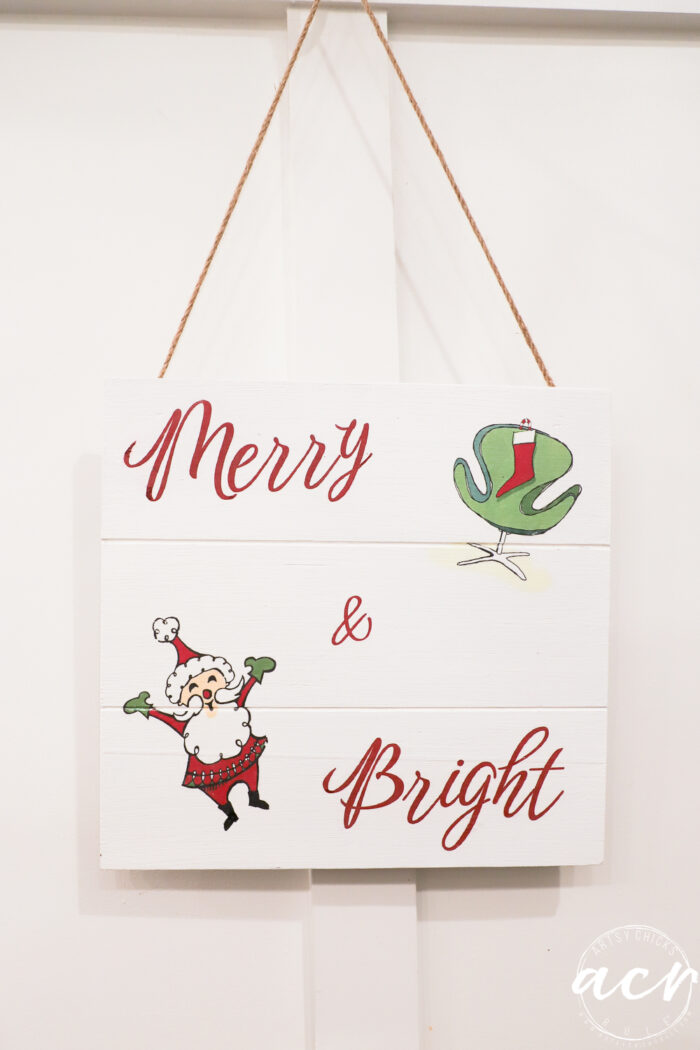
I created two brand-new printables for you and used one of them on this thrifted sign I found recently.
I love buying old signs at the thrift store and recreating them. It’s so easy since they are basically ready to go with hangers, etc.
>>>All of my graphics are free to my subscribers. Not a subscriber yet? No worries, you can become one right here. >>> Welcome!
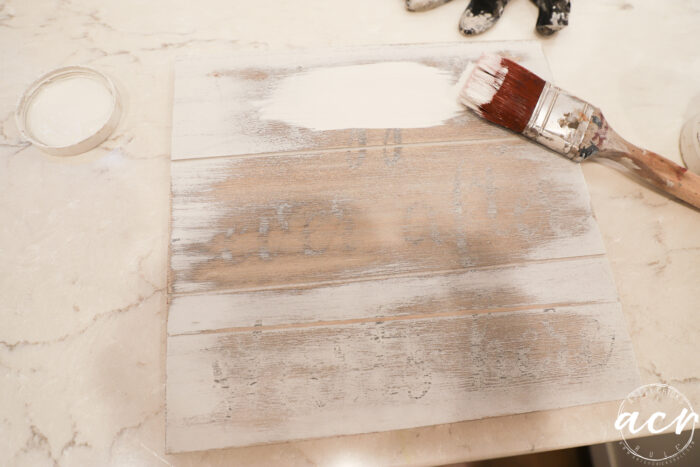
I pulled off the bows and sanded to remove some of the lettering.
I try to remove most of it because it sometimes will show through.
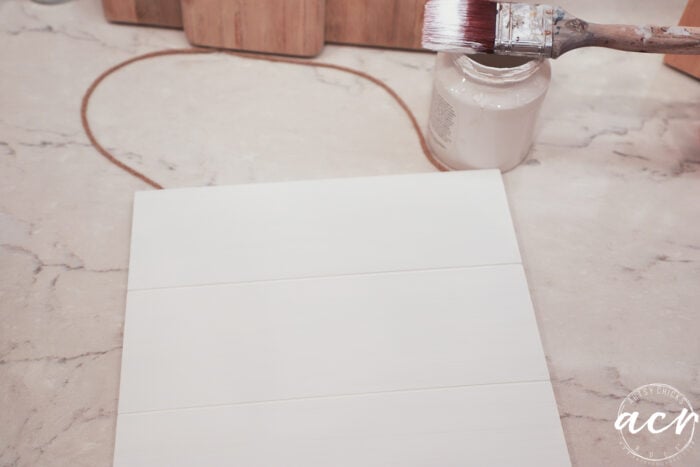
I used Picket Fence because it is nice and white.
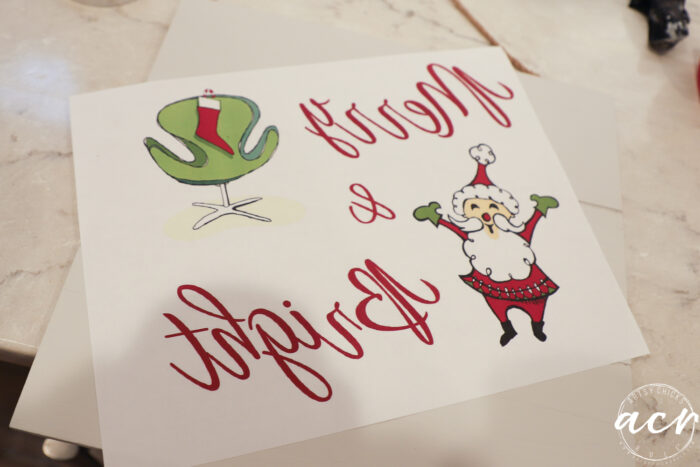
Then I printed one of the free printables in reverse to use on the board.
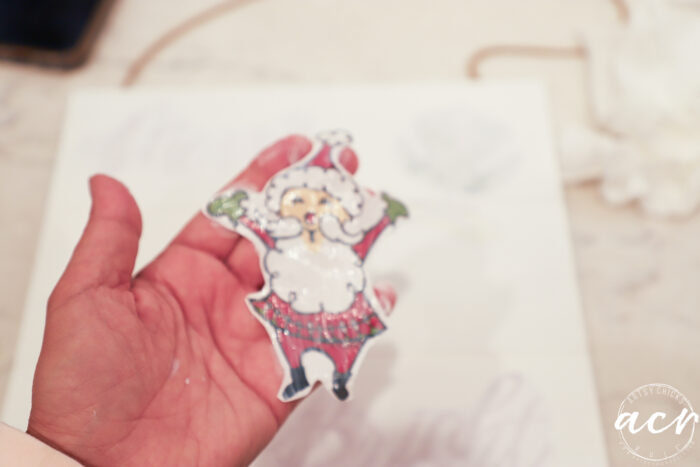
I ended up cutting the pieces out separately. You don’t have to do that, just cut around the whole thing.
I wanted to space it out a little more so cut them up.
Instead of applying the Transfer Gel to the whole board, I applied it to the printed side of each piece.
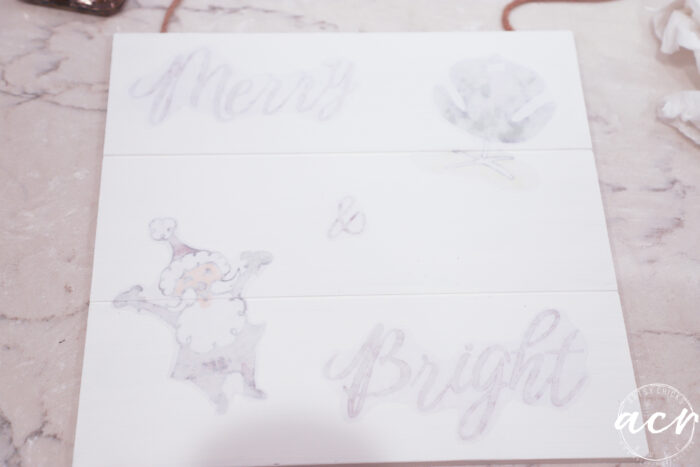
Then applied them to the painted board. (be sure your paint is dry)
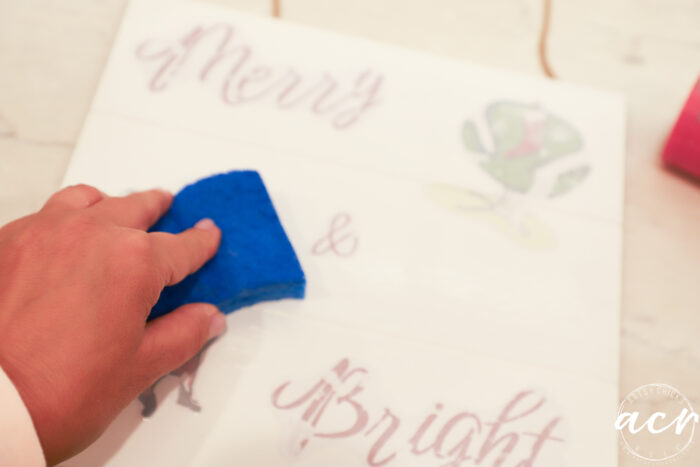
Once they are fully dry, apply some water with a sponge over the decoupaged printed pieces.
I was in a hurry to get this project done so I could get this post to you so I used the blow dryer. Not the best idea but it will work in a pinch.
It’s better to let it dry for a few hours or overnight.
You simply rub your finger over the wet paper and rub it away. The printed part stays behind.
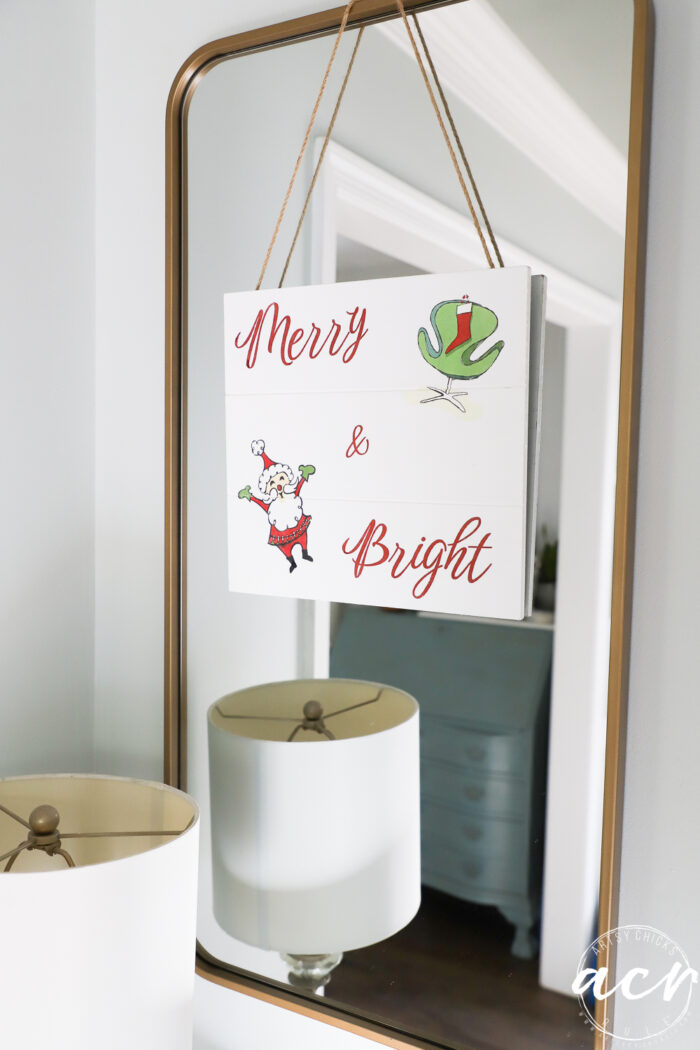
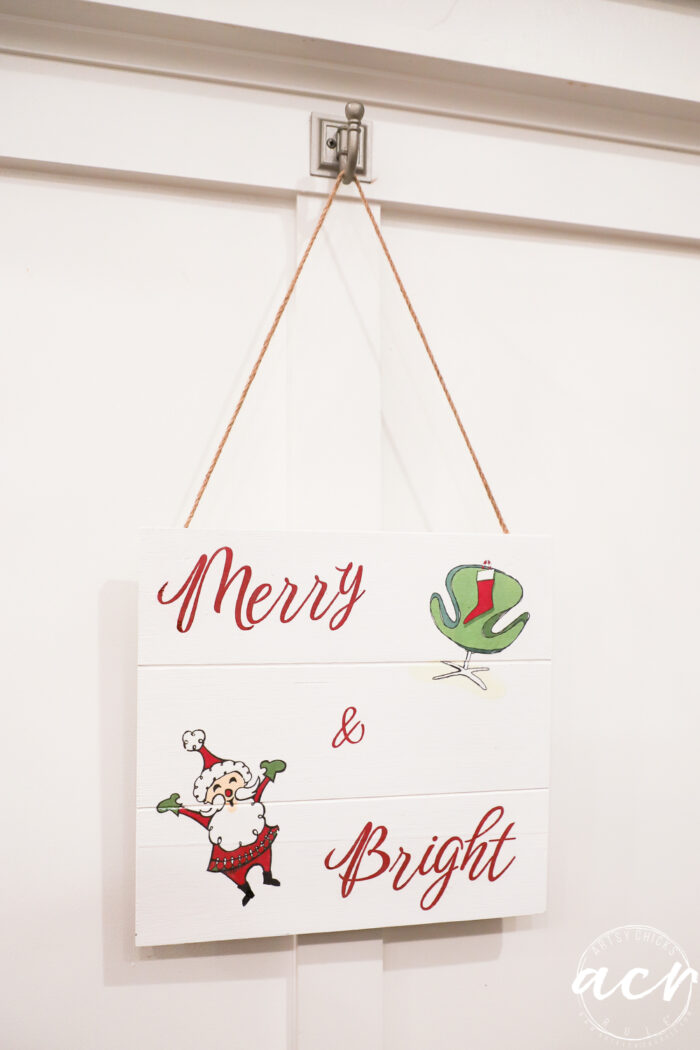
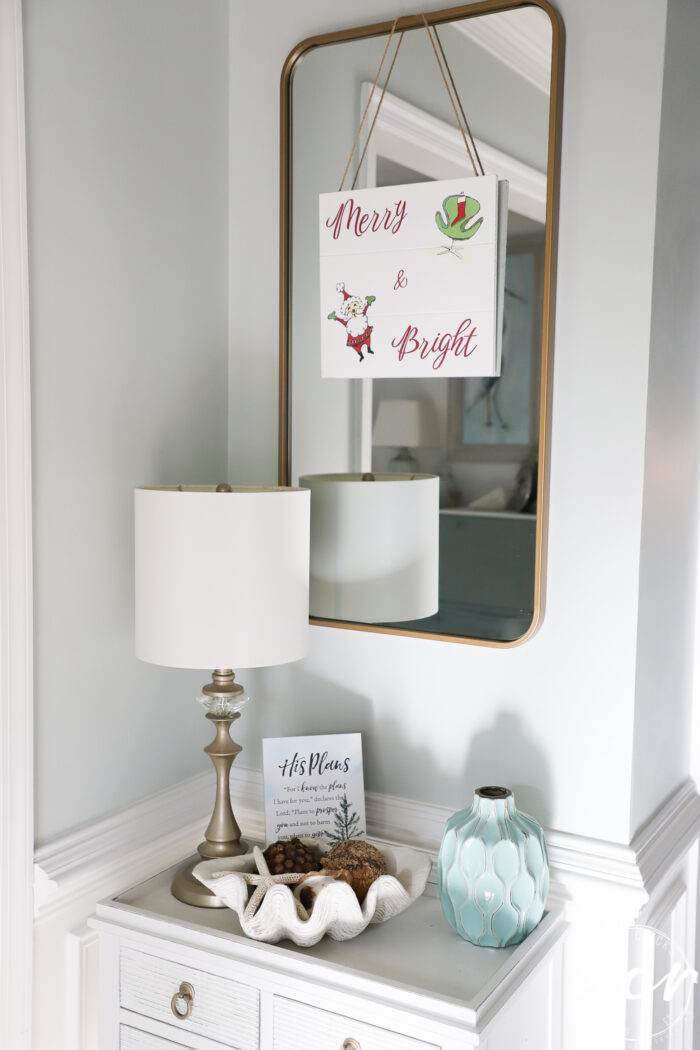
I put a coat of Tough Coat Top Coat in Matte finish over top.
Isn’t that so easy?? I love a quick (and cheap!) craft like this.
I love the cute, whimsical design of this one!
Think you’ll make one too? It’s easy when you do it this way. And you can totally do this with an inkjet printer too however, it seems to be hit or miss. I think the laser printer works best overall.
Here are a few other projects I’ve done with this method:
Want to be inspired, learn new skills, discover all the tricks to furniture makeovers, creating new out of the old and more? You'll also receive my FREE ebook "Creating Fabulous Finishes" PLUS access to my private Printables Resource Library, too!
Sign up to get the Weekly Newsletter! Our emails include an unsubscribe link and you may opt-out at any time. Your information will *never* be shared or sold to a 3rd party.


")

")


")


