How To Decoupage Using The Iron On Method
How to decoupage using Iron On Method! Simple way to eliminate wrinkles!
Hello and happy Thursday friends!
I’m sharing a fun, new (well it’s not new but I had never used it before) technique that I came across a while back. I had been wanting to try it so I did! And I’m sharing all the details with you all today.
Iron on method for decoupage? What? Yep, you iron it on to attach it to reduce wrinkles which really works! Do you know how Mod Podge or our Decoupage Gel is wet when you apply it? Then you place the thin tissue paper or napkin over top. Well, it shrinks and starts to wrinkle up. Plus, it’s so easy to tear too.
Not only that, once you put that sucker down, it’s not coming back up or moving without ripping.
So what you get with this method is more freedom with placement, less chance of tearing, and much fewer (if any!) wrinkles. Win-win!
Let me show you how below!
How To Decoupage Using The Iron On Method
I recently picked up the most adorable napkins (this is one set, I’ll be doing another fun project with the other one soon) a couple of weeks ago.
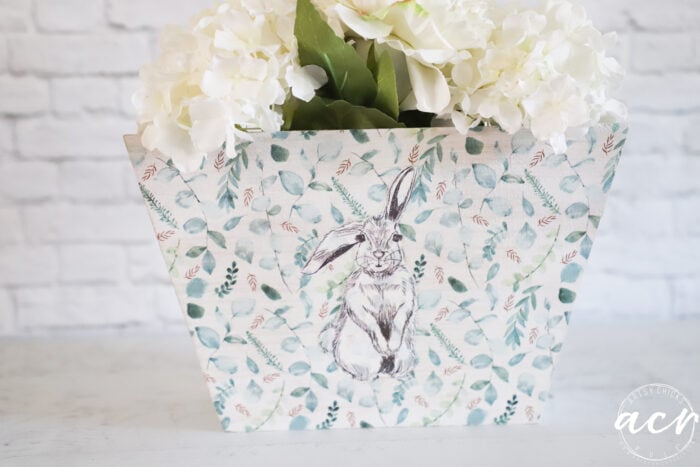
I knew I needed to put this sweet bunny on something!
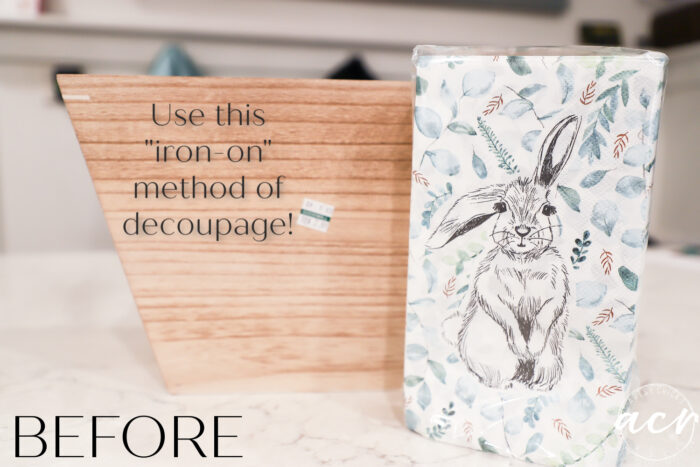
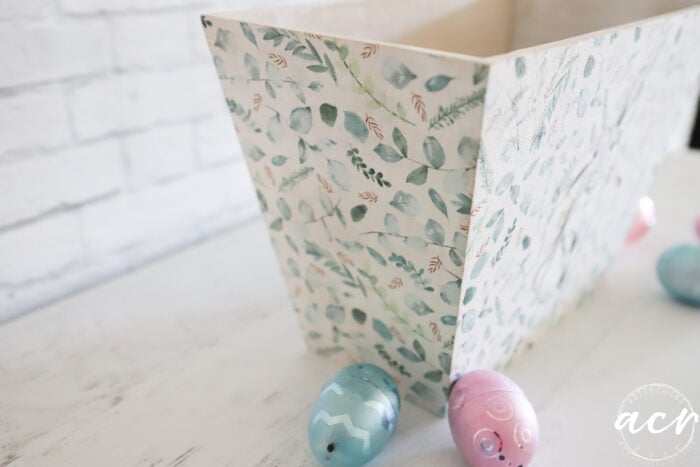
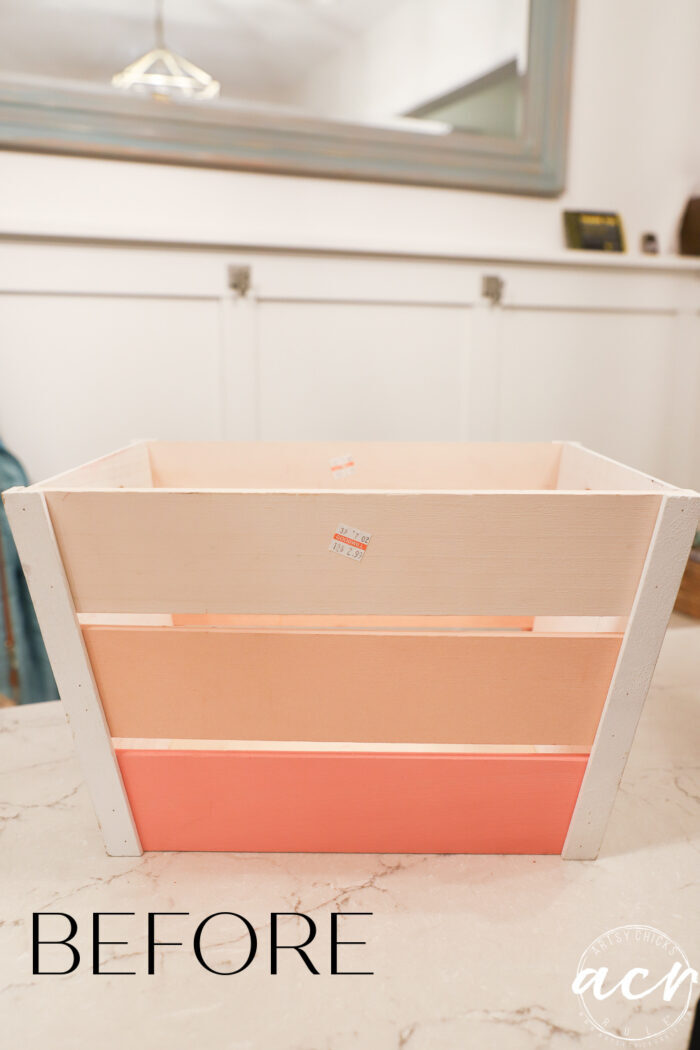
Now, let me preface this by saying, your finished project is only going to be as smooth as the surface you’re applying it to. My surface is a wood box and it’s not fully smooth. You can see and feel the wood grain so I imagine this would show through a bit. And it did.
But no wrinkles!
Before I began, I gave it one coat of white spray paint as a base. I let that dry overnight.
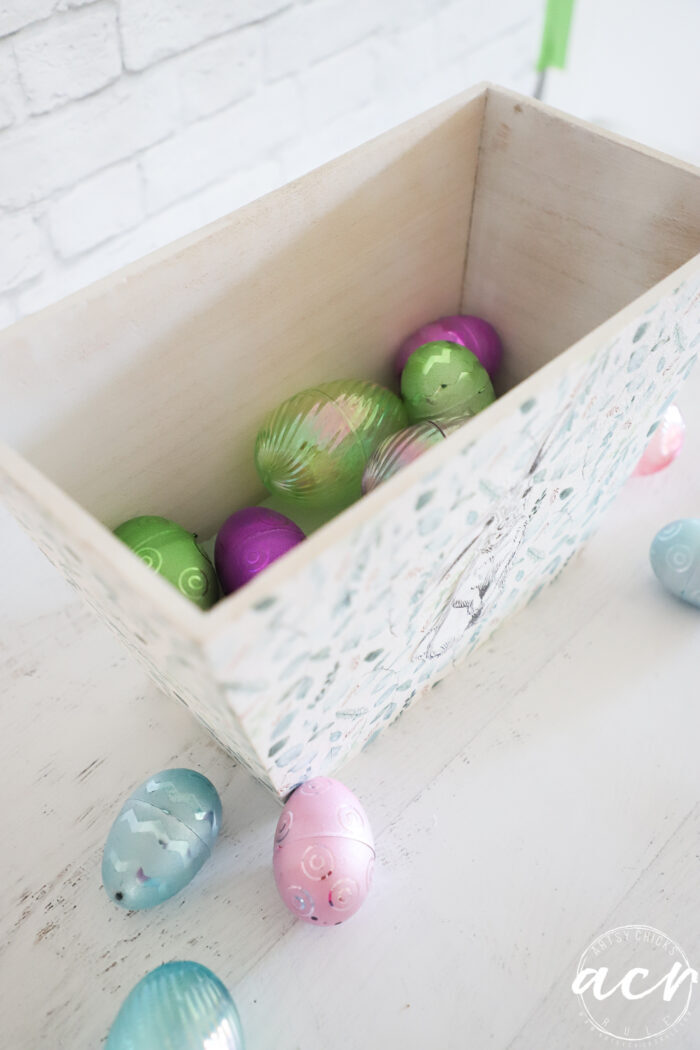
I actually planned to apply a second coat but I thought it’d be fine as-is. I even like how the inside was going to simply look like it’s been white-washed and left it at that.
MATERIALS SOURCE LIST
- Napkins of your choice
- Wood Box
- Decoupage Gel
- Iron
- Parchment Paper
- Mini Rotary Cutter
Apply Decoupage Gel
I began by applying a coat of Decoupage Gel (you can probably use Mod Podge the same).

Dry It
I then used my “craft” dryer (old hair dryer) to dry it.
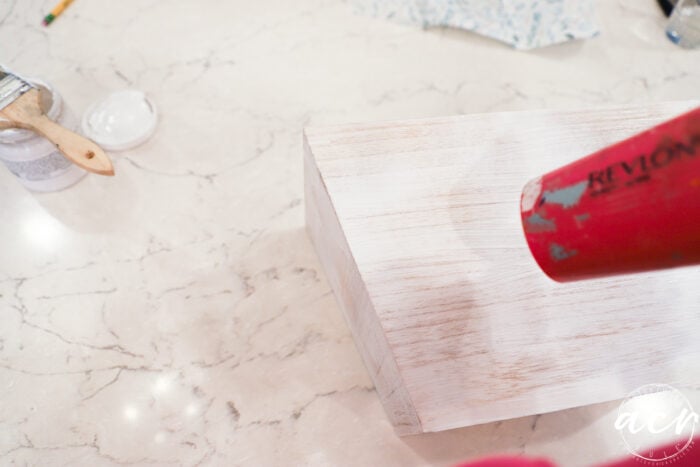
I then applied a second coat and dried it again. (I didn’t do that on the rest of the sides and realized I didn’t need to do two coats)
Separate Napkins
Next, I pulled all the layers away from my napkin.
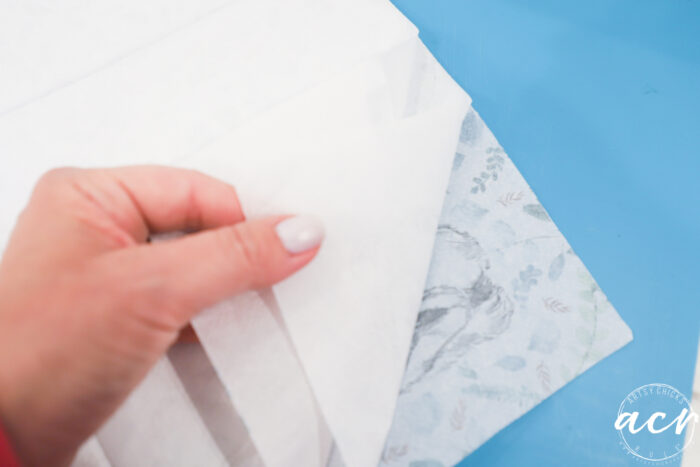
And that leaves you with the piece that you will be decoupaging.
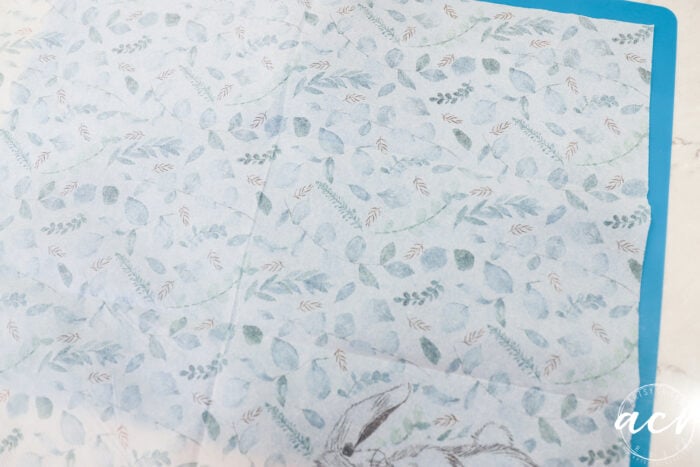
I also cut out the bunny using this cool little cutter tool I found recently.
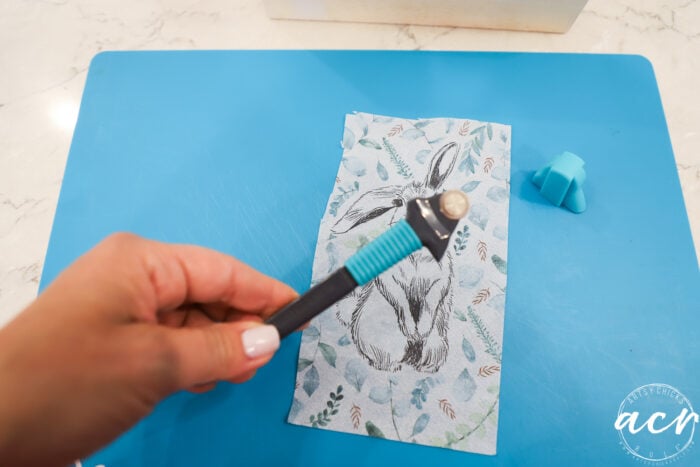
It’s perfect for cutting out things on tissue paper/napkins like this!
Ta-da! Quick too.

I just used a cutting mat to cut it on.
Attach Tissue/Napkin To Dry Decoupage Gel
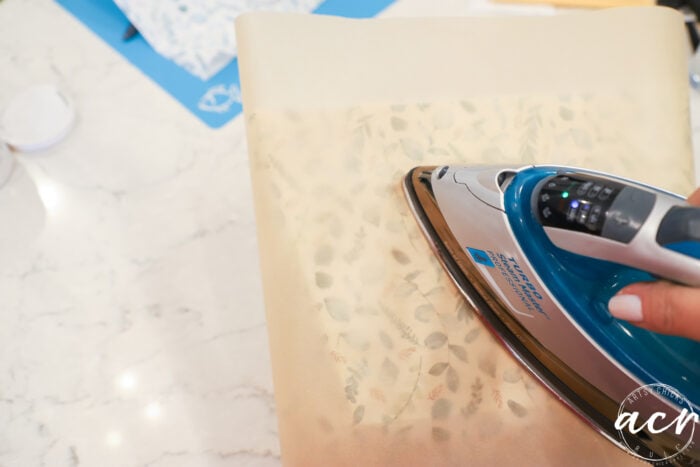
For this step, you will grab a piece of parchment paper (not wax paper) and lay that over top of your decoupage.
You don’t have to worry about cutting the napkin to fit exactly because we will take care of that later.
Run the iron over your parchment and napkin several times until it is stuck well.
The heat “reactivates” the glue and seams them together. It’s like magic!
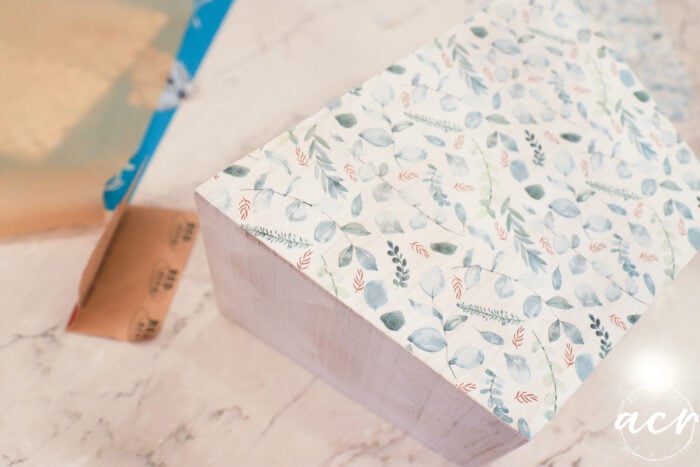
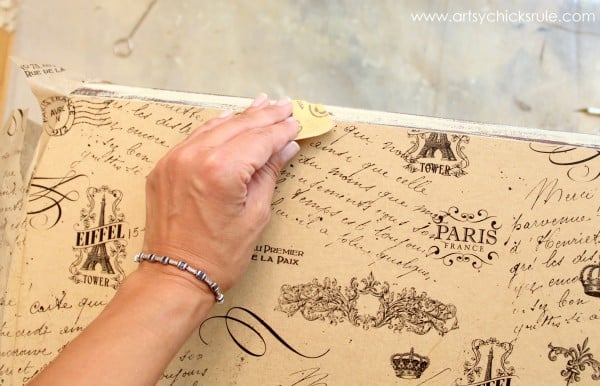
Once it is cooled, use a piece of sandpaper to take off the excess edges.
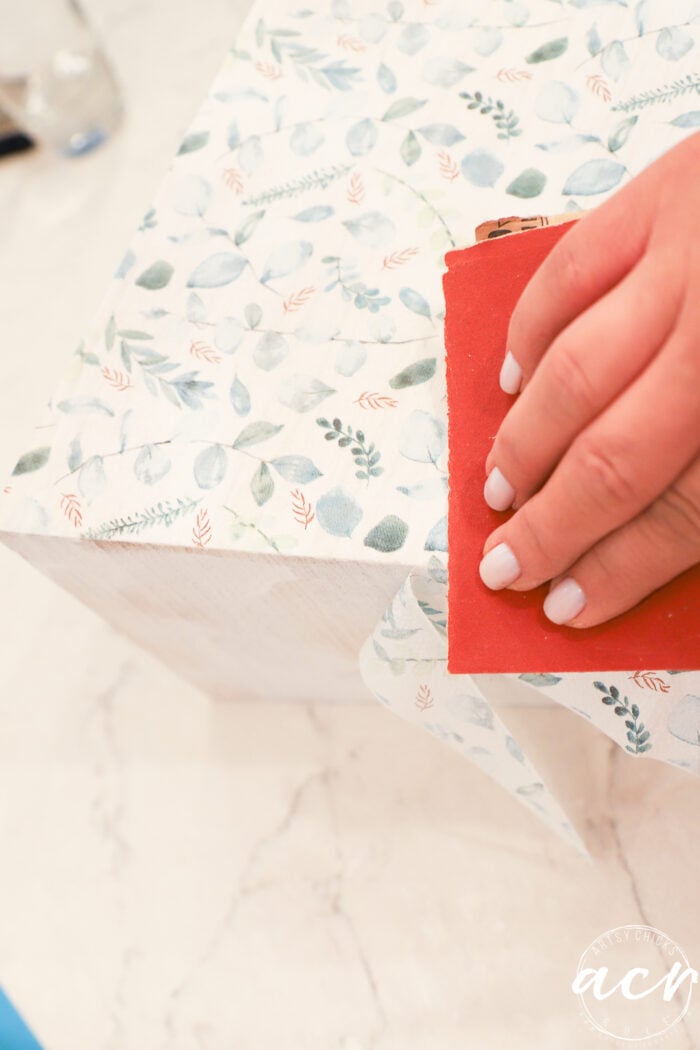
Nice clean lines this way! SO easy too.
Very similar to how I trimmed the edges on this tissue project many years ago…
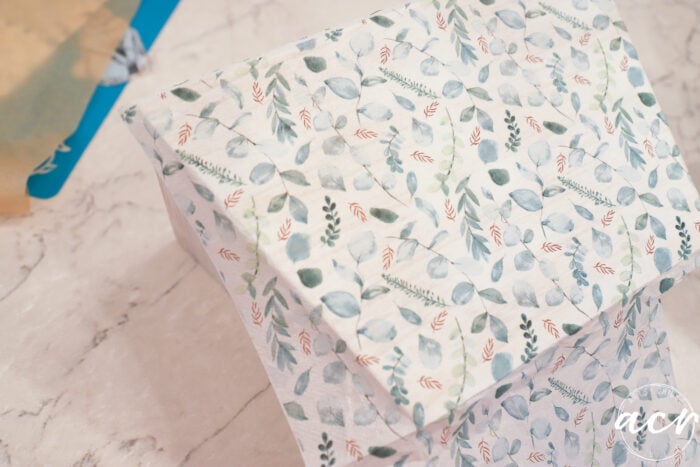
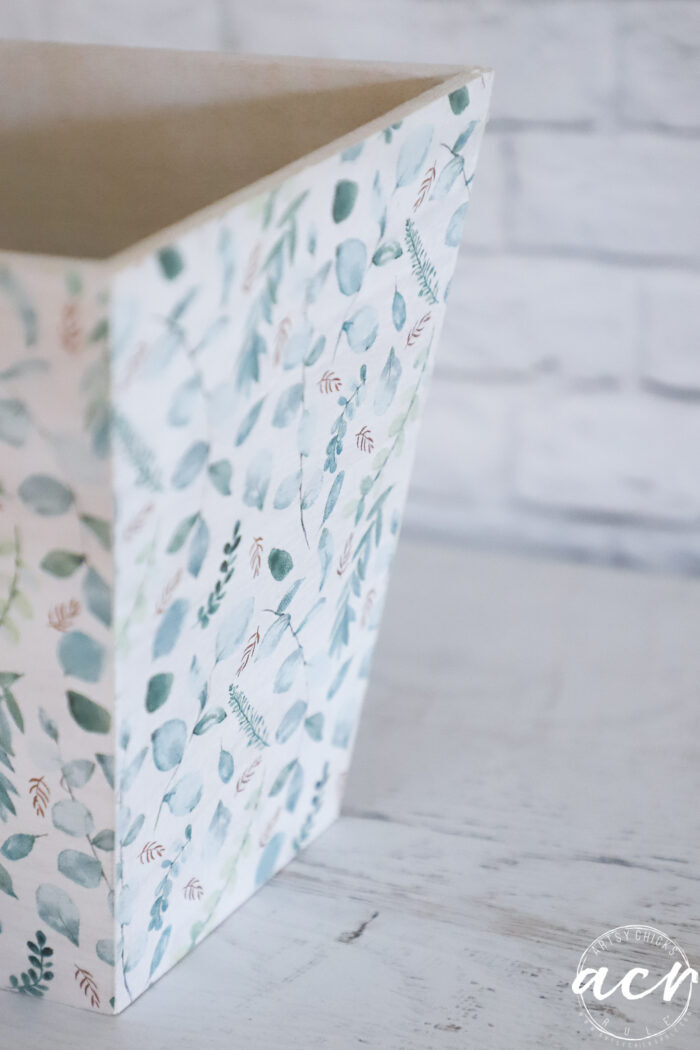
I worked my around until the whole wood box was covered.
Then I went to attach the bunny and decided I didn’t like how thin he was. And that the underneath pattern would show through more than I’d like.
So I recut the bunny leaving one of the white layers on. Now, in order to do this, I’d need to make sure the gel would soak through to both layers.
I lightly traced in areas around the bunny so I’d know where to apply the gel. (the bunny was too thin to try to apply to it)
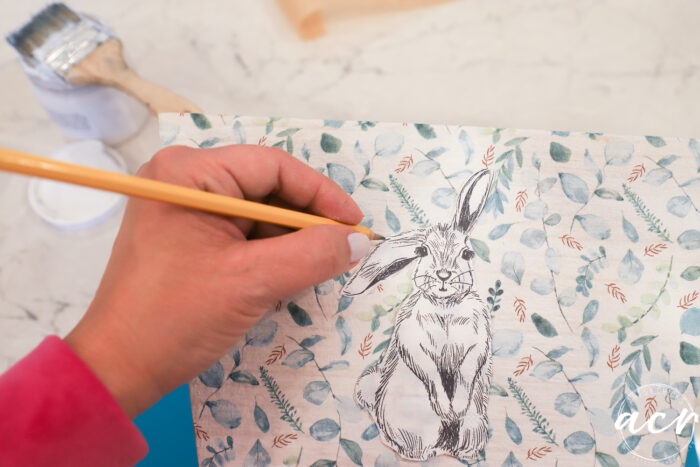
I dried it the same way and ironed on the bunny. This worked great because I could move the bunny around and get him perfect without the worry of ripping.
Didn’t work out great for that second layer! ha!!
So I had to lightly go over the top of the bunny with more gel to soak into the other layers.
I dried it a bit then put the parchment paper over top and ironed it to “set” it.
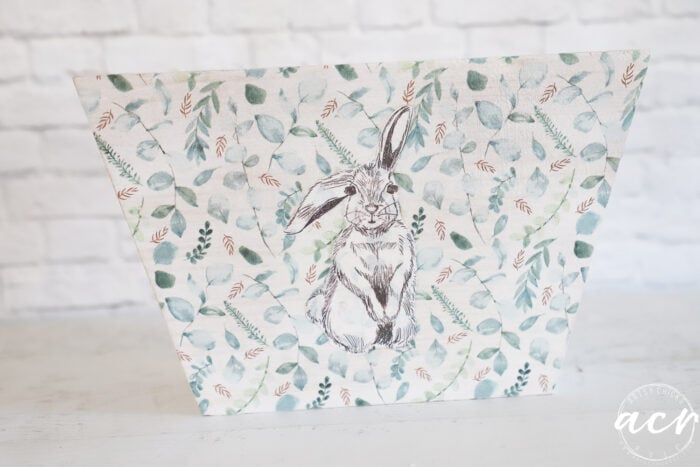
Cute little floppy-eared bunny!
*You can add sealer at this point if you like. I may still.
I suggest something that you can spray and very lightly go over it so as to not cause “wetness” which will invite wrinkles. A light misting over it should suffice and most likely will not cause issues.
And a sweet little box for just about anything.
I really like this method!
Have you ever done decoupage with the iron-on method before??
PIN it to save it!
Next time, a fun way to use printables!
UPDATE!! See it now here!
I hope you have a wonderful weekend! Hoping for some warmer weather around here. Winter made a reappearance and I do not like it at all!
xo


")


Very interesting! Do you think this would work if using scrapbooking paper, something thicker than napkins?
Hey Kathleen!! I absolutely do not see why not. I think I’ll have to test it out but I’m pretty sure if you get the paper hot enough with the iron, it should work the same exact way. :)
Thanks! I may need to experiment. I repurpose cigar boxes into dresser boxes.
Oh yes, this would be perfect for those!
I have done a lot of napkin decoupage on wooden boxes using matte Modge Podge. Will have to try this iron technique! Always appreciate your honest tips and bloopers. Wondered if you had tried Modge podge ultra Spray. I was hoping for an easy spray finish and I HATE it. Couldn’t get it to spray evenly. Followed all directions. Didn’t even brush on evenly. Maybe sat on store shelf too long….any tips?
Yes, do! It was so cool to see it work so well. I love the “no wrinkles” too. And yes, absolutely, I love to tell you all where I mess up or when things go wrong so hopefully you can avoid the same!
I have never tried that spray, no. I haven’t even heard of it actually. Glad to know about it so I can skip it! I think a thin coat of any sealer (spray type or brush) will do the trick. (with whatever finish you are after, glossy, satin, etc)
What was your new tool to cut the napkin with?..
Hi Joan! All of the supplies/tools etc, that I use will always be linked in the gray box in my posts named “Materials List”. It is there, you might’ve missed it. Here ya go >> Mini Rotary Cutter :)
GORGEOUS ❣️
Thank you ‼️
Thank you, Kathy!! :) xoxo
The little bunny is so sweet! I never heard about ironing on decoupage and I’ll be glad to give it a try. What is the new tool you got for cutting the napkin? Thanks for your inspiration!
Thanks, Caye! All of the supplies/tools etc, that I use will always be linked in the gray box in my posts named “Materials List”. It is there, you might’ve missed it. :) Here ya go >> Mini Rotary Cutter It is a neat little tool for sure. Hope you give this iron-on method a try! xo
I love a good mod podge project, and never heard of ironing it on. Would be awesome for a large surface like a table top! Thanks for sharing!
Yes, that would be great!! I have drawers I’m getting ready to do, I think I will even try it in there to get a smooth finish. We’ll see how it goes! :)
How hot do you set the iron?
I had mine on the next to the highest setting. I think it needs to be fairly hot.
WOW! How clever! And your wee bunny box is just adorable, Nancy!!
Thanks so much, Michele! :) xo
Thanks for the tutorial! I’ve heard of this method, but was scared to try it…Your guidance is very helpful :) I will now try this method out!
Don’t be scared!! Just don’t have your iron up too high! Did you see today’s post? ;) I am going to get a small craft iron for future projects. xo
Yes! No failures, just happy little learning moments, right? :) I’m going to check the small irons out too….
Oh my gosh, I love that!!! Perfect way to put it because all the “oops” sure does help me learn! ;) xo