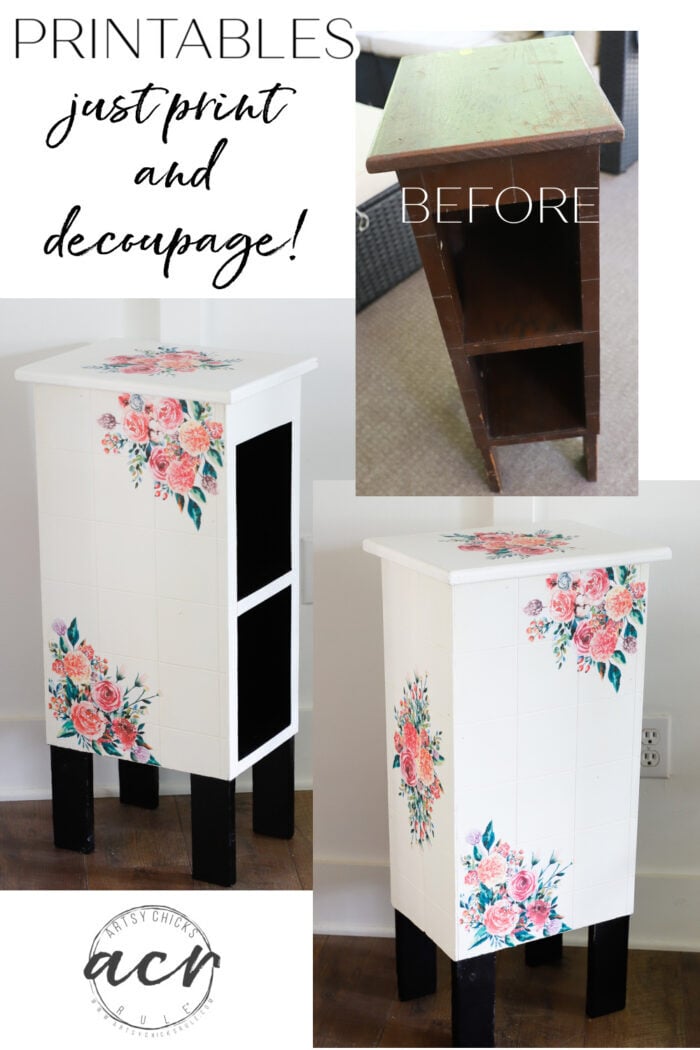
Floral Mini Cabinet
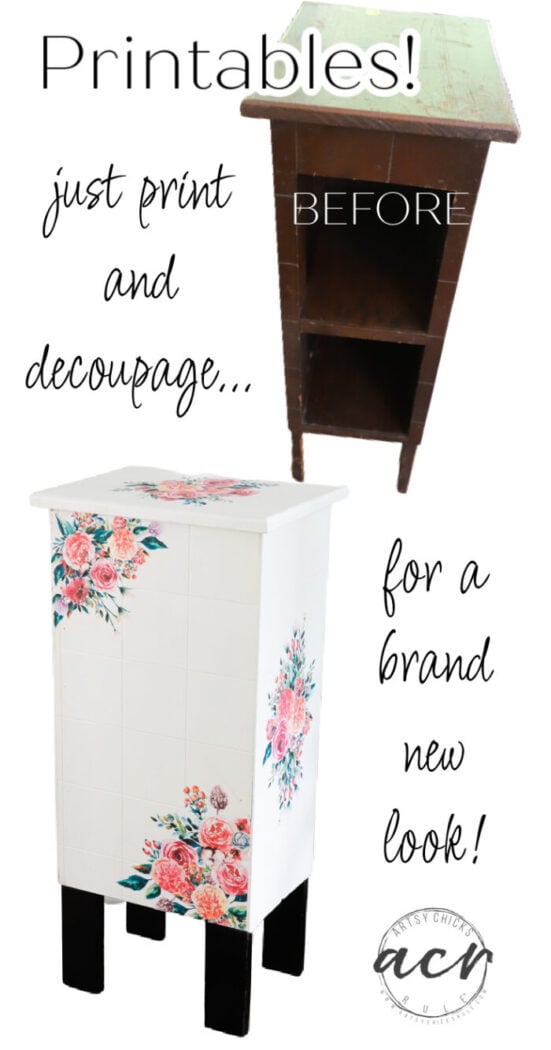
This floral mini cabinet got a brand new look with printables to decoupage!
Hello friends!
First I want to thank you all for the sweet messages about the loss of my Dad. I appreciate you reaching out more than you know and I will be answering each and every one of you. xoxo
I thought it was time to get back on this haul of mine. Let’s get this one finished up!
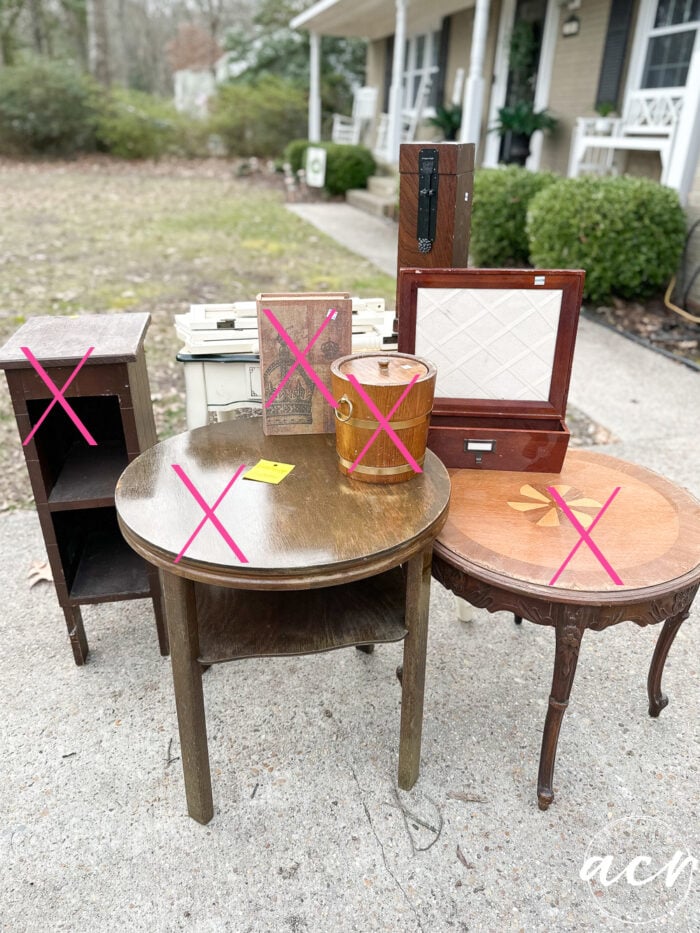
Only 3 more on this one AND 2 of them are done! I worked on them all weekend. So all that’s left is the small dressing table back there. I broke one of the pieces of glass in the top portion but I am thinking I want to do something different with those sections so we’ll see!
Floral Mini Cabinet
Today I’m sharing this…
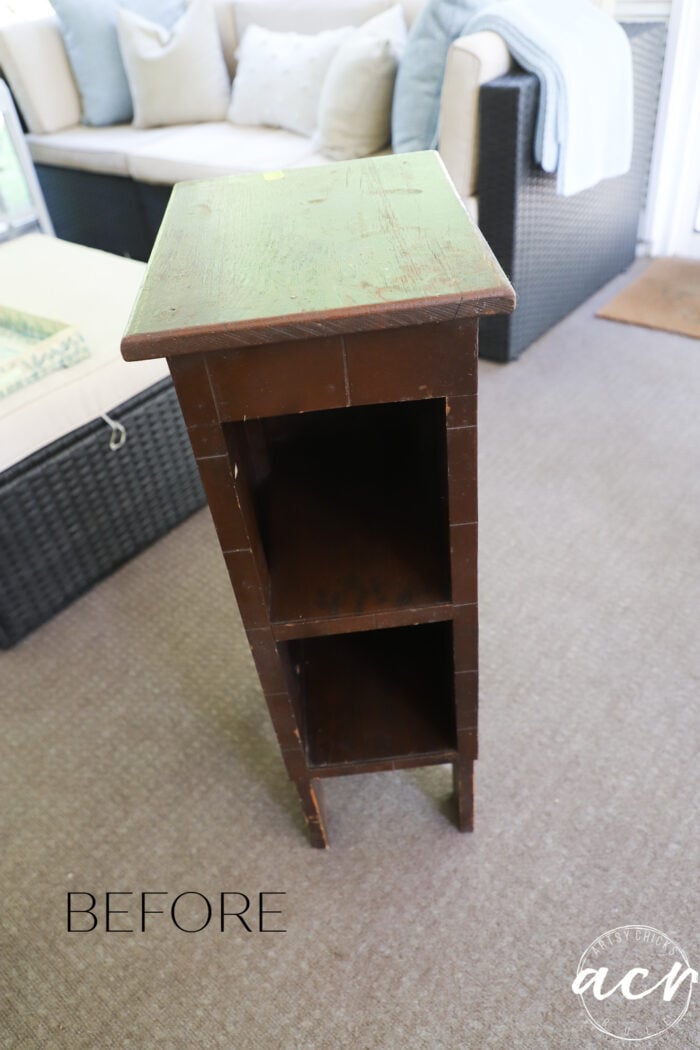
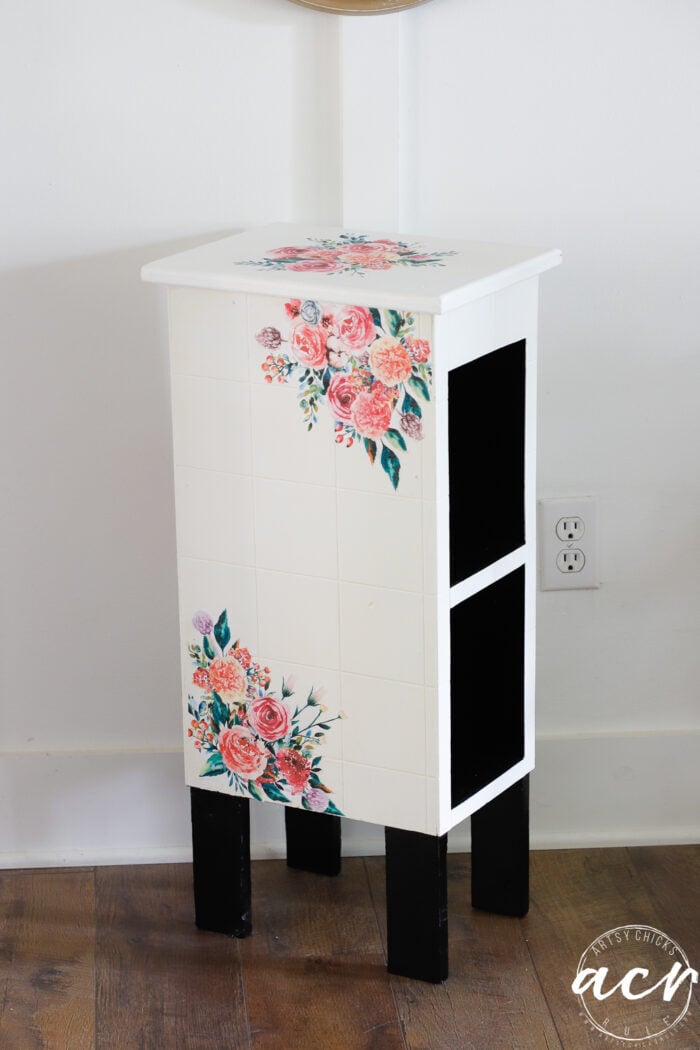
I’m not sure what it is even meant for but “mini cabinet” is what I came up with. I guess it’s really more of a shelf though but feels deep like a cabinet so who knows?! Floral mini cabinet it is.
It’d be great as a side table or as a tiny nightstand in a little girl’s room.
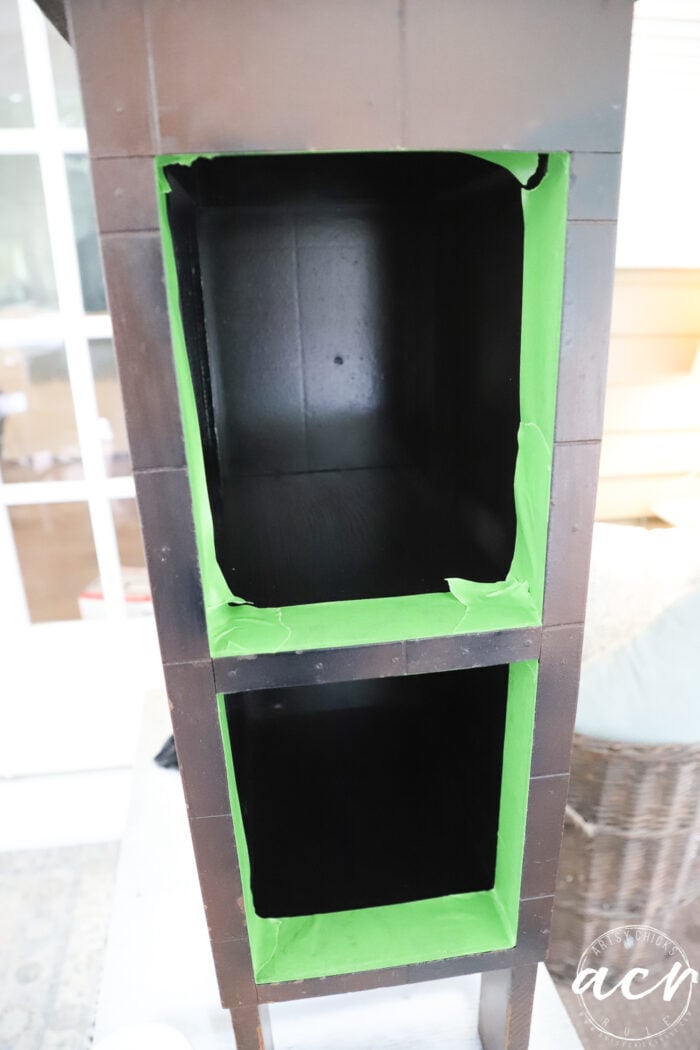
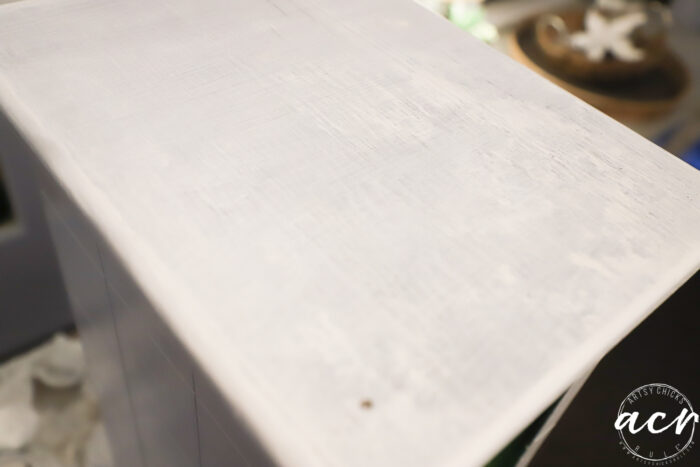
I began by cleaning it up well and then spraying the inside black.
After I sprayed it black, and it dried, I painted the outside white. Picket Fence White (see below)
MATERIALS LIST
Picket Fence is not my favorite but it is the whitest white I carry in the shop. However, it needs multiple coats.
So I used our Transition in between coats to help that out! Transition is a gray-white shade (can vary) that is meant to be used in between coats (not the first coat) to help with transitioning from dark colors to lighter ones.
I simply put one coat of the Picket Fence on…
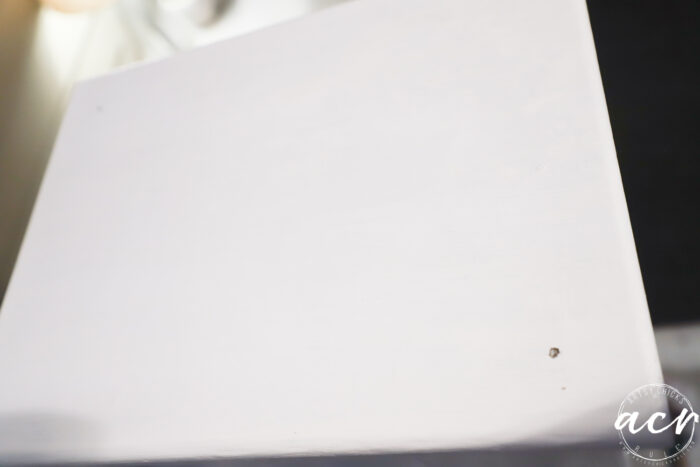
Then I put two coats of the Transition on since this cabinet is so dark.
Then one more coat of the Picket Fence over that.
Transition is quite a bit cheaper than our paint colors so it’s a great budget-friendly option when going from dark to light!
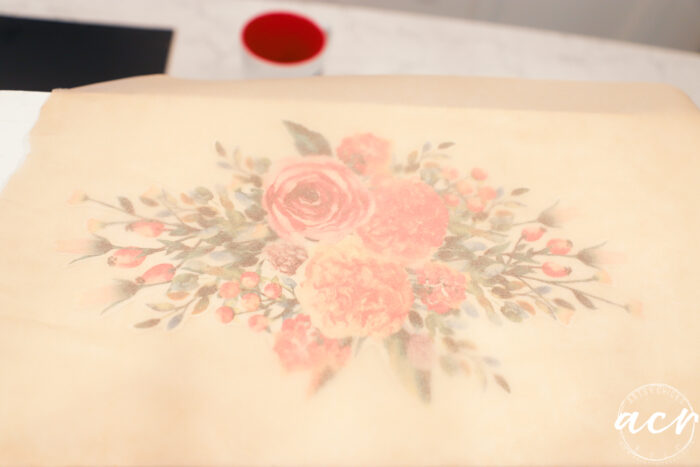
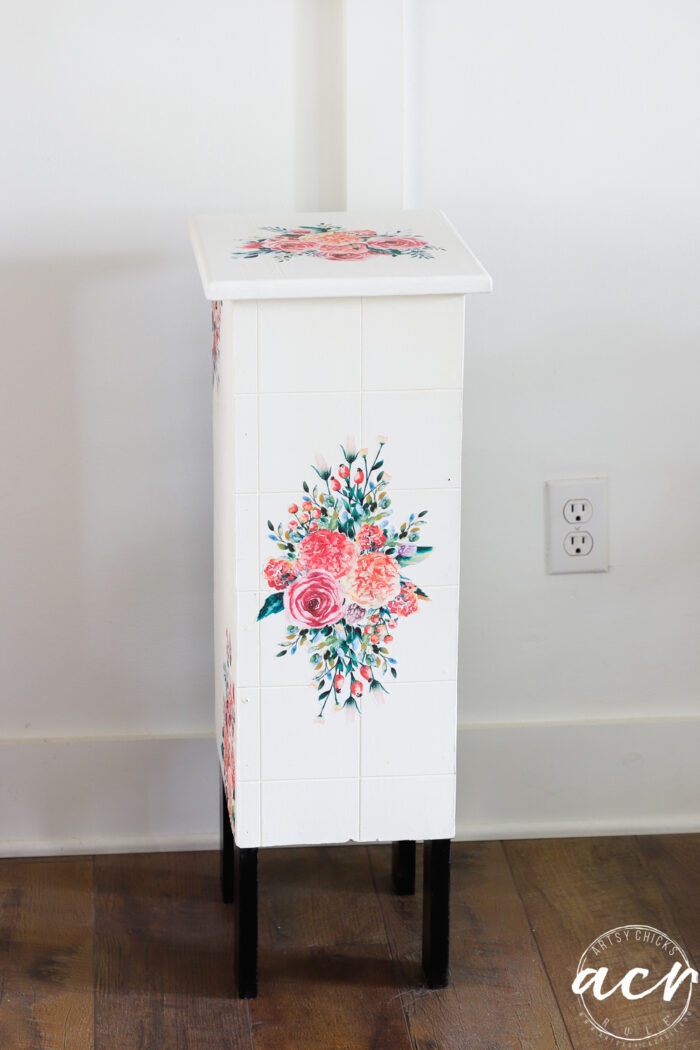
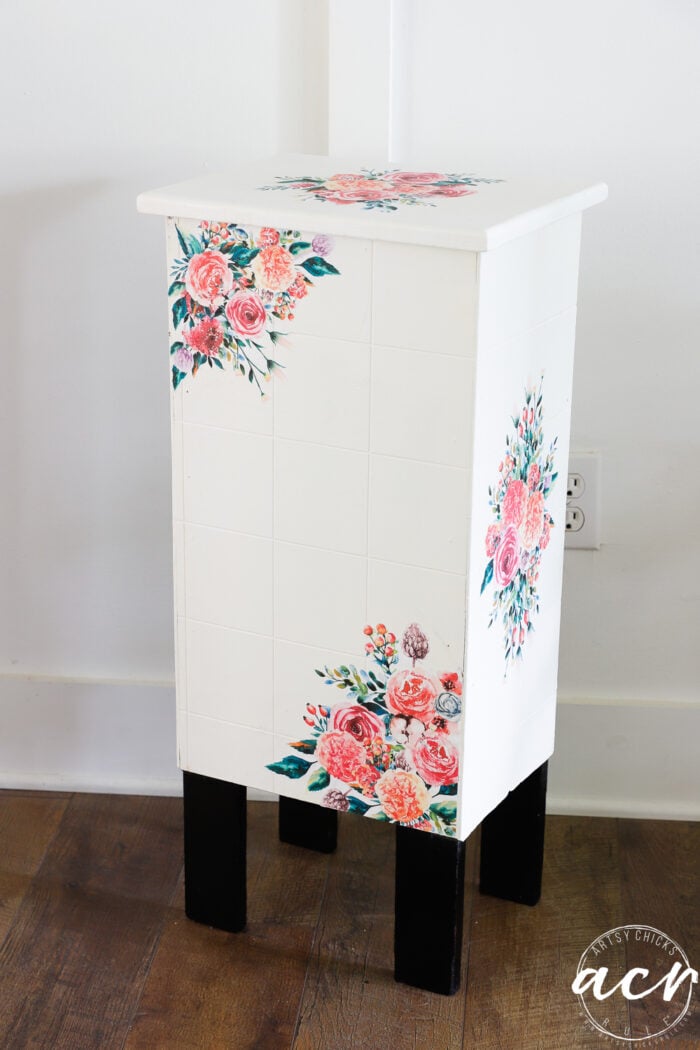
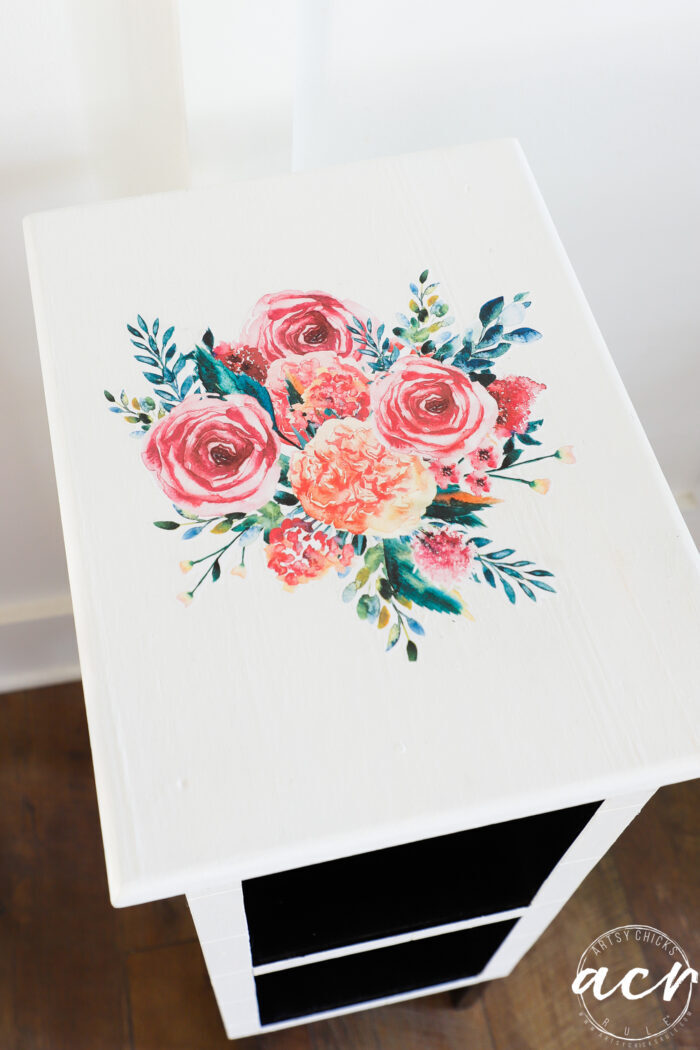
I decided to create some pretty floral printables for this one. (and for you, if you’d like them!)
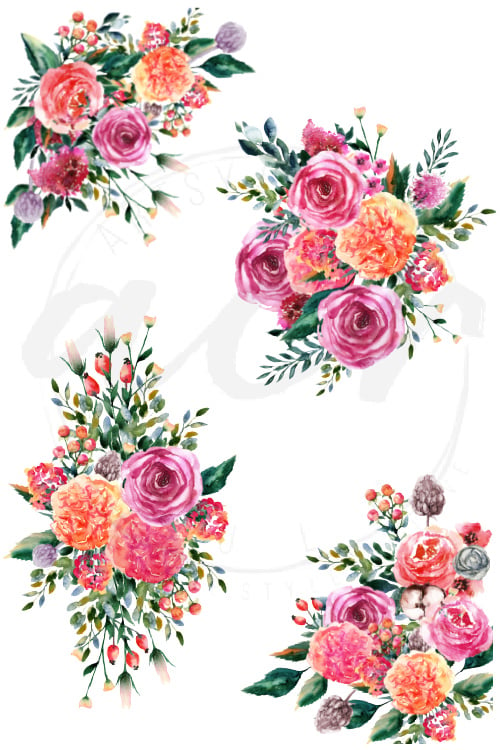
You can find them in my shop, here.
Once all of that was good and dry I used a chip-style brush and applied the Decoupage & Transfer Gel all over.
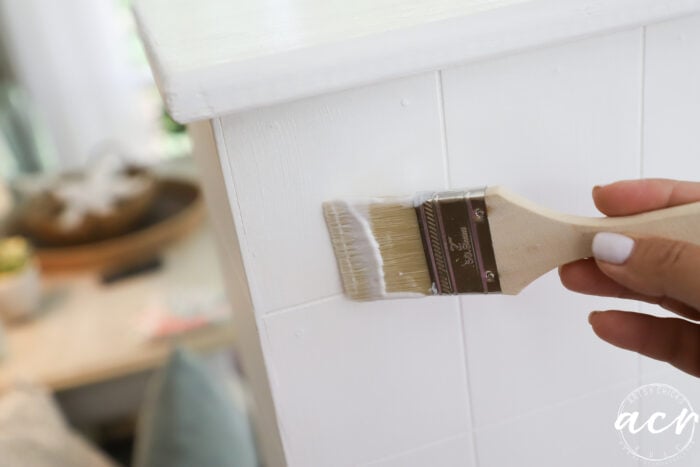
I did two coats drying well in between.
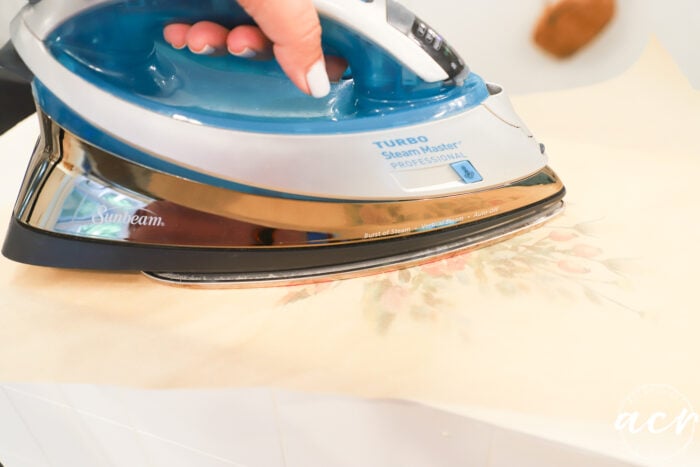
**And let me note that I did it this way because I wanted to do the “iron on” method because I was trying to avoid wrinkles. I used thick paper the last time I tried it with paper and it didn’t go so well. This time the paper was much thinner so I thought it would work but still probably not thin enough as I ended up with some bubbles underneath in areas where it didn’t adhere. I think this works best with a really thin napkin or tissue paper only.
So with that, I would not do it again like this. It took much longer and didn’t turn out as well as hoped.
So I will reserve that “iron on” method for much smaller, crafty projects instead…and thin tissue paper material. Next time I will print my design onto tissue paper instead. (I’ll show you how I do that in a future post soon!) I’m not sure why I didn’t think to do that this time?!
I laid the cutout design onto my project and layered a piece of parchment paper over top.
Then ran the iron over it to reactivate the decoupage gel…
I did that all over and this one showed the line where I put them together here.
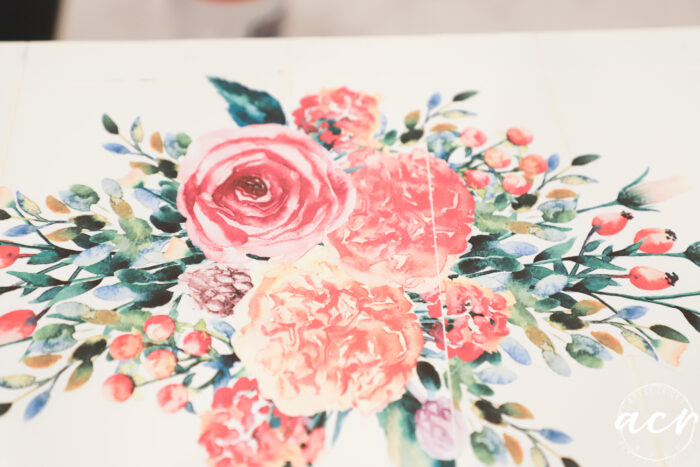
I pulled out my colored pencils and filled it in, all good!
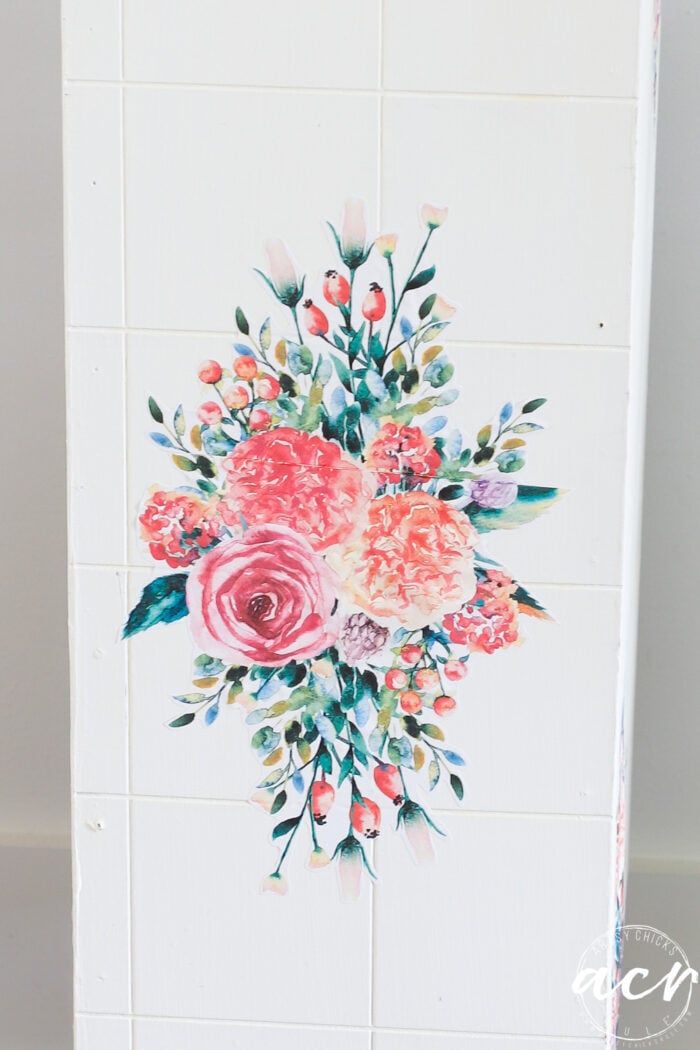
I continued all the way around with the cutout printables until I was done.

Oh, I painted the legs black too as you can see. :)
A little something for every side.
So cute.
Overall I am happy with how it turned out. But lesson learned…again! lol
You guys know I always give you the real deal around here.
And if you like the printables I used on this one, you can find them right here!
PIN it to save it!
I’m a little hard-headed like that. Sure it’s going to work…and then it doesn’t go so well. But stay tuned as I will be at this again. This next time with printed tissue paper. Now, I know that will work like a charm. I’ve actually made something for a gift for someone that way but haven’t shared here on the blog yet how I do it. Will do soon!
See ya next time with this little interesting one…
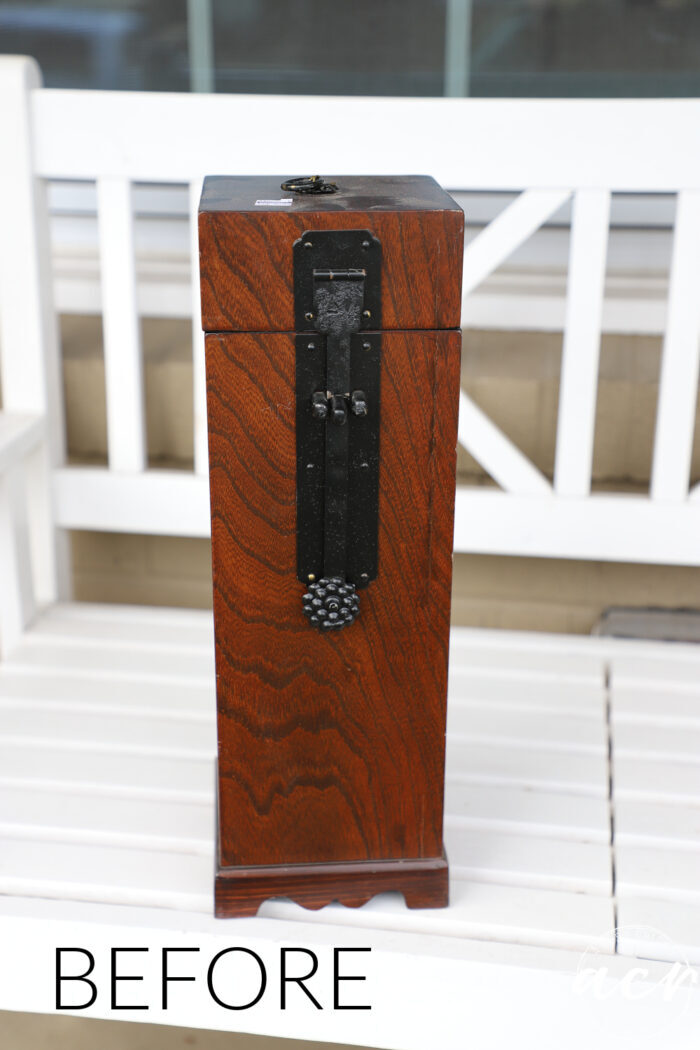
UPDATE!! See it now, here!
xo


It’s a lovely makeover. I think it originally may have been an old telephone table or stand – I remember my mom having something similar back in the old days when everyone still had landlines.
Oh yes, I can totally see it as that, Mary! :) xo
Another Mary leaving a comment here! :-)
I think using the black inside is a great idea. It balances out the sweetness of the white & flowers. Is that why you decided to use black?
Hi Mary! :)
And thank you, I love that! But no, I think it was mainly because it was dark stained inside there already and blocky (junky, not neat?) looking with the way it was built. I sort of wanted it to “disappear” if that makes sense.
I can’t remember who to credit with this idea but I tried it and it worked like a dream. I used regular copy paper. On the back of my printable I put clear tape, pressed it on hard and then carefully peeled it off. When the tape comes off it takes a layer of paper with it. Do that all the way across and you end up with a tissue thin piece of paper.
Oh, that’s an interesting idea, will have to try it!Thanks for that tip, Donna! xo
Hi Nancy! I love this printable. What did you print them out on?
Thanks, Cheryl! I printed them on regular thin printer paper. :)
Good save!!! I think your table might have been an old telephone (landline) table…??? It would be cute in a girls room now. Have a good week!!!!…Addie
Thanks, Addie! Oh maybe so! Would be perfect for that. :) xo
I love that small table redo! So pretty!
Thanks, Patti! :) xo
Welcome back, Nancy.
Love this wee cute piece – but somehow feel (as much as I love black, trust me) that this piece would’ve looked better with that turquoise blueish green interior and legs. Most times I’d def go with black – but on this one it seems to compete with the feminine cottage look of the transfer. Hope you don’t mind my honesty. It’s a nifty piece you certainly gave life back to! Hugs.
Thank you, Michele. xo
Hmm, yes, I can see that! And no, of course not, I love to hear other ideas, etc.! Everyone sees things differently so it’s nice to hear how someone else envisions something. :) xo
That came out so cute. I think it would make a nice plant stand. Love the flowers.
Thanks, Debra! Oh…I love that idea!! xo
So cute and feminine. Would love to see one done with hydrangeas!
Thank you, Rose! Yes, wouldn’t that be pretty. Will have to try it! xo