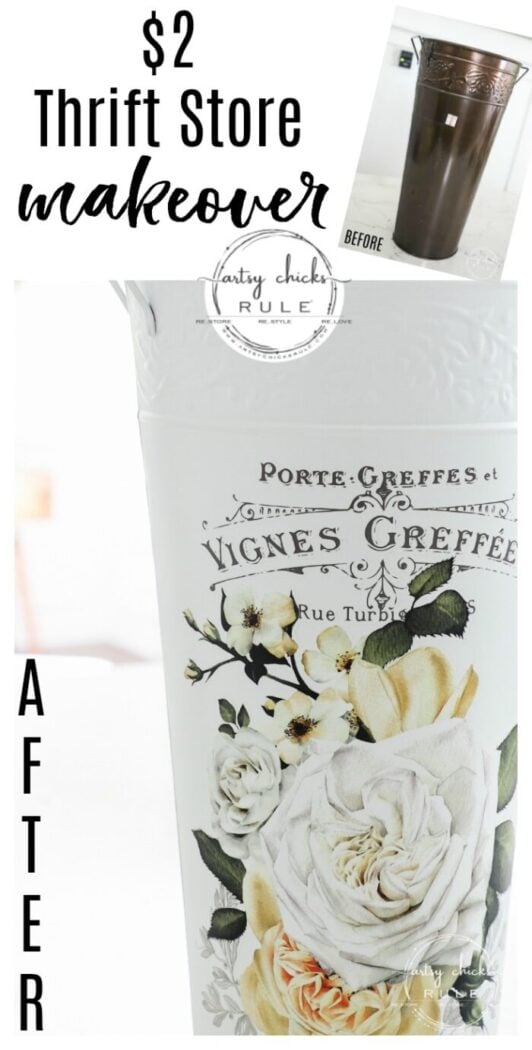
$2 French Floral Bucket Makeover (ReDesign with Prima Transfer)
Transform a $2 thrift store find into a French floral bucket with spray paint and a Prima transfer!
Hello friends!
First, let me say a big congrats to Michele S. on winning my latest giveaway. :) If you didn’t win, don’t worry, I will be doing more!
And I may do more smaller giveaways so I can do them more often and reach more of you.
So, those who guessed I put the pretty floral transfer on the tall, vase, floral bucket thing were correct! That is indeed what I put it on.
But…without the frame. You’ll see below.
$2 French Floral Bucket Makeover (and ReDesign with Prima Transfer)
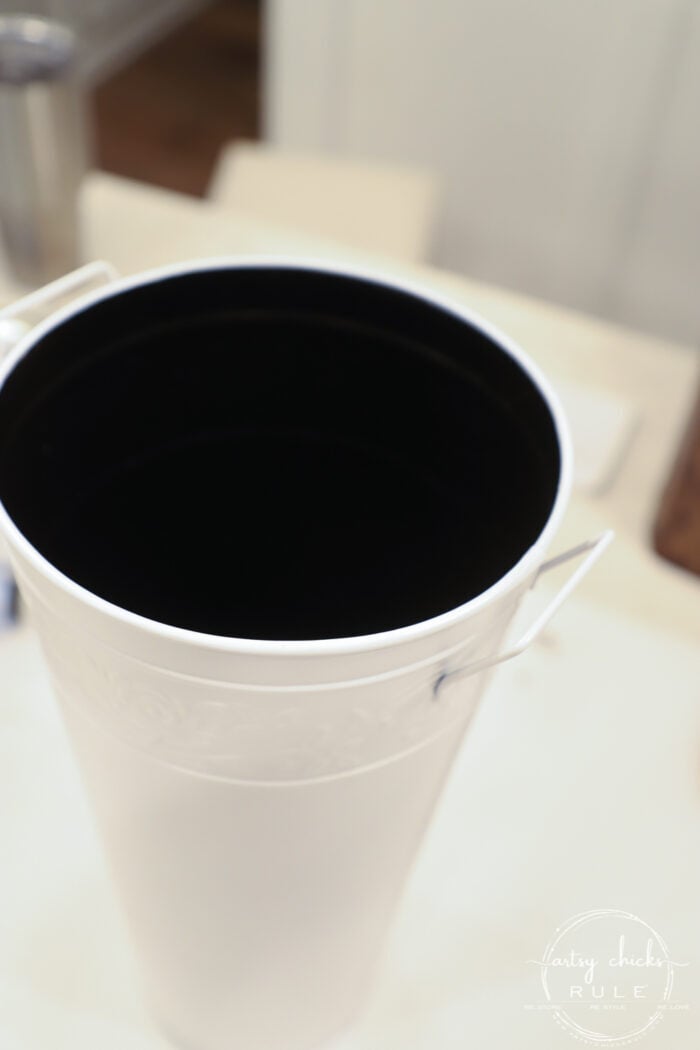
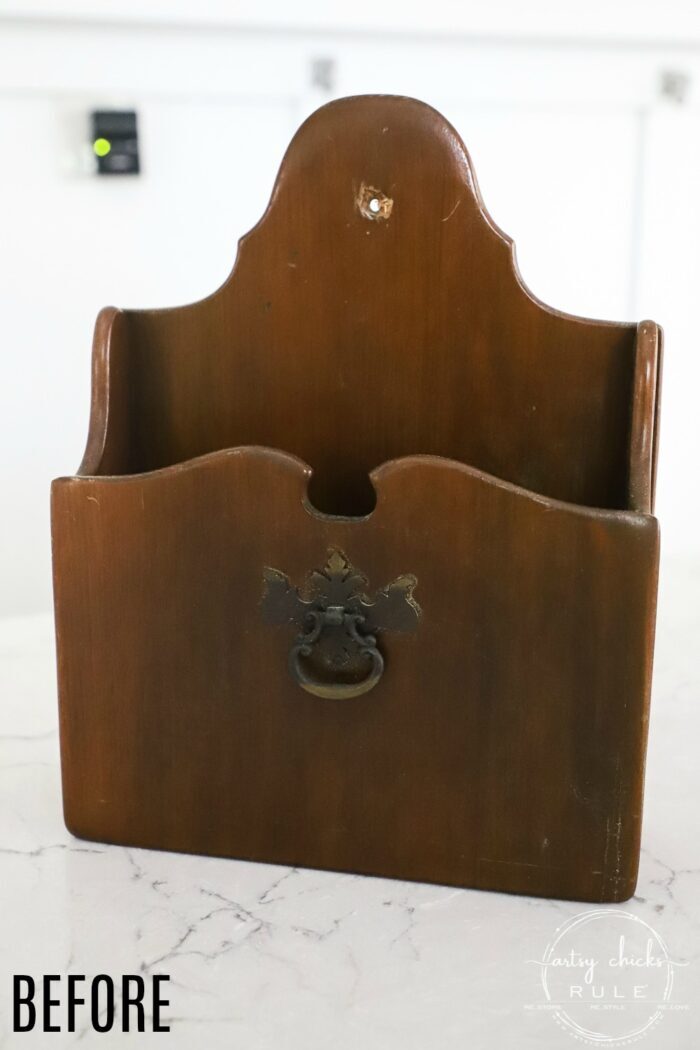
Here is it before…
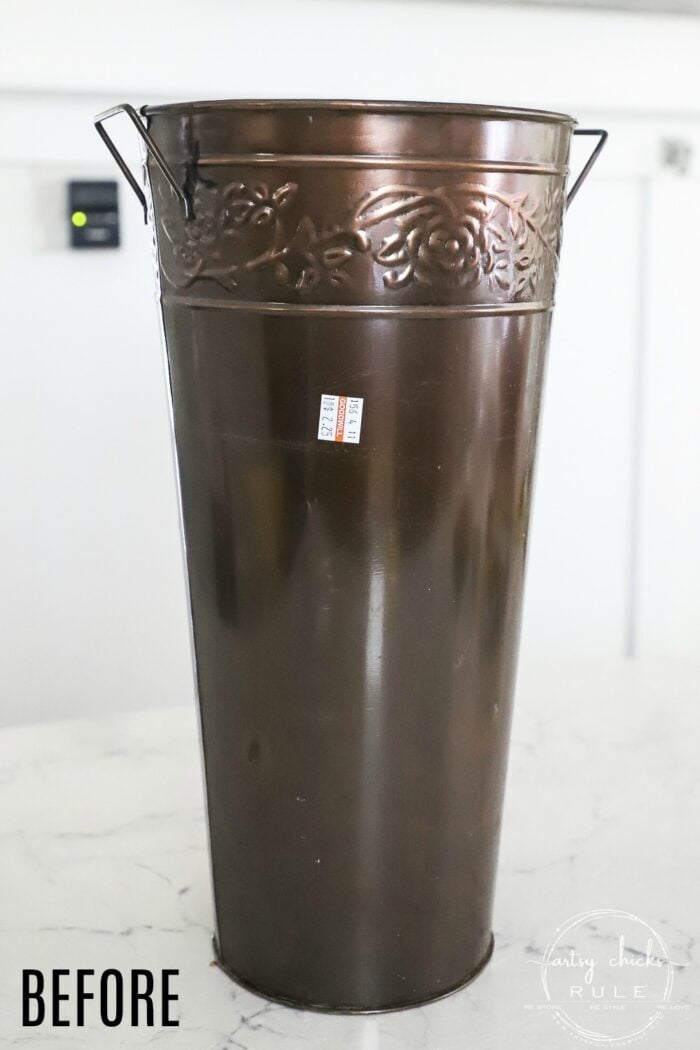
Pretty basic.
I wanted to make it pretty fabulous and these Prima transfers sure do help with that.
If you remember, this is another one that I picked up when Christy and I went out thrifting. Missed that post and the video of our shopping trip? You can see it right here >>> Thrift Shop Shakedown #6
And it’s part of my Thrift Store Haul #2…
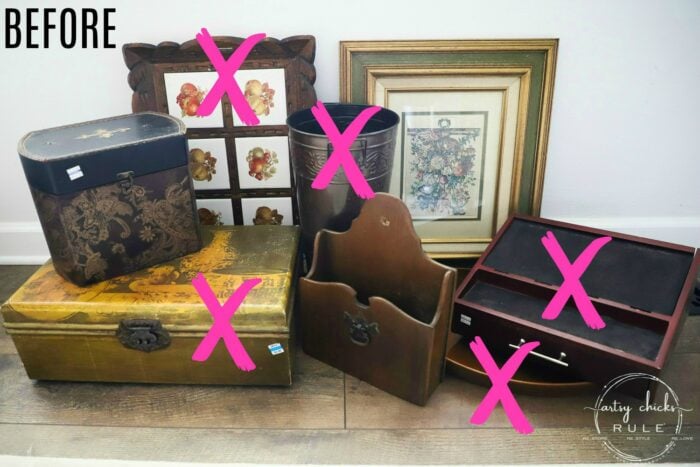
Miss any of these makeovers??
Just scroll all the way to the bottom for links to all of them.
………………………………………………
I began by taping some plastic wrap in the opening because I didn’t want to spray the inside this time.
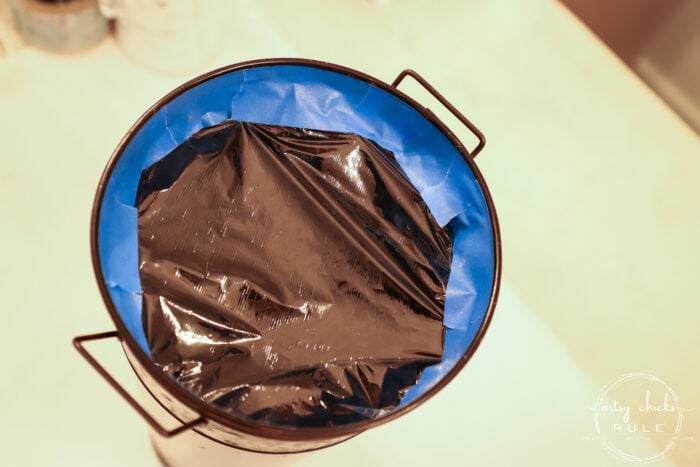
Only the very top inside rim edge will get paint and it will be nice and neat because of the tape.

I used this spray paint (which creates such a nice smooth finish…it’s the same one I used on the Beach House Platter I just shared)
I didn’t distress this one because I just loved the nice, white, clean finish.
Next, I attached this Prima transfer (which was included in my recent giveaway)
You can find this yellow rose transfer in my online store, here.
But remember I said above…without the frame?
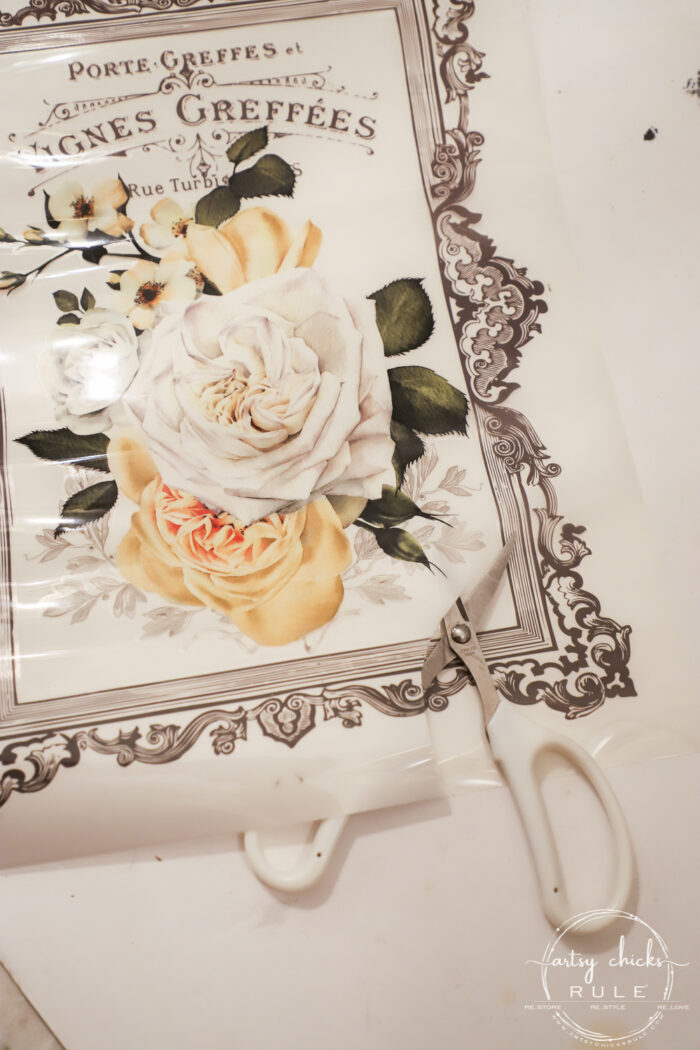
I simply cut that away (and saved it because you never know!) and used only the inside area.
All you do is peel the protective backing off, lay it where you want to attach it, and rub to transfer it to your project. They include the wood stick for this.
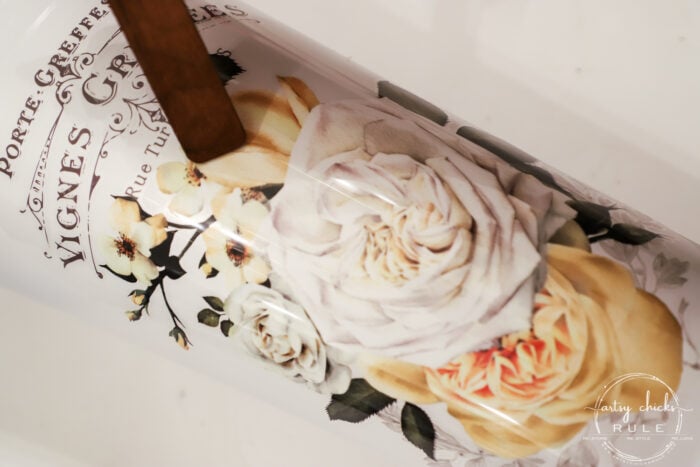
SO simple!
I applied one coat of this topcoat sealer.
I just ordered in a new topcoat sealer that I’ve been wanting to try. It came in today…I’ll share my thoughts on it soon. :)
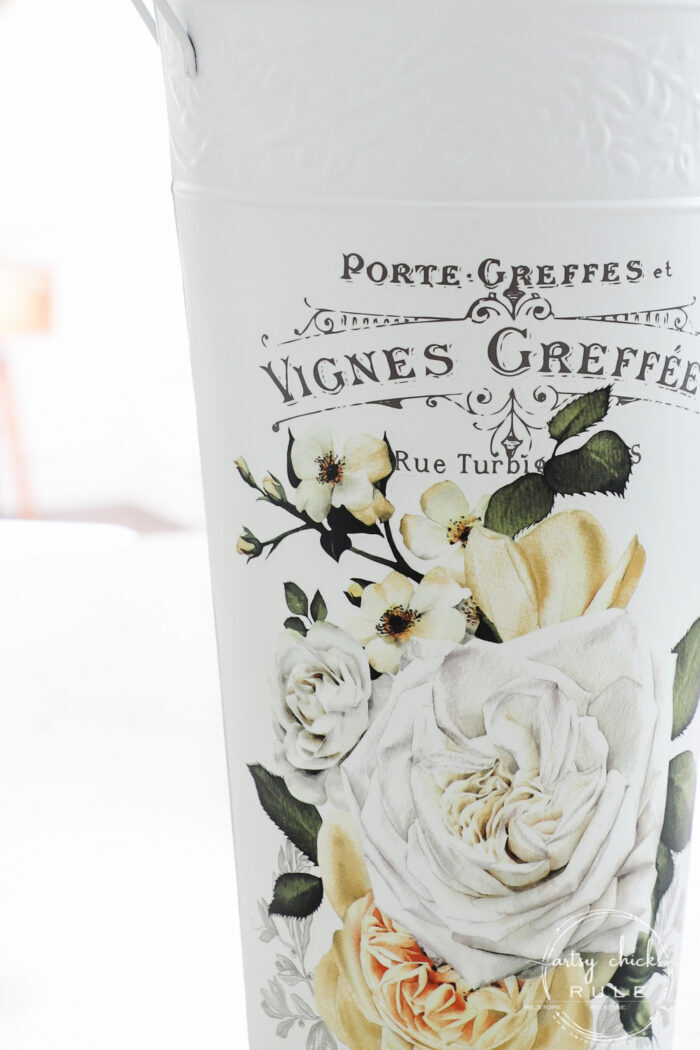
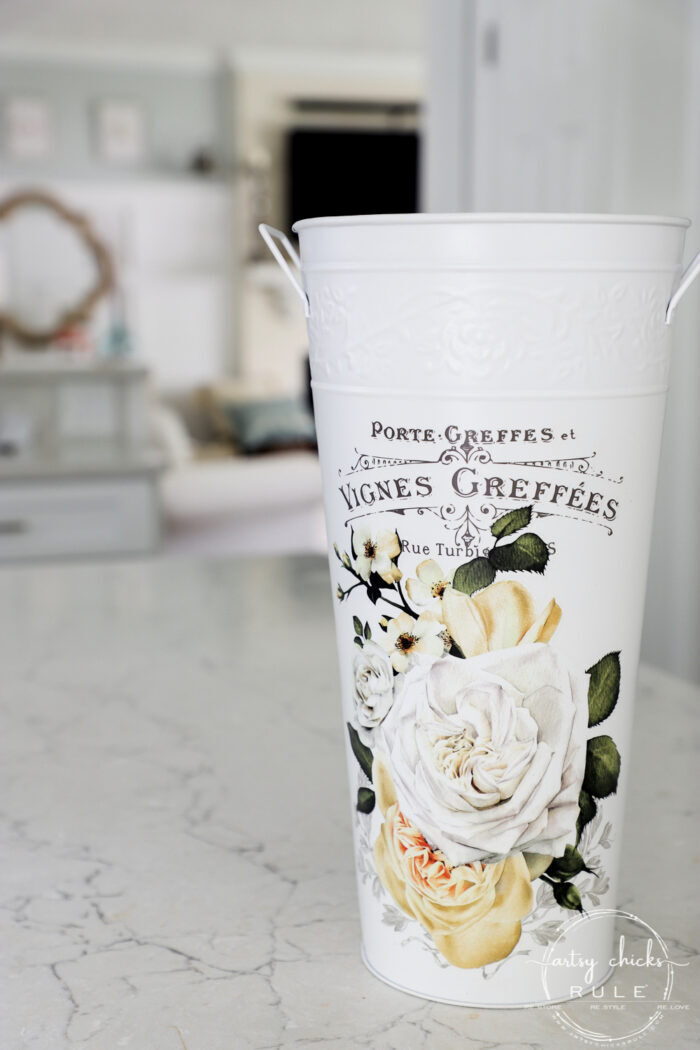
Isn’t that transfer just perfect for my “French floral bucket”?
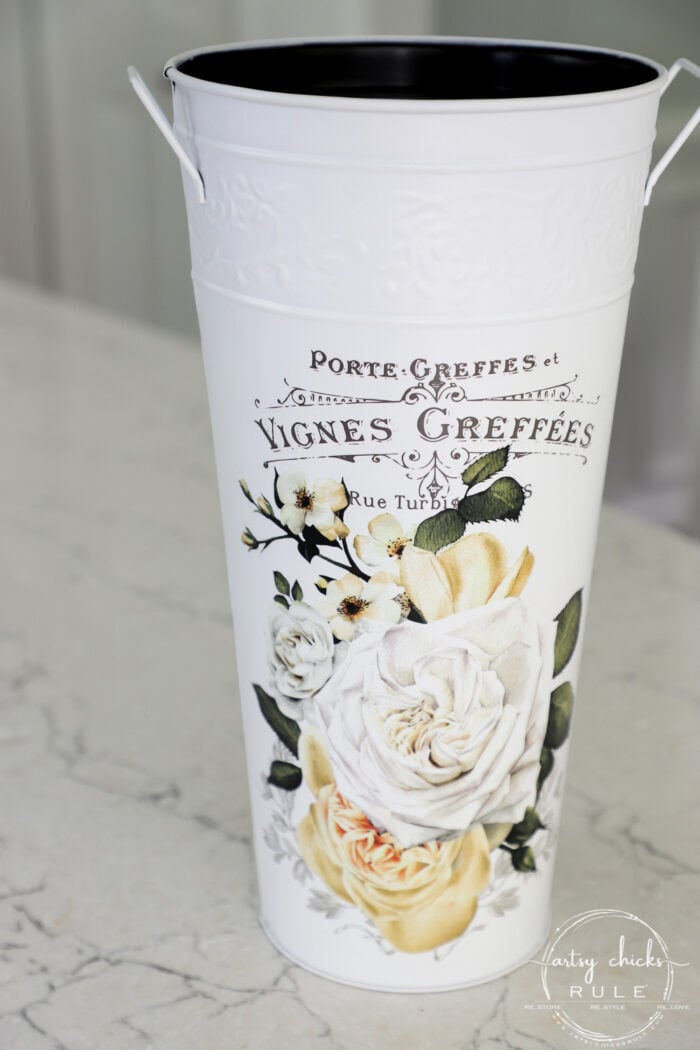
Yes!
Up close…
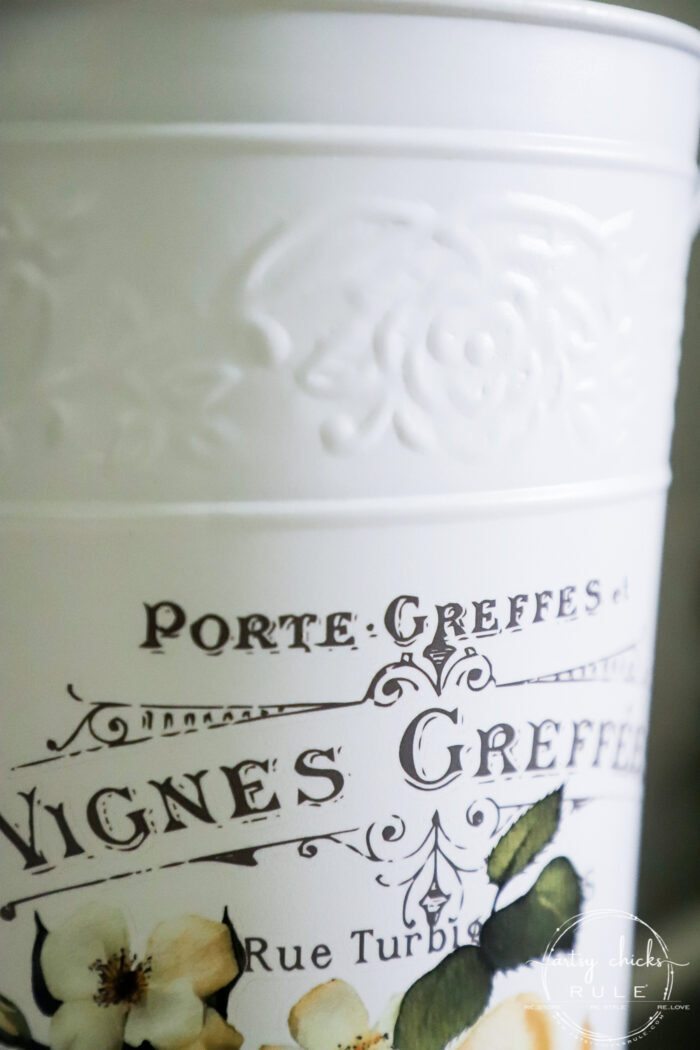
And with some flowers I had here to display (and my 2 sweet “babies” lol).
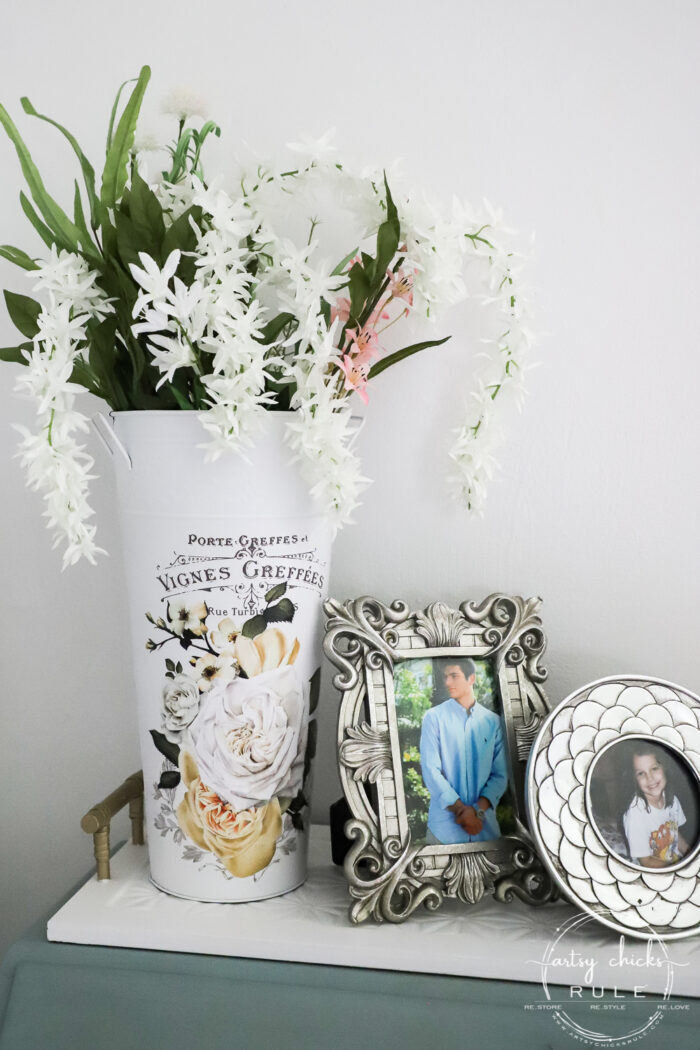
But it would be so pretty with fresh flowers, don’t you think?
And you guys, this was SO SIMPLE to do. Spray paint…rub on the transfer…brush (or spray) on a coat of sealer.
And done!
PIN it to save it!

This French floral bucket was definitely a project anyone can do. From beginner to beyond.
So get busy! ;)
I’ll be sharing this one next!
UPDATE!! See it now, here!
If you missed any of the rest of Thrift Store Haul #2, you can see them all here:
- Butterfly Tray Makeover
- Welcome Box
- $4 Men’s Valet Box
- French Floral Bucket (you are here!)
- Beach House Platter
- Flower Display
- Decoupage With Fabric Paris Box
- $2 French Floral Bucket
- Thrifty Decor and Old Framed Print (with your own photo!)
Have a wonderful weekend!
xo


")


")

That turned out Beautifully
Thanks so much, Colleen! Hope you have a beautiful weekend! xo
Oh that is just beautiful. I have a similar bucket vase, but without the pretty flower raised detail. Mine looks like galvanised metal, I bought it for a couple of euros when I lived in France.
Now might be the time to change its look. I’ll have to search for similar transfers available in the U.K.
Thank you, Holly! Oh yes, give it a brand new look!! Much fun…and I’d bet you can find these transfers there too. (side note…one of my biggest dreams is to visit the UK someday!) :) xo
A simply charming makeover Nancy! Skilled use of tape and plastic on the top. :) It would look great with a large bouquet of summer flowers in it!! Way to go!
Thank you so much, Christina! Ha, yes, tape for the win! ;) Have a wonderful weekend! xoxo
Great idea! Does the Rust-Oleum stick to the metal without chipping off? I have a hard time getting my paint to not scratch off:( Love the transfer!
I haven’t had any trouble with any of mine chipping. I sometimes use a primer spray though…this time I didn’t. You could run over your metal with some sandpaper to remove the slick surface and try using a primer spray first. That should help it adhere better if you are having that trouble. I do love the Rustoleum paints though! xoxo
I guessed right! It looks fabulous, Nancy. I have got to get my hands on some transfers. I know we’ll be seeing that frame used somewhere down the line 😄
Yes, yippee, you did!! lol Yes you do…and yep, I am quite sure you will!! You know me well! haha xo
Simply elegant, I love it.
Thank you, Christina! xo
Do you have a source for transfers in English? I love France and French, but would like something different. I’ve only seen a few in English. Thanks. BTW, great project. It’s beautiful.
Thanks, Pat! Hmm…I don’t really specifically but now you’ve got me wanting to find some. Let’s see if I can. :) xo
OMGosh! Beautiful!
Thank you, Vicki!! Have a wonderful weekend! xoxo
One word, Nancy…..gorgeous! The shape of the vase is perfect 👌🏾 and the transfer is just beautiful. Love ❤️ how your mind works. You have to keep this one, right?
Thanks so much, Shirley! :) I think they were a perfect match too! Hmm…I don’t know…might be a future giveaway! xo
so pretty and seemed easy enough! wonder what you’ll find to frame with the rest of that transfer! it does look nice not distressed – you have a very good sense of things Nancy!
Oh yes, Gwen, so easy, I promise! Hmm…don’t know yet, but I’ll bet you’ll see it at some point! ;) And thank you! xo
So cute! I love that you used something besides pink roses.
Isn’t the yellow so nice?? Such a happy color. :) Thanks, Rose! xo
Love it!
Thank you, Sue! xo
Hi Nancy, this transfer is perfect for this floral bucket, it is so pretty!
Thank you, Kaycee! :) xo
Love the transfer!! That yellow 😍!
Thanks, Jennifer!! xo
This turned out gorgeous!! It doesn’t even look like the same vase! I hope we get to go thrifting together again soon! XOXO
Thanks, Christy! I hope we can too!! xoxo
Hi Nancy – love your blog and this post is one I saved. Pulled te metal vase I had out of the basement, primed and the sprayed it with white Rustoleum and now for the transfers. I bought some similar French designs from Prima. But I’m stumped how to put them on – duh?? Maybe I’m not finding a backing to pull off the Mylar part? Any suggestions how to actually apply them, the directions that came with them are simply.
Thanks!
Oh yay! For the transfer, you just pull the white sheet from the back so that it’s clear. Then you lay the top clear sheet (that has the design on it) onto your project. Tape it in place and then rub the transfer onto the vase with the stick provided. (Or if not, a spoon would work) I hope that helps! :) xo