Ice Ice Baby Ice Bucket Makeover
This thrifted ice bucket makeover is a quirky one! And the perfect conversation starter!
Hello, my sweet friends!
Yes, I am sharing the project I mentioned on Tuesday! Haha!! It’s quirky, right?? ;)
I told you!
I love to pick up the smalls like this at the thrift store. It’s just fun to reimagine them. Sometimes they turn out great and sometimes well, they turn out quirky! lol
I spent a lot more time on this little makeover than I should’ve. I mean, it’s not a dresser or something big like that but I changed my mind on a color and then ran into an issue that needed fixing. And I’m no quitter! Well, most of the time. I try!
This one is part of my latest haul here…
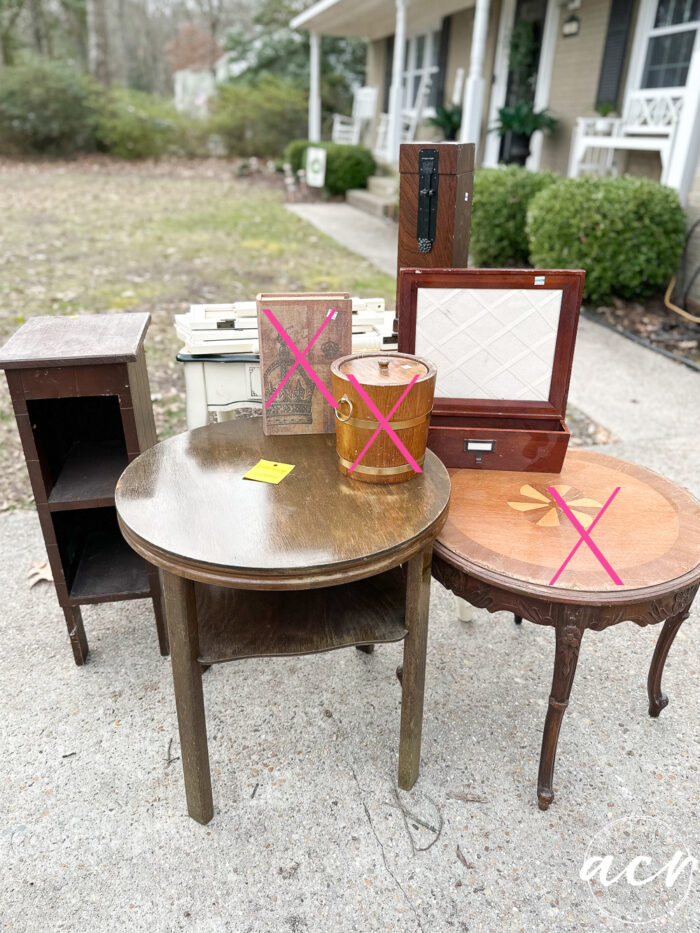
If you missed any of the other makeovers from this haul, you can see them here:
- Hidden Book Storage
- Easy Way To Glaze Painted Furniture (antique round table)
So let’s see how this one went below.
Ice, Ice Baby Ice Bucket Makeover
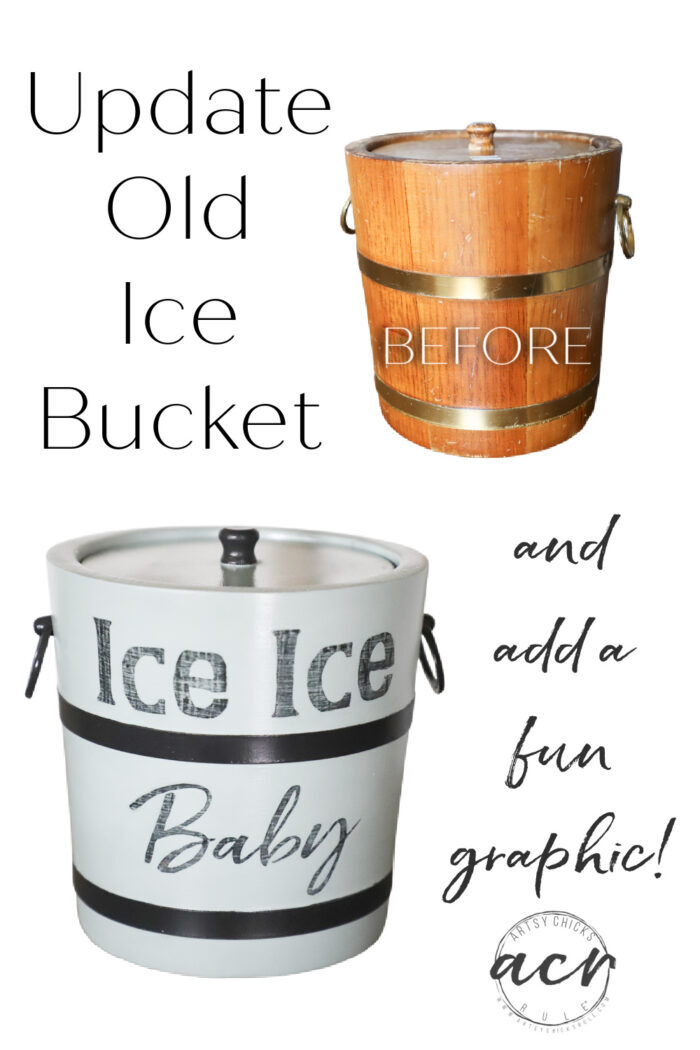
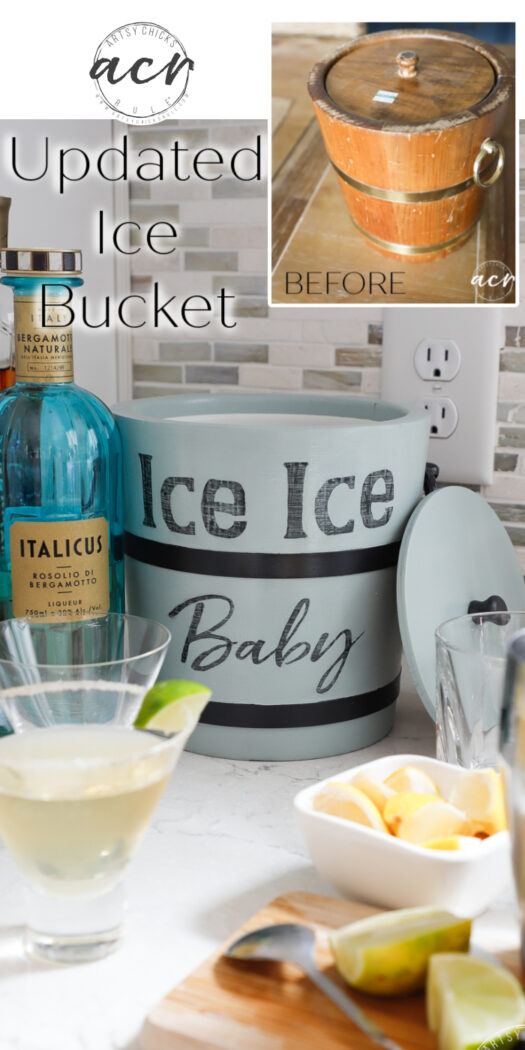
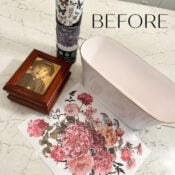
Here is how it started…
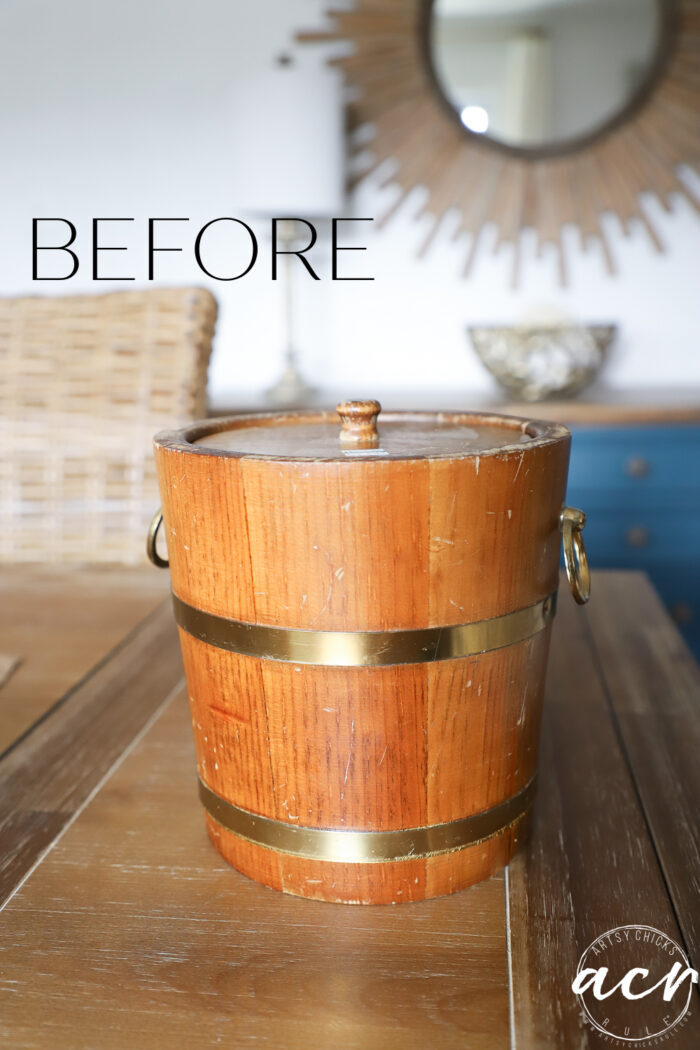
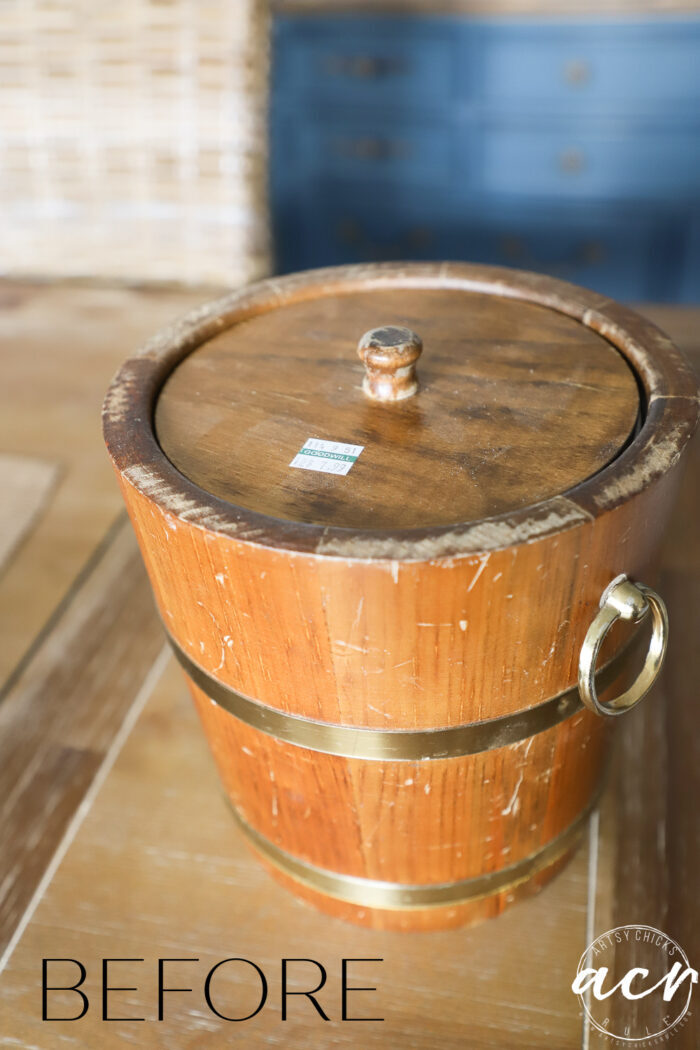
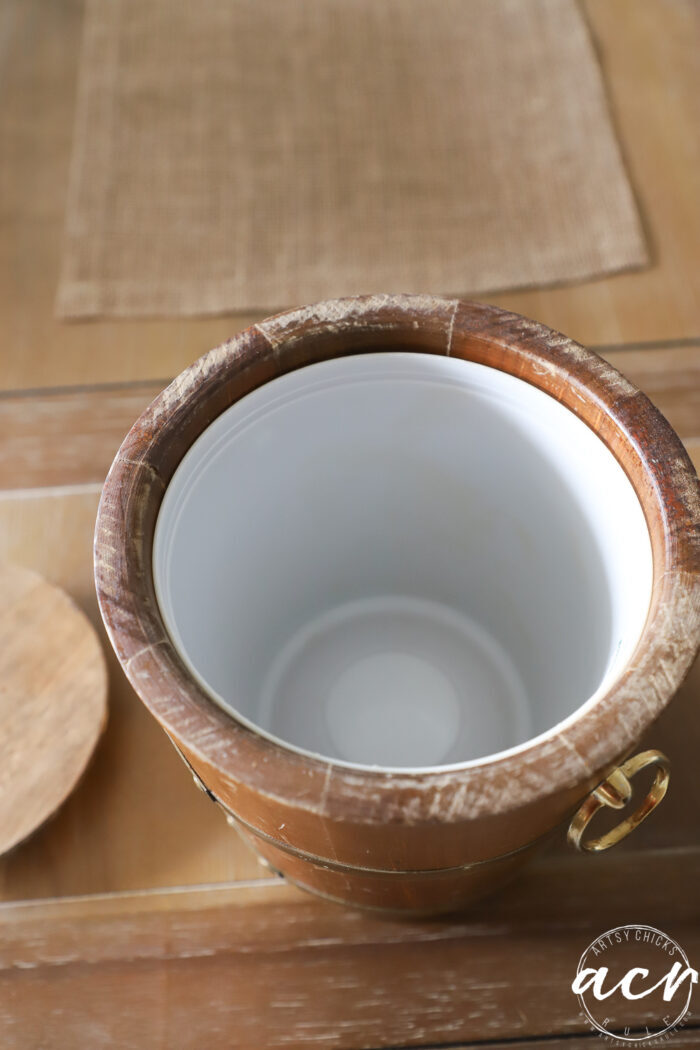
A little beat up and a little dated.
I was thinking coastal-themed-ish…blue and copper. So I pulled out my French Eggshell paint and got to work.
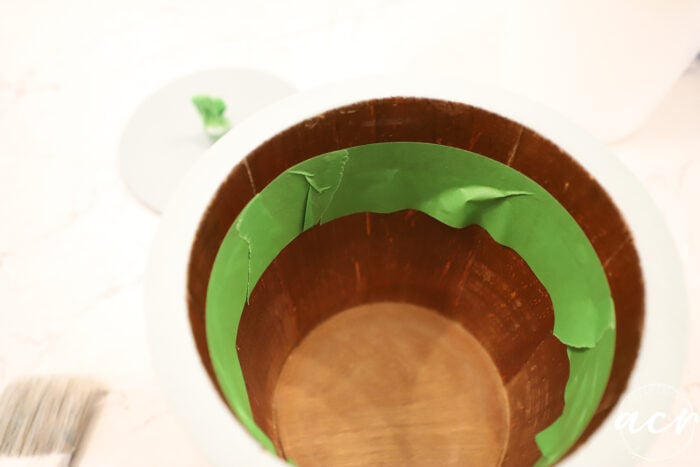
I didn’t want to paint the entire interior because I didn’t think it was necessary.
So I taped off around the middle and just painted the top section instead. If you scroll up, you’ll see that some of that area shows when the lid is off and when it’s on also.
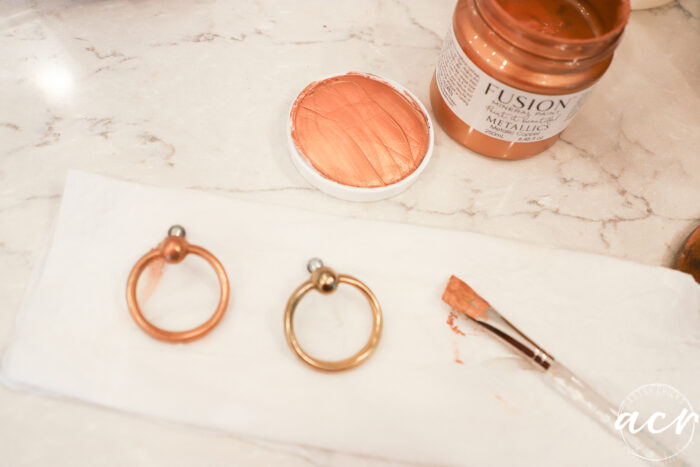
Then I pulled out my Copper paint and painted the metal.
I knew I wanted to put some kind of wording on it but didn’t know what. And somewhere along the way, as I was painting and thinking, my mind said, “Ice, Ice, Baby”. Hahaha!! I guess it stuck!!
Well, not really, I immediately thought, oh, no I can’t put that on there, it’s dumb. haha And it is. But it’s also funny.
So I did it anyway!!
And here we are.
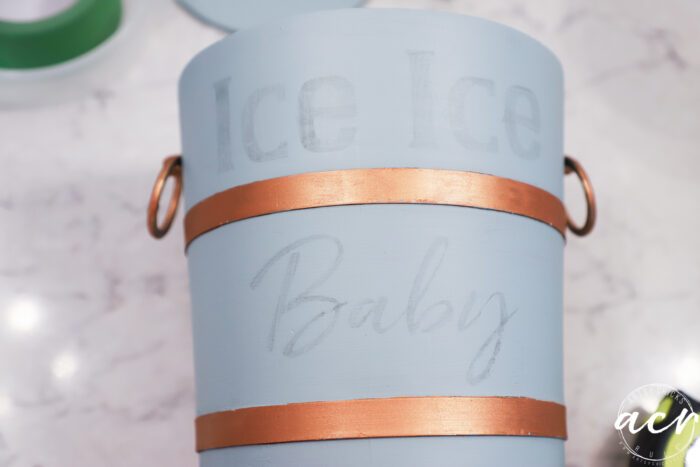
So, I created the wording and printed it out in reverse so I could transfer it to the ice bucket to paint in.
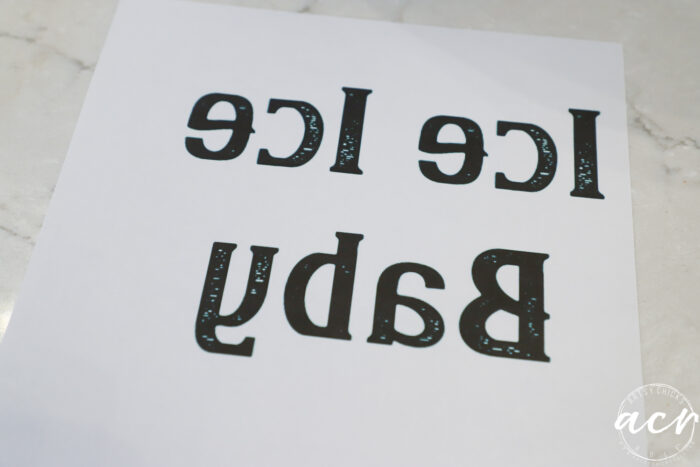
But I didn’t love the “baby” all chunky lettering like that so switched that up.
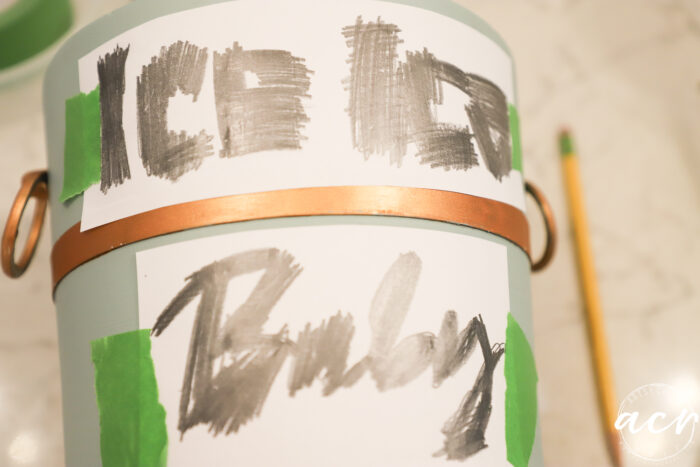
And then transferred it to the ice bucket.
Want to know all the ways you can transfer graphics easily to your projects??
Check out this post, right here >>> How To Transfer Graphics – Tried and True Methods
See?? Isn’t that cool?? And it really couldn’t get any easier than that.
I usually hand paint it in with a script liner brush but this time I decided to use these calligraphy pens instead.
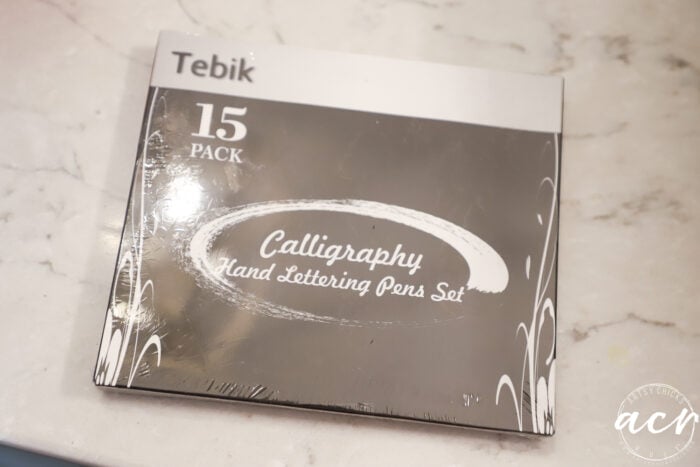
Perfect for filling in the lettering with all the different-sized tips!
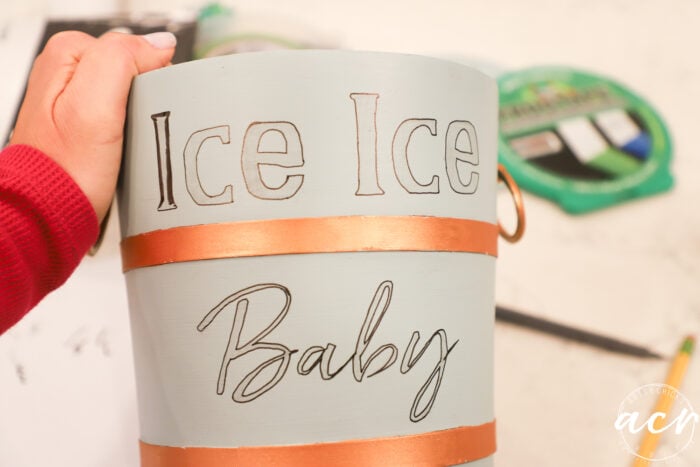
Yes, they really are.
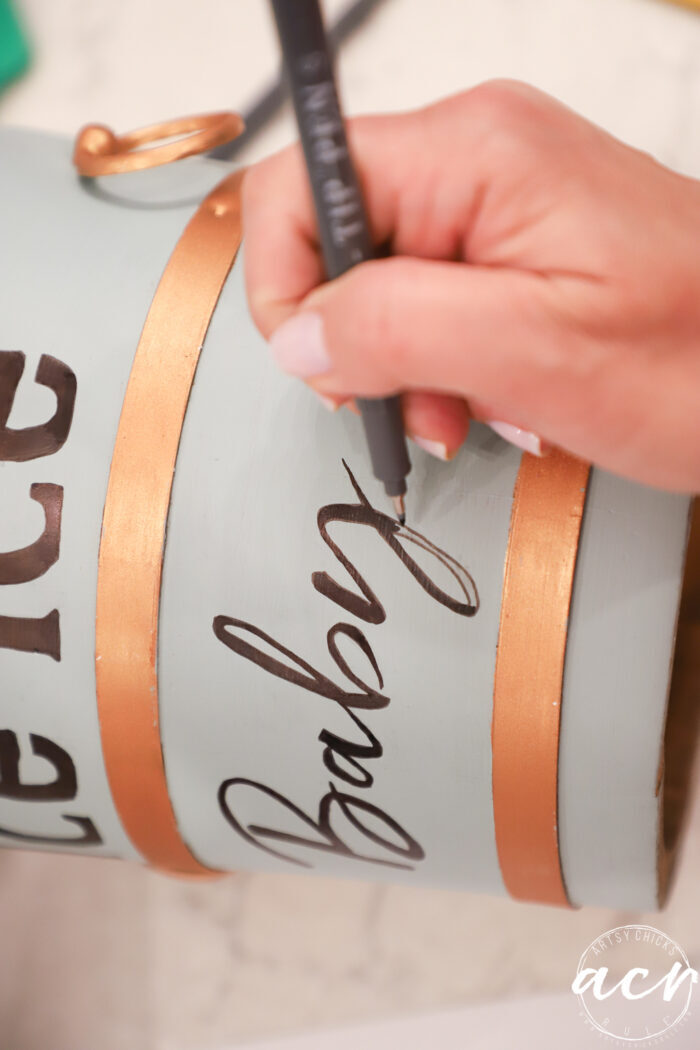
Except…
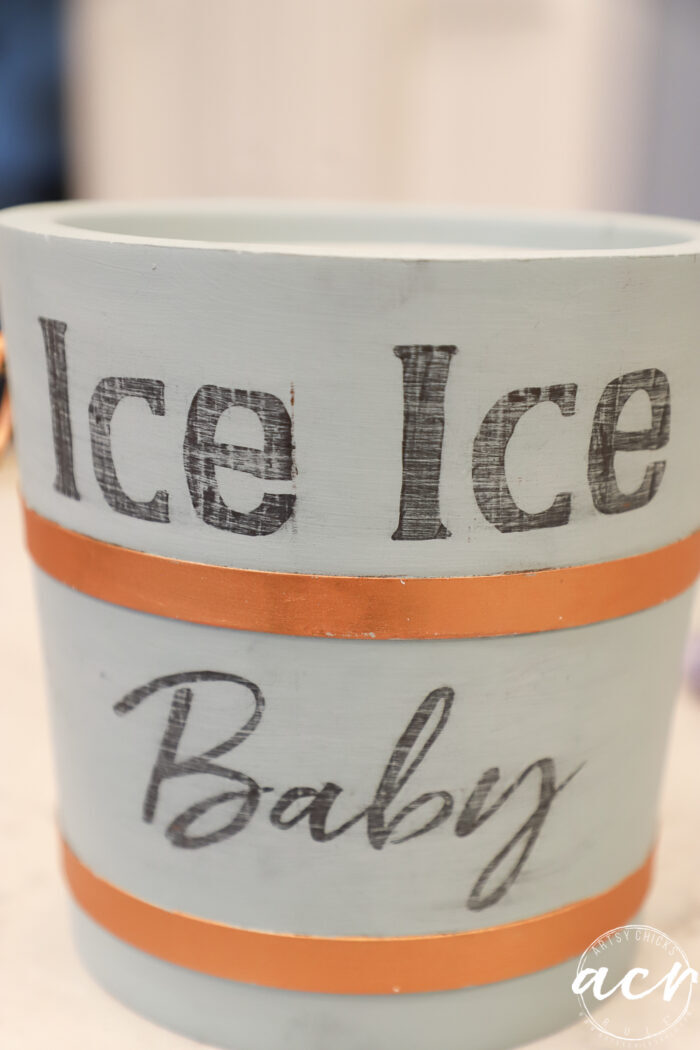
…they don’t really dry well. I supposed if I had just wanted to leave it harsh black, I could’ve used a spray sealer (a brush would’ve smeared it most likely as well, so spray only) and it would’ve been fine.
But I didn’t and I didn’t want that look. I wanted a distressed, softer look…which smeared the ink. (see above)
But like I said way back above, I’m no quitter!! Ha! So I fixed it.
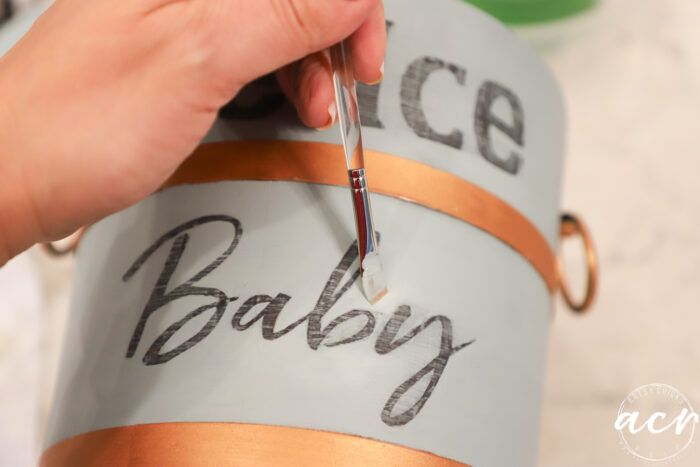
I pulled out several different-sized (tiny) paintbrushes and painted blue back over everywhere the black had smeared.
Good as new!
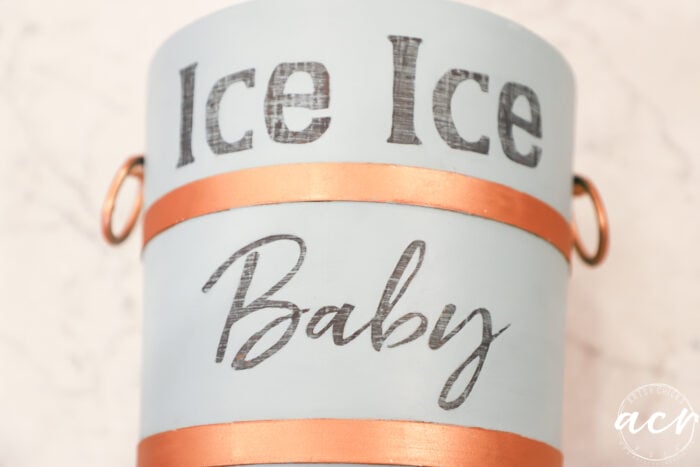
BUT…
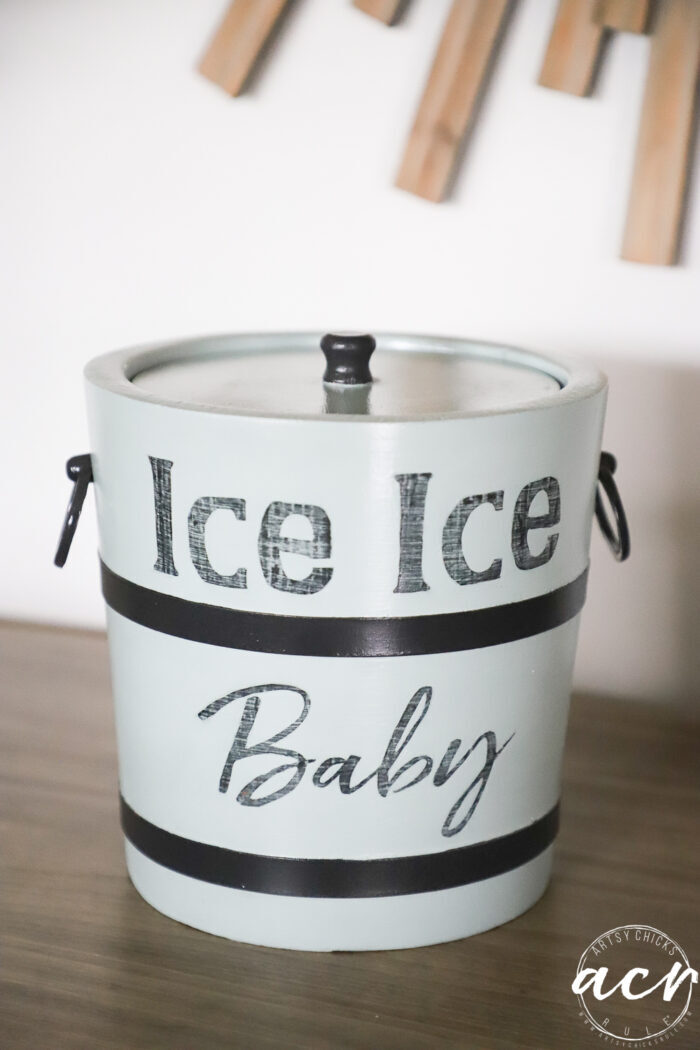
…now I wasn’t loving that copper color and the black lettering so I repainted the metal with black!
Oh my, this little ice bucket makeover was a doozy!! lol
I gave it a quick spray all over with my triple glaze spray sealer. (see the sheen?)
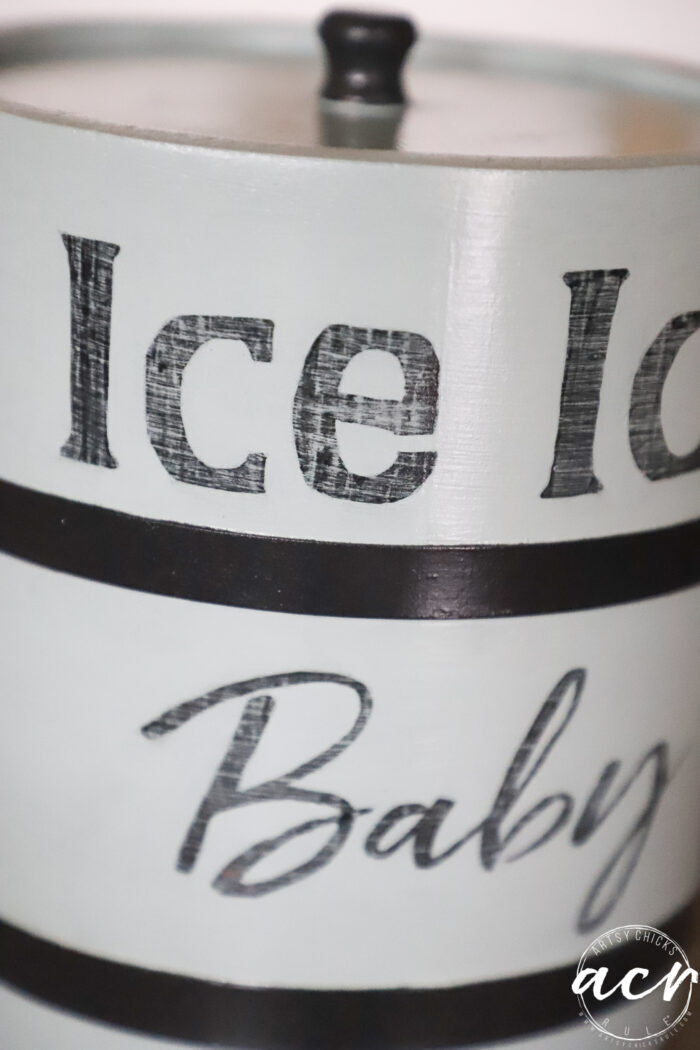
That seals everything in very nicely now.
Here are all the products I used on this one, even though I repainted, etc.
MATERIALS SOURCE LIST
Let’s see it in action.
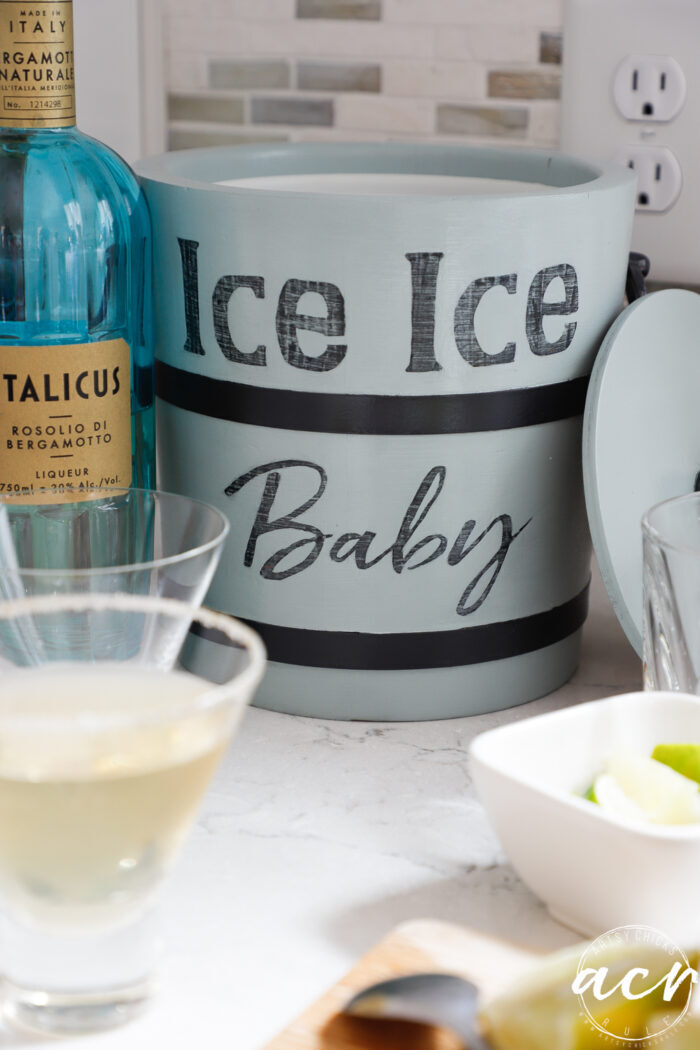
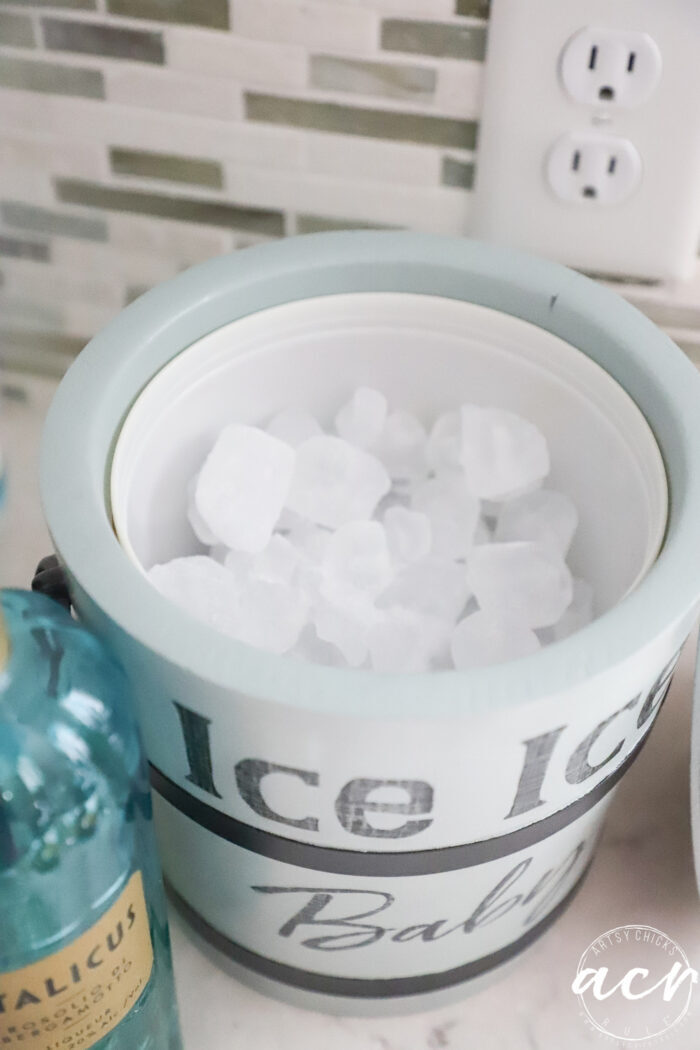
Also, just to note, that pretty aqua liqueur bottle was one I saw at a local restaurant. We were sitting at the bar having dinner and I saw it and thought it was so pretty! lol So of course I had to know what it was, etc. I went straight away to the ABC store to pick one up…just because I liked the bottle! (it’s an Italian Bergamot liqueur that is very nice too, though)
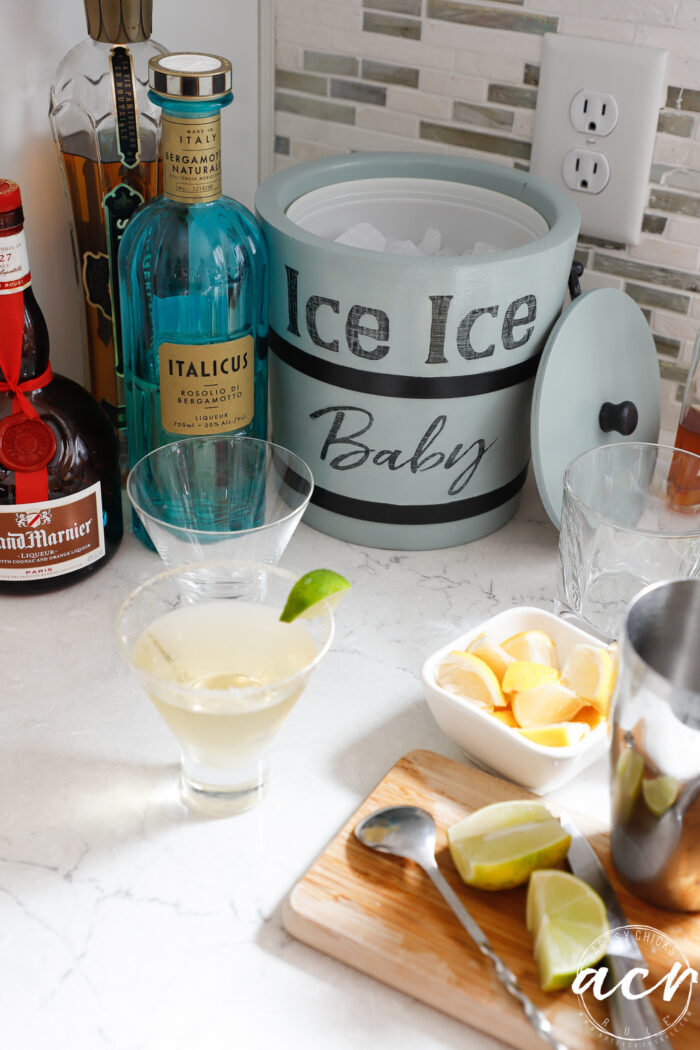
Would be a conversation starter, am I right?? ;)
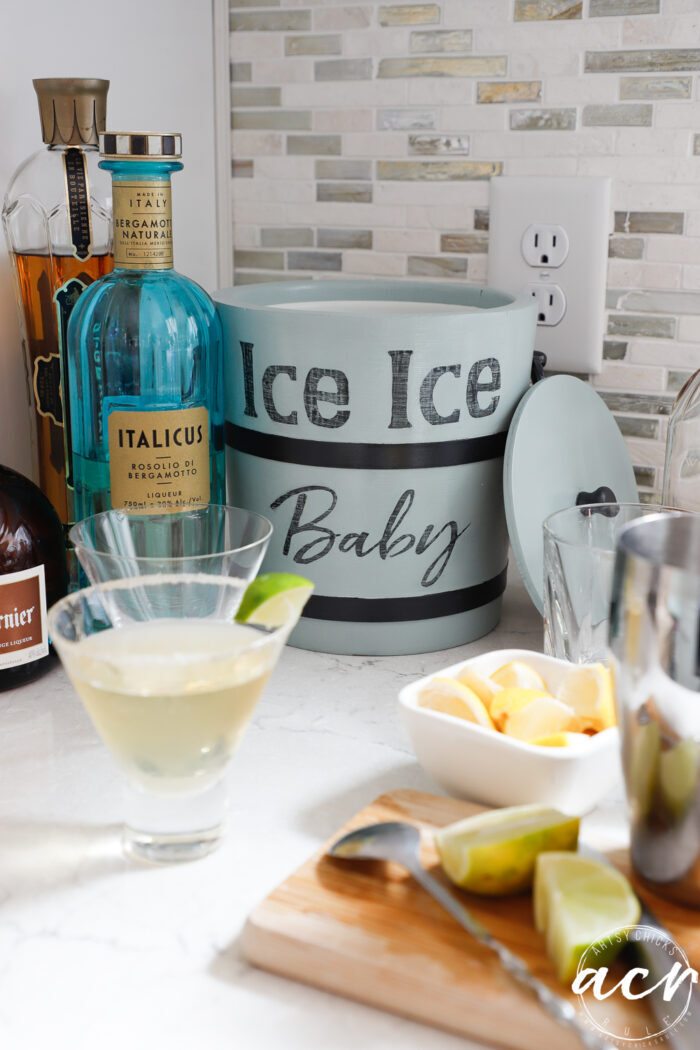
What do you think? Super quirky, right? But I wanted to share the pen idea anyway as well as what I did to fix the smeared lettering.
Paint can also smear like that at times too.
I DO still love the pens, they made it SO much easier to “paint” in the lettering. Especially the thin lines. Just be careful and spray to seal if you decide to use them.
PIN it to save it!
Have a wonderful weekend, friends!! (it’s 80 here today, yippee, wish it would stay!!)
xoxo




Sharp! That would look great on any bar.
Thank you, Ruth! :)
Loving the ice bucket, so cute!!
Thanks so much, Denise!! xo
And….now we are all singing! “Stop, collaborate and listen…” ;-D Super cute! Love it!
Yes!! Sorry!! HAHA!! Thank you, Audra!! :) xoxo
Classy looking nice
Thank you, Christina! xo
Such a cute idea!!
Thanks, Linda! :)
LOVE IT!!!! I have seen those ratty ice buckets at the Goodwill and didn’t even want to touch them!!!…Now I will be on the lookout for one. I just love how you and Christie see such potential in things destined for the land fill. You GO GIRL!!!!….just wondering, are you going to keep it or sell it?
I love a good challenge!! Haha! Hmm I might give it to my daughter who just moved into her first home. :)
That’s so cute! It wouldn’t even occur to me to give one of those a makeover! You have limitless creativity :)
Aw thanks so much, Mary!xo
I think it turned out great in the end! I have had projects like that too, where I thought “do I want to throw in the towel now, or keep going since I’ve already got THIS much time into it?!” Also, love your comment about the aqua bottle! I have been known to buy something just for the container! Ha ha!
Yes, exactly!! Glad I kept going,I usually always am. And that’s so funny, glad I’m not the only one!! lol xo
Now it’s not an ordinary (and ugly lol) ice bucket. Love it and at first I loved the copper but when I saw it changed to black after, thought, yep she nailed it again. You seem to always know what will look best.
Aw thanks, Debra! Yes that’s creative process charges as you go sometimes, just like the project I’m sharing today! lol
I’m glad you tackled this !! I’d never have thought to do this.
It turned out sooo cute.
And…. the Ice Ice Baby is adorable. :)
But, like others have said – it will be in my head for days !!!
I’ve not done stencil lettering…. but I’ll be sure to read your tutorial and give it a try.
Thanks for the inspiration.
Haha sorry!! It is a catchy tune! Thanks,p, and yes, give it a try. It’s one of the easiest ways to do it! :)
WOW, Nancy! What a fun make-over!!! It looks sassy and current and I love the color you chose for that piece. Well done, ma’am.
And yes, I too will be whistling that for days – though I can’t seem to get the 80s Erasure song “A Little Respect” out of my head tonight. Heard it in a store earlier this evening and it’s been in my head big time. I even YouTubed it – that usually makes something leave my head once I hear a song…..so Ice Ice, Baby may take over in a little while once Erasure moves over, haha.
Oh that’s too funny!! That’s a good song too! I have songs that I’ll hear and they’ll be in my head for days!! Haha!
This is so cute, Nancy!! Everyone secretly loves that song ha ha! XOXO
Haha yes! Thank you, Christy! xo
Hi Nancy! I wish I could find an ice bucket like that. I love what you did and if I do ever find one I am going to copy your Ice Ice Baby!! Great makeover!
Love that, Cheryl!! Hoping you find one, you never know what you’ll come across out there!! xo