Thrifty Decor with Old Framed Prints (use your own photos!)
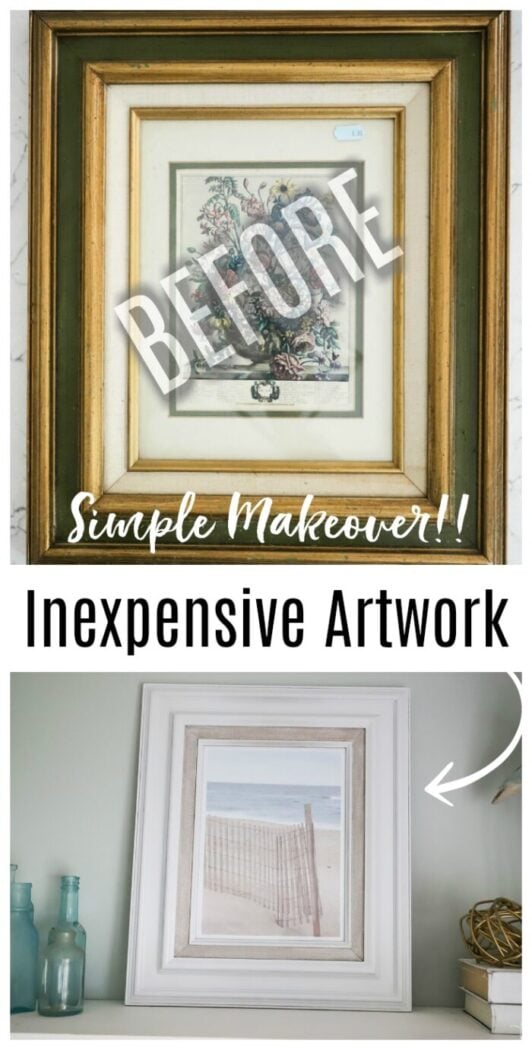
Thrifty decor, budget decorating at its best. Old thrift store prints (with beautiful frames) for cheap…turned awesome new wall art for your home. Simply!
Happy Trash to Treasure Tuesday, friends!
I hope you had a wonderful June weekend. We have been down at our beach retreat (beach condo in the Outer Banks of NC) quite a bit in the last two weeks. We have many more trips planned to finally get going on the remodel down there. If you want to follow along over on Instagram when we do, just look out for the #ACRBeachRetreat hashtag as that is what I’ve decided to use to make it easy to find posts about what we are up to over there.
And keep an eye out in my stories there. I will probably save the stories to their own tab too.
There’s not much happening on that hashtag yet but will be once we get going on all the remodeling.
Here’s a mirror I found last weekend in the OBX. I had been looking for a round mirror for this one spot on my wall and couldn’t find one I really liked (that didn’t break the bank!)…and then….ahhhh…there it was. $40. I almost couldn’t believe it!
It’s solid and heavy. (very heavy, lol)
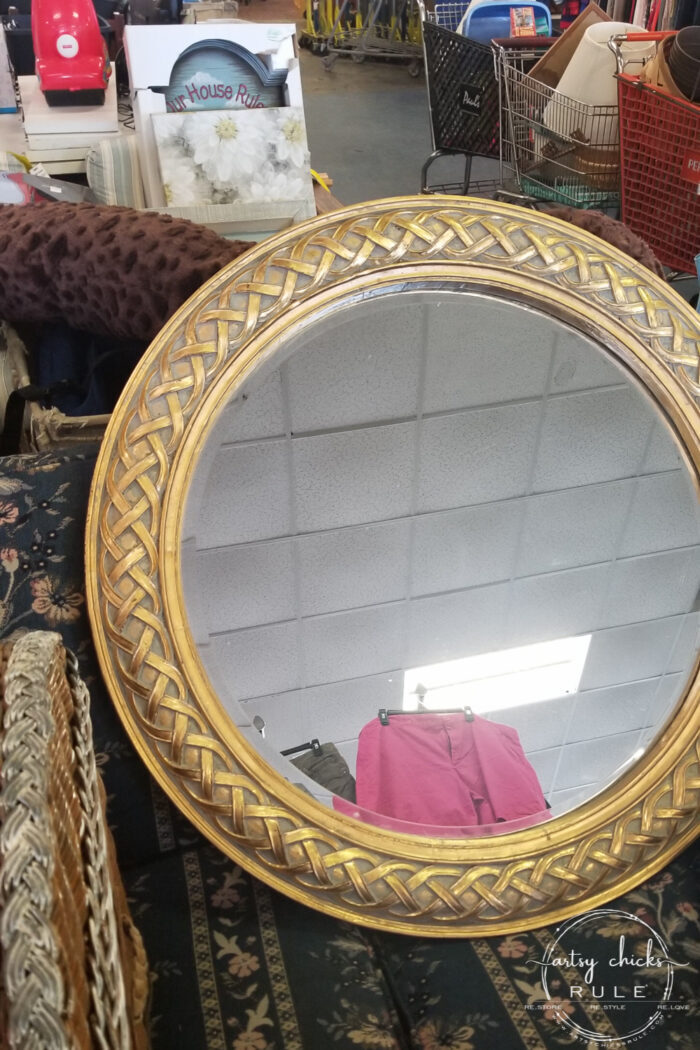
I kinda love the weaved pattern as I think it’s perfect for our beach home decor.
I am going to paint the gold though. And yep, I do have a plan and know exactly how but you’ll just have to wait and see. hee hee
But we went ahead and hung it up for the time being…
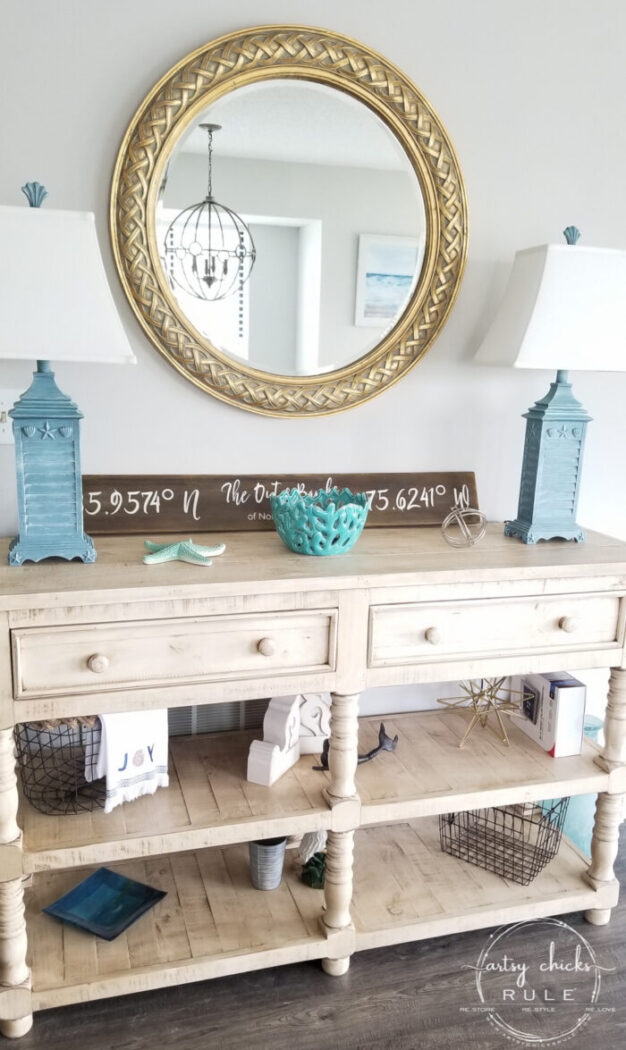
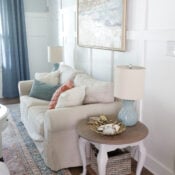
Nothing is “done”…I found this console table at Home Goods (also in the OBX) and bought it for this spot. I am going to paint it too because it’s a little bit “yellow-ish”. (it’s hard to tell in this photo but trust me, it is) I kind of just threw some things up on the shelves so all will be changing once I really decorate.
You might remember the lamps as I used to have them in our living room at our house here in Virginia.
And the coordinates sign I made a couple of years ago…finally in that home away from home that I talked about hoping to have one day in this post!
…………………………………………………………………………………………
If you are new around here, my friends and I get together the second Tuesday of every month and bring you our latest “trash to treasures”.
Today I’m sharing another one from my Thrift Store Haul #2.
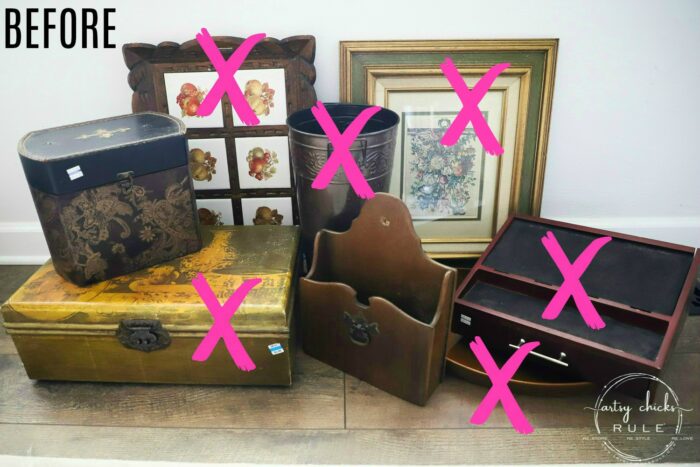
If you missed any of the other makeovers from this group, be sure to scroll all the way down because I’ll have the links to them at the bottom of this post.
After today, I only have 2 more makeovers for this group before I have to go thrift shopping to get Thrift Store Haul #3! Don’t worry, I’ll take you all along with me again, I’m sure. ;)
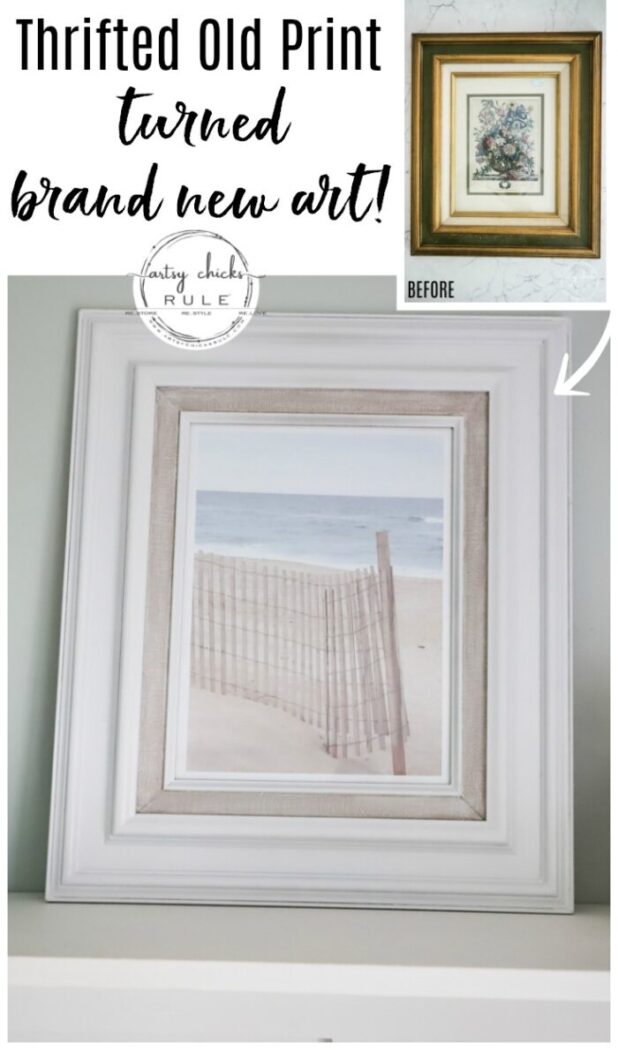
Thrifty Decor With Old Frame Prints
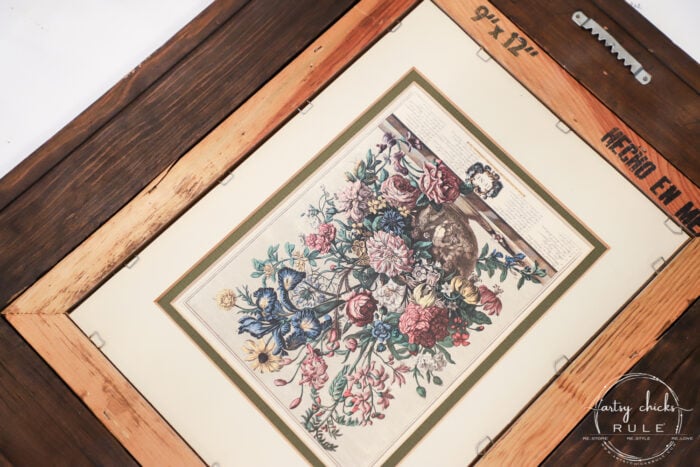
Here’s how today’s makeover began its life…
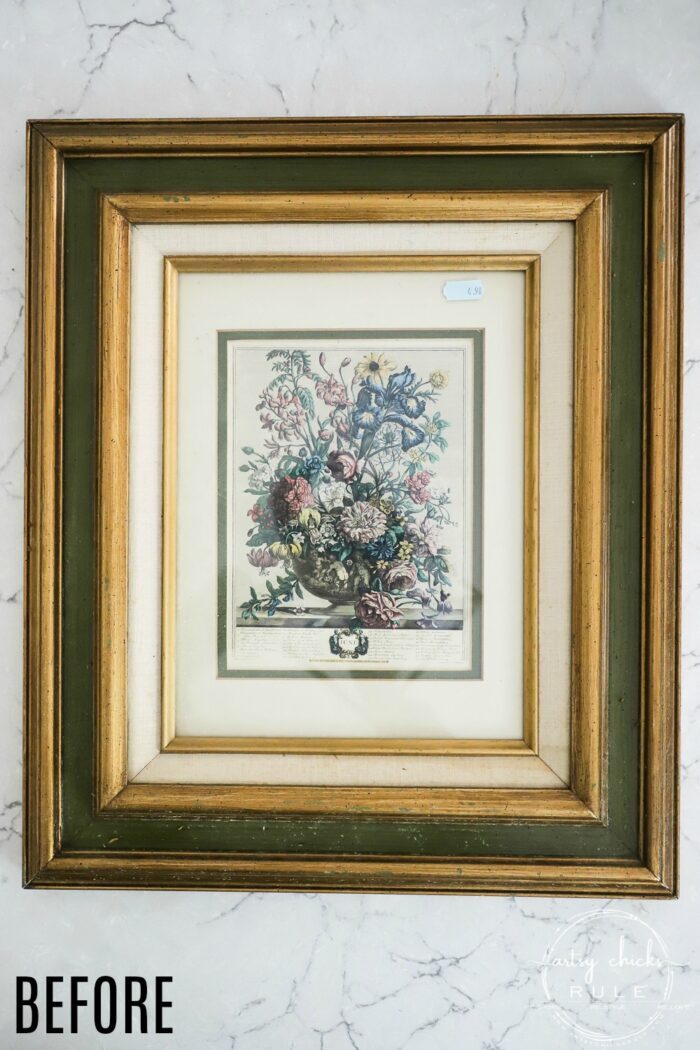
I removed the print inside and went about painting it. I used the same spray paint I’ve been using a lot lately.
You can find it >>> here.
And…as you can see, this is when those corner seams really become noticeable.
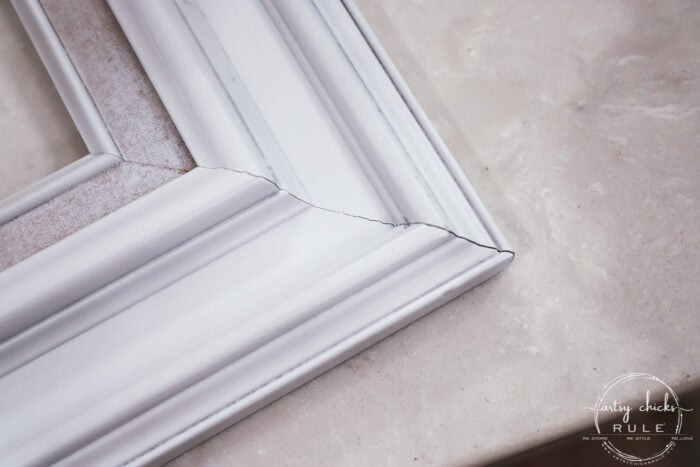
I just use a little paintable caulk to make them seamless.
Unfortunately, the spray paint just would not cover the canvas fabric around the photo…so I sort of started over with it by painting it in a beigey-brown color. (Coco Chalk Paint)
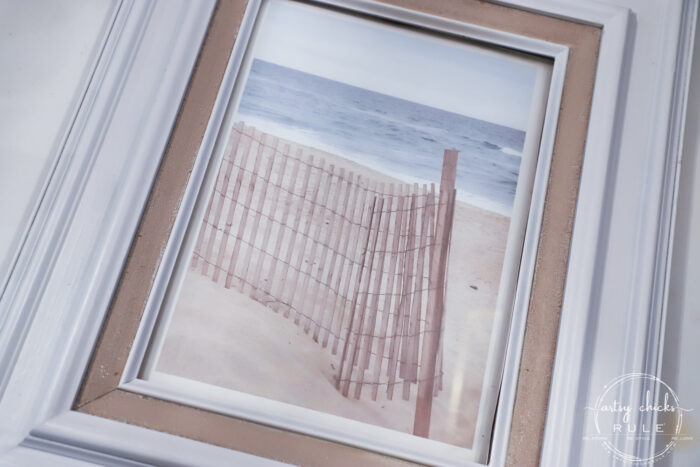
Then I dry brushed on some white…
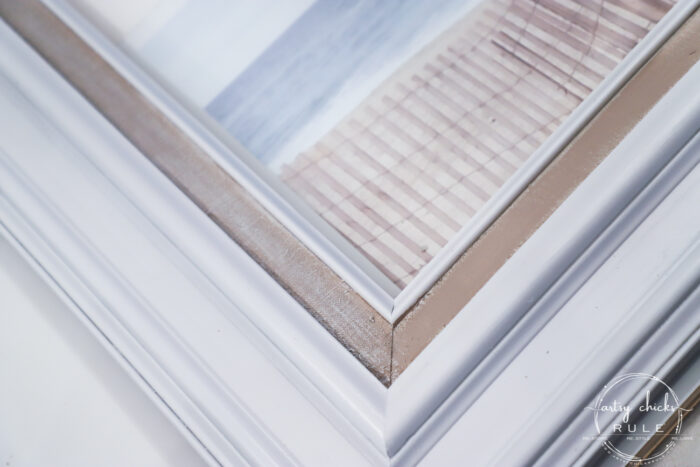
Hmm…kind of glad it didn’t cover and turn it white. I love the “sandy” look I ended up with.
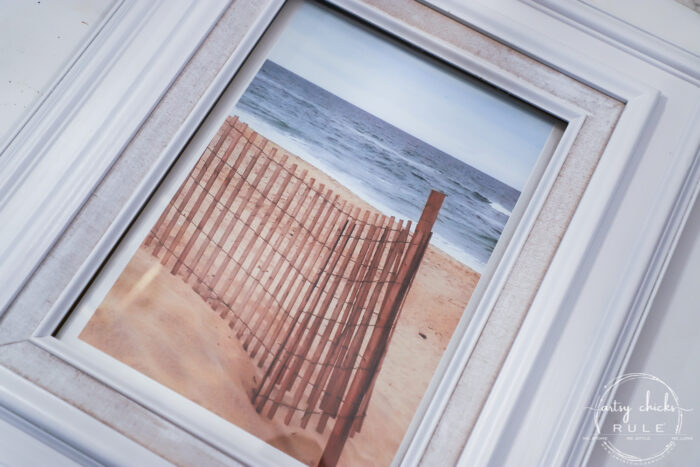
But I didn’t love the dark print I printed out to use next to it. (by the way, this is photo I took while in the OBX a few years ago…if you scroll down my Instagram feed, you can see the original photo)
So I faded it out and printed it again…
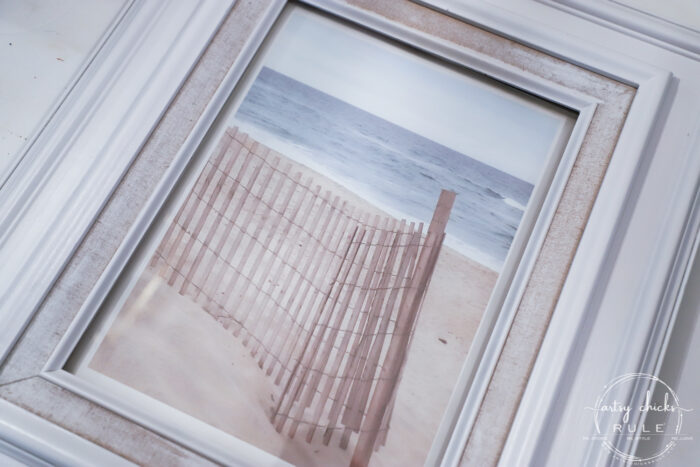
Yes, that’s it! Much better. Soft…beachy…just right.
I flipped the cardboard mat and print over and just used that as the backing for my new print. I can then cover the back with some paper or fabric to conceal that …but I’m keeping this one and don’t really care what the back looks like. If I were selling this one, I would.
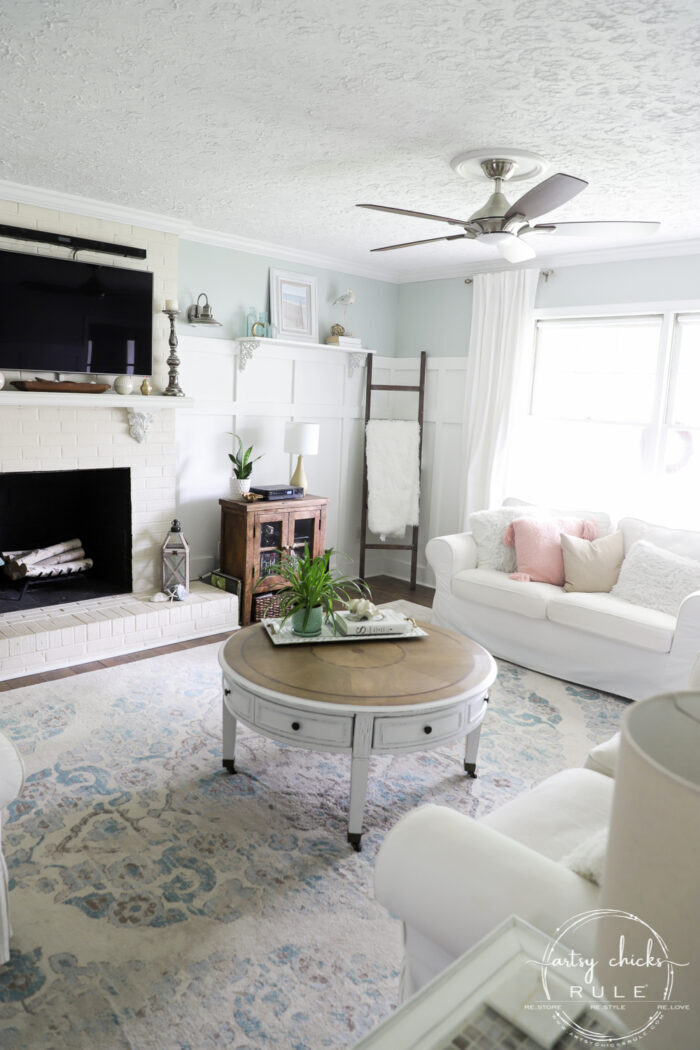
Thrifty decor at its best.
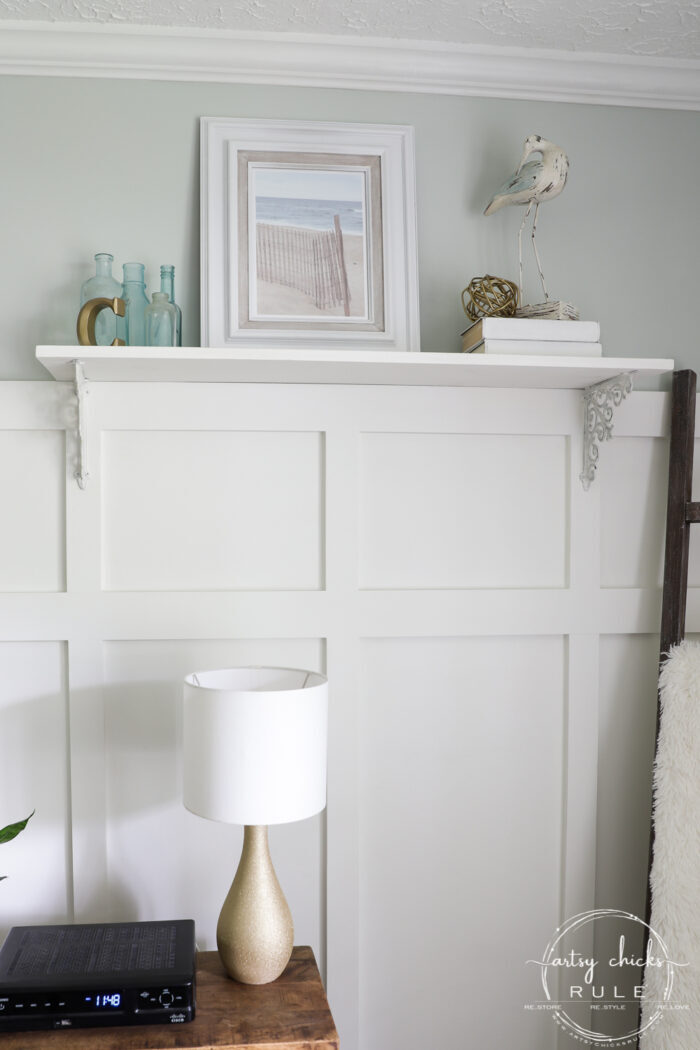
I love the soft beachy colors of it.
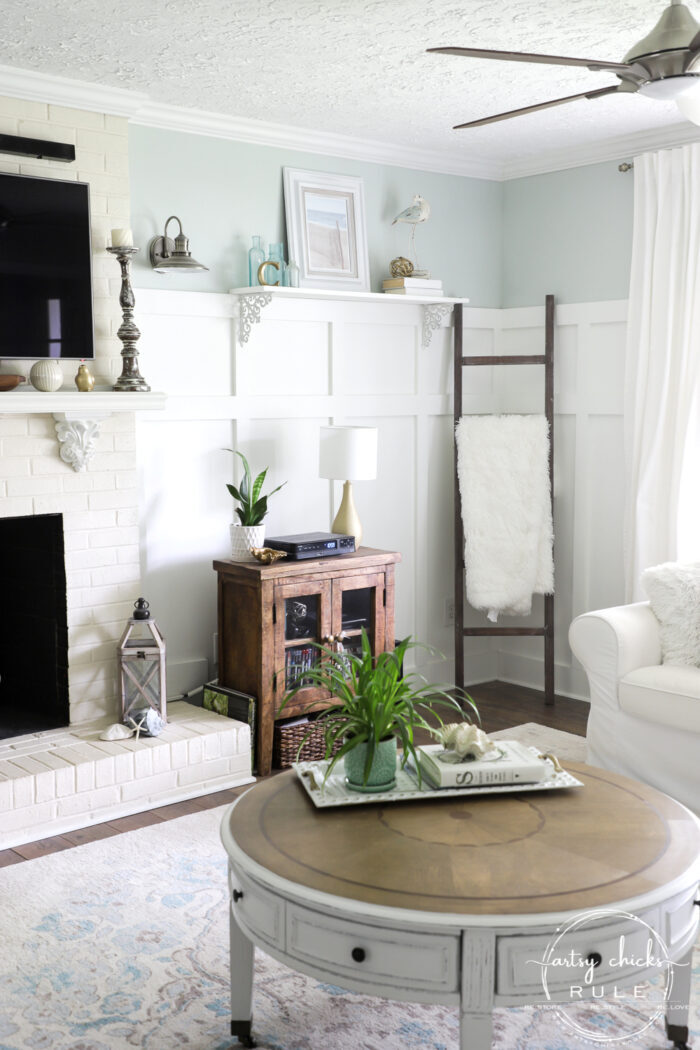
I’m not sure if I will use this one here or at our beach retreat. We’ll have to wait and see.
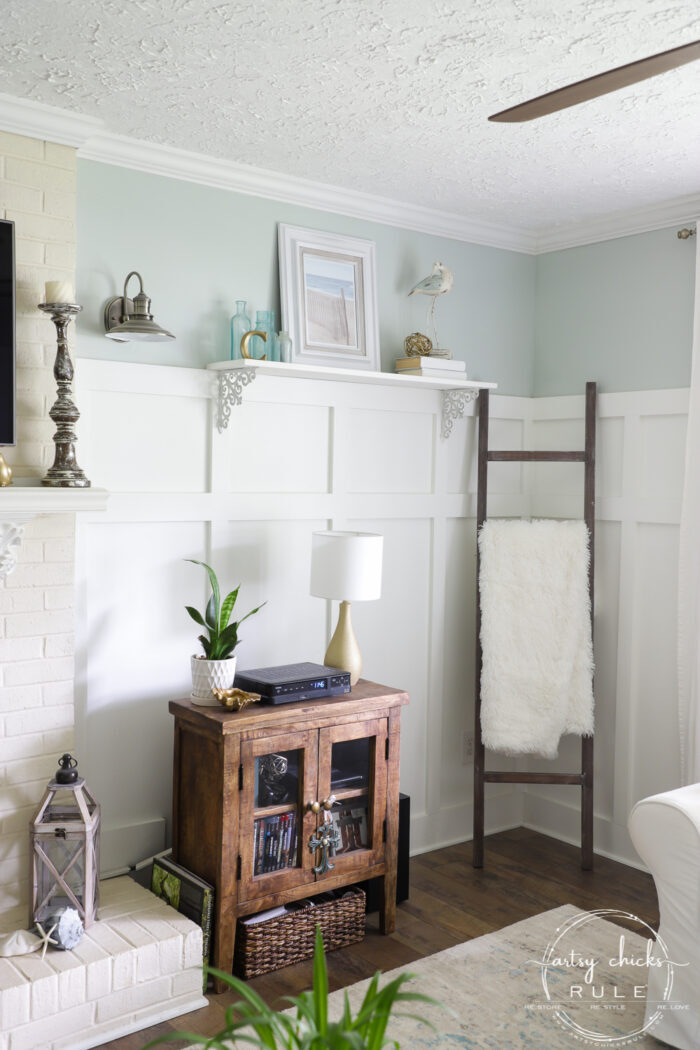
Coffee table makeover post details >>> here.
Living room rug details >>> here.
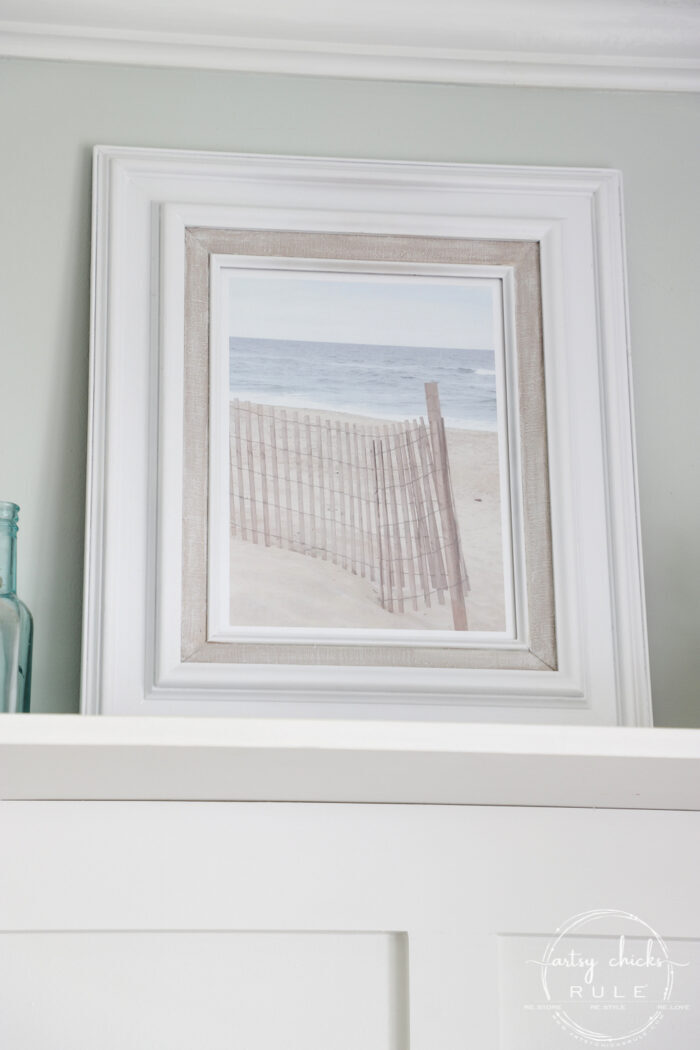
Up close…
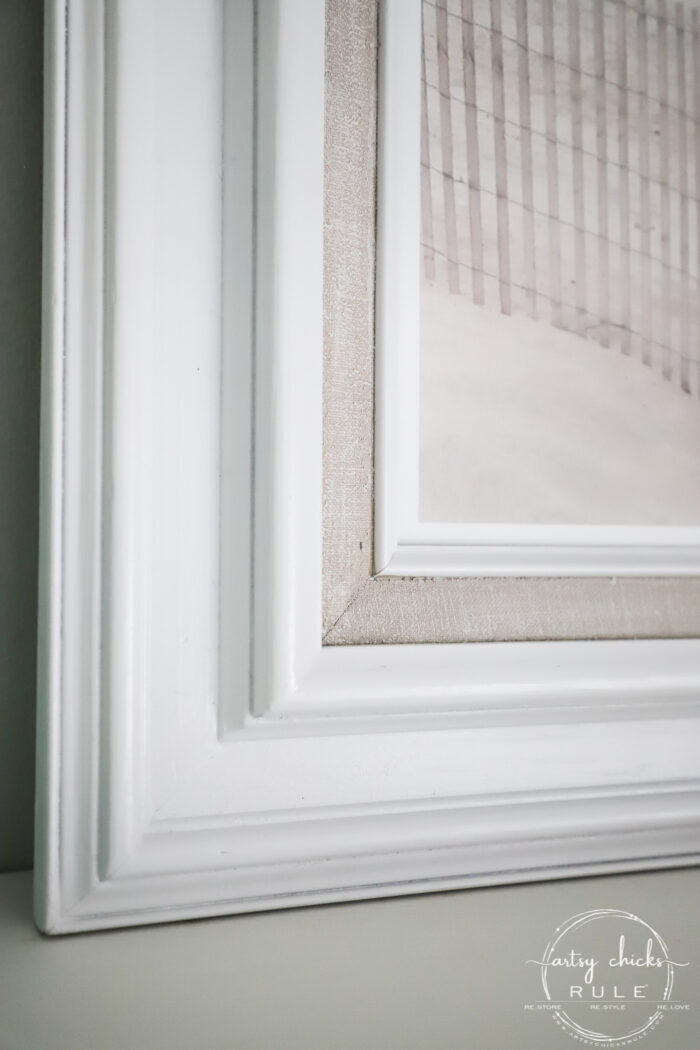
No more seam. Yes!
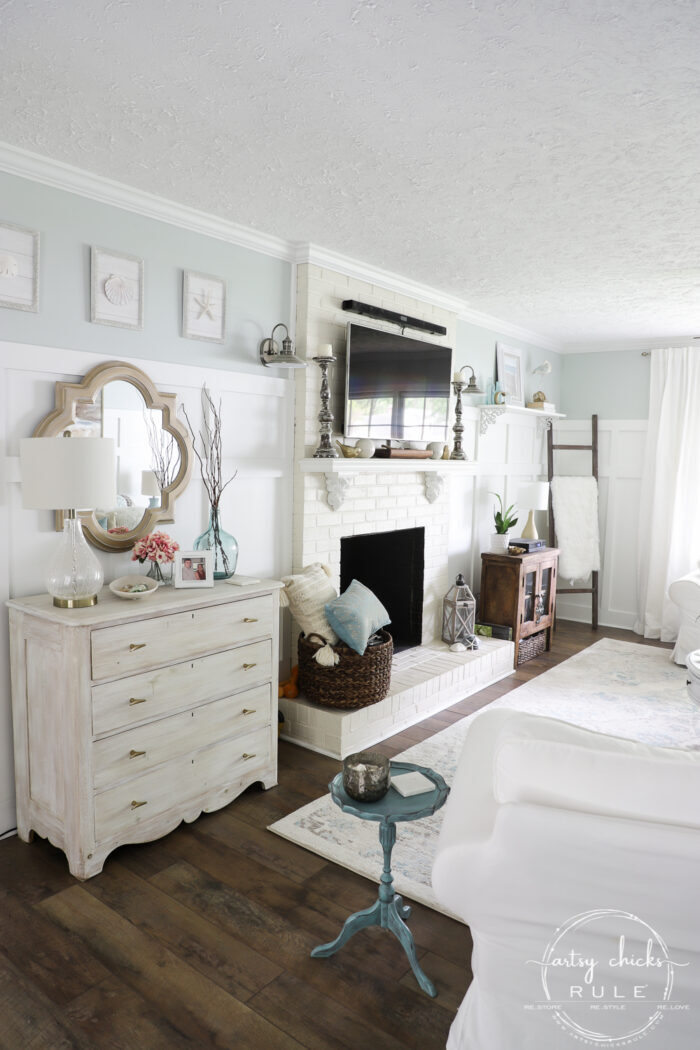
Details on our “wood” floors >>> here.
White stain dresser makeover details >>> here.
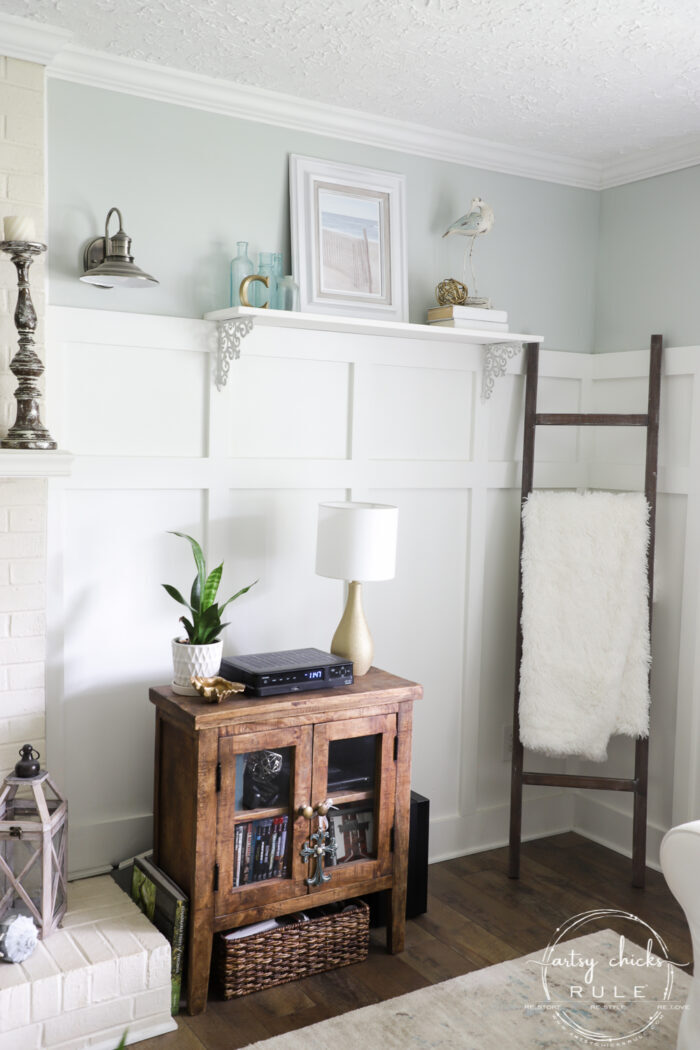
$6 DIY ladder details >>> here.
It’s hard to tell, but there is a piece of glass in there.
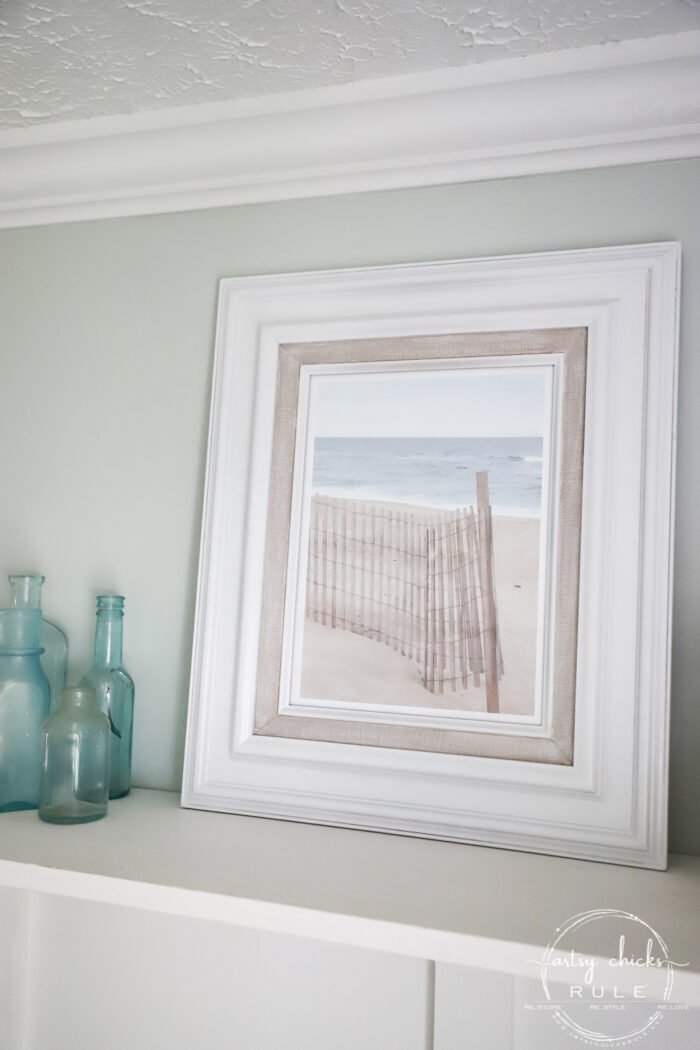
This is something anyone can do.
It’s spray paint…and a little caulk, printing a photo you took and that’s it. Simple!
What a great way to create inexpensive (and meaningful) thrifty decor for your home.
PIN it to save it!
Don’t go just yet!
Check out my friends’ trash to treasure goodies below… (links to each below the picture)
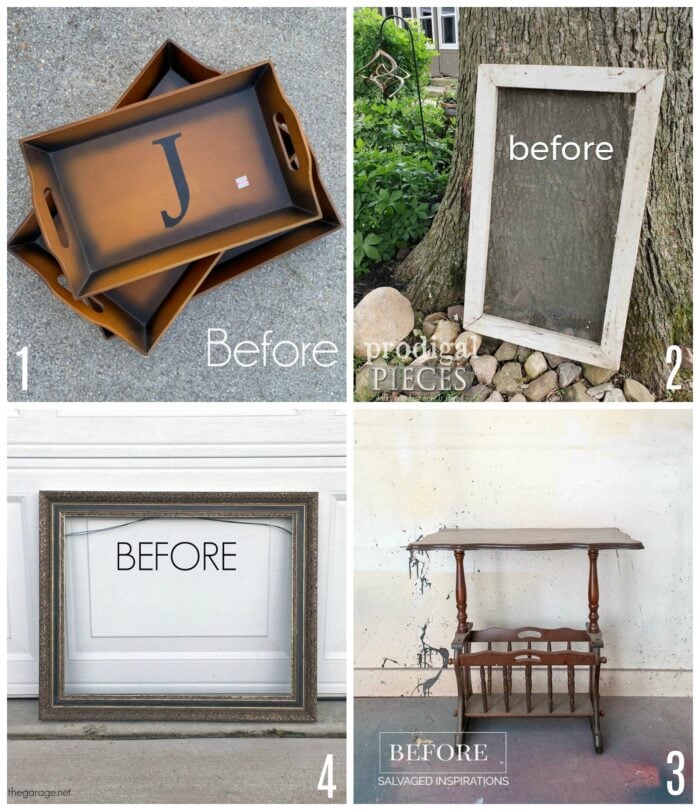
Want to see more Trash to Treasure makeovers?? Check them out >>> here.
I’ll be sharing this one from my newest haul #3 next!
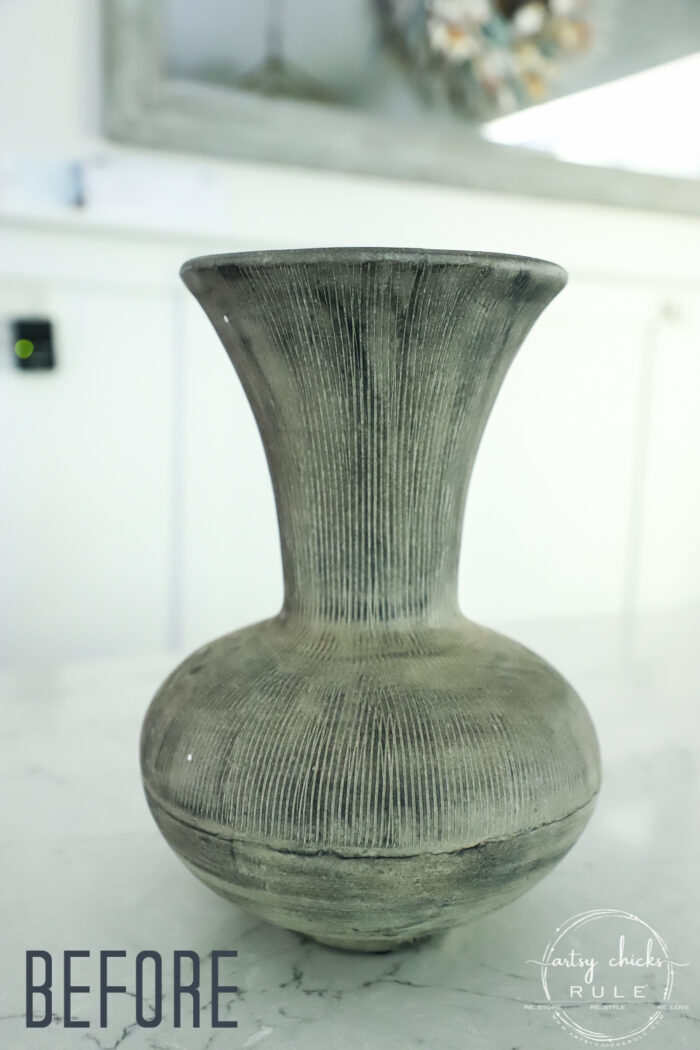
UPDATE!! See it now, here!
If you missed any of the rest of Thrift Store Haul #2, you can see them all here:
- Butterfly Tray Makeover
- Welcome Box
- $4 Men’s Valet Box
- French Floral Bucket
- Beach House Platter
- Flower Display
- Decoupage With Fabric Paris Box
- $2 French Floral Bucket
- Thrifty Decor and Old Framed Print (with your own photo!) (you are here!)
I hope you enjoyed today’s makeovers! Lots of fun things to see.
I’ll see you right back here on Thursday. Hope you have a wonderful week!
xoxo






Beautiful makeover Nancy! I love how you painted the fabric part. The photo you used is wonderful and the faded look is perfect. It looks lovely where you put it. :)
Have fun with the remodel project.
Thanks so much, Christina! xoxo
What a sweet upcycle, Nancy. And your home is transformed beautifully!
Thank you, Larissa! xo
Beautiful…just…beautiful!
Thanks, Robyn!! xo
You turned ugly to beautiful Nancy! 😲 A perfect decor piece for your lovely home! 🌸😊
Thank you, Denise!! xo
I had to laugh when I saw the “old” picture! It is one of the Twelve Months of Flowers series and they were the trend years ago—-I still see them and wonder how many millions were sold! I always struggle with the canvas border and don’t know how to keep from getting paint on it, even when taping it off. This is a perfect solution! I also would have never thought to lighten up the photo to make it softer. Thanks for the tips!
Oh yes, that’s too funny!! I have seen it in more than a few homes over the years! (even my mother in law’s!) Happy weekend to you! xo
Lovely makeover! I can picture this at a seaside cottage.
Yes, exactly!! Thanks, Rose! xoxo
I love it!! It looks SO good! And I love the mirror you found in the OBX. I love it as is, but I know you have plans for it! XOXO
Thank you, Christy! Yes, it is pretty as is…but going in another direction down there! Unless I change my mind…again!! haha ;) xo
I love how you transformed that old art print, Nancy. And it looks gorgeous with all your coastal decor! xo
Thanks, Jen! xo
Painting the felt with regular paint then going from there is a really good thing to know! Probably to try and strip that out would be sort of horrible, your end result is very attractive. I have never tried to print out a photo that I have taken, may have to try it. Good post, thank you.
Oh yes, it really would! And yes, that’s the best (cheapest!) kind of artwork…give it a go!:) xo
Crazy how the photo looks like a painting now! Looks beautiful with the frame and matte now.
Yes, it kind of does, doesn’t it? Thank you, Marcie! xoxo
I have this same print/same frame (in fact, I think I have 2) sitting in a pile. The last time I looked at it I wondered what I was thinking when I bought it. Now I remember-Nancy will do a fabulous makeover that I can copy!
Oh, fun!!! And haha, I just love that!! :) xoxo
How do you fade out a photo? luv your ideas.
Hi! I actually did this by adding a “layer” of white that I faded out and then placed it over top of the photo. I did it in an online program called “Picmonkey”. Very easy to do! :) xo
Nancy,
I love this project! I am inspired.
How did you re-staple the back of the frame?
Thanks so much
Great!! I used a staple gun, worked great! :)